Leaderboard


Popular Content
Showing content with the highest reputation on 04/24/15 in Posts
-
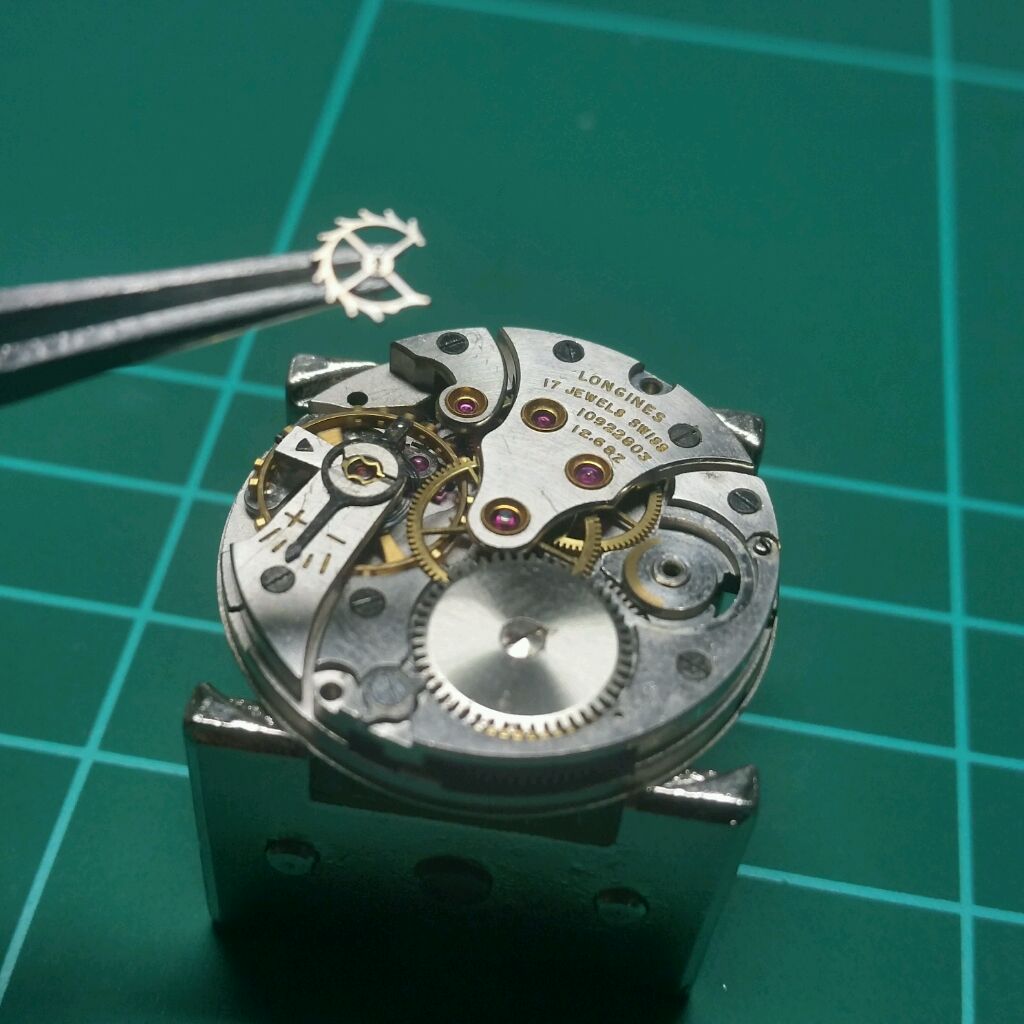
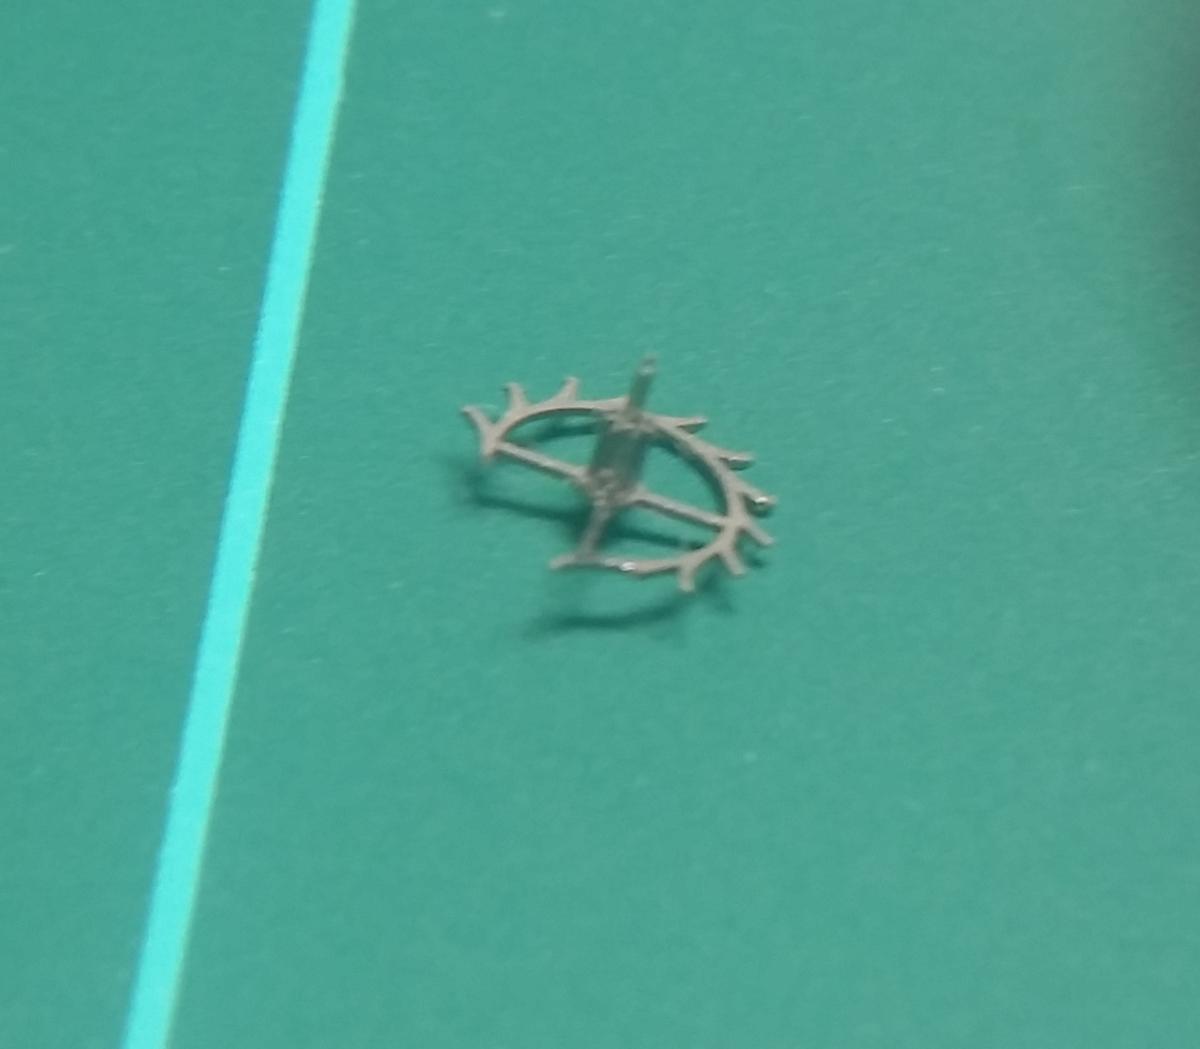
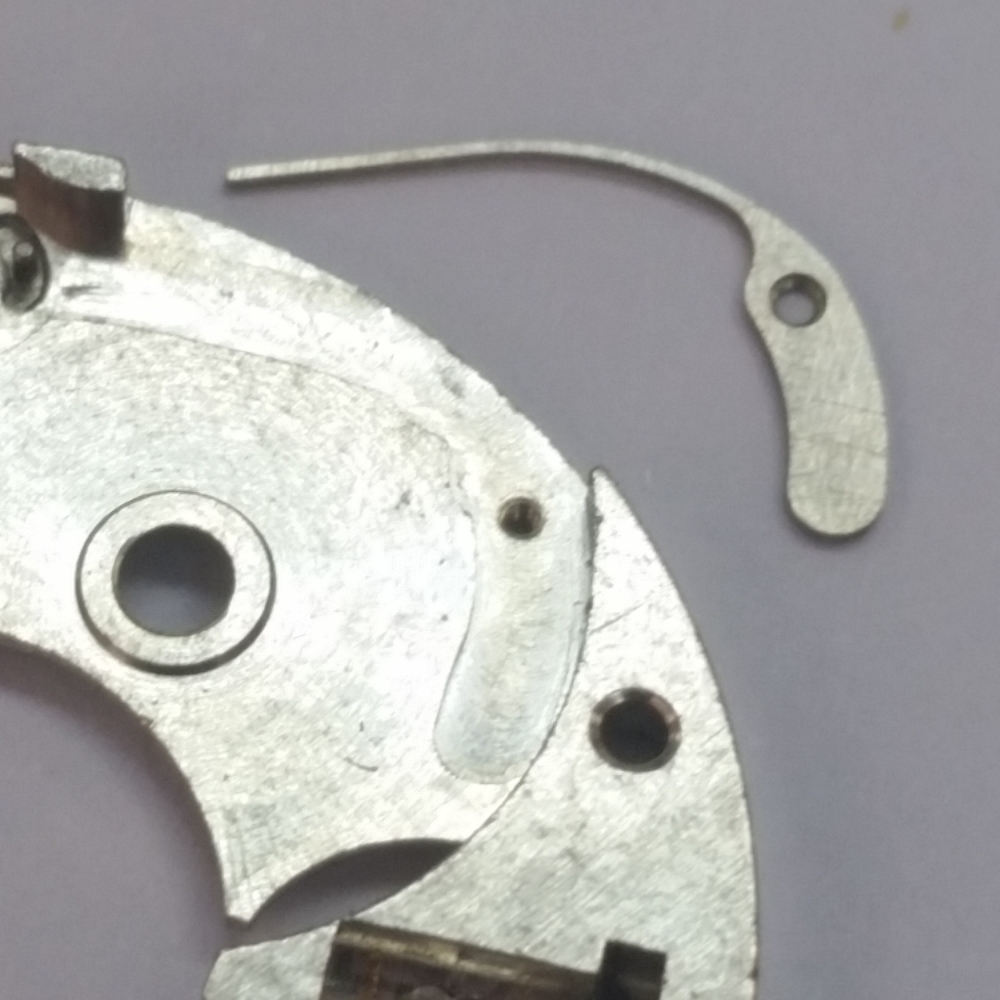
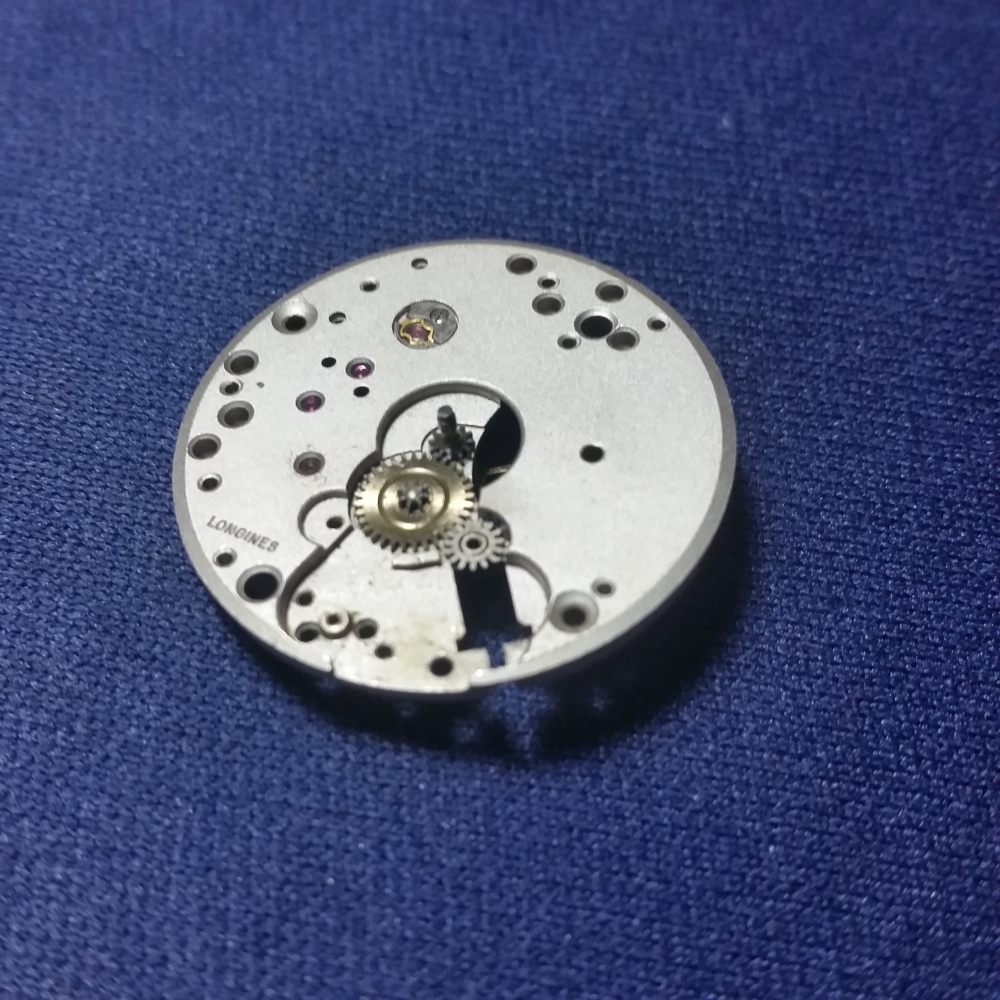
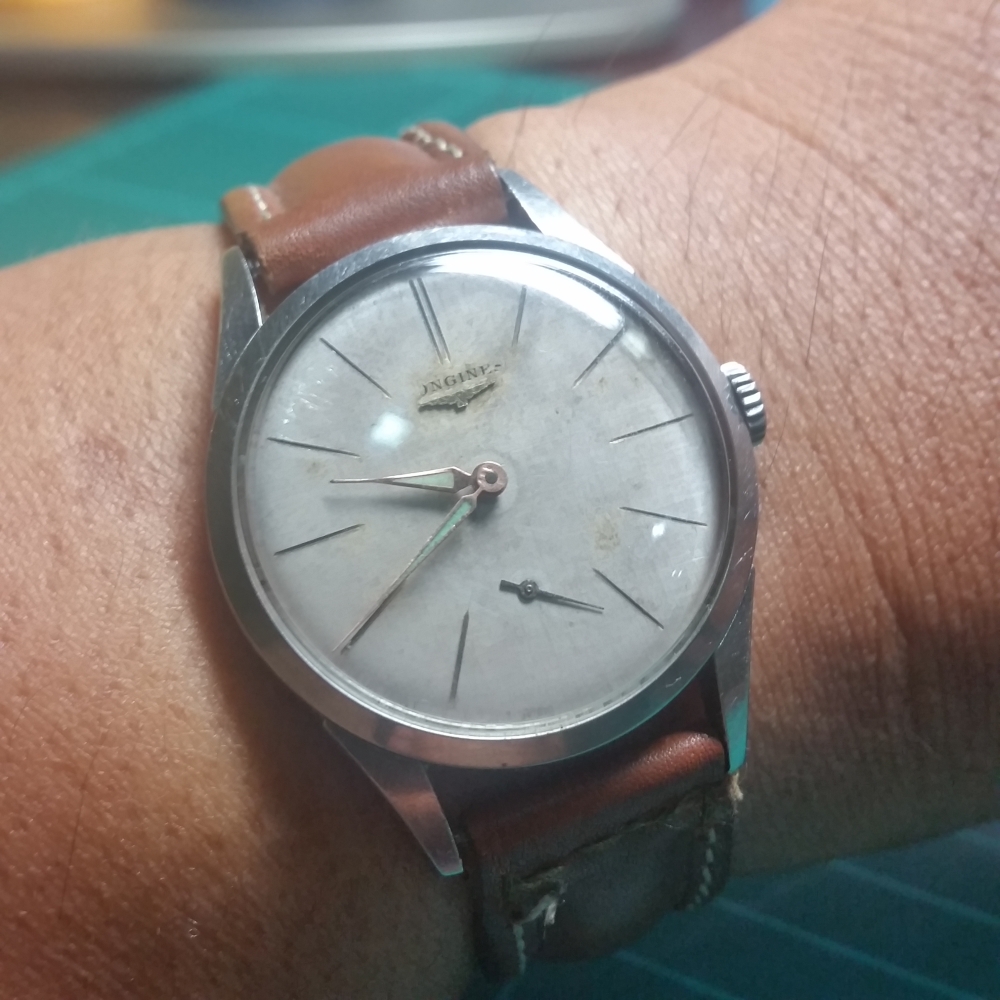
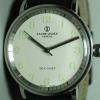
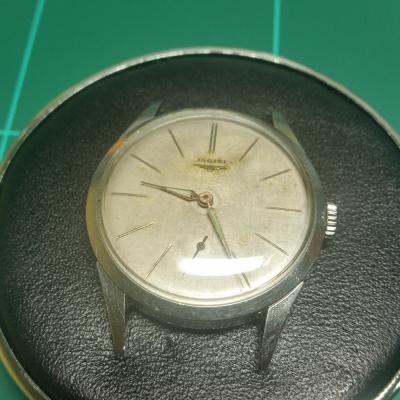
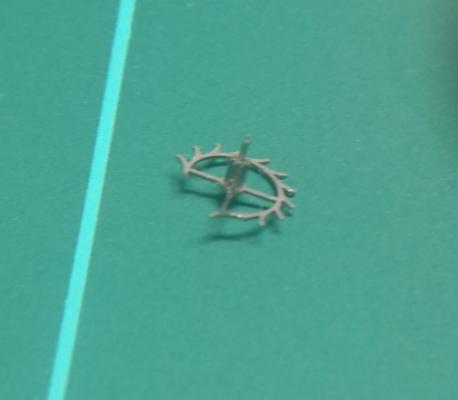
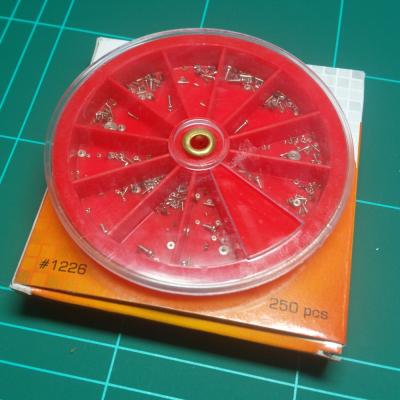
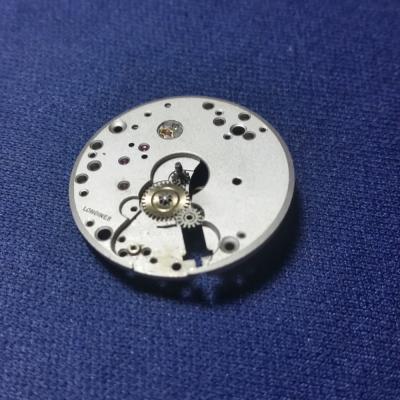
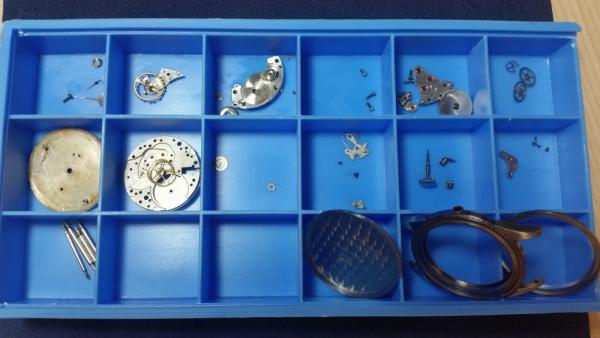
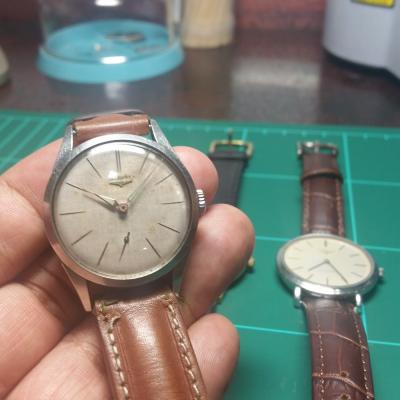
Hi All First watch job as a novice watchmaker, I bought this Longines Cal 12.68z 1969 at the flea market as a scrap, and its shows jerky movement on the second hand skipping like 5 seconds every minute. The hands don't look right and the dials ... I leave it as is. If not for the Longines logo.. I can't identified this watch without opening it. On disassembling found it was the escape wheel that was damage, it's an old watch so I guess it's in pretty bad shape to start with. Ordered from ebay, and it took along time to reach me. Replace the wheel and one thing leads to another, on installing the click spring, the tiny screw decided to take flight. Ok I was using cheap tweezer, that remind me to get a good sets of tools. In the mean time I just dressed it to ensure no more aeroplane job for those many more screws. No way I could find that screw, it's the smallest of the smallest in this watch. So back to ebay and ordered a box of screws as I found some discussions about it here.. so another 2 weeks of waiting and it finally arrived and lucky me.. there's one that fit. BTW I did not dismantle the center wheel, I feel I am not up to it yet. Looks like it pressed fit and I don't dare to touch it at my present skill level. It was over oiled and very dirty, I do not have a cleaning machine (yet) so a simple dip cleaning and some tooth pick will do for now. Assembling apart from the aeroplane incident goes without anymore surprises, just that I need to horned my skill and getting better tools. The balance wheel and pallet is a challenging part to me and all else is okay. I use Chinese made oil as lubricant at the moment and lube all the jewels, not reaching Moebius or Novastar level yet... so it more like Mario Brothers at level one... had to earn points before I go up scale. So here it is, nothing special it's a basic movement as a start, and I have lots more watch to do as practice pieces. On the wrist, hey.. this watch is older than me... I'm 53 and this old timer is 56 years old.. :) One thing I learn from this first job is... I need higher quality Screwdrivers and Tweezer for a start... time to get the credit card out.. I can't find high quality tool here in Kuala Lumpur.. most shop do the Chinese brand.. will try to get either A*F or Horotec sets.. a basic set will do for now. Suprisingly after 24 hrs.. running no further adjustment needed.. it's keeping good time. There you go... Mario Bros at level ONE.. BTW.. anyone know what model is this watch.


 2 points
 -
I would just thank the boss of this site, I find that his videos are very informative, I can't find better videos on the entire youtube. He know how to "mount a video" with correct animations, he knows the subject and how to explain it with easy words, he have a good pronunciation easy to understand for non mother tongue people, videos not too long but very informative. I like them. Congratulations.2 points
-
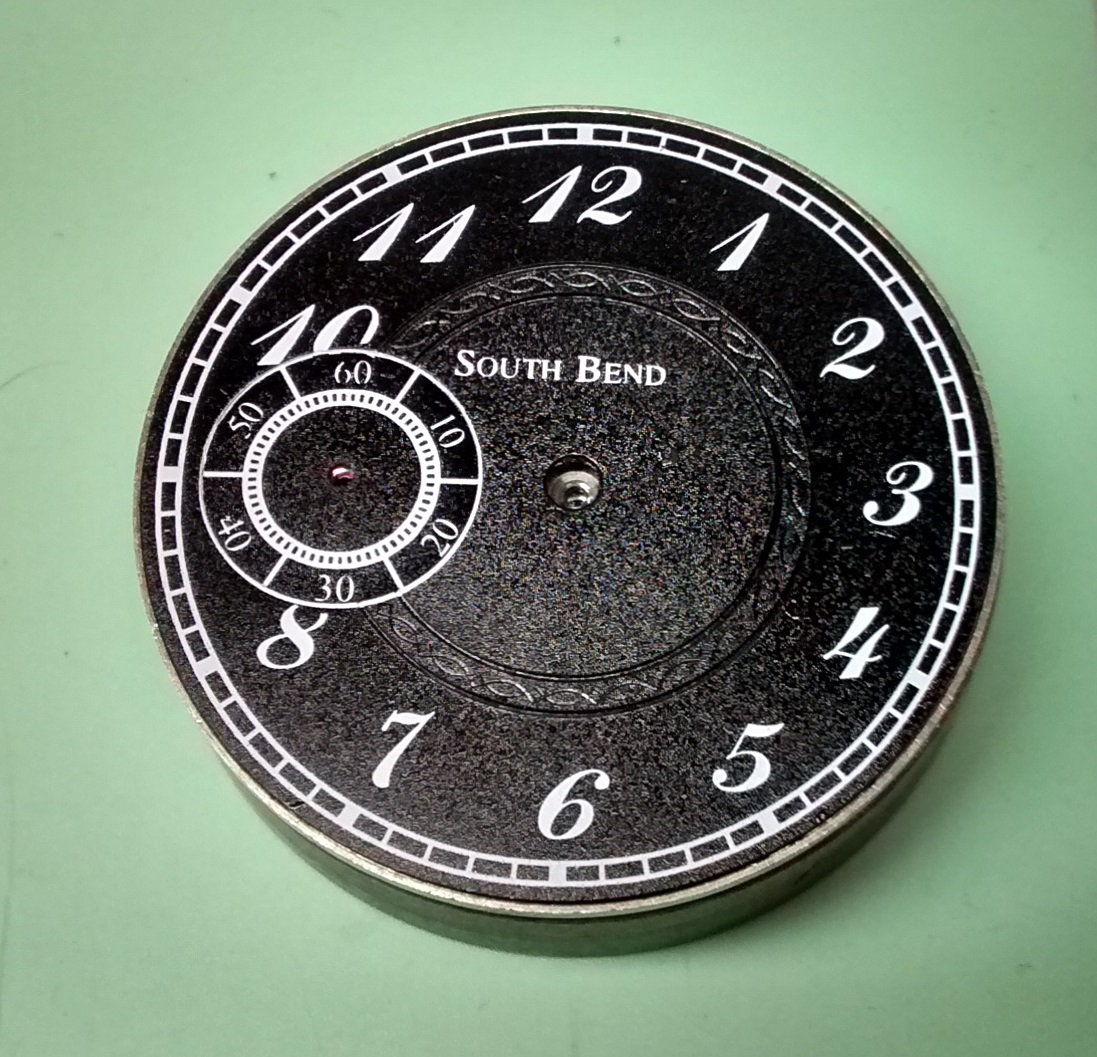
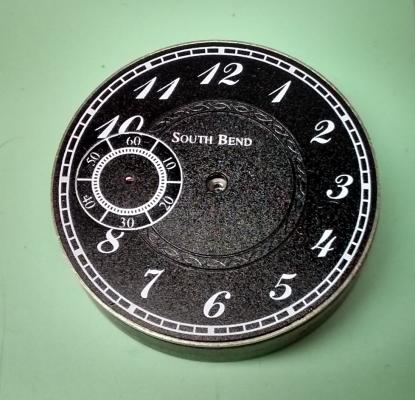
So it's been a few months since I posted here...but I've been regularly checking in. Hi Mark and Geo! So as a few of you know, I have a hobby of building watches. The one thing I hated was relying on some of the very few companies that actually print dials. Here is the USA there are only a handful that do this type of work! I was lucky enough to find an antique dial printing machine on eBay. It was just a vessel to move the dial from printing plate to paint application. I found a willing company to "Fill in the Blanks!" I won't name them here because I don't want to seem like I'm Selling this company! Anyway, they were a very big help when it came to me having questions. The sales, engineering and billing staff were first rate! They helped me pick the proper printing pads, helping me design and then produce my printing plates and then help me choose the proper ink and also recommended how to prepare the inks, pads and thinners to get the best results! So, here I am....First try at printing a dial.... I designed the dial myself using a free online software. The dial is printed in 3 stages. The first step was printing the hour chapter. Then, the second step was to print the sub seconds chapter. Lastly, I printed the name of the manufacturer that I will be using for this build. This was more of a proof of concept to me...Now, I can't wait to try new designs and styles! And, Now I have more control of what I build! That's very important to me...Cheers!
 1 point
 -
Finally my eyes are able to focus close up! Going to start with the easy bit first [emoji9] The hands look aweful. Supposed to be white with lume. Off with the hands. Into some Acetone they go. Almost clean. Once completely clean, going to use matt white Humbrol enamel. Then for the lume, experimenting with some clear nail varnish and extra fine glomania green lume powder. I gave it a two minute charge with my 300 lumen LED torch at 11pm last night. This morning at 7.30 it was still visible [emoji106] . Pic taken after a 20 sec blast. More will follow. Just warming up the Humbrol so it mixes easier. To apply it....... old mini flatblade screwdriver or pegwood?1 point
-
Actually, I was born and raised in Southern California (Manhattan Beach later Corona). I've lived in LA, New York, Chicago and Washington DC. My wife is from Detroit; bottom line being we're tired of cities. So we found a little town of 700 souls to settle in. George Washington really slept here. Not only that he surveyed much of the town and owned property just around the corner. He was a frequent visitor. So I'm a transplant. I'm a great fan of Alistair Sim and a lot of other great British actors and actresses: Roger Livesey, Niall MacGuiness, Finlay Currie, Mervyn Johns, Leo Genn, Joan Greenwood, Valerie Hobson, to name a few.1 point
-
Can it really be THAT long ago that I started this??? Better pull my finger out then. Got a choice of lume powder. Left - GloMania Blue. Glows bright but dims after 10 mins. Lasts 10hrs. Middle - GloMania Green. Same as above. Right - WatchLume Green. Glows very bright, dims after 10 mins BUT in my test with just my Galaxy S3 light charging it for 2 mins it lasts for 24hrs. This pic was taken just after charging. Hopefully I will find the willpower to get off my duff and finish what I started as there are two others fighting for my attention.1 point
-
A tool I wish I had. I use a standard mic but it's so awkward to use.1 point
-
Oh, I see now, it is fantastic. Thank you for the picture. Please, don't even touch the finish, I love the vintage looks and that it is shiny where it matters! Also, short of a chrome plating I don't think it will go back to its original state and that would be expensive. I honestly wouldn't know what to do either other than enjoy it! Congratulations on a fantastic tool! Cheers, Bob PS. Geo is right there is a chance you may strip the chrome. We were posting at the same time!1 point
-
Hi Stephen, I would suggest using this http://www.ebay.co.uk/itm/231464360129?_trksid=p2057872.m2749.l2649&var=530724835879&ssPageName=STRK%3AMEBIDX%3AITand a Dremel fitted with a polishing pad to polish the chrome. You will have to be careful not to polish through the chrome though.1 point
-
Hi Stephen, I can't recognize what is in the picture although you mention bench micrometer. It looks like the bottom part of a staking or jeweling tool or similar instrument. I would say if you are not touching the measuring parts, i.e. scale, step adjustment mechanism or any other significant part, you can sand it, paint it, in fact, do anything you think would please your eye. A word of caution, whatever is related to the actual function of the micrometer should not be touched or you are risking false measurements and/or out of level/center work. If it was me, I wouldn't touch it since it is not broken and it works fine. I usually keep my tools in their boxes/cases and/or covered so the dust won't get to them. Since I'm not displaying them it doesn't matter and if I have to show them, I do with the pride of knowing it is an honestly used tool that is serving me well with the natural scars of a thousand battles! I believe there is a Chinese saying about going with the doctor/physician that has the most dead people in his "list", because it shows experience! :) I hope it helps, Cheers, Bob1 point
-
The lift angle for BFG 866 is 44 deg. J1 point
-
Moebius 9010 and 9510 and 8300.1 point
-
Affnan, that is a great start for a novice, also the longines is a very nice watch. It,s pity about the damage to the face because that is now a good watch most would like to wear. Quality tools as you have found is important but also with more experience you will have less mishaps & flyers. Enjoyed your post, can,t wait for your next one1 point
-
Hi Affnan, great start and great watch. I usually spend my time between Kuala Lumpur and Port Dickson. Which part of KL are you at? There is a watch supplier around Jalan Sultan, in the old Furama Hotel, called Tai Sang. Not much watch parts but good tools available. Bergeon screwdrivers, tweezers etc. Call me and maybe we can meet up one day.. Anil1 point
-
Hi Affnan, Great job! I'd say Mario at a high level, probably 6 out of 12? It's been a while I played that. :) Although I can't say much about Longines and models, I can tell you one thing: That is an excellent watch you will definitely feel very proud to wear and a high quality one! As far as the center wheel, it is "held in place" by the cannon pinion that needs to be extracted with the proper tool or the thick part of your tweezers (pulling straight up) on the "other" side of the plate (bottom or dial side). Once that pinion is out, the center wheel just pulls out like nothing, careful with the "center" jewel, it can be easily cracked. I normally take the cannon pinion first before disassembling the wheel train and after securing the hairspring in a safe location where it can't be damaged. Of course to get to the cannon pinion, dial and all the other stuff on that side may have to be removed first (or at least what is in the way depending on the movement). So, there you have it, time for Center wheel level 2! Cheers, Bob1 point
-
Hi Douglas! Love your avatar! Shows you're a man of taste. Alastair Sim is one of my favourite actors. Keep those posts coming in. John1 point