Leaderboard


Popular Content
Showing content with the highest reputation on 06/25/23 in all areas
-
The Eveflex abrasive as seen in this thread uses silicon carbide as the abrasive. It is harder than aluminum oxide, (9.5 compared to 9 on MOHS scale) another common abrasive known as Diamantine in the watchmaking world, and what ruby/sapphire is. It takes some effort to embed abrasives into any substrate, and most laps are made from softer material like cast iron or bronze for that reason. But it's conceivable that a small amount could embed in a pivot, and in that event even a tiny amount over time could wear a jewel. Even if using aluminum oxide, that can wear aluminum oxide. Diamonds are faceted using- diamond abrasive. I know everyone is terrified of the Jacot tool, but it really is the best thing ever. The pivot is laying securely in a bed, the work is done between centers, and there are no abrasives involved. When I was teaching I would start students on larger pivots, like 0.20mm, and have them work them down as far as possible, going from bed to bed on the tool. There's a bit of a limit to how far you can go depending on the bite of the burnisher, but with a nice carbide burnisher I've taken 0.10mm pivots down to 0.05mm without breaking as a demonstration. It's well worth getting some job lots of wheels and pinions and just spending some time with the tool. Most of my students were comfortable after a couple of hours of work, maybe a day at most. True, back in the day Swiss schools would spend weeks to months on pivotage, but that included many hours of turning work (between dead centers usually) making stems, plug gages, and balance staffs. I've noticed the youngsters that come to the workshop the last few years from Swiss and French schools are also terrified of the Jacot, and might sit there for an hour trying to work down 0.01mm off a pivot. But they just were poorly instructed. Out comes the box of wheels and pinions, and a 5 minute demo, and an hour later they got their mojo going.4 points
-
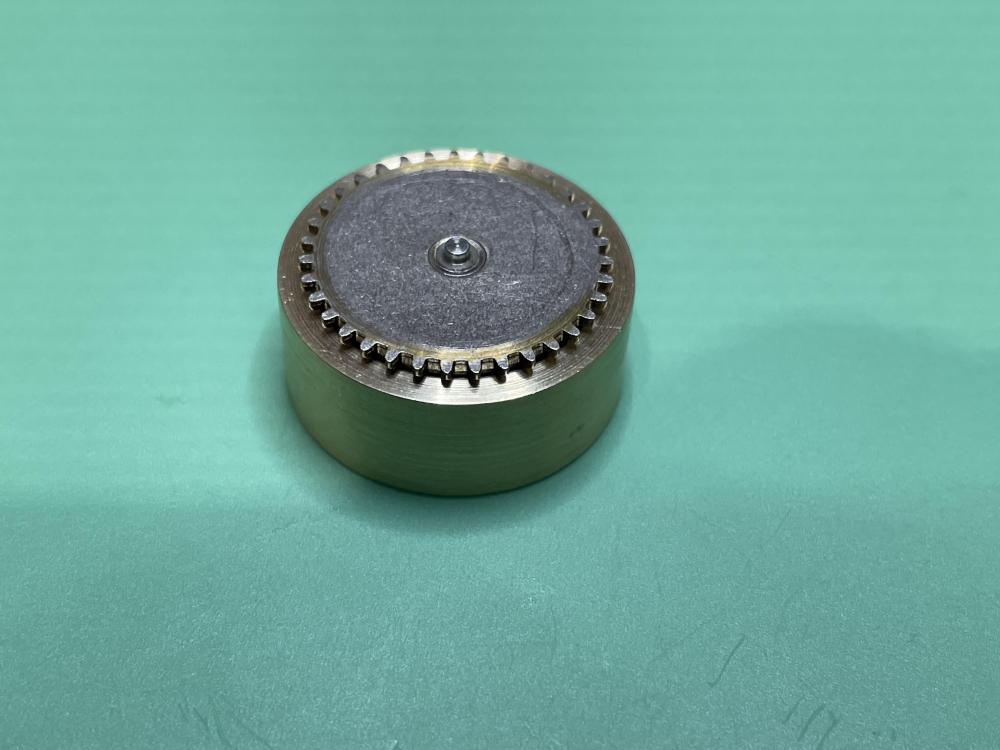
Attach it to a base drum pedal for hands free.3 points
-
I've practised quite a bit to get the hang of the Jacot tool and I'm now feeling fairly confident using it and looking at a successfully burnished pivot through my stereo microscope is actually one of the most satisfying aspects of repairing. I don't have a bow (or a motor) but use a Yoyo keychain. The most common error, in the beginning, was being too light-handed and this made me slip with the burnisher up onto the wheel arbor. This very quickly damages the arbor but as I was operating it manually I could stop the rotation as soon as I discovered or felt that something was wrong. This made the arbor look ugly but still usable. Using a motor I would expect things to go really bad and quickly should the burnisher slip. And, when you're new, it isn't obvious that you've involuntarily moved the burnisher onto the arbor. After a lot of practice, I made the following personal note in my "horological notebook". Please note that this is a note that was originally intended only for myself so I hope it is understandable. "When burnishing on the Jacot tool, the burnisher should of course be placed perfectly flat on the pivot bed. However, make sure you're leaning in a bit extra (don't be afraid to do it quite heavily) on the edge of the burnisher placed in between the pivot and the pivot shoulder. Like you're pushing a bit extra on that edge. This mitigates the risk of slipping with the burnisher up onto the wheel arbor creating "an extra heel" on the arbor." Moving the right and left hand in the same direction could possibly make it easier as shown here. I move my hands in opposite directions and I'm now used to it and feel comfortable doing it, but I'm thinking the approach shown in the video might be easier when you're getting started.3 points
-
When using a normal hand held burnisher it makes sense to do the back and forth motion. If you don't want to use a bow, there are options like: some folks attach some elastic line to the back of the bench, with some monofilament to go around the pulley terminating in a ring (like a keyring). Pull down, let up, back and forth. The built in spring drive that's an option on Steiner and was a bolt on accessory for others works similarly. There's still a string that goes around the pulley and you pull down, let up. In school we used the elastic with key ring setup; I also acquired a Steiner with the spring drive at some point, but last 20 years or so I just stick with the bow. If you want to motorize, with it unidirectional, during half the burnisher motion nothing will really be happening. I think it would be good to let up on the burnisher pressure on the "return" stroke, but maybe it makes no difference. If you try to get a system that reverses it would be necessary to synchronize the burnisher motion with the motor direction change. Easier when you are the motor. Also, you would need to have your burnisher in position before starting the motor, or the pivot will jump out of the bed and possibly break. That's kind of addressed on: -systems like the Pivofix, or similar tools that work with a normal Jacot tool, where a wheel is used to burnish and everything moves in a continuous direction- industrial pivot burnishing machines work the same way. An upside to those tools is they can avoid some of the issues that come when you don't have dozens of hours of practice using a hand held burnisher. I haven't used them very much, but I think it could still be easy to break a very tiny balance pivot if you aren't super careful. It isn't super complicated to make a setup to use a carbide wheel, but still a fair bit of labor. I've seen some examples on Instagram, a fellow Steamlainer made a pretty nice one a while back. The carbide wheels can be bought from Horia or Eternal Tools, or commercial ones sometimes found on auction sites. Though, I think if you look at the price of the raw materials, plus the carbide wheel, and count your time at a fraction of minimum wage, secondhand units don't look so expensive anymore! Pivofix excepted. Last one I saw on Ebay went for like 3500 dollars...2 points
-
No doubt you are familiar with sand timers and possibly sand clocks, however this is a slightly different take on the idea of sand as a power source. The museum website is here -> https://thehouseofautomata.com/2 points
-
It's an age-old problem some people are just incompetent they need to practice a lot other people just look at the tool And the first pivot is the most beautiful black polish you've ever seen and never practice at all. The reality is everybody is probably in between. I'm just telling you the experience that I had vintage watchmaker shows me how to use the tool. Makes the most beautiful polished possible I do have to agree it was a very beautiful polish.2 points
-
Thinking of burnishing have a couple of PDFs attached. True it same that clock pivots but it should work for watch pivots. Although traditionally the watch pivots were polishing will go in the jeweled bearings versus brass bearings which conceivably will cause some of the concerns of clocks with brass bushings are brass bearings not to be an issue. A long time ago a watchmaker showed me how to use the thing he commented that basically you have to practice every single day otherwise you going to break a lot of pivots. Then thinking about how you could drive your. This isn't quite what has looking for their something a little different basically I've seen one that holds the tool and has a drive similar to this but for right now is this picture where obviously it only goes probably in one direction you could treasure in the other direction but do need to? Oh minor advantage to these tools is you don't have to hold on to the burner. https://www.nielsmachines.com/en/pivofix-jacot-tool-watchmakers-lathe.html https://www.worthpoint.com/worthopedia/rollifit-steiner-jacot-tool-rudolf-276432917 Something like this? https://www.nielsmachines.com/en/sold-wit-swiss-jacot-pivot-lathe.html Conveniently what we want to see is just off the edge of the picture https://youtu.be/OkWAQbhfeKk Pivots finishing burnishing electron microscope.pdf LaBounty-Burnishing Pivots finishing burnishing.pdf2 points
-
I've pondered over this question for many years and come to a conclusion that it does matter. If you subscribe to the idea that burnishing is able to move atoms by shearing of the metal lattice structure, then a bidirectional approach would be able to move atoms into a scratch from both sides of the scratch. Makes sense? I recently got a Jacot tool but have yet to master the coordination of working both the bow and burnisher simultaneously in both hands. I am thinking of constructing a PWM controlled motor with an additional board for directional change. Maybe just a simple 555 in bistable mode controlling a relay to change polarity to the motor every 1 - 2 seconds.2 points
-
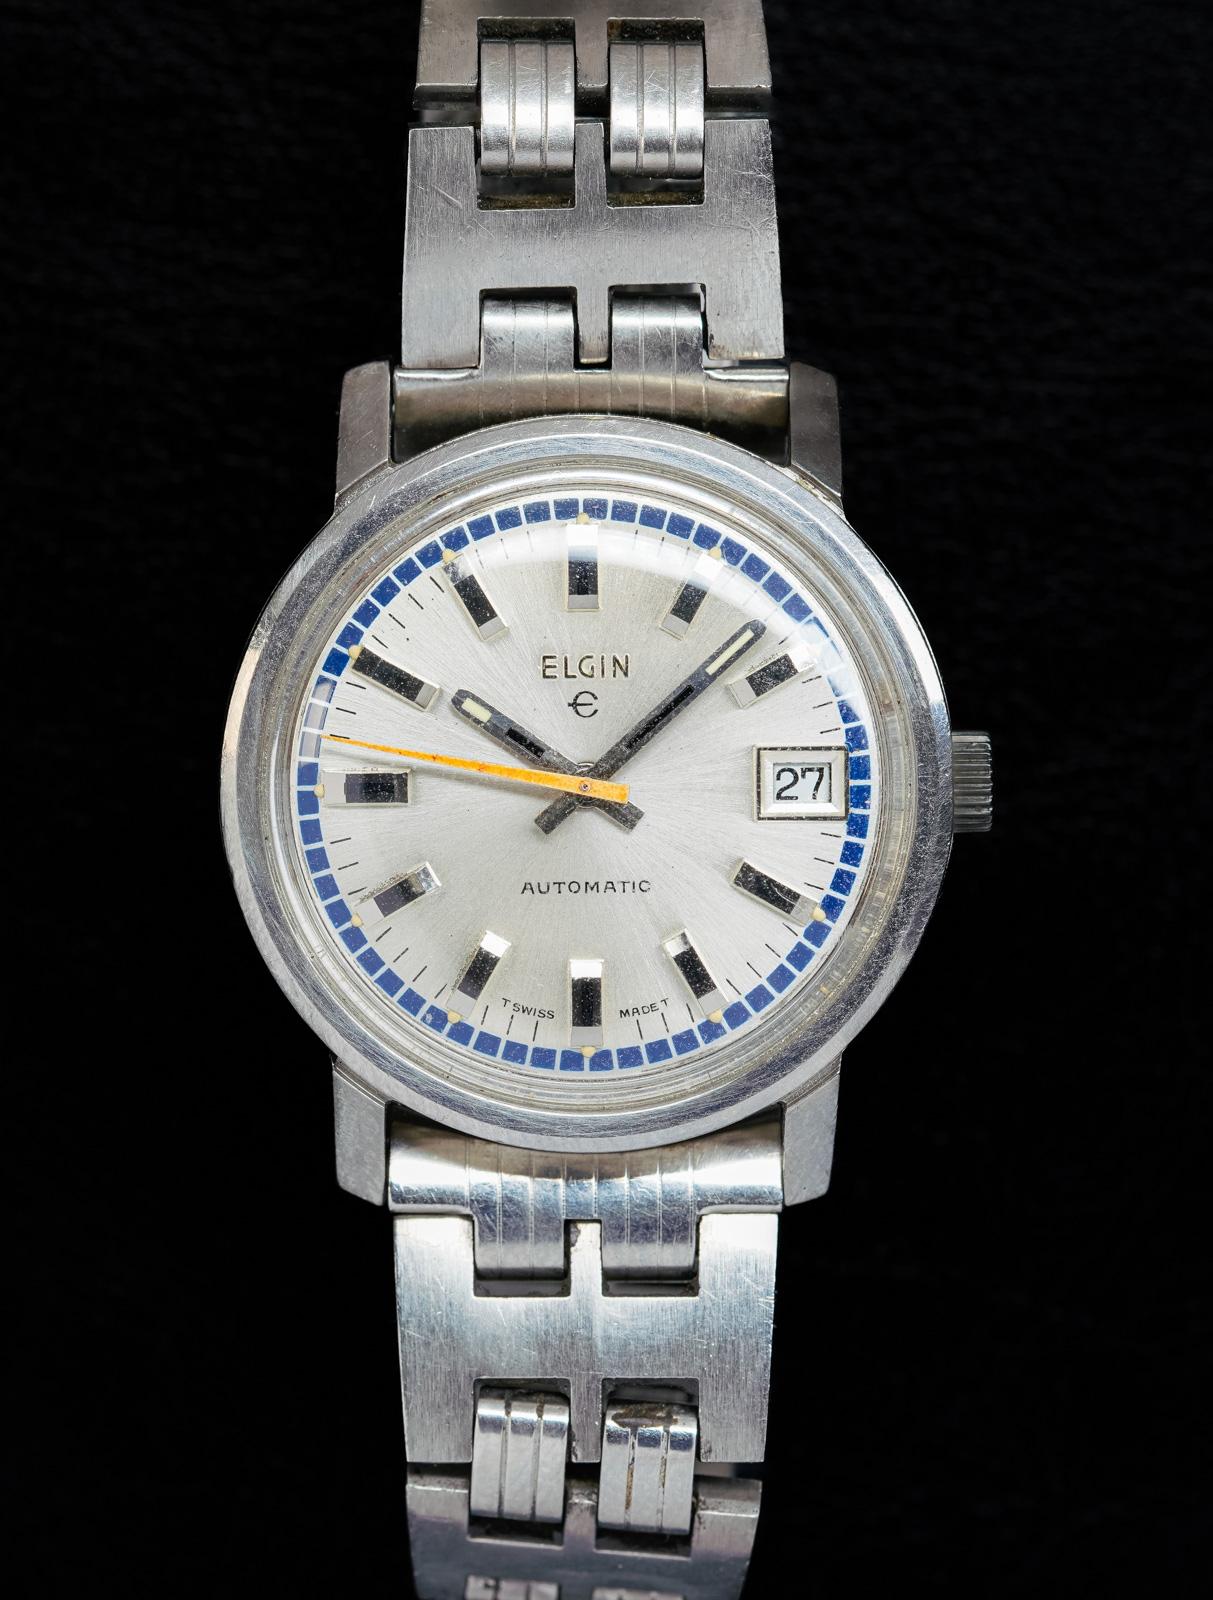
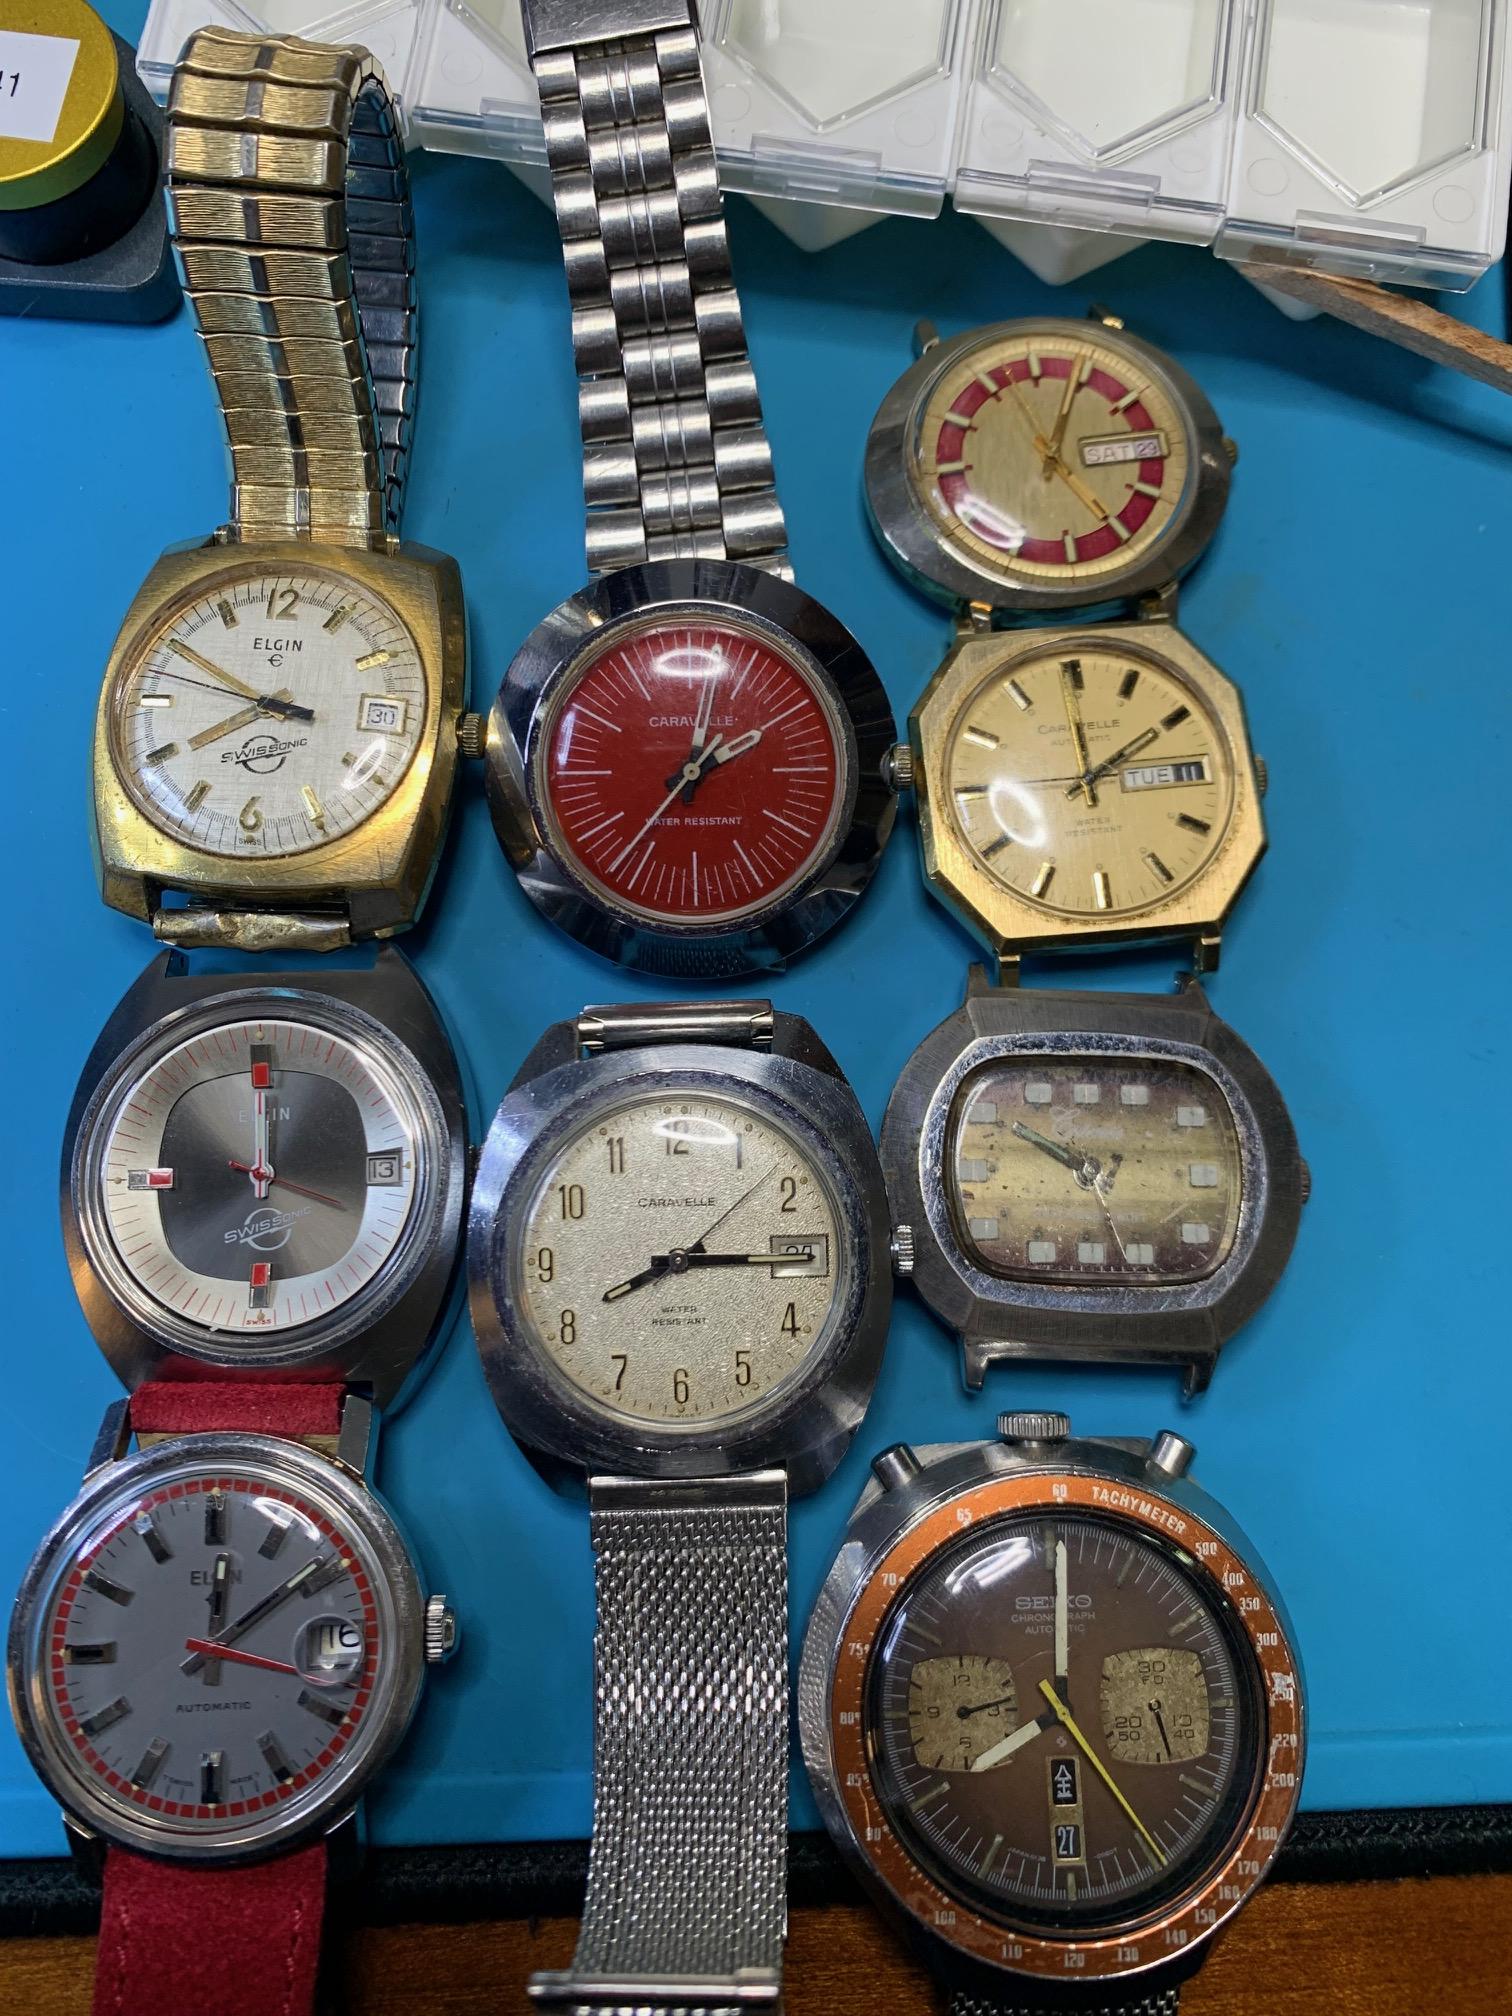
Nice! I dig those two bottom Elgin's on the left. In fact, I think you outbid me (May 22nd?) on the bottom one I have the blue accent version of that one.
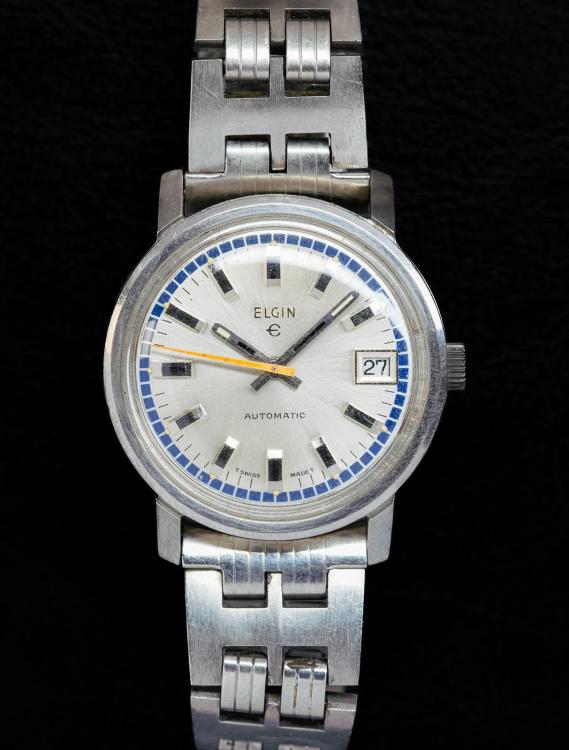 2 points
 -
These are all my 70's watches. I think. Might be more. So much flair.
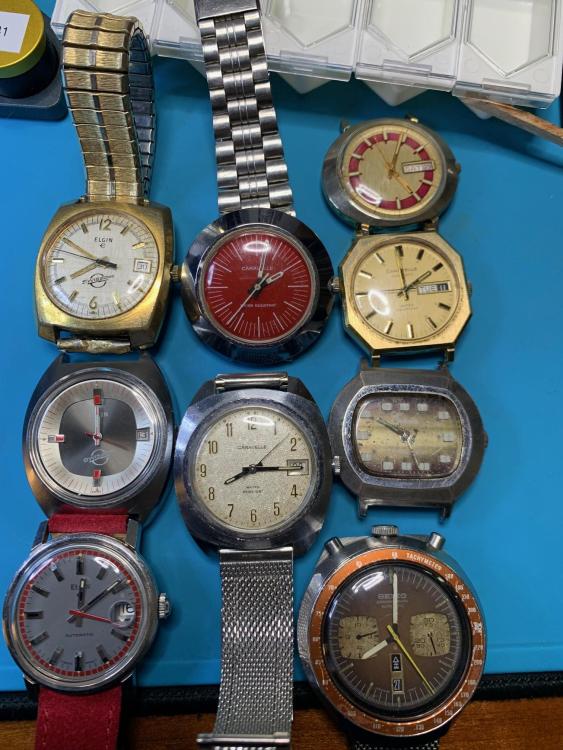 2 points
 -
@Neverenoughwatches Can you provide a link to that discussion? I guess I could try to find it, but you'd probably be able to save me a ton of time, which I'd really appreciate.1 point
-
Remove the barrels and ratchet wheels, you should be able to get the barrels out. Undo the four screws that are on the back plate, then you can get to all the wheels between plates.1 point
-
Upper one is Peerless, pass. Lower one not sure, but for that price I'd want a collet holding tailstock.1 point
-
If you mean balance staff. The chances are very slim. You could have one made but it will be expensive.1 point
-
I love these kind of discussions that twist and turn just a bit. Ideas pop into heads, i have one to put to Nicklesilver after reading this part of his post. Your combination of words here Nicklesilver Ruby / sapphire and abrasives made my ears prick up or is that eyes pop out . Impulse/pallet stones to be used for pivot burnishing/ polishing etc. A handy managable size in scale with a staff pivot. Any application to be had this idea ? Definitely not Watchie, thats why i just didnt get the idea of this Galaxy pro pivot polisher. It just feels like a gimmicky naff gadget in all honesty. There's a reason that the jacot tool and its variations has been used predominately since it was invented. A well manufactured staff turns out as good a pivot as you can get, it makes sense to mimic that process as close as we can with the tools that we have available.1 point
-
Using two 555s, one is configured as a pwm and the other with 50% duty cycle to control a driver. Maybe later today, I can draw up a schematic to do this. I think it needs some visual indicator to let you know when to reverse direction of the burnisher.1 point
-
No sorry, one of these: I already had a bunch of the Delrin tips, and that's what I glued on.
 1 point
 -
Not at all, sir! Well, I would refer to @nickelsilver's excellent reply. One thing I'd like to add though is that EveFlex does in no way replace the Jacot tool. I don't think you or anyone else on this thread believe that but there might be future readers who do. I do use EveFlex but only to thoroughly clean the pivot and pivot shoulder and most of the time that's all that's needed. However, all grits of EveFlex are indeed abrasive, so one must be careful not to deform the pivot into a tapered shape. I only use the soft fine grit EveFlex, and I'm always careful not to go for too long, but I'm still pretty sure a few microns of deformation and removal of material take place, so not sure I'd use this method on my (imaginary) Philippe Dufour movements. If a pivot is scored or deformed, the Jacot tool is just phenomenal, and in my experience, provided the damage isn't too severe, it removes less than 1/100 mm of material (provided you find the perfect pivot bed on the runner for the job at hand). Great post @nickelsilver! And as I mentioned in my first post, looking at a successfully burnished pivot through a stereo microscope is one of the most satisfying feelings there is. The mirror shines on the pivot and the black polish on the shoulder. Is there anything more beautiful on this planet!? The price paid is of course practice and some failures (but hopefully just on those scrap wheels). Friction and Armageddon!1 point
-
I made this many months ago and posted about it. As I recall nobody commented. I had a geared down motor and I just applied power. No pwm control. I 3D printed the mount and pulley. I am away from the shop now. When I get home I can take better pictures. YouTube video https://youtube.com/shorts/9TpAIyitI2Q?feature=share As I said in my original post, I am not moving the burnisher because I am concentrating on holding my phone steady.1 point
-
With the electronic board that I linked above, a pause can be programmed between direction changes, so that should cue you to prepare to change the direction of the burnisher.1 point
-
One thought that springs to mind that is having the abilty to stay manually in sync with the bi directional motor. The motor drives the balance one way while you push the burnisher against that direction, in regard to the traditional way of burnishing with a jacot. Or even if that opposite action is still required ?1 point
-
Please, we are deviating from the topic !1 point
-
I would say that all depends on the person you are. Some children will get on a push iron for the first time and be able to ride it within minutes others may take days and some weeks. You never forget how to ride a bike even after many years, but some amount of practice is needed to become proficient again. Same applies to playing an instrument, practice every day and you become the best you can be. A while away from practice and your skill becomes rusty but quickly regained when resuming practise. We all have different muscle and activity memory retentions. So maybe a bit of exaggeration the old watchmaker stated but certainly some truth in that periodic rests from practice could result in incidents of damage. A lengthy stint of practice would be a good place to start when initially learning and should iron out most of your faults and raise a good portion of your list of questions go ask.1 point
-
Not sure if this was in response to the video I linked to, but even though the hands are moving in the same direction it still makes the burnisher and the wheel go in opposite directions. It feels like that statement is a slight exaggeration. Personally, I would rather liken it to learning to ride a bike. Quite a lot of practice is needed, but as soon as you get the hang of it, it sticks. Regardless of that, I always take an extra practice round on a scrap wheel before starting for real.1 point
-
The proper action using a bow is the backwards & forwards motion. When I burnish clock pivots in a lathe the action is just one way. I don't think you are going to do any harm. The trick is not to put too much pressure on the pivot and burnish is an art which you will learn, it is different to turning down a pivot.1 point
-
Always nice if we had details like which watch which staff? Then know that is not correct. The balance wheel should fit all the way down to the hub Otherwise if you have to pound it into place you're going to to start the balance hole or conceivably distort the whole arm. So it's supposed to drop in the place with minimal just pushing it down it should be up as high as this is.1 point
-
Checking the height spec. we should be looking at 1.25mm so thats a big difference of what could be as much as 0.3mm extra height allowing for some error . My understanding of mainspring clearance inside the barrel is usually only a couple of hundredths mm.1 point
-
Don't see anything political in VWatchie's post, just his frustration at the greed of some manufacturers in the watch industry, wanting to control every aspect of the repair of their watches, even though that means their customers receive and overpriced and often inferior service (inferior because they are not funding the training of repair technicians) making their loyal customers wait longer and longer for repairs that they charge high prices for. Certain sections of the watch industry are now just one big money making cartel and have nothing but contempt for their customer's It's not a political statement it's a business statement1 point
-
The '70's Funk is strong in this one! 1973 President 'A' on the original Corfam strap.
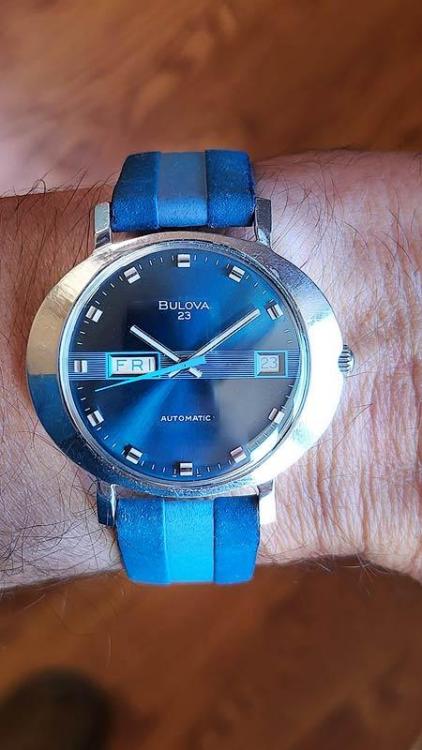 1 point
 -
1 point
-
Hi that’s a neat solution, what you have constructed is excellent and will probably used again. Very much like a standard watch spring winder only more robust, cost Time and brain power. Plus lathe . Great job.1 point
-
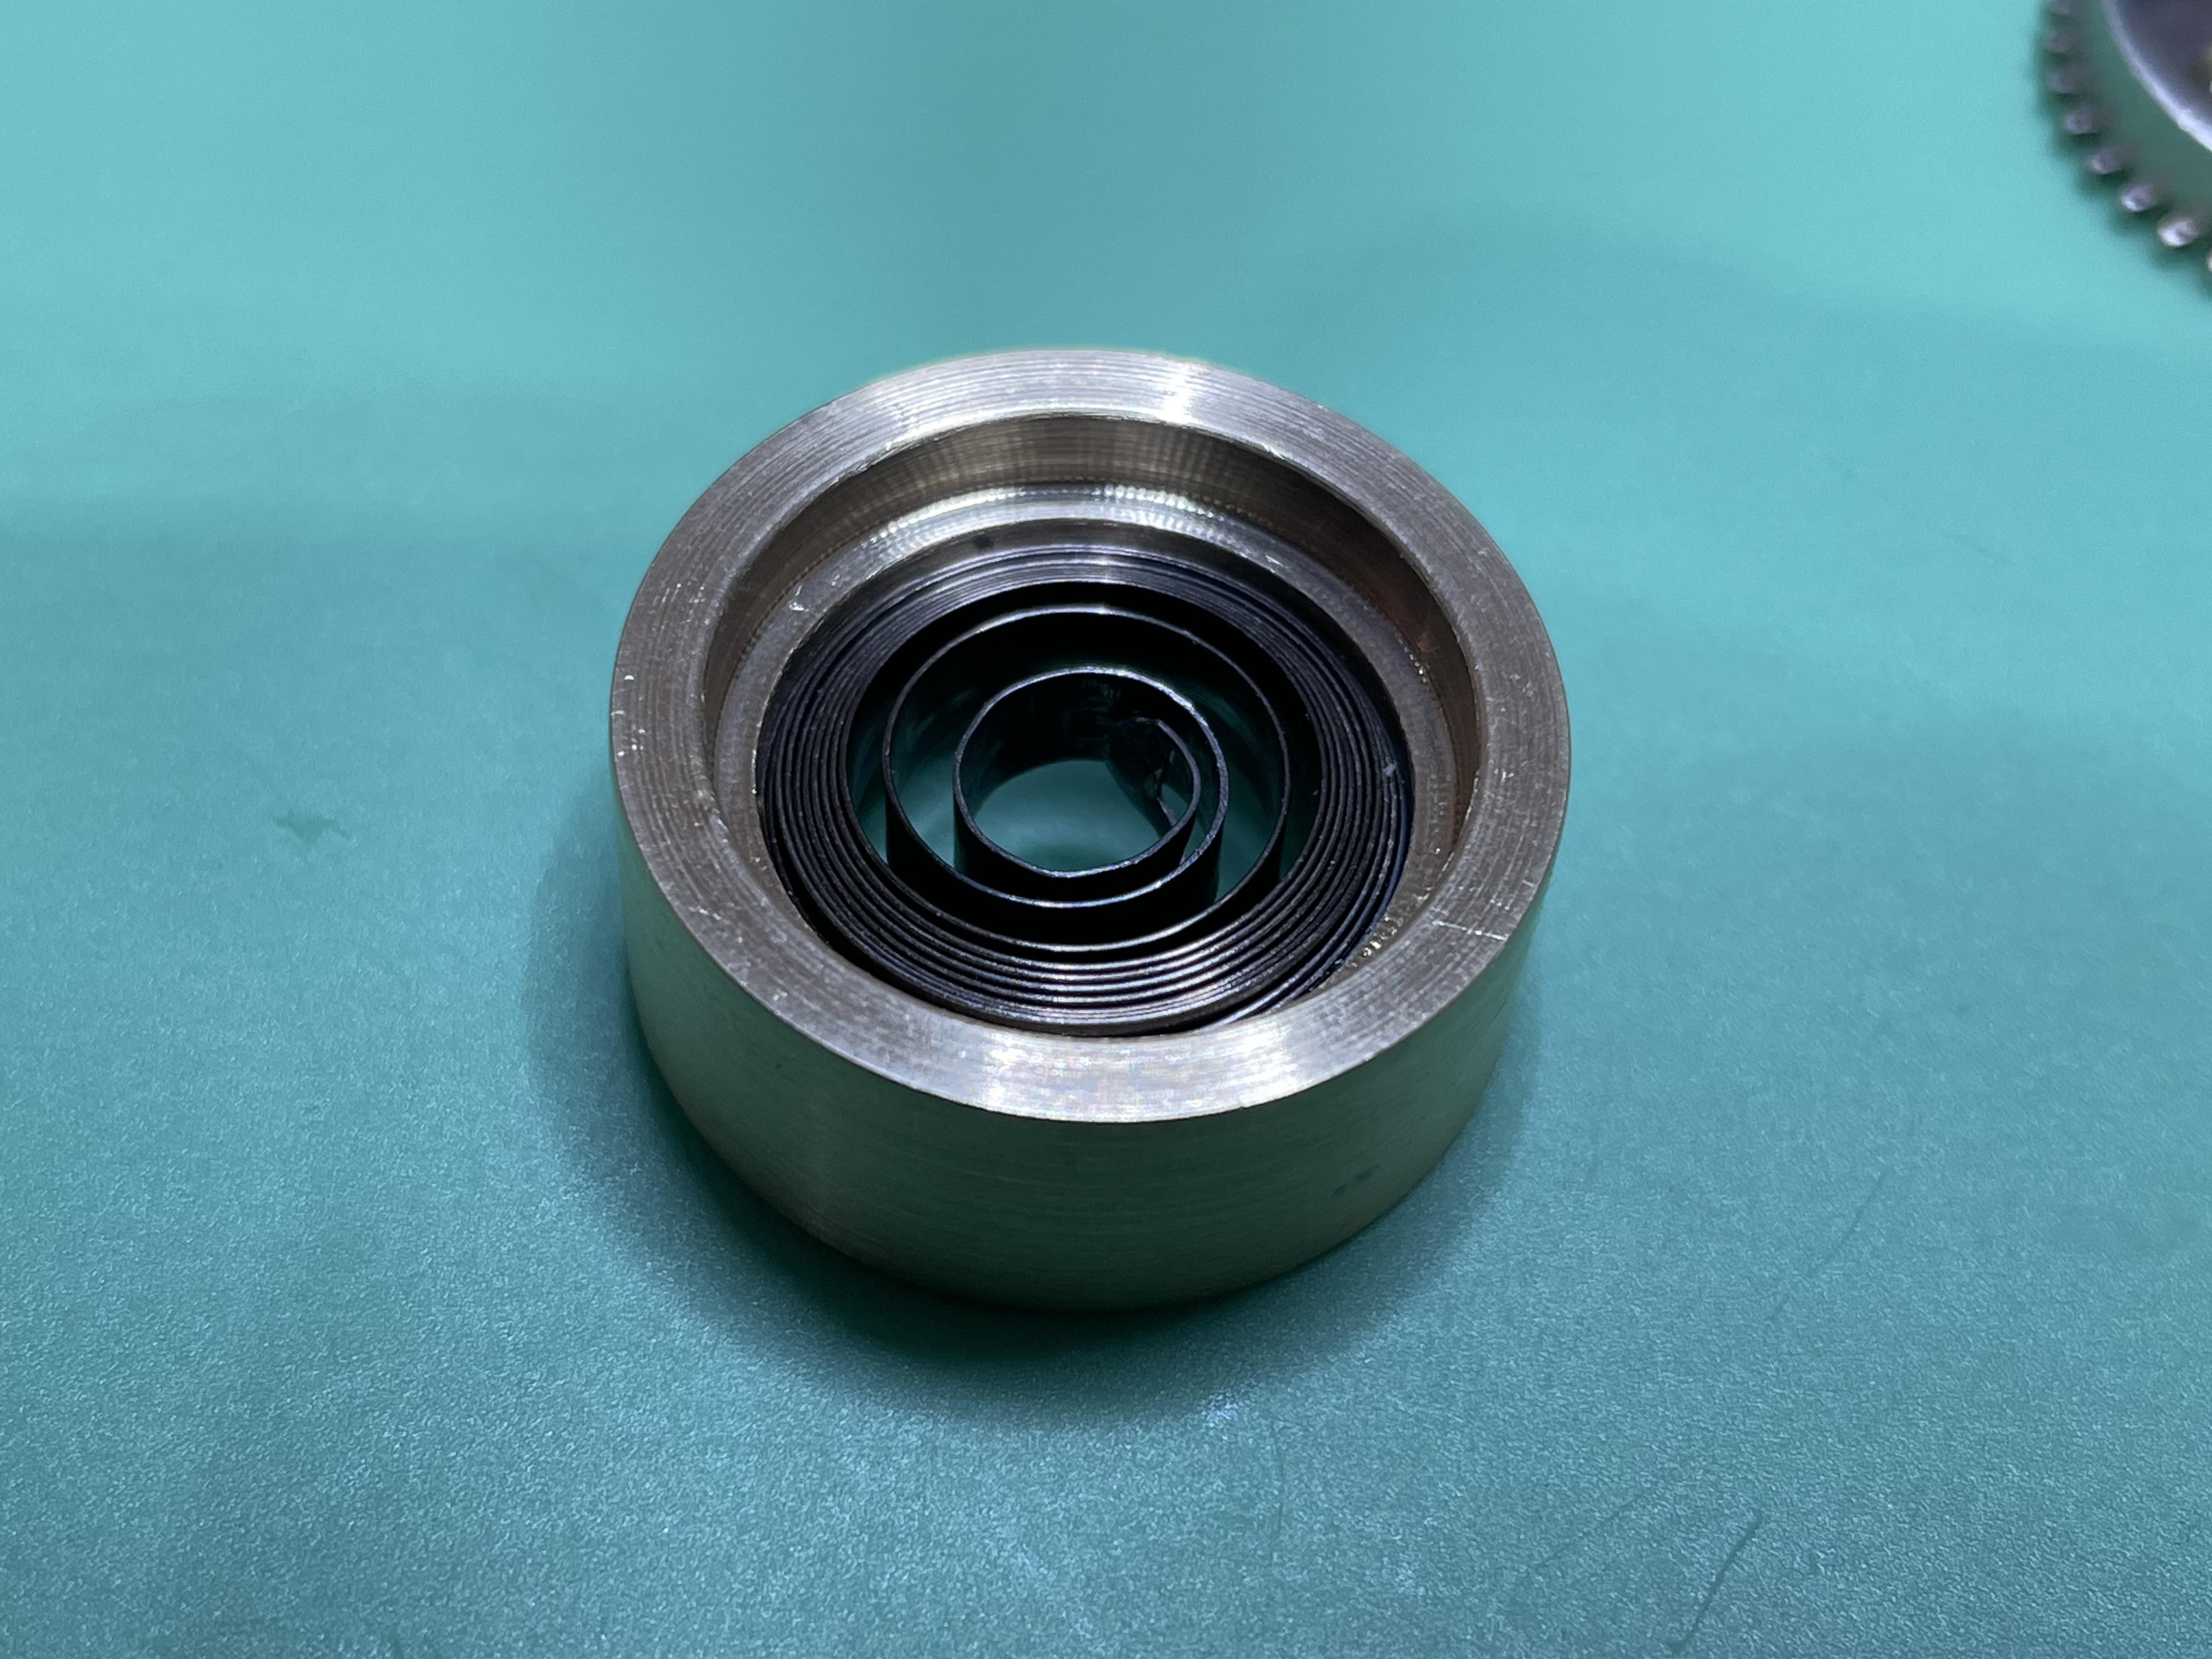
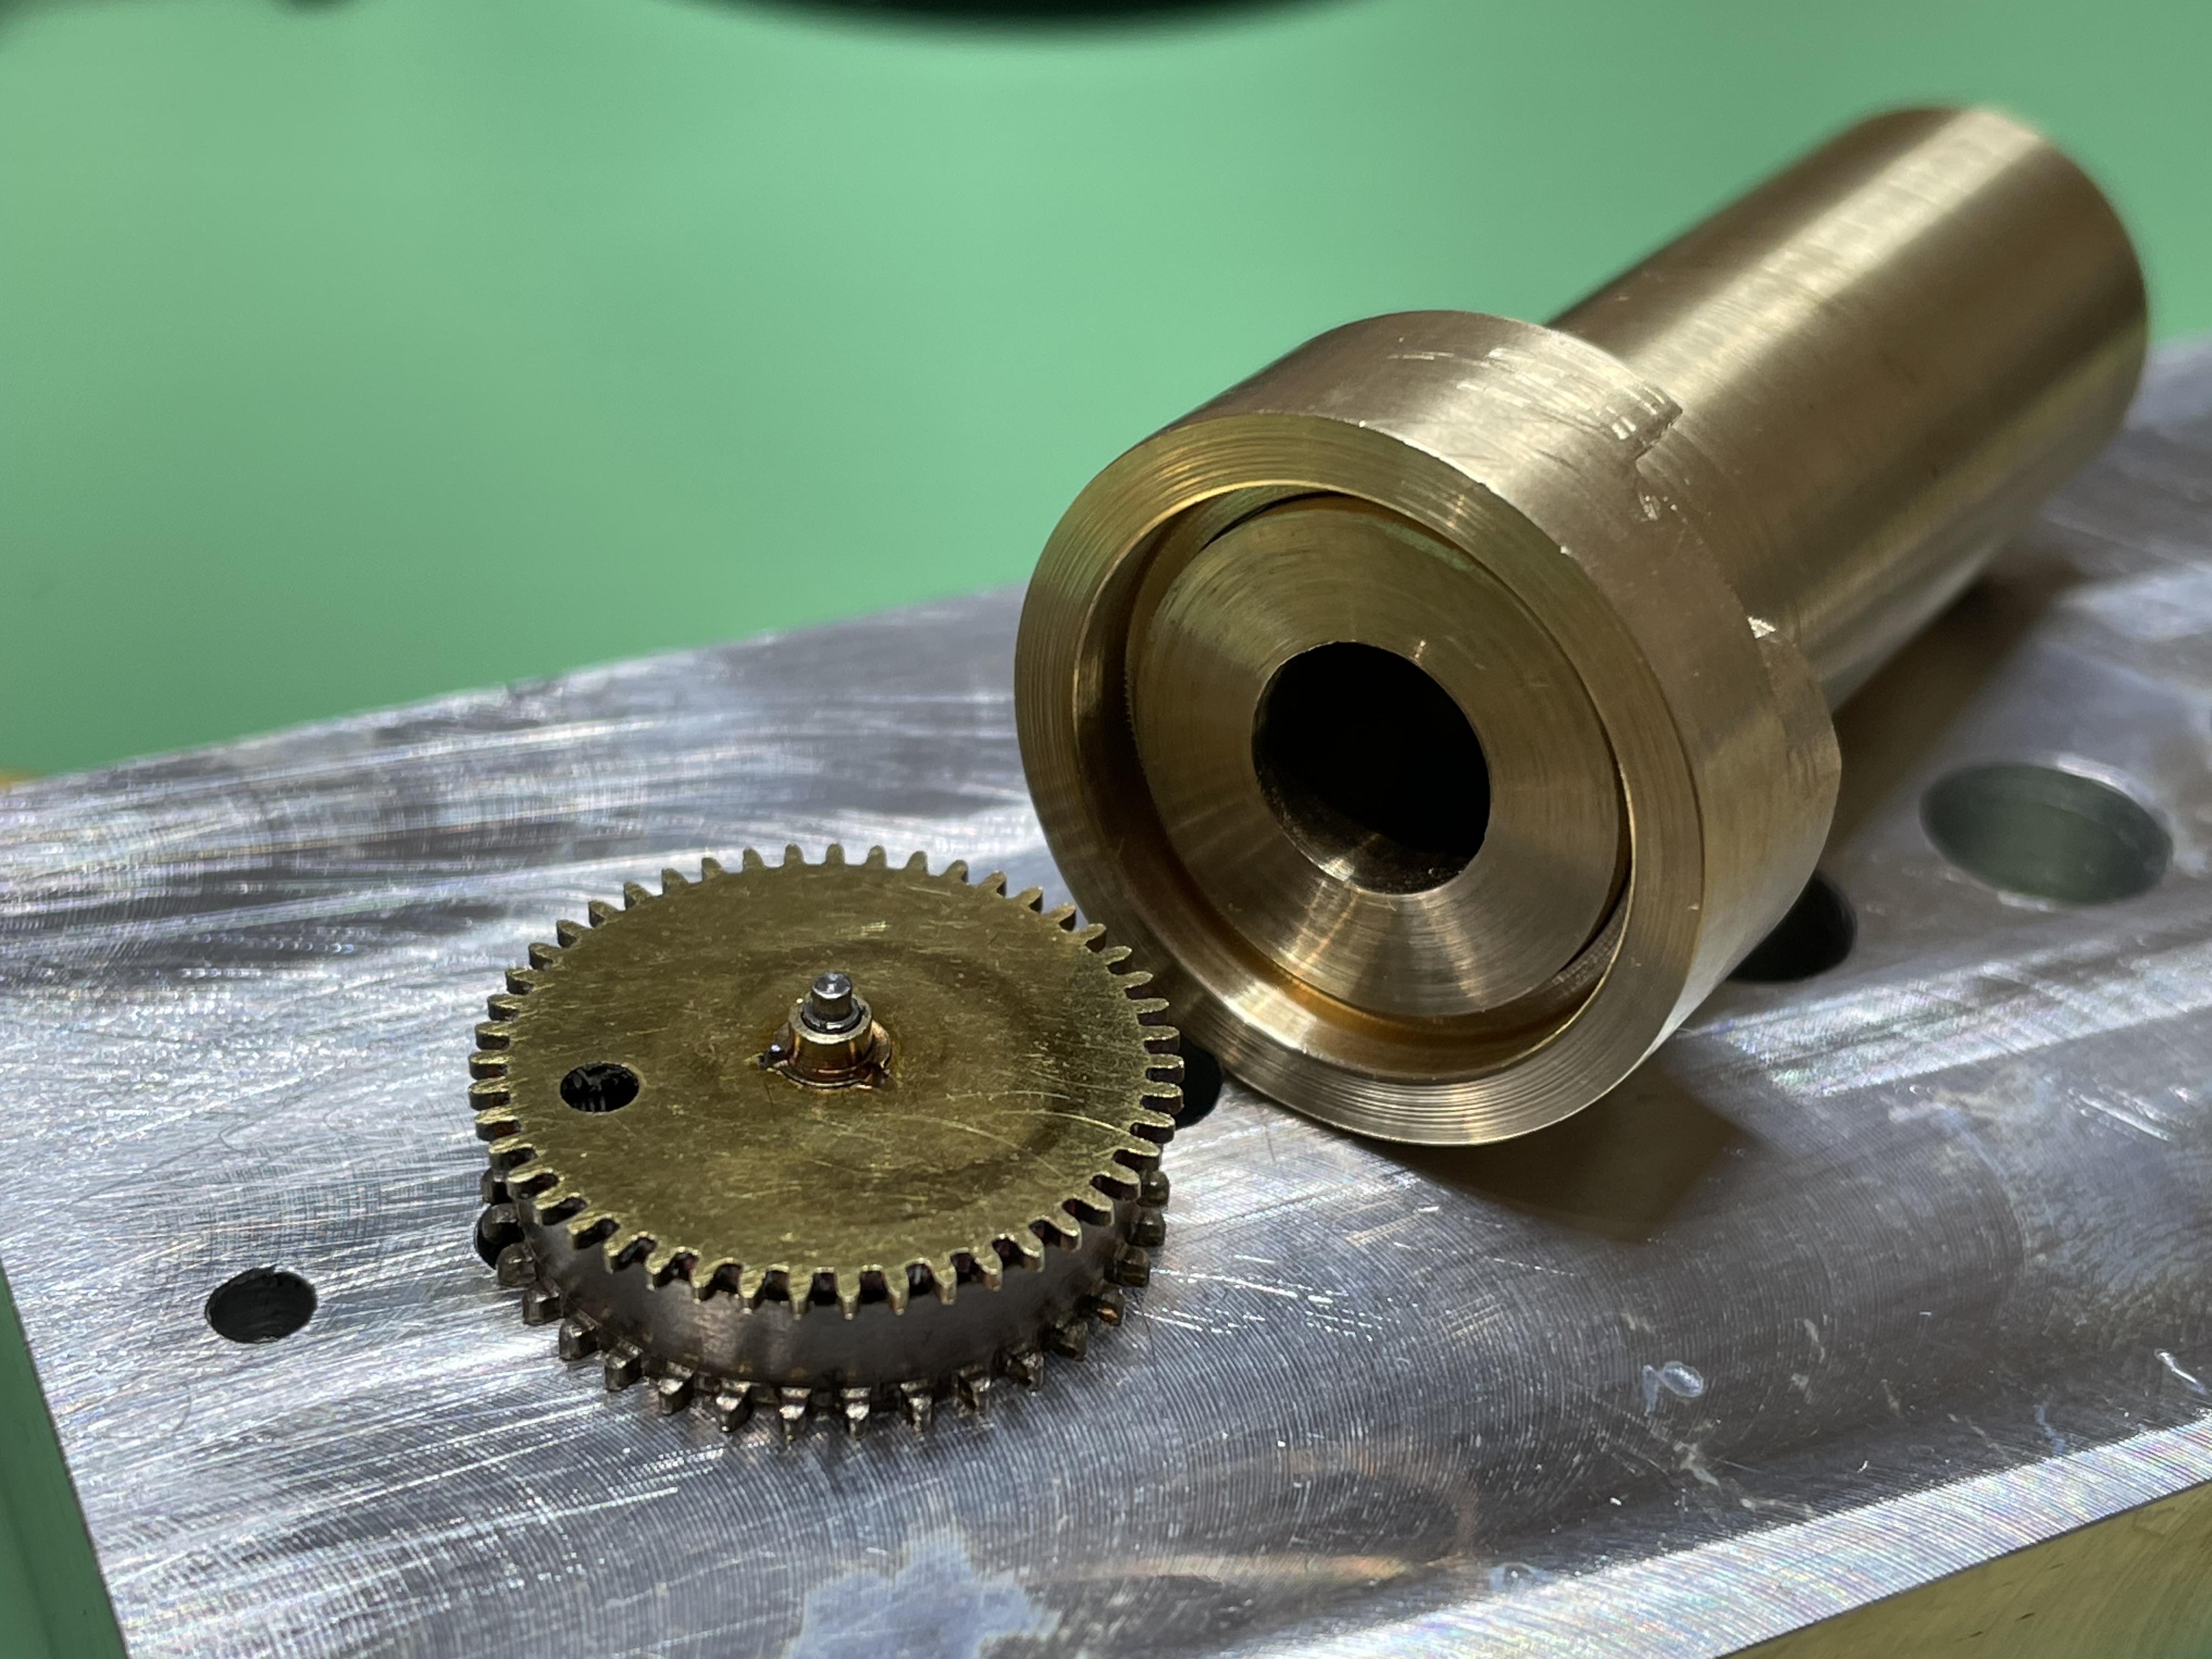
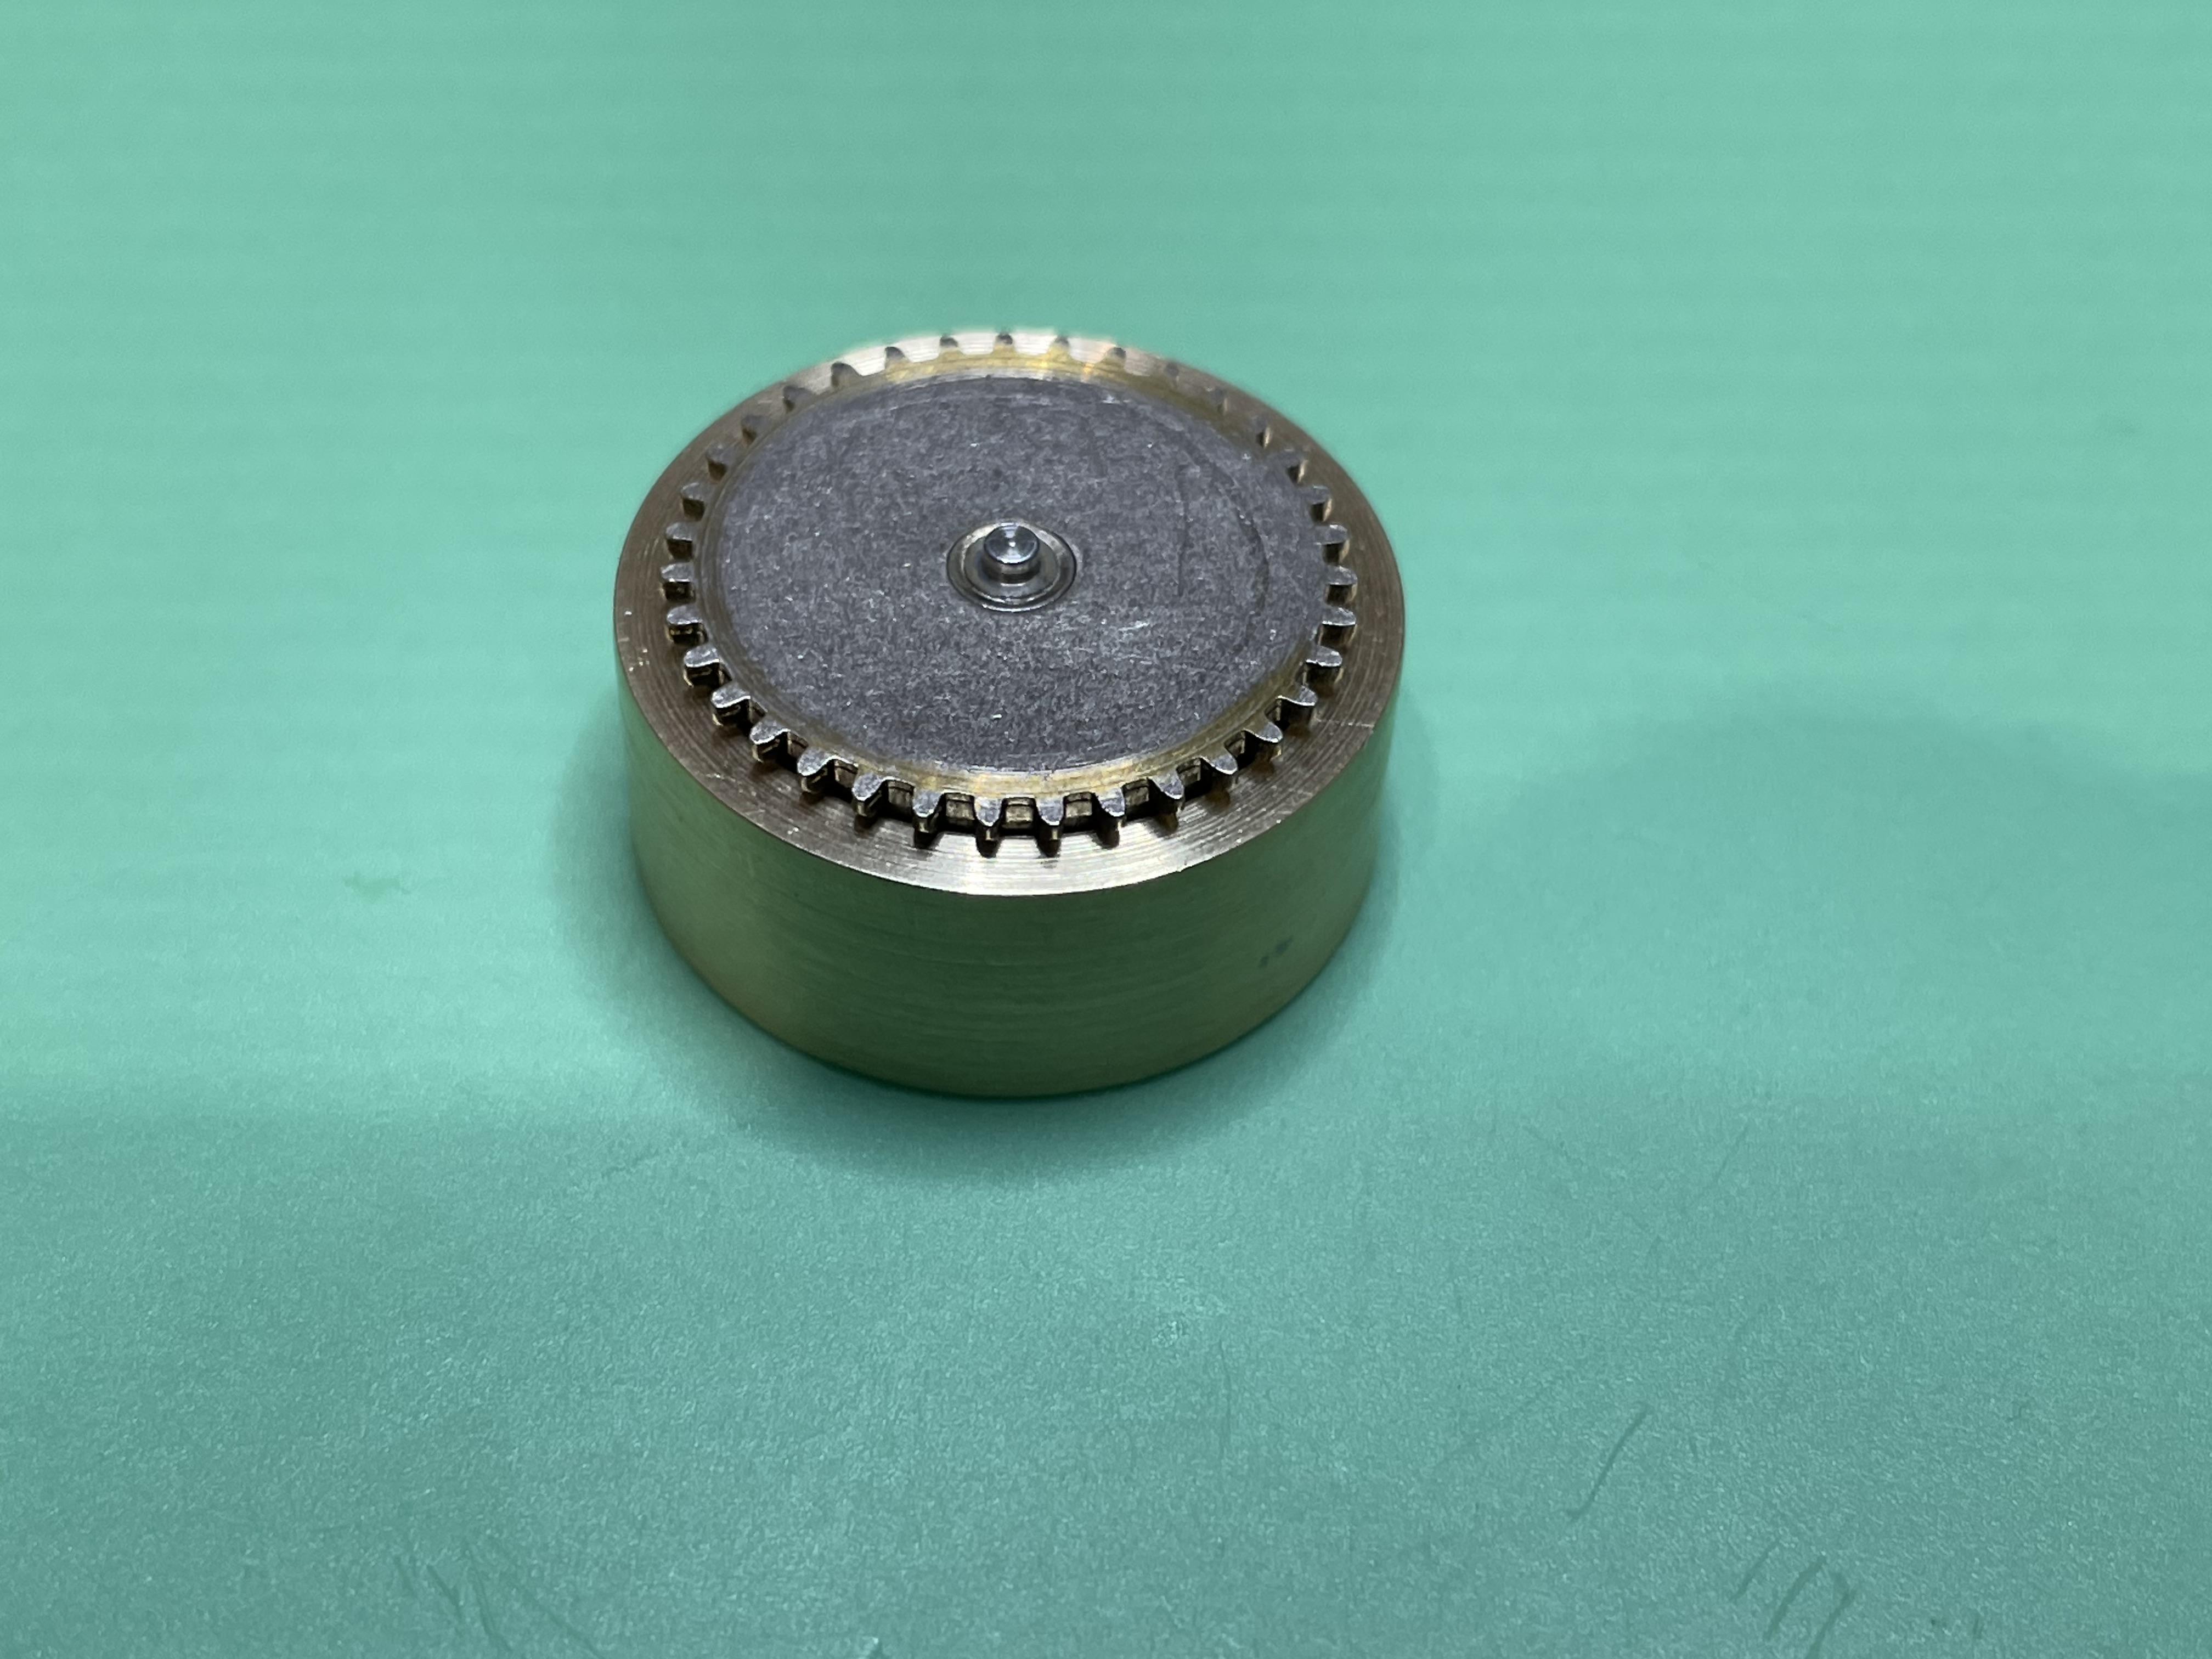
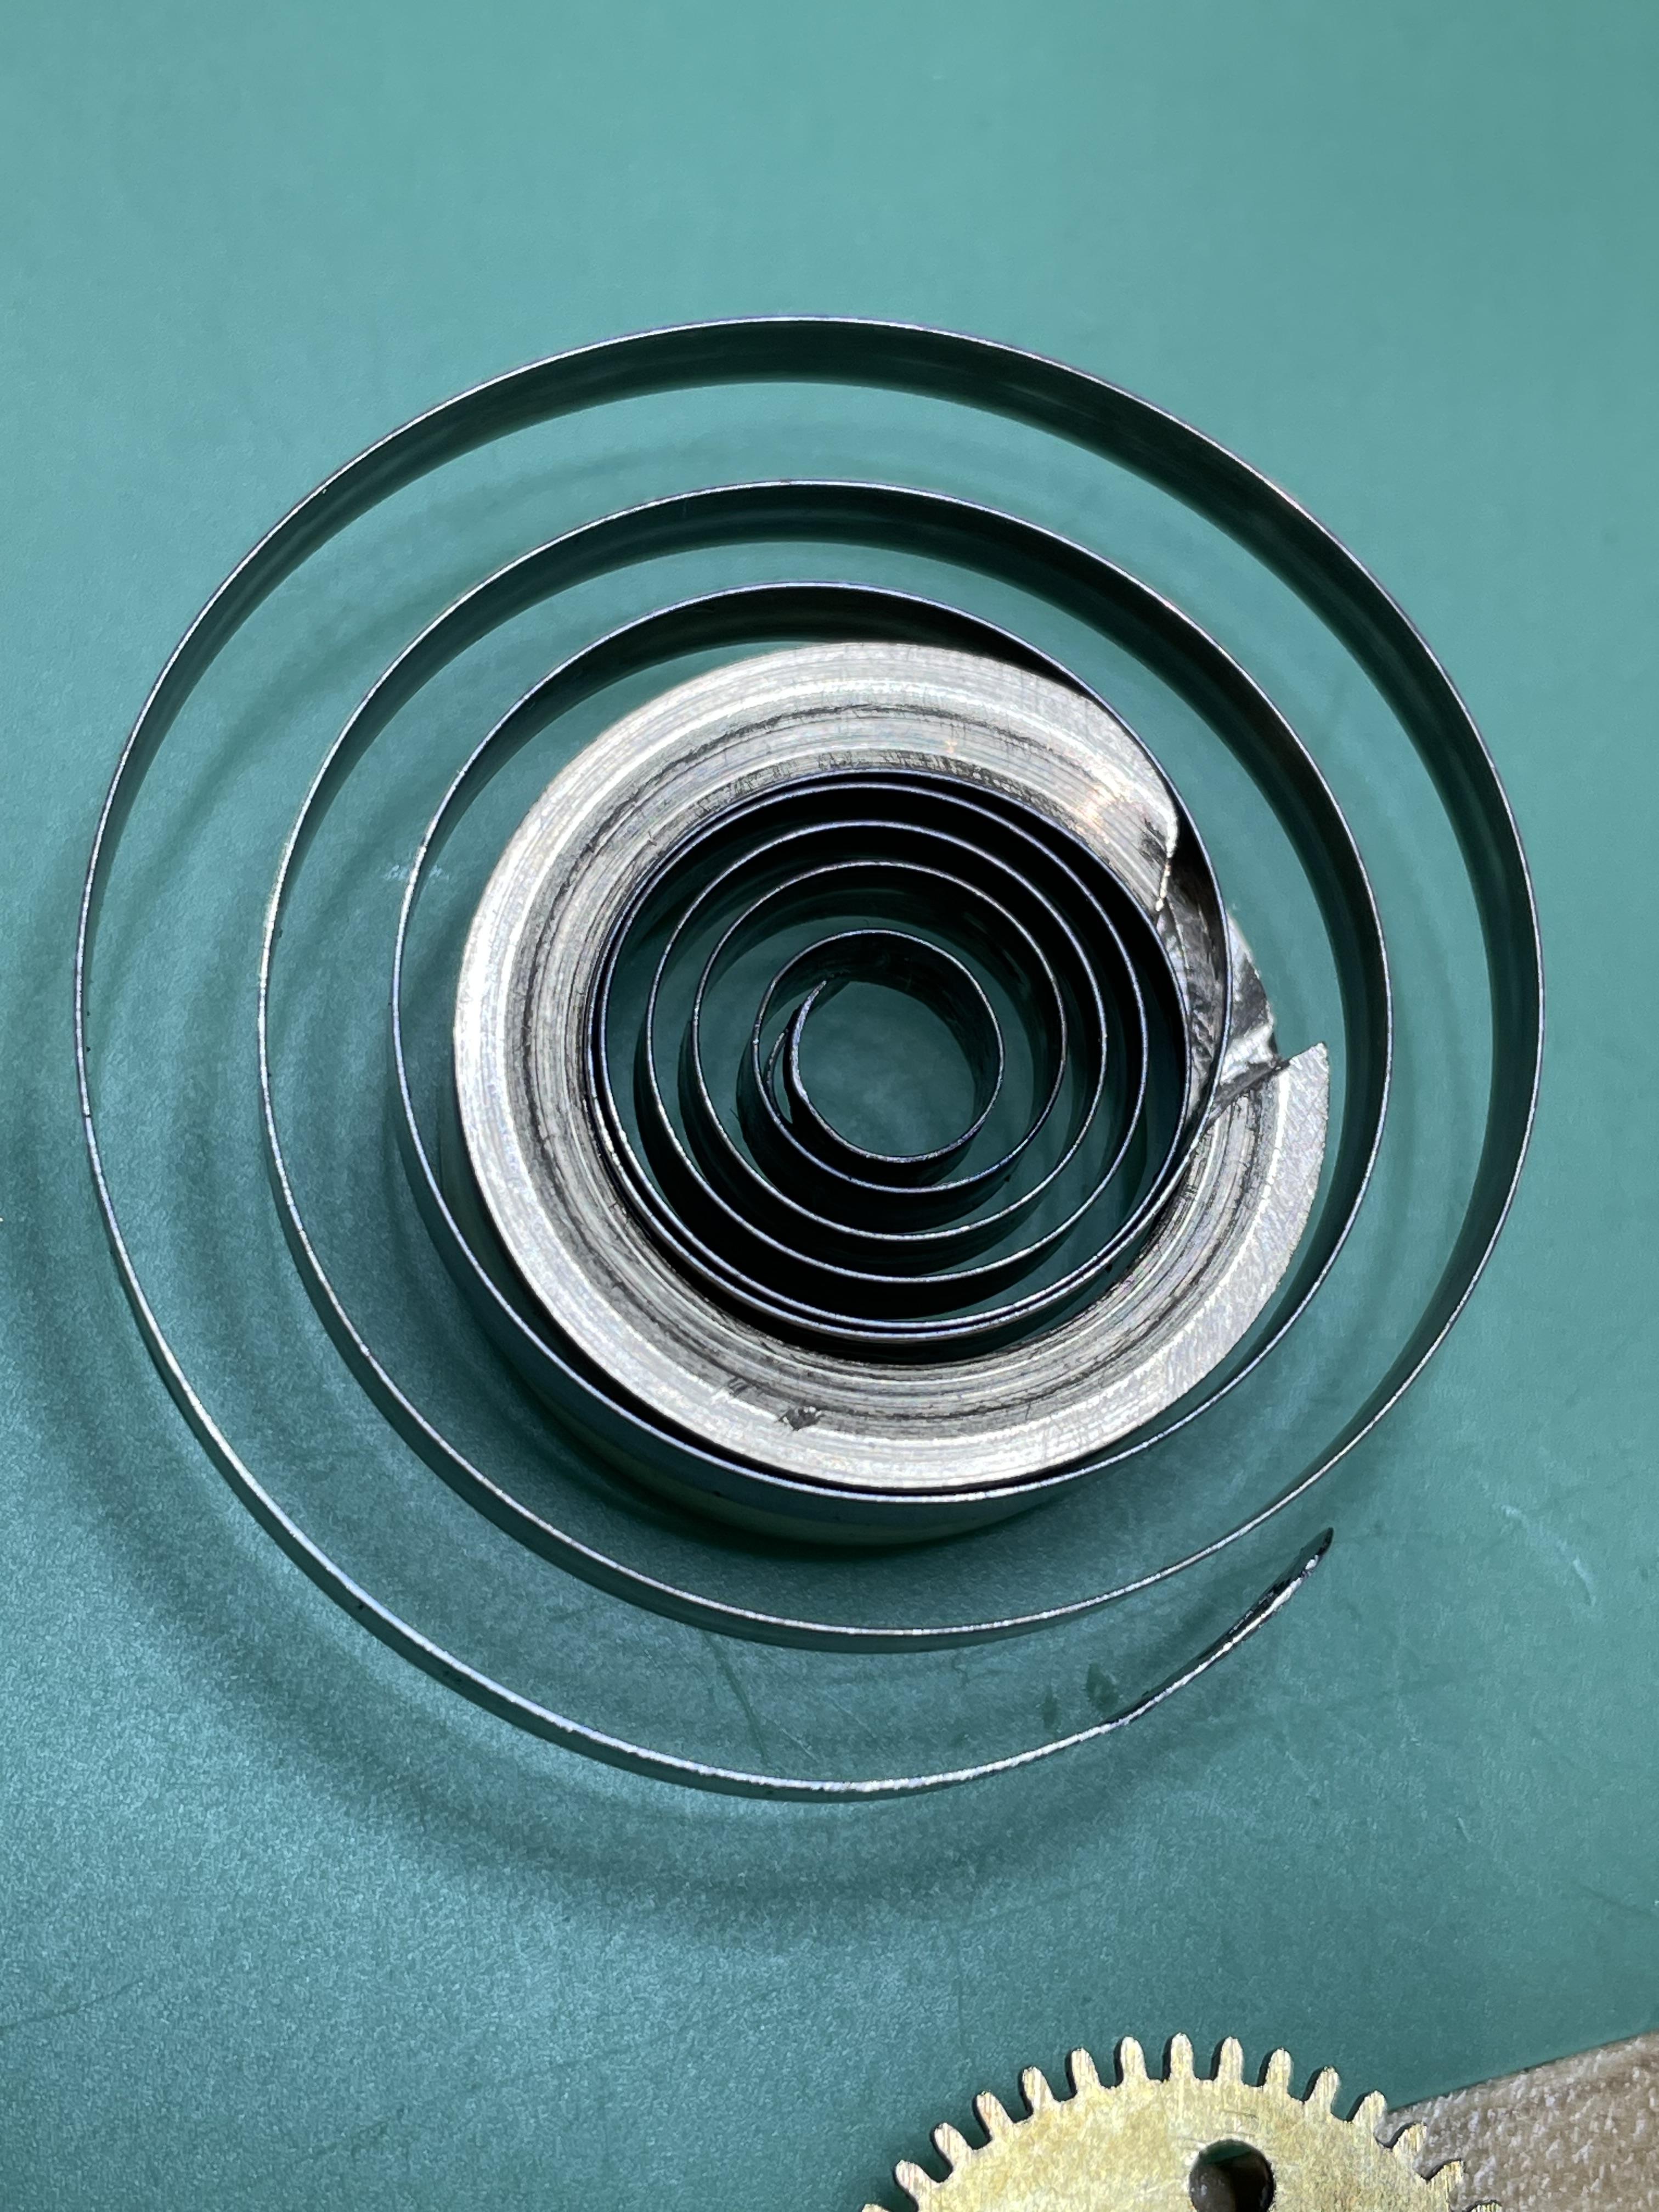
Just a little update on winding the Westclox mainspring. I machined up a barrel winder with a lead-in slot (didn't start out that way).... and I also had to use a pusher as well. It was still a bit of a pain as you have to line up the hook (bridle end for it to seat in properly. Anyway, done done and thanks for the tip! Pics attached. Now to rebuild the pocket watch!
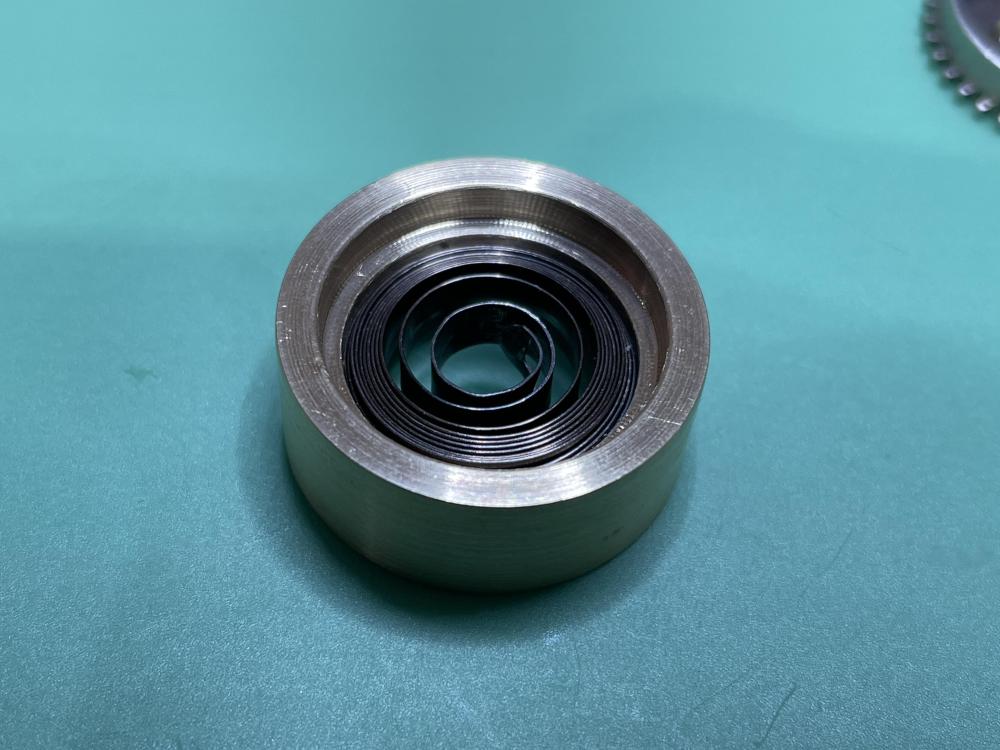


 1 point
 -
What's that?? LOL1 point
-
There are two reasons why wouldn't use this for cleaning a watch case. First you really should be using a water-based cleaner this soap and water and toothbrush will do quite well. Second the definition of soak how long are you thinking of soaking it? The watch cleaning fluid has ammonia which is really nice for making things bright and shiny. But typically when cleaning watches you would want to go more than five minutes I typically go four minutes. Because the ammonia that makes things bright and shiny if left too long to start the etch brass your solution will turn green and brass things will be frosty. Goldplated watch cases typically have brass that they're made out of underneath and you don't want it to look frosted. Then the word soak in this definition is bad because the longer you're in the worse is going to get then is another type of cleaner we've discussed it before they cleave even discussed DIY somewhere in the group and that would be a ionic cleaner. It really does a beautiful thing of making tarnished cases look bright and shiny without polishing I have a Link to a video that explains how it works.1 point
-
A very generous thought, but I find that when filling the house with "junk", you have to be careful not to fill it too quickly, lest the "authorities" find out. Otherwise you are liable to spend the next few days in the dog house.1 point
-
as nice as the diagram is above it's incomplete. It's supposed to go with some additional pages I'm attaching a PDF that has the rest of the documentation Timing-Machine-Charts.PDF1 point
-
If you accidentally pushed the stem release (setting lever) button too far in, welcome to the club. That was what sucked me into the world of watch repair years ago. Mark has a video that shows a shortcut of how to fix a yoke that has jumped out of the groove of the sliding pinion. But going by your description, I think your setting lever is completely pushed in. That means you have to go in from the dial side and fix the keyless works. Good luck. We are here to help.1 point