Leaderboard


Popular Content
Showing content with the highest reputation on 08/20/23 in Posts
-
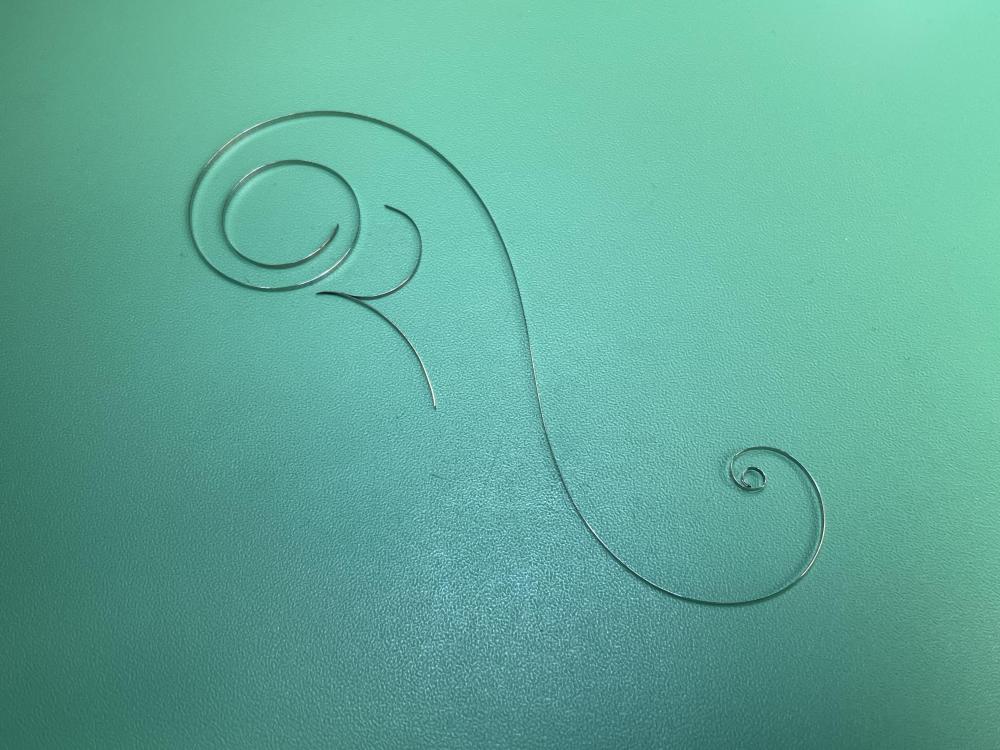
Around 6 months ago, I acquired my initial set of mainspring winders. Before that, I had been manually installing mainsprings, a task I had grown quite comfortable with. I underwent the usual learning curve associated with adopting a winder, specifically the Bergeon arbor/drum type. While I faced challenges at the outset, I managed to achieve significant success following a few initial setbacks. However, tonight marked an instance where my confidence with the winder led me astray. As I commenced assembling my next project, I allowed overconfidence to cloud my judgment. I successfully wound the mainspring up to the bridal point, and with a hasty adjustment by hand, I attempted to insert the bridal in the drum and finish winding the mainspring. Unfortunately, my approach was far too forceful, and the bridal was not properly aligned within the drum. The consequence was immediate: a resounding SNAP! The mainspring broke precisely at the bridal junction. This mishap was unequivocally my own doing, serving as a stark reminder that the pace of our work, especially when dealing with vintage watches, must be deliberate and measured. Regrettably, I had failed to give due attention to my actions, and the repercussions were evident. This incident underscored the value of patience and attentiveness when working on horological projects. I couldn't escape the irony that my error led to a $32 order from Jules Borel tonight. Though it had been some time since I last required a replacement part due to my own blunder, this served as an insightful lesson I won't soon forget.
 3 points
 -
On this type of lever with the slots "the other way" it's normal for the jewels to be set essentially flush with the slot opening, and it's very difficult to move them.3 points
-
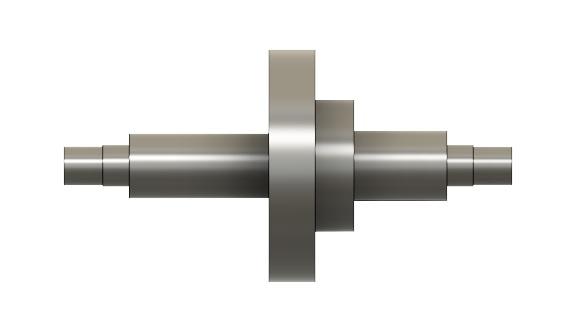
I make lots of turned parts from steel, from staffs and stems to pinions and barrel arbors and so forth. I do it all with the steel in its annealed state, then harden and temper. There is a risk of things warping in heat treat, but from experience it rarely happens. Also, regarding stems, threading hardened and tempered steel is a quick way to ruin an expensive (and hard to get now) die. All commercially made watch components are made from steel in the annealed state, then hardened and tempered. When making a staff I will blank it out using the slide rest, leaving the pivots unfinished (turned to length, but just slightly smaller in diameter than the next diameter), the rivet uncut, the back taper on the hub uncut, and the taper for the roller table uncut i.e. oversize- all the other diameters to size. After heat treat, chuck on the hub or roller diameter, finish the pivot freehand leaving 0.01mm for the Jacot, cut the rivet, finish the various diameters. Flip around and hold by the balance diameter, cut lower pivot, cut taper for roller table, and back taper on the hub, do finishing work. Stake to balance, finish pivot diameters in the Jacot, and finally finish the pivot ends in the lathe- I just find it faster and easier than using the lanterns on the Jacot. Done. For heat treating I also find using borax/boric acid (not exactly the same thing, but same function) or soap or even fancy stuff like Brownells anti-scale all tend to be somewhere between a pain in the rear to almost useless. I learned many years ago to use wood charcoal finely ground, in a tube, with the part down in there. Heat to bright orange and dump the whole lot into oil. I use old nitrous oxide or CO2 cartridges that have been cut open as the tube (welded to a rod). It's a little messy, and I keep a commercial espresso grinder just for grinding the charcoal, but the parts come out a clean grey and can go straight to tempering without further clean up aside from removing the oil. You can get finely ground charcoal powder from health food stores if you want to try and don't have a spare espresso grinder around, haha. The tube helps distribute the heat, which is a big help. No binding wire, no cleaning off borax, no burned in pits. Hardening Balance staff blanked out
.thumb.JPG.c91ae1680f586aac750fe178d259ba7f.JPG)
 3 points
 -
Thanks for this, the procedure makes perfect sense to me. Rough cut in the annealed state, finish after hardening and tempering. The only thing that might trip me up is the hub taper. Reason being is that i'm using a Sherline, and I don't have a compound cross-slide. I use cemented carbide tools, and all my angles are done with the side of the tool. That might be tricky on a hardened hub when holding on the collet or roller shoulder. Also, why not cut the rivet when it's soft? I just busted the tip of my last E4 tool trying to cut the rivet on a hardened blank I like your heat treat setup, but I don't have the space to do anything quite so robust. You technique reminded me, though, of something that was suggested by Jerry Keiffer. He uses steel tubing that he packs with the part and some paper, which he then seals by whacking ball bearings into the ends of the tube. The idea of the paper is to flash off any oxygen in the tube, which he says prevents scale formation. I think this is something that I can try, steel tubing and a small tubing cutter should be cheap enough. I think for an experiment crimping the ends of the tubing might work well enough, as long as I don't smash the part. I can try the charcoal too, as it seems to me that it would be better for heat transfer, but I see a big mess in my future. I've got a mortar and pestle so I can make some powder. One last question, I'm using O-1 tool steel. What hardness should I be shooting for with a staff? I'm used to seeing a Rockwell C hardness in the mid 50's as a sweet sport for toughness, and that would suggest a tempering temperature of about 600F/316C which I believe would be an oxidation color of pale to grey blue. Does that seem right? Thanks again for your considered reply and, Cheers! I remember seeing that video, and it is similar to what I've been doing. I just use boric acid or Borax slurry for flux, and mineral oil for quenching. I think I will try soap, just to see what happens. The boric acid/Borax leaves a glassy coating which is a pain to clean up on a small part. Unfortunately, I'm doing this staff because the collet shoulder is bigger than on the ones that I can buy. Old Waltham pocket watch. And as far as the stock is concerned, "blue steel" could be just about anything, and unless the supplier gives you specs who knows how hard it is when you get it. If it is too hard to work with, you could try annealing it, and then see how easy it is to cut. Quick and dirty just heat to bright orange like @nickelsilver said, but cool it very slowly, don't quench. This DIY heat treating is new to me, I know about tool steel heat treating as this was a big part of our process at Speco, but we always used sub contractors. Stopped doing in house heat treat around the time that I started there. It can get very complex, depending on what you are trying to accomplish, but I think for our purposes KISS applies. Getting even heating, avoiding fire scale, and learning the oxidation color/temperature relationship seem to be the most important things that I need to do. That and not making a mess or burning down the townhouse Cheers!2 points
-
When putting it back on you should get a good enough seal with the rubber ball Tom2 points
-
Thanks for sharing your misshap and thoughts!2 points
-
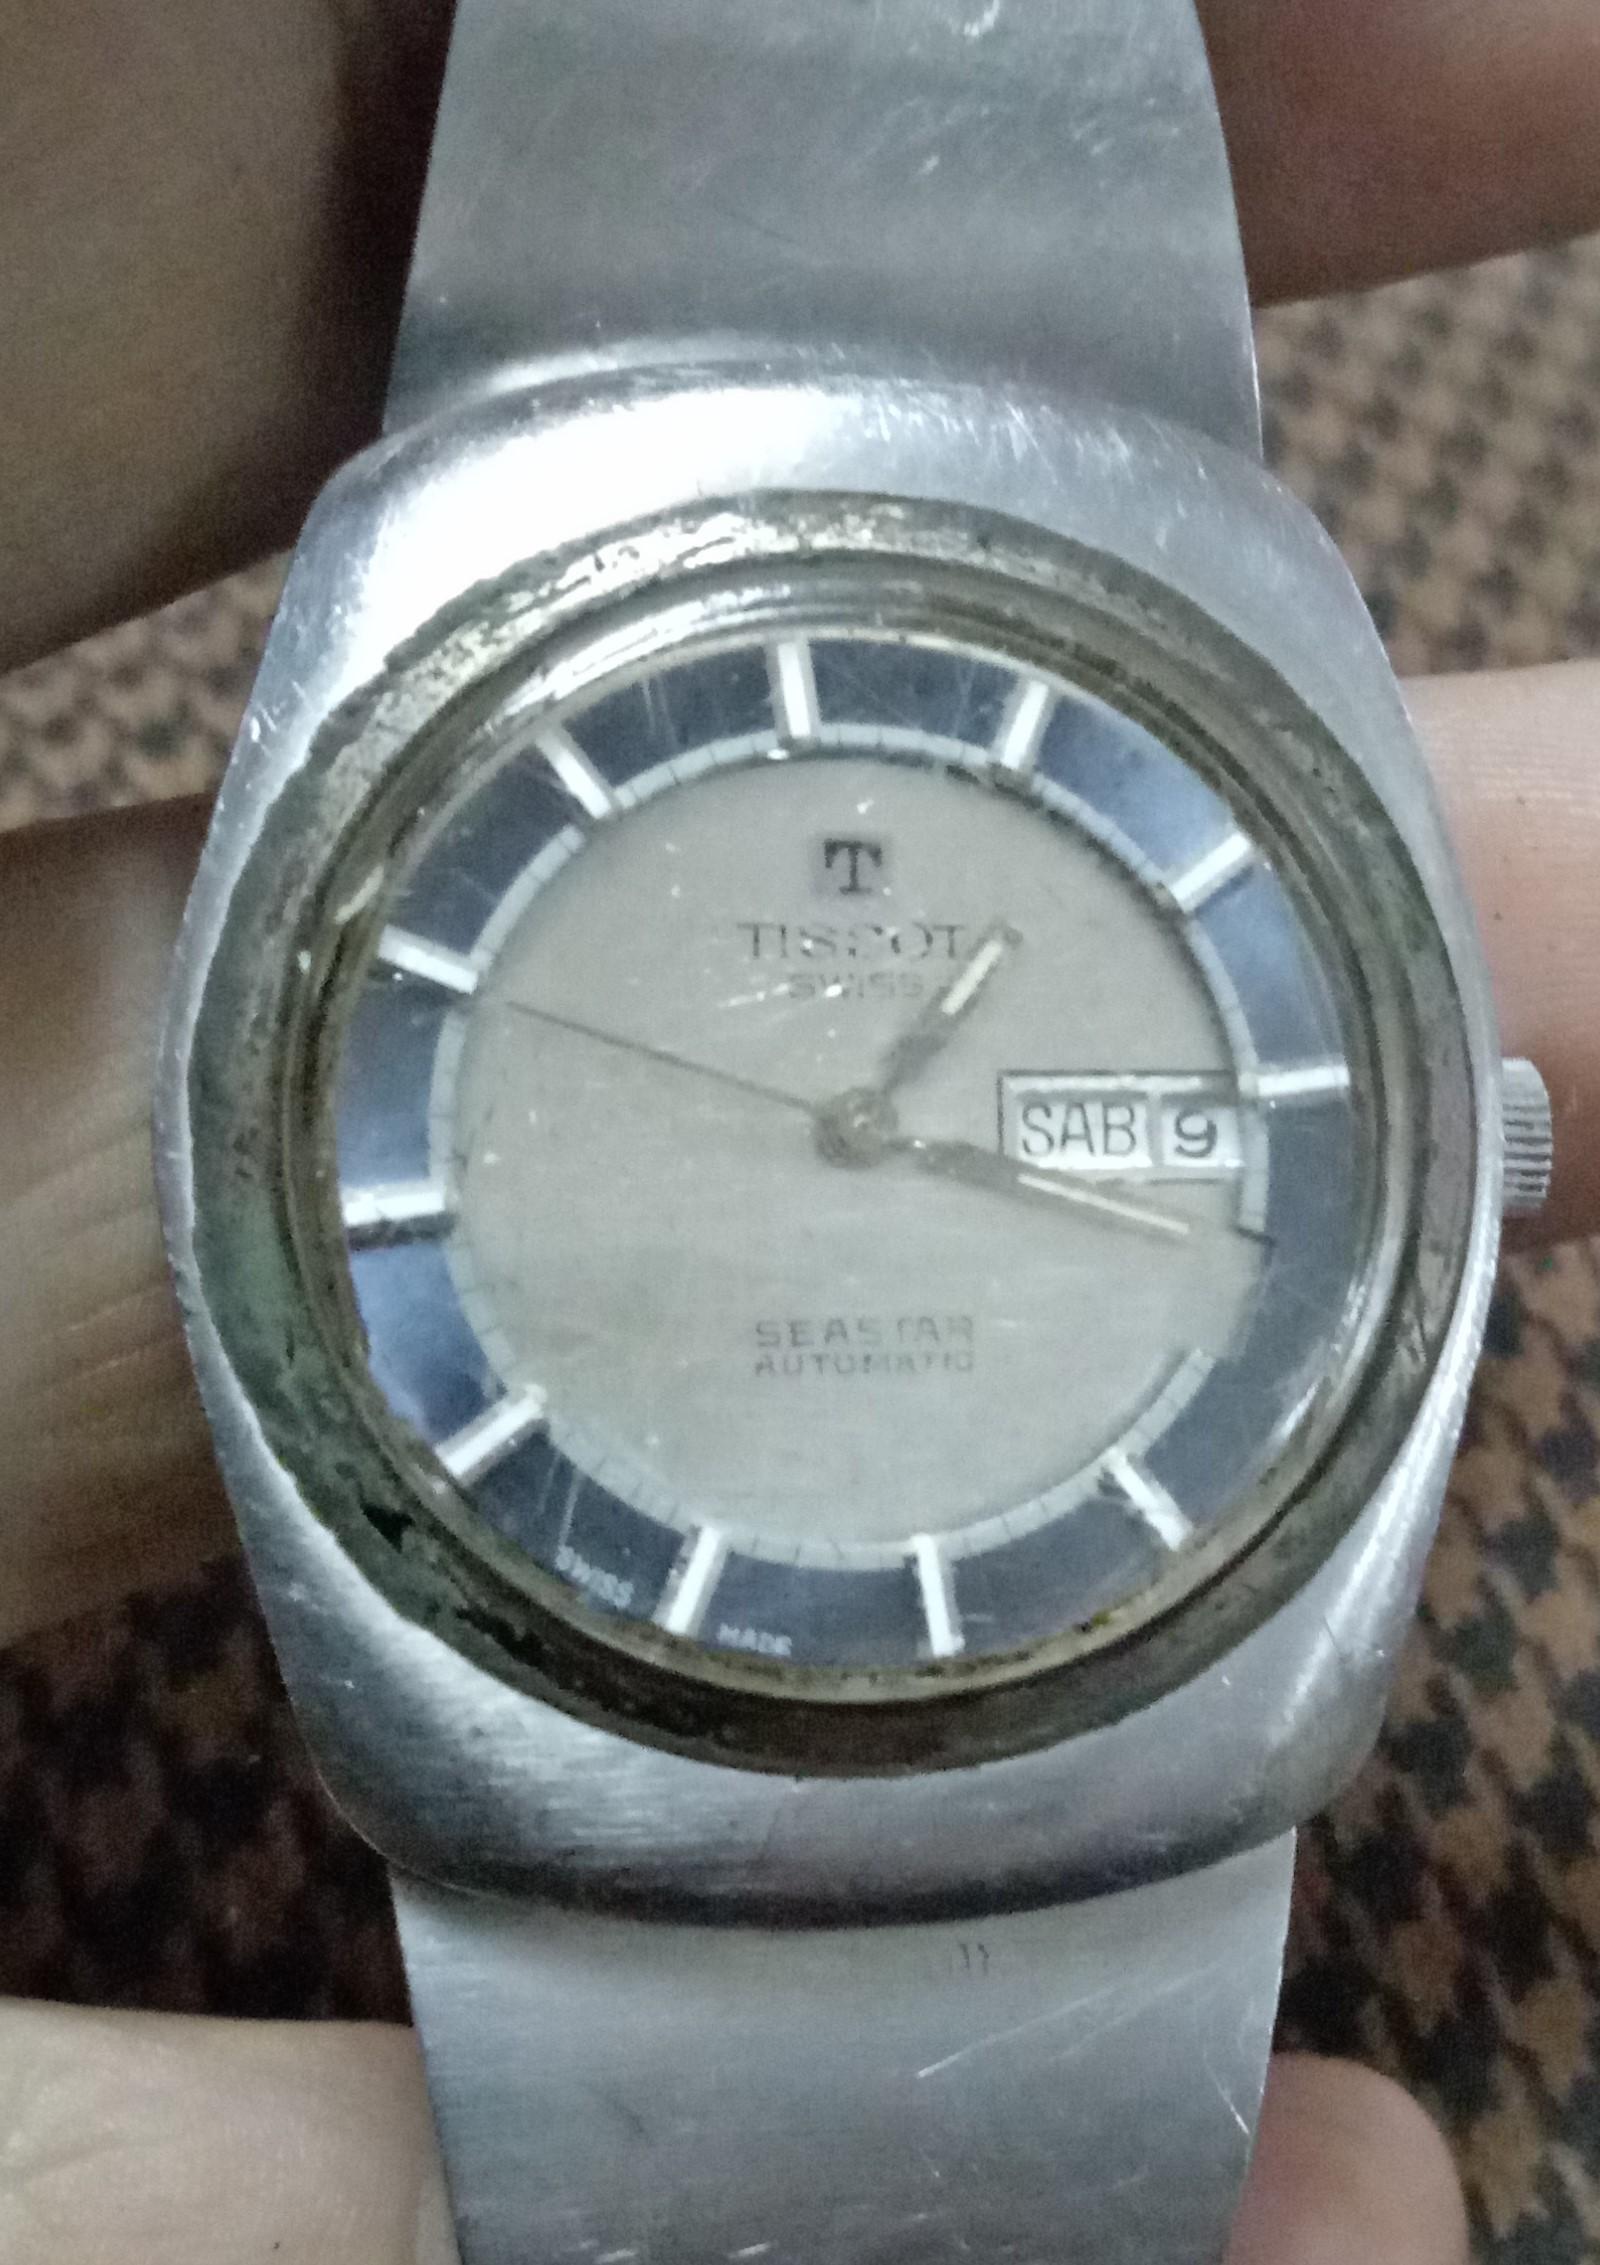
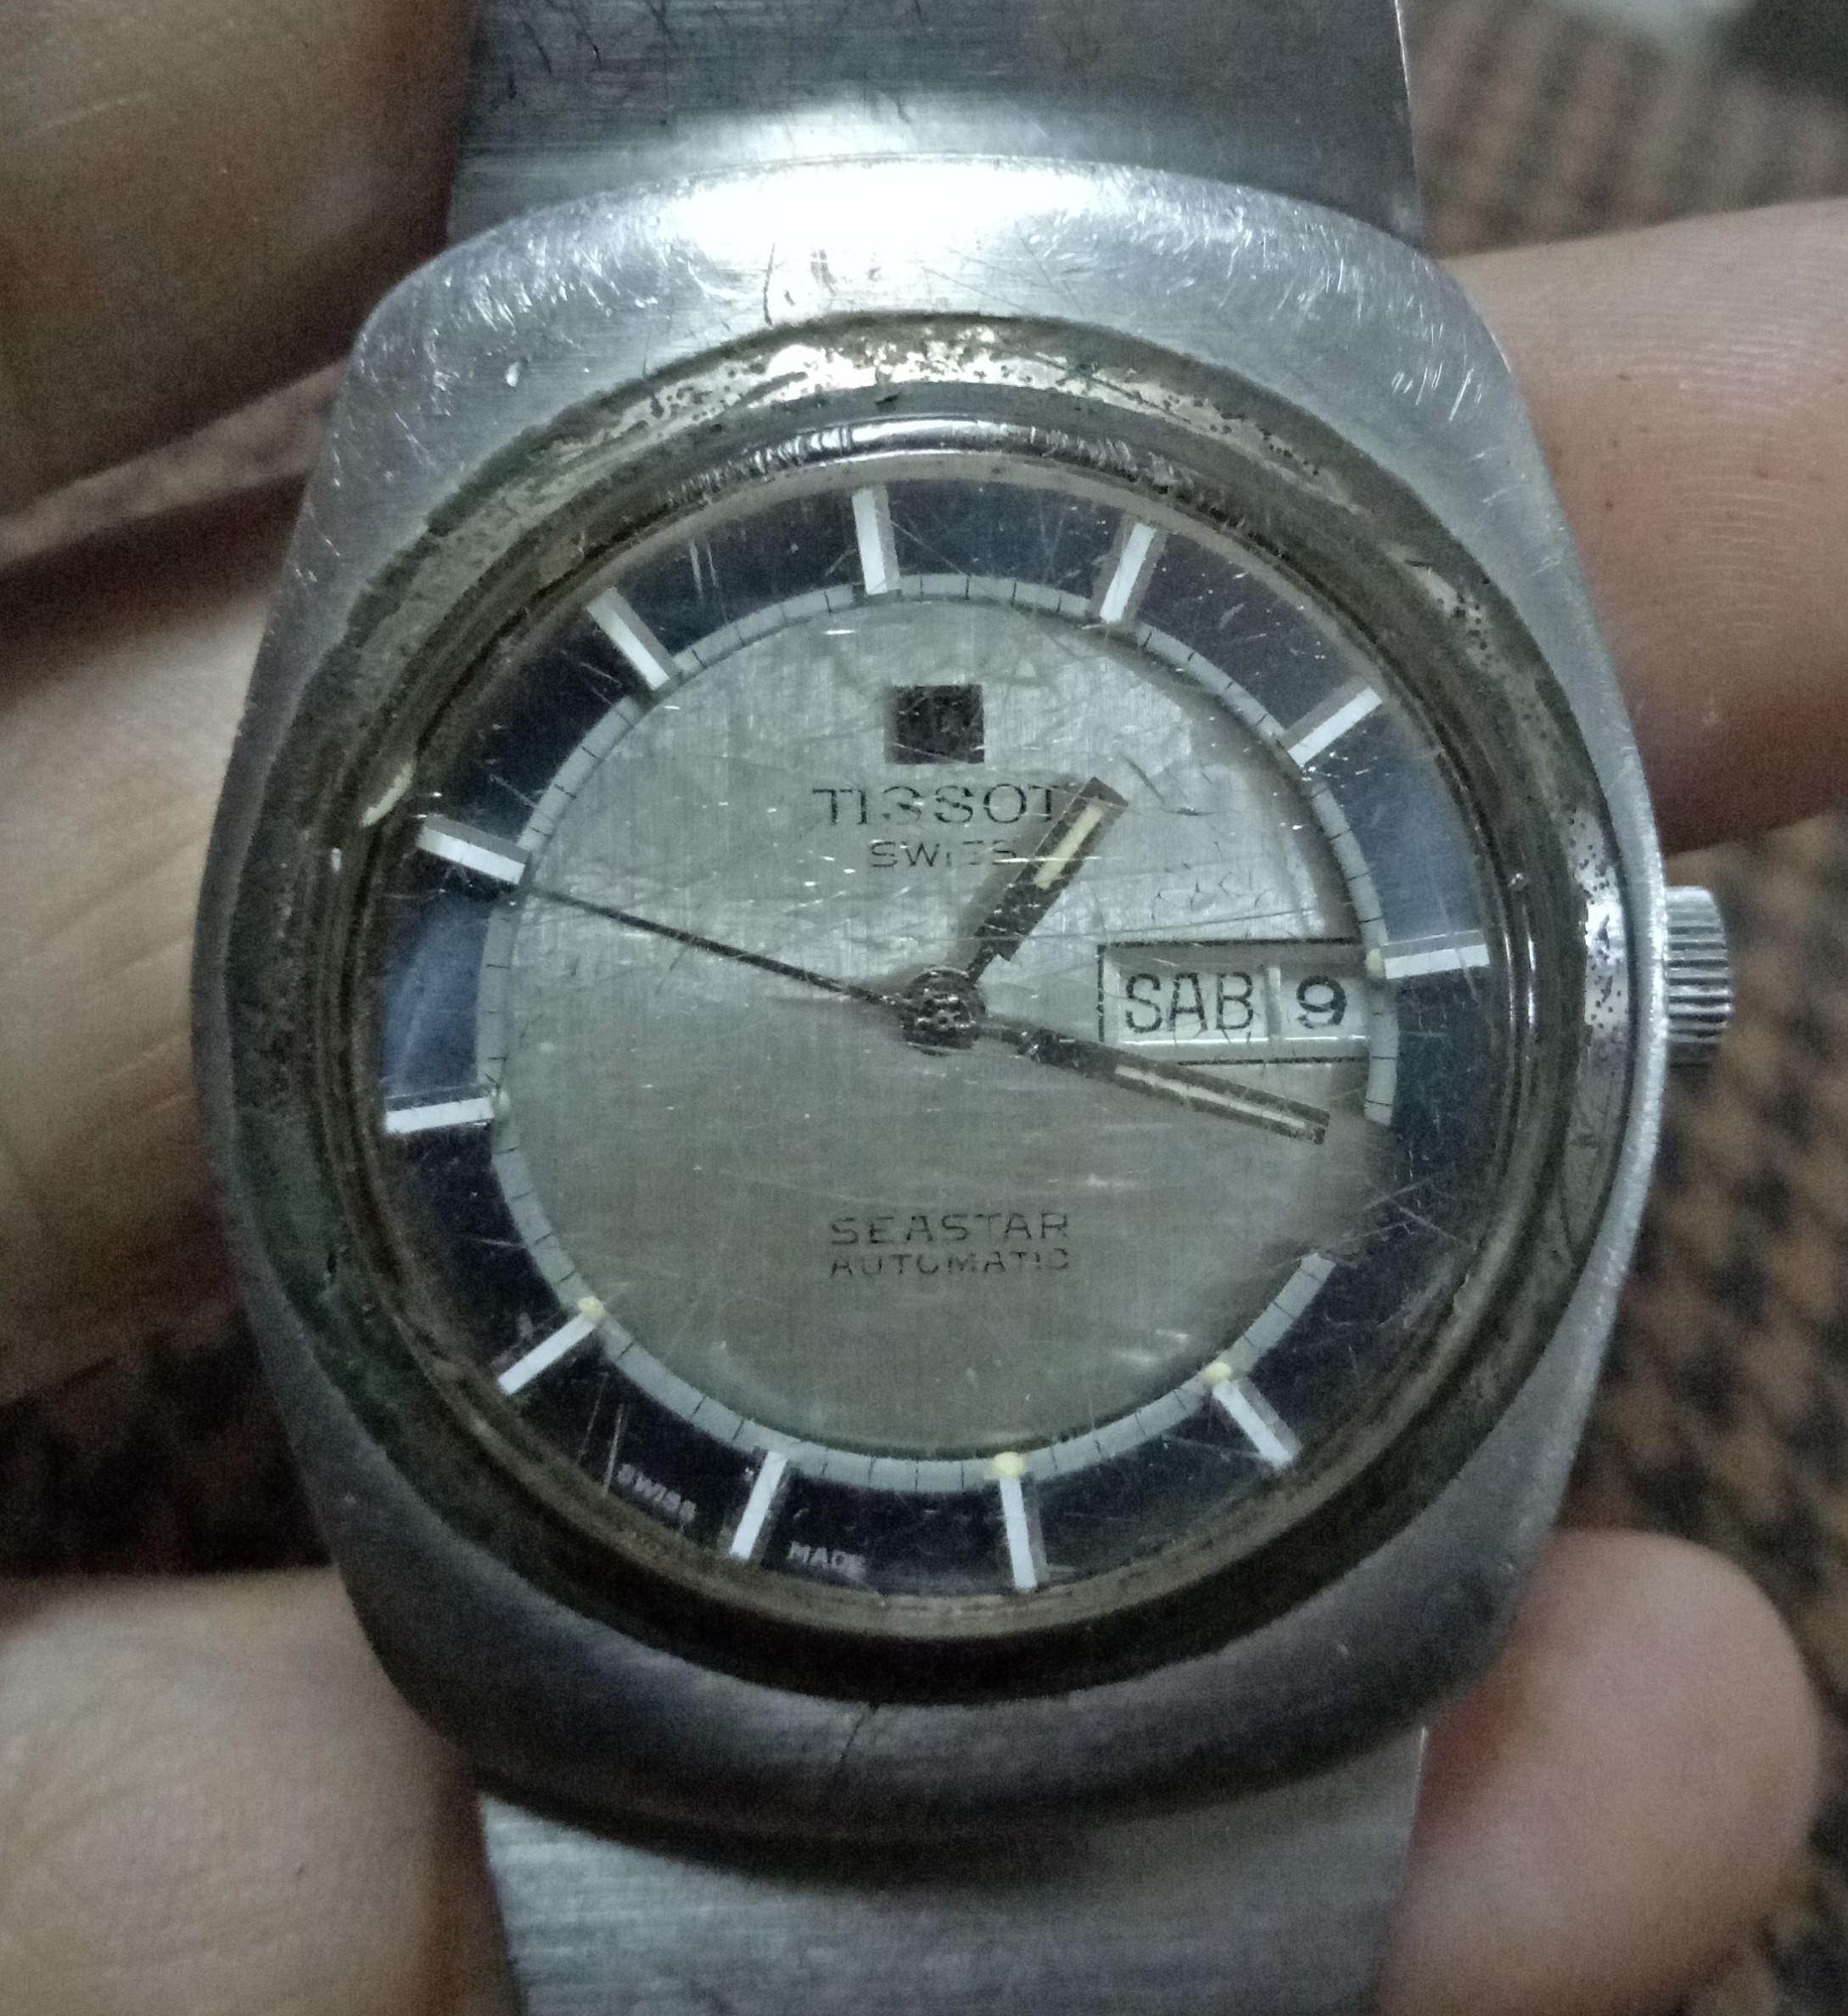
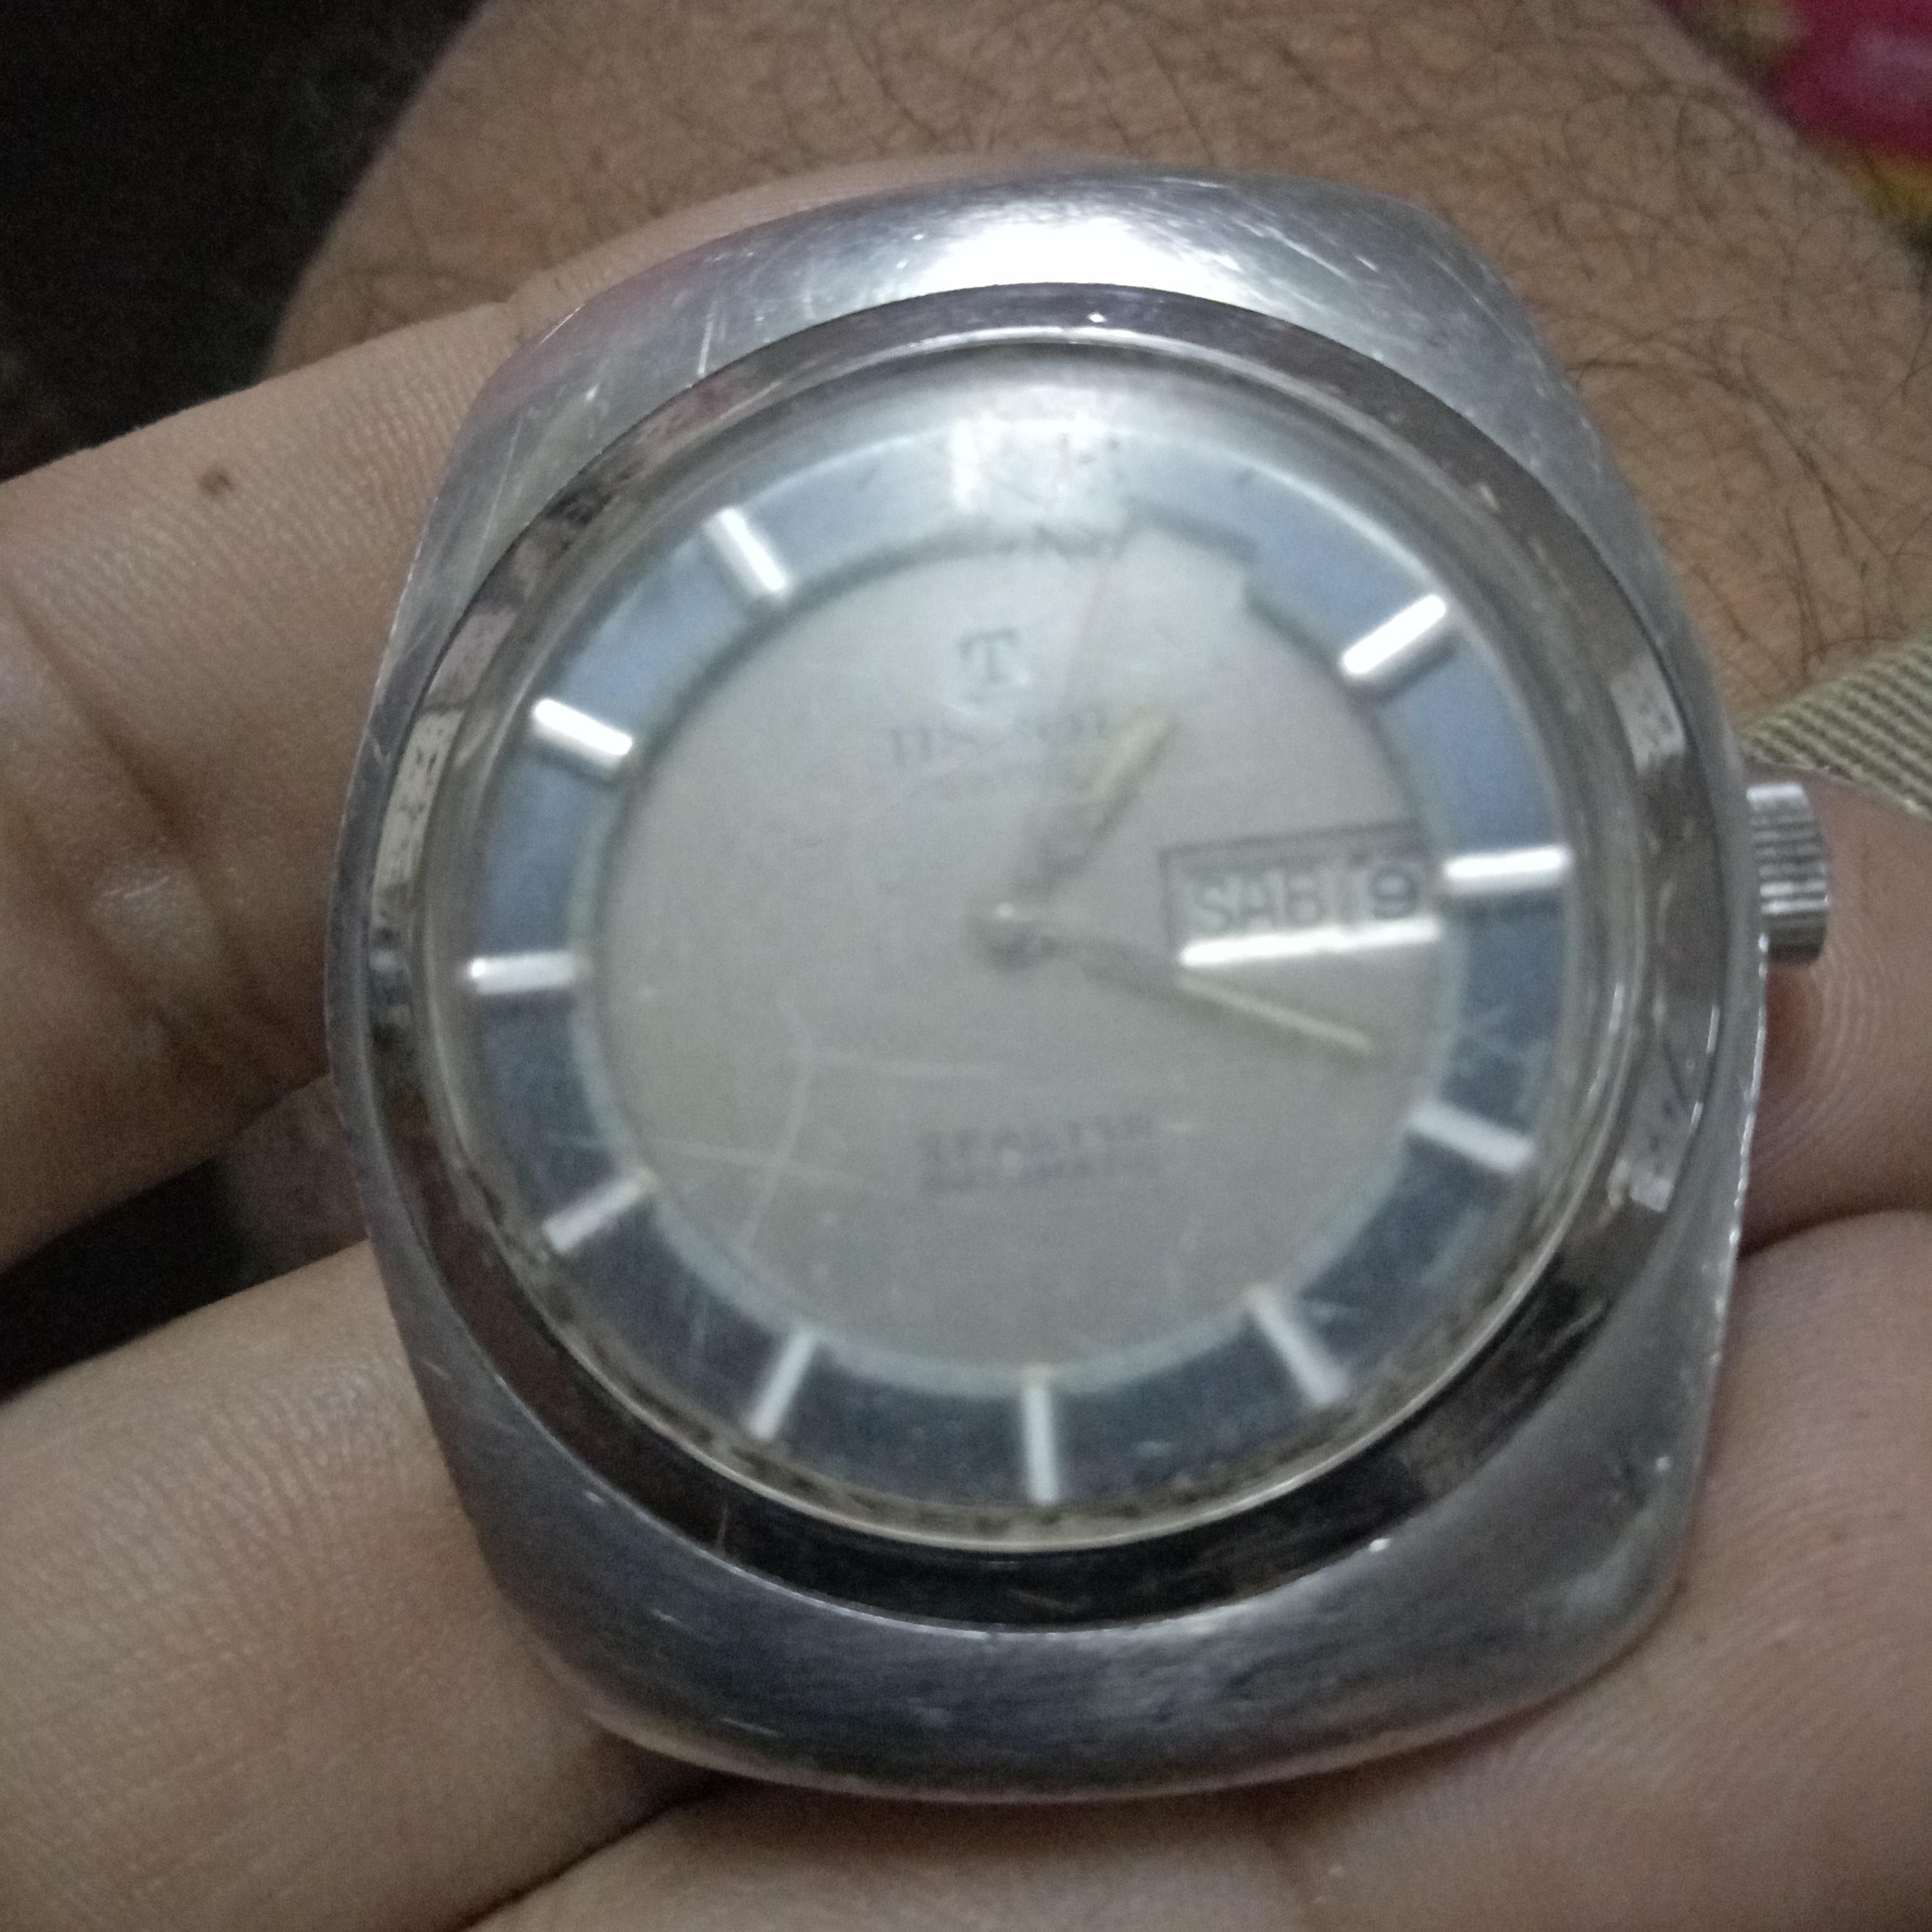
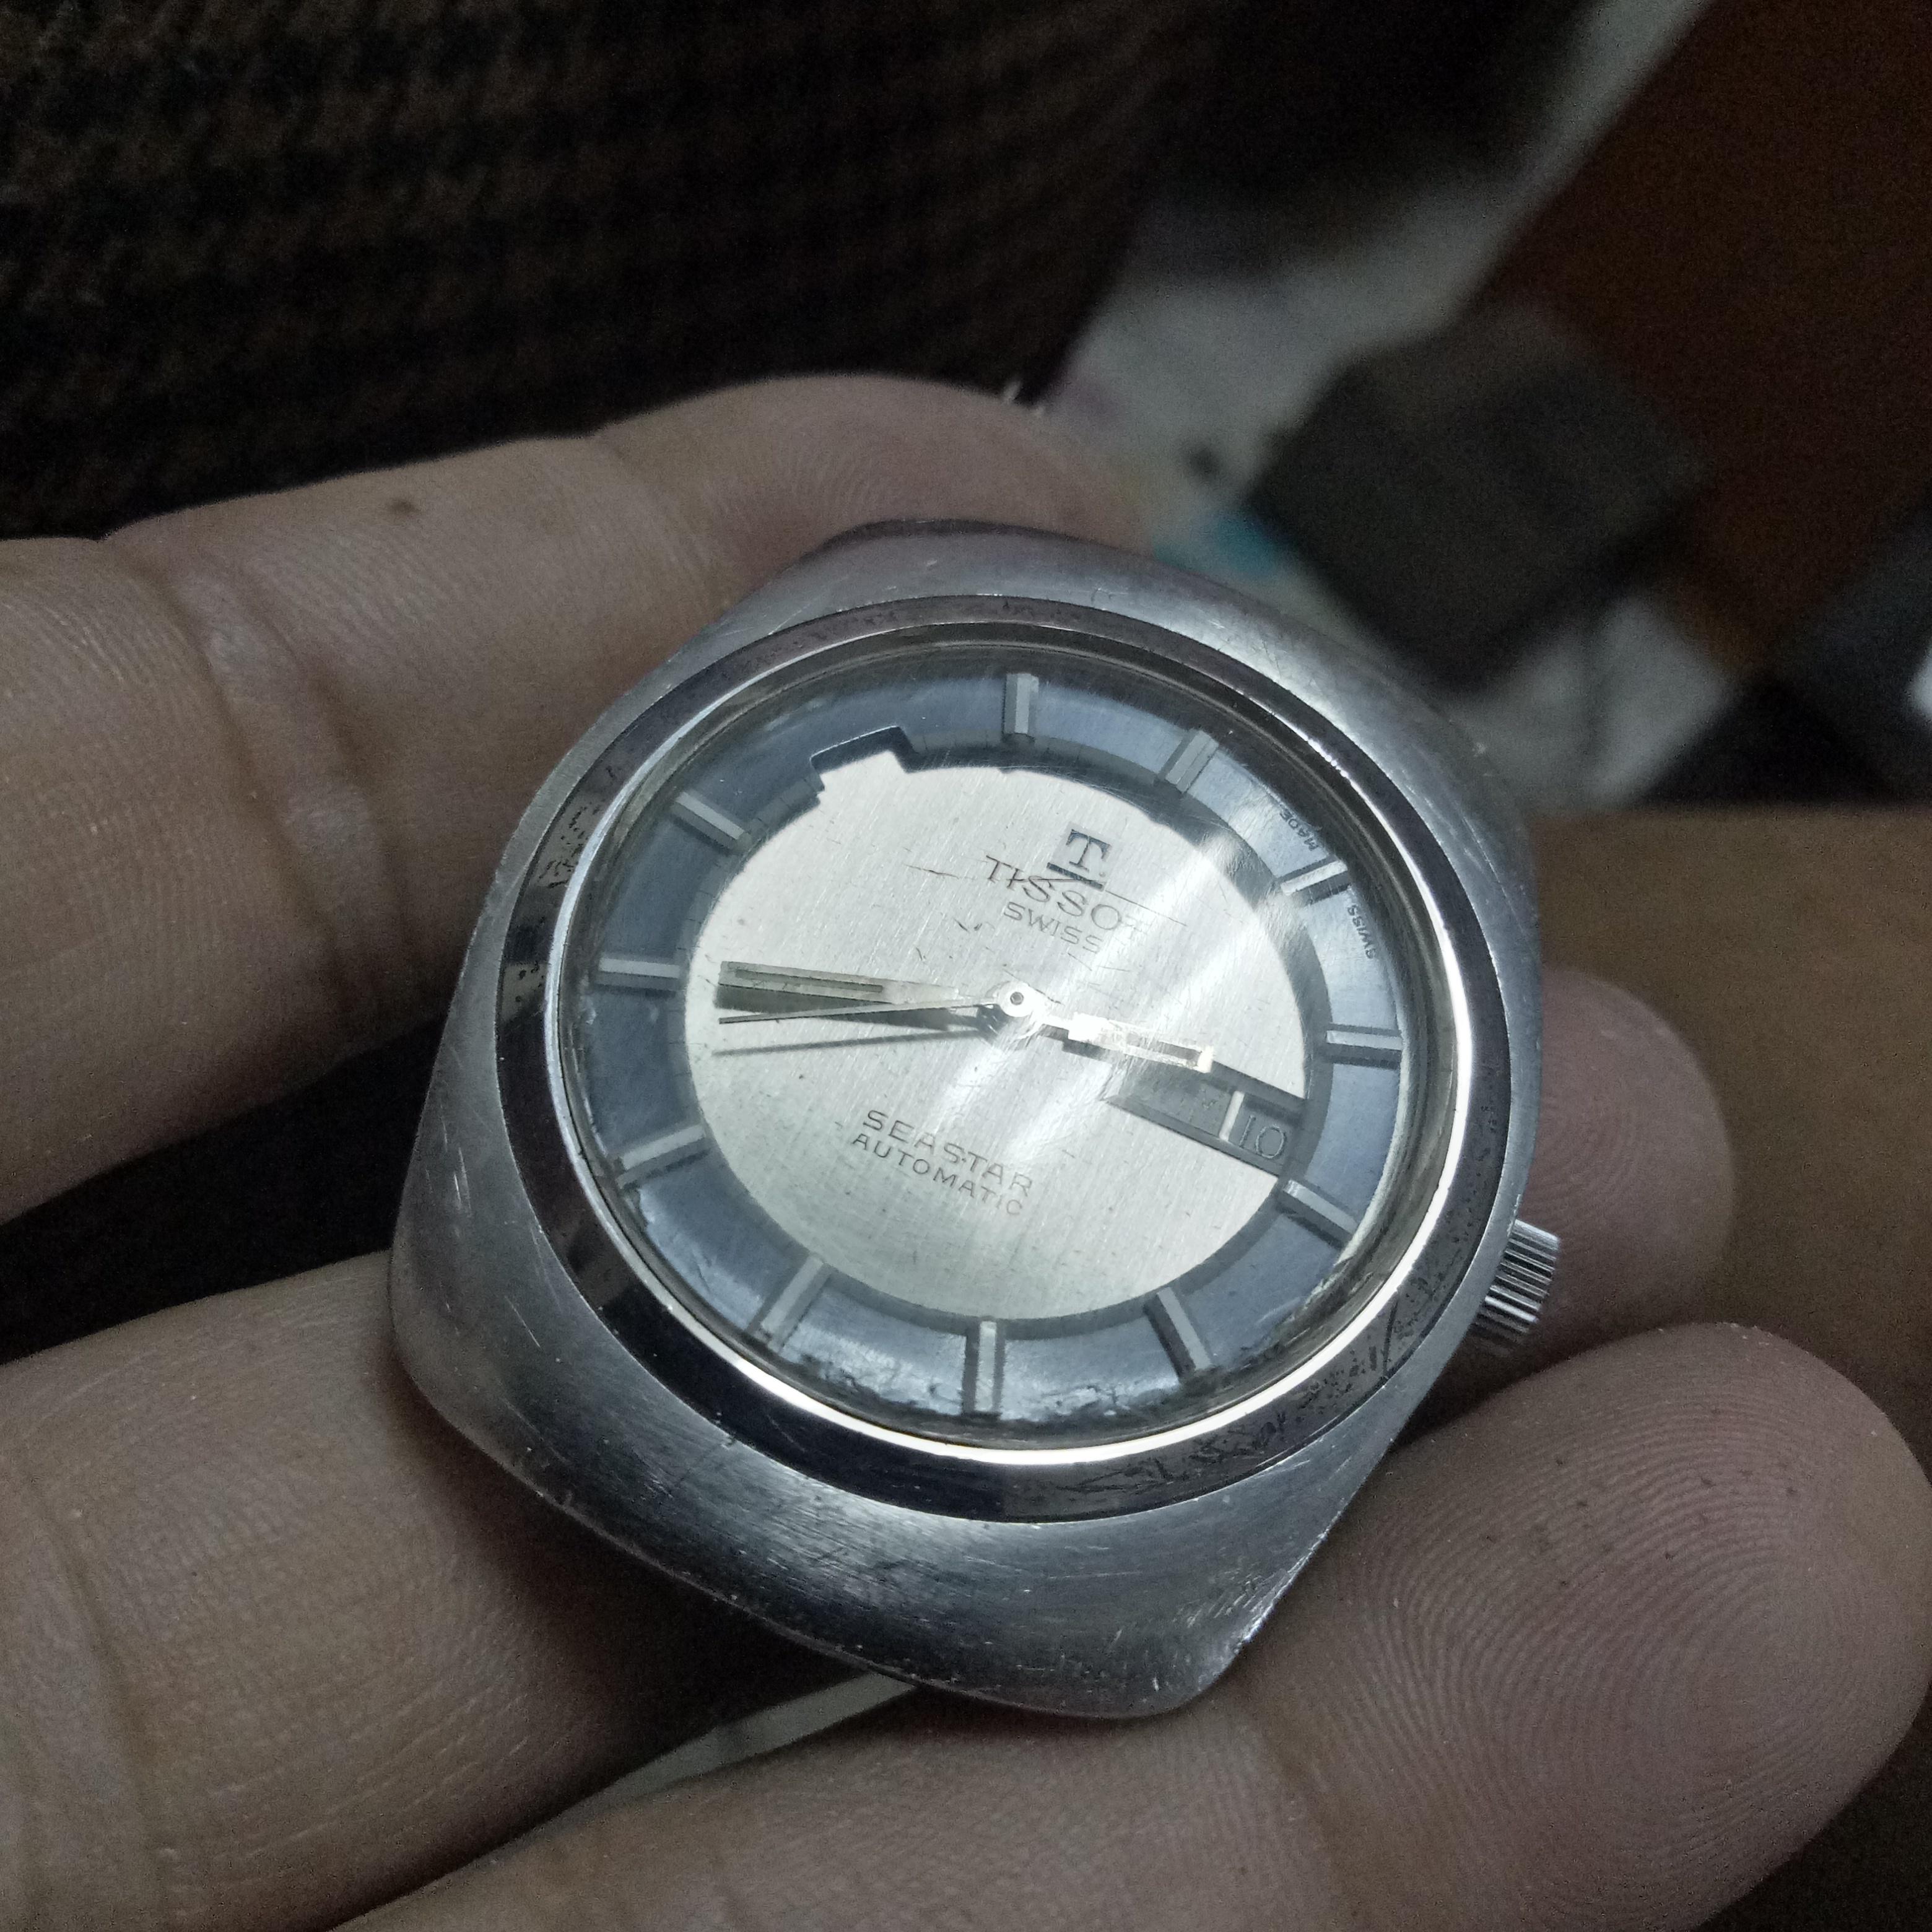
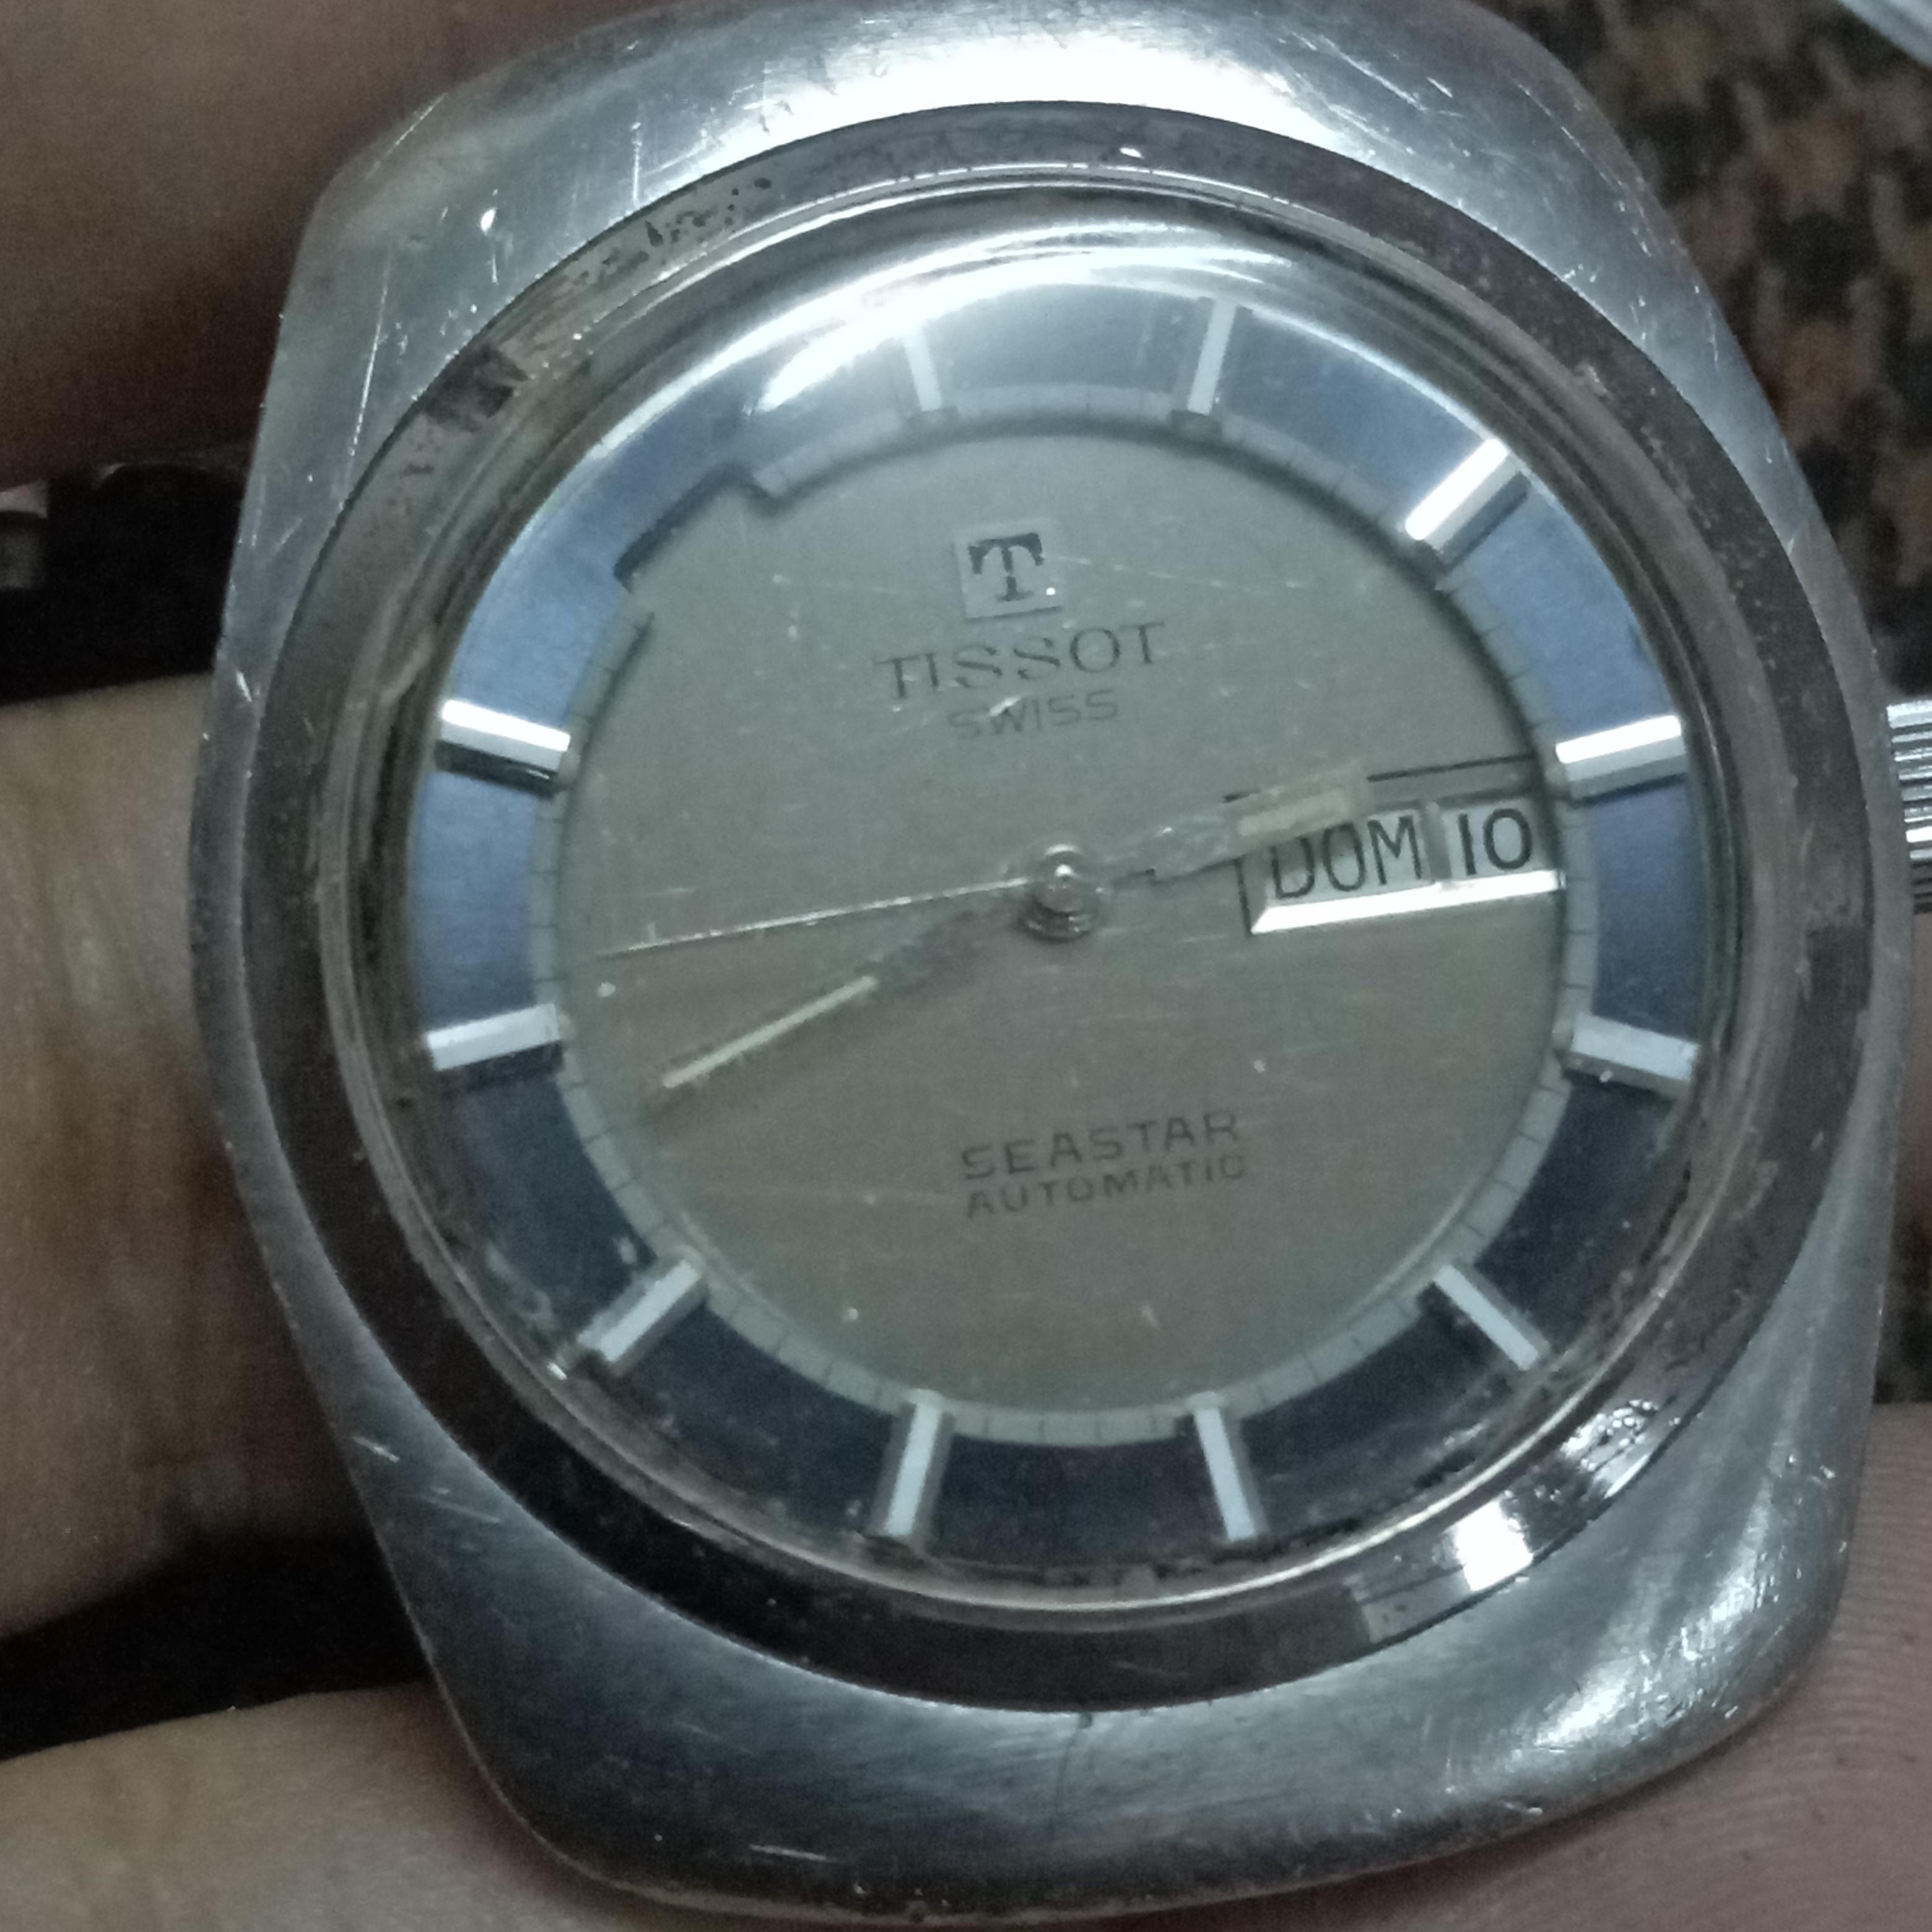
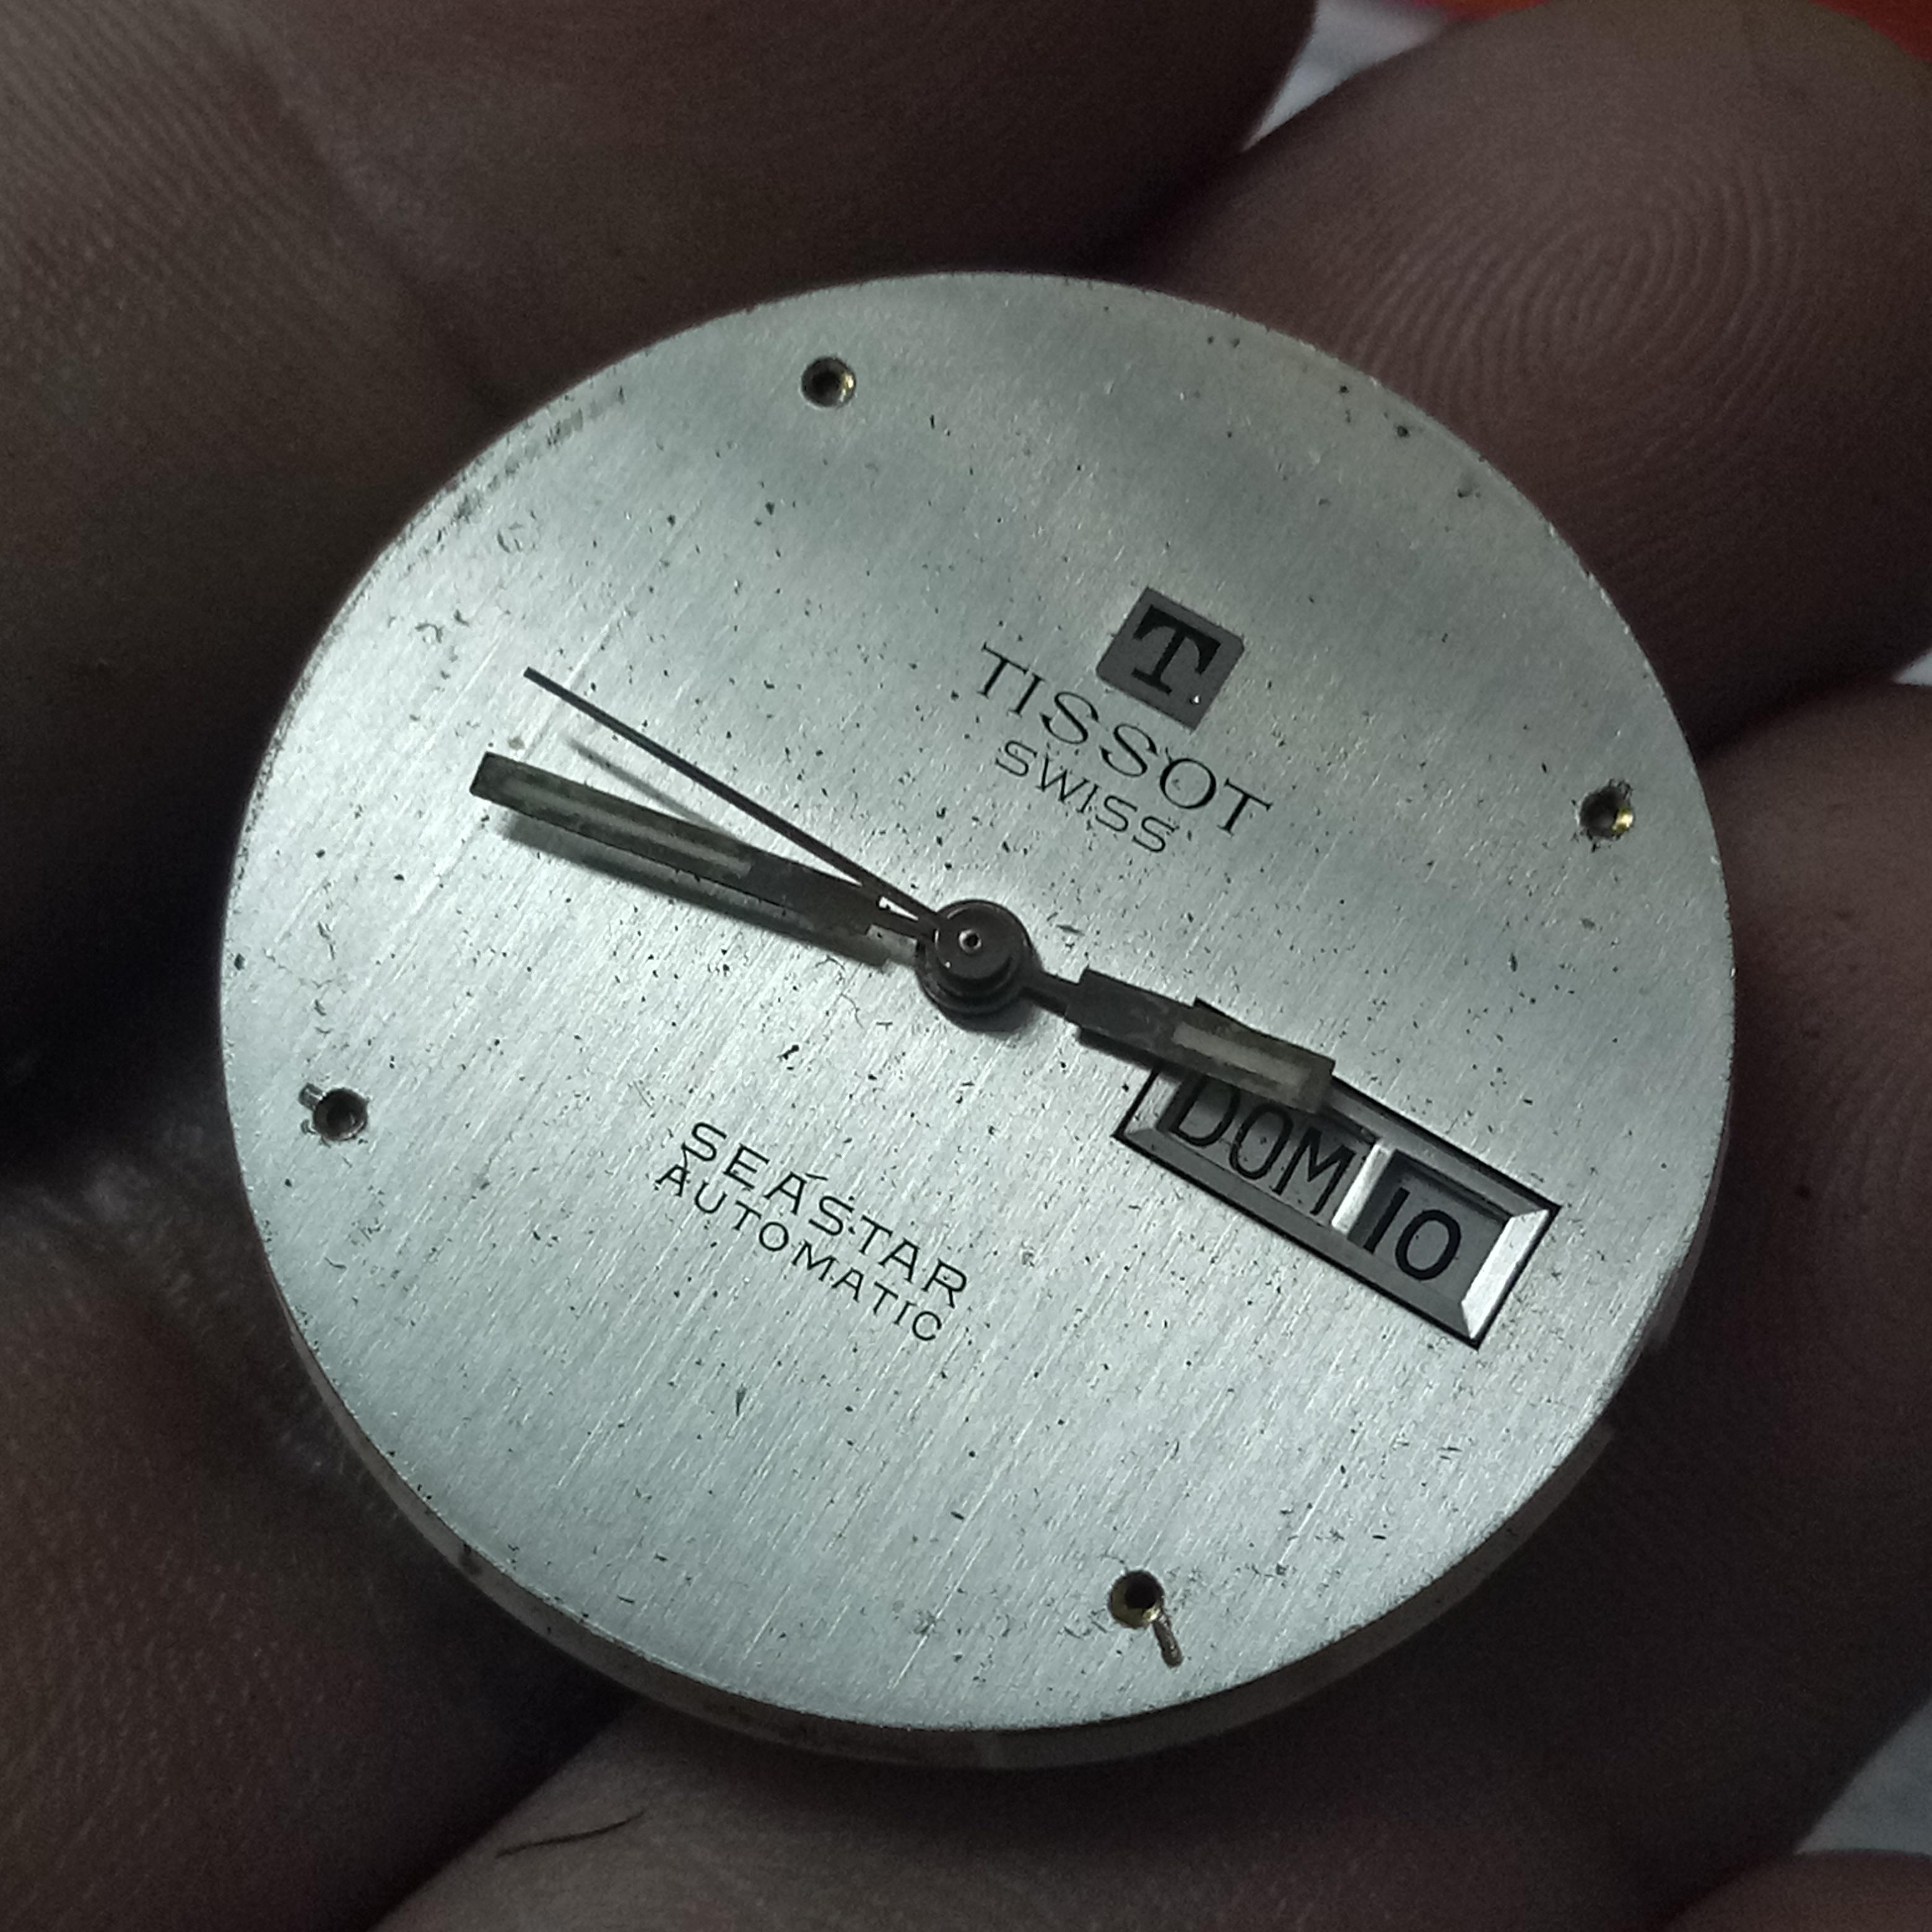
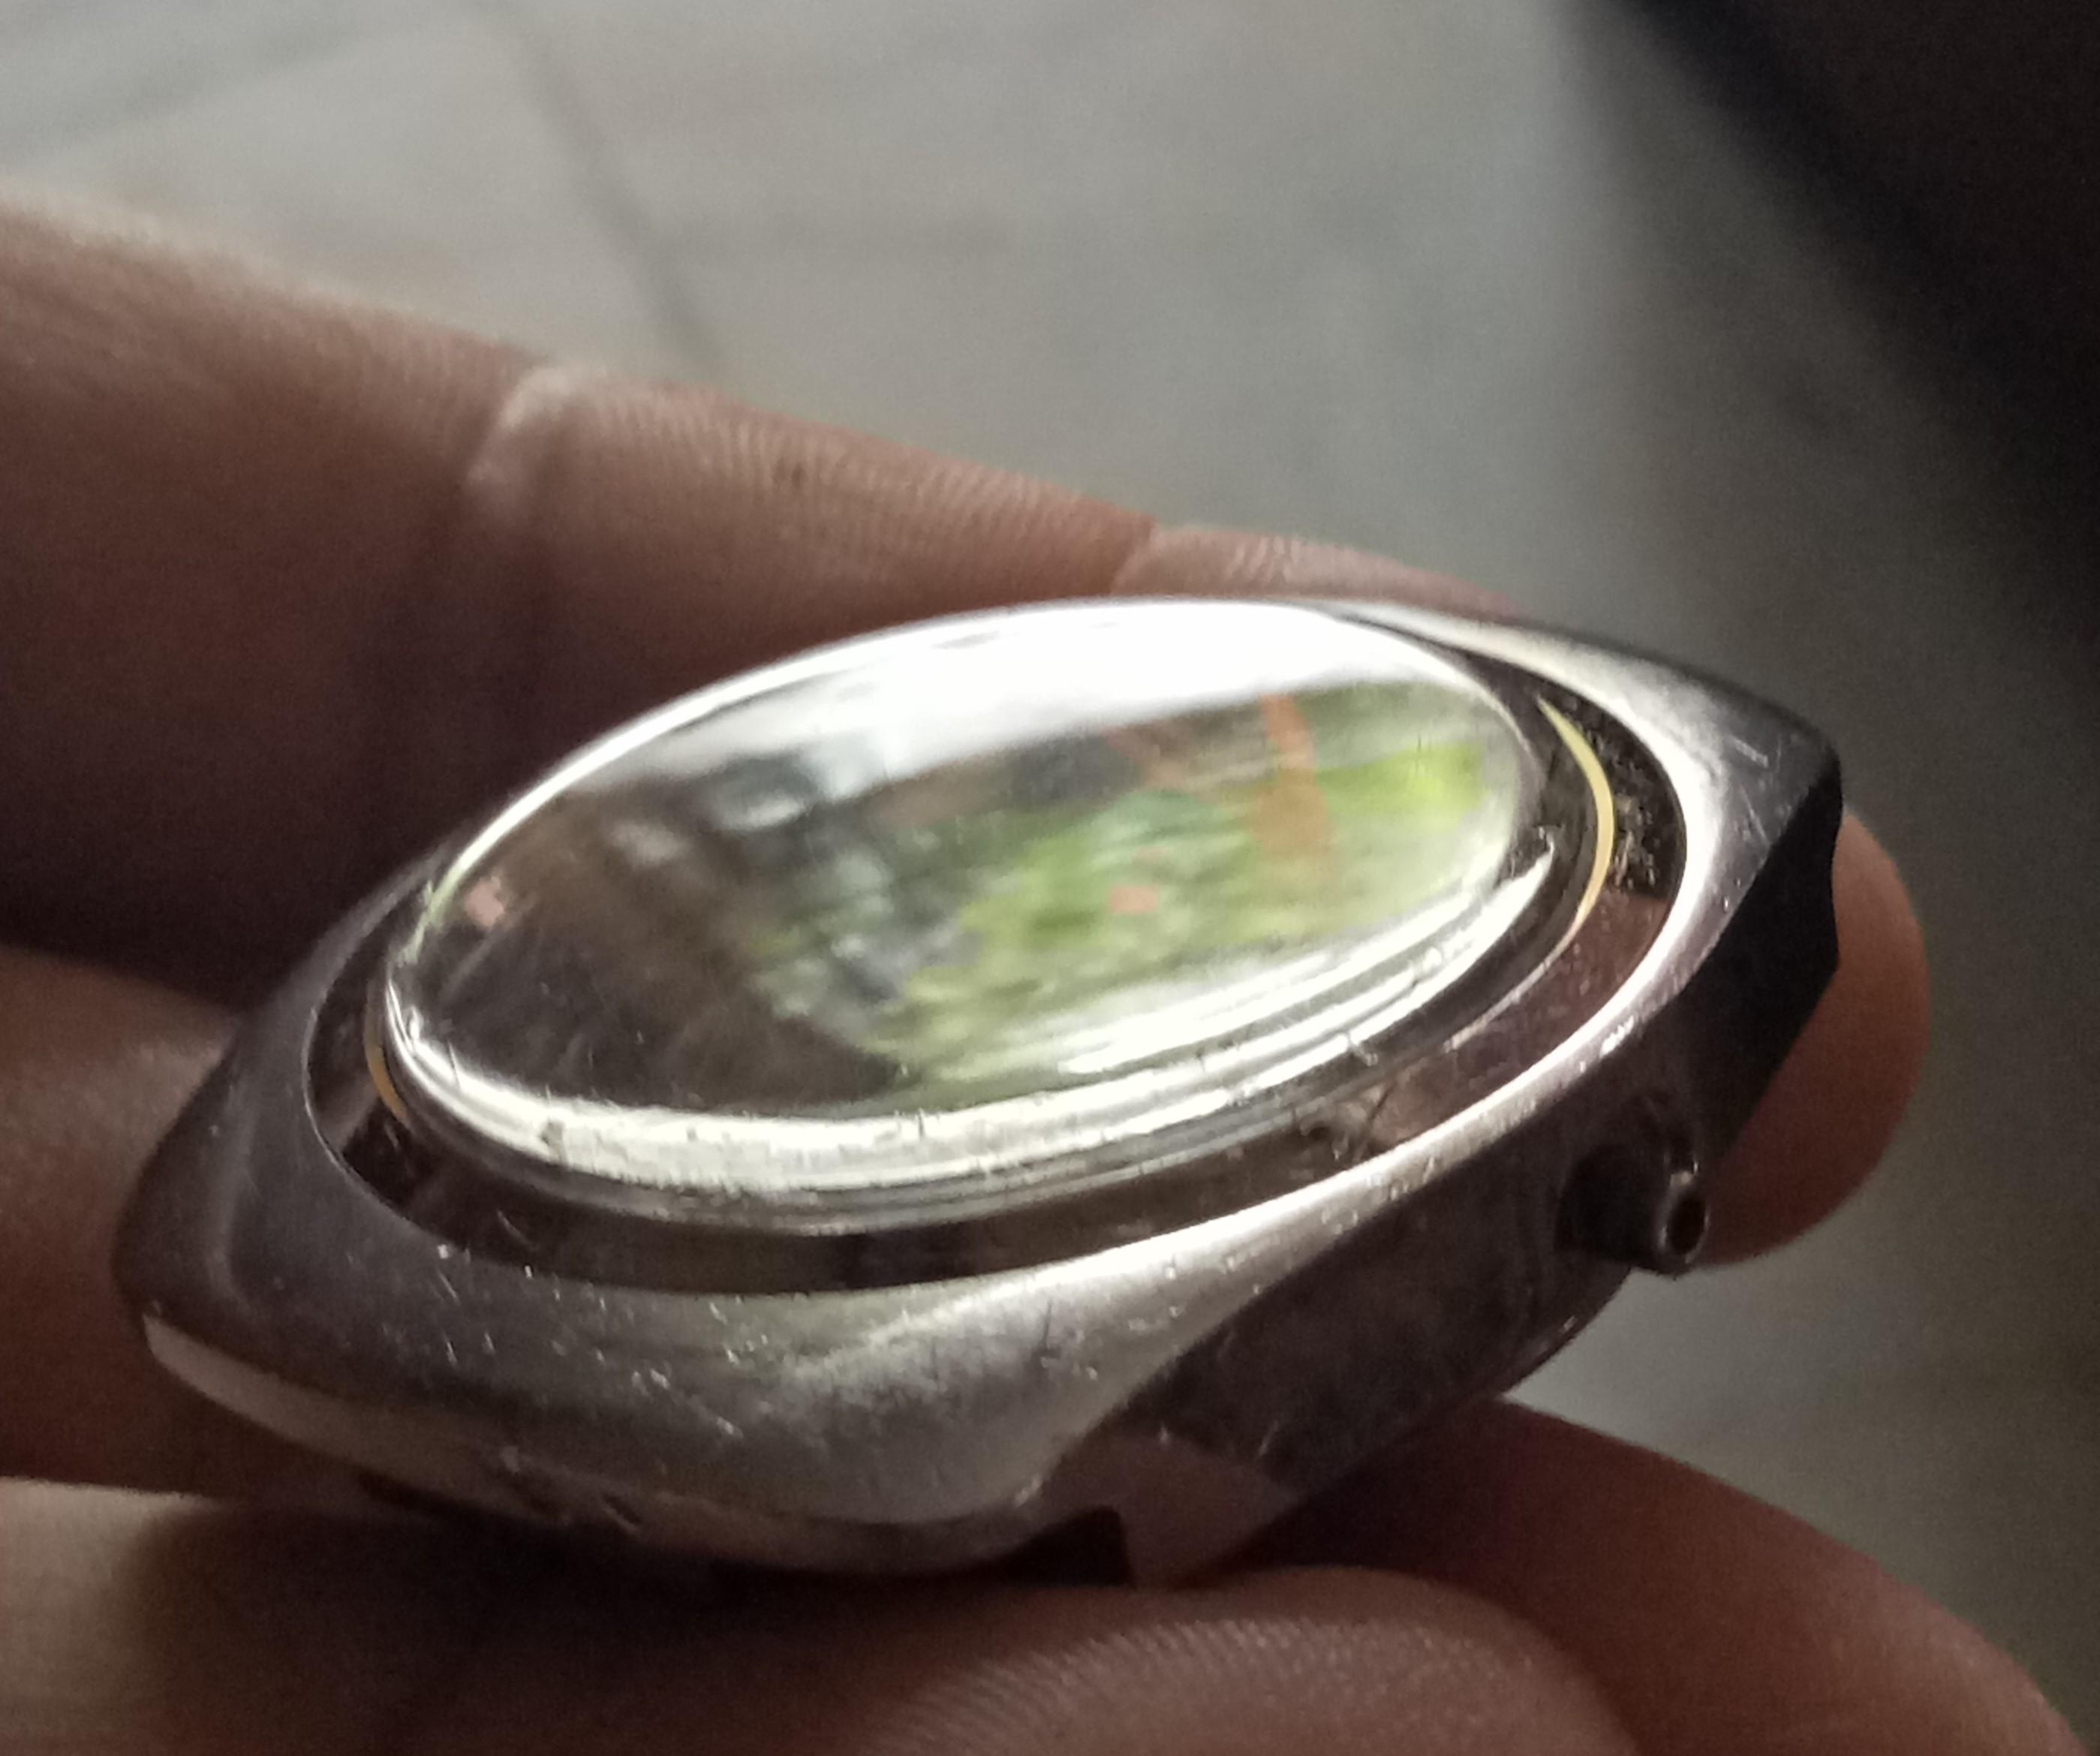
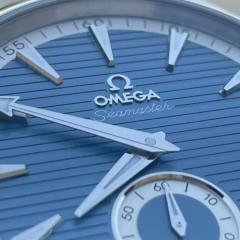
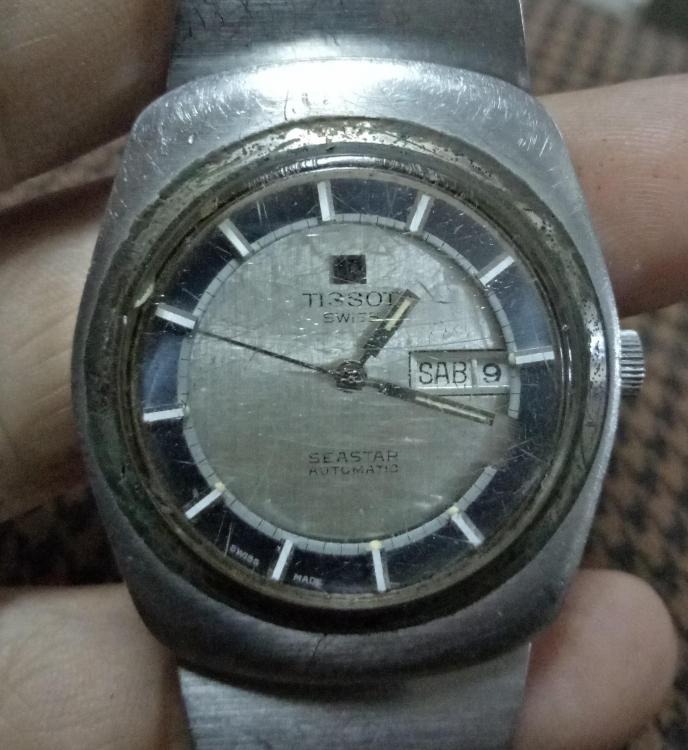
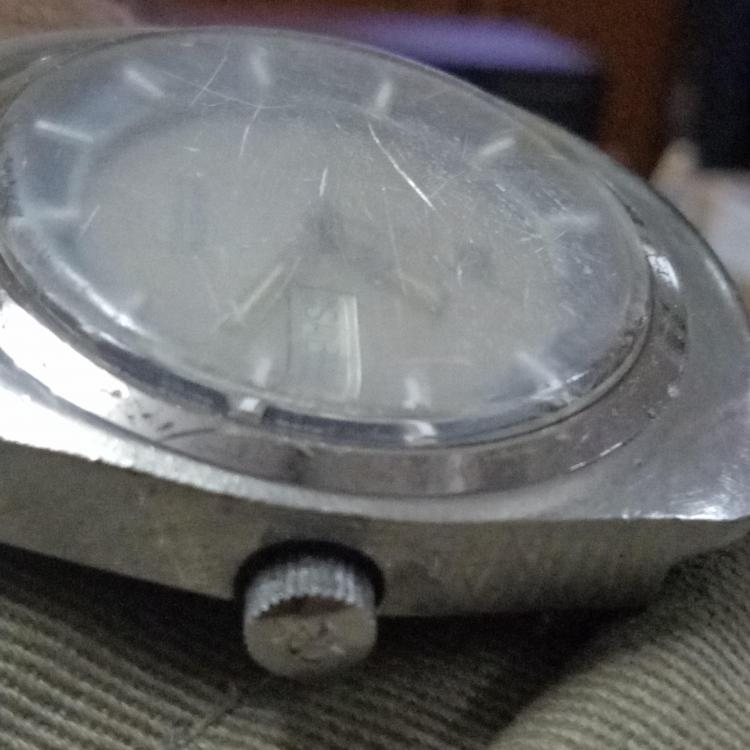
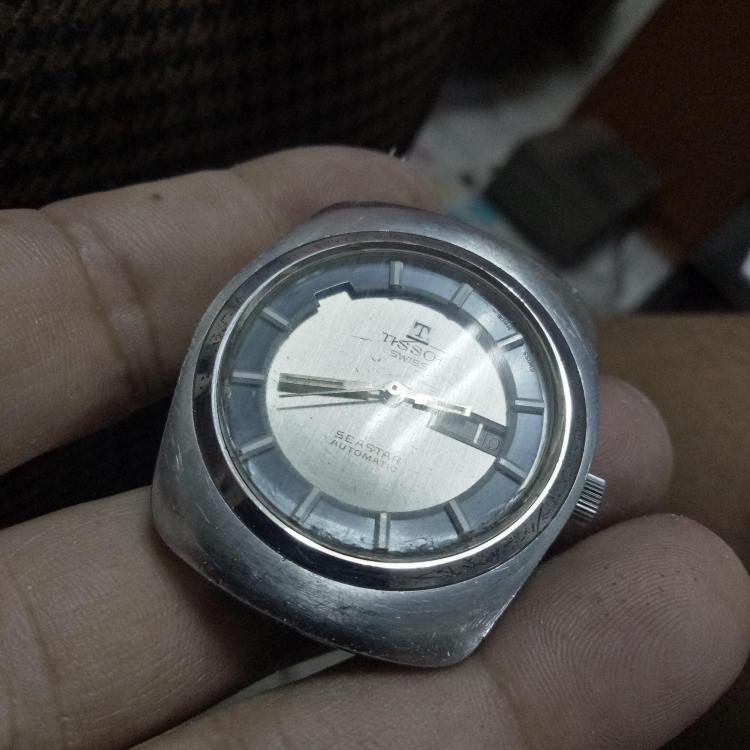
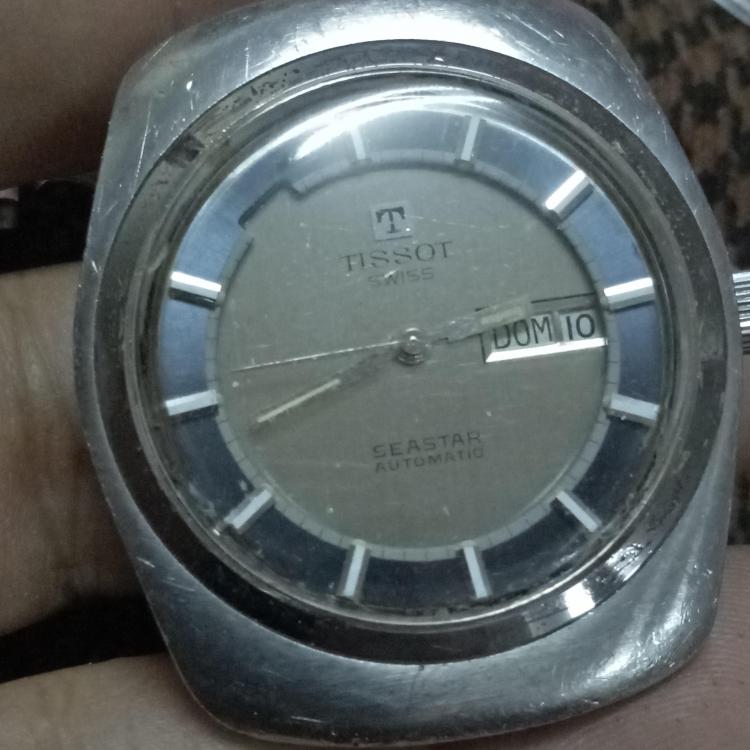
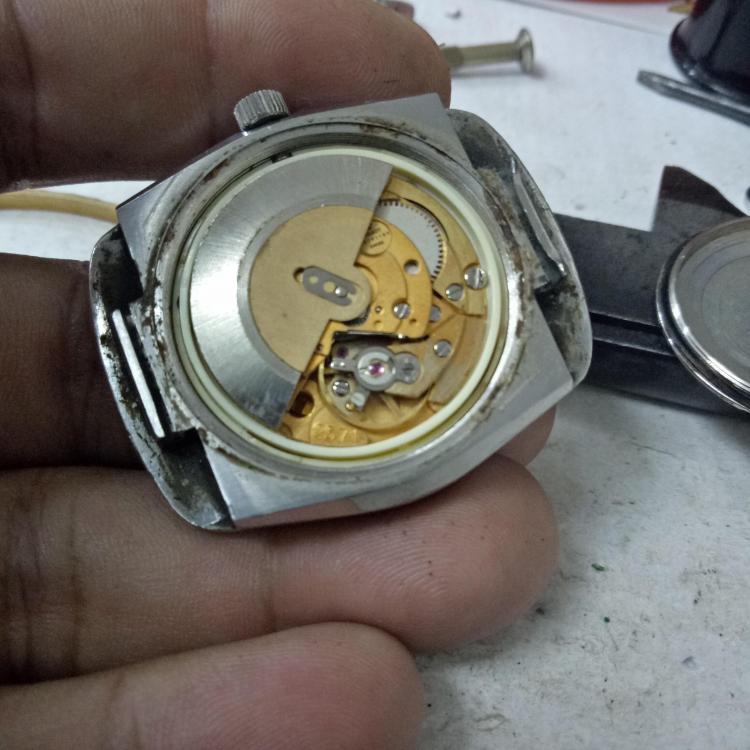
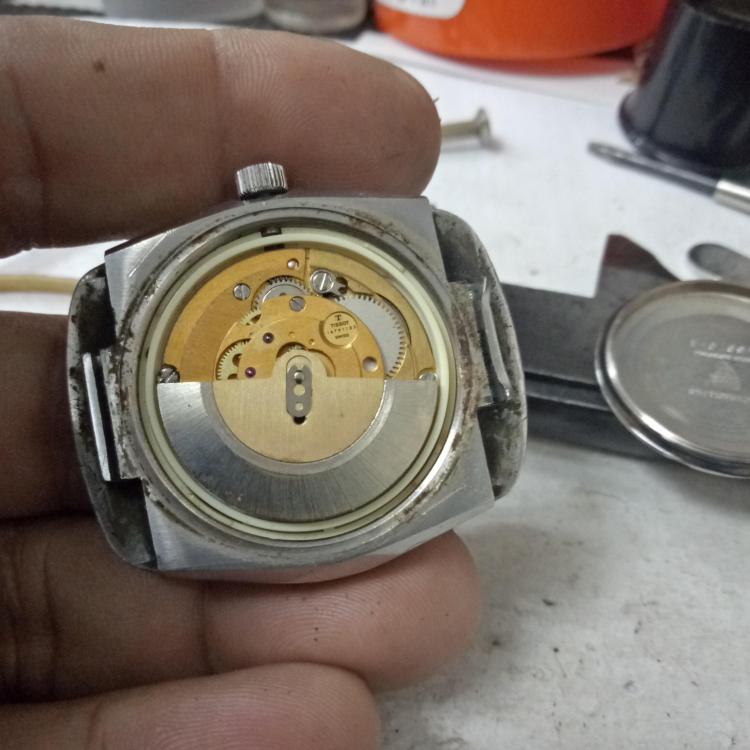
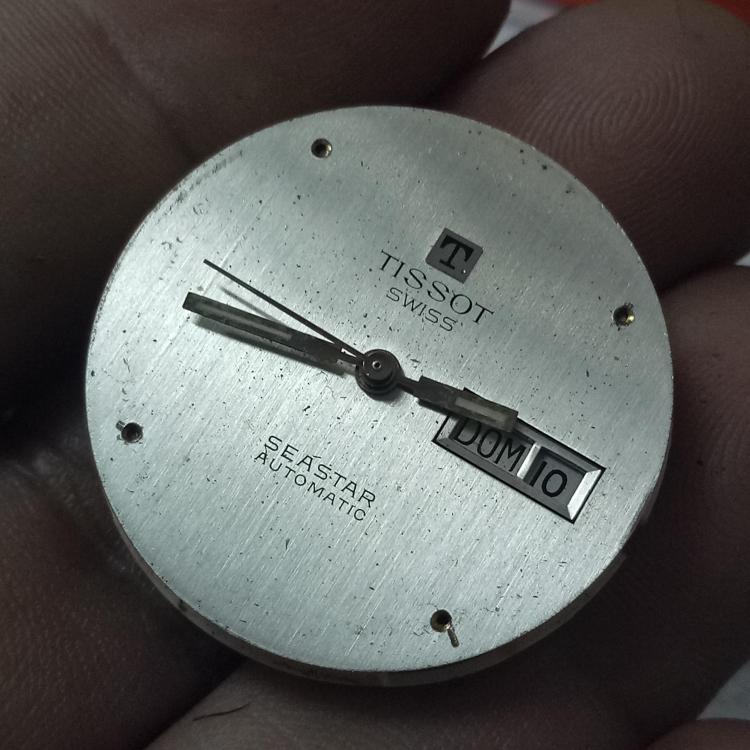
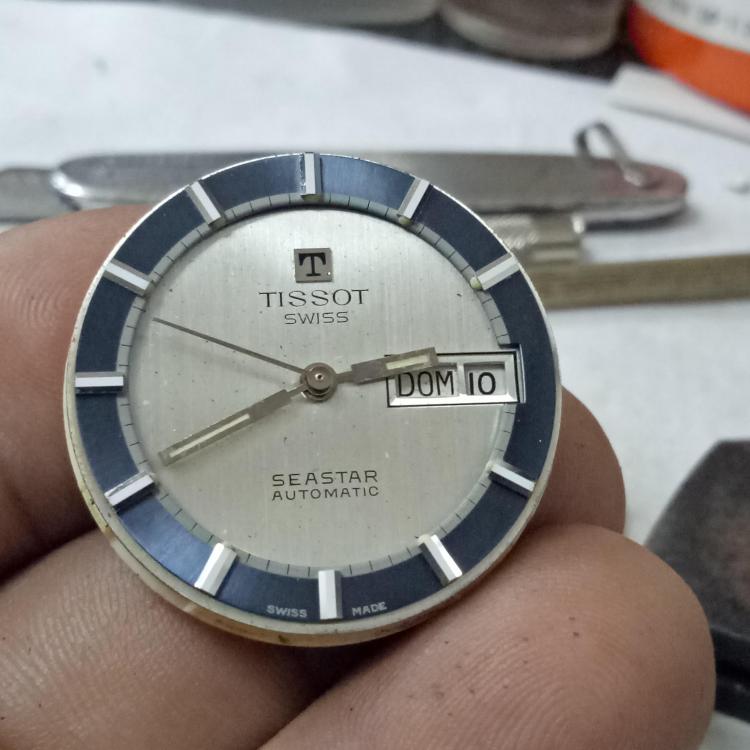
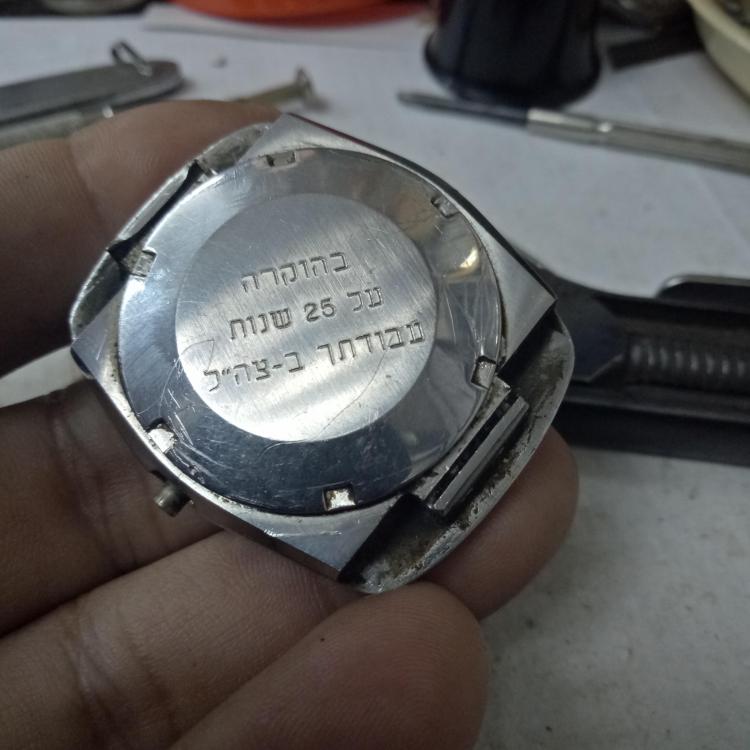
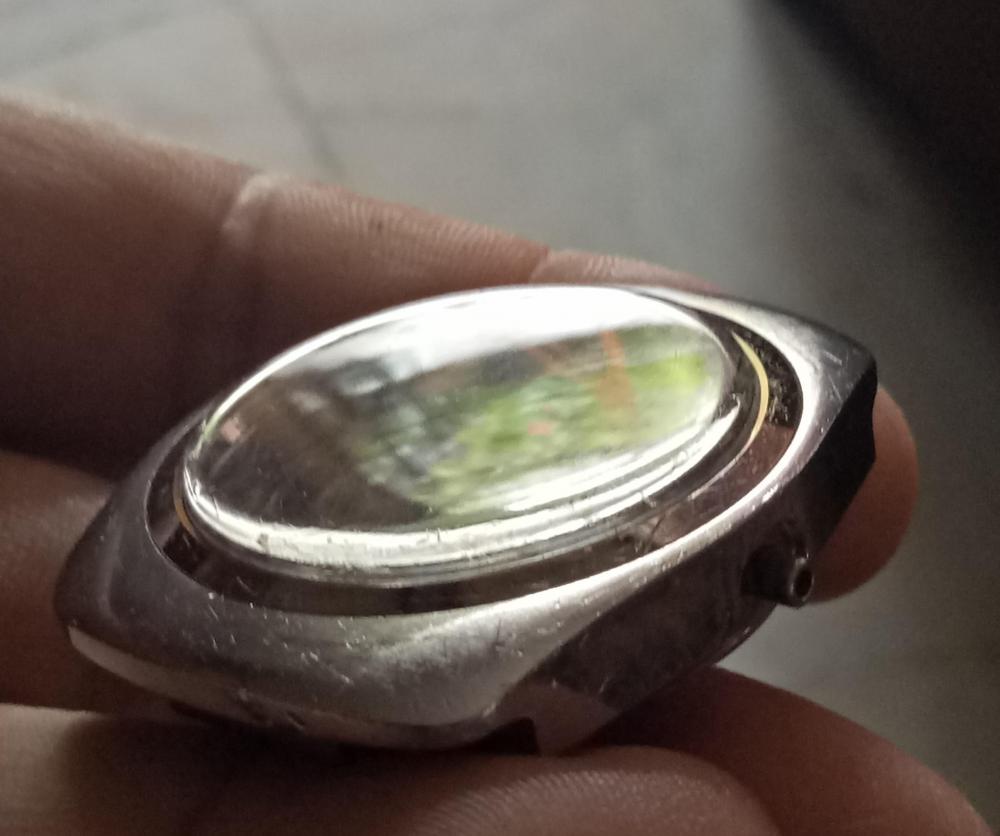
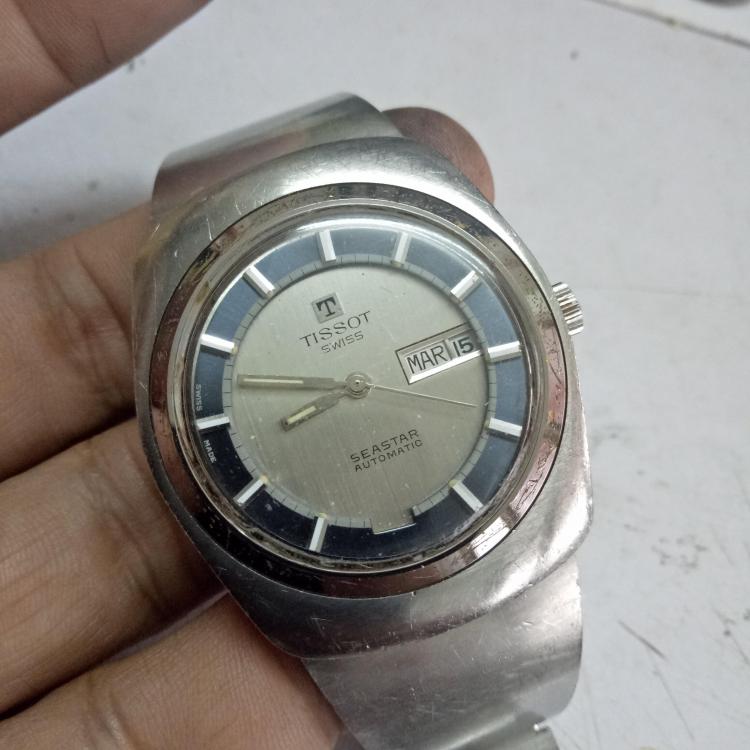
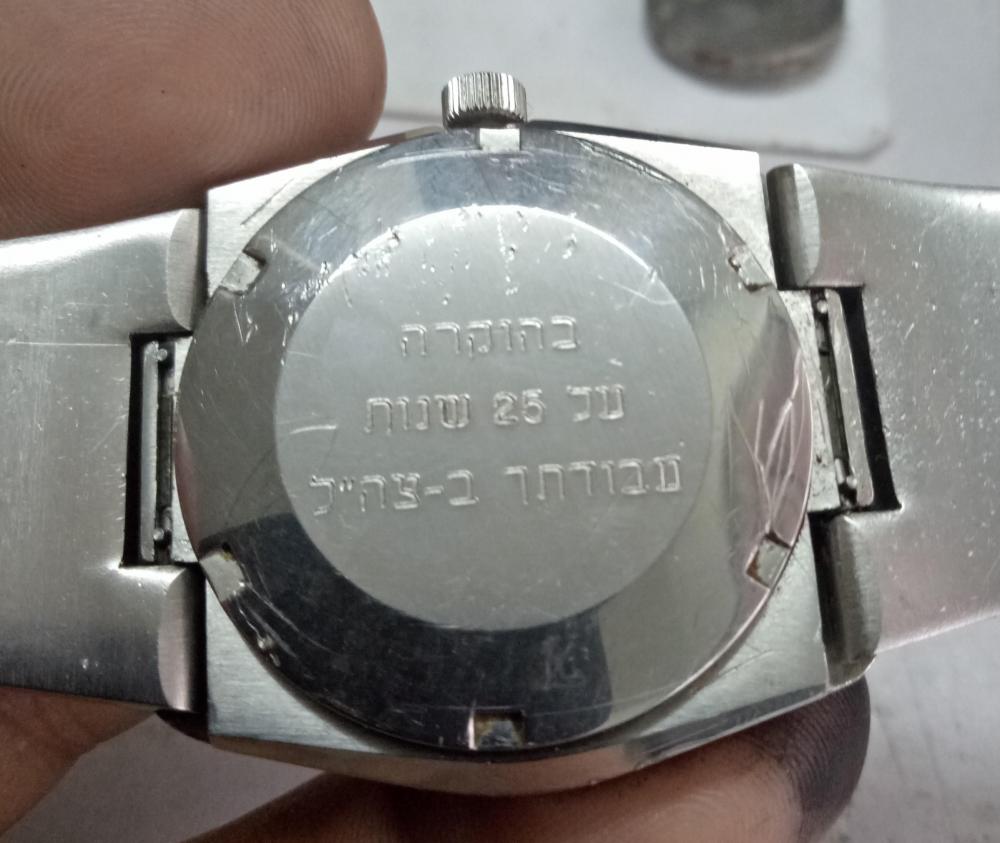
Hi guys, Started to work on the Tissot Seastar I posted below.. I received this watch at my weekend home and didn't have any tools handy so I started on cleaning up the case. (I borrowed the use of a case-back opener from a local store). Here's how it looks in the beginning, You can see that the chapter ring is separate and has come adrift. Beginning sanding with some fine sand-paper.. I started with some used 1000 grit.. And progressed onto finer grade. Getting better.. autosol is my preferred polish..they key is to keep using fresh polish paste and move to a fresh area on your cloth. Otherwise you'll be polishing plastic with plastic. The bezel cleaned up but theres a lot of scratches...way better than before though. You can see some scratches but with the naked eye its not too bad. That'll do for now. One of the lugs had seen some damage. A little light tapping had it looking better, here the springbars and case have been cleaned and the bracelet installed. I may get around to polishing the rear, more to get the scratches off but I may remove the engraving. I'm in Malaysia and Hebrew words won't help if I decide to sell it. Hands and dial are pretty clean. Looks like the case kept all the dirt on the outside, kudos to Tissot. A light coat of dust. At first glance the movement is nice and clean, it tries to tick .. hopefully a clean and service will see it right. I'm a bit cautious with these Tissot movements as I have had a few problems with these movements (2571). For one thing the centre wheel pinion where the seconds hand goes is quite fragile. I have broken a few.. probably because the hand-puller was not absolutely at right angles... but I dont have this problems with other watches!. Also the I have broken the Inca spring on a few Tissots but never on any other brand of watch. (KIF are another story!). Perhaps its just co-incidence but as a result I remove hands and balance jewels with extra care! coming up.. servicing the movement. Anilv


 1 point
 -
They are mostly used by artists, my wife has ours and I can't find it, or I'd take a picture. Ours is old, modern ones are better but I can't recommend specific one. Here's a link to one on US Amazon, should give you an idea of what I'm talking about. https://www.amazon.com/Lightmaster-Diagonal-Lightbox-Super-Bright-Ultra-Thin/dp/B00NRE2G6M/ref=sr_1_33?keywords=light+table&qid=1692564673&sr=8-33&ufe=app_do%3Aamzn1.fos.f5122f16-c3e8-4386-bf32-63e904010ad01 point
-
With me never for balance staffs or stems, regarding lube spittle is what I used just as they did over 100 years ago.1 point
-
Isn't micro-machining fun?1 point
-
I've come across this on ETA 2892-2 and 2894-2 where the movement ring is so fat to hold the movement in a big case, therefore pieces of steel rod slightly smaller in diameter than the holes in the movement retaining ring are used, maybe 3mm to 5 mm long or so. It obviously depends on the thickness of that ring and the reach of the pushers.1 point
-
This morning I measured the NOS balance complete and the dimensions from the balance arm to the end of the pivot on the roller side are right on. I am perplexed. I am going to cut another staff this morning and make the roller side longer by 10/100 mm. Here we go again.1 point
-
Hello Mike; You think watches dislike spending time in the drawer? Wrong !!! Thats where they don't have to work for a living. lol Seriously Mike, We like to see you fix it.1 point
-
I do find it's interesting is the collection and the library are now a separate entity wears before they were all one thing. But no matter what you should take the time to go and visit it's a interesting place to visit. Even I visited there once one summer got to see everything but I had a VIP visitation I knew the people in charge at that time. Another thing you want to keep an eye on is the calendar for events not just the classes because I think in the summer or sometime once a year they have some sort of big event and that would be well worth visiting to not just one class possibly lots eyeglasses I then one year Roger Smith was coming for instance to give a talk. Like that always looked really interesting also if you had a chapter nearby might be worthwhile to go to those don't know how welcoming and they are to hobbyists just tell them you taking a course you're at the beginning level and maybe they'll be okay the reason why joke about how welcoming of they are is in this country will be American watch and clockmakers Institute. We used even have a local chapter that we got annoyed with them and split and were still functioning and very happy. But some of the chapters made it very clear that they do not like hobbyists and others like us we didn't care and I don't know how the British chapters are with people that are obviously hobbyists whether they look down on you are not even nice of Summit give us a report as to what happens chapter meeting because it is a nice opportunity to meet other people that are doing watch and clock repair and learn additional stuff. It looks like you just have to join and then probably join the local chapter1 point
-
Can't you just use the basic Mac video software to record I know I can with the basic windows software so would assume you could do it in Mac1 point
-
He was probably just curious who you were after looking at the online ratings for the most annoying poster on the whole of the Internet1 point
-
If there is enough space so you can get the stud inserted into the hole like you say, why not . But such space isn't available in some calibers, in such cases you should 1- Lay the cock on bench upside down. 2- Open the regulator slot enougn for spring insertion into it, Close the slot. 3- Tighten the stud screw if you feel enough contral over the task, if not, grabe the cock and stud in your twe5ezers, flip it over to instal onto the bare mainplate, then tigten stud screw. Now is the time to make some adjustment to the coil, level it, minor adjustment for coil concentricity, check if balance swings freely, so on. This all comes before reassembly. Make a habiit of always doing adjustment to the coil, check the balance swing etc so you are sure balance and coil are OK before you instal it. Rgds1 point
-
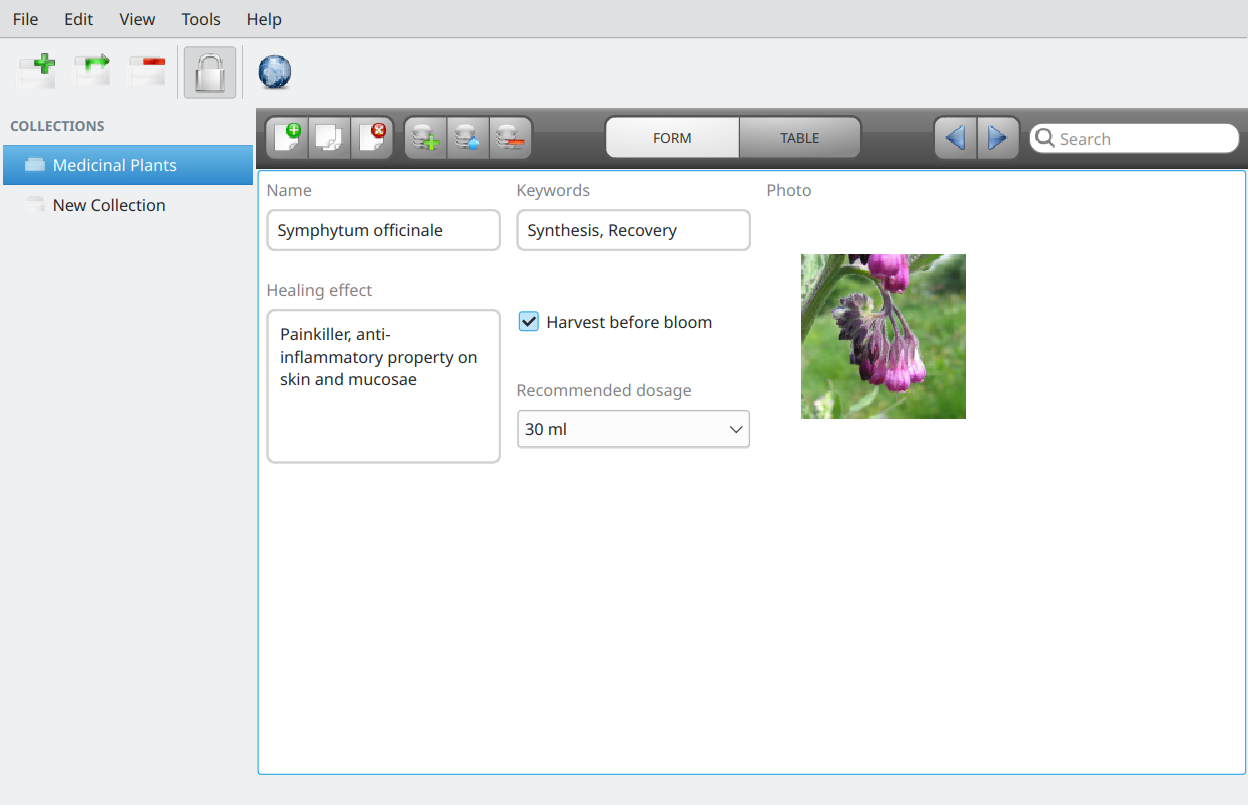
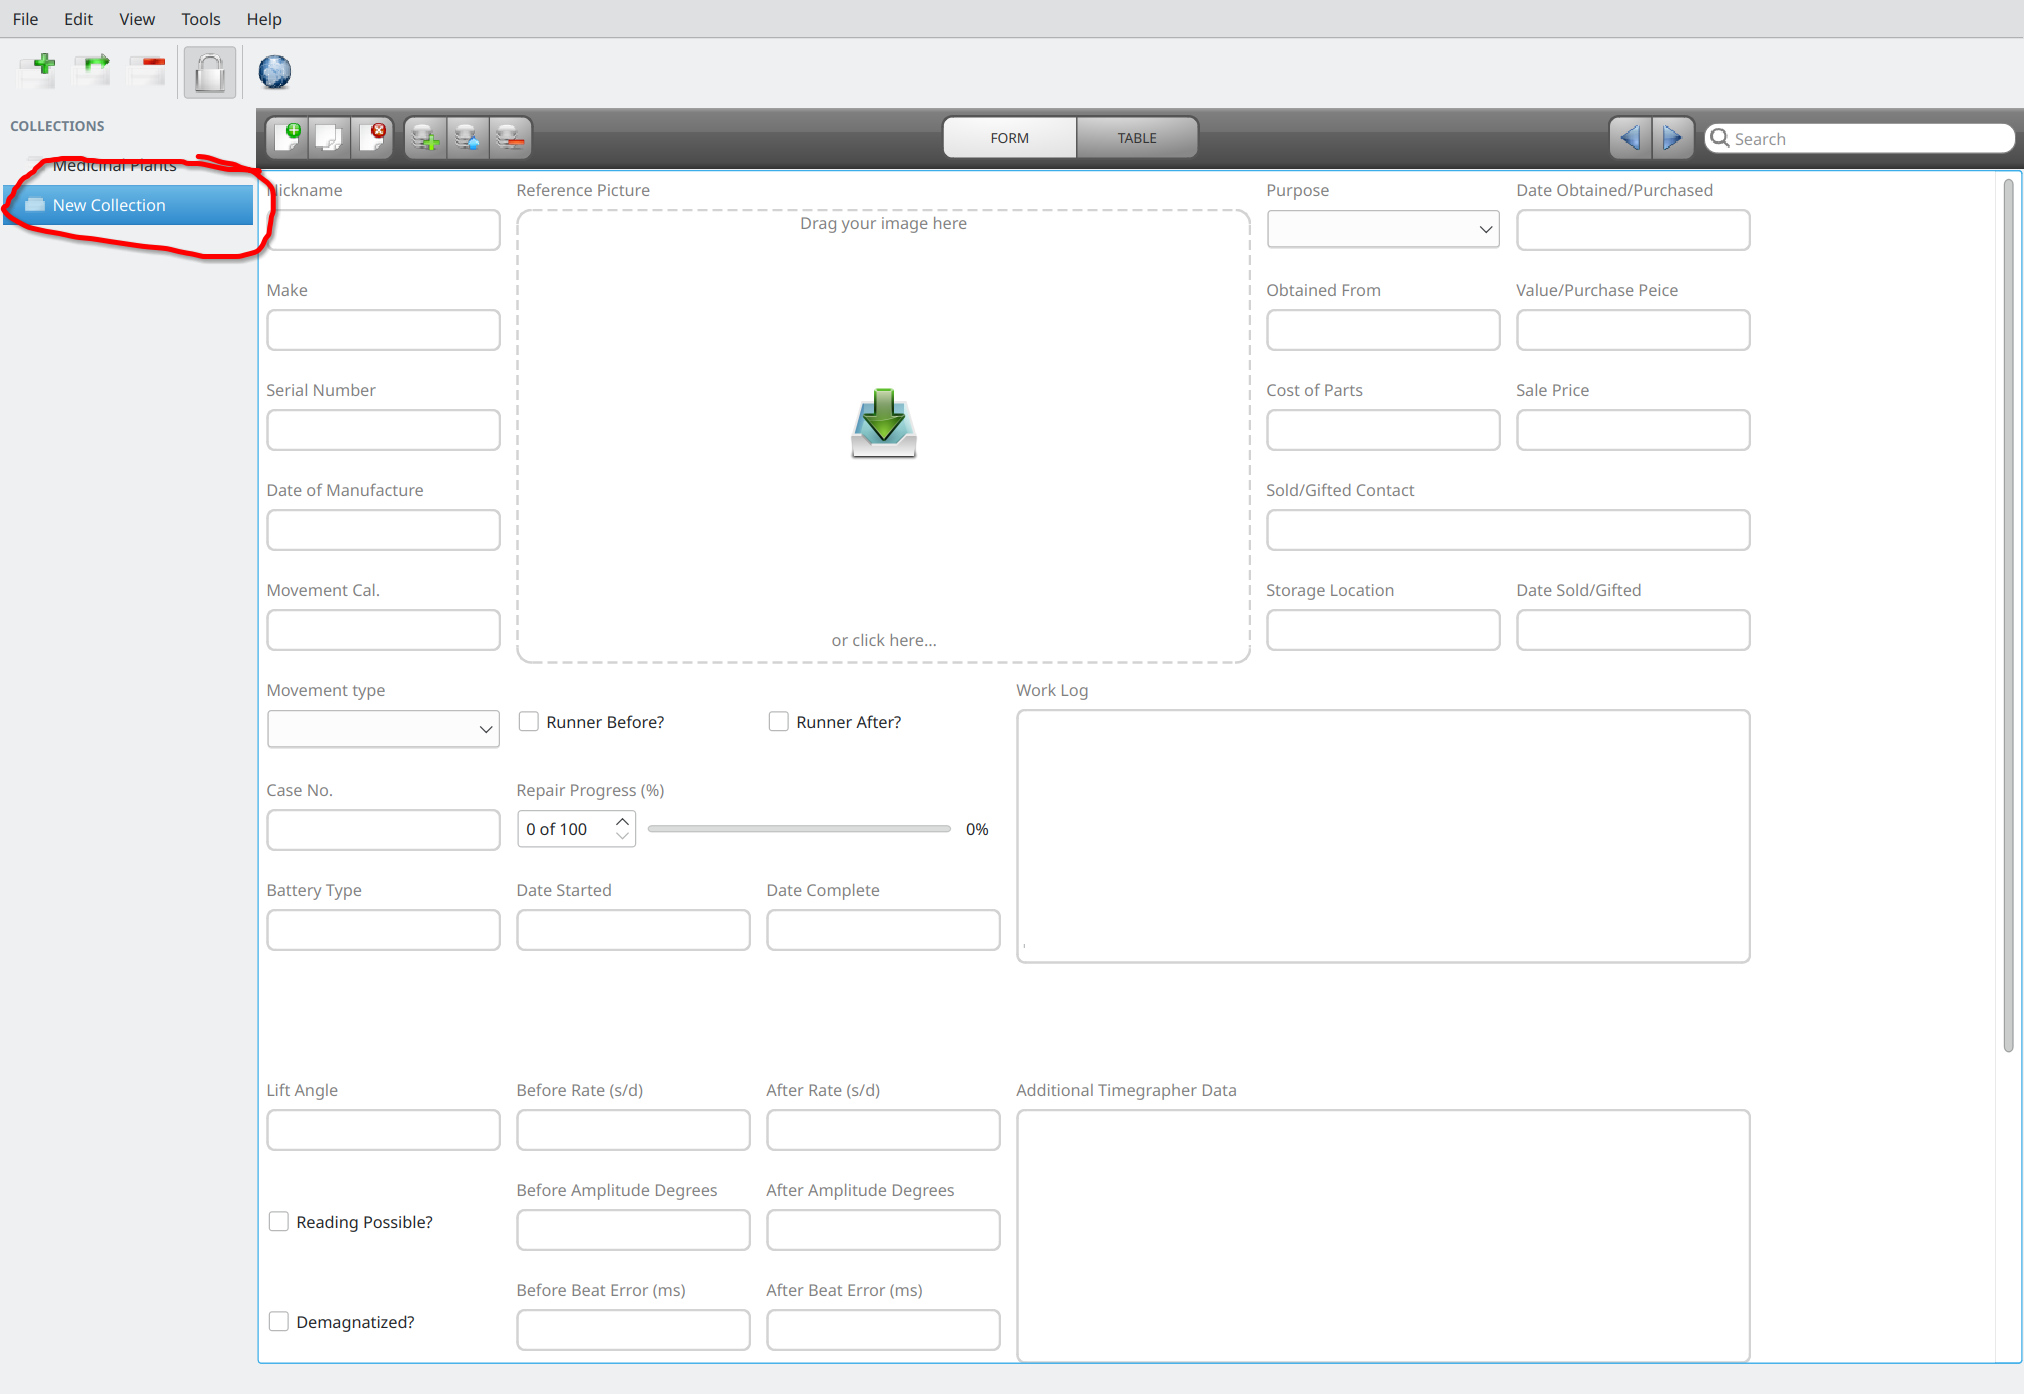
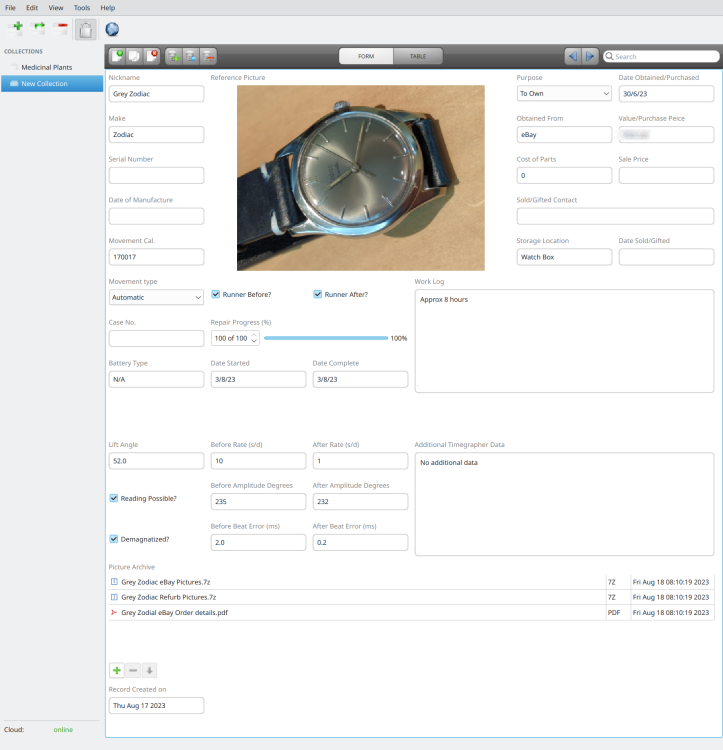
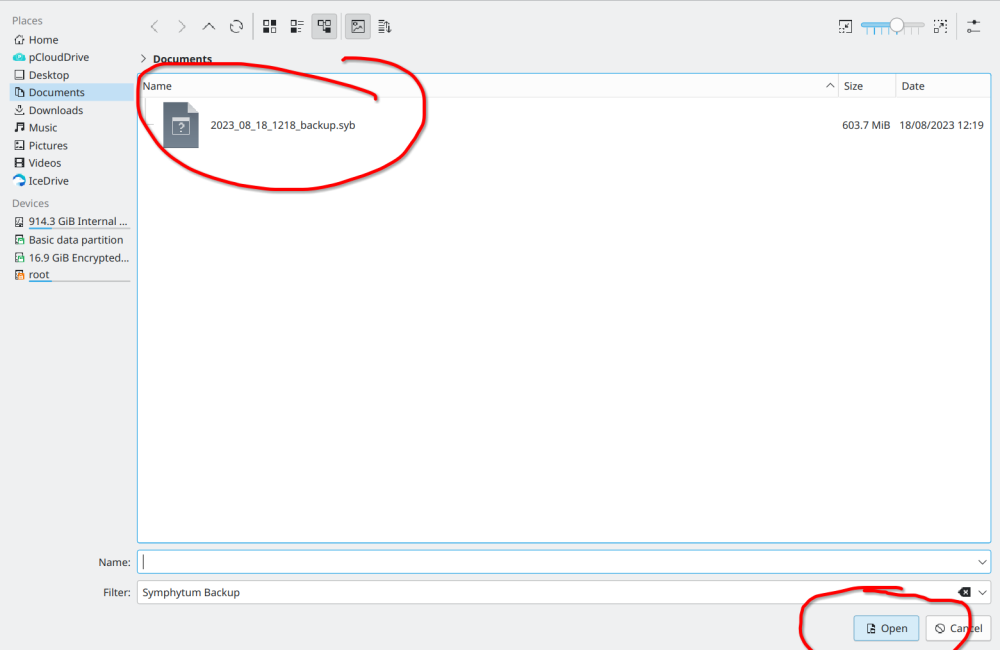
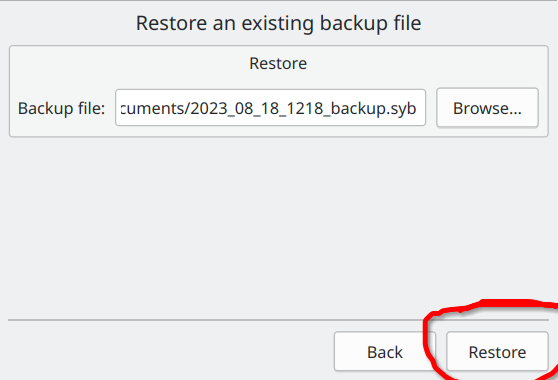
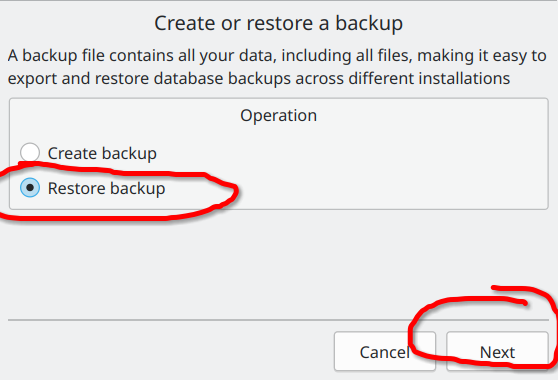
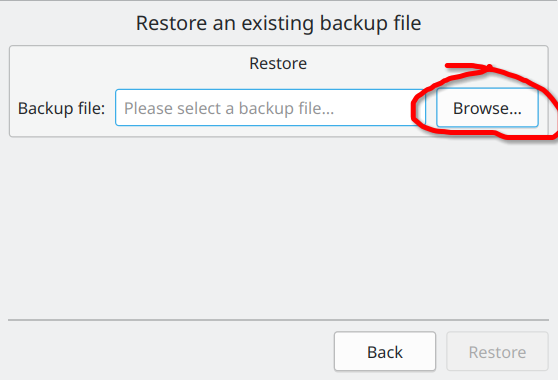
So here is the updated version - I have abandoned the Libreoffice version as this was buggy and pretty ugly - would have taken a lot of work to iron out the kinks and make it look pretty, hence I have switched to symphytum which is a stand alone database application which is free and open source (yay!!!!). The versions for Windows, Mac and Linux can be downloaded from this link. The watch database I have created can be downloaded from the link here - completely free to use and re-distribute...etc. I think this is much more stable and looks a lot better than my previous attempt. Steps to use: Download the software (link above) and install on your machine, latest version is 2.6 Download the database file - I had to do this as a data backup, so you will need to restore as if it is a backup of your data Use and enjoy! Steps to install the backup: Start symphytum, you will get a screen that looks something like this: Go to file (top left menu) and select backup, then you will get another window (below) and select Restore backup, then next Now navigate (press the Browse... button) to the location of the backup file that you downloaded on your computer: Highlight the file and press open Then Restore int he box above You will need to re-start the program and you should now see in the left hand side a new database, click on it and you should have your first record input sheet. as below: You can now right click on the plant database to delete it, unless you like it Here is an example of one of my records: Any pictures I took during the service I simply zipped into one file and dragged into the file storage area (picture archive: bottom of record sheet) I'm also keeping my eBay receipts there etc. Hope you like!

 1 point
.JPG.36b173309f9442d8e78aabd9a78373ee.JPG)