Leaderboard


Popular Content
Showing content with the highest reputation on 10/01/23 in Posts
-
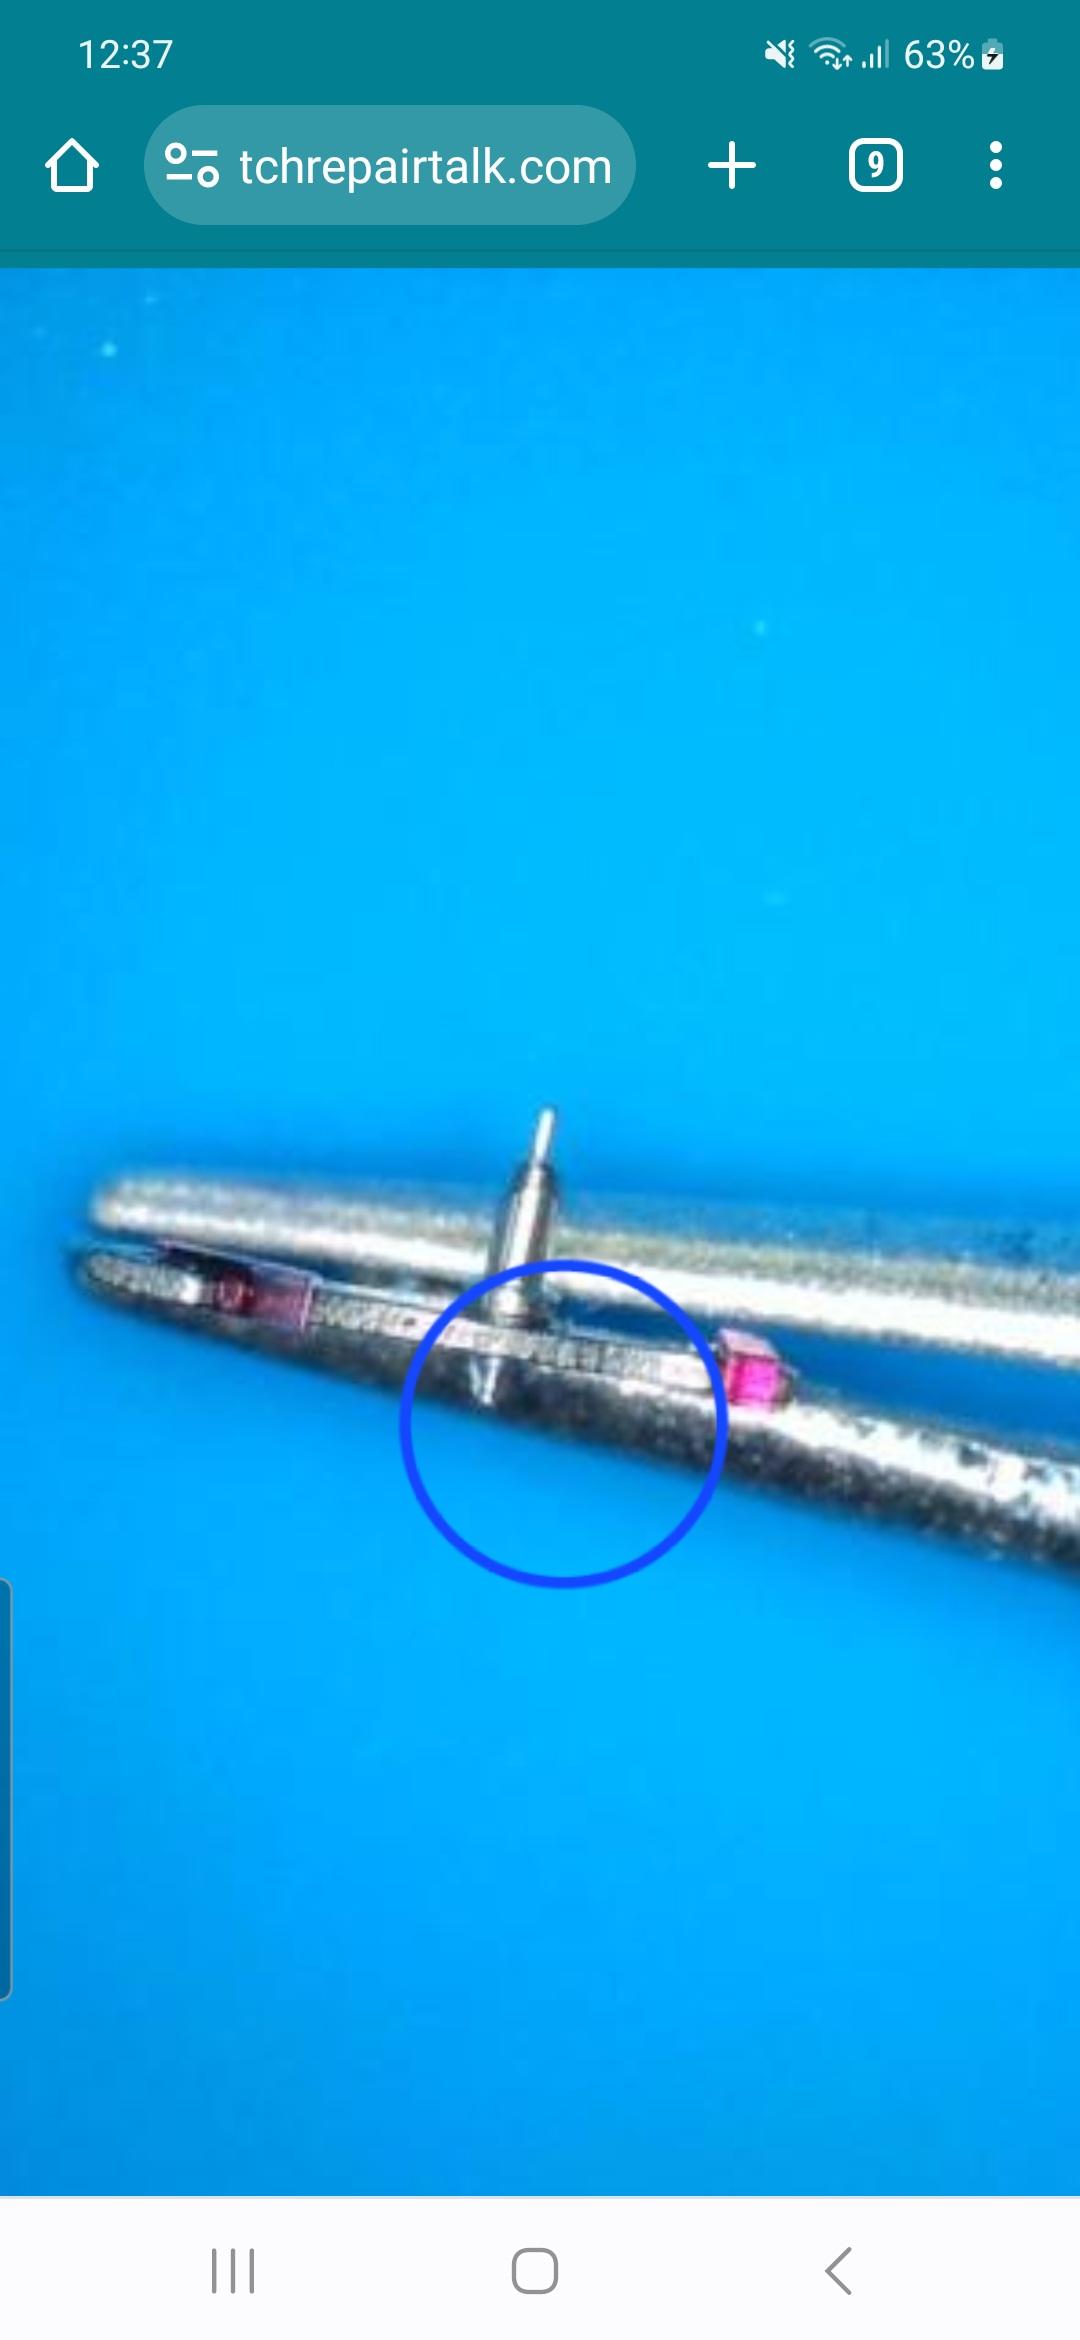
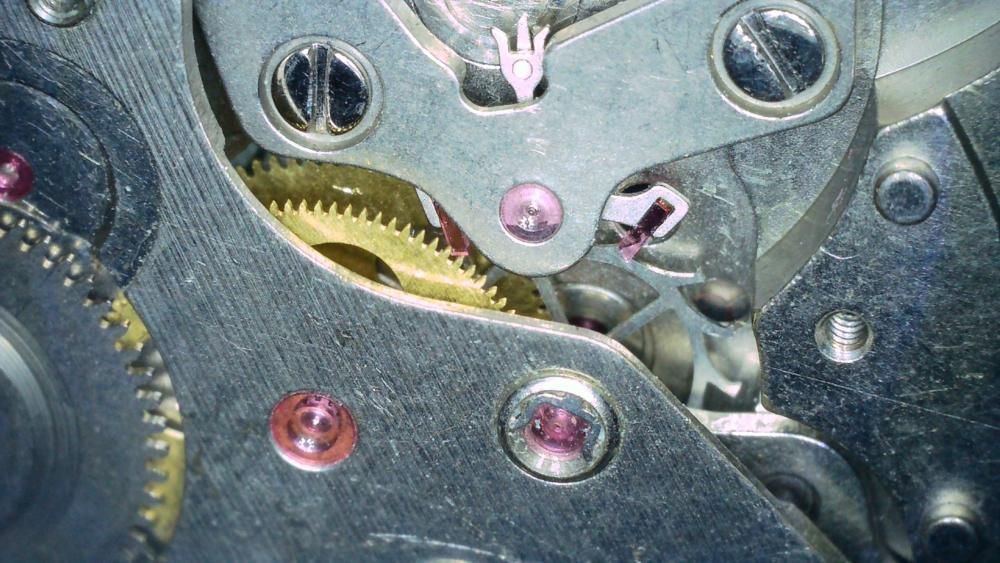
Looks like the bottom pivot has hightailed it. Can you improve the clarity of the photo, or spin the fork over and take another photo, ww is right we can't tell for sure if the pivot is there . Once thats been established you can move on. You have two forks i remember so we need to see clearly all 4 of the pivots.4 points
-
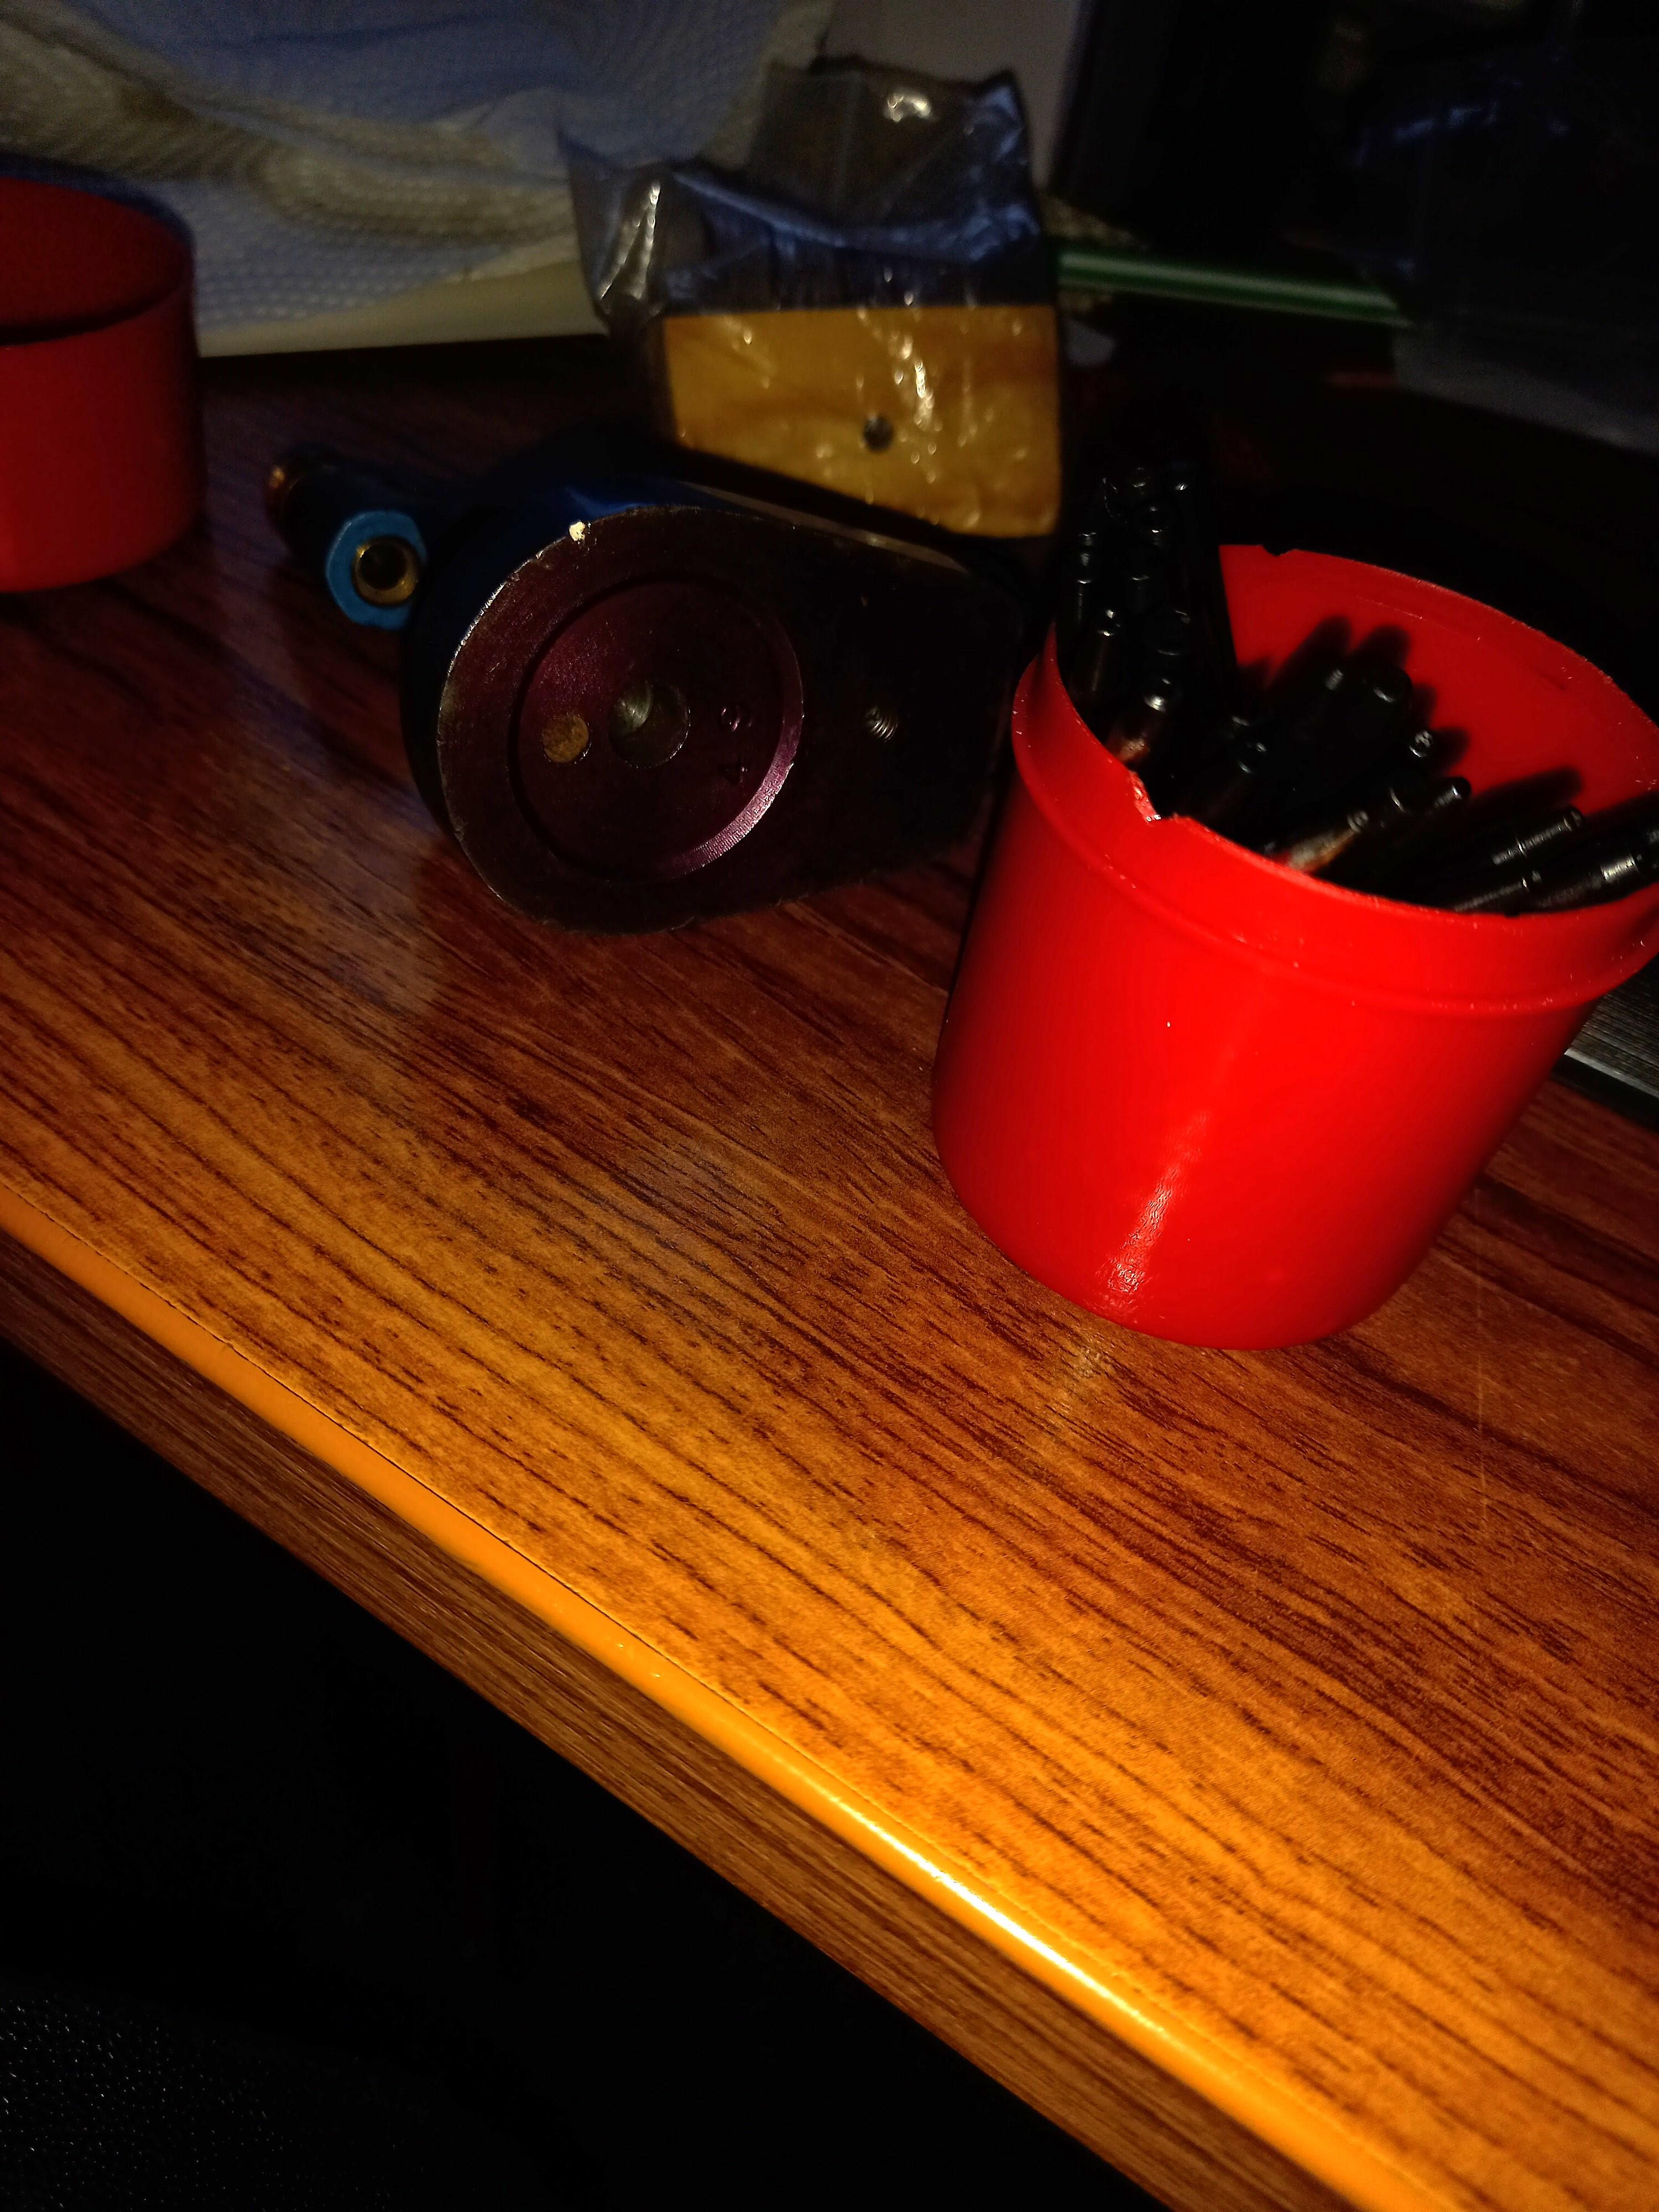
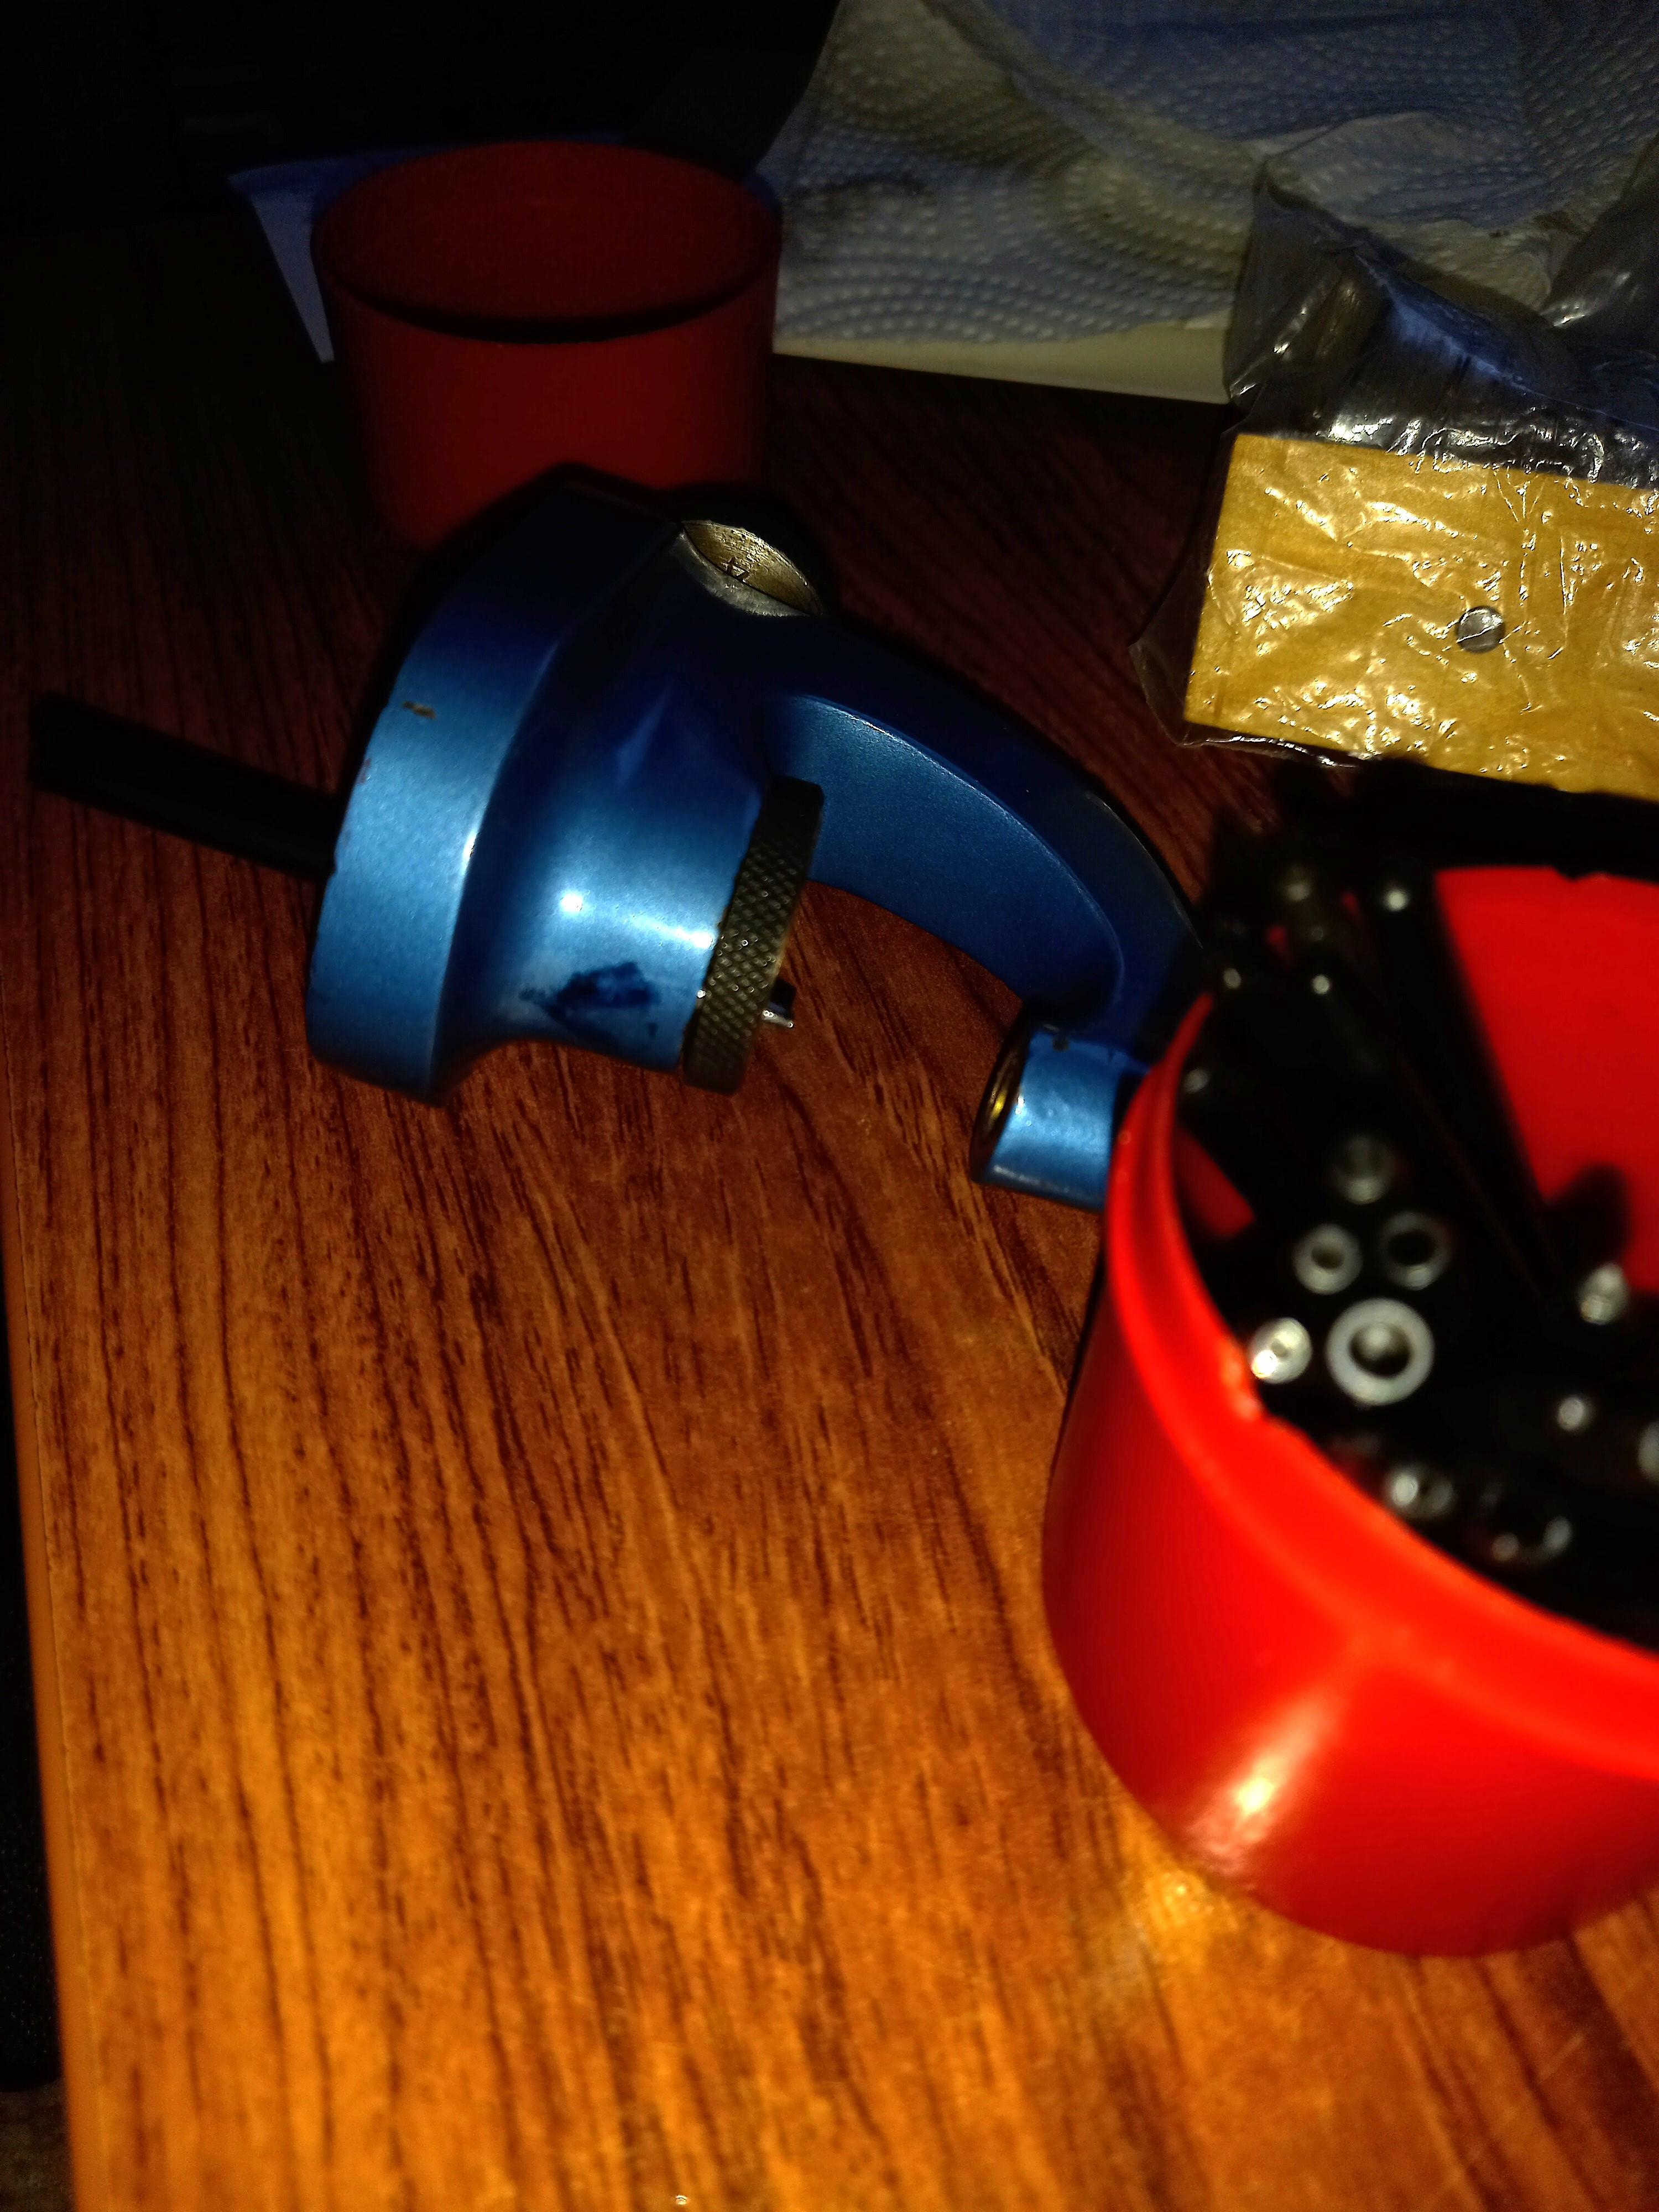
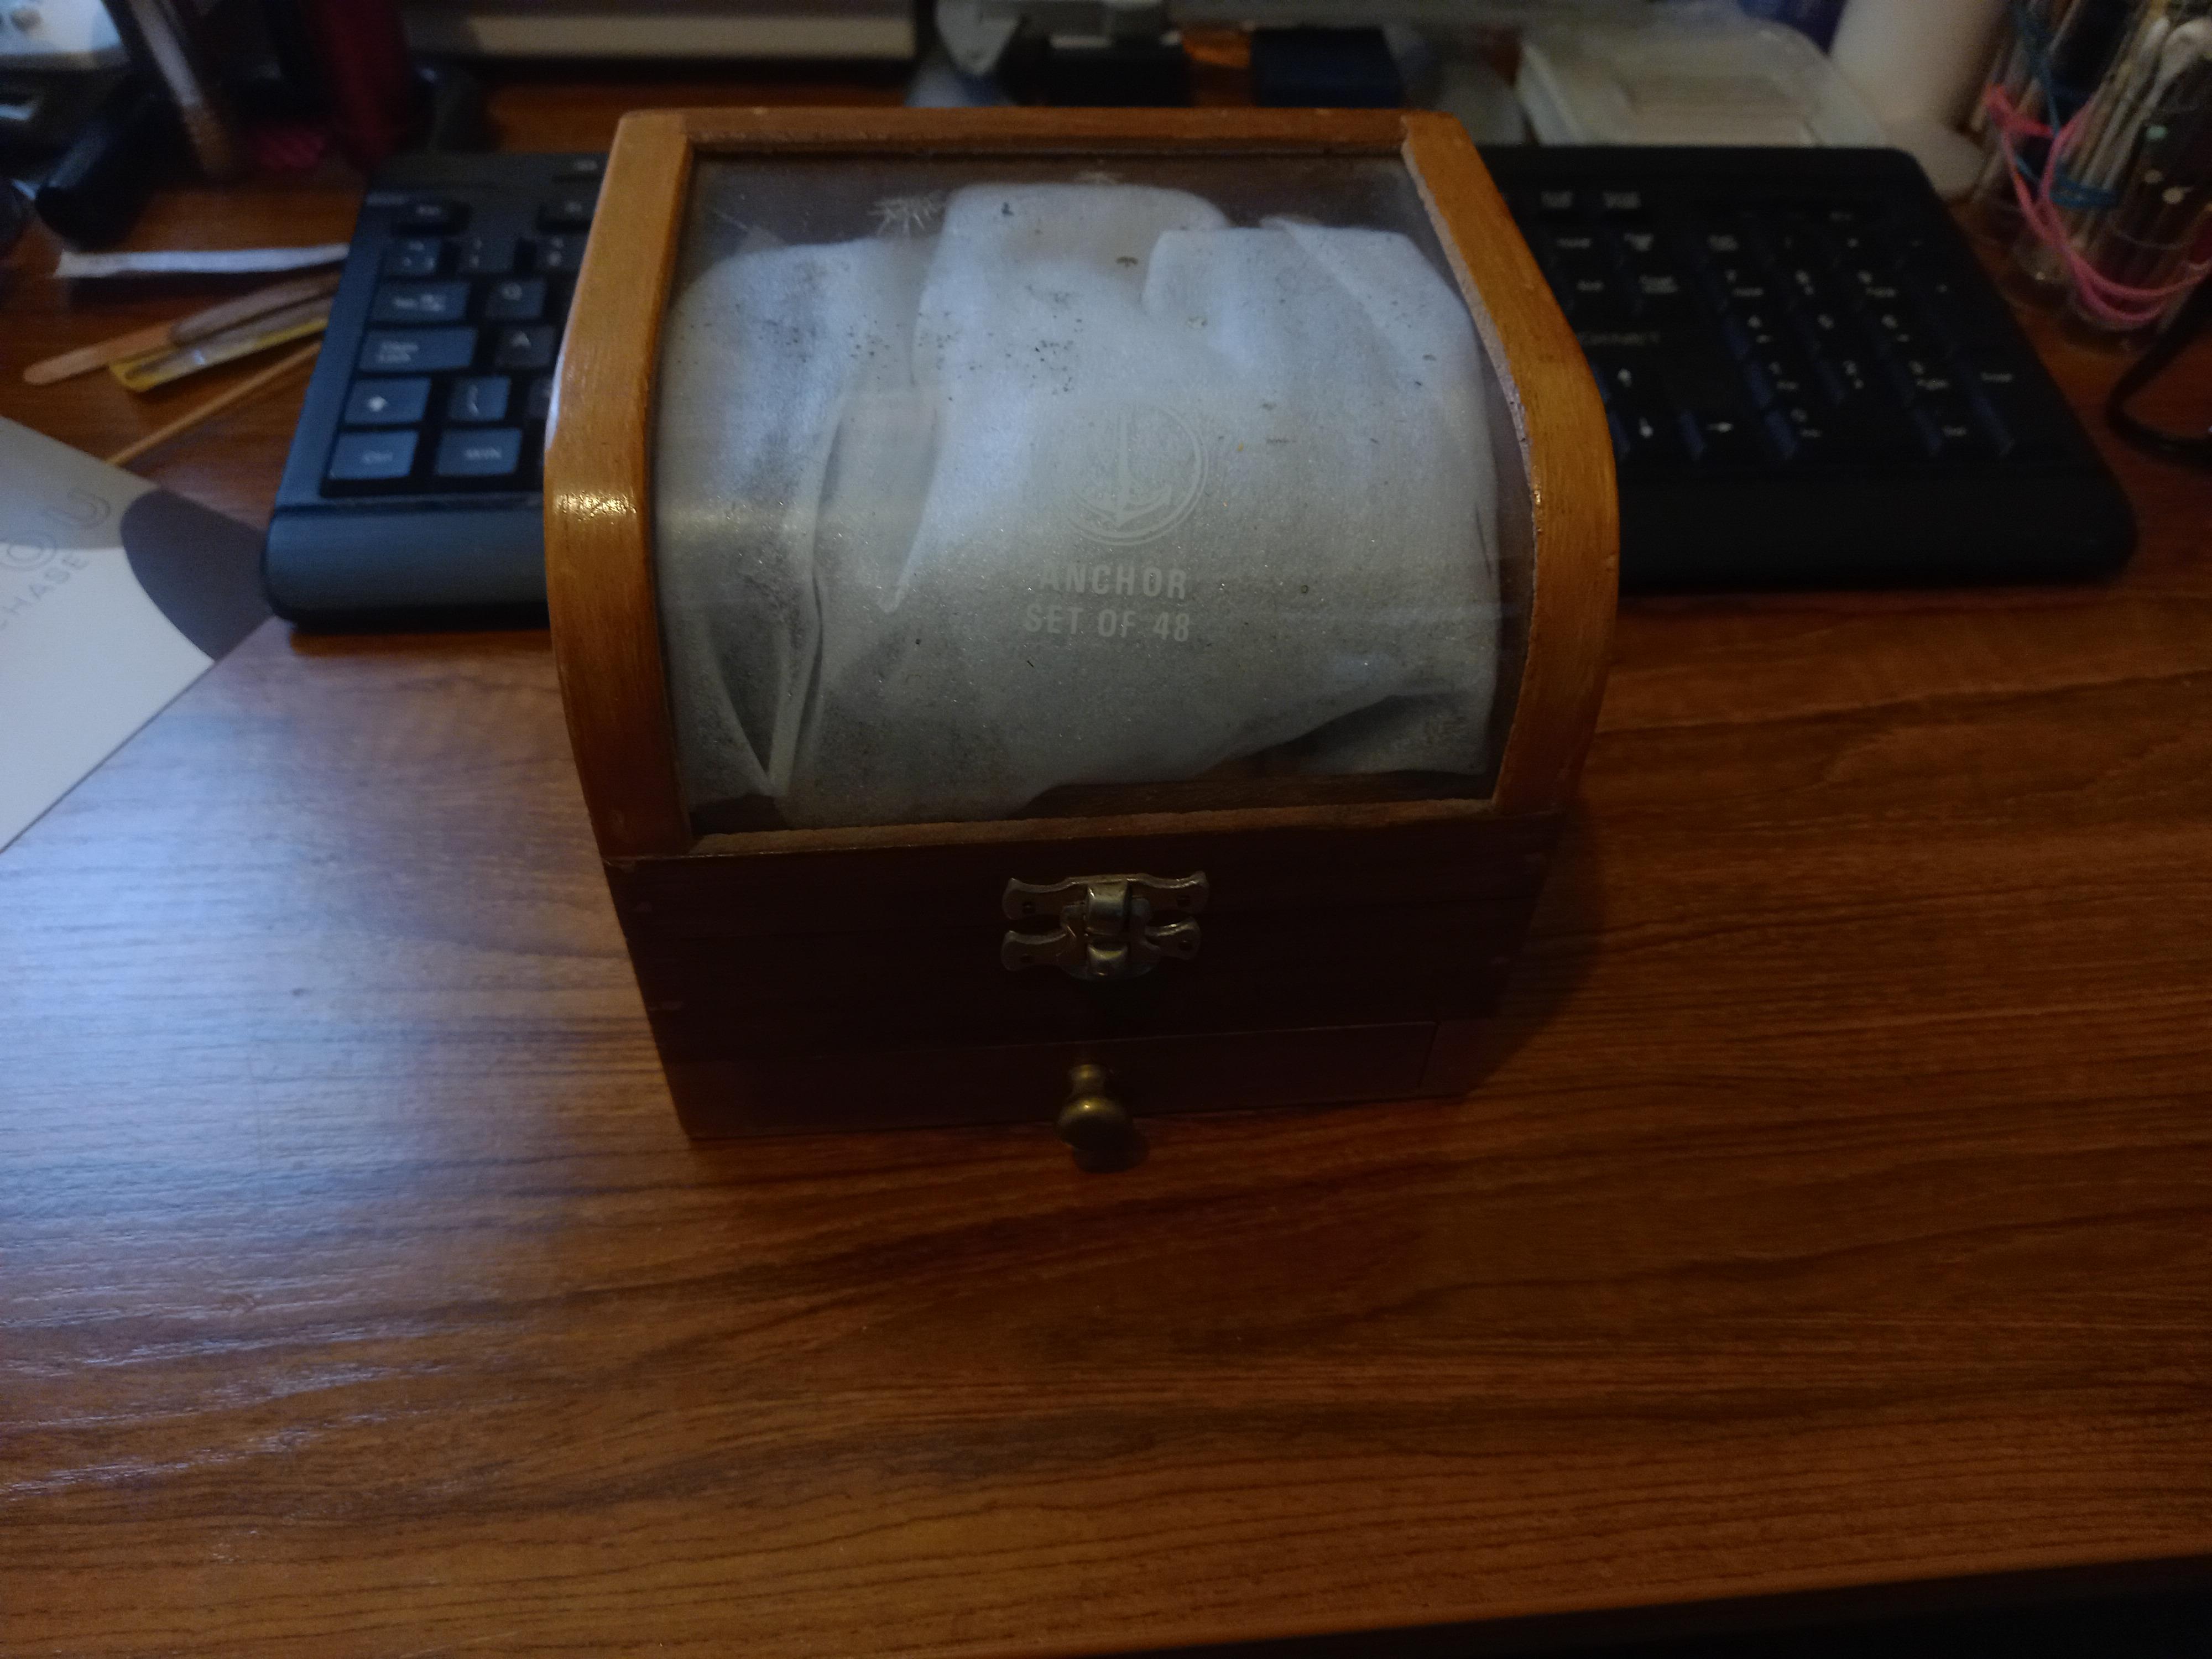
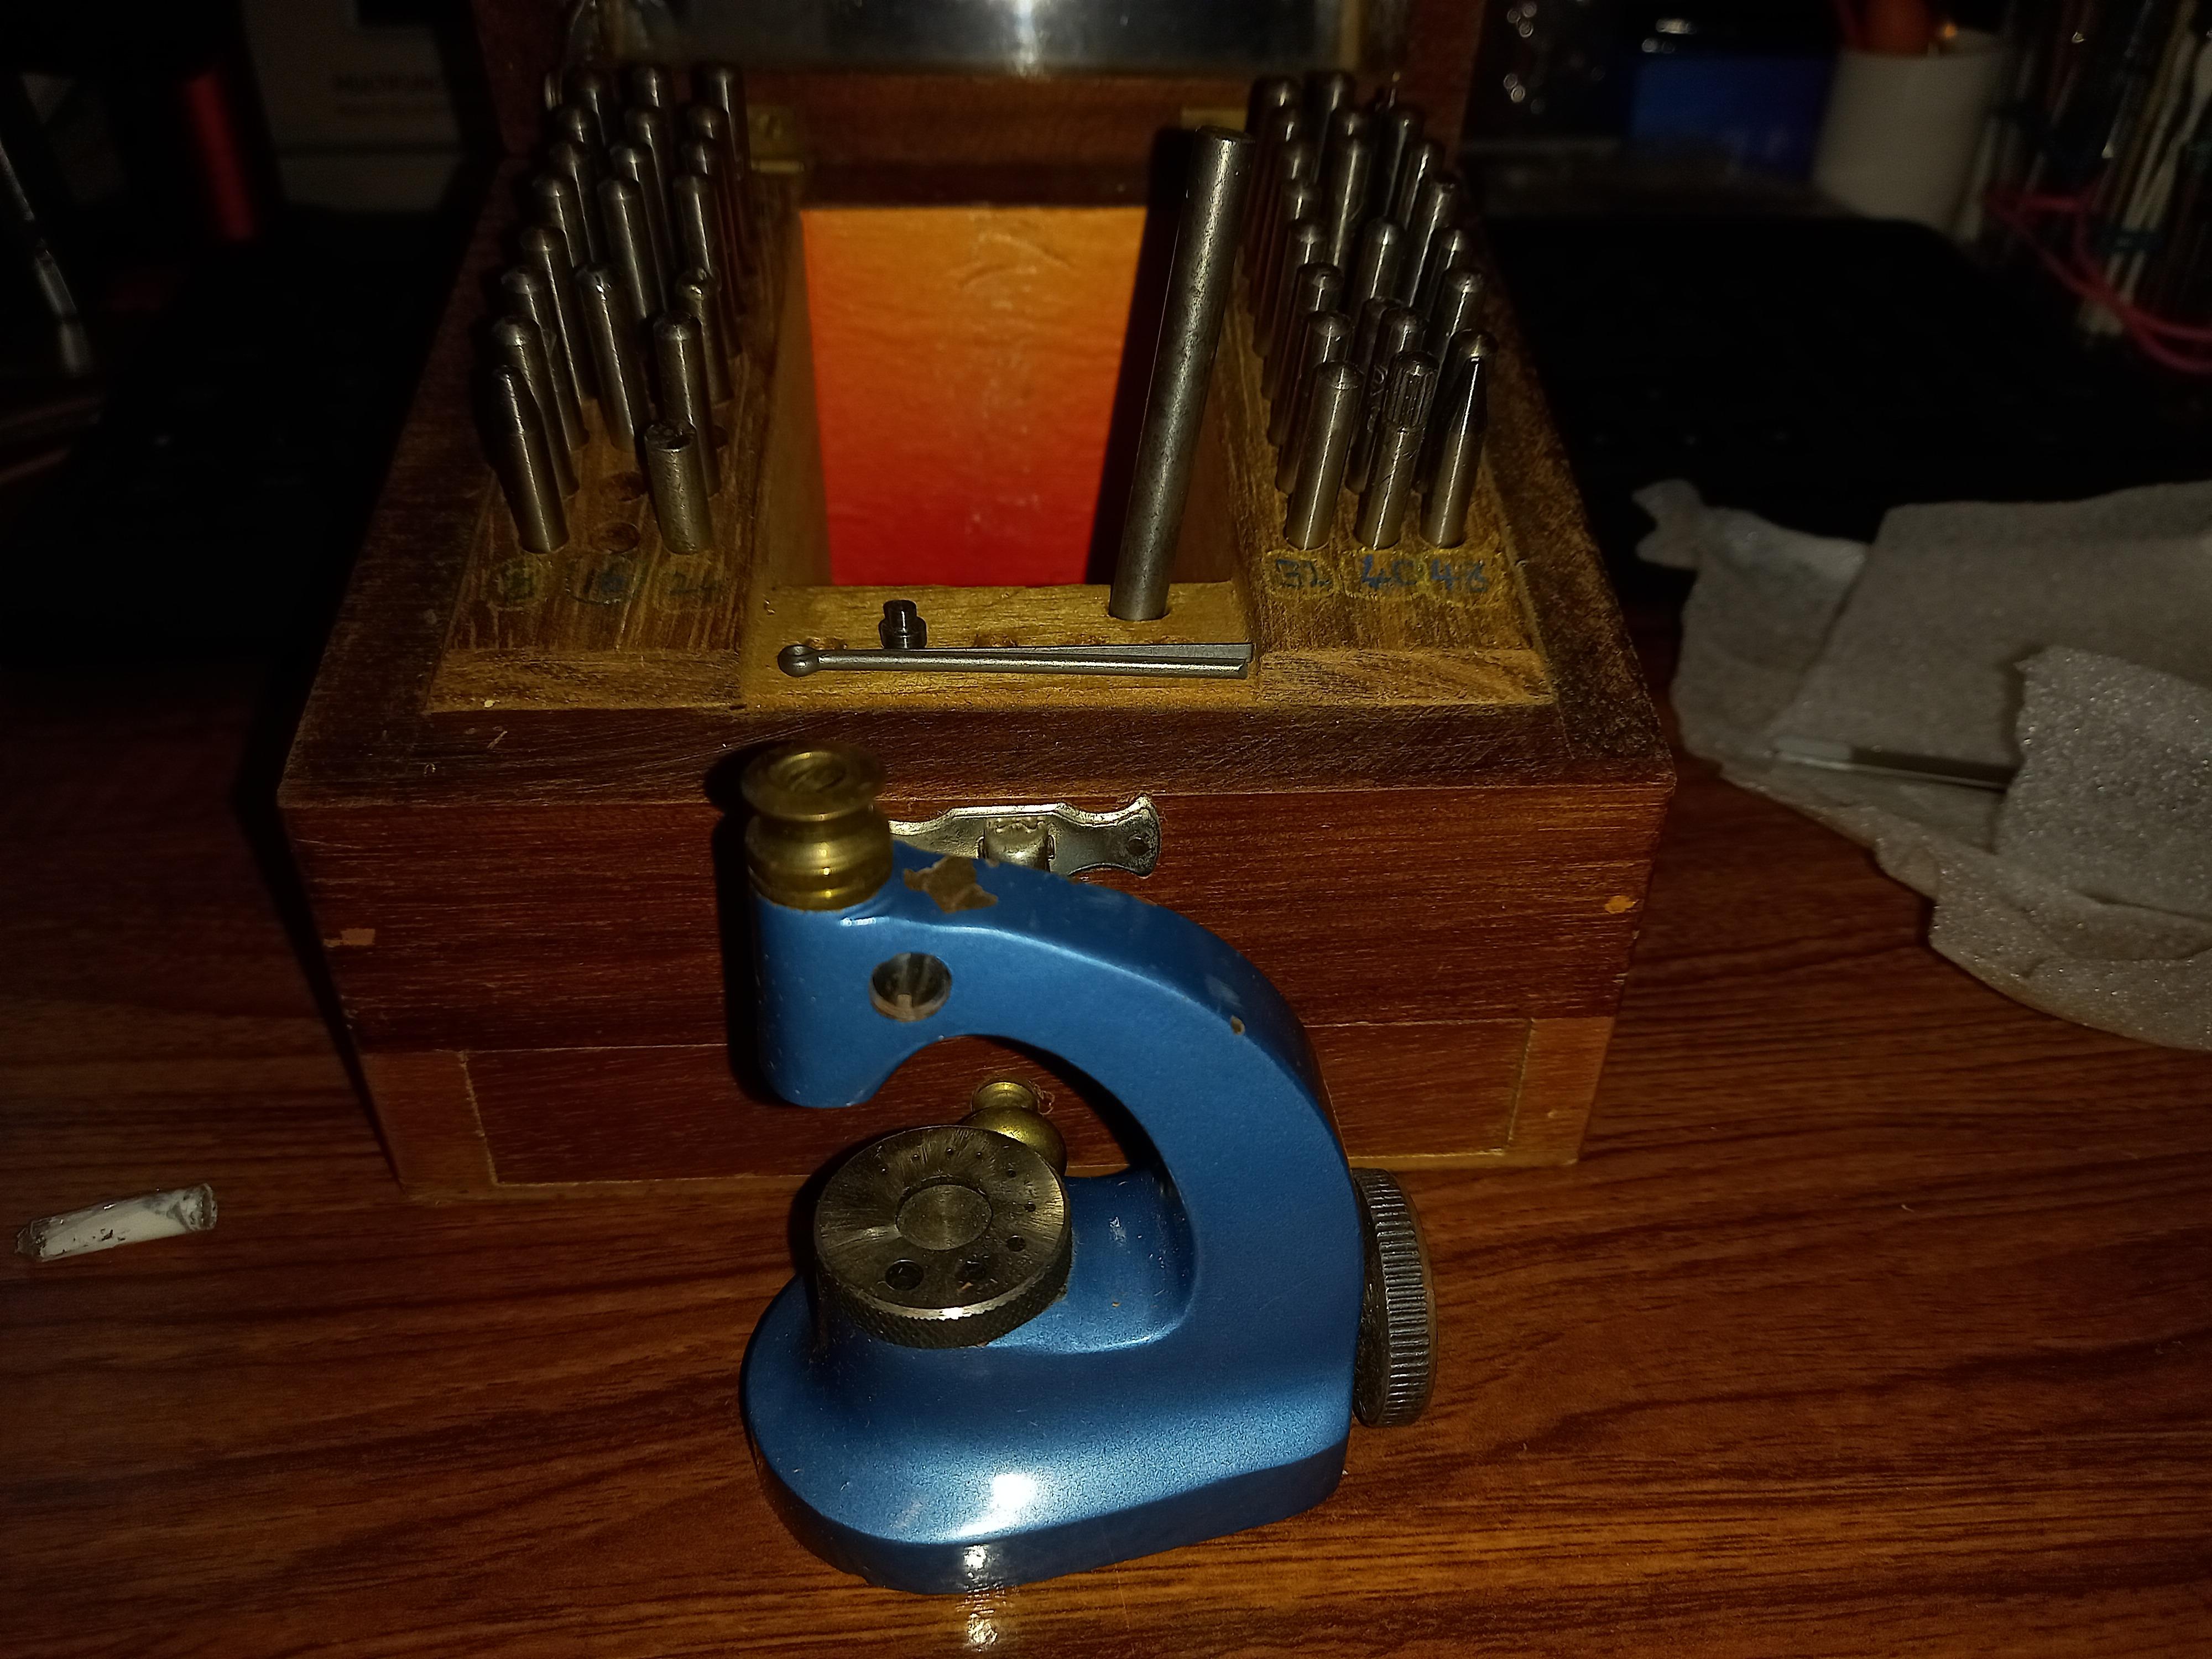
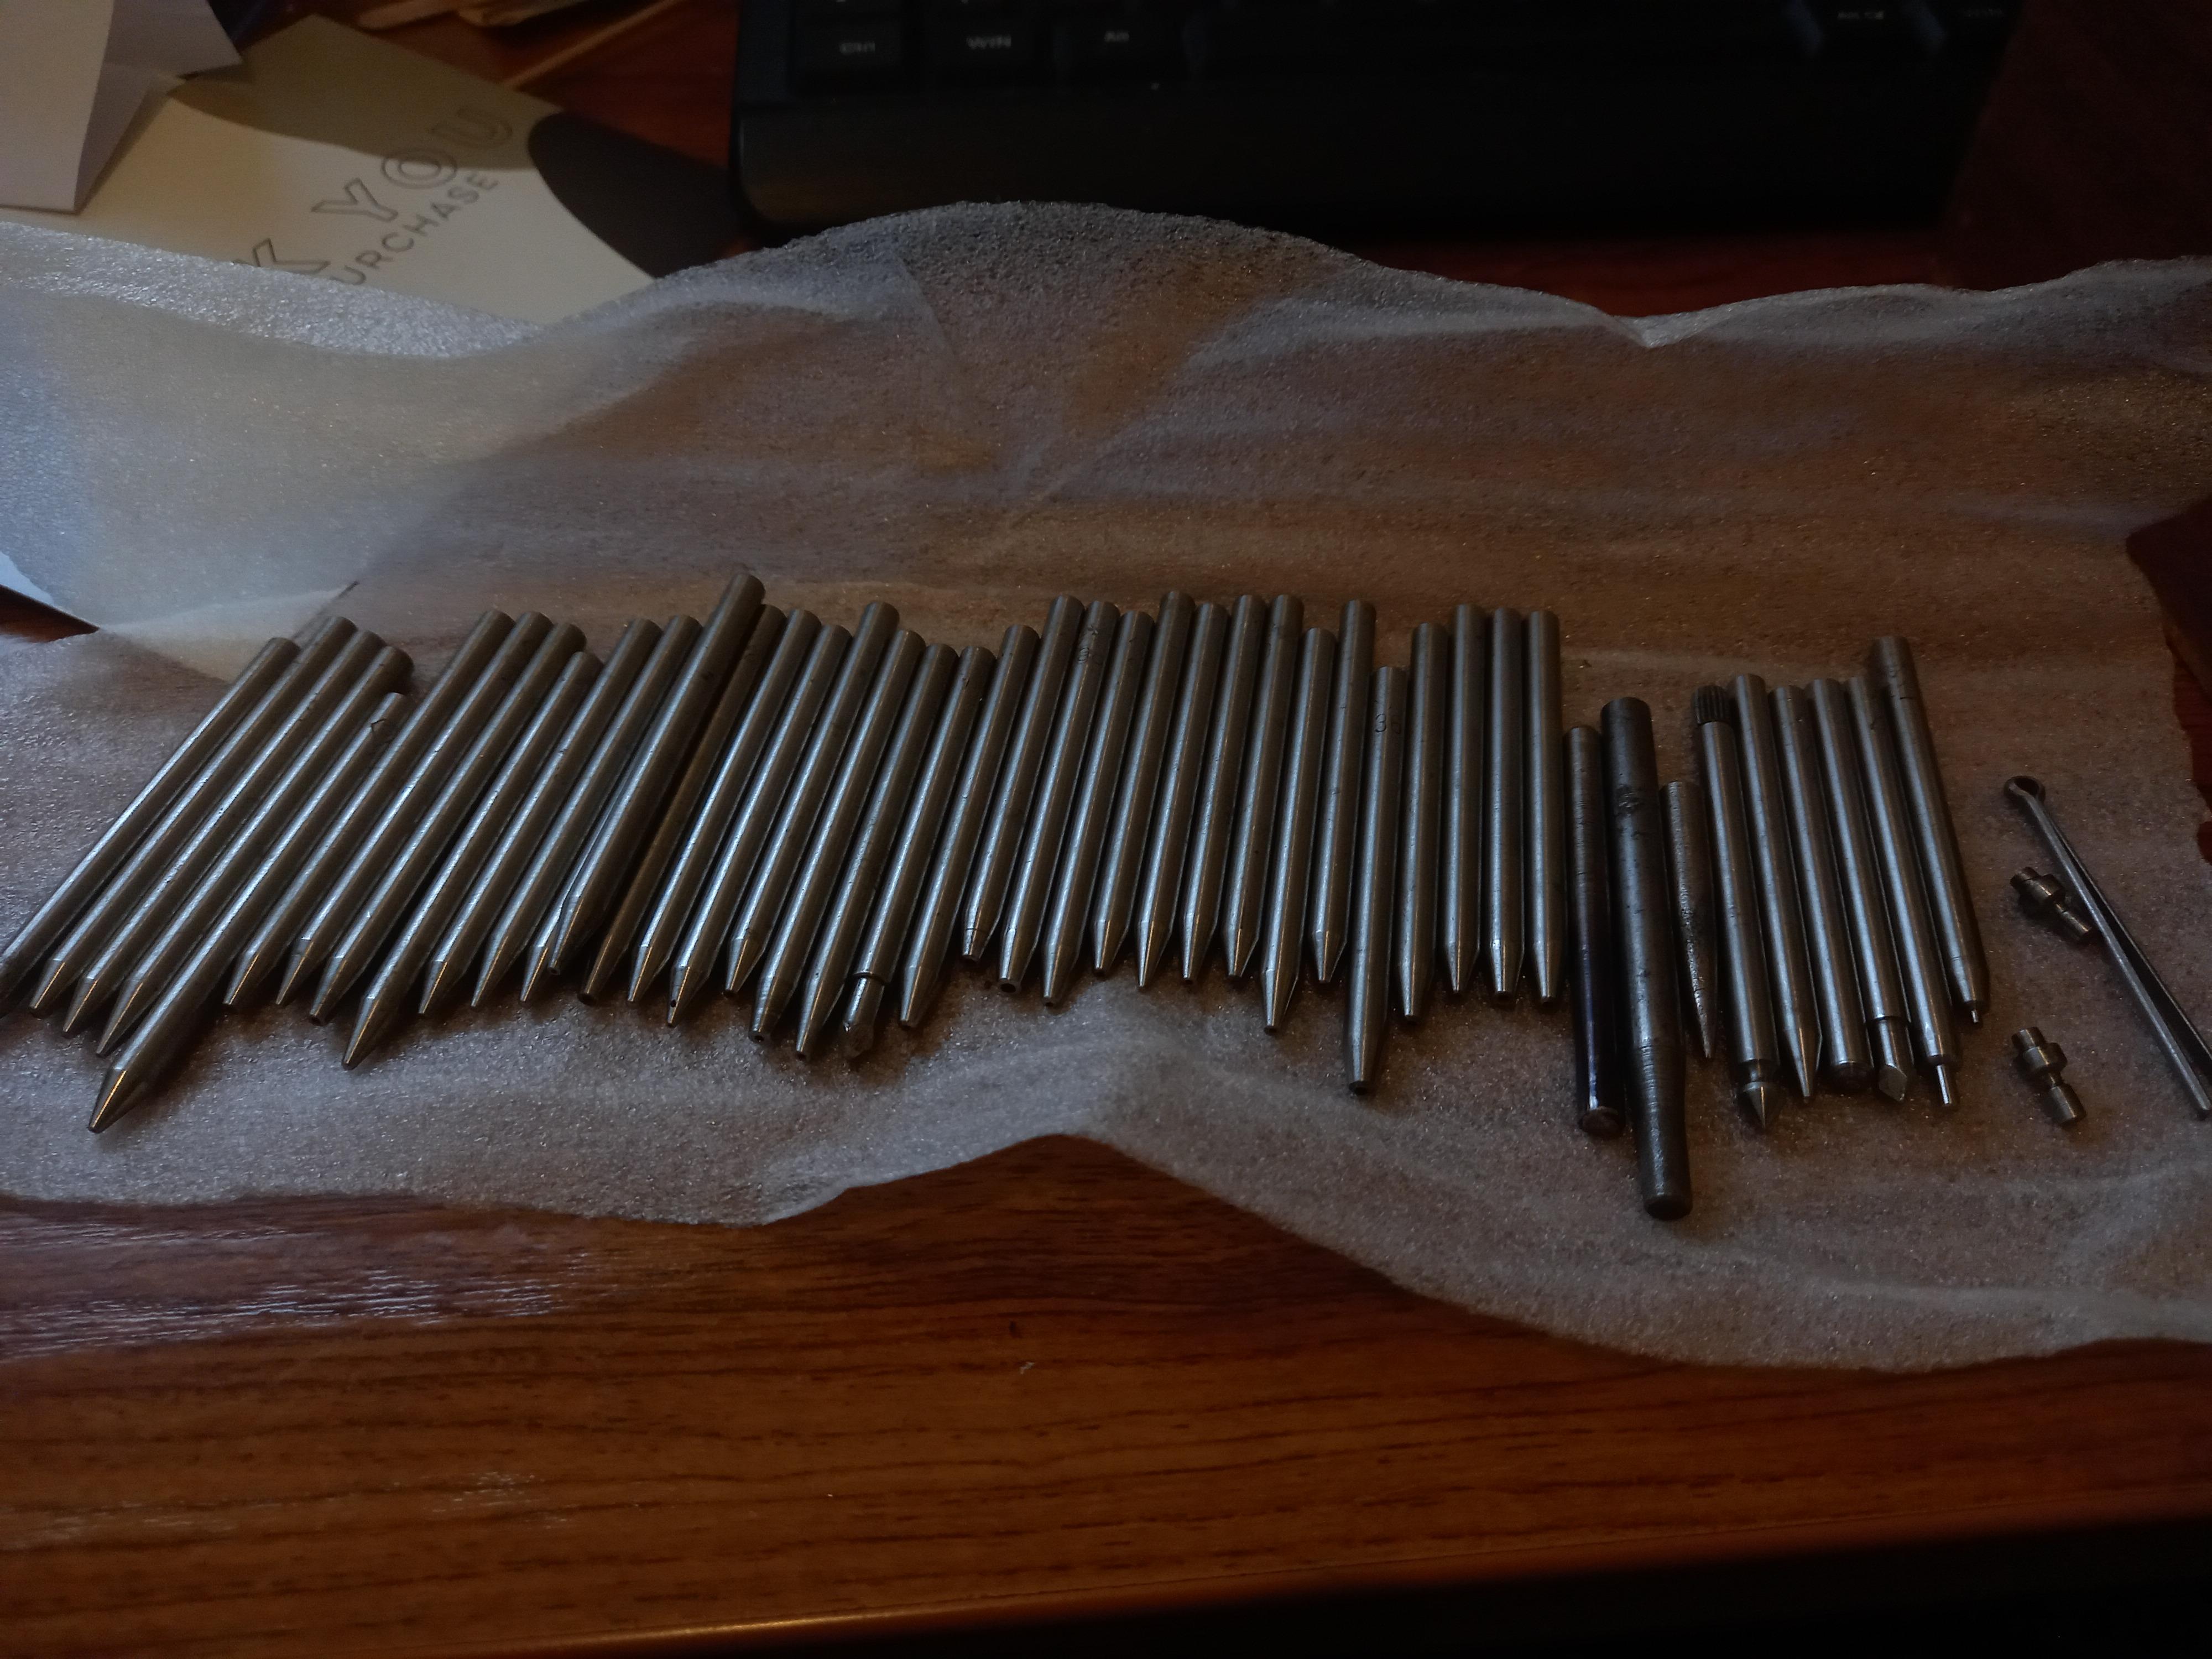
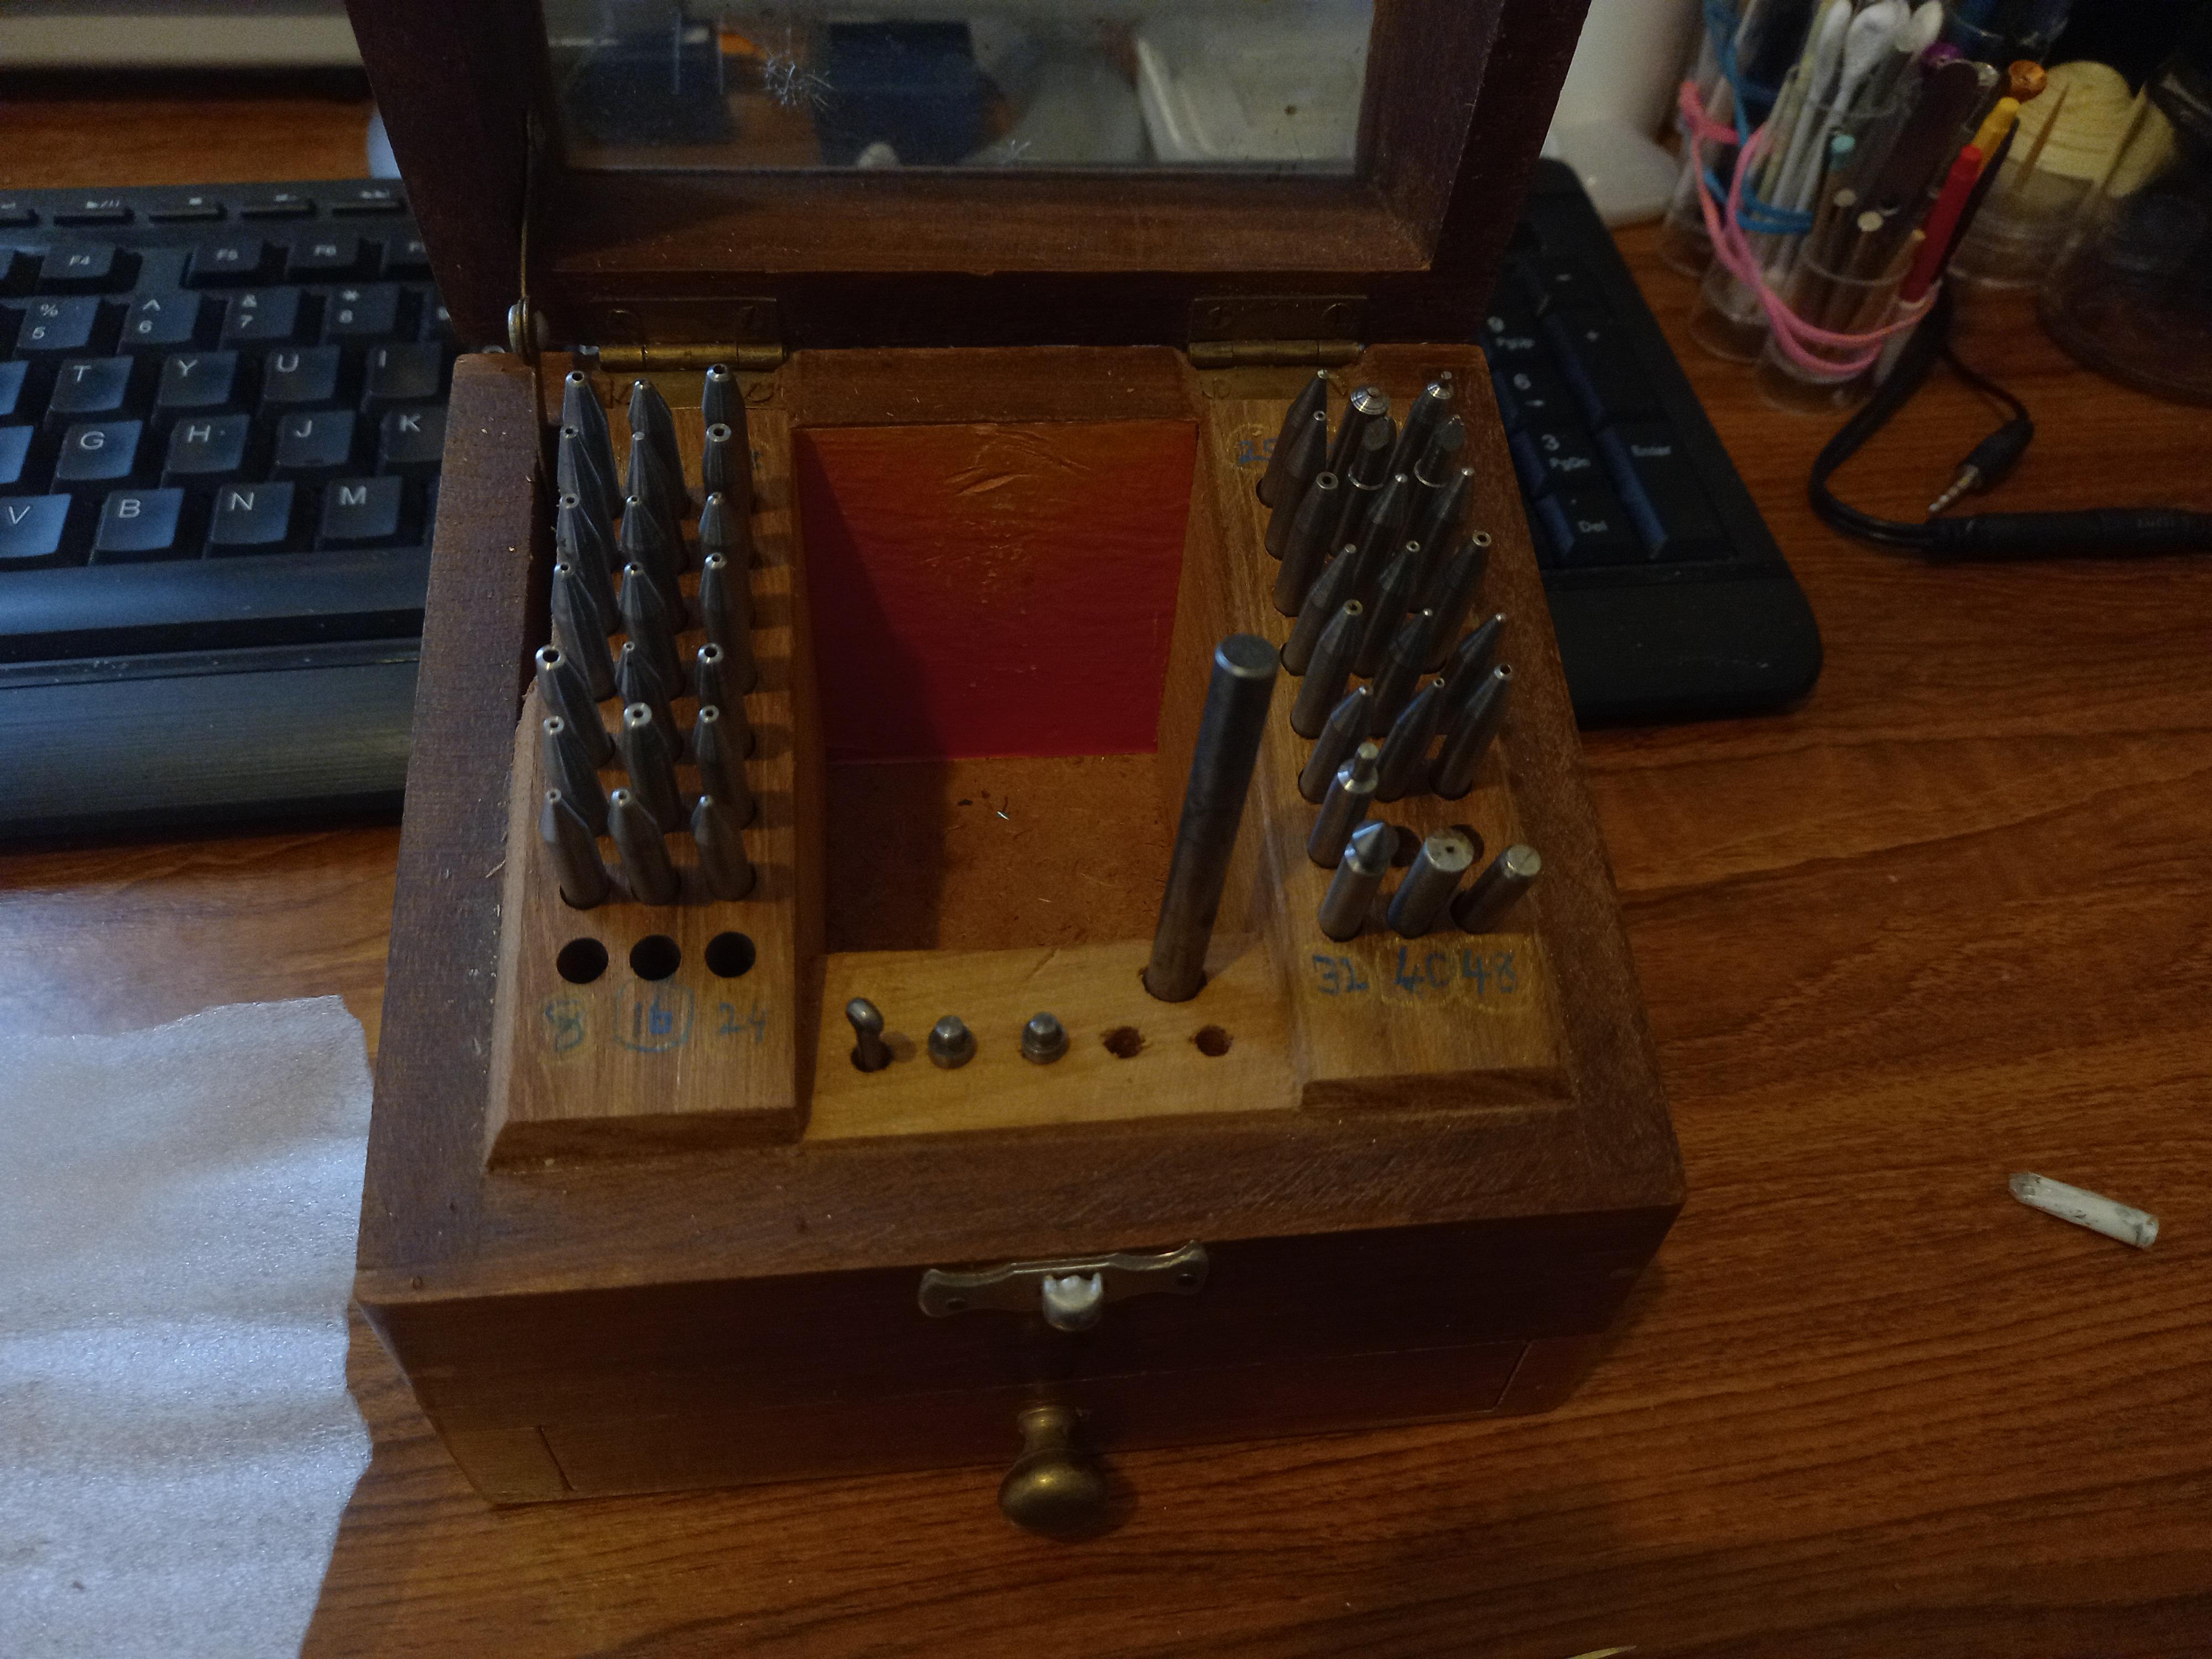
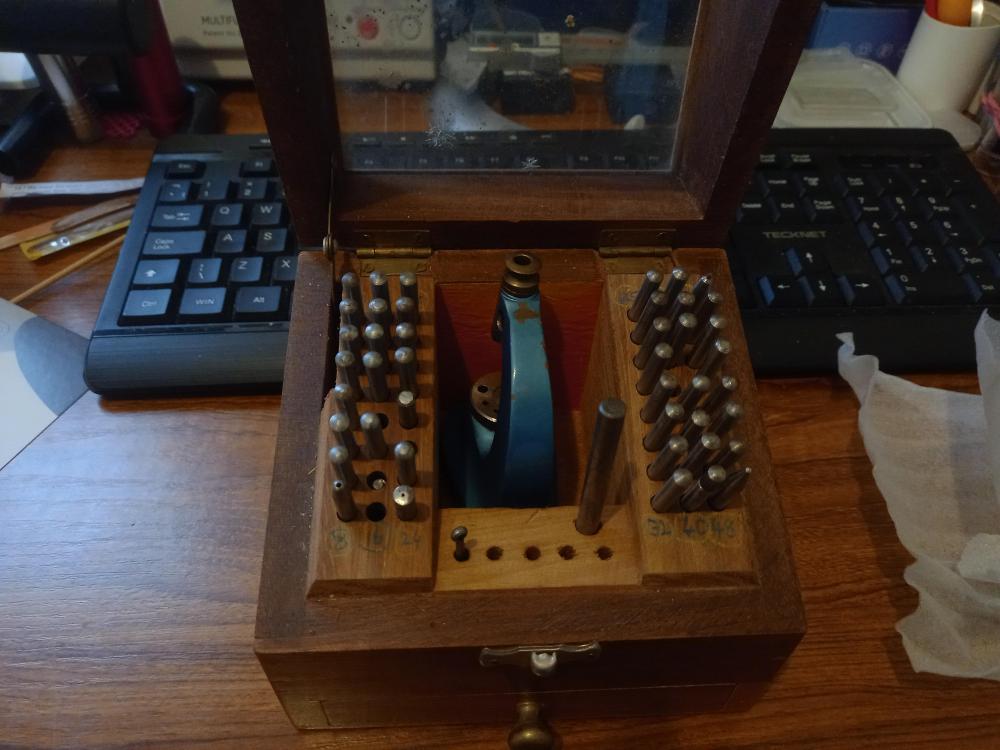
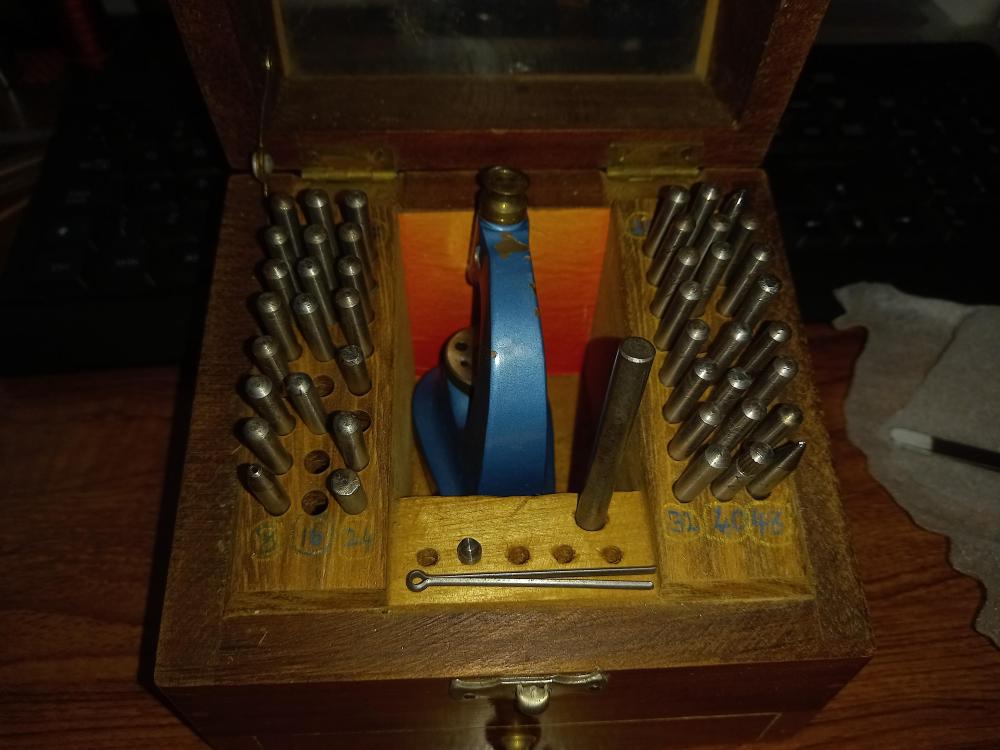
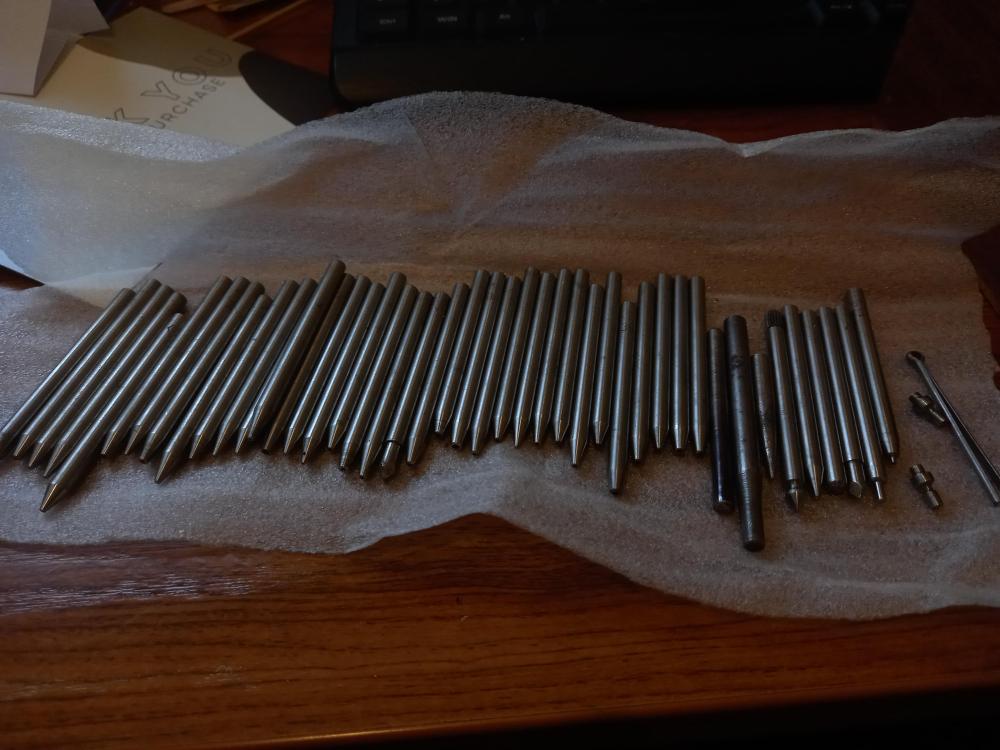
Just been talking to Never who has a set. I noticed that he had a base for stakes to be used as stumps. The stakes in my set cannot be used as the hole in the spigot is smaller than the stakes. Ah well. so I thought. Well, guess what. The hole in the base is the same diameter as the cheap Chinese stake set I purchased last year for a few pounds. Judicious filling around the pointed area and, hey presto! The point goes through the spigot hole to make a stump. Can make a wooden extension foot to accommodate. How good is that? Will probably take me a few weeks to filing the ends to make the stumps. A few more to make the base. Don't you just love DIY?3 points
-
Building a watch isn't just putting the parts in place and tightening the screws. We should check the functioning of each part during disassembly & re-assembly. Bunch of forks are brought to the stage here, non work, there must be a reason why your fork delivers no power.2 points
-
Hi guys, I have started a project in Github to generate all the possible types of mainspring winder sizes from a single base design using a Python script. https://github.com/vishnu350/rs-mainspring-winder The STL files can be downloaded from the release section: https://github.com/vishnu350/rs-mainspring-winder/releases This project is a 3D printable "Rising Sun" watch mainspring winder for hobbyists. Mainspring winding for hobbyists has always been a problem, as most of us cannot afford the $1000 Bergeon set. Or sometimes, the appropriate size just isn't available. This forces most casual hobbyists to resort to handwinding or other similar stunts, which is not ideal. This mainspring winder is designed using FreeCAD to be easily 3D printed with no post-processing/finishing required. It will approximately cost $5/set by most 3D print service providers (use eBay to find someone near you). The design is parameterized, allowing you to dynamically change the size/dimensions of the winder and the entire design will be recalculated accordingly. The RS mainspring winder is a pleasure to use when constructed correctly, and can wind in both clockwise and counter-clockwise directions. I have uploaded a video describing the 3D printed RS winder parts and how to use it. Will appreciate any help or feedback as to further improve the design, as I actually do not own a 3D printer (I pay for each print). I also do not know the complete range of sizes that is required to be uploaded into the release section. Also, the optimal design parameters may still not be perfect, but it seems to work pretty well for me at the moment. Thanks.1 point
-
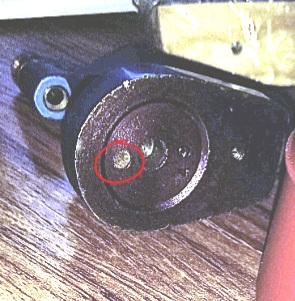
So yas, now that it appears you have two forks with two asymmetric but maybe correct pivots, back to this pic where it looks like the fork may not seated properly, hence the call for jewel inspection and an examination of the fork in place by itself, a check of end shake then division, then with the escape wheel back in place and do the pallet jewels and escape wheel play nice? …and then we’ve been focusing on the pallet fork but from this picture I can’t see a pivot for the escape wheel seated in the upper jewel, so even though you say the train has good power without the fork perhaps the escape wheel isn’t seated correctly or an issue with endshake or division or an issue with the escape wheel jewels and is there a cap jewel for the escape wheel shock setting upper and lower and does that raise/lower the escape wheel so it plays nice with the pallet fork? ...and yes I see from the photos you have cap jewels so without the cap jewels are the escape wheel pivots seated properly in their respective pivot holes and sitting neither too high or low?
 1 point
 -
Thank you for your introduction and welcome to this friendly forum. We all look forward to your contributions and continued involvement.1 point
-
What I am doing at the moment. Sorry for the poor photographs.. Explanation of the above comment

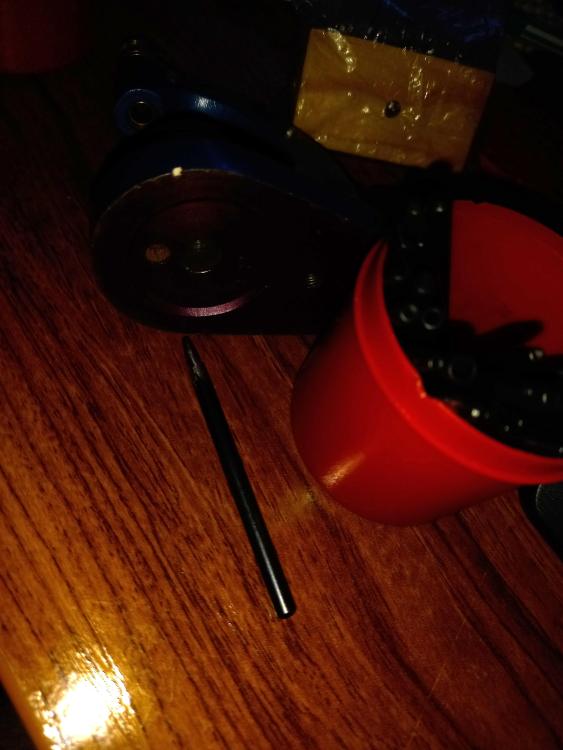
 1 point
 -
Welcome to the forum Rick, The land of empty pockets and frustration not to mention not enough tools.1 point
-
Right having proved the pivots are as intended. One short one long and both intact, remove every thing from the plate and install only the pallet and the bridge and re check the fitting, both end shake and side shake, and if it still wobbles when fitted. Close ups of the fitted position from top bottom and side.1 point
-
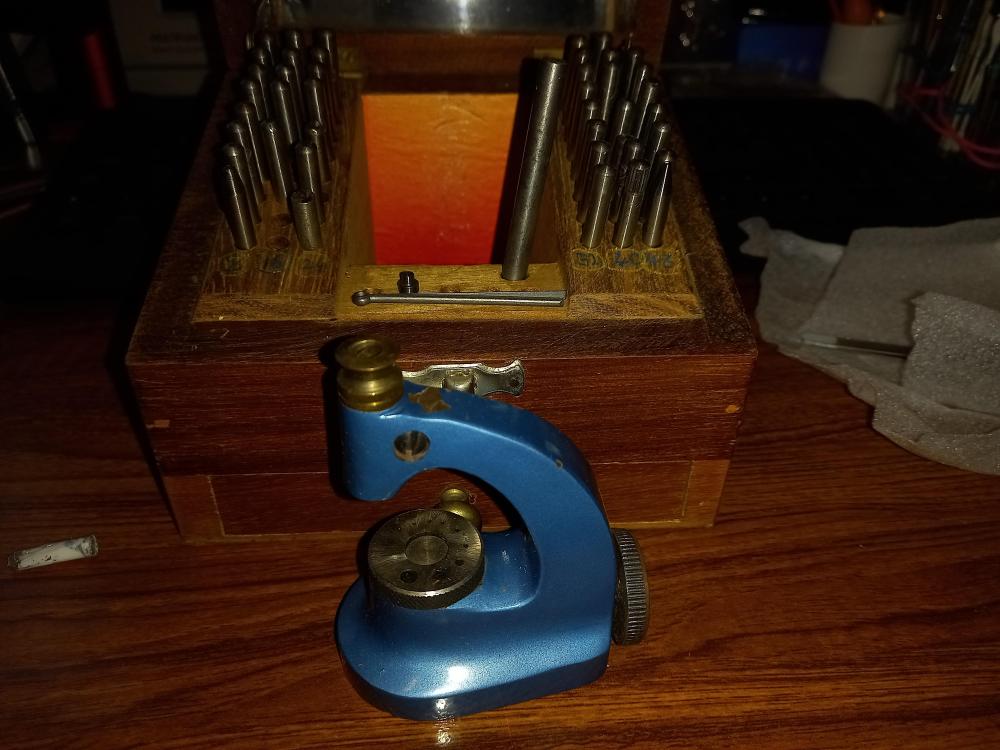
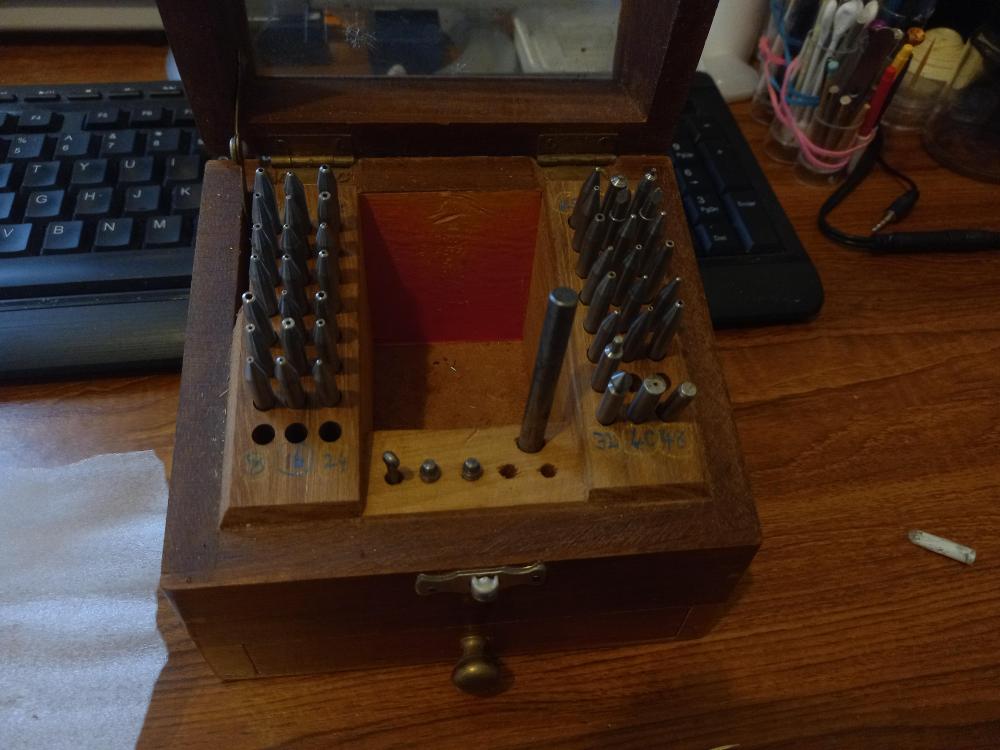
Is this a hole running through the base Ross that the stakes will fit through. Ah i think i can just see a stake popping through the anvil on the 3rd picture. It the stakes wont fit fully through, you could take the anvil off.
 1 point
 -
Thank you for the clearer photos, if you think all the pivots are there then its time to see why the pallet fork is not staying seated between the pallet pivot jewels. I would suggest mounting up the pallet fork without the balance or escape wheel and then check for how much endshake you have between the jewels.1 point
-
Welcome to the WRT forum.1 point
-
Hello Rick. Welcome to the fold. Great people here. I've done the course. Level 1 and 2 completed and I am using level 3 as my go to for problem solving.1 point
-
Never Lovely set. It has given me the idea to make a base out of wood to allow extra height. Can't use the stakes as stumps as they are a bigger size to the largest hole in the plate. I've seen a micrometre on ebay. A purchase next year me thinks. Hopefully by then I'll be further into the hobby and able to do such work as jewel setting. Good this hobby innit?1 point
-
Hi looking at the picture of the pallet it’s not possible to discern the fullness of the pivot. One way is to fit just the pallet and it’s cock and check that bothe ends are in their respective jewels and seating correctly as we seem to be going round in circles.1 point
-
Looks broken to me.
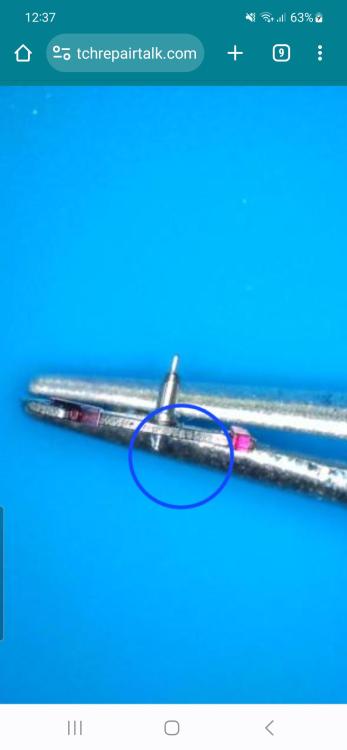 1 point
 -
Also looked at 3D printing these, but too much fine detail for my (son's) printer, maybe could do it on a resin printer? I have got from Ali before and worked perfectly.1 point
-
Hi Rick- I have family in ID! Welcome..1 point
-
Hello and welcome from Leeds, England.1 point
-
That is the spring that came with the watch as bought from eBay and the watch itself is circa 2009, so it would be a safe bet that this is the spring from the factory. No other signs that it has ever been opened/serviced before. I would venture a guess that this problem is why they seller sold so cheaply. New spring and arbor have arrived and I'll be fitting them shortly, but will take comparison shots before closing her up. (Her? Are watches inherently male or female?)1 point
-
How quick is this. Within 24 hours it has arrived.
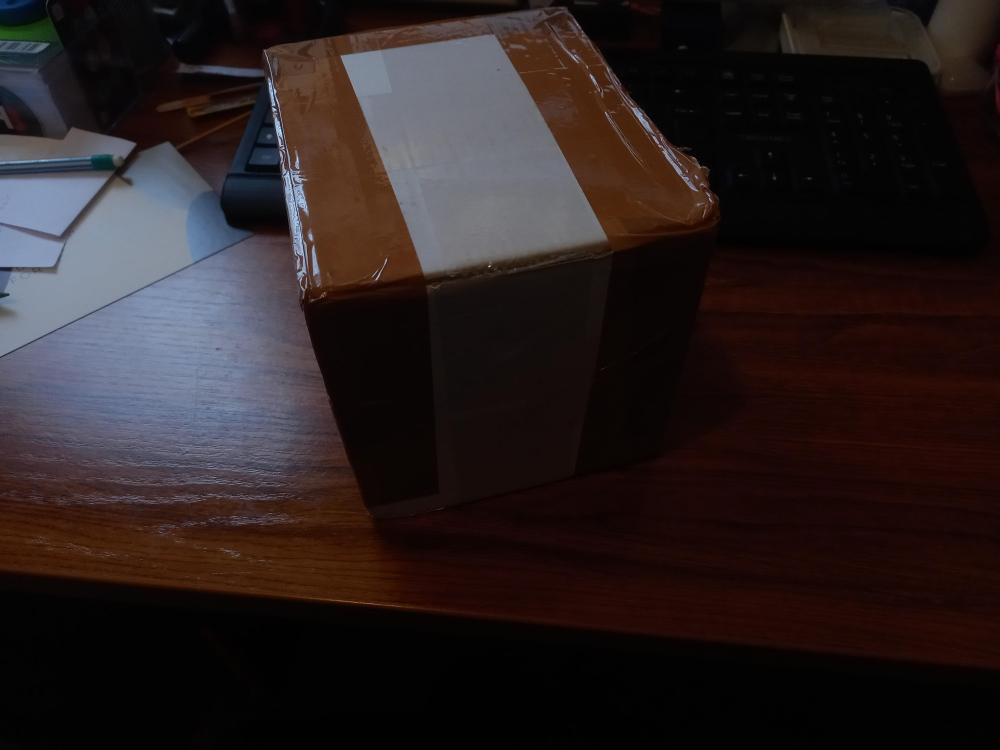

 1 point
 -
This is a fantastic project that I'll absolutely be trying out myself when the time comes! For those of you who don't have your own 3D printer or who don't know how to gain access to one; please remember to check your local Library. Especially in larger cities, libraries (at least in North America) have been adding 3D Printing and Maker spaces to their services in an attempt to diversify and attract new members. Usually for just the cost of membership and materials you can get whatever you need printed Plus you get the bonus of having that library card that you always said you should get one day?1 point
-
Apropos of nothing perhaps- my initial reaction to the in situ photo of the mainspring was- that is a lot of coils. It defies both the not-so-good-rule Rule of Thirds and the a-bit-better-rule 50% Occupancy Rule… How does a crowded spring behave? ...the movement too new for me to do a quick lookup of the GR size. There are generic replacements avaialble but again, no sizes...1 point
-
You are going to need brass rod of just over the diameter of the hole. You will need drill the hole. If drilling you will need a drill press or a lathe with the drill press attachment which I have. You will then have to find the center of the rod before you punch mark the center. You will have to get this right or the depth will be wrong for the wheels to run correctly the teeth depth must be correct. A clock depthing tool is best for this. Don't get me wrong but this is not a job for someone who has never worked on clocks.1 point
-
Thanks so much for all the tips! I tried both methods. I tried pulling the pins with two pliers but they wouldn't budge. I then tried the method shown in the clip but that was way too much effort and I was pretty sure the bracelet would not have looked right once I was done. I ended up getting a similar bracelet that's easy to resize but I'm glad we gave this a shot.
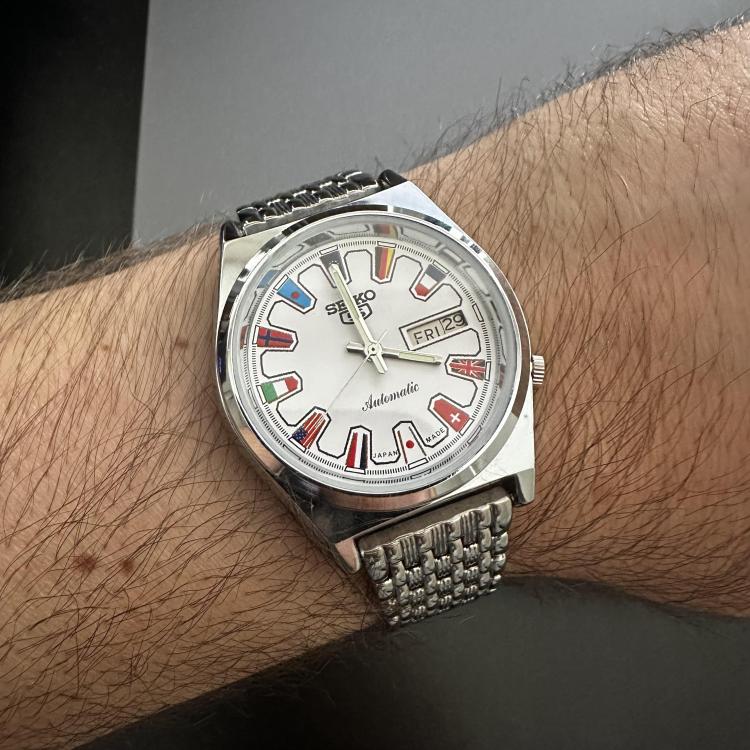 1 point