Leaderboard
Popular Content
Showing content with the highest reputation on 10/08/23 in Posts
-
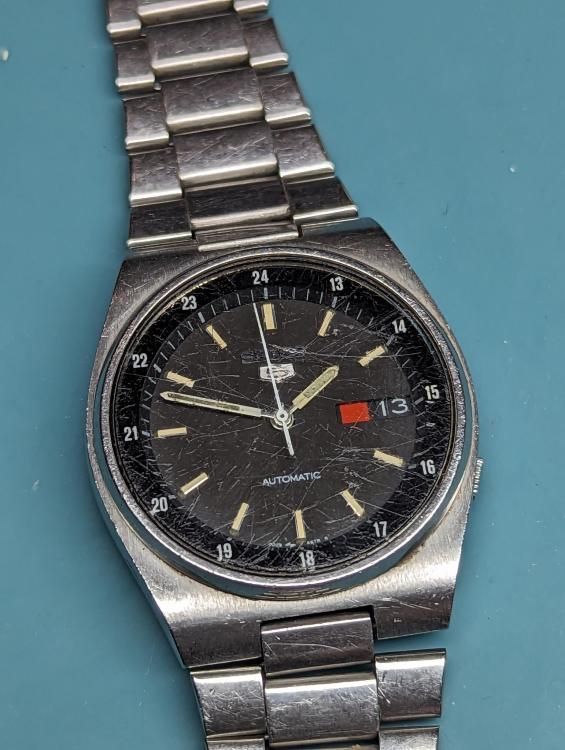
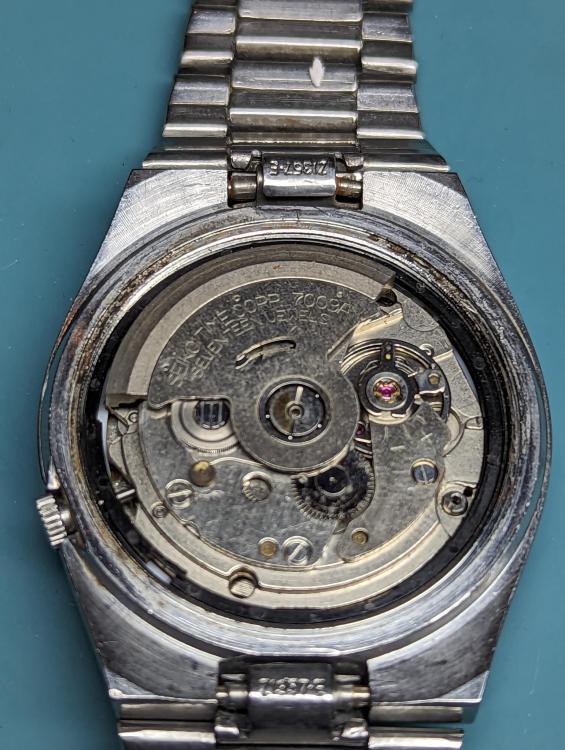
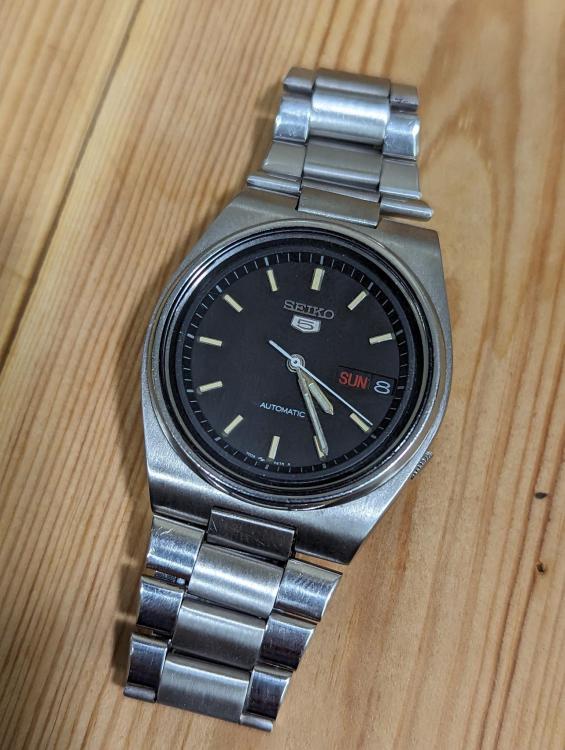
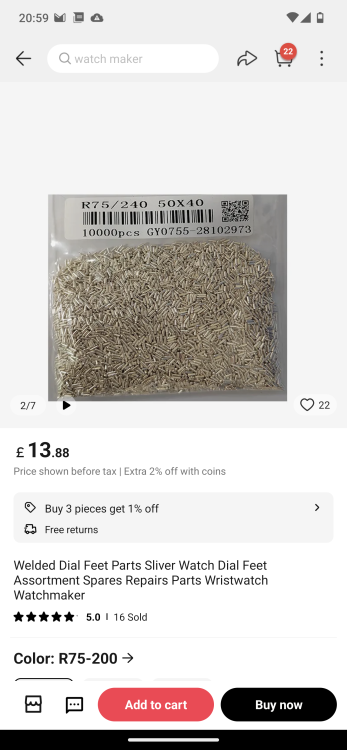
Another productive weekend, I fixed my Orient which suddenly stopped, on inspection I found a blue fibre wrapped around the escape wheel... no idea how it got there. I then decided to do a Seiko 7009 from 1985 that I purchased recently from speedtimerkollektion. On reassembly I noticed that the centerwheel was cracked around the inner diameter where the pinion is fitted... very strange (sorry forgot to take a picture). The crystal broke when I took it out (of course!) so I had to replace, hence the missing 24 hour numbers which were painted onto the original crystal. Everything else is original including the bracelet. Before and after pictures: Here is the movement: Our old friend Mr Glue! - no dial feet: I replaced the dial feet using my new mini soldering gas gun and low temperature solder paste, worked a treat, and here is the finished watch, complete with fingerprints (Doh!): Let me know what you think I gave it a rough calibration, but will wait 24-48 hours to do the final calibration.4 points
-
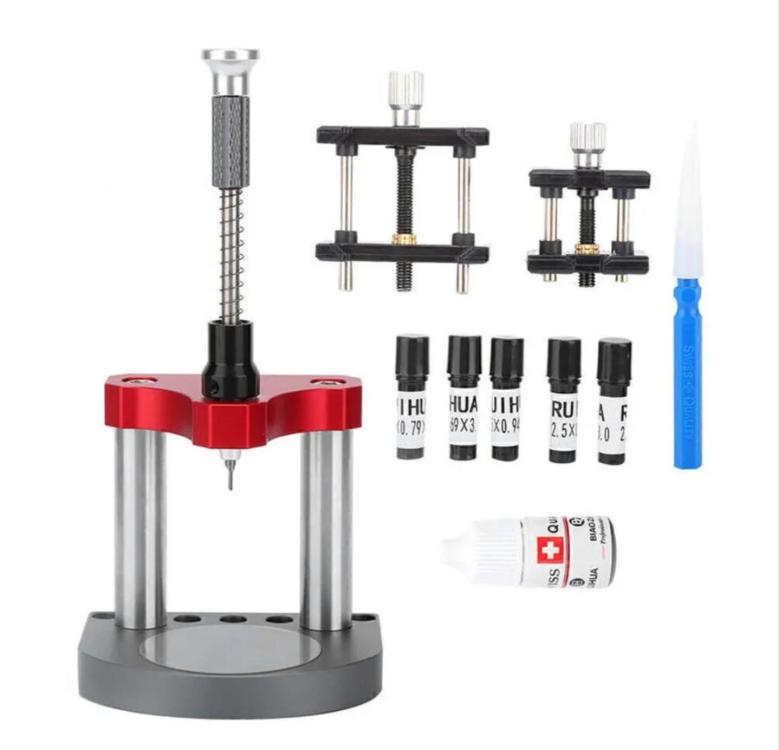
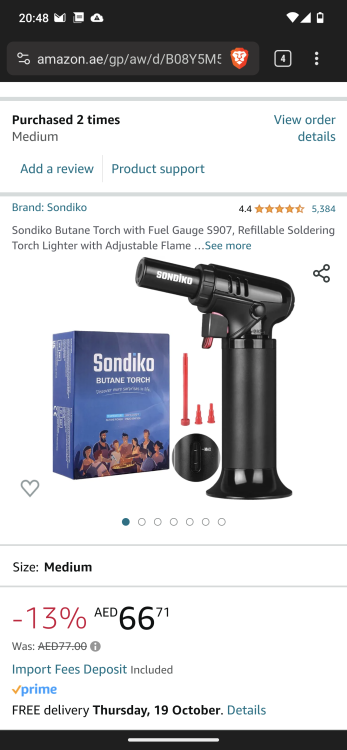
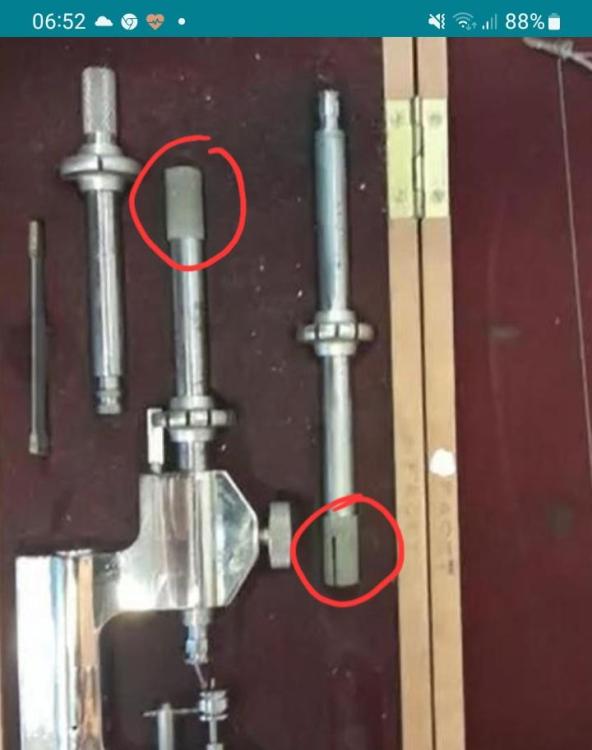
This is the low temp (138 °C) solder paste I used: And here is the butane solder torch: I don't have my full set up here yet, so I used a dial foot reamer to mill a slot in the dial (see below), I then put a blob of solder paste in the milled 'hole' and the placed the dial foot with the sticky solder paste holding it in place, about 3 seconds of heat (if that) with the torch on low setting and it melted and stuck the foot in place. Worked a treat, the short blast of heat was enough to melt the solder, but not enough to travel through the dial to the other side (too much) and damage the front of the dial. I have switched to solder as I have had poor results with epoxy and super glue, slightest force and the feet popped off. My plan is to use the small dial feet and remove the need to mill a slot, but they aren't here yet: Here is the dial foot milling machine I used, but will not need soon:3 points
-
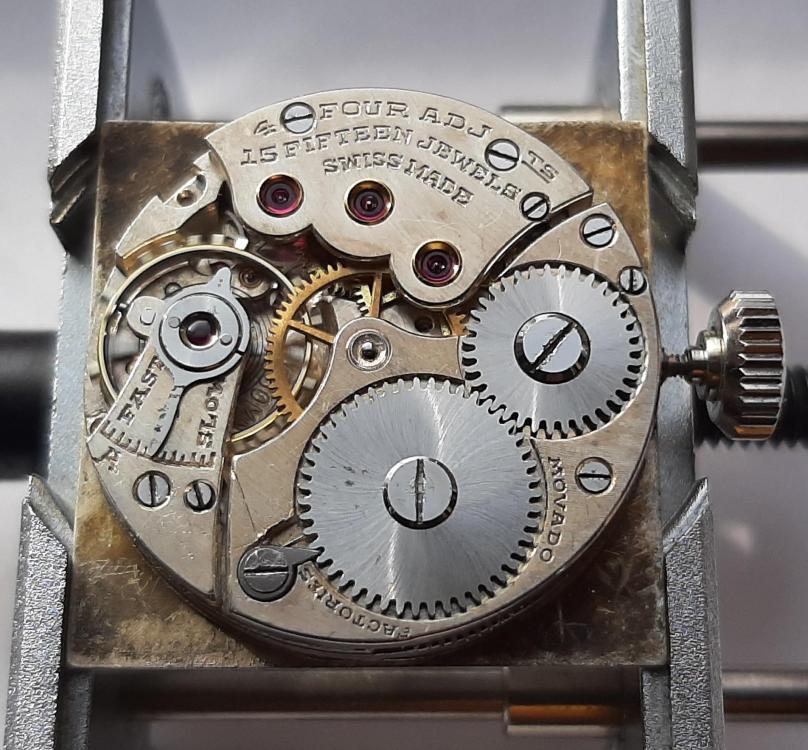
Answering my own question : I've just completed service/repair on a Movado 150MN which was re-banking. (Odd that the two watches I'm currently working on have the same problem!). The mainspring measured 1.30 x 0.11, which is incorrect. When fitted with the correct 1.30 x 0.10, the amplitude is about 270°. So a reduction in thickness of 0.01 was enough to fix it. [ I remember reading that wound springs can be considered as rectangular beams in bending, with moment of Inertia bd³/12 i.e. it depends on thickness cubed. So (0.10/0.11)³ = 0.75. So a reduction in strength of 25% - quite a lot ]2 points
-
2 points
-
It look good and complete even with the bow which is normally missing. it is in its rightful box as the indentations in side the lid match up with the tool. Do as Neverenoughwatches said get good clear photos2 points
-
2 points
-
I would like to share a check list made up by a master watchmaker. I take no credit for it, only think it would be helpful for us hobbyists. Here it is! CHECK LIST I decided to write up what is called a 16 point check that is meant to be a guide to steps required to service a watch this is slightly bias towards a wrist watch but very relevant to pocket watches also: This is a guide and not the definitive answer after going through it a few times add you own additional tests and observations. This is of course for a basic time only non-automatic or any with additional features, I also leave out things like demagnetizing, actual cleaning procedures, a good chunk of common sense needs to be applied also as I say its meant as a good starting point to a correct disciplined procedure, This is version 1 may add or edit/delete later. Check number 1 a Check the winding to see if the mainspring is broken. b Check to see if the setting bridge or sleeve is broken by pulling the stem out and testing the proper snap of stem. A broken setting bridge/sleeve is easily detected c. The balance wheel should be oscillated to see that it is true and the balance pivots should be checked by looking through the upper jewel to see that there is not a flash on the pivot. d. The hairspring should be checked to see that it is not damaged. e Check setting of hands f. The watch should be looked over in every respect, paying particular attention to any rust spots that may appear on any part of the movement. When rust is evident around the stem or setting mechanism, it is most important to remove the dial and hands in order to check this mechanism to see if the rust is very extensive. Check Number 2 a. Examine each part as it is being removed from the movement. b. Check for rust on every part. c. Check every pivot to see that it is not damaged or bent. d. Check the jewels in the watch, to see that there are no cracked jewels. e. Check pallet stones to see that they are not chipped or damaged. f. When removing barrel cap, make sure that it snaps off only after sufficient pressure has been applied to it. g. In the examination of each part, a close check is not made at this time as many of the parts will not be clean enough for that purpose. a much closer check will be made on the parts as each part is handled in the assembly of the watch Check Number 3 a. Upon completion of cleaning and parts removed from the basket into the assembly tray, each part should be checked over with the use of a watchmaker’s loupe special attention should be paid to the jewels, because if there is gum oil still remaining on the jewels, the cleaning job was not done satisfactory . It is also worthwhile at this time to examine the pivots. If the jewels are clean, and the pinion leaves are clean, it is almost certain that the cleaning operation was performed effectively. Check Number 4 a. Examine the condition of the mainspring. b. Check the width, strength and length of the mainspring. c.. If correct, replace mainspring using correct mainspring winding tool, not by hand d. Check the lubrication of the mainspring if required e. Check the fit of the mainspring around barrel arbor. f. check the mainspring end for proper shape to catch in barrel. g. Check the snap of the cap on barrel and replace in correct position h. Check the end shake and side shake of barrel arbor is it also sometime recommended to do this without mainspring fitted to test for free run and end shake i. Check the cleanliness of the barrel and barrel teeth. j. Check the oiling of the barrel arbor after the cap is on. k. Check the condition of the barrel teeth to see if they are bent or worn. Check Number 5 a. Jewel holes must be cleaned with peg wood if necessary. b. Jewels must be checked for chips or cracks. c. Check the train wheel pivots for rust, polish, cuts and straightness. d. Check the pinions for rust’, pits and polish. e. Check the pivots for pitting check that clean pith wood is being used. f. Check plates for tarnish, fingerprints, and polish jewel settings. g. Assemble time train and check end shake and side shake. h. Check wheels for trueness arid upright. i. Lift each wheel with tweezers to check for end shake and to see if each wheel is free enough to fall back to its original position. j. Spin train to see that is spins freely, in dial up, dial down and a vertical position. Check Number 6 a. Replace barrel and barrel bridge and check the oiling of the barrel arbor upper and lower bearing. b. Check oiling of crown wheel. c. Replace ratchet wheel. d. Note: do not oil remainder of movement until after kick-back is checked or cap jewels are present oil those now e. Wind watch slightly to check kick-back and recoil. This check should be made in dial up and dial down positions. If the watch does not have kick¬back, this indicates that the train is not as free as it should be. First, however, before checking into the train itself to determine if there is some frictional error, it would be worthwhile to examine the mainspring around the barrel arbor. Many times the loose fit of the mainspring around the arbor will prevent kick-back from occurring within the train. In such instances, the arbor is simply slipped in the mainspring instead of the train receiving the reversal torque, that normally occurs. If the barrel is found to be satisfactory, then the train. should be checked to see if the trouble can be located. first, the train should be examined carefully to see if each wheel is free, and if no trouble can be found, then it is advisable to remove the train wheels from the watch and replace each wheel in the watch individually and to check the spin of each wheel. If each wheel spins freely, this indicates that the pivots and the jewels are in good condition and that one need not look further for defects or faults in those areas. Next, place two wheels at a time in the watch and check the spin of the wheels. Thus, any error of improper depthing or a badly formed tooth on a wheel or pinion will be detected. It is simply a process of elimination in order to locate the particular trouble, and of course, proper corrective measures must be taken to correct an error when one is found. Check Number 7 a. Oil all the train jewels in the watch, and at this point it is advisable to oil also the balance jewels. b. Check to see that there is a ring of oil around each train pivot and that the jewels are not over-oiled or under-oiled. c. Check the jewels that have caps to see that the globule of oil has been formed properly between the flat cap and curved hole jewel and no keyhole shape if so remove re clean jewels and check seating the re oil and repeat check for perfect ring. Check Number 8 a. Oil stem properly. b. Oil friction parts of setting. c. Oil wolf teeth of clutch wheel and winding pinion. d. Oil clutch wheel groove. e. Oil points on setting lever that contact the setting bridge or the clutch lever. f. Never oil dial train. Note: ‘dial train means all wheels following center wheel staff. g. Seek expert advice on some types of intermediate wheels connecting clutch at setting positions that require oil. Check Number 9 a. Check condition of pallet arbor pivots. b. Check for chipped or loose stones, shellac or gummed oil on pallet stones. c. Check guard pin for straightness and proper shape. d. Check polish of pallet arbor, pivots and fork slot. e. Check end shake of pallet fork. f. Check height of pallet stones in conjunction with escape wheel teeth. g. Check matching stones. h Check drop lock i. Inside and outside drop. j. Draw. k. Hang-up of stones on escape wheel teeth. Check Number 10 a. Check tightness of roller jewel in roller table - uprightness of roller jewel. b. Check the height of the balance wheel in conjunction with the fork bridge and the center wheel. c. Check the clearances. d. Check the height of the guard pin in relation to safety roller. e. Check the proper length of roller jewel and fit of roller jewel to fork slot. f. Check the guard clearance. g. Check the corner clearance. h. Check the jewel pin shake. i. Check the guard test, j. Check the corner test. Check Number 11. a. Check the hairspring in-the-flat. b. Check the hairspring in-the-round. c. Check the quadrant of the hairspring to see that it is formed properly between the regulator pins and stud d. Check for beat of the watch by equalizing the force to receiving and discharge pallets. e. Check for the collet wobble. f. Check for trueness of the balance wheel, and for the flash of the balance pivots g. Check for trueness of roller table. Check Number 12 a. Place the watch on the timing machine and take a rate in the dial down position, then turn the movement over to dial up position and take a rate. There are three things that should be observed from the rate that was taken: 1. Dial up should indicate the same time as dial down. 2. Observe the closeness of the lines to determine if the watch is in perfect beat. 3. Observe how the watch is running in reference to the time error over a 24-hour period. b. Adjust the mean time rate of the watch so that the dial up and dial down positions will record on time. Do not move the regulator more than one degree in adjusting the mean time rate. Any other alteration must be made by adjusting mean time screws or by adding or removing weight from the balance wheel in such a manner as not to affect poise, static or dynamic,. c. If the rates in dial up arid dial down are found to be different from one another, then this indicates a mechanical error in the watch which must be traced out before proceeding. d. If the watch is found to be out-of-beat, then of course, it should be put r in proper beat at this time. We might emphasize that if the watch was put in proper beat in accordance with the proper procedure at the bench, then an out-of-beat condition or minimal amount would not be indicated on the timing machine. e. When the above conditions have been satisfied, the next step would be to take a rate in positions and errors corrected. If everything has proved to be satisfactory, the watch should be tested for isochronal test be made on the timing machine, which consists of re-testing at different winding levels and rate in the dial up position. Check Number 13 a. Check for proper lubrication of cannon pinion on center post. b. When replacing the cannon pinion, be sure that the leaves of the cannon pinion do not come down on top of the minute wheel teeth so as to bend the teeth of the minute wheel. c. Check tightness of. cannon pinion d. Check to see that cannon pinion does not ride up when watch is being set. and smooth consistent operation. Check Number 14 a Make sure that the hands are fitted securely to the parts to which they are attached b. Make sure that the hands are adjusted so that there is equal space between the hands and the hands are set as close to the dial as possible. c. Check to be sure that the hands are shaped to the contour of the dial. d. Check to see that\ the hands are positioned so that they are synchronized with one another. Check Number 15 a. If there is no case for the movement, simply disregard this check and proceed with the next check, number 16. b. Check for proper snap/screw back of the case. c. Check for the clearance of the hands under the crystal. d. Check the crystal to see that it is securely fitted into the case. e. Check to see that the crown is next to the stem and reasonably close to the case. f. Check for tightness of movement in case. g. Check the spring bars to see that proper spring bars are used for the particular type of case so that the band is held securely to the case. h. Check the lug holes to see that they have not been worn badly by the spring bars to a point where the hole may break through and allow the spring bar to come out of place. Check Number 16 a. Set the watch on time with a master clock. b. Let the watch run for a period of 24 hours and check the error in the time repeat in several positions. c. Allow the watch to run until it completely runs down and check the length of run. The watch should run a minimum of 30 hours, preferably 40 hours, if it is in “A. I have no answers to any of the steps since I didn't make this up. Maybe Mark might.1 point
-
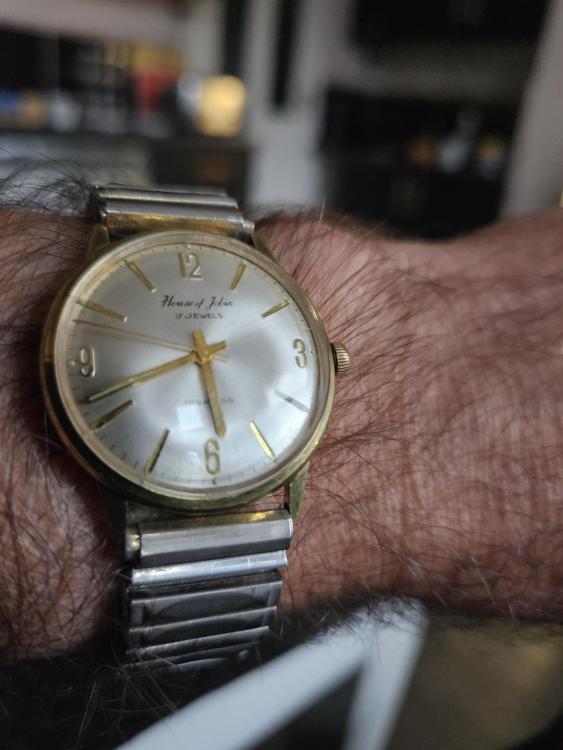
Hello watch aficionados, I recently decided that my oversized black plastic lump of a Casio was not cool nor classy, especially when paired with a suit, or even smart casual (to be fair it keeps good time, it’s rugged and suits workmanlike activities - this is not me hacking on Casio) Looking at the popular current batch of smart watches, they have all the charm of a printed circuit board wrapped in plastic, and need to be charged more often than my phone to boot! I decided that it’s time to go back to something that can’t be hacked, or spy on me and would look good when out to dinner. Not being sure if a mechanical watch would work for me; would it need to be winded all the time, would the time need to be reset every day? I decided I would try a cheap mechanical and try the concept on for size - so I purchased a Vostok Amphibia, thinking that I wouldn’t feel like I’d wasted too much money if it ended up residing at the back of my sock draw. Turns out it’s fantastic! I love the look, it actually keeps really good time on the wrist and it’s become my daily driver. With a significant birthday having recently passed I decided that I would get something from my birth year as a gift to myself. The Seiko Lord Matics appealed to me as an exemplar of ‘affordable class’ and I found two that really appealed, even better they were birth year and month! I’ve never gotten into jewellery at all and don’t even wear a wedding ring but I’ve discovered that mechanical watches are my thing for the gentleman about town. So now I begin the slow road of learning how to care and maintain them myself and, so far, that seems as enjoyable as wearing them. Derek1 point
-
1 point
-
1 point
-
Always best if were discussing another watch to start a new discussion for that watch. Each watch tends to be unique and each watch should have its own unique discussion. The other reason for starting a new discussion is you've changed the subject and that means you decrease the number of people who will help you because people may not realize that were now discussing Omega watch and people will think this is still a Hamilton discussion. Then Omega has made quite a few watches and there could be a reason for this depending upon which model it is. Also how did you lubricate the Canon pinion? Returning to the Hamilton discussion. What was the watch doing before you serviced it? In other words why did you service the watch was a running before. Always helpful for narrowing down problems if we can figure out when the problem may have started.1 point
-
I’ve never seen one of these. Interesting…1 point
-
1 point
-
Good afternoon, Thanks for having me on the forums! I got interested in watch repair during the pandemic watching Wristwatch Revival and have taken the first three of of Mark Lovick's courses. I've had about a dozen successful services under my belt and am looking forward to having the community to talk to and use as a resource when I get stuck. Currently repairing: 1972 Seiko 7006-8009 1966 Bulova Ambassador (Buren 1321)1 point
-
1 point
-
Thank you for your introduction and welcome to this friendly forum. We all look forward to your contributions and continued involvement.1 point
-
1 point
-
1- The small cock ( second photo ) IS bent upward, doesn't look perfect at all @Arron . flattening the small cock can be done in situ IN SEVERAL SMALL INCREMENTS , just push on it with flat end of your tweezers, be careful to get it done right by first attempt , as repeated ( up and down ) bending might break it. 2- Another sign of damage is the scratch on main gear train bridge , scratched by the extra third wheel. ( indicating bent pivot of the extra third wheel and a pain to streigthen ) Either, case 1 or 2 or both together can stop the watch.1 point
-
I would've loved to visit the factory but never did. I obtain the book from somebody who used to visit Elgin Illinois and purchase things from former factory workers. As expected from a factory internal document no copyright date but based on the history part of the factory it probably came into existence about 1955.1 point
-
Correct, Longer HS adds to the degree of rotation, be it of the same CGS No or weaker. What I am saying is; in adition to the terminal curve suggesting wrong hairspring, the length of hairspring thus radius of the coil could suggest wrong hairspring. Providing long enough, any hairspring on a balance wheel can produce the desired frequency, one limiting factor in matching balance-hairspring is diameter of the coil. Smart of Mike to interpret his observance of the unshapely terminal curve/ coil as possible wrong hairspring. I would try the old or a weaker new mainspring. Rgds1 point
-
OK, So I recleaned and reassembled the train of wheels, and assembled it with the spring in the correct position. While doing this, I realized that the clutch wheel was falling to the side and jamming the barrel, I had taken the stem out to fix the end as it was bent. To fix the rubbing problem I just had to reinstall the stem. problem was so simple. thank you all for the advice and help with troubleshooting.1 point
-
first off your pallet arbor bridge is not level, so your entry and exit pallets are not going to be working as they should. Do not get too hung up with the figures on these apps, yes i use the same as you but first i put it in beat by ear alone, making sure that the clock and the movement are level, then you set the clock in beat and you can use the app as i do as a nice warm and fuzzy to let me know that my ability to putt he clock in beat by ear alone is up to standard. Also bring the detection threshold up more as it is listening to a lot of noise where it is positioned at the moment.1 point
-
So, comparisons as opposed to absolutes. I can see that. I imagine the related question is - are there any patterns of abnormality which might point in a particular diagnostic direction? We might do a chest X-ray and an ECG to help assess an individual's respiratory and cardiovascular systems prior to letting the sturgeons loose (more familiar territory for me!)1 point




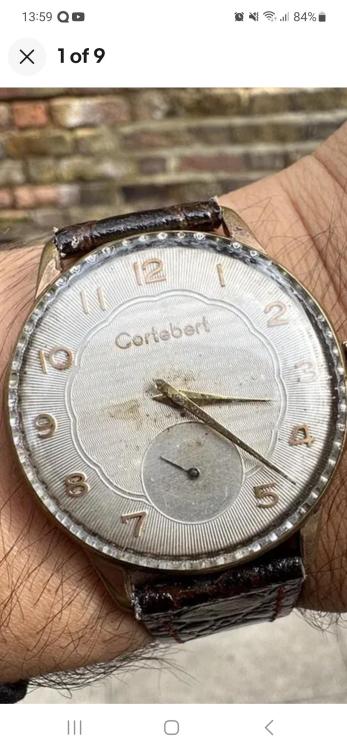


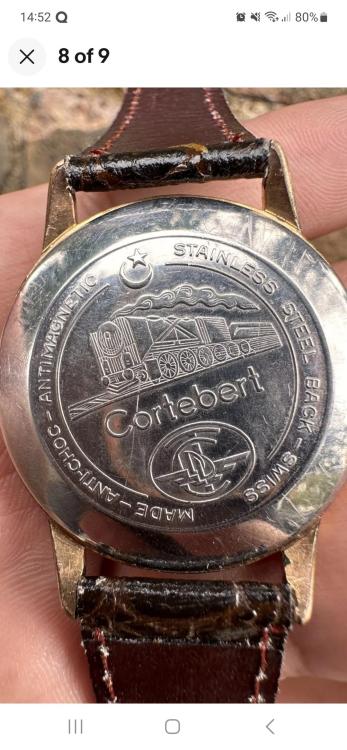

.thumb.jpeg.5943fc3130d74bf2c7471fb8d6eef962.jpeg)
