Leaderboard


Popular Content
Showing content with the highest reputation on 01/12/24 in all areas
-
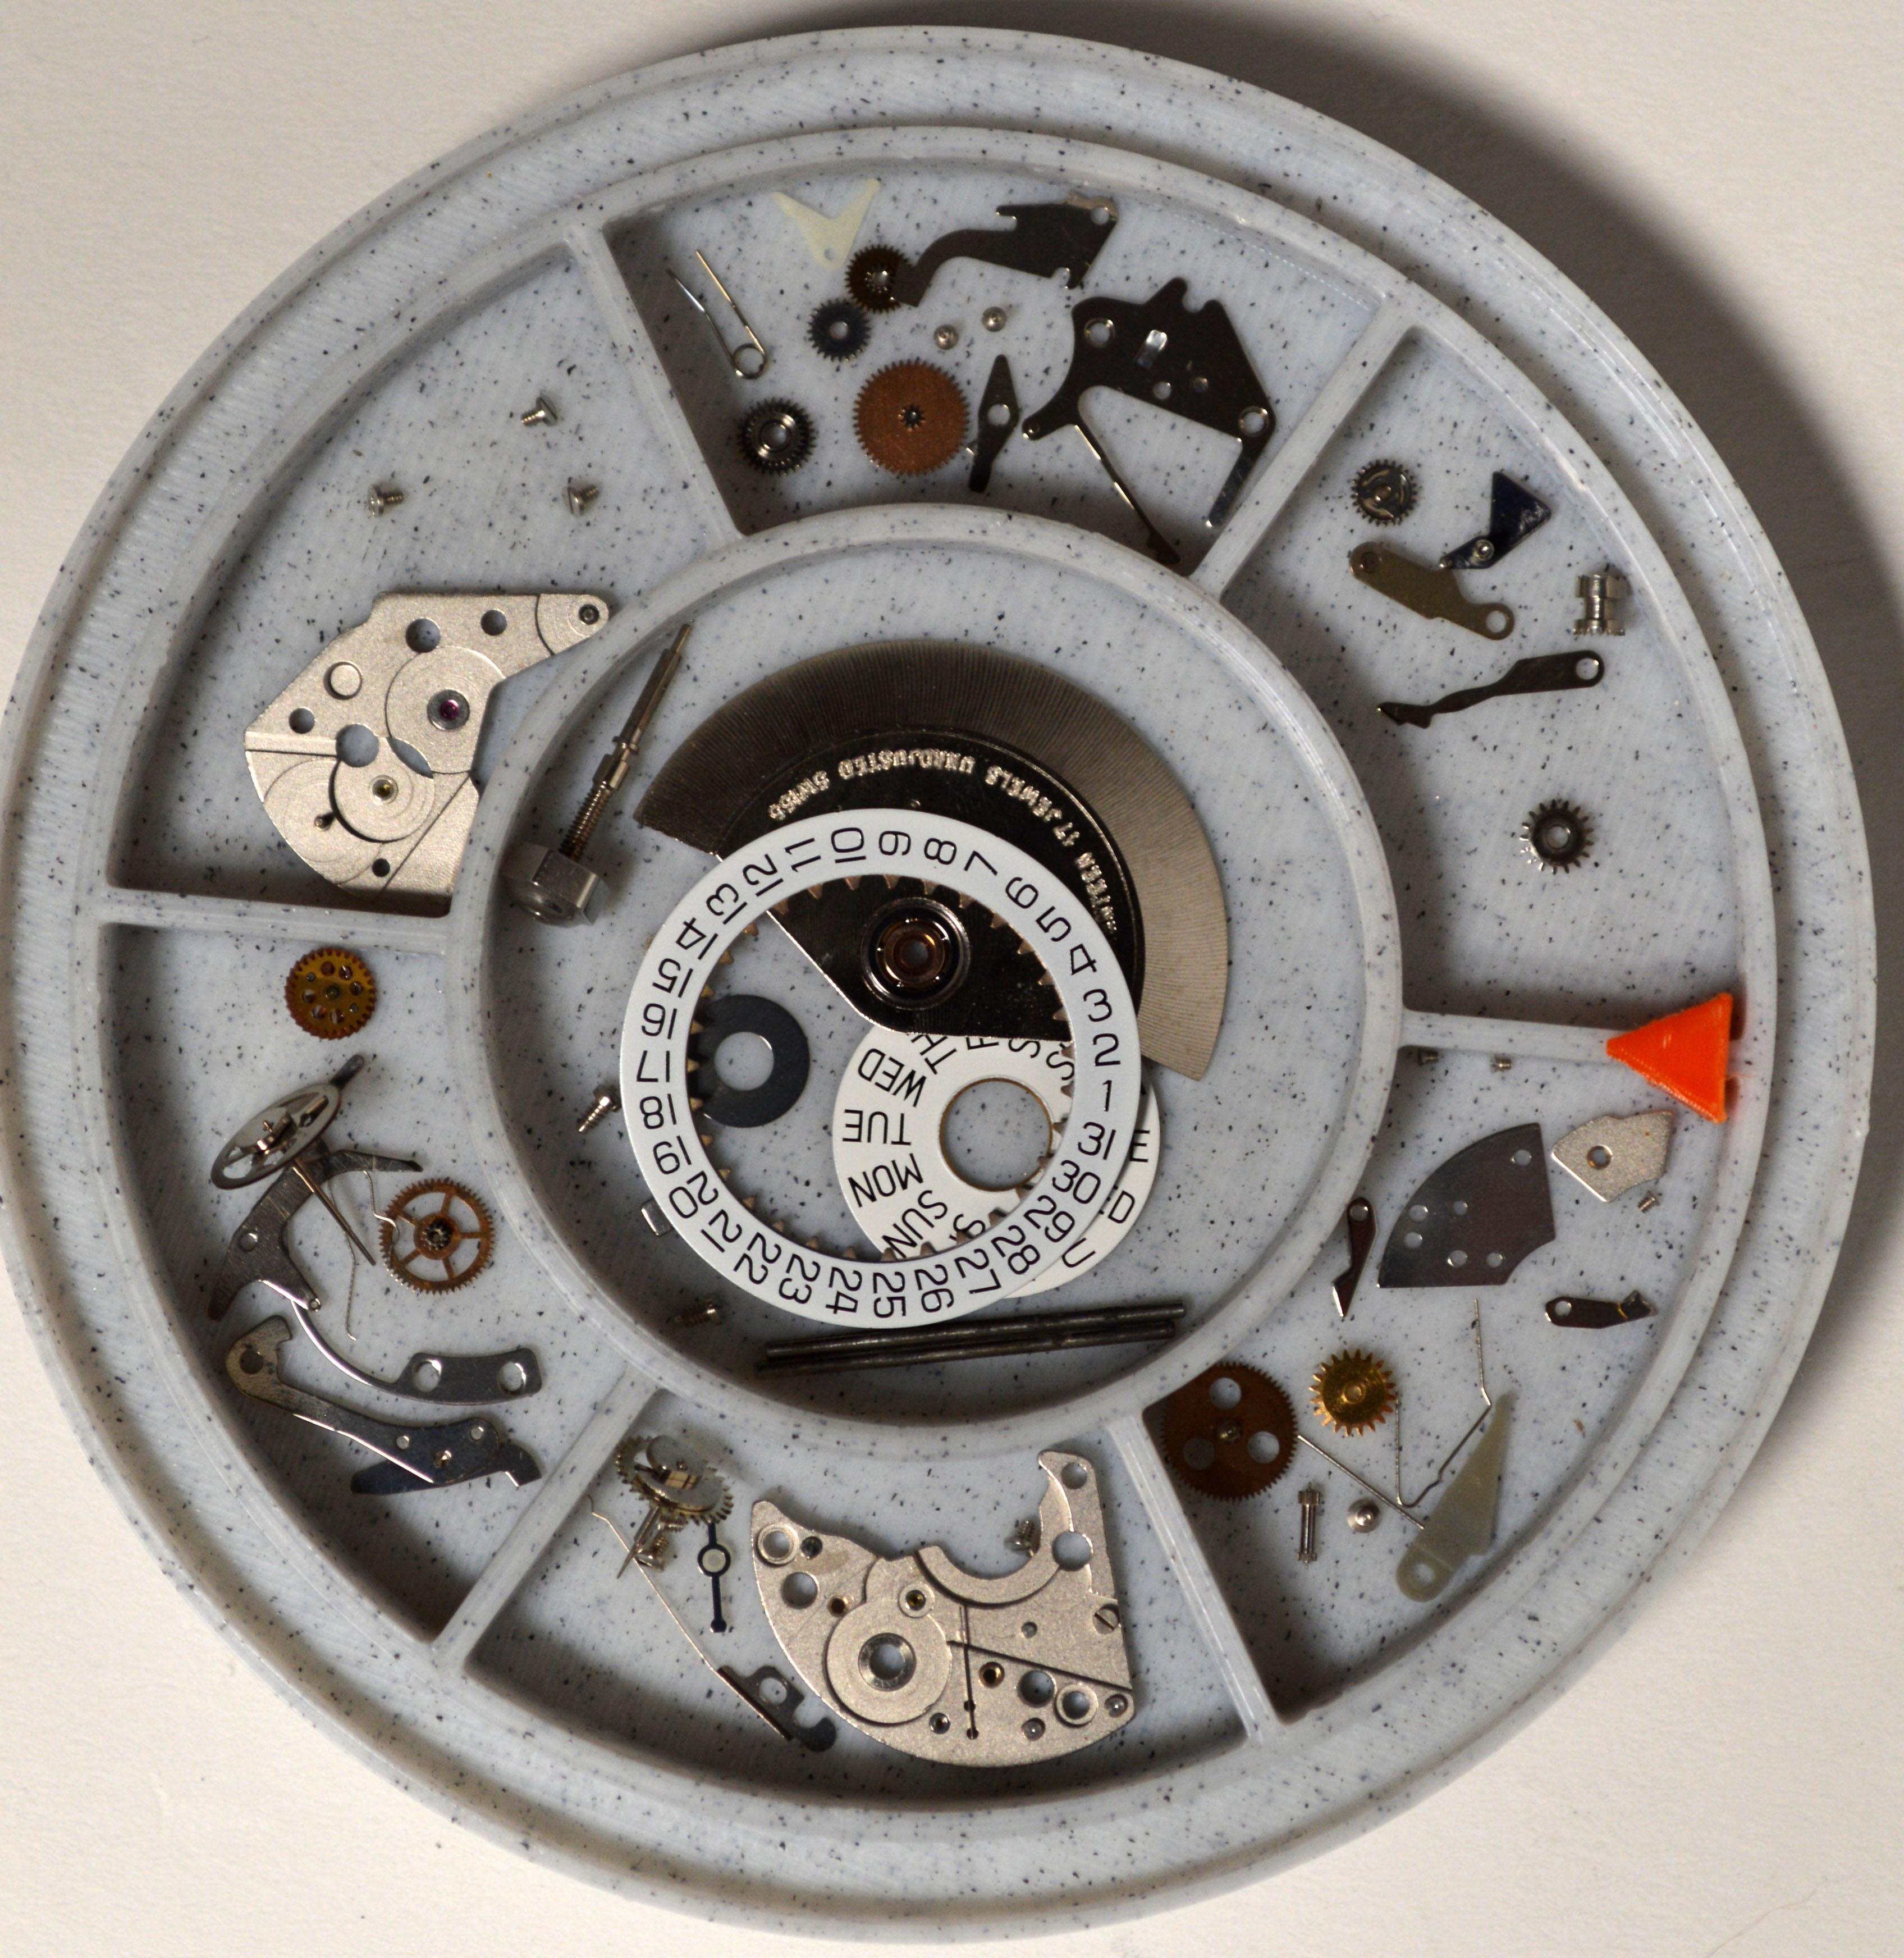
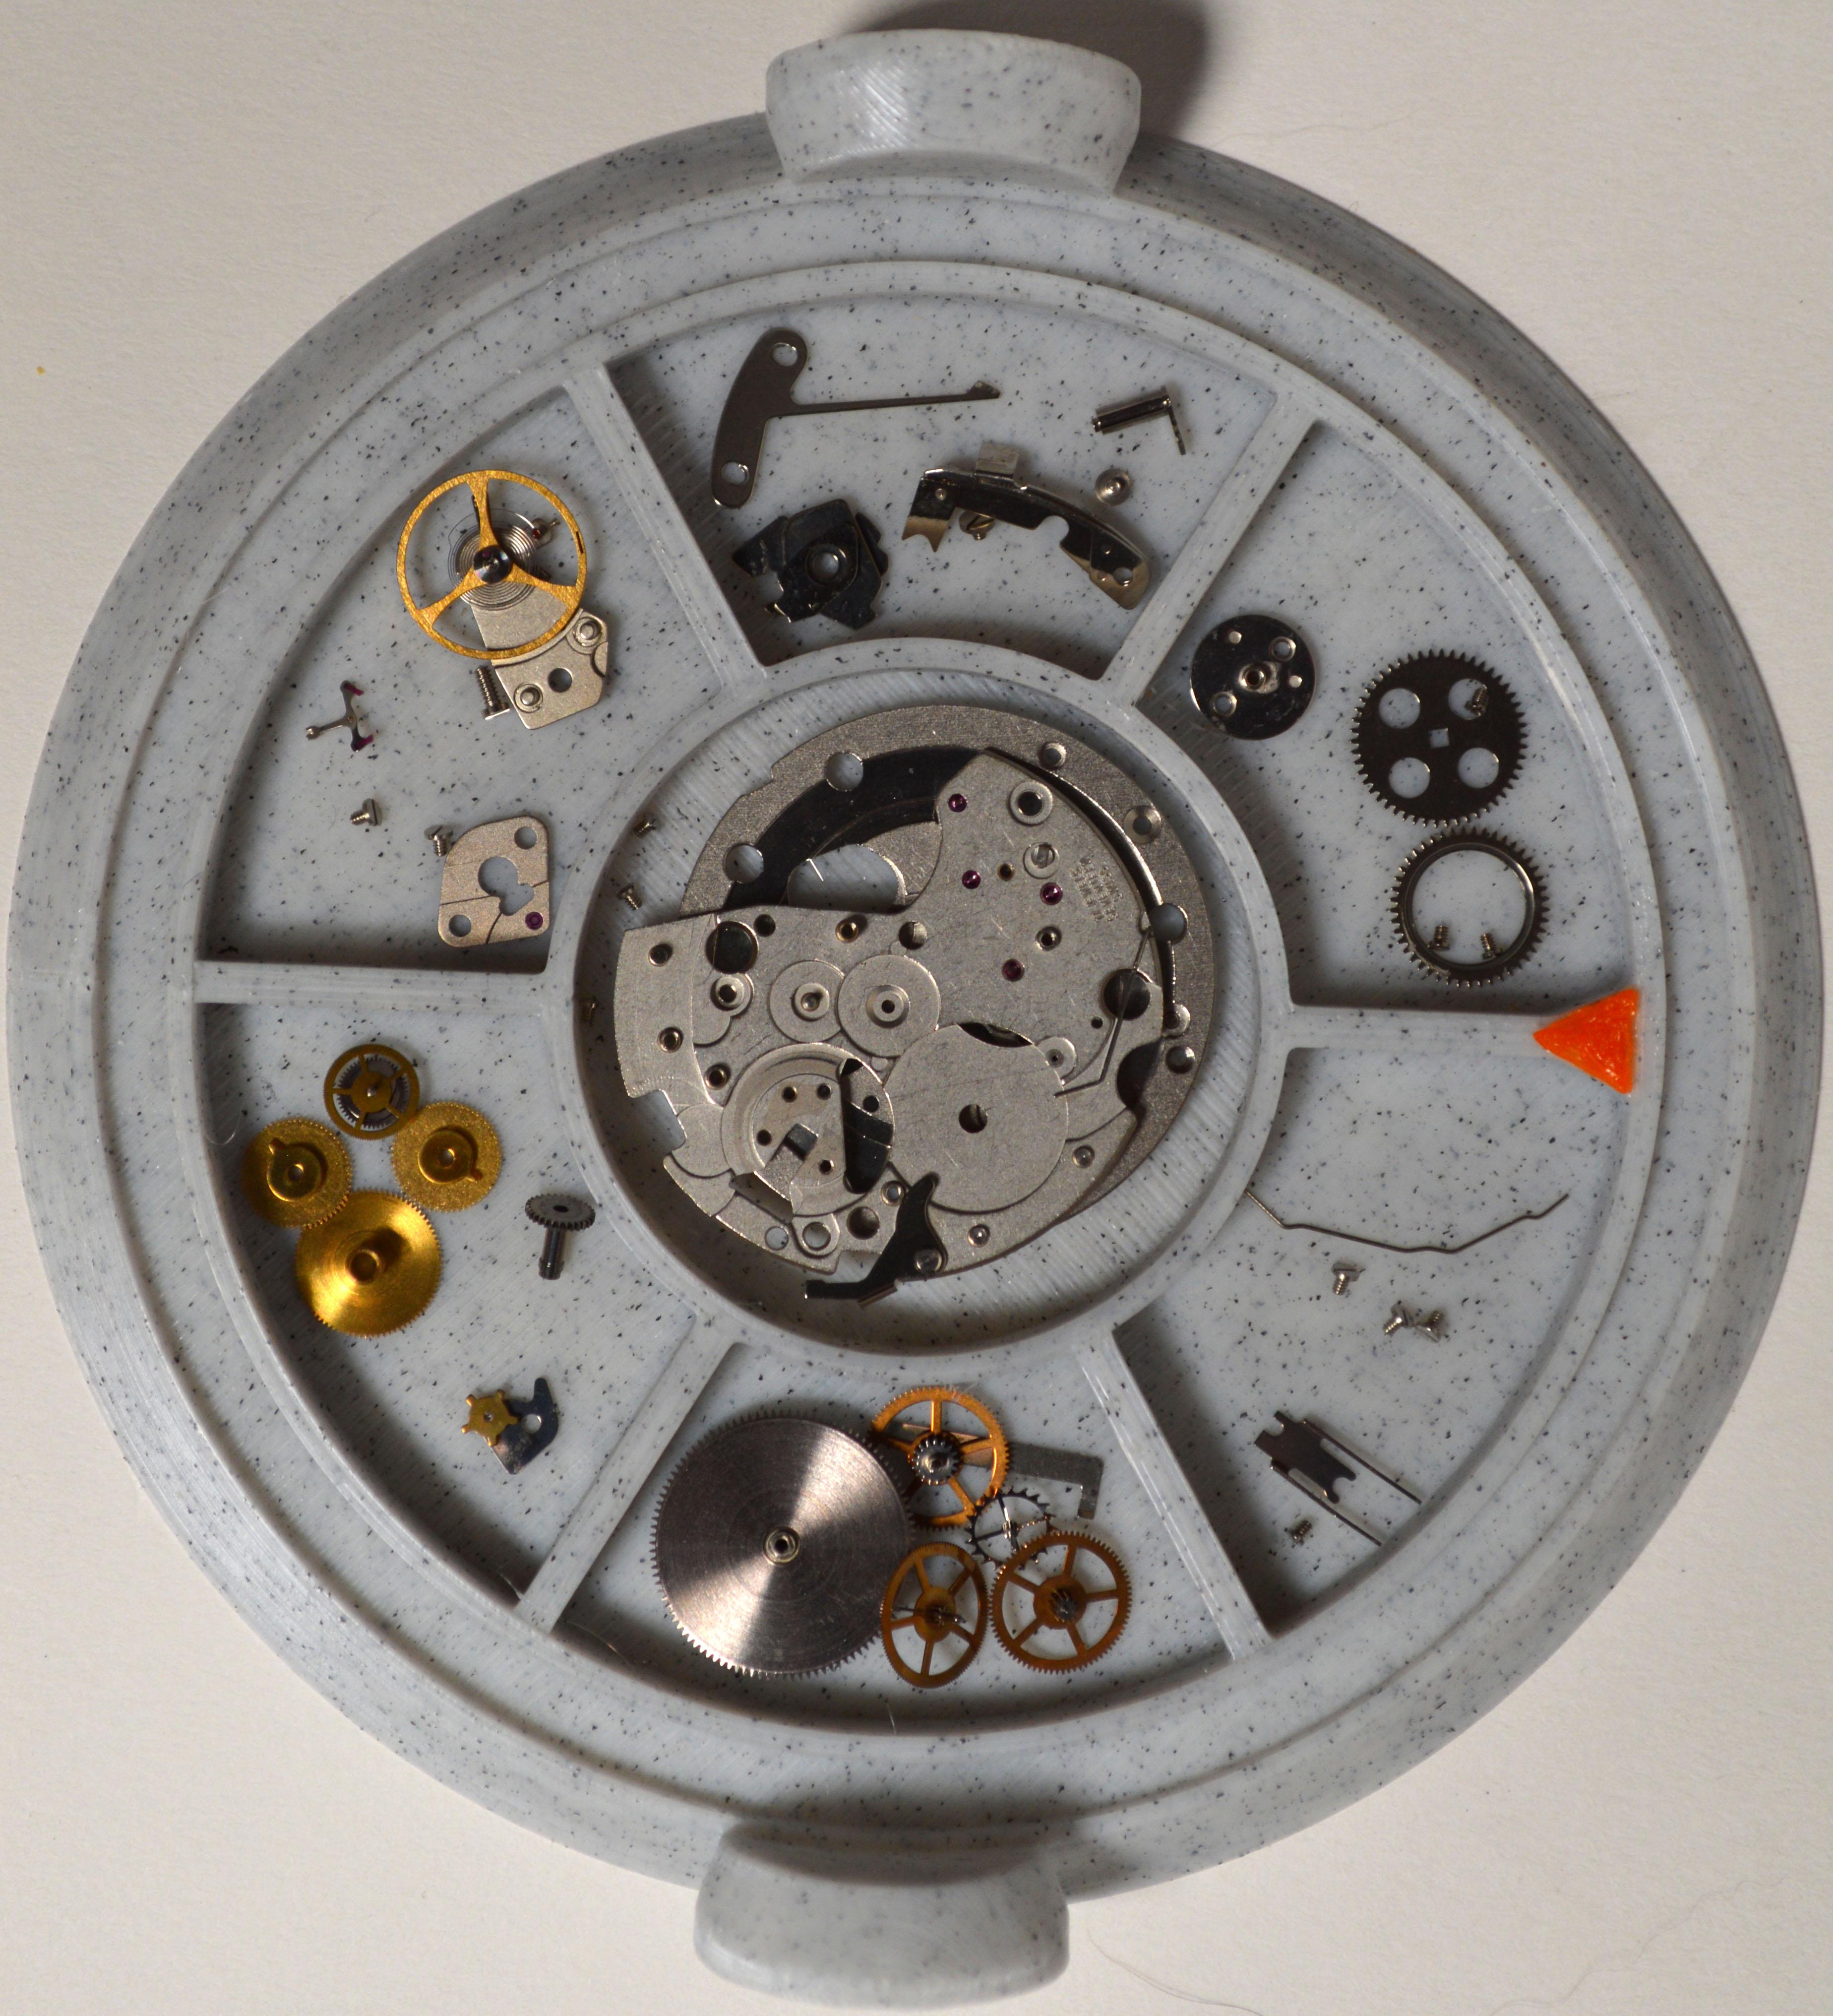
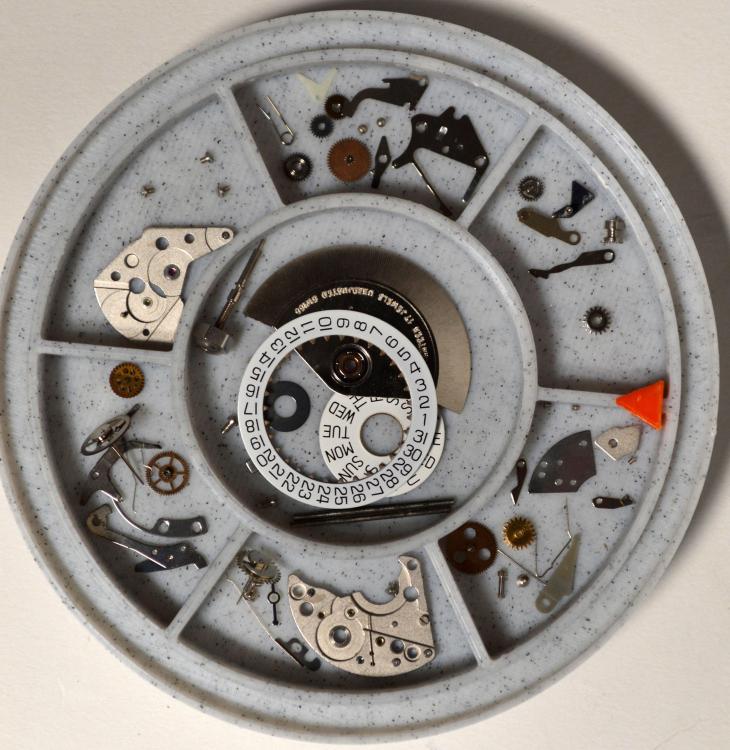
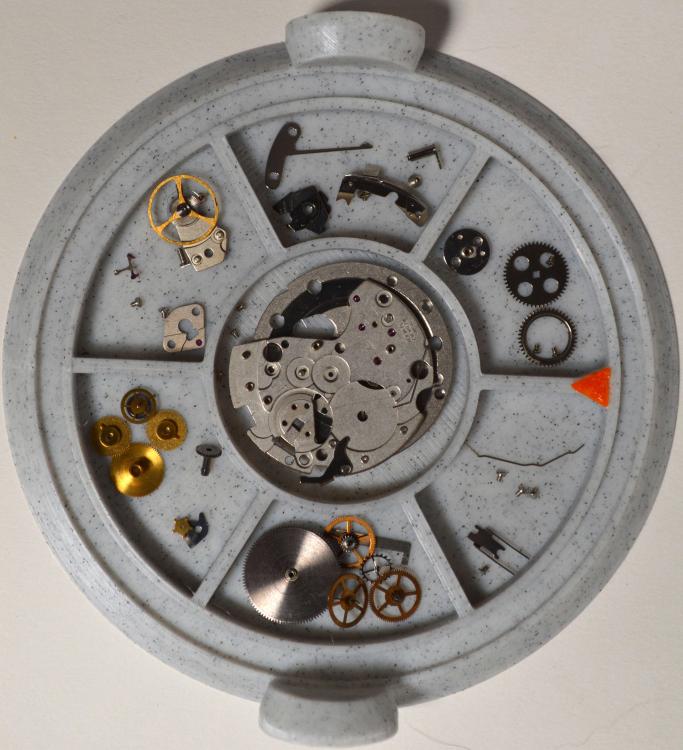
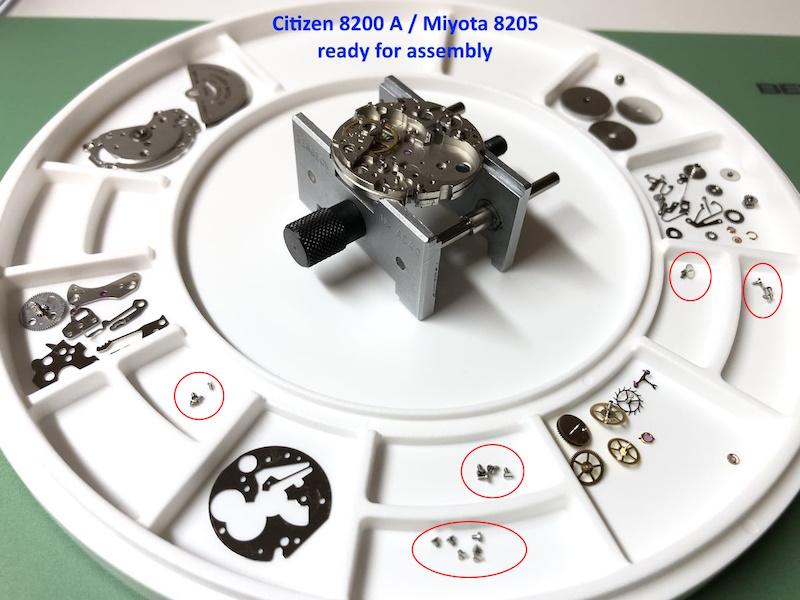
What I do is keep screws with the parts they were attached to in the trays. When disassembly is completed I take a picture of the trays before cleaning. Something like this 7750 I'm working on now. I'll put the parts but not the screws through the cleaner and then put the clean parts back in the same slot in the tray, with their original screws. Those little orange triangles help me keep everything indexed. Finally, as I am reassembling, I'll clean the screws manually if needed. The shouldered screws or reverse threaded screws are obvious, and plate screws are usually all the same size/thread, but you have to be careful with levers and springs which might have similar heads and/or threads, but be different lengths. Those I make sure are in separate trays.
 5 points
 -
Have not got room on 1/2 my 2' by 5' bench. However I do have a new addition. A nail drier. Clean the parts in Lighter fluid, then into an ultrasonic. After that remove shellac items and place all others in IPA and ultrasonic. Then place baskets in the base of the nail drier for gentle fan and heat.5 points
-
I haven't researched Copyright in detail so I could be wrong, but as long as you don't profit from or cause financial damage to someone else work I don't think a Copyright can or is intended to prevent anyone from reading and saving pages and documents on the Internet that allow anonymous access, like in the case of the AWCI magazines from 1977 to 2009, and even WRT. What I have done is provide a link to these PDF documents saved on my private OneDrive for your and my convenience, but using your browser you could download and save the 396 issues one at a time using non-authorized URLs such as https://www.awci.com/wp-content/uploads/ht/1995/1995-09-web.pdf. The only difference is that it would be less convenient and take much longer. As mentioned, I could be wrong about this, but even if not, if asked to I'll stop sharing through the link in the OP and a moderator can hide or remove this thread It could be that AWCI has decided to rely on presumed Internet illiteracy to protect its work, but that's a very bad idea and a decision we can't be held responsible for. That said, I, like @TimeWerks would very much encourage anyone to join and support AWCI!4 points
-
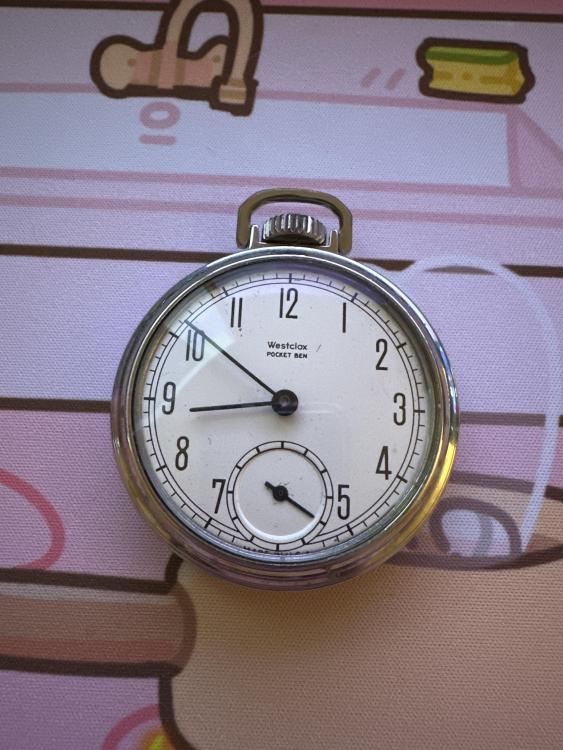
I’m super pleased with myself. After a week of learning about this watch and struggling through its repair (it’s the first watch I’ve ever worked on, I’m a beginner), it lives! I bought it a new crystal and had to replace the train of wheels but it’s keeping time like a champ (so far). I had some trouble with it stopping intermittently and I believe it was due to the hands being too tight. It took me a while to get it right. The crown wheel was also impossible to turn and after comparing it to other crown wheels of the same watch, found it was practically flat. It was a good learning experience and helped me work on my tweezer and loupe etiquette.
 3 points
 -
Funny great minds think alike , exactly the same way for me. I never put screws in a machine cleaner, i dont feel its necessary to clean them this way. Its good to learn the various different types of screw ( fried's books have a good section on this ) and the reasons why a screw has it's particular design or length. If the screw's use is not obvious or are very similar then i also photo the part's and screw's position's in a tray clean the parts, while leaving the screws where they are then return the cleaned parts back to their positions. Manually clean the scews for each part it's reassembled.3 points
-
I know the ship sailed, but for the future when you or anyone else is looking for the same thing, you just gotta know what to look for a little. My preferences are: - European (usually Swiss, occasionally French, German, English, etc.) movement, fully jeweled. That means it's decent enough quality that it'll be serviceable. I'm sure a lot of Japanese watches would qualify as well, but I'm not as familiar with them. There certainly are a lot that come up though, and mostly with all stainless cases (see third point). - Look closely at photos of hair spring and/or make sure the second hand moves around between photos (sometimes there are no movement photos). Pay attention to details like screws/lack of screws. Lots of borked up screws means someone was in there that shouldn't have been. Empty screw holes, ditto. - I like to try to find watches with fully stainless cases. That weeds out a lot of junk right there, and when you're done you stand a chance of it looking presentable. You end up sifting through a lot of junk to find the gems. That's part of the fun of it. Grab a beer, put on a good record/tv show/whatever, and go for a nice evening scroll.3 points
-
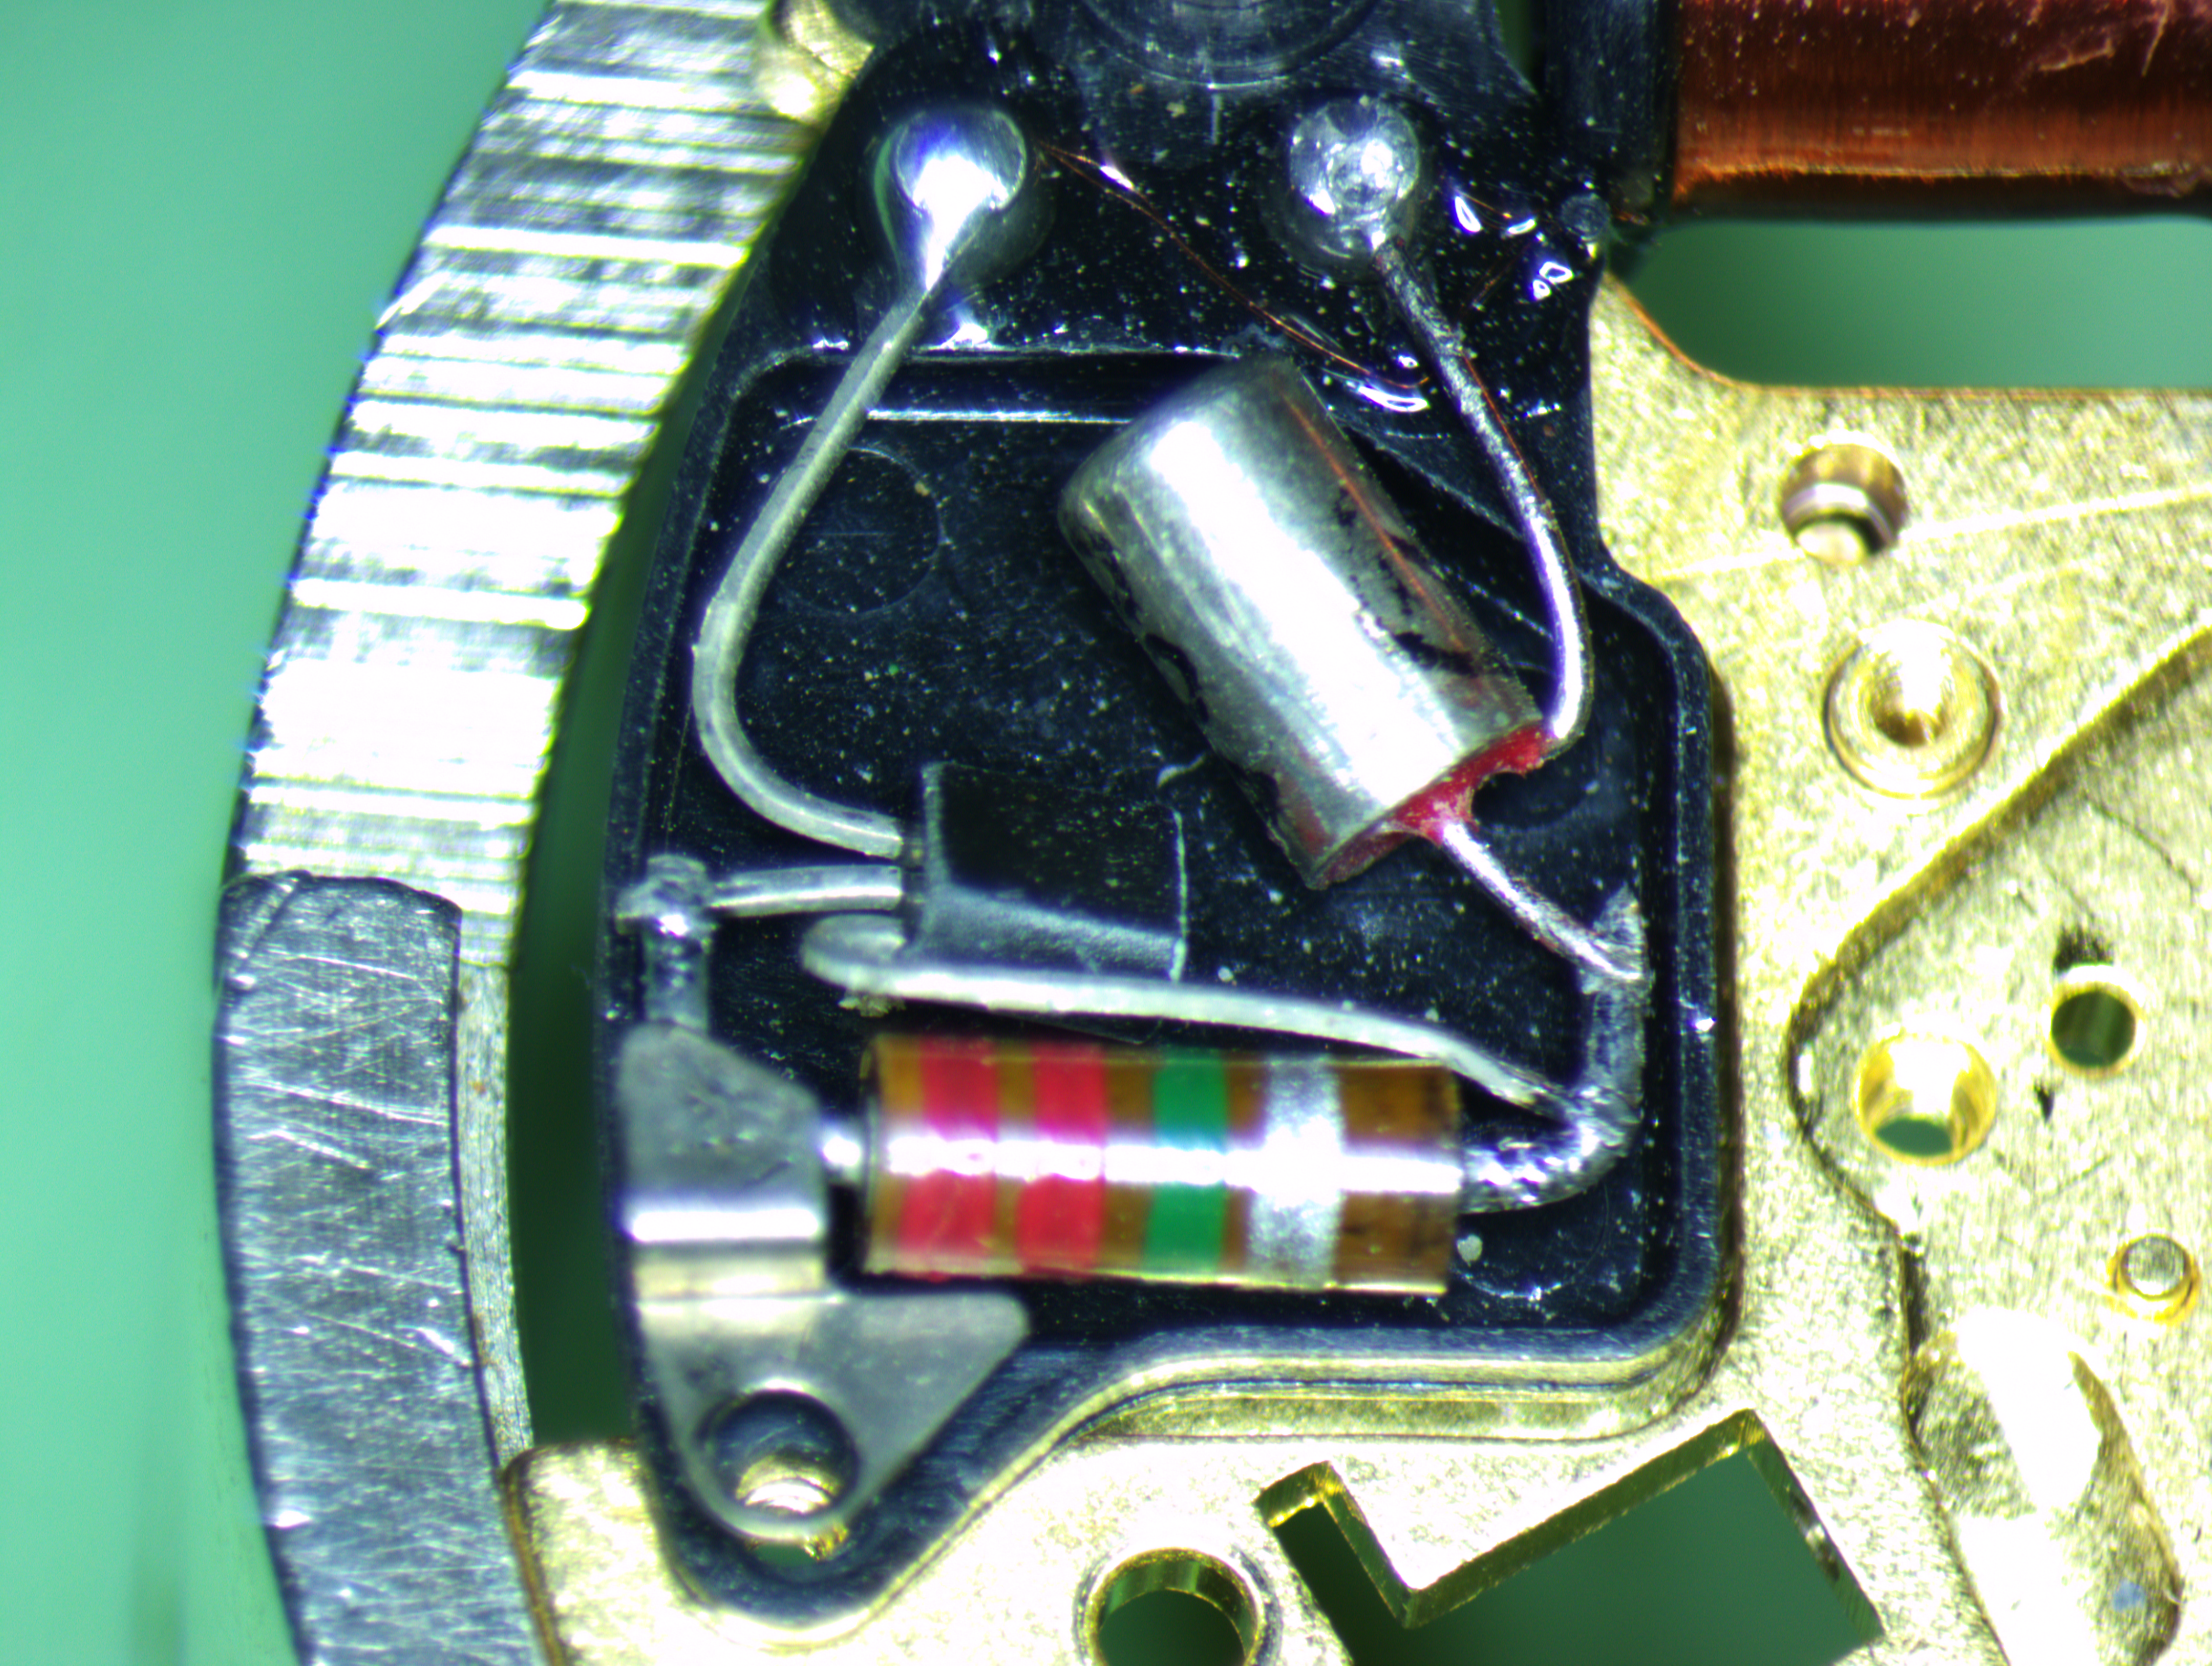
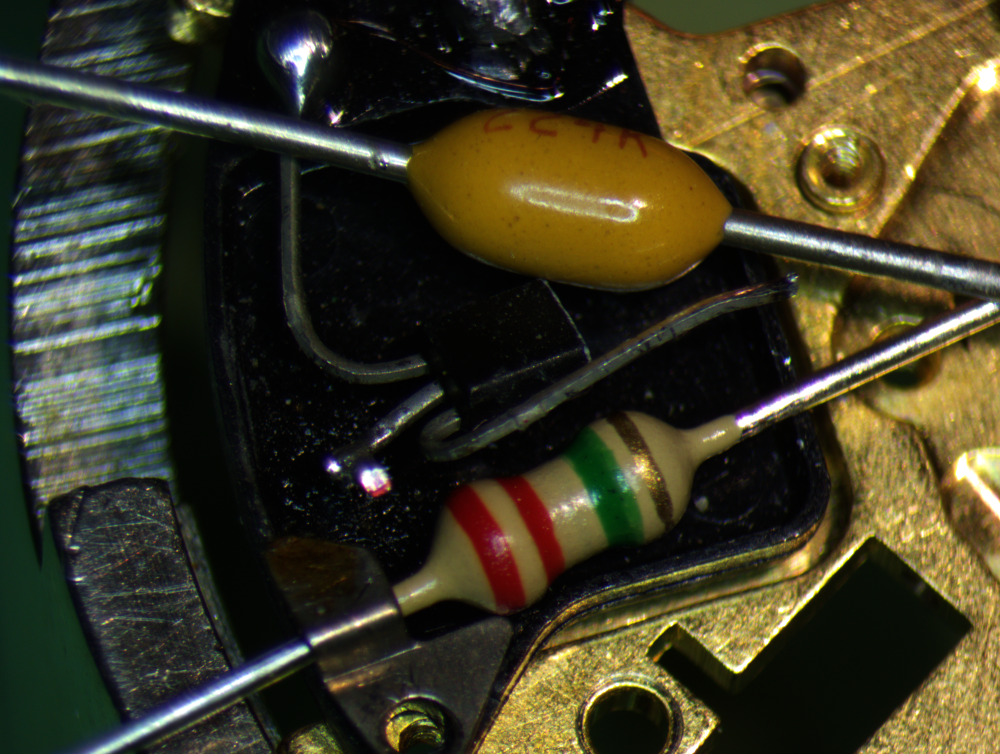
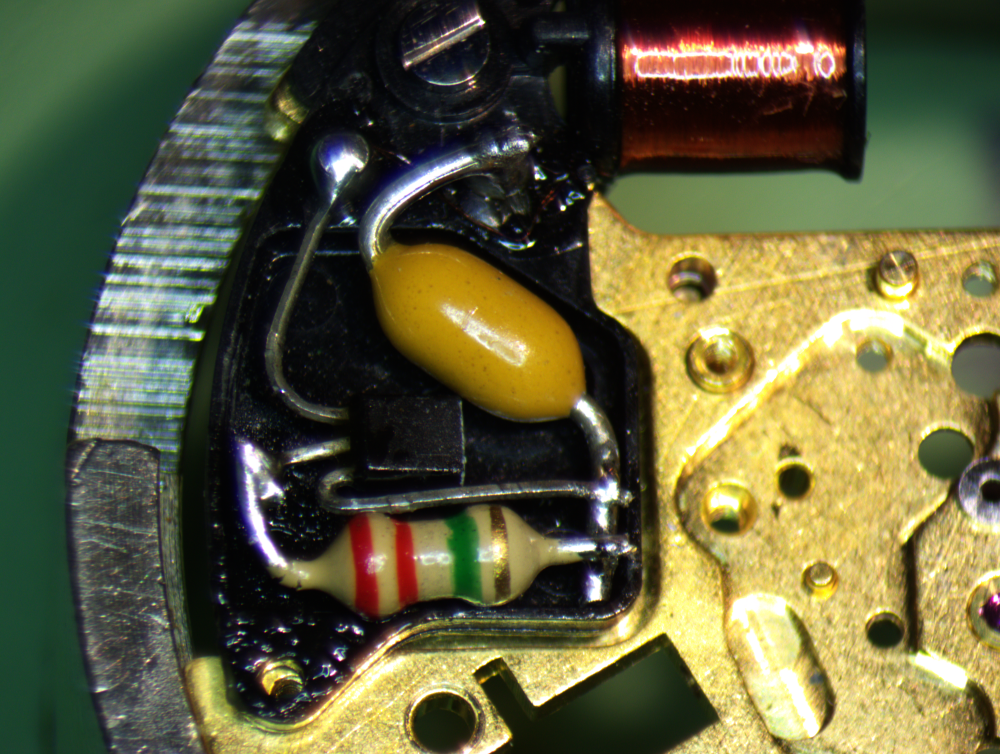
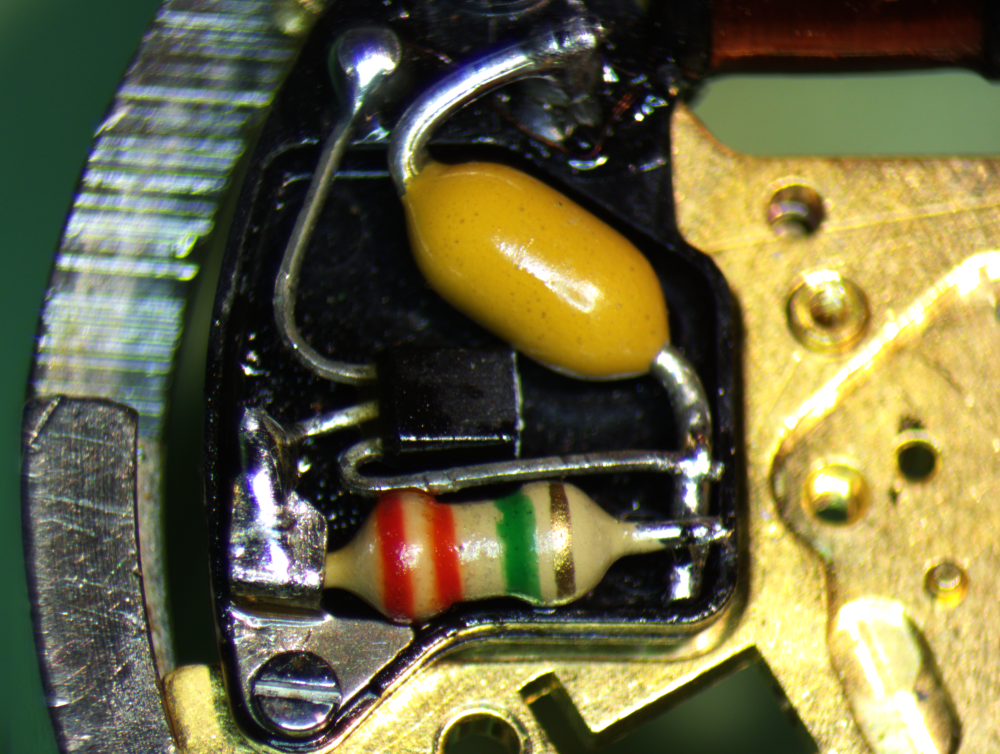
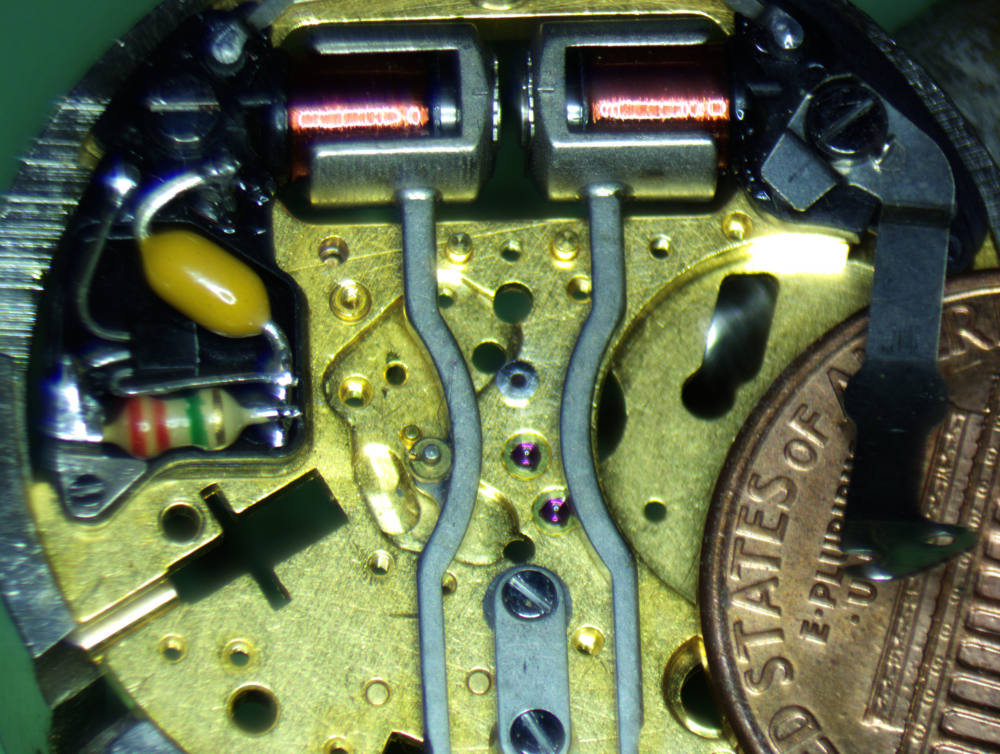
It's pretty wonderful. Heats up extremely quickly, and tip changes are a breeze. I'm using an 0.5mm round point tip. Here's the patient before I started: I managed to get the cap unsoldered, but the connection from the transistor to the resistor refuses to come apart. I decided to just snip it and stop putting heat into the transistor, which I'm reusing. Here I laid out the new components. Snipped the leads and bent them into shape. I tried to mimic the old layout, but since there's room in here I may rearrange things to give me more working room around that lug up top. I'm open to suggestions, here! All right, I'm pretty proud of this. Now to see if I can get that ground strap soldered in. Well, maybe not the prettiest, but hopefully functional. Time to clean it up and test. OH MY GOD IT WORKED! A little tap on the side and the fork started right up at 1.35 volts. Huzzah for tiny soldering! And one more picture in situ. Standard calibrated penny for scale.


 3 points
 -
An alternate way to get the back issues is to join AWCI (even for a year). If you are referred by an existing AWCI member you both receive a five DVD set of all the HT magazines from 1977 to 2019 free. Otherwise they sell the boxed set for $349. I don't need another set, but would be happy to refer anyone that wants to join. You can find the offer here: https://www.awci.com/member-center/membership-form/ Besides that benefit, you can also check out books from their pretty extensive library, access technical sheets for watch movements and get significant discounts on their classes, along with the magazine subscription. Cheers.3 points
-
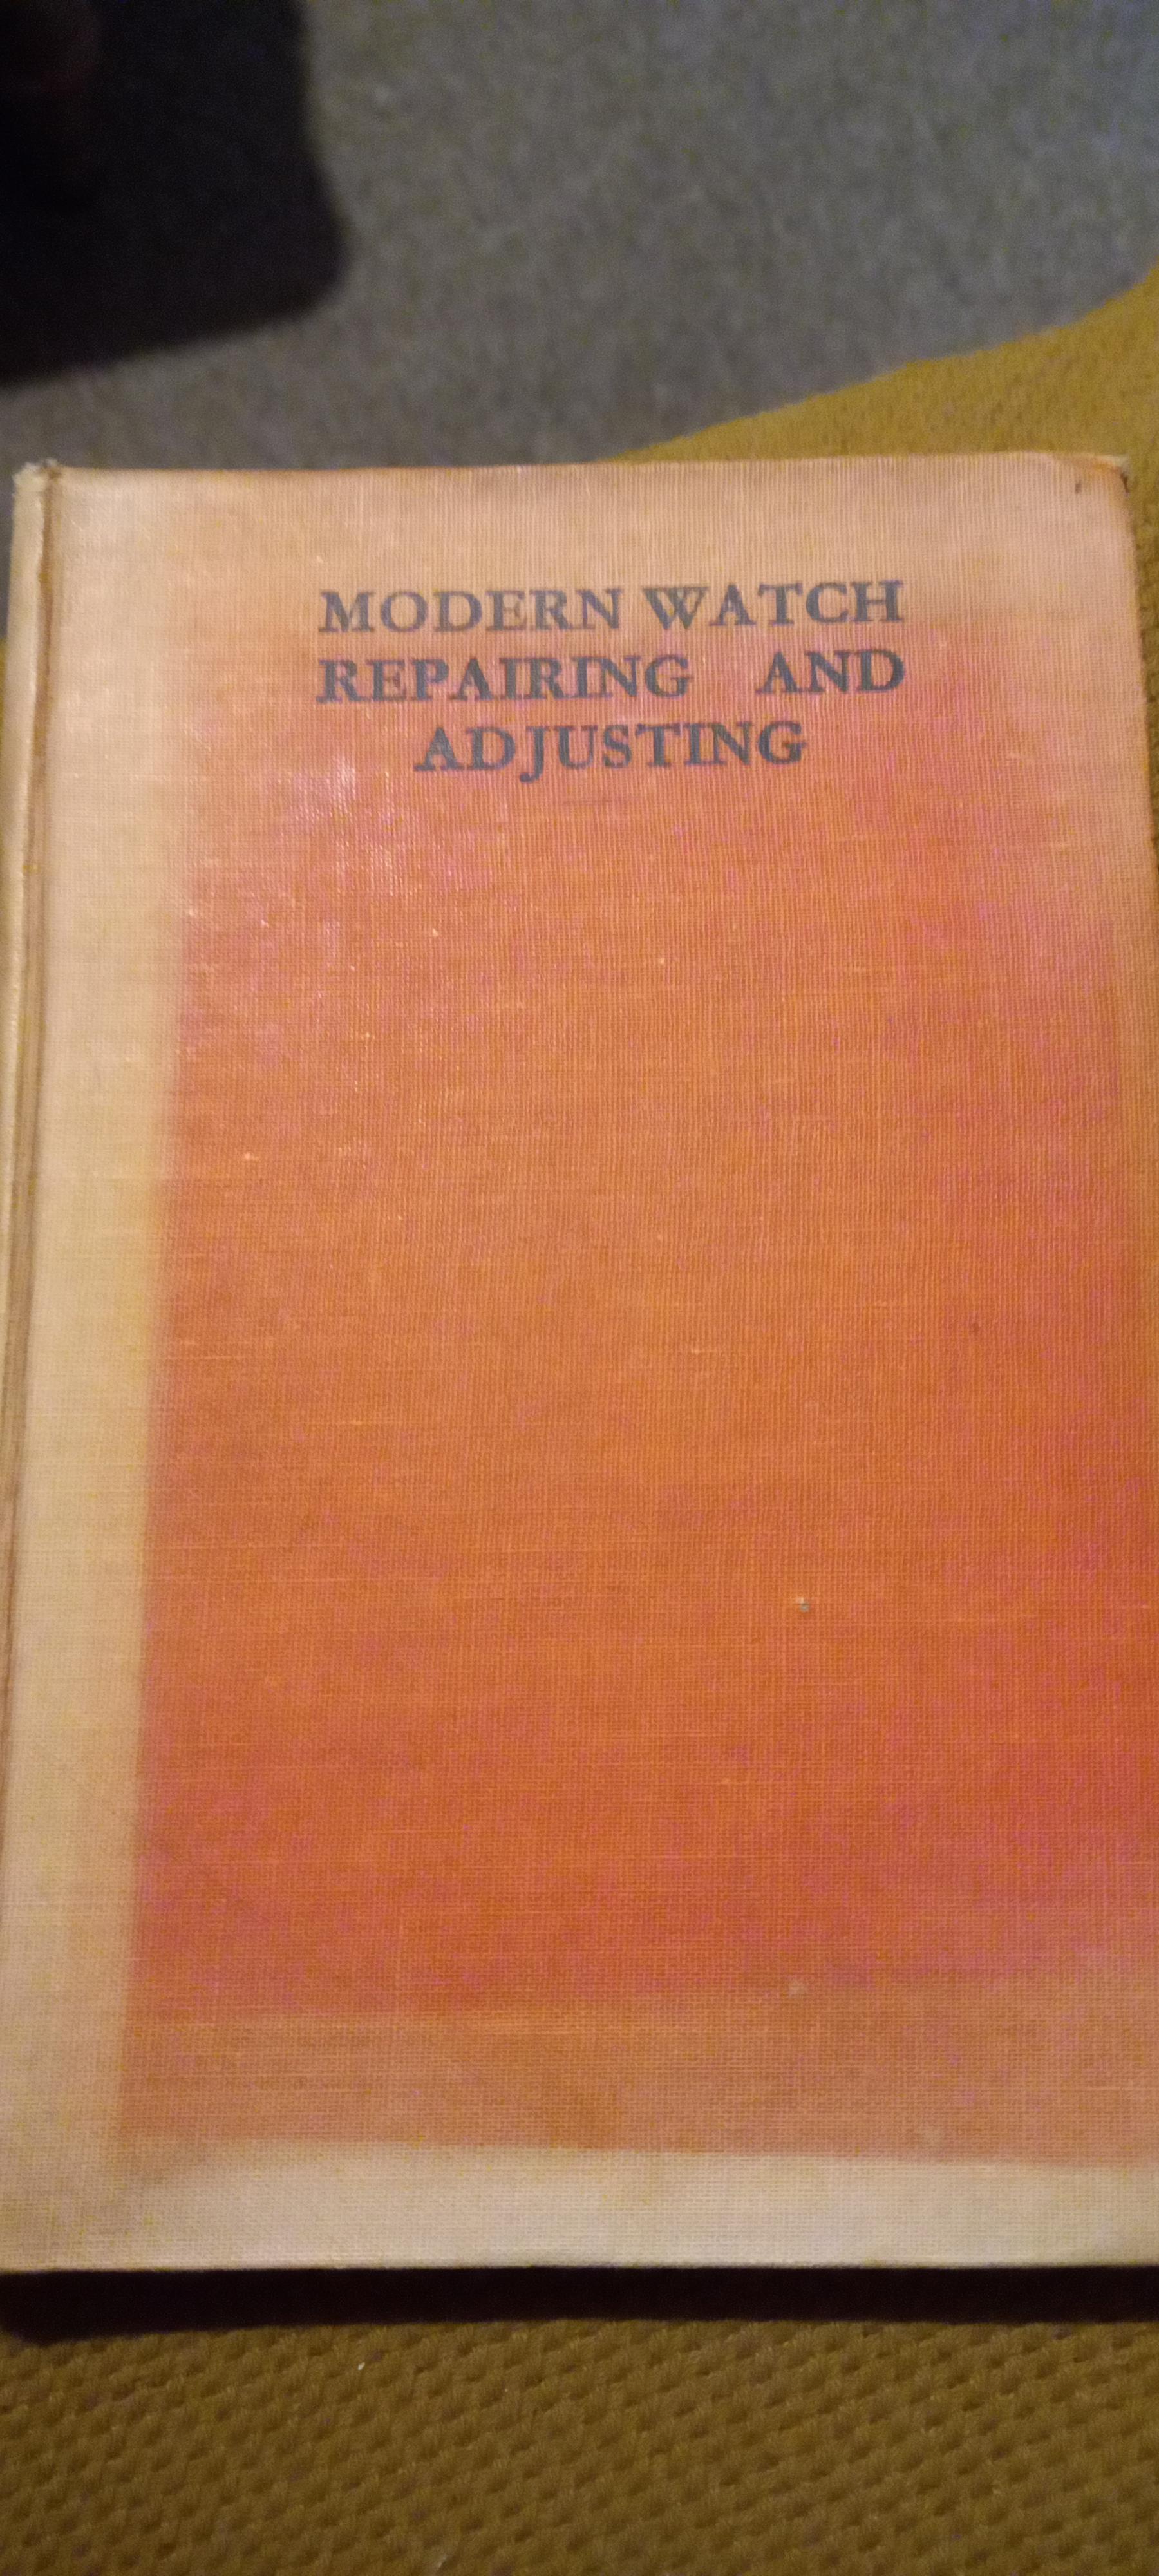
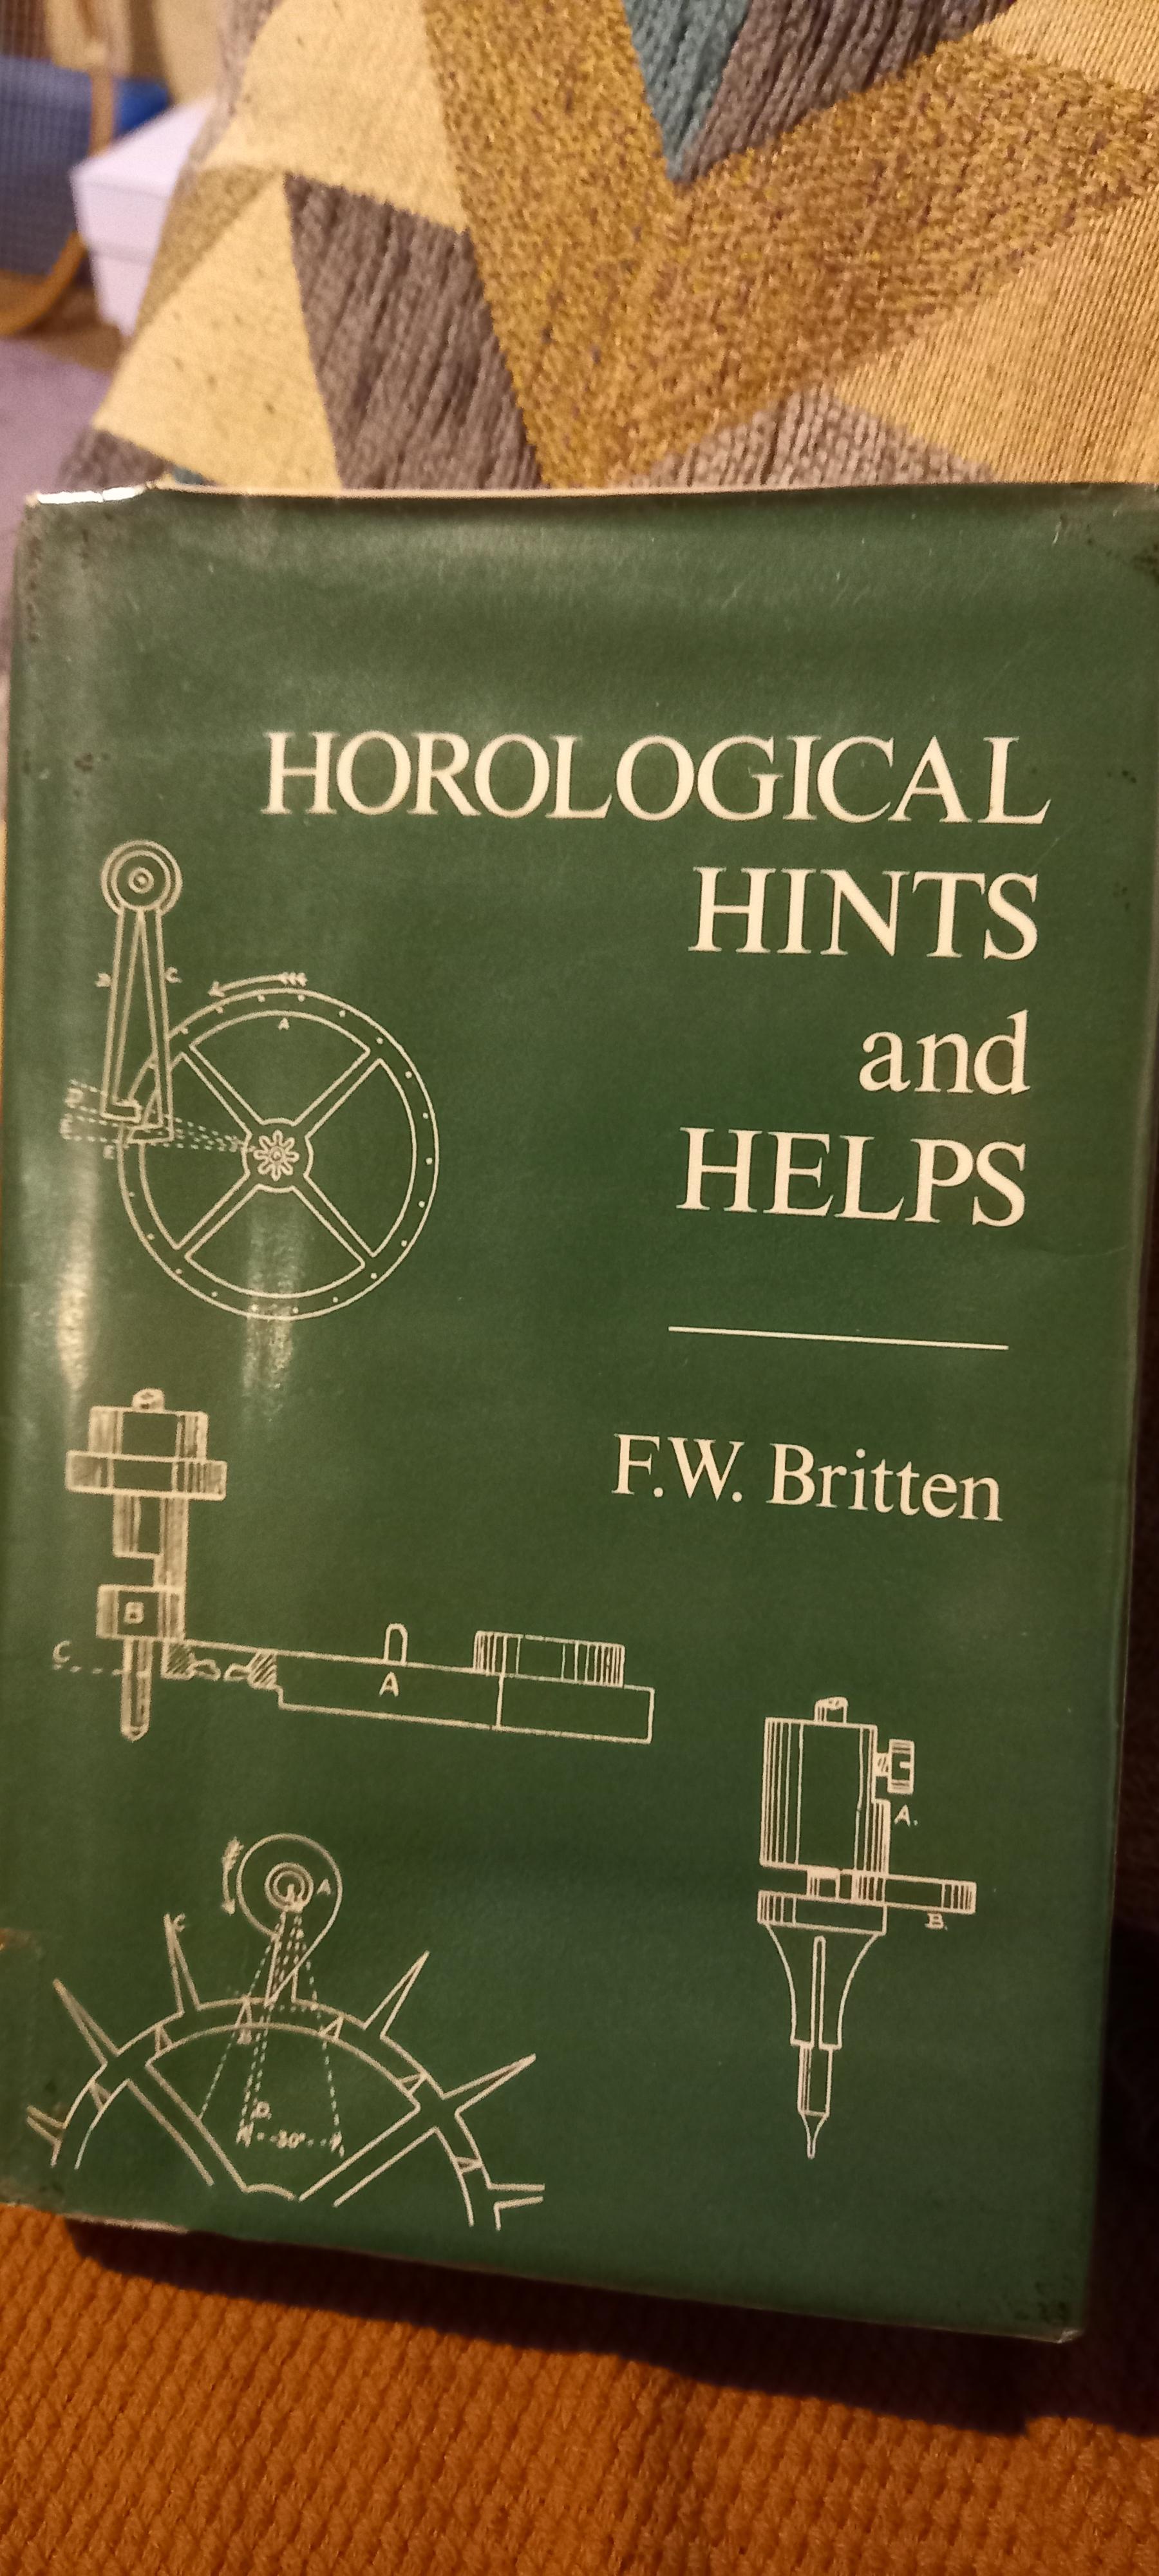
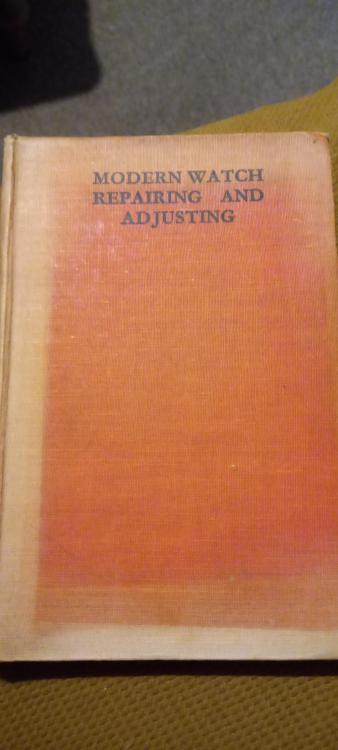
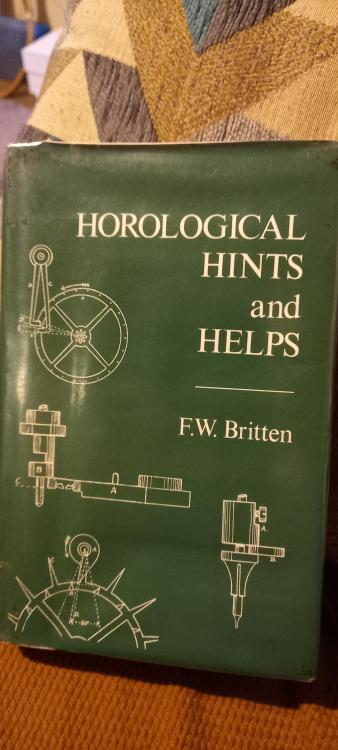
Eyup watch peep, i figured an active thread where we can post and review good books to read would be useful. When i have questions and ideas i promptly dive into a book and then ask the forum for advice. Most beginners start with the greats such as Fried, de-carle and Daniels, these seem to be the most well known and referred to authors, experts in the field of watch making, a lot of Daniels probably being overtechnical to begin with. But there so many more, Nickelsilver recommended Gazeley a while back so i didn't waste time picking up 2 pre owned books, i wasn't disappointed and can see where the others may have aquired some of their knowledge. Recently i reviewed and suggested modern watch repairing and adjusting by E.Borer this guy was heavily involved with Rolex and head of their technical department early on, so i assume he knew a thing or two. 1st printed 1931 and revised twice over a period of 11 years, so the latest edition will contain better more upto date info. Here is another to look up by F.W.Brtten, I've just borrowed this from my local library, slightly earlier than Borer's book 1929 so again old school stuff. In it he mentions the method of cutting away the rivet of a staff to remove it from the balance wheel, that i have heard of before in our forum from Nicklesilver and other pros, and was brought up by myself and someone else on another group site. That method i thought was a relatively new idea even though the Molfres tool has been around for a long time and employs the same way. Most folk on the other site poopooed the idea , only me and one other guy promoted it to be the safest option, that now taken up by Chris Spinner ( a fantastic amateur and worth watching his video content ). In Britten's book nearly 100 years ago he also states this as a safe way to avoid deformation of the balance wheel and it's hole over time and repeated staff changes. Old fashioned terms and part names used as well which are interesting, i used one not so long ago " pull out piece " we know as the setting lever. Britten actually calls it a " pullout piece or lock " the "pull out " we know as the stem. So there you are two interesting old school books to check out, enjoy watch people
 2 points
 -
I would claim to find them in the strangest of places. Once in the tub while having a bath, god knows where it was hiding about my person.2 points
-
We think alike, although i do like the challenge of pin pallets, can be veery frustrating but rewarding if they eventually run ok. Initially i would ignore anything that didn't have a crown and stem, had a broken crystal , had worn plating to case and back, a dial that was askewed ( yorkshire skew wiff ) , a dial that had obvious scratches, missing markers, missing printing, missing hands, the hairspring looked rough, missing screws, missing jewels, missing shock springs,seller stated that the balance is broken, anything in pieces all this apart from if it was just to practice on and not a restoration to wear. But now after a few years of learning collecting tools and basic stock almost anything goes.2 points
-
You get better at not pinging parts over time. Microscope helps tons. I clean cap jewels by placing them on a piece of watchpaper, folding it over, and rubbing it around with my finger. Then flip it and do it twice. It usually stays with your finger, and you want to get both sides. This is quick, easy, requires no weird tools, and the paper keeps the jewel from getting away. Just gotta be careful not to crinkle the paper itself, as that can be a flinging mechanism. I once spent the better part of an evening searching for a click spring or some such. As I was throwing in the towel, I took off my glasses to rub my eyes or something, and there it was on the INSIDE of one of the lenses! I was looking right at it the entire time! Right in front of my face. Not right UNDER my nose, per se, but right nose adjacent.2 points
-
Good thinking Ross, the wife can also have a claim on that piece of equipment. Happy wife happy life Haha Tom we are all gunnas at one time or another, except for our self-disciplined Ross here who doesn't muck about and just gets on with things. I'm eagerly waiting to see that fully equipped sliding compounded singing dancing wolf jahn of yours up and running. I see no pictures, no trialing, no reviews, come on Mr. H get your finger out2 points
-
I wish we could get one for a sensible price Tom2 points
-
Thanks waggy looking at a few videos i did notice about the spring , the post i have is home made from a drill bit, the basket didn't come with the janta post and the spring actually fitted poorly into the basket so had to be altered. I'll be making a new one in time. The wobble was quite easy to fix using a reference point at the top and the botton of the basket . Filling small amounts off the locking tabs, it runs ok now but it was terrible. I agree Richard but sending it back to india and relying on getting a refund from an honest seller is a risk. An hour spent adusting it to work correctly i dont mind and its a big improvement to what i was using. I was disappointed but i knew from HectorLooi's description of his that there could be a problem. He mentioned the same issue and worked around it, i figured i would be able to do the same. I dont recommend buying one unless someone is prepared to take that chance it can be corrected, 4 up to now I've heard have this problem, even on a complete janta pearl machine. I'm happy , i could have been happier and i wasn't going to pay 3+ times that for an elma basket.2 points
-
Thank you once again for the suggestions, the problem was resolved. Found a white gasket that was half the thickness of the red gasket (0.45 instead of 0.9 mm), and I was able to successfully attach the bezel to the case. Placed the gasket on the bezel, with the chamfered side facing out. With the right gasket it went in much easier. Lessons I learned so far about Gaskets. Lubricate or not? If the part needs to be twisted on, use a gasket with fomblim or silicon grease on it. If it is pressed straight in place, do not grease the gasket. The grease itself is not a sealant, it's a lubricant, and meant to avoid damaging the gasket when it is being maneuvered into position. O-rings are the most common type of gasket you would grease with a very thin layer. Gasket will often have a proper side up. Check carefully for a chamfered edge on a red or white gasket that should be on the leading edge going into the piece. An L-ring gasket would fit with the L sitting down in the inside ledge of the case or bezel (the crystal will press against both the side and the bottom to get a good water seal). What size gasket? Measure the outside of both of the shoulders on the case and bezel to see what the difference is and order the appropriate width. Try 0.1 mm larger as a starting point. Measure the depth of the shoulder to determine the height of the gasket. Try to be flush with the top of the bezel with respect to crystal gaskets. Gasket just a bit too thick? Sometimes a very small .001 difference is all it takes to go from failure to success. You could try picking a gasket one size smaller in diameter and gently stretch it by rolling it between your index fingers. Alternatively you could try putting it on the case back and placing it in the freezer for an hour for it to shrink a fraction. Try putting the gasket in the case instead of on the bezel. When pressing in gasket, triple check that there is a consistent spacing between the case and the back or bezel all the way round. The gasket needs to be pressed in evenly to avoid any pinches in the material. Use the old gasket until you are finished all your post checks, then put the final new gasket on. I had to search several places to find sets of the different types and sizes. No one supplier has all the styles. Different subset of styles are available at CousinsuUK, Esslinger, Cas-ker, JulesBorel, OttoFrei, Startime, Timeconnection, AliExpress and TheORingStore. Black-O ring: - common case back gasket. Need ID (inner diameter) and cross sectional thickness of gap you need to fill. Watch material shops have sets of thinner gaskets, but I needed to go to theOringStore to find thicker gaskets for an Aquastar I was repairing. They have different shapes, and different types of gasket material, but no convenient set for a range of watch sizes. AliExpress is where I found inexpensive sets of O-rings with a range of inner diameters and thicknesses of 0.5, 0.6, 0.7 or 0.8 mm. You normally grease o-rings. Red Gaskets - Guccii, Tissot, Omega watches These need to be an exact fit and are normally are put in place dry. "The rubberlike Arnitel material (thermoplastic elastomer) can be deformed easily but is not compressible" - kalanag. You can find them at regular watch material shops, but most seem to be a similar thickness of 0.9 mm. Don't reuse these gaskets. White Gaskets - can be used interchangably where red gaskets normally would be used, but I found them to be available in thinner sizes than red gaskets. Assorted boxes on AliExpress. Don't reuse these gaskets. Green Gaskets - similar to red gaskets but specifically more water resistant? I have never seen these for sale, but understand Red Gaskets can be used instead. Silicon Gaskets - very thin O-ring style used for Gucci, Tissot type watches. Flat Gaskets - like a flattened ring, normally about 0.5 mm thick, need to match ID (inner diameter) and OD (outer diameter) of the gap it is placed in. It will be pressing against the case back. Found an assorted box of watch diameter sizes at CousinsUK. Thin Flat Grey Gaskets - older style to protect from dust, but not water resistance so replace with a different newer style. Lead gaskets - some vintage watches had these, carefully remove, safely dispose of the lead and replace with an O-ring gasket. I-Ring Gaskets - shrink-less plastic used for flat mineral or sapphire crystals. Don't grease these. L-Ring Gaskets - shrink-less plastic gasket for thicker crystals often on divers watches. Don't grease. Crown Gaskets - very small O-rings used for "waterproof" crowns. These will go either inside the crown, or fit over the crown tube depending on the watch.2 points
-
Don’t bet on it, I’m one of the folks who needs the knowledge before I jump in to get the experience, then I am in my happy place. I have done some minor repairs and such but not a full service or revision yet. It will come and for me and the way I learn and approach things it usually works out. Tom2 points
-
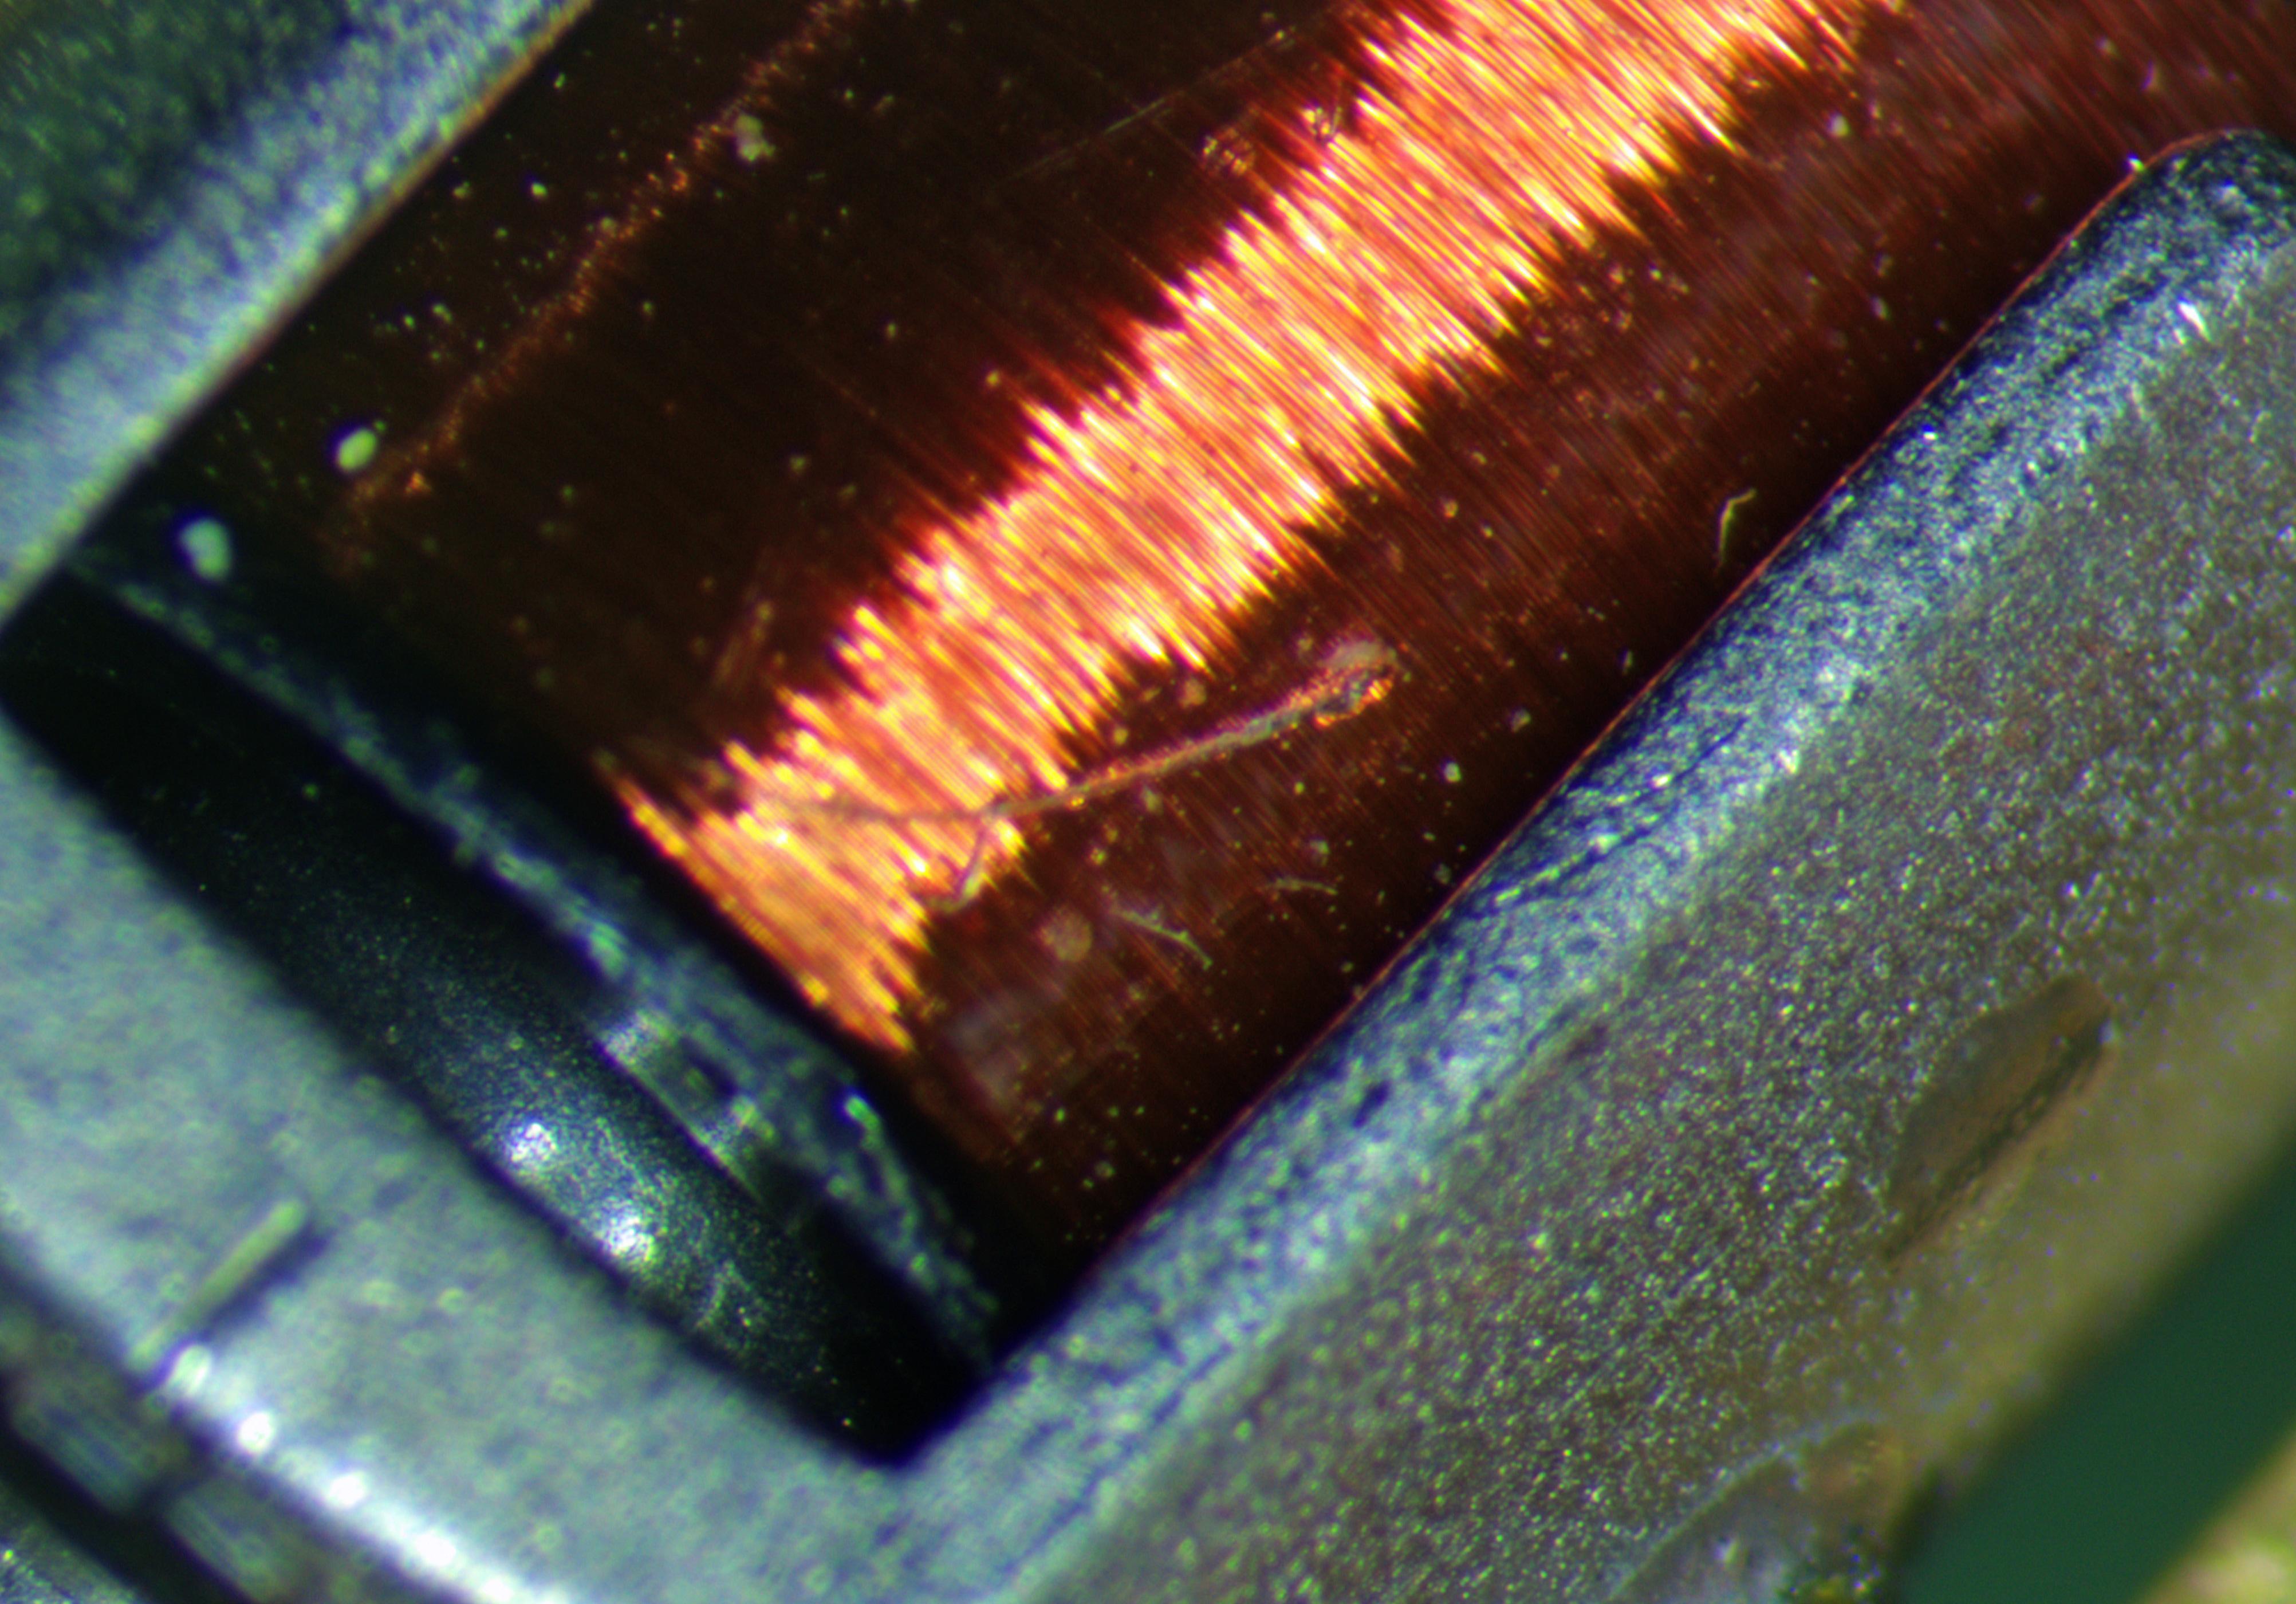
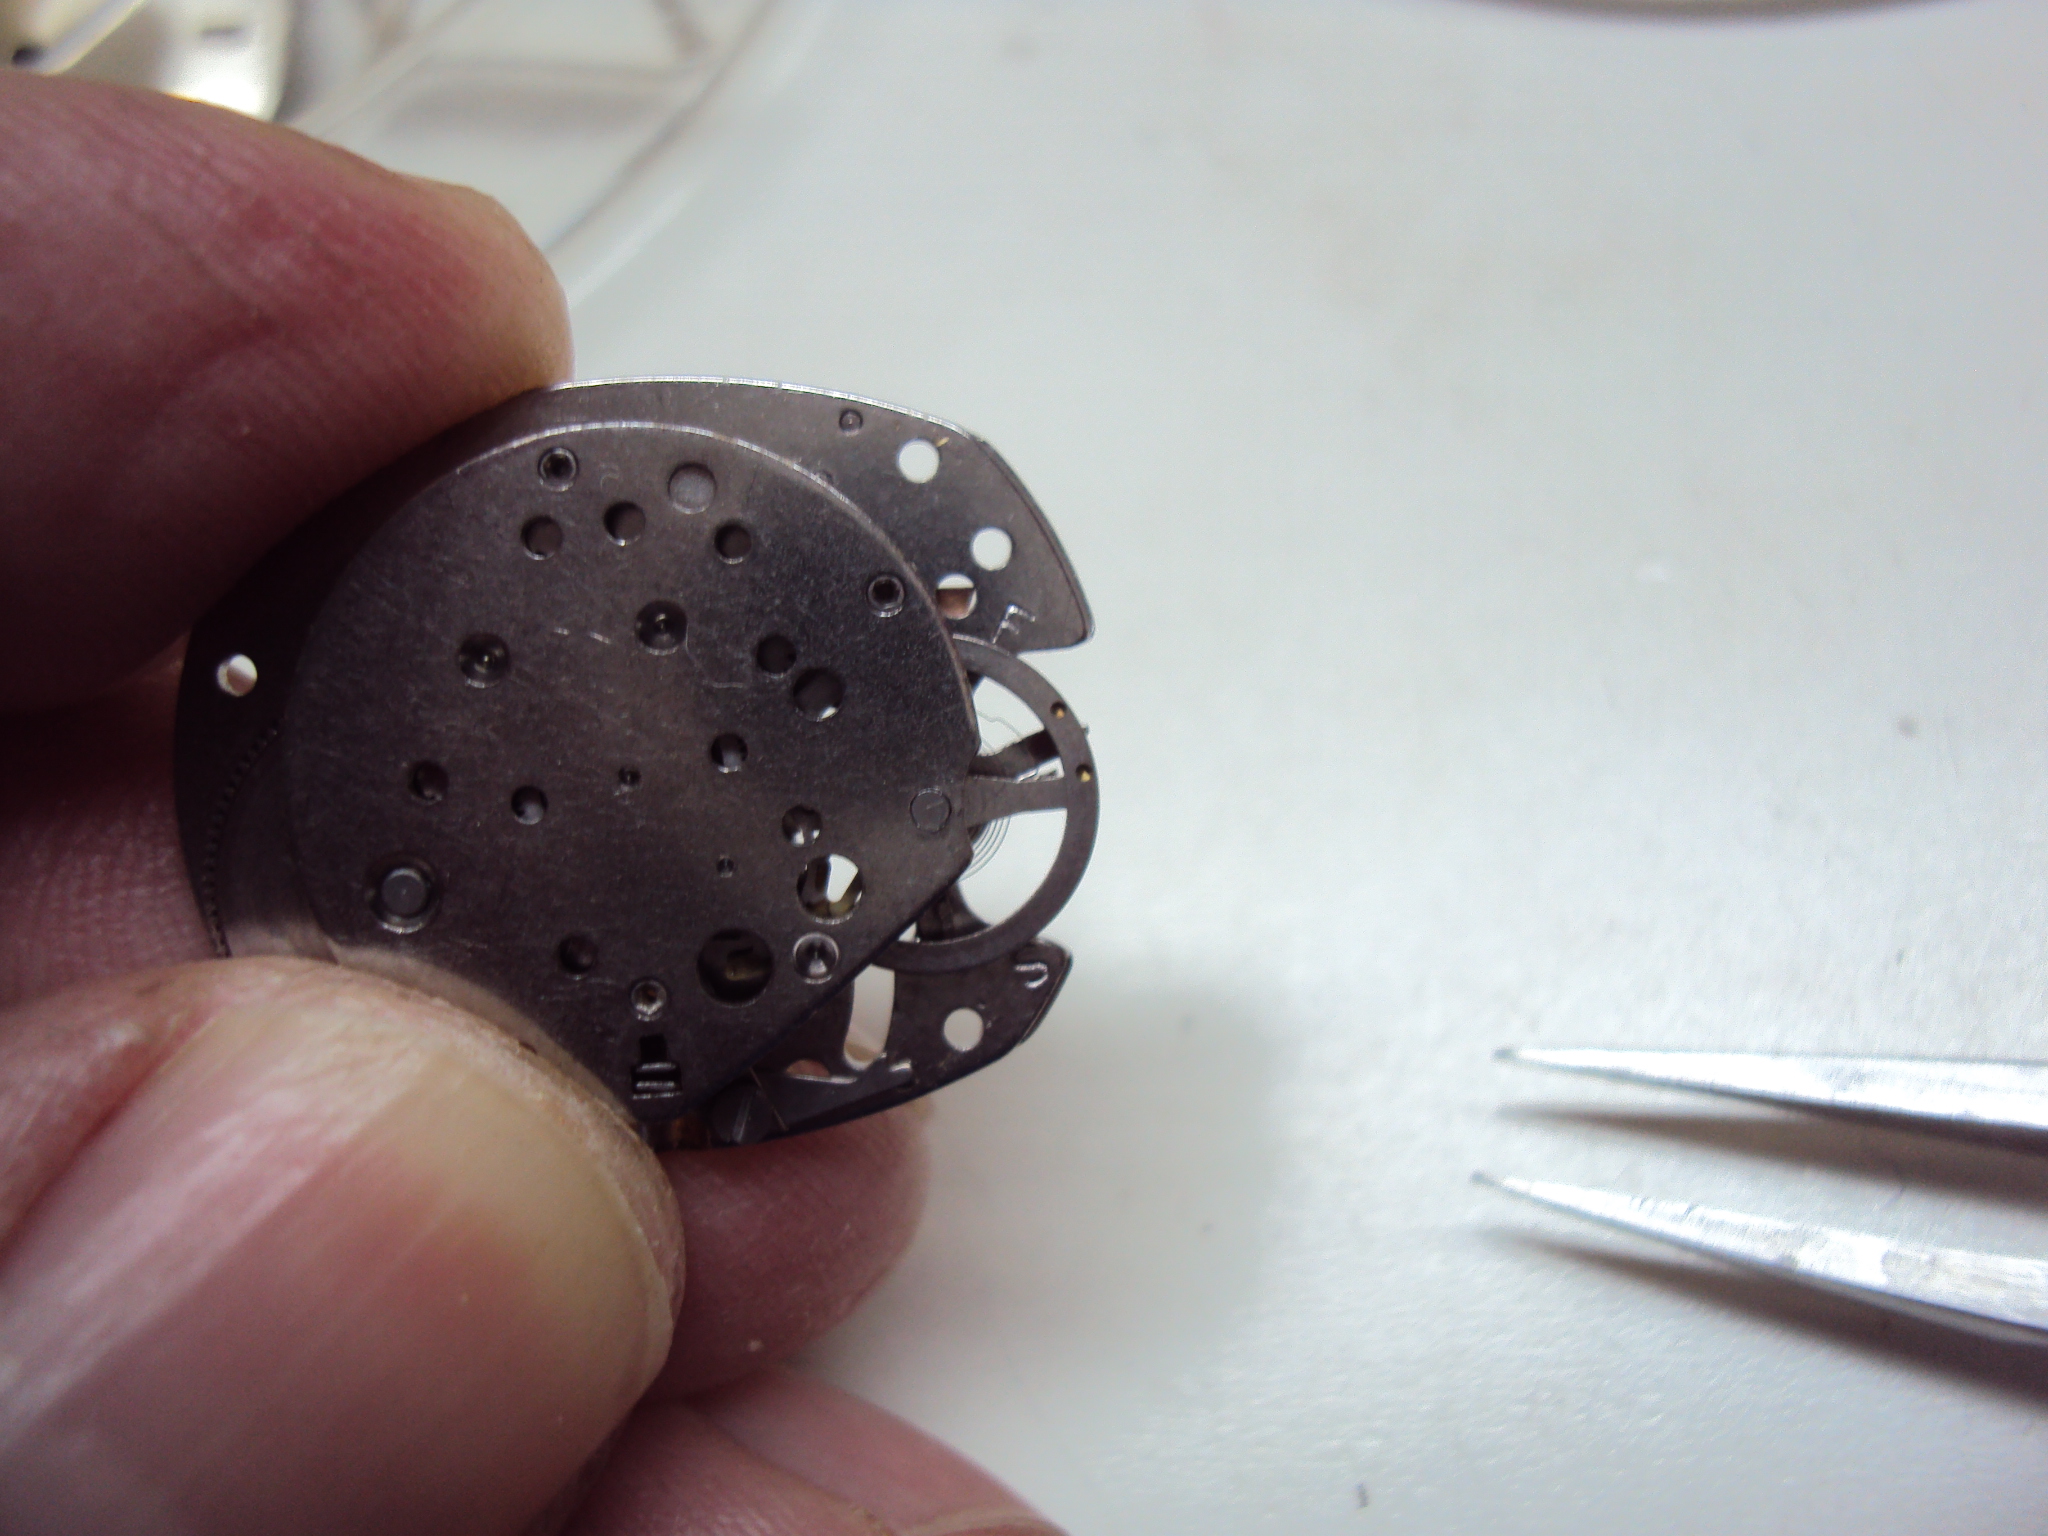
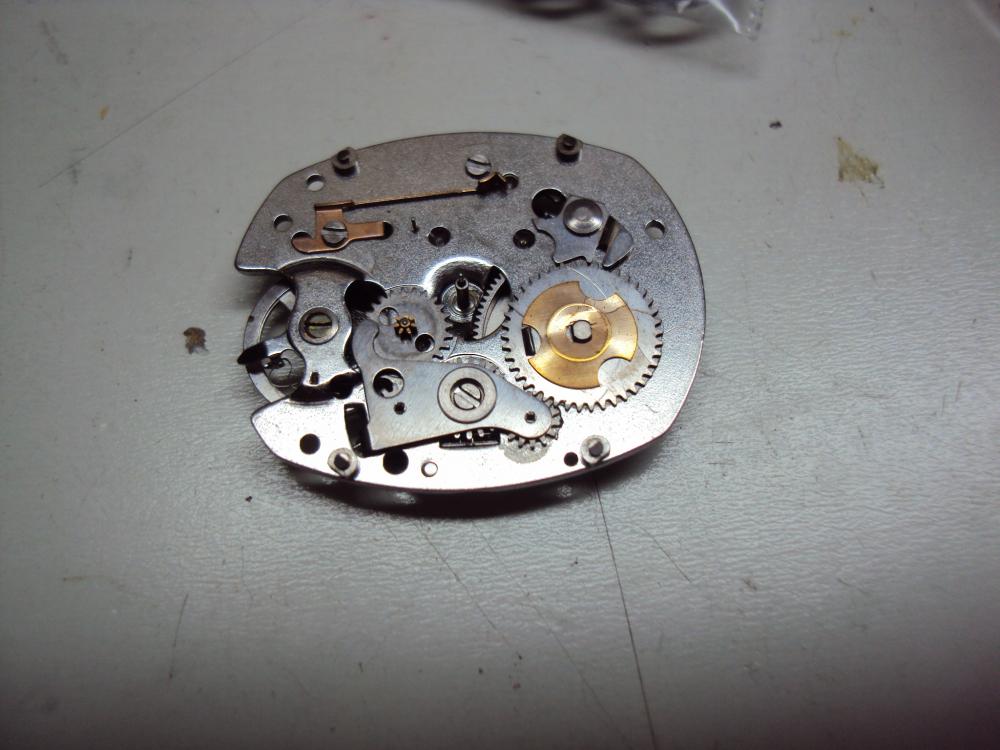
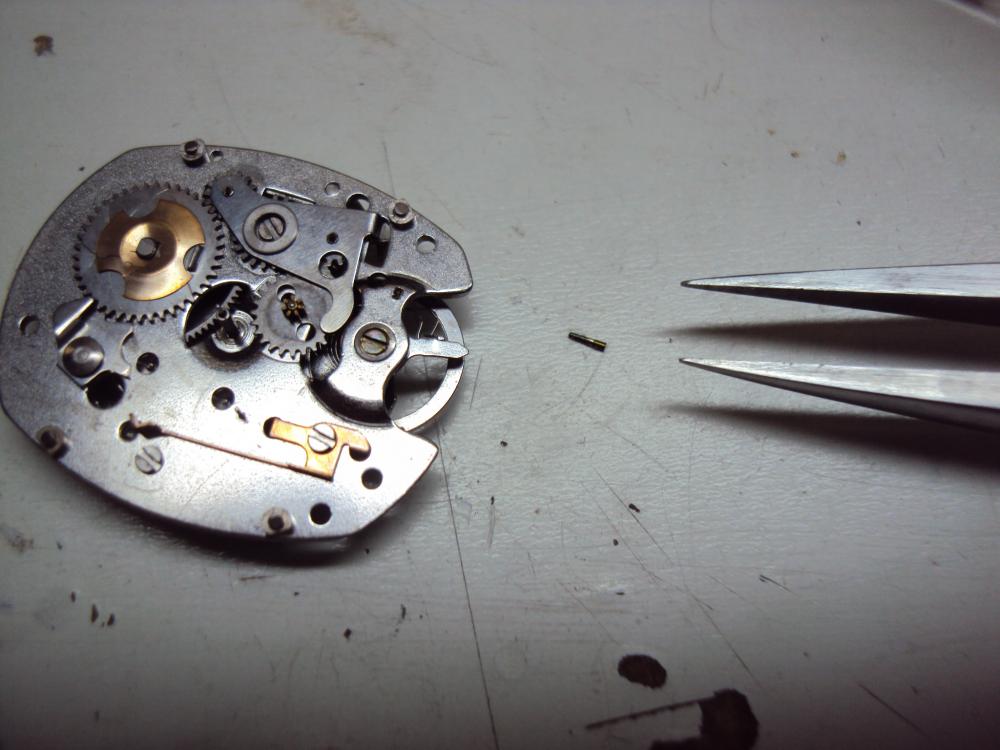
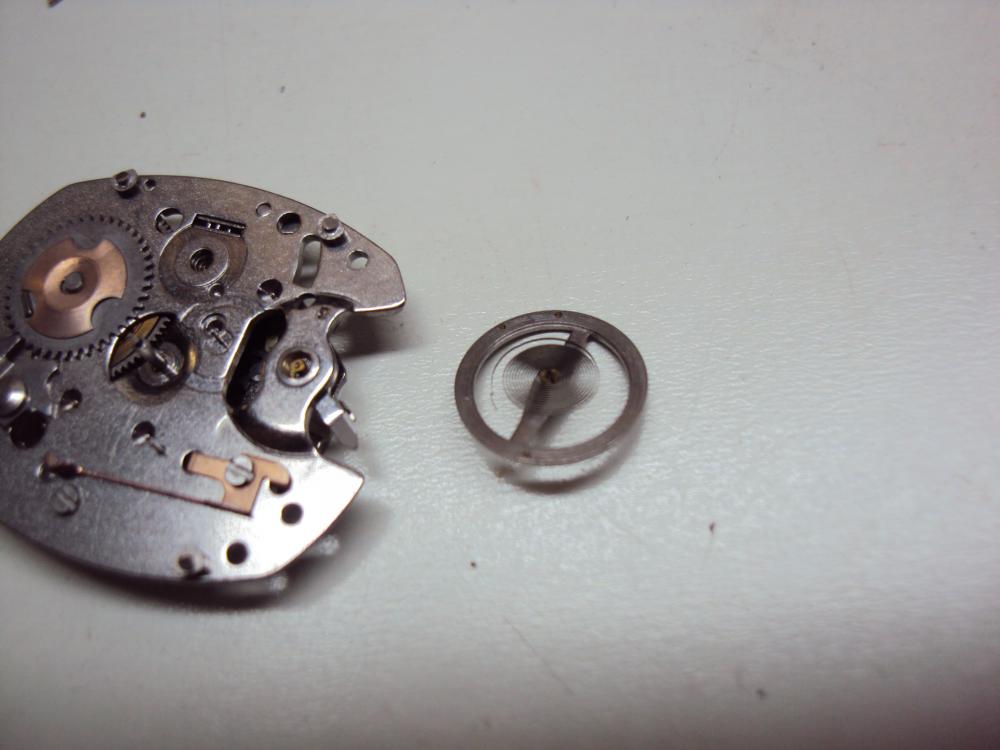
For a calibre I haven't worked on before I take macro images of the screws together with the parts they are holding. Once out of the cleaning machine, I sort them by appearance into the parts tray as illustrated in the image. For a normal automatic or manually wound movement with only a date complication, there are only about 4 or 5 different types of screws, so no big deal, but perhaps not very practical for a chronograph!? Not cleaning and inspecting the screws I would personally consider to be a service error.
 1 point
 -
I leave them in the parts tray, clean them, put them in a clean parts tray, and then wipe it out, I now have a clean parts tray. Rinse and repeat.1 point
-
How different we all are. I've never skied, doesn't interest me, but if I did, this is how it would go. Two runs, one the beginner slopes, then **BLEEP** to this? I'm hitting the black slopes. Hehe, that's me.1 point
-
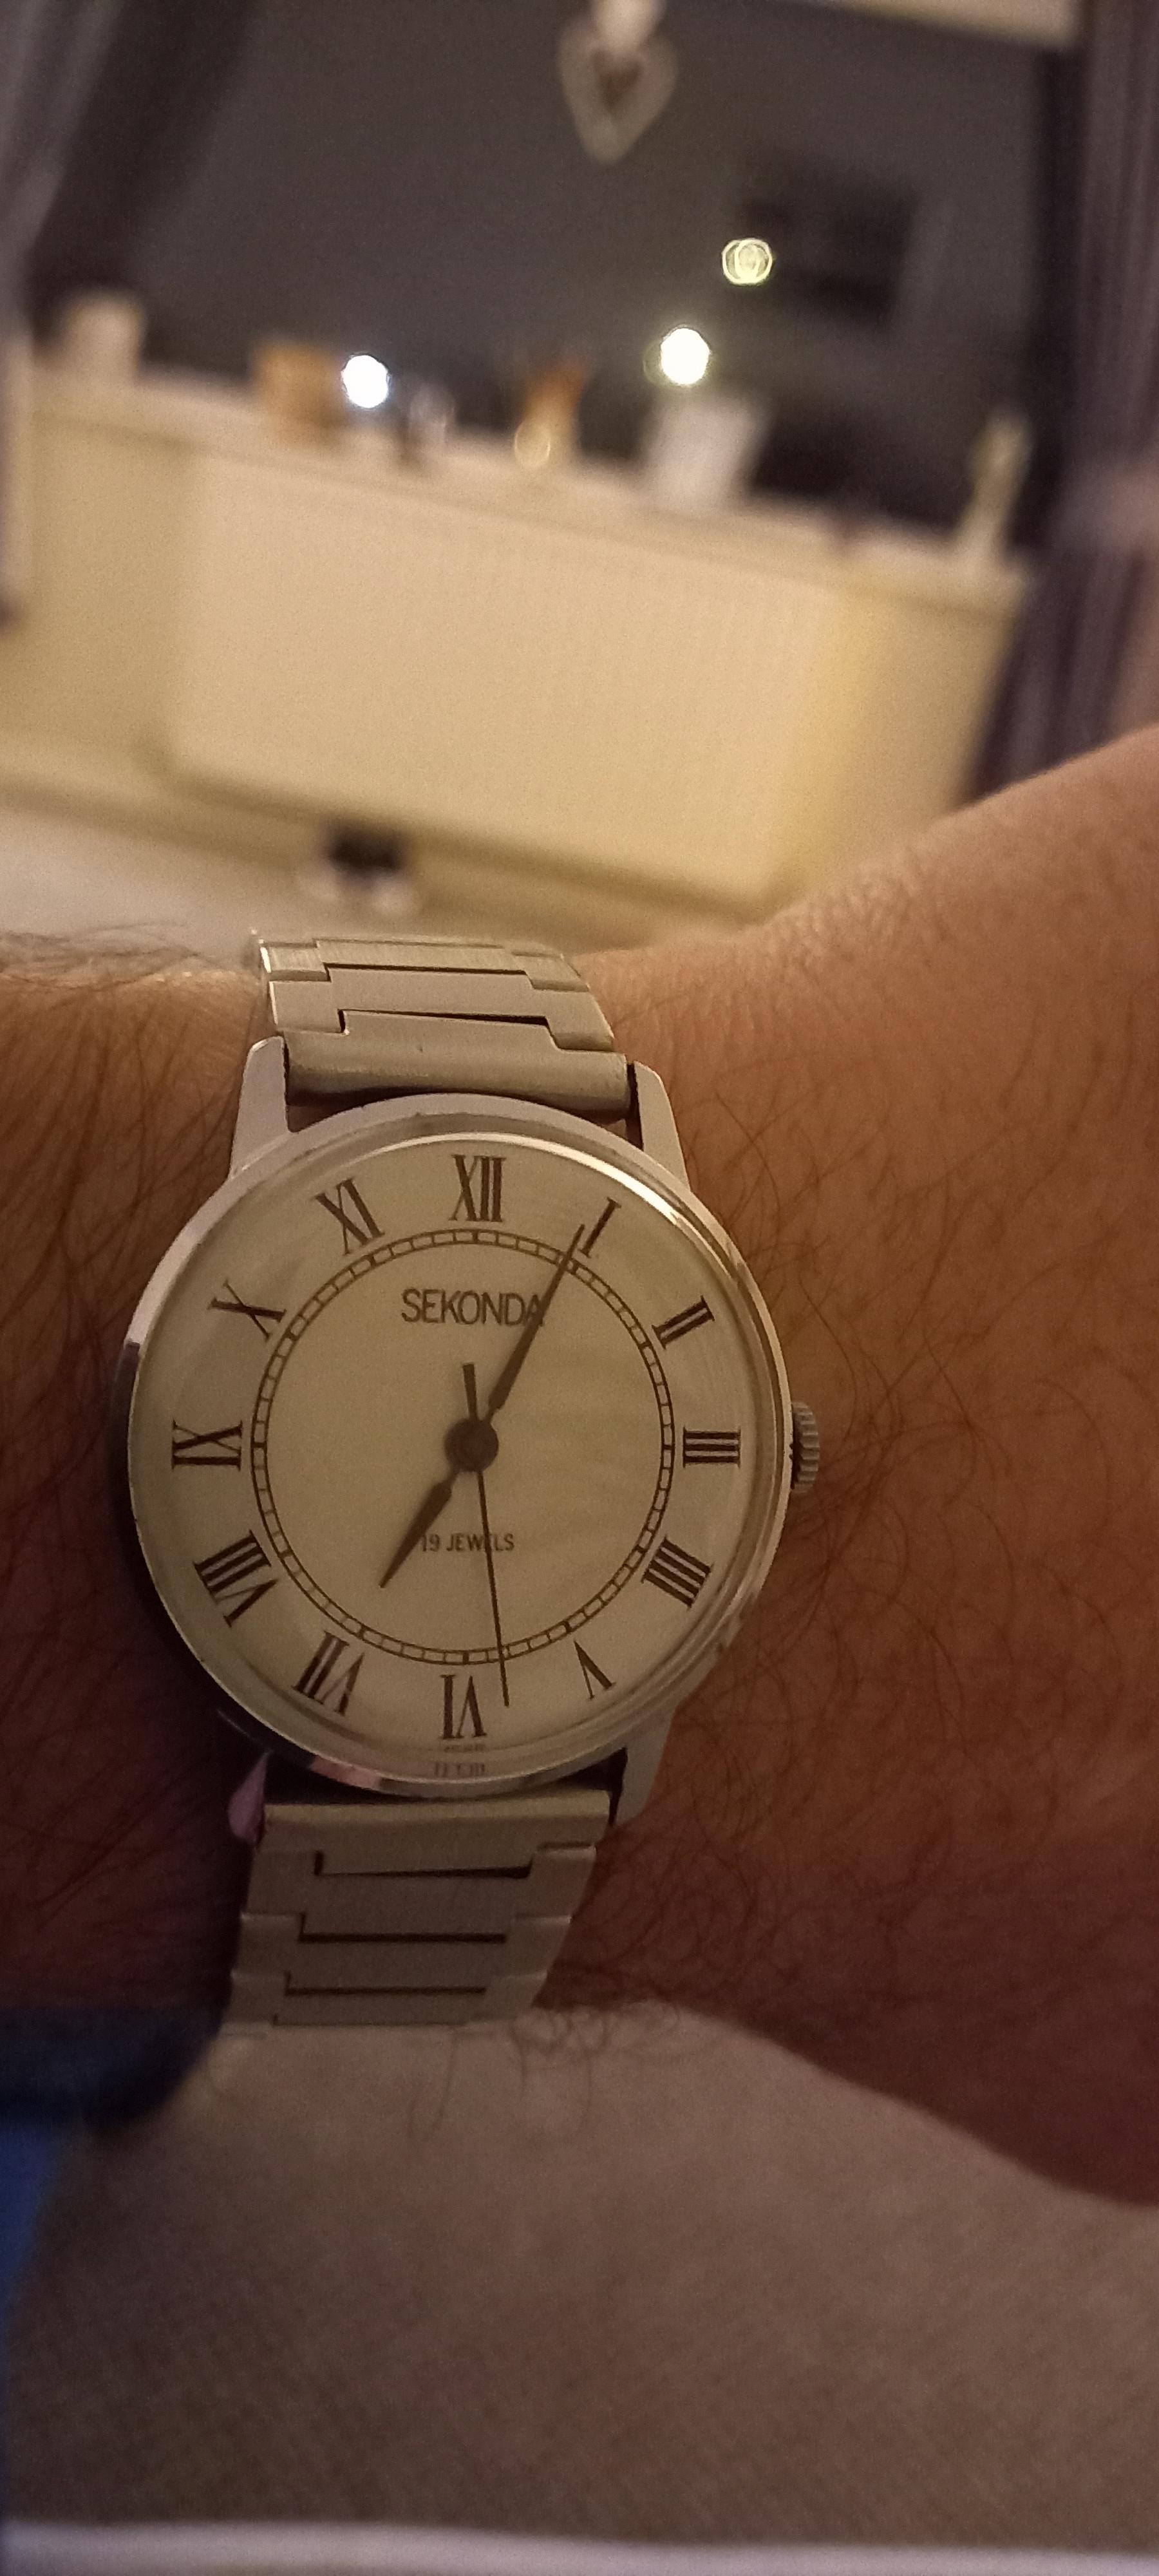
This Sekonda is the first watch i ever took the back off to look inside and see what was there, coincidentally that moment was 50 years before i actually repaired it 30 months ago.At that young age of 5 or 6 i remember looking at the jewels and wondering why they were inside and not outside where they could be seen. It was also the first watch i repaired and made tick after 50 years of not running, inside parts of it now look like it was attacked by a mad axeman. Not far off the mark as i used a dremmel to cut out the rusted solid stem. It was also the first watch i almost ruined by cleaning in soapy water as suggested by a youtuber and using poor quality oils, six weeks later it stopped working. After 2 more repairs ,a few replacement parts it has now been working consistently for 2 years with good accuracy and a full power reserve of 48 hours. This was my grandfather's watch. So all this was the complete opposite of what is usually suggested to start with. I don't disagree with starting to learn on a new fully working unsentimental watch, it just might not be for everyone, maybe only 99% of people . Should i have started with a new working watch to avoid or limit those first mistakes , would i have learnt as much to date by doing that and sticking to more recent less battered and abused watches ? Definitely not, i believe the watches i chose to try fixing has forced me to learn how to. Maybe thats just how i figure stuff out, around 50 watches repaired and half a dozen casulties later i feel i did ok with my method.
 1 point
 -
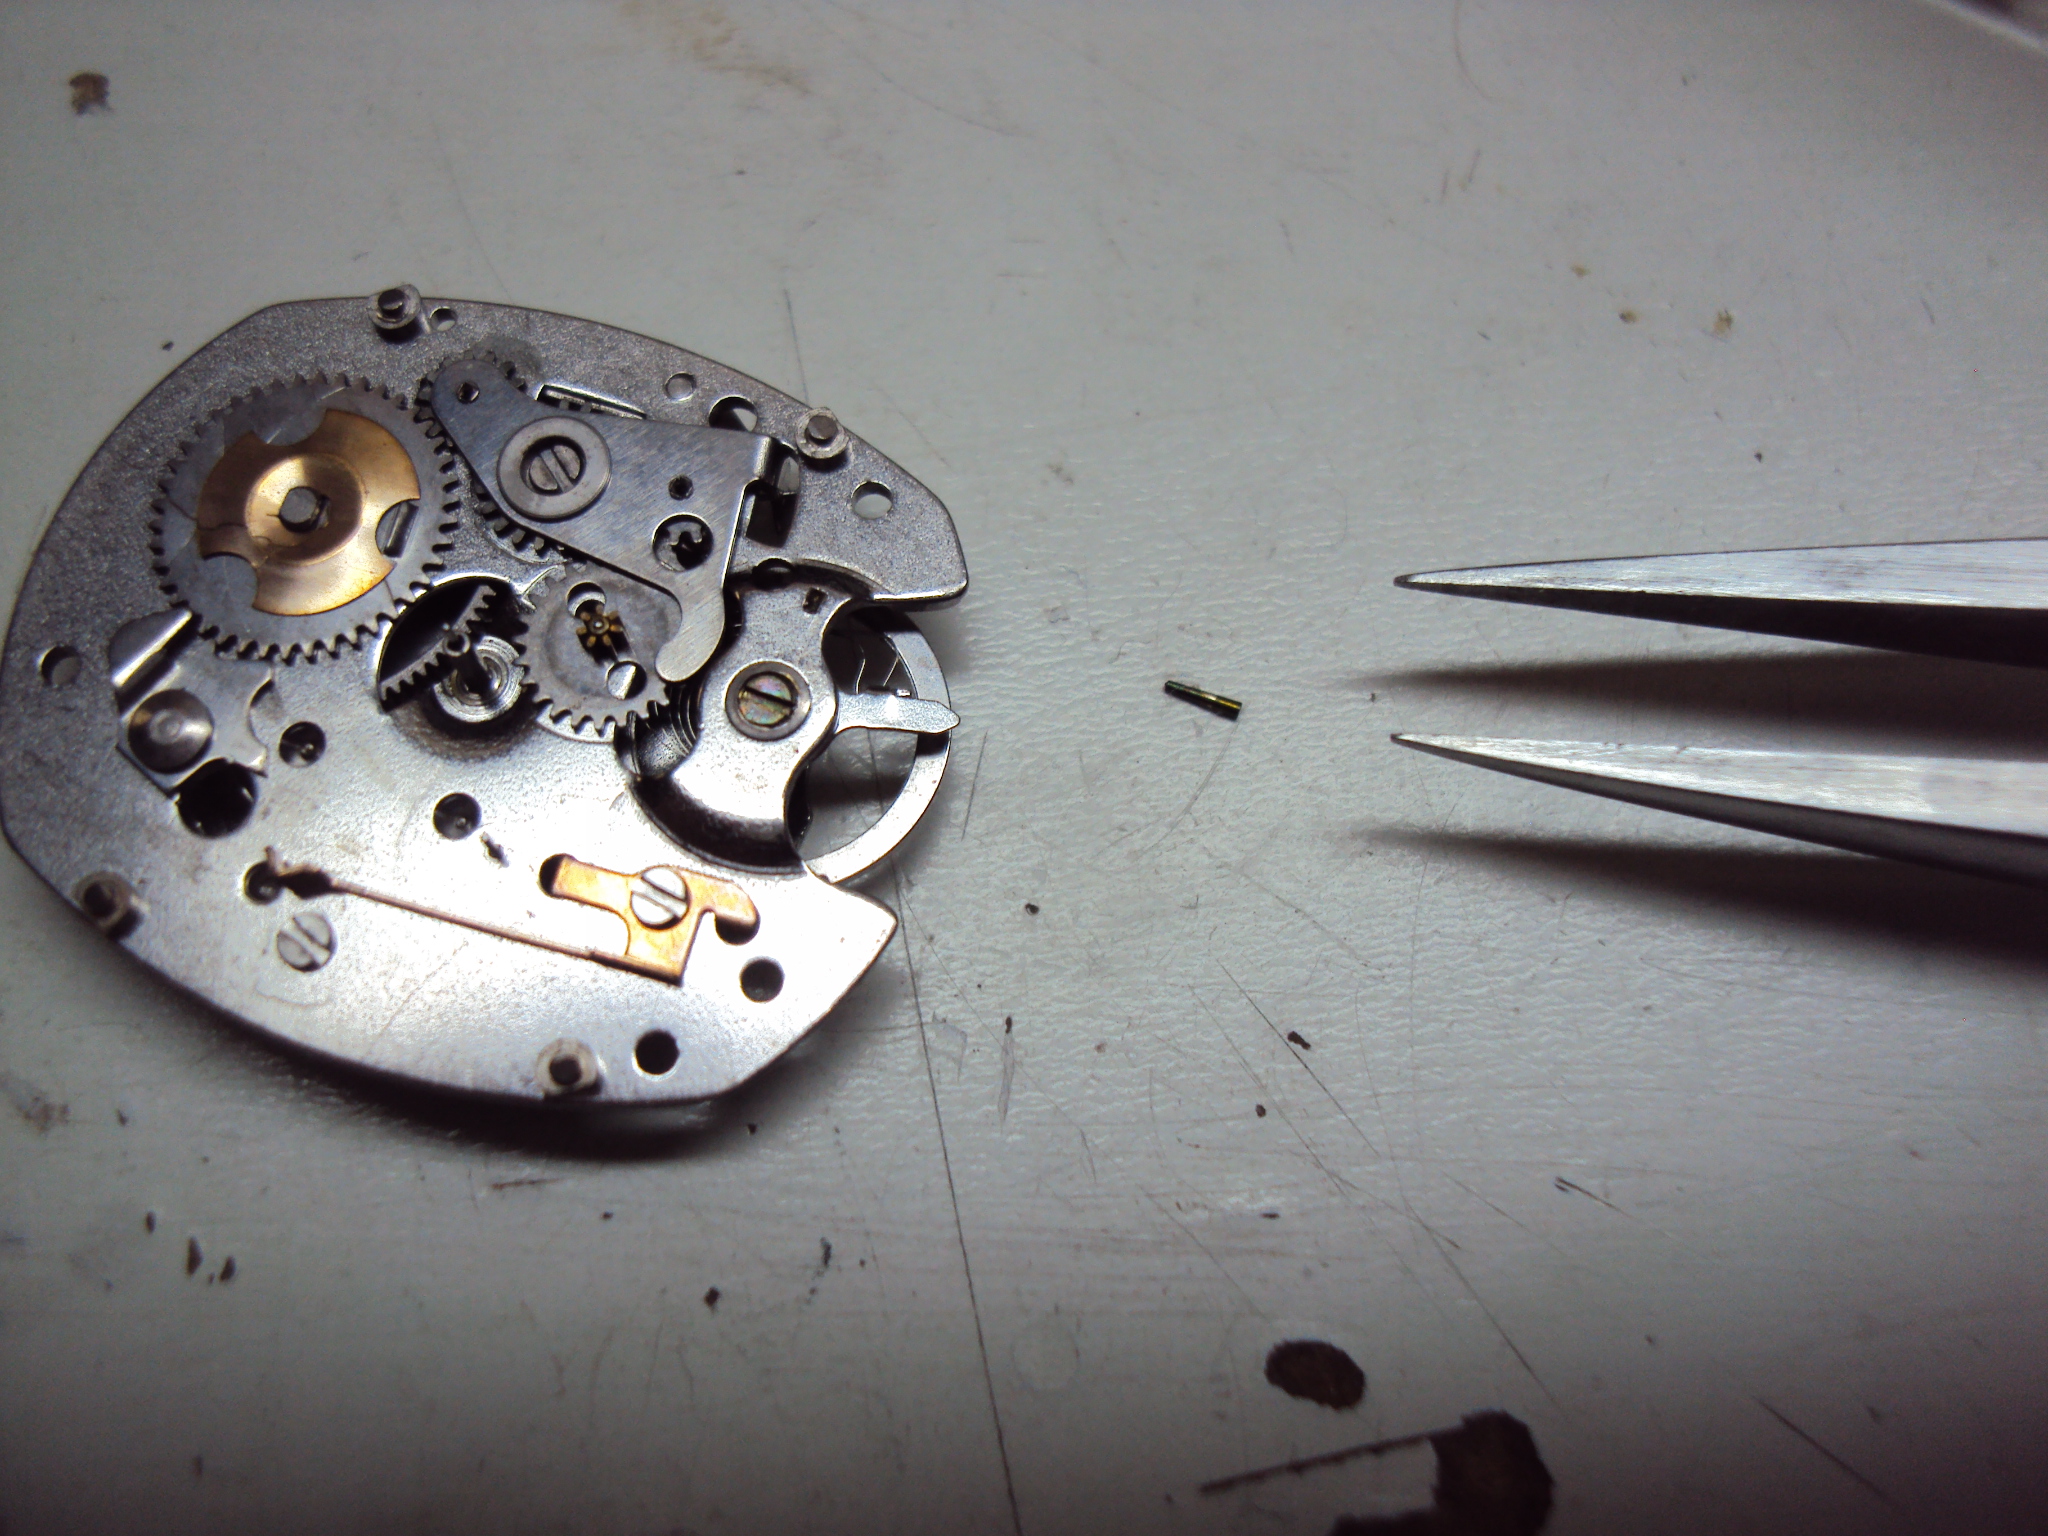
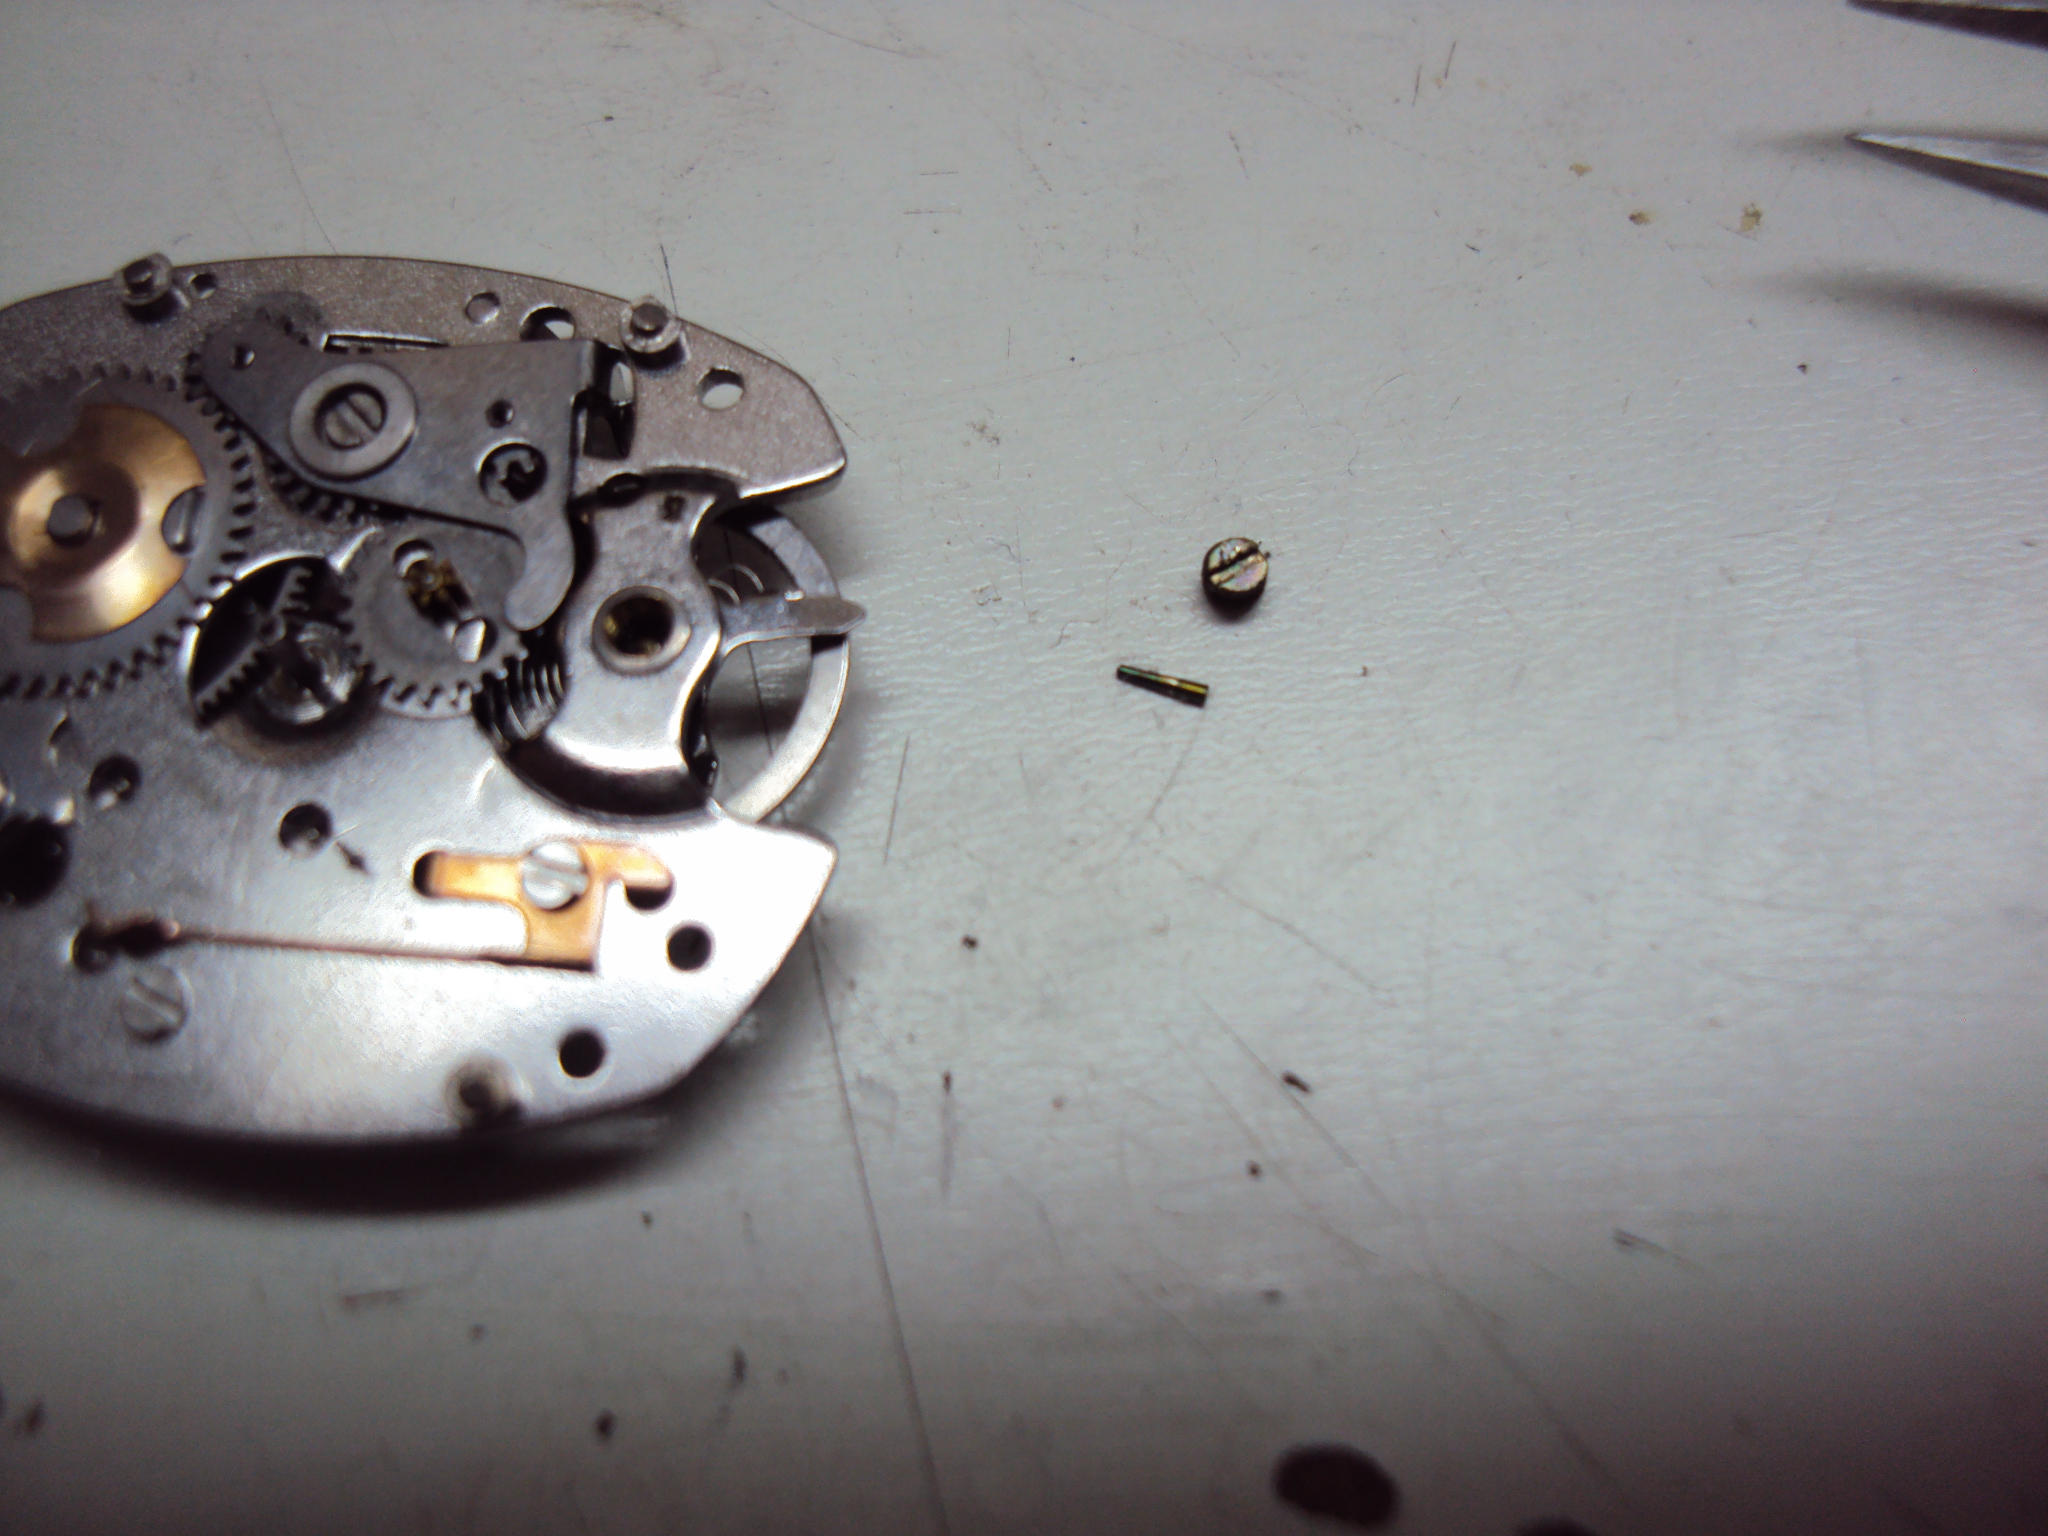
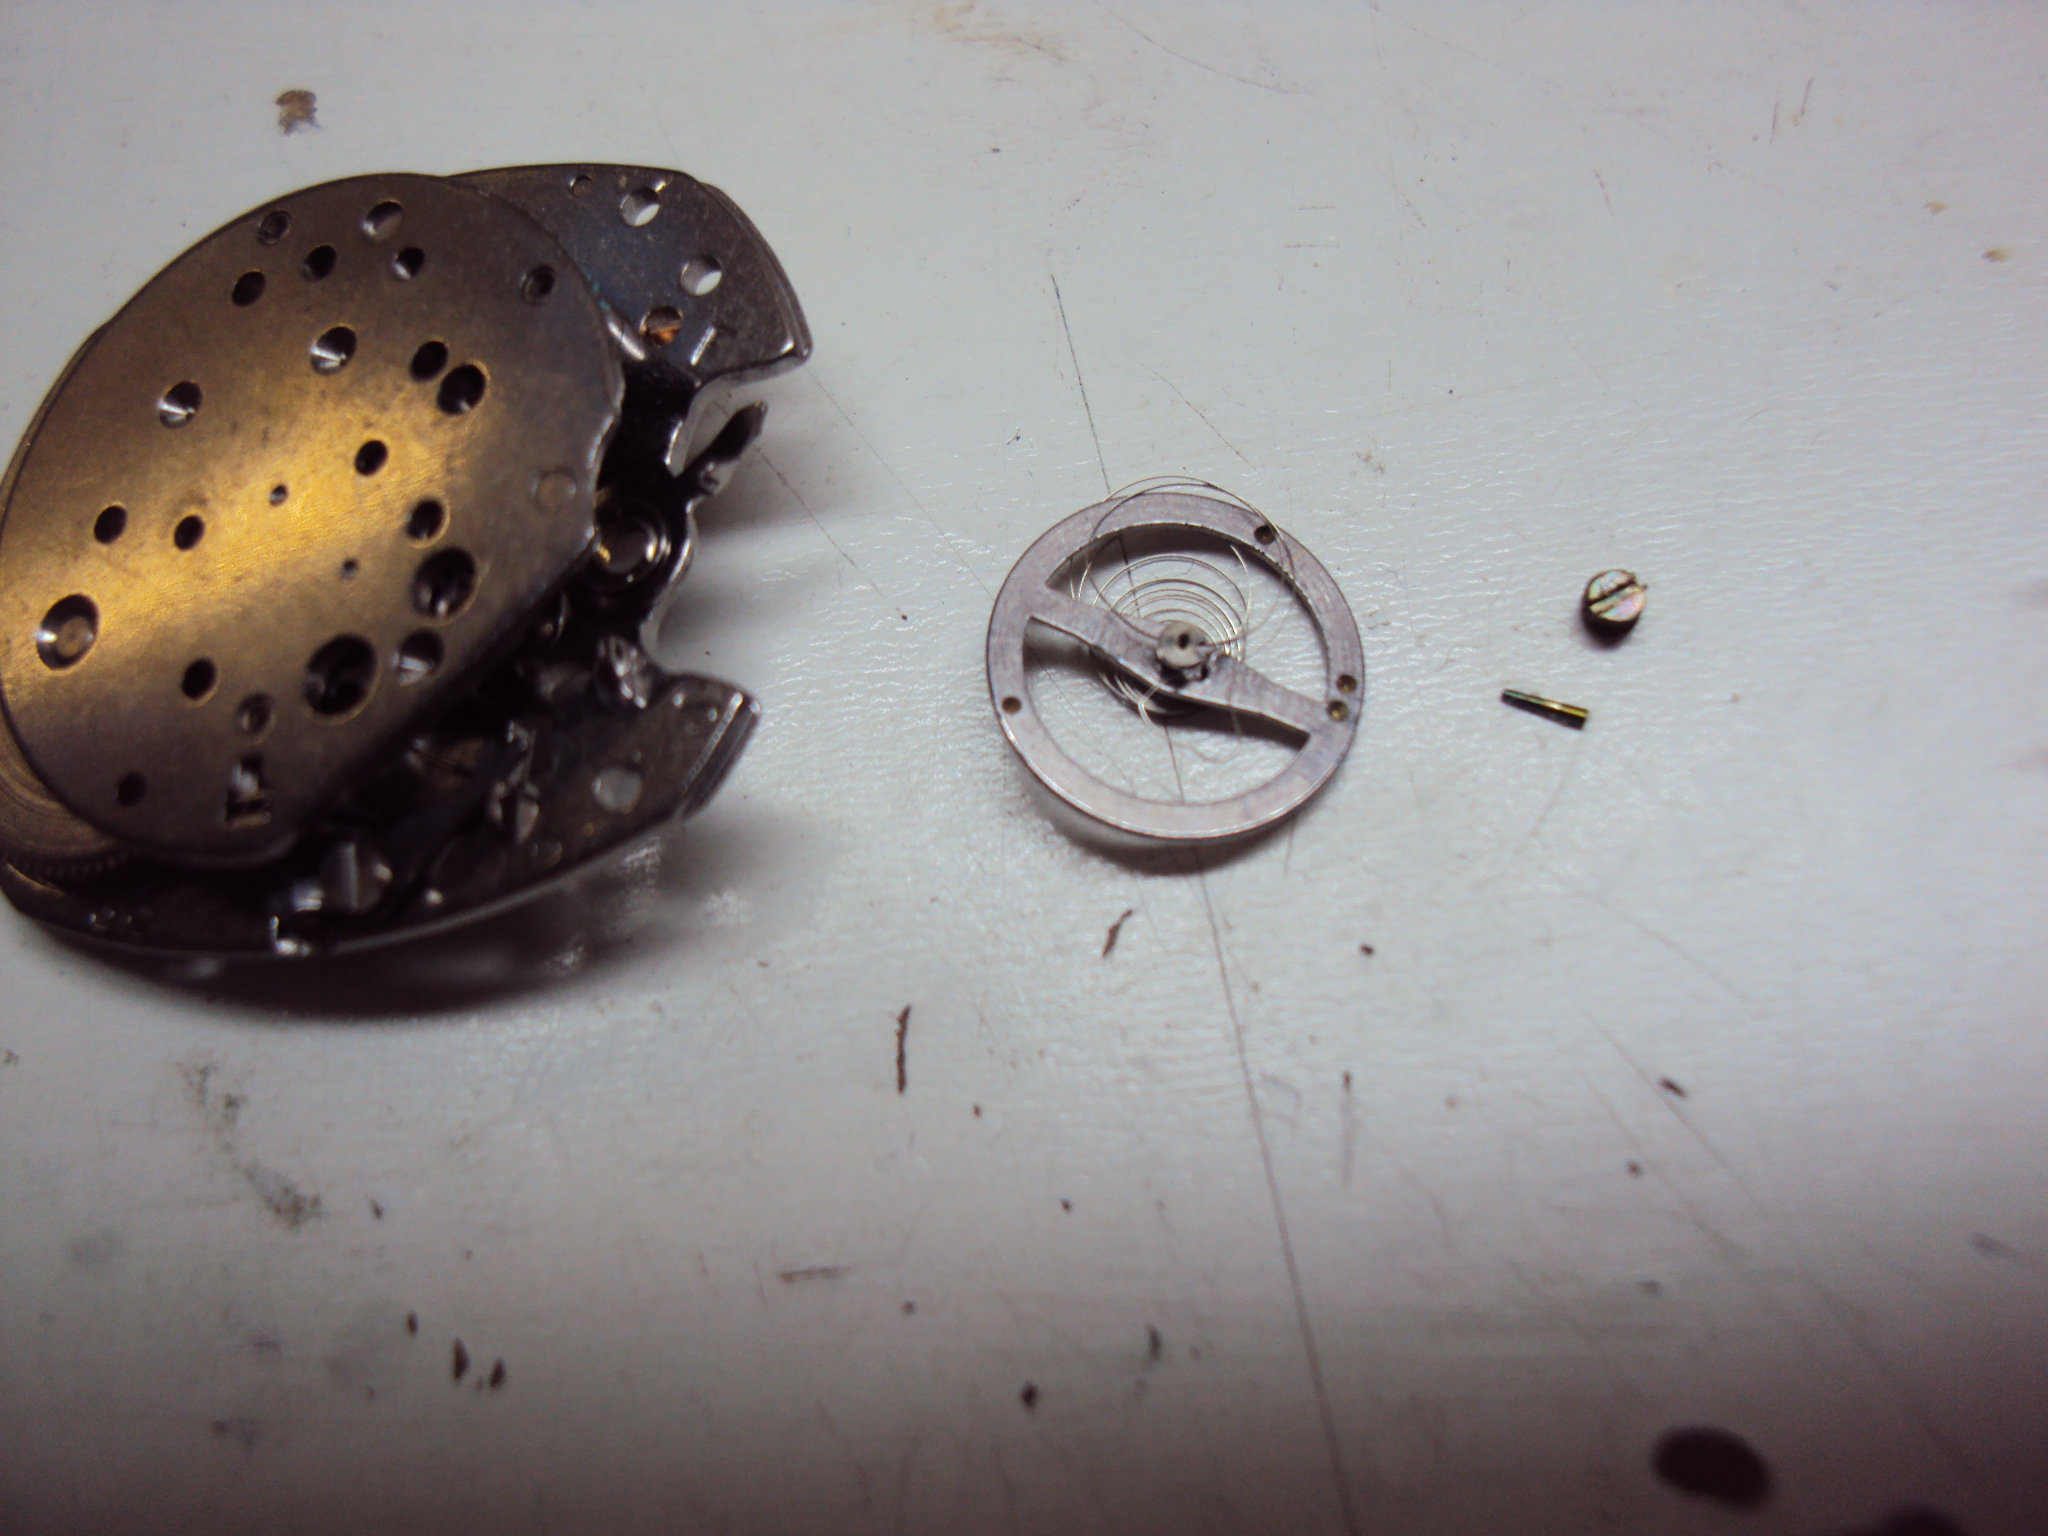
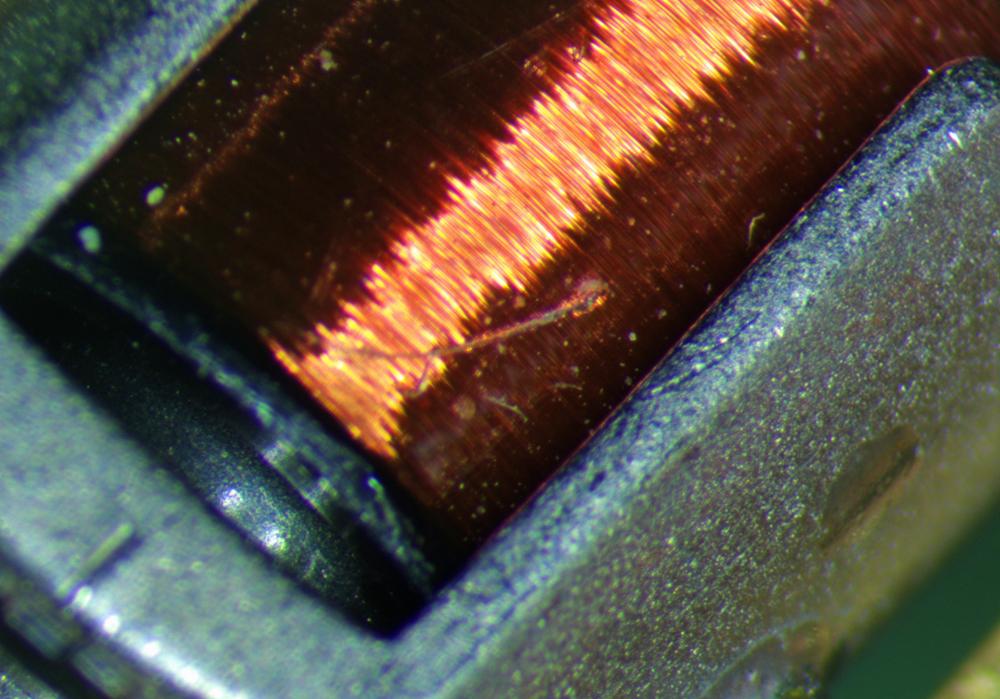
Well that was a short lived victory. Somehow while bringing in a sharp oiler to oil the cap jewels in the mainplate, I managed to jab it directly into one of the coils and destroy it. I still have no idea how I did it, but I am beside myself. I'm so upset. Like yeah, I can replace the coil, but just the fact that I am incapable of not jamming a sharpened steel pick into my grandfather's watch makes me want to throw all of my tools in the trash and take up knitting. Well, I powered through my shame and measured the coil, and it looks like the enamel did its job and I might not have destroyed it after all. Fingers crossed.
 1 point
 -
Would you want sharing what is inside your box?1 point
-
Nah, just means i gotta fix it! Will be my second hairspring shape job. And yeah it looks like this place has slowed down some. I joined a watchmaking discord that is kinda helpful so i got a couple outlets now. Honestly i feel like till i move onto chronos and other more exotic movements i've mostly figured this out so i don't need a lot of help other than finding how on earth to match a part, gaskets and mainsprings and such.1 point
-
Good thank you colin. Shame about your favourite watch, time to find a new best one o would say, lots of new folk here to advice and some disappeared . Pleased you are doing well and keeping busy.1 point
-
To be honest, the Vostok rubbish is really bad choice for learning watchmaking. You are not able recognize what is "normal" fault or what is manufacturing mistake when your are new in watchmaking. Recently I had quite new Vostok watches on my bench with clear visible production faults. To be honest I refuse repair any russian watches since then. In my country we have two jokes about russian watches... 1. Breznev (former russian president) said the russian watches are the best on the World ...because they are the quickest of all! 2. Ivan (common russian name) started to manufacture Vostok watches and for very first time at the end is not AK47 as usually. ...ok some advices from me as you wrote: >>So, dial down loses about 55 s/d, but crown up / right gains 120 s/d The balance have problem or your movement is magnetized. The difference between DU and DD should be max 10s but for Vostok 20s is ok. All other position shows the balance wheel is not poised. This is higher level of watchmaking. Leave it for now. The picture from your timegrapher shows the movement is not clear, is over lubricated, some jewels crack and many more possible issues rather then bad mainspring. Let check out all lessons of watchmaking at YT from Chronoglide Watchmakers. Especially the lesson about "sectioning". That would be a game changer for you. Another great source of information is Watch Repair Tutorials at the same place. Good luck, Sir!1 point
-
I have a pearl machine and have replaced the large metal basket with an Elma blue plastic one, for the reasons you mentioned above. The Elma basket works well and is 100% compatible with the machine, jars and parts sub-baskets. Just a quick observation, the 3 pronged black spring thing is meant to be permanently attached to the central post/axle on the machine and not removed with the baskets. You need to remove the screw/but on the bottom of the post and attach the spring and the reattach the screw/bolt. I'll take a picture when I get home. Not sure if this is applicable or needed for your machine?1 point
-
Sorry but £80 is too much for something that is not fit for purpose.1 point
-
I would not worry about it. WC, they ask you to take them down.1 point
-
I think magazine articles have basic copyright protection watchie.1 point
-
Fair comment I just don't want anyone to get into trouble.1 point
-
I haven't published these magazines on WRT but on my site, so in that sense, Mark has nothing to do with it. In my OP I said I would be happy to remove the files but that was a typo. What I meant was I would be happy to stop the sharing via the published link and if @Mark or a moderator want to remove this thread I wouldn't mind, and it would be the right of WRT, of course! I'm an IT teacher (ASP .NET Core MVC) and I always tell my students that any page that isn't authorized (requires a login) is up for grabs, so make sure to properly protect anything sensitive. AWCI has not, and I consider it their responsibility.1 point
-
Goes in the mail today. Yell when you get it. Should be self explanatory, but...1 point
-
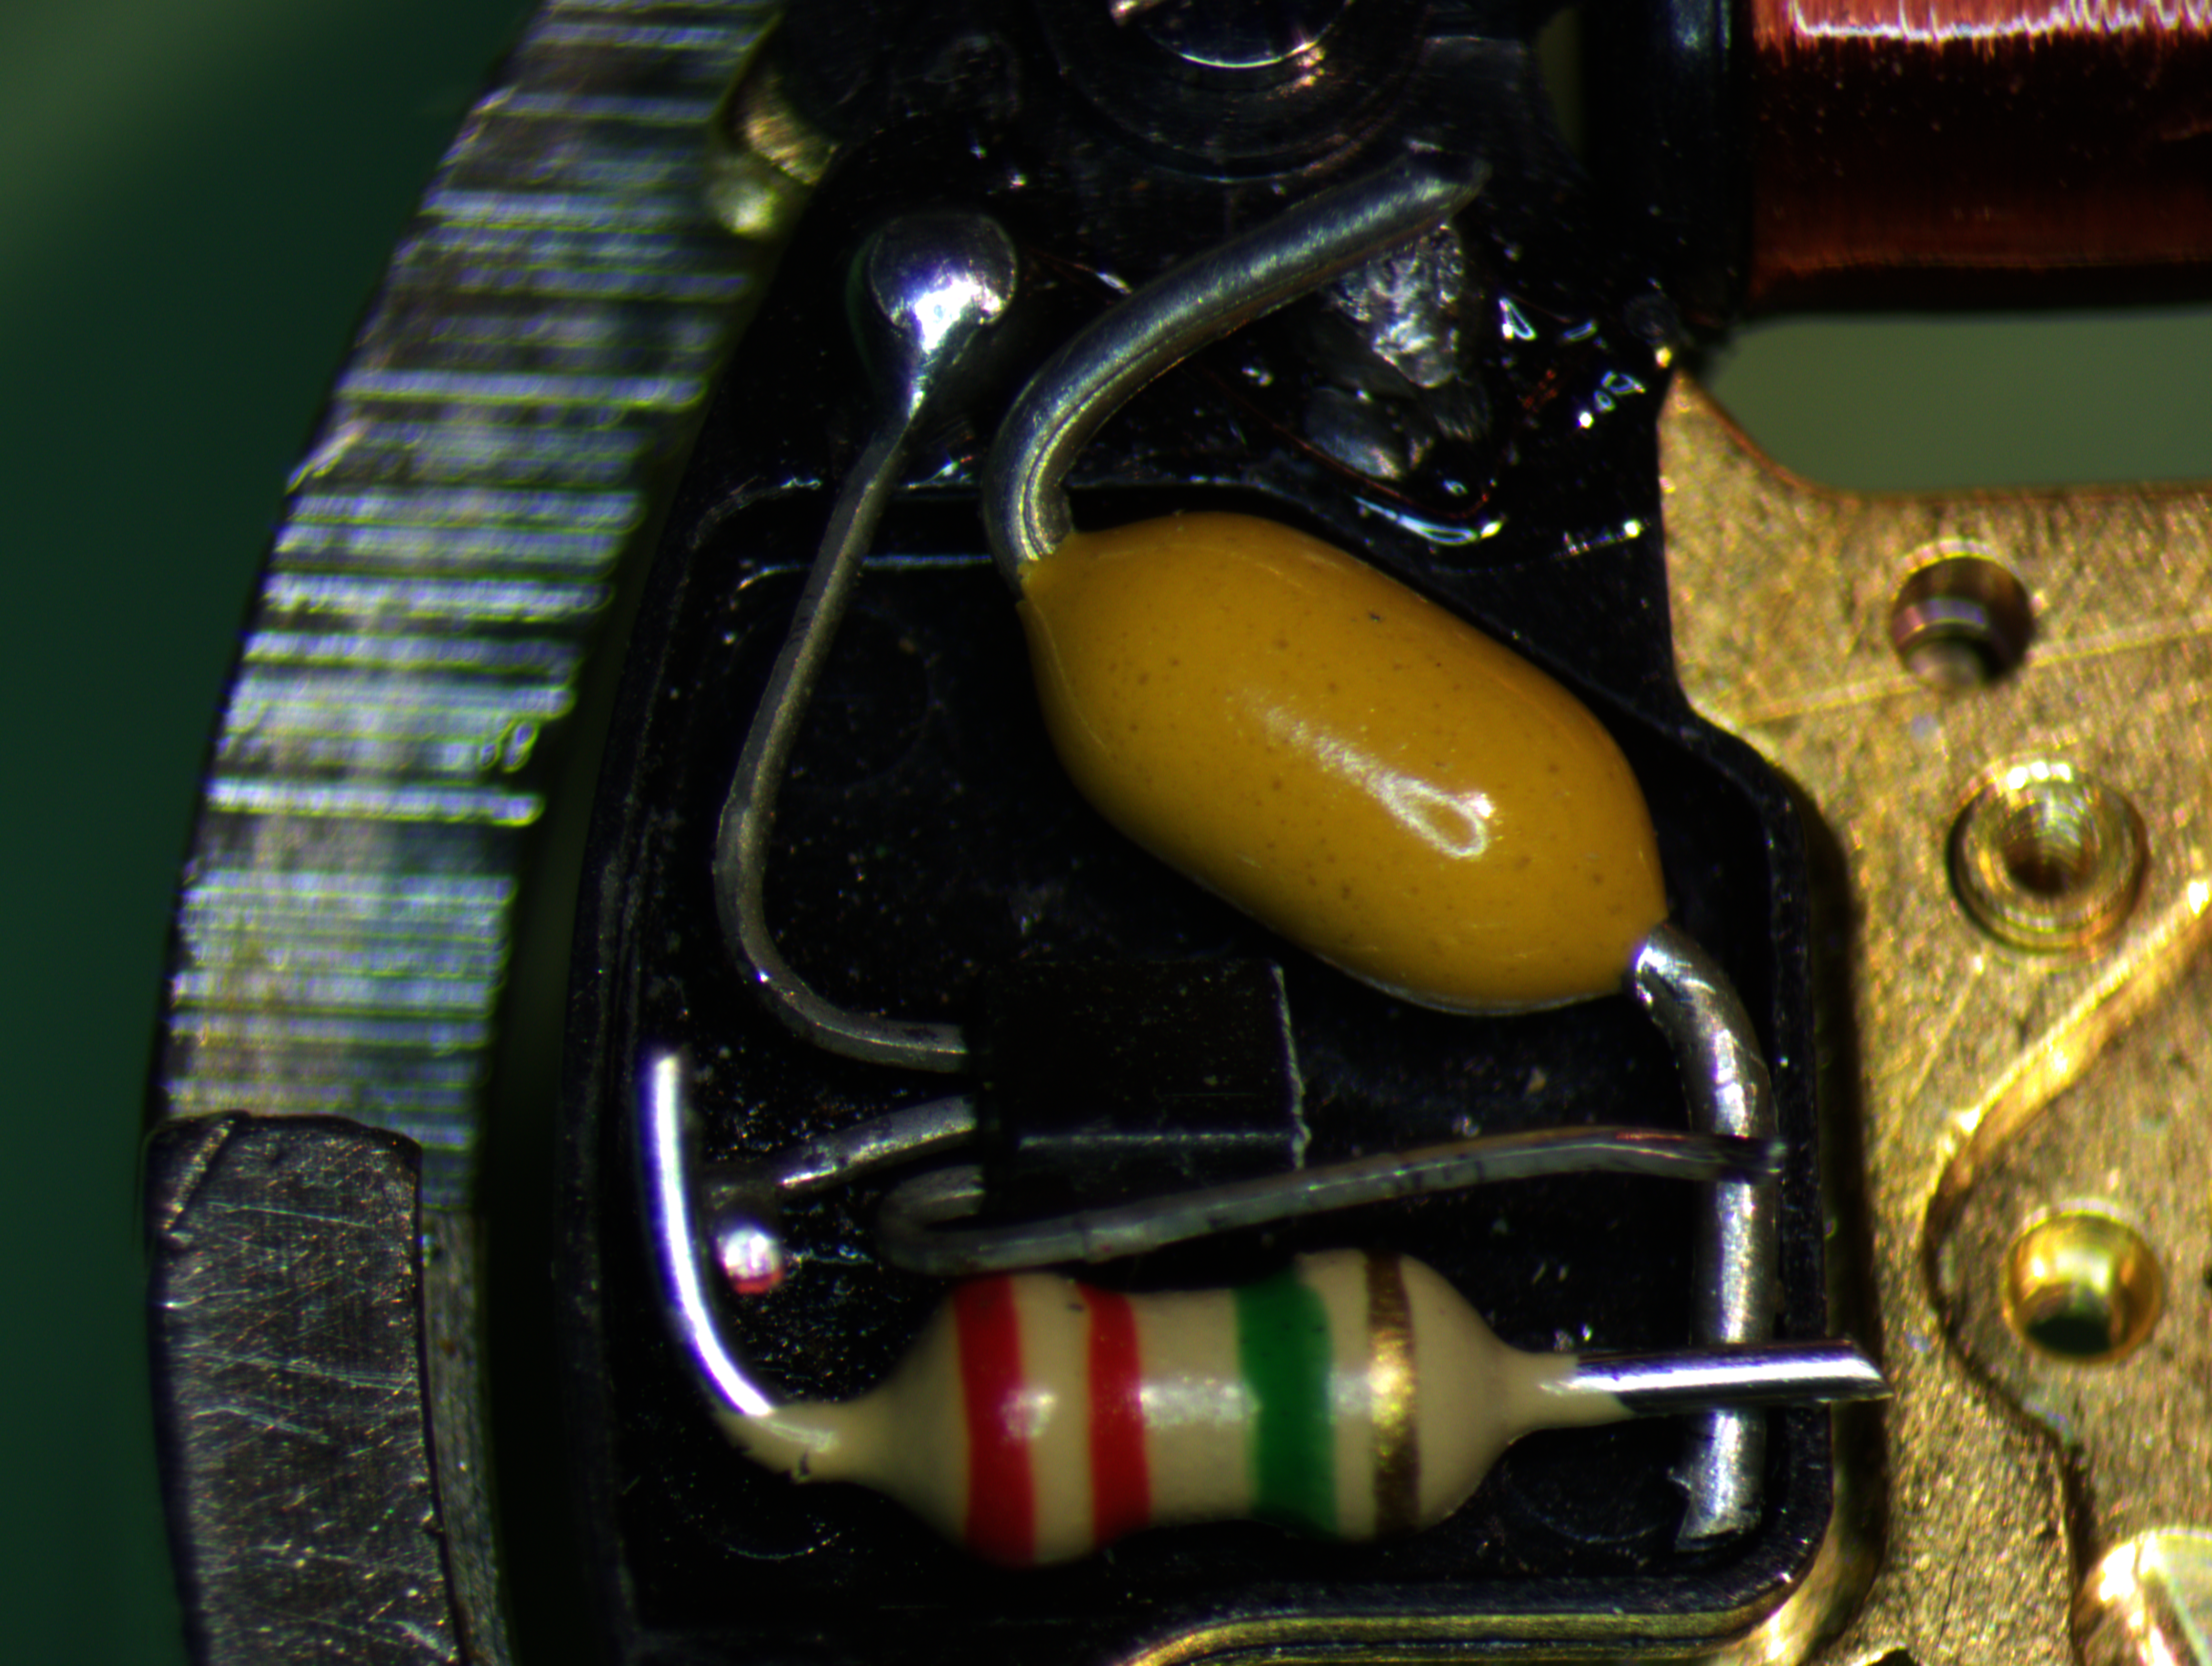
Hey, thanks for all that great advice. I may go back into this thing and try this to see if it helps with the window of operation. I’m surprised mine didn’t come with a warranty sticker. As well, I need to take my rear part, and see if it actually has a resistor at the moment, and the value is. I could jump a variable resistor, and set it to the right value, and then measure it resistance, and then get a resistor to solder in place1 point
-
Well, I got the original gaskets, and I can't get the crystal gasket to fit properly. There's a little ridge around the crystal, but it's not deep enough to hold the o-ring in place, which seems to need a little stretching to fit properly. I'm dying to wear this guy, so I put the flat gasket that came out back on, and it's a perfect fit. And after an embarrassing time assembling the crystal, gasket, and retaining ring in the wrong order, It's back together and running again. What a handsome watch! You know what...I think I got the caseback and crystal gaskets reversed. That would make so much more sense and I'm an idiot. Back soon.


 1 point
 -
Are you sure it's soldered? I've worked on Accutrons that were spot welded and no amount of heat will be able to release that. But if it's soldered, flood the area with flux first. It helps to transfer heat to the joint and prevents oxidation. I prefer solders with lead. Lead free solder is a real pain to use. Put a dab of fresh solder on the joint, it will help to melt the old solder.1 point
-
Should be here this week, if its as good as I've been told i will be polishing and Repivoting every pivot that isn't nailed down.1 point
-
unfortunately for this particular watch that is a standard problem. One of things that would happen is the lubrication on the tube that the wheel goes on would go bad to get like a rust. So locking that in place the watch would continue to drive with the wheel frozen to its tube but the gear free to rotate.. Then yes the standard practice is to flip it over and most of the time that works. so classically on a 218 watch the description is the second hand turns but the rest of the hands do not. Yes unfortunately it's a very classic problem I would take a different lubrication other than what was recommended.1 point
-
one of the unfortunate problems working on electric watches is you do or should have test equipment. like for instance can you measure the coil resistance? The coil is attached the circuit board on this particular watch of the coil is bad like it's been scratched then everything doesn't work. Also be nice to measure the current consumption to see if you're having a problem. Yes the electrical test really are nice for diagnostic purposes. that is usually not a problem. You have to try really really really hard to remove the magnetic properties from that it can be done but not casually. One of the things you might do is disassemble watch and only put the rotor in and see if that will turn at all. Lubrication is also critical of the quartz watches too much lubrication or the wrong lubrication of the other words too heavy it will have an issue.1 point
-
The wear is on the underside of the wheel, flipping it over the pinion leaves grip a larger surface area of that side of the wheel. The two wheel arms will give up just enough space for pinion to pop in and out.1 point
-
It is something to ponder. But...it works! I just did it. My guess is that there is a wear pattern established over time that is asymmetrical with respect to the post. Flipping the wheel establishes a new friction interface. It definitely increased the friction when I did it. These types of "slip" systems I have seen a few times on other watches, so this is a good method to have in my back pocket!1 point
-
If you pop out the pinion and flip the wheel over it will often increase the friction. Should get it to last a few more decades.1 point
-
Usually for the specialties Seiko watches there is no technical information commonly available. Usually with vintage quartz watches like vintage mechanical watches they need to be properly serviced and lubricated. Versus playing with the oscillators and thinking that somehow will magically fix the problem. There is a tiny but a information available on regulating at least the watch that you the PDF for like this If somebody went and played with the other tremor which people love to play with things I'm guessing all it's really going to do is screw up your timekeeping the watch still should run so does the watch run at all? It's not running at all it probably has other conditions and not timing issues.
 1 point
 -
Hi use an independent power supply easy enough to make, using a battery 1.5v or a dual purpose one that caters for 3v as well. Made one my self like the Bulova one but then improved on it by building a test unit by a chap named Catt from the net which is very good.1 point
-
Bulova once made something perfect for this movement holder that you can attach a battery like this Otherwise you have to make your own battery holder and a variety of tiny electrical clips work just fine.
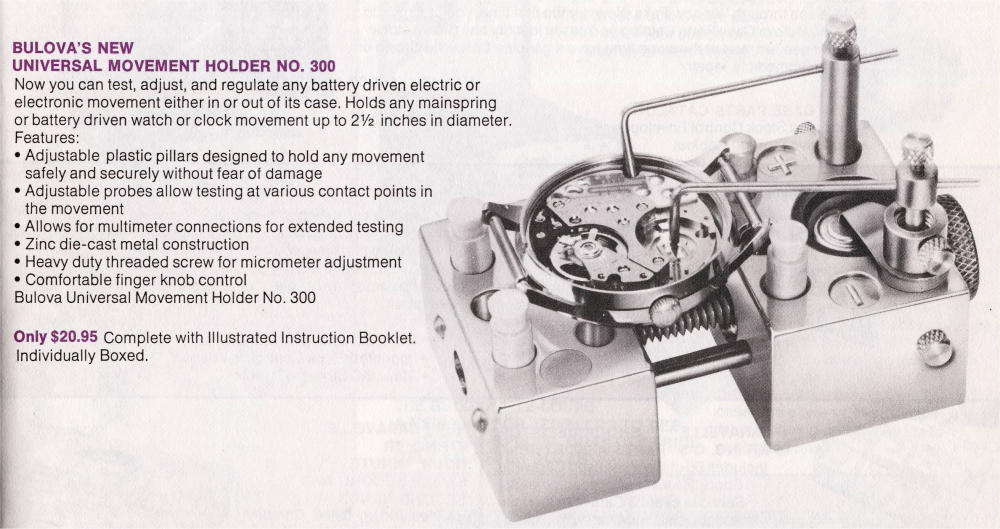 1 point
 -
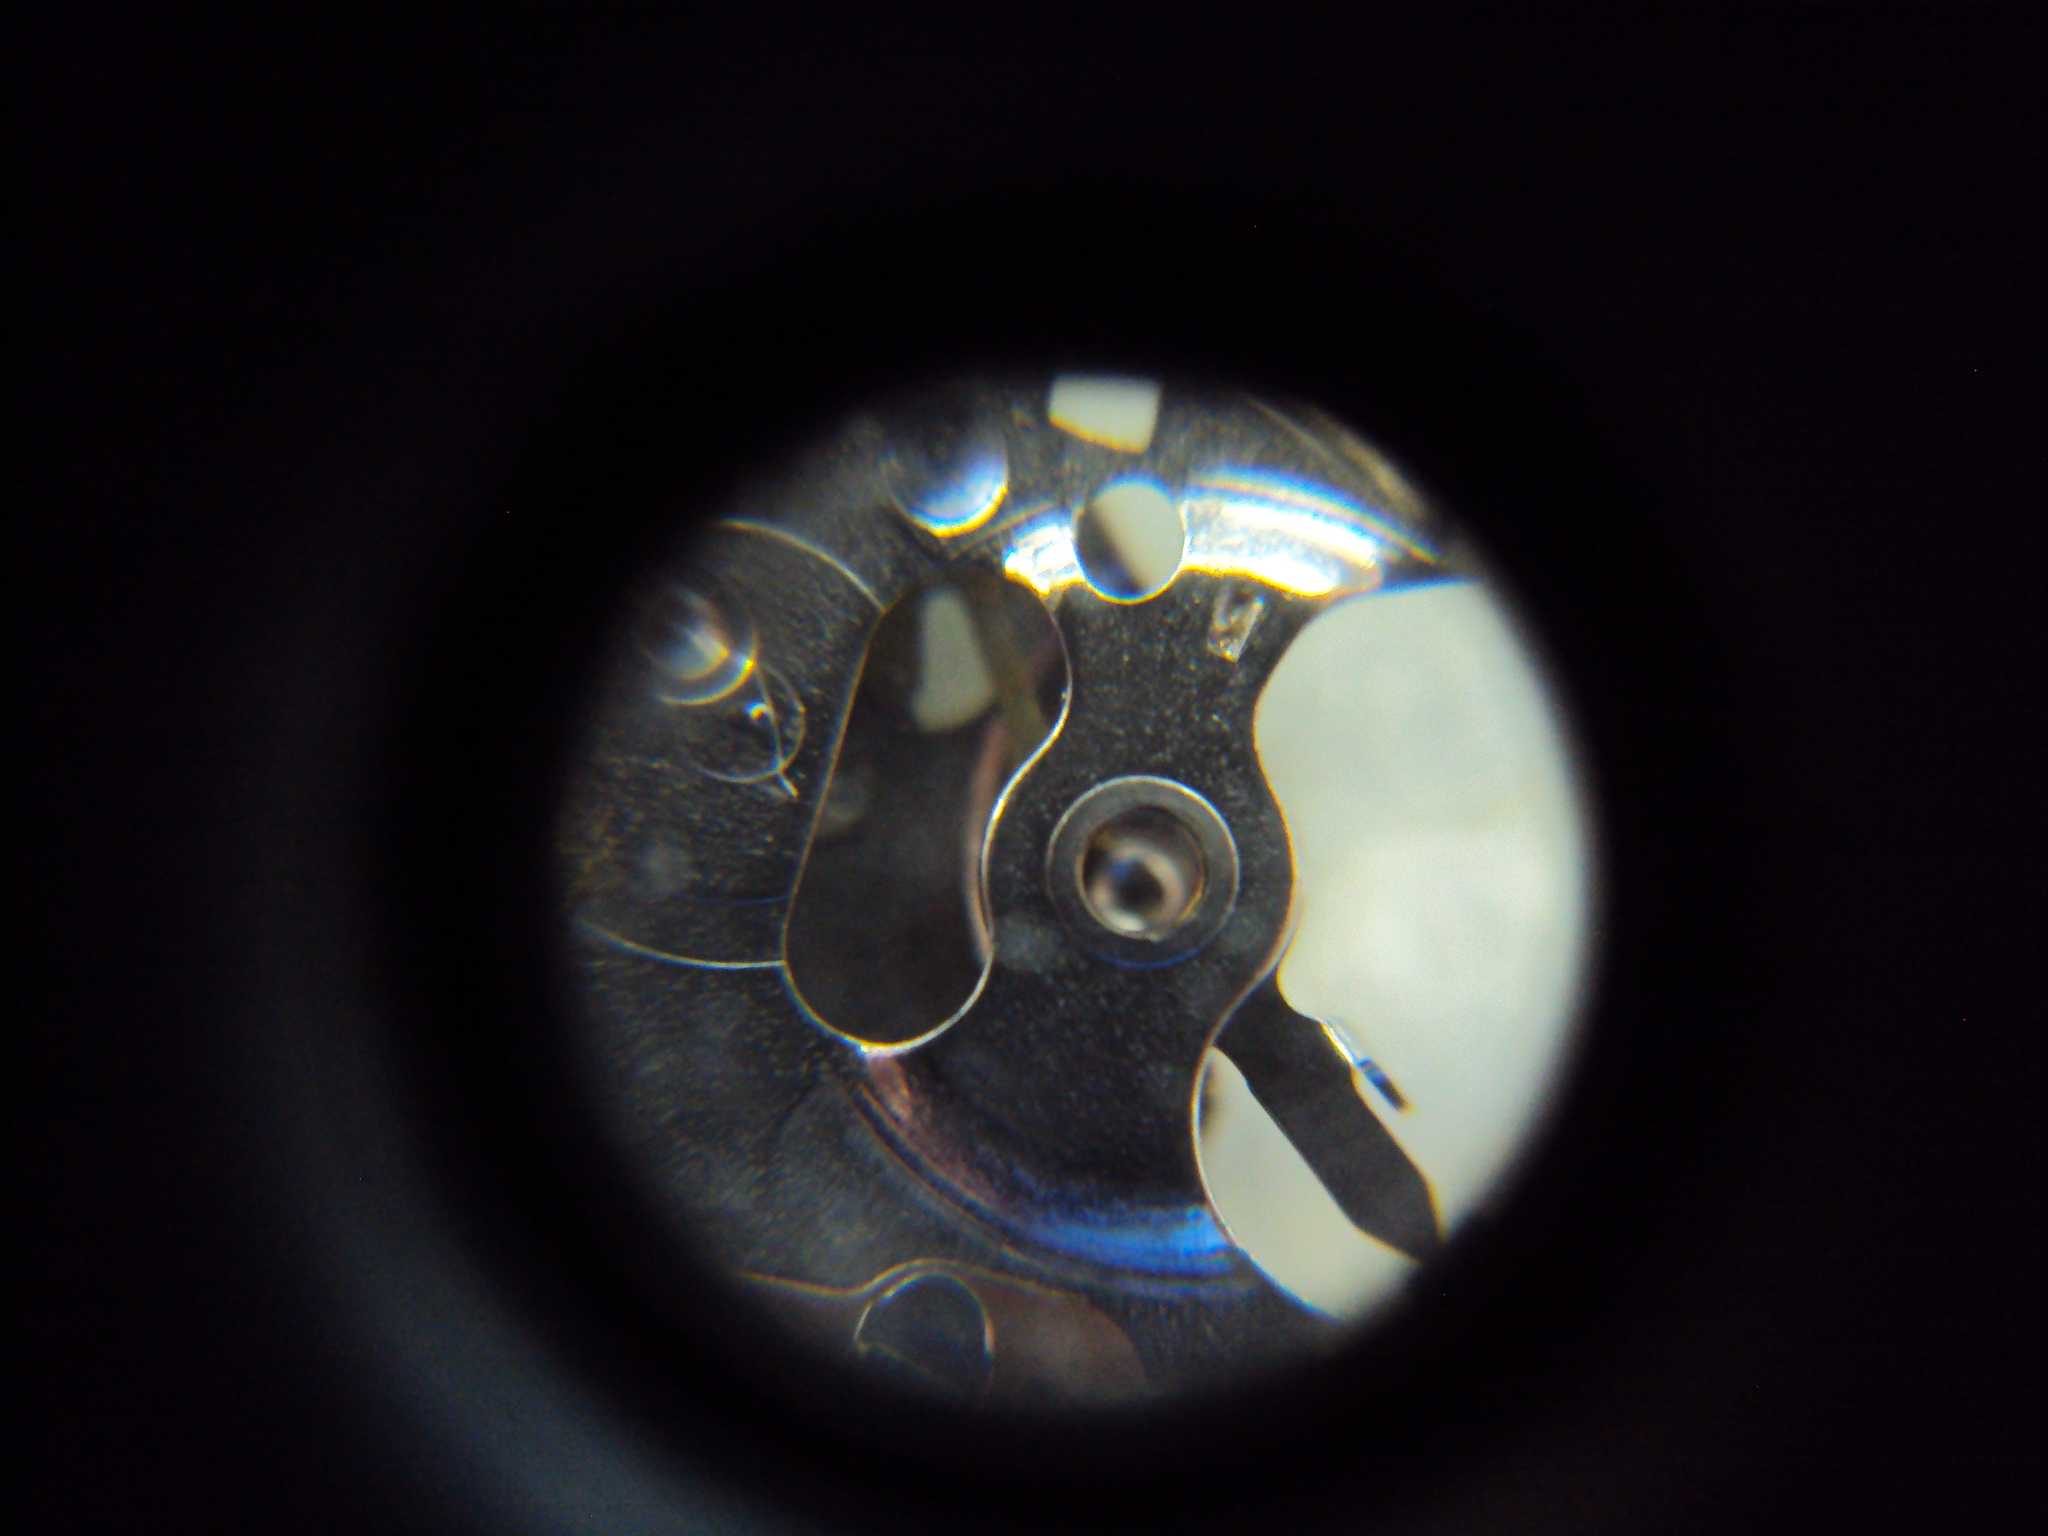
The wings make me think that the brass colored part is what holds the cap jewel onto the silver colored chaton for the hole jewel. If I had to guess, I'd say they're just stuck together from old lubricant. A good soak in hairspring dip or your favorite cleaning solution should let you tease them apart with tweezers and pegwood. Amateur tip: do it in your benzene jar while they're in the cleaner so they don't fly all over your desk. Also, I took a look at the pictures in this thread, and this guy looks the closest to yours.
 1 point
 -
If you look on the Incabloc site https://www.incabloc.ch/en/shock-absorbers/# , the springs are different lengths
 1 point
 -
Mine didn't come with any software. I just record to the micro SD card.1 point
-
This evening I have begun to repair a 1970 Marlin Calendar and found the hairspring had been pulled. A few years ago I would have avoided such a repair but with time what once seemed impossible now has become easier. So let me walk through the repair for you. 1. Here we see the hairspring has been pulled. Note the access window at 5 o'clock. This window is to allow you to push out the brass wedge pin. 2. NOS hairspring \ balance assembly. 3. Wedge Pin 4. Remove the wedge pin and cap screw 5. See damage 6. 10 x view of the famous V conic end caps. This is what made Timex stand out against other low end makers. 7. NOS parts ready to go to work 8. Note the bend at the tip. As you rotate the balance this bend will first slip into the regulator. Than it fits exactly into the bridge and held in place with wedge pin. Just use fine tipped tweezers to help guide along the way. What I like to do is keep the cap screw a bit tight so the spring stays in place. 9.Wedge back in and just give it a push to get it to seat. 10 just a bit of room to allow me to shift the pallet fork back in place. than just slowly screw down the cap. 11. All done see the .MOV file at end MOV08159.AVI


 1 point
 -
Thank You. A few adjustments to the workflow. 1) service movement prior to installing the new balance. ammonia bath - 6 minutes in utra sonic - rinse in cold water - blow dry - lighter fluid bat - 6 minutes in ultra sonic - blow dry 2) re-fit balance = oil end caps 3) oil pivots 4) install winding parts after cleaning - 5) continue the re-build A few tips I've learned over the years: - When letting down the mainspring, observer the winding gear for free and easy motion. If it looks sluggish, remove it and inspect for dried grease, oil, wear. clean and replace as needed. - test the time setting motion before installing the dial. The hour and minute pinons can get tight and dry over the years. If so, you should separate them and clean in fluid. than follow with very light lube and test again. - ditto for the winding lever and gears - grease the stem tube and end of the stem. you will notice a much improved winding motion. This is especailly true when fitting a new stem crown. - before installing the dial, be sure to bend the tabs back to a straight line. It should look like and L, this way the tab can be fully bent down to keep the dial correctly seated to the movement. - inspect the case back seal - clean with cotton swab dipped in ammonia. "DO NOT" dip the case back into cleaner if there is an ink stamp inside. This stamp indicates a two position production value and the last two digits are the year made. Not terrible if you should loose the ink but just something to keep in mind that it has been there for maybe 50 - 60 years and use just wiped it out! Well that about does it for now... BTW - the watch is running spot on time some 12 + hours latter.1 point