Leaderboard


Popular Content
Showing content with the highest reputation on 04/18/24 in all areas
-
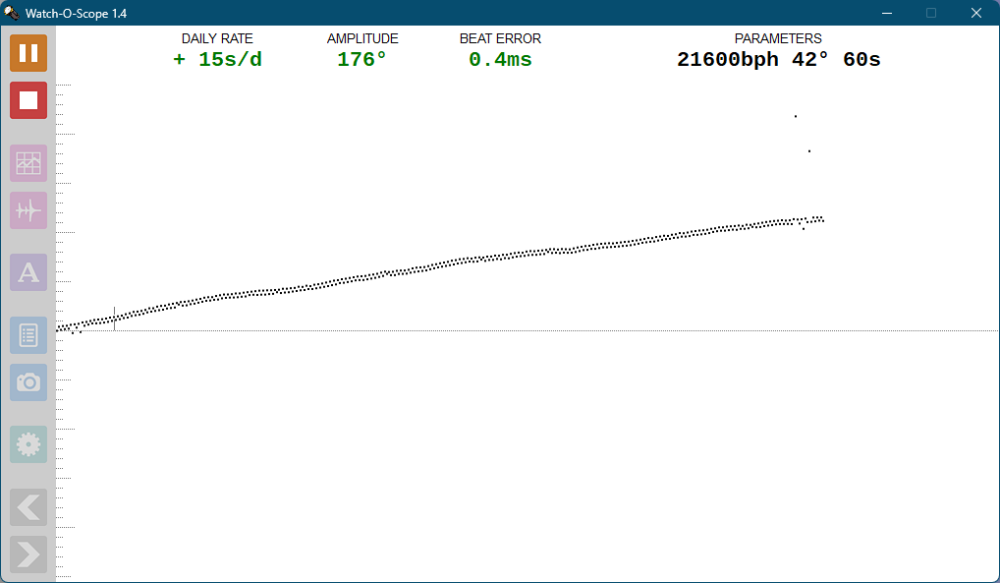
High frequency day: 36000 bph.
 6 points
 -
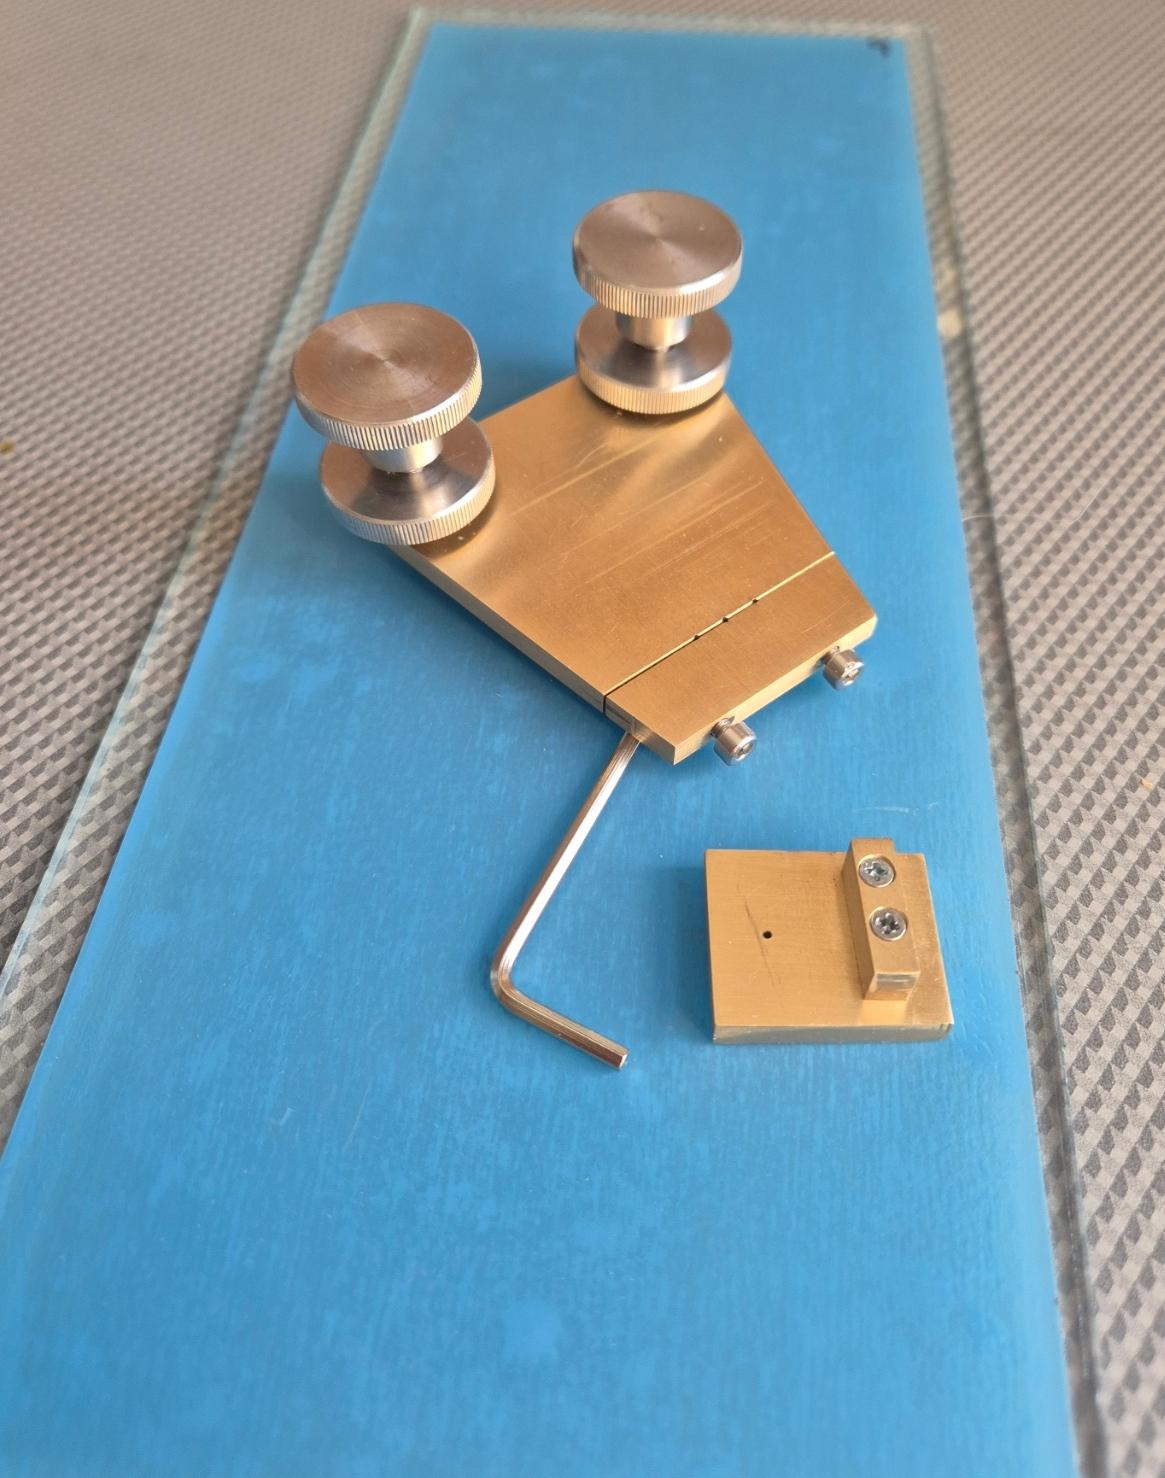
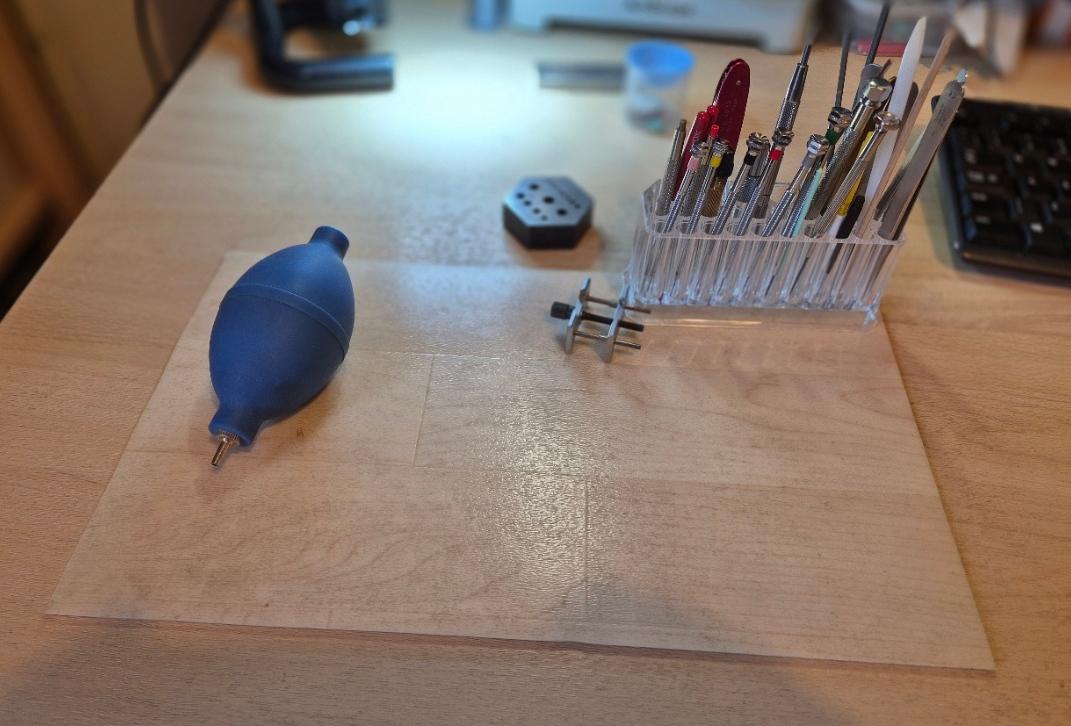
I finished my polisher yesterday, and just tried it out. I'm surprised how easy it is to get a good result - just a couple of minutes. I thought it was going to be more difficult - a nice surprise as most things in watchmaking are harder than you expect. I bought self adhesive 3M lapping film https://www.cousinsuk.com/product/film-lapping-3m-261x266x , 9, 3 and 1 micron, and stuck it to sheets of glass. The 9 micron is course enough to remove large scratches. I'm glad I used the M6 thumb screws as the large heads allow for small adjustments.
 4 points
 -
Yes, I think I have one of these wormholes under my desk that spits my parts out into DS9: If you look carefully you can see my yolk spring exiting the wormhole!
 4 points
 -
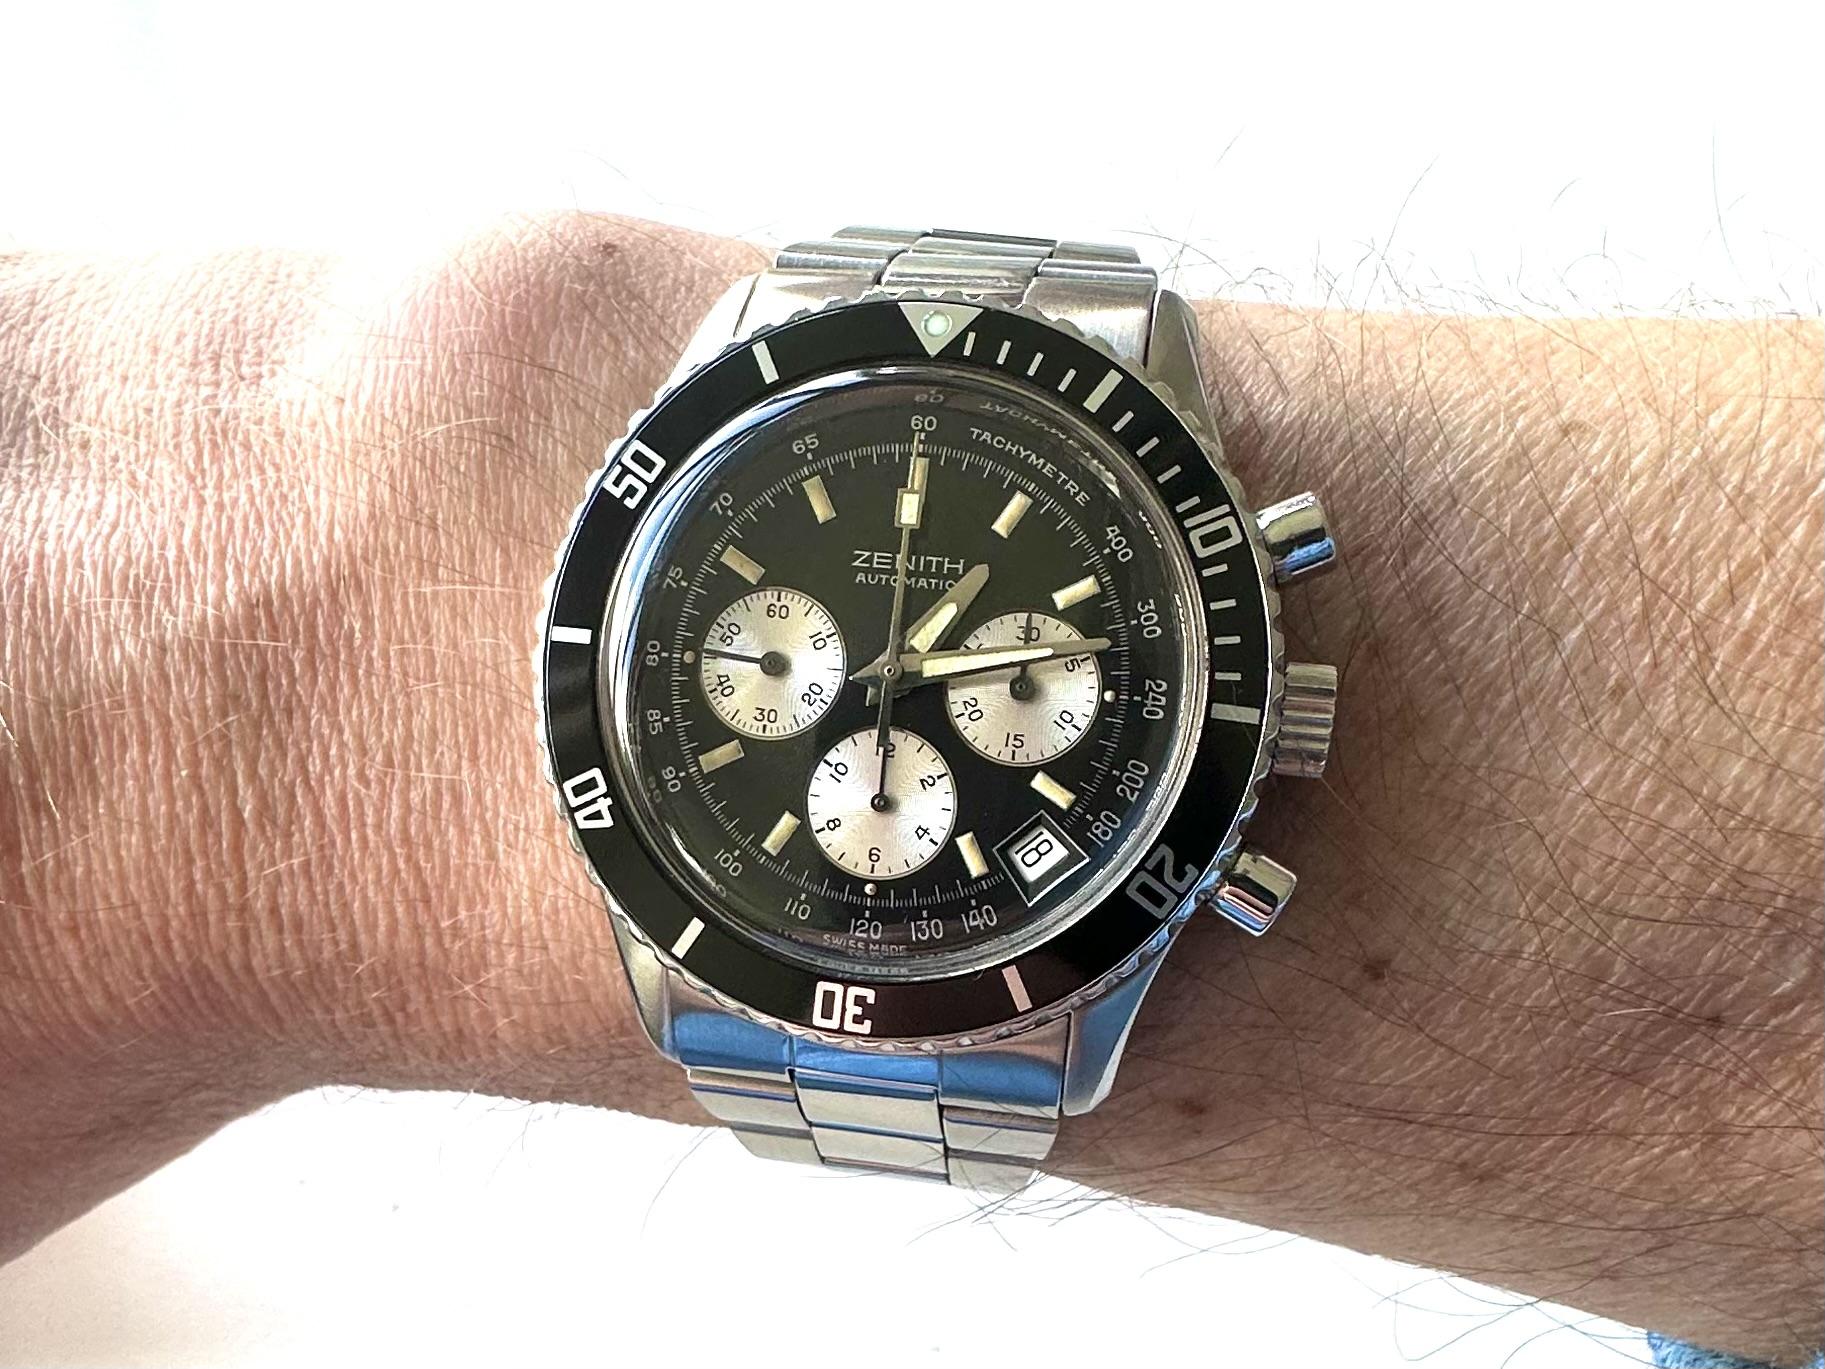
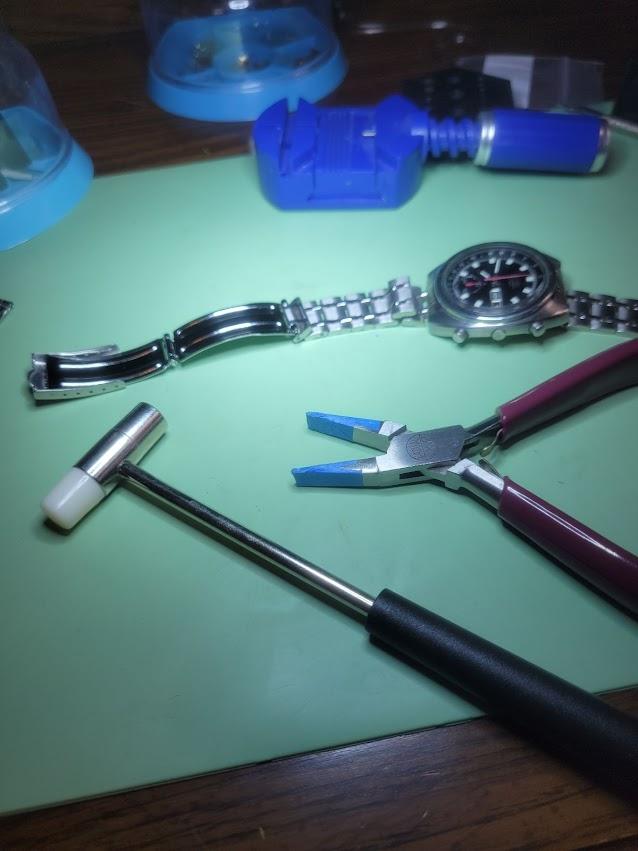
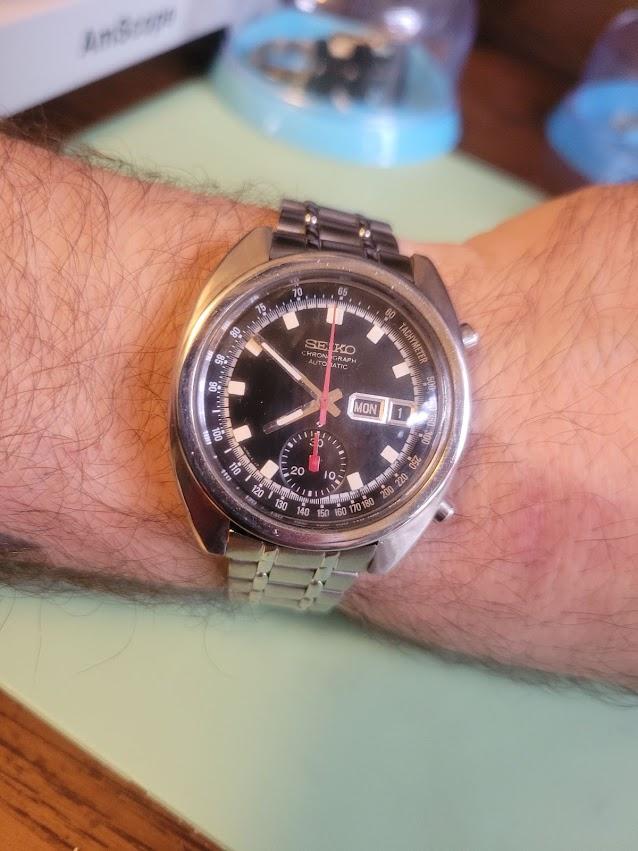
I finally got around to replacing the clasp on my 1972 Seiko 6139B chronograph. One of the ears on the old one had completely worn away so it would randomly pop off my wrist, which is less than convenient. It did need a little percussive persuasion to get together, but I'm pleased to have it back on my wrist. I really love this watch.

 4 points
 -
They are for balance wheels only and wheels with similar pivots (B = bombé). You can use flat jewels for balance wheels (not recommended) but no bombé jewels for ordinary wheels.3 points
-
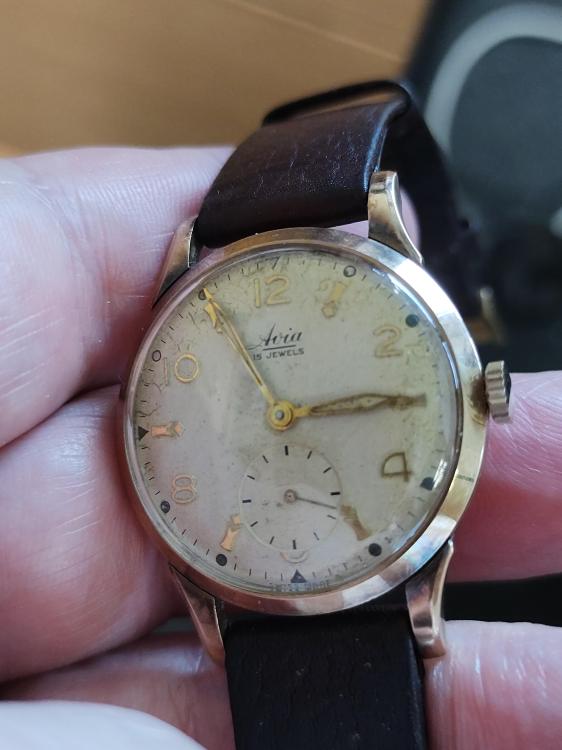
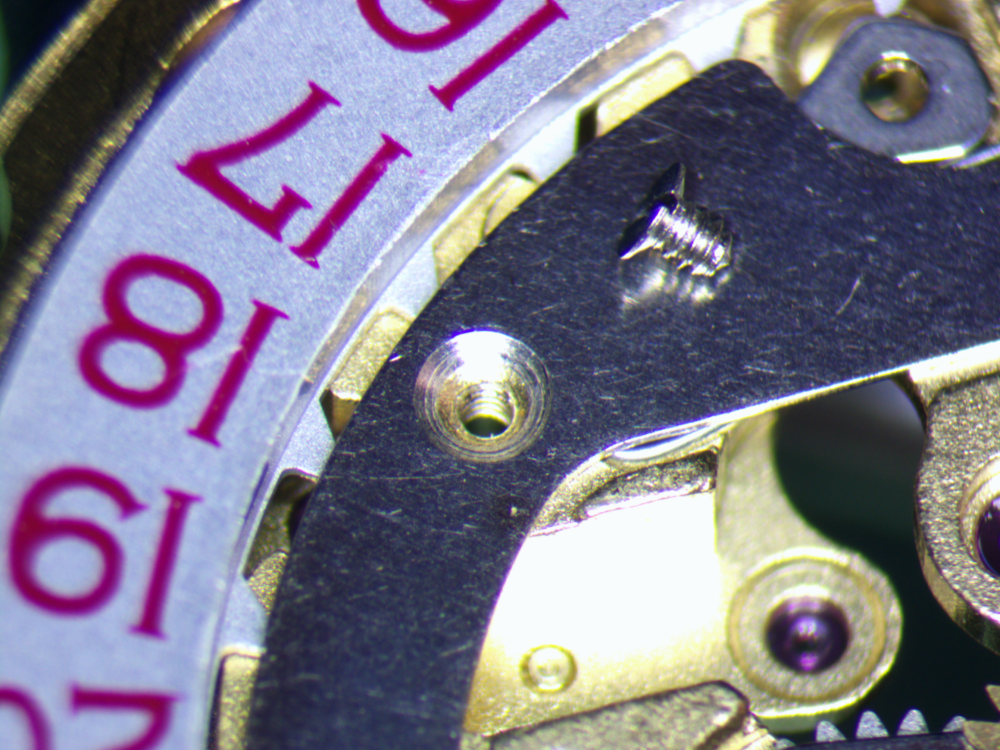
Thanks for the replies. I did the job today and found that the oversized stem fitted just perfectly into the worn mainplate without any adjustment. Original stem diameter was 1.24mm and the oversized was 1.40mm. I did have to make an adjustment to the setting lever though. The small pip that engages with the groove in the stem hub was slightly to wide. I made that a bit smaller with a fine file. Don't ask me why that was too big, it just was. All working very well now. No wobble and not pulling out. New crown fitted as good measure.
 3 points
 -
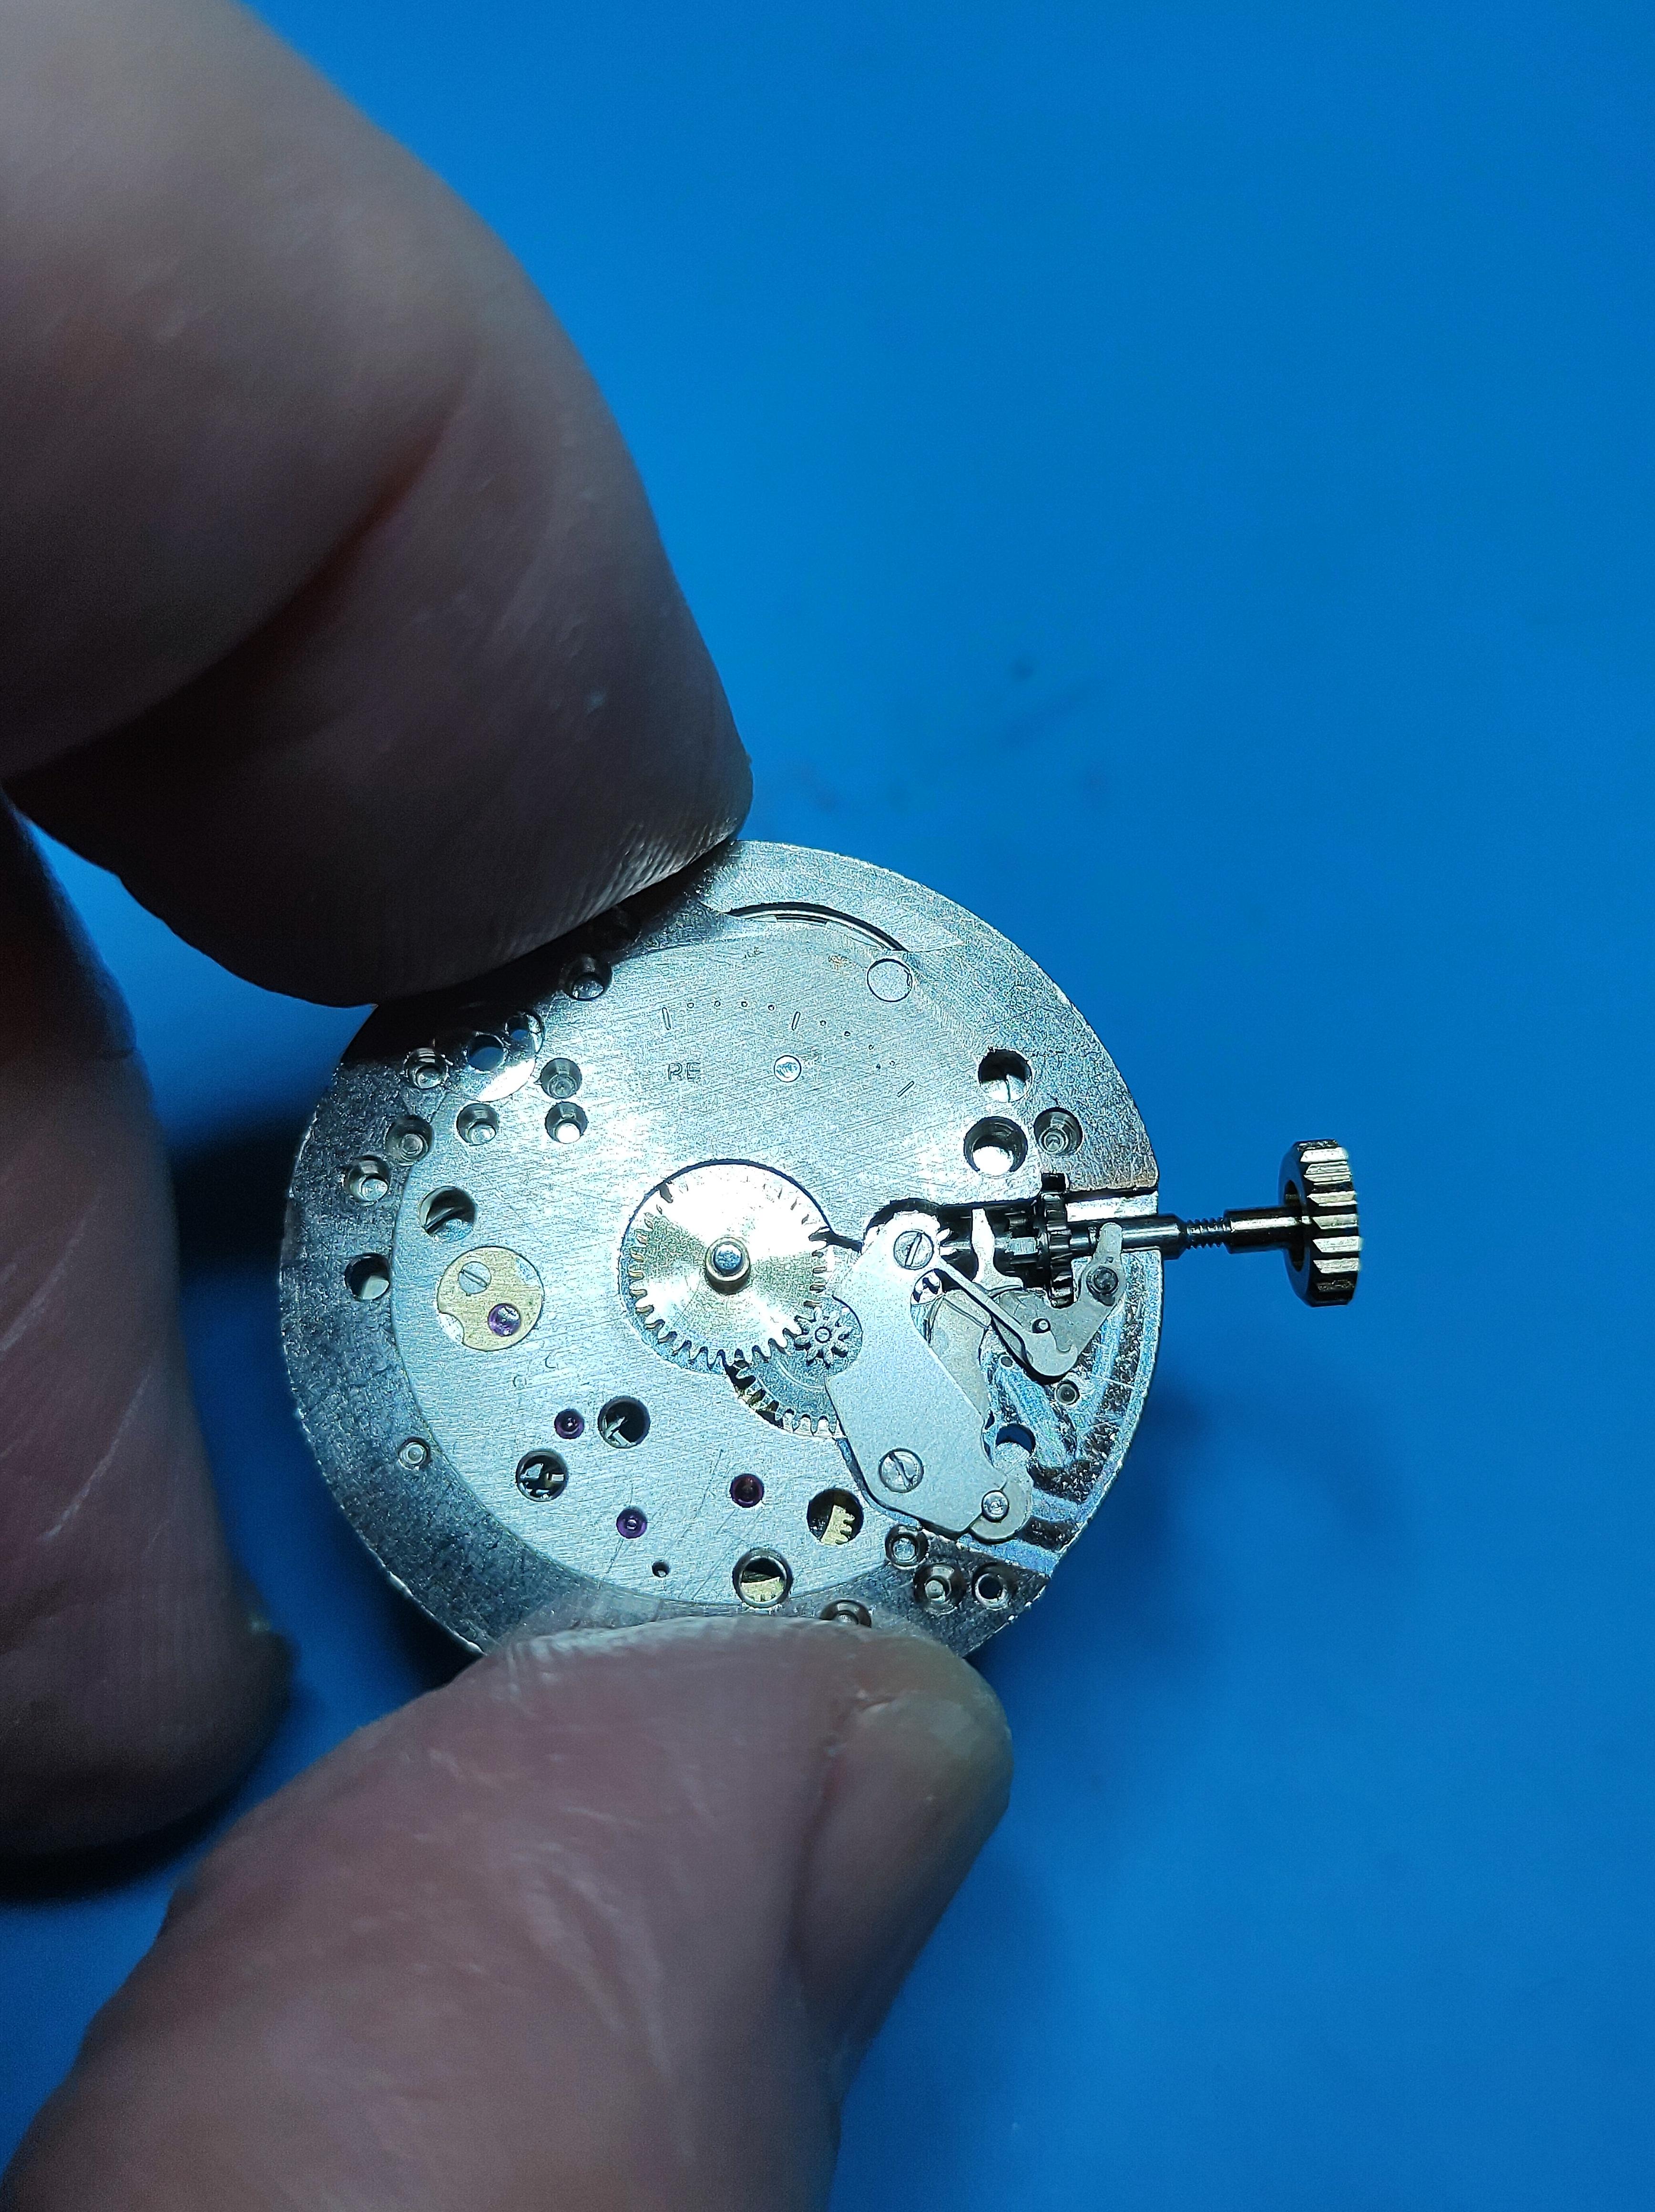
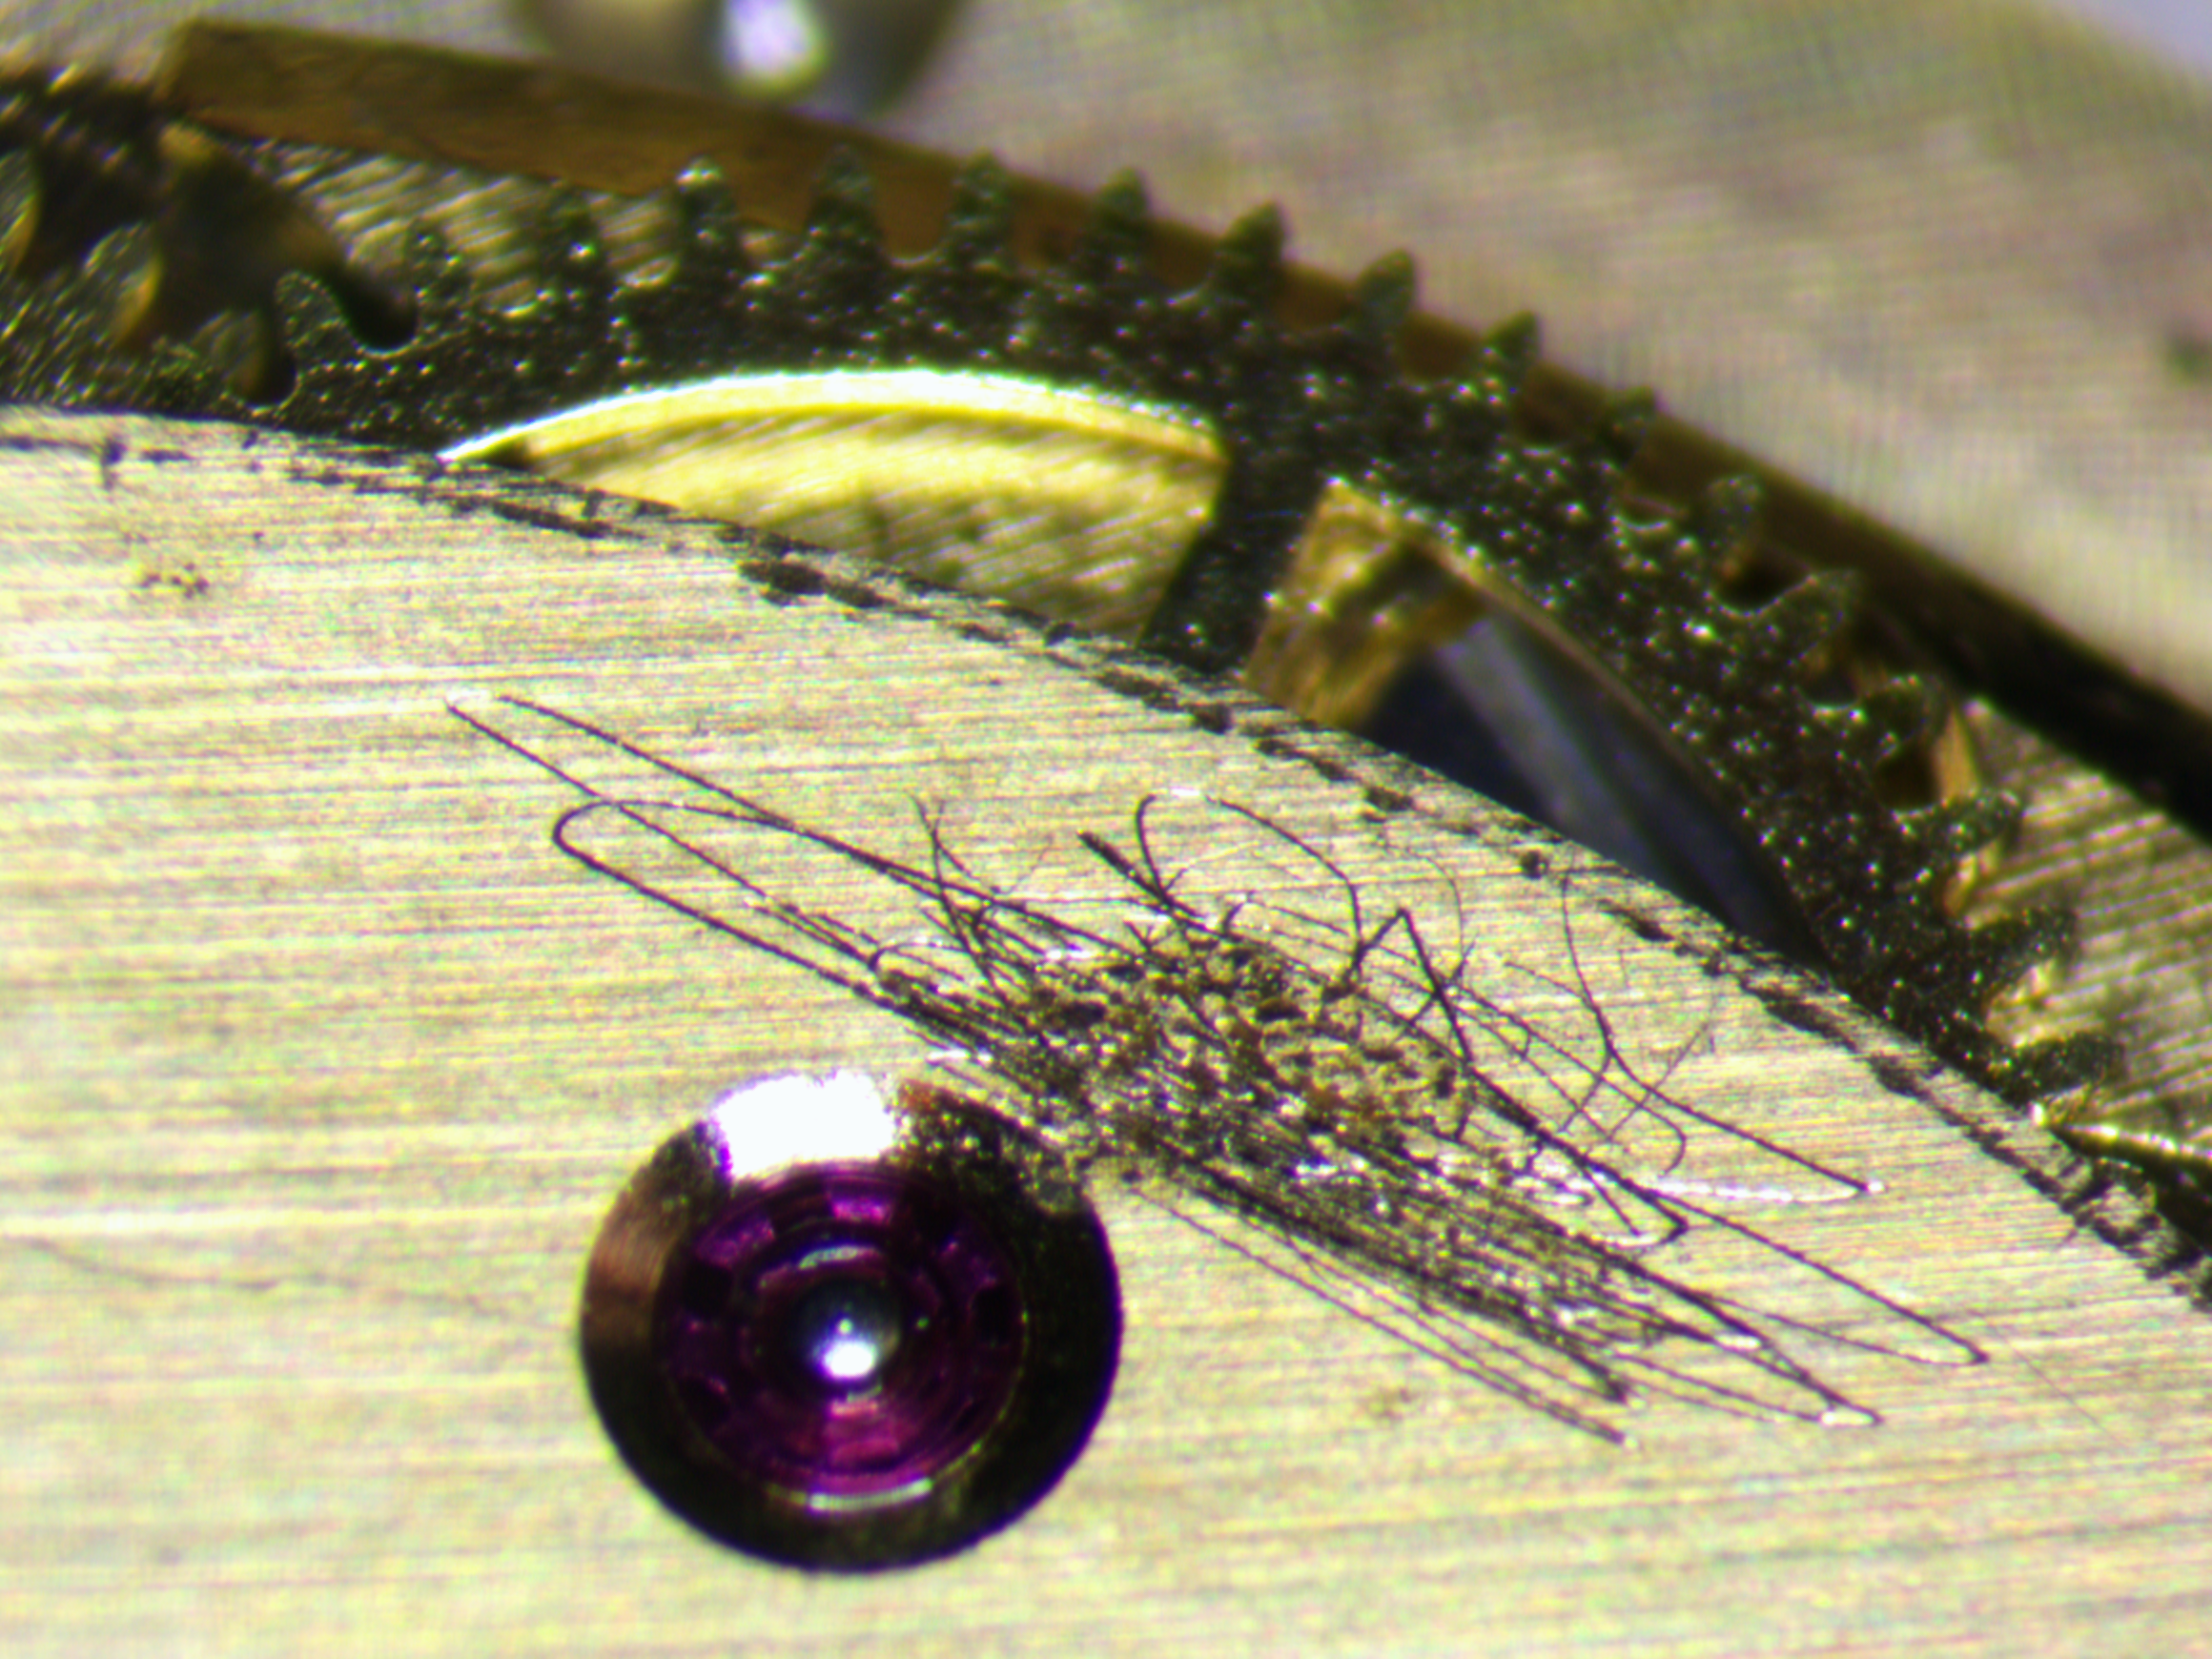
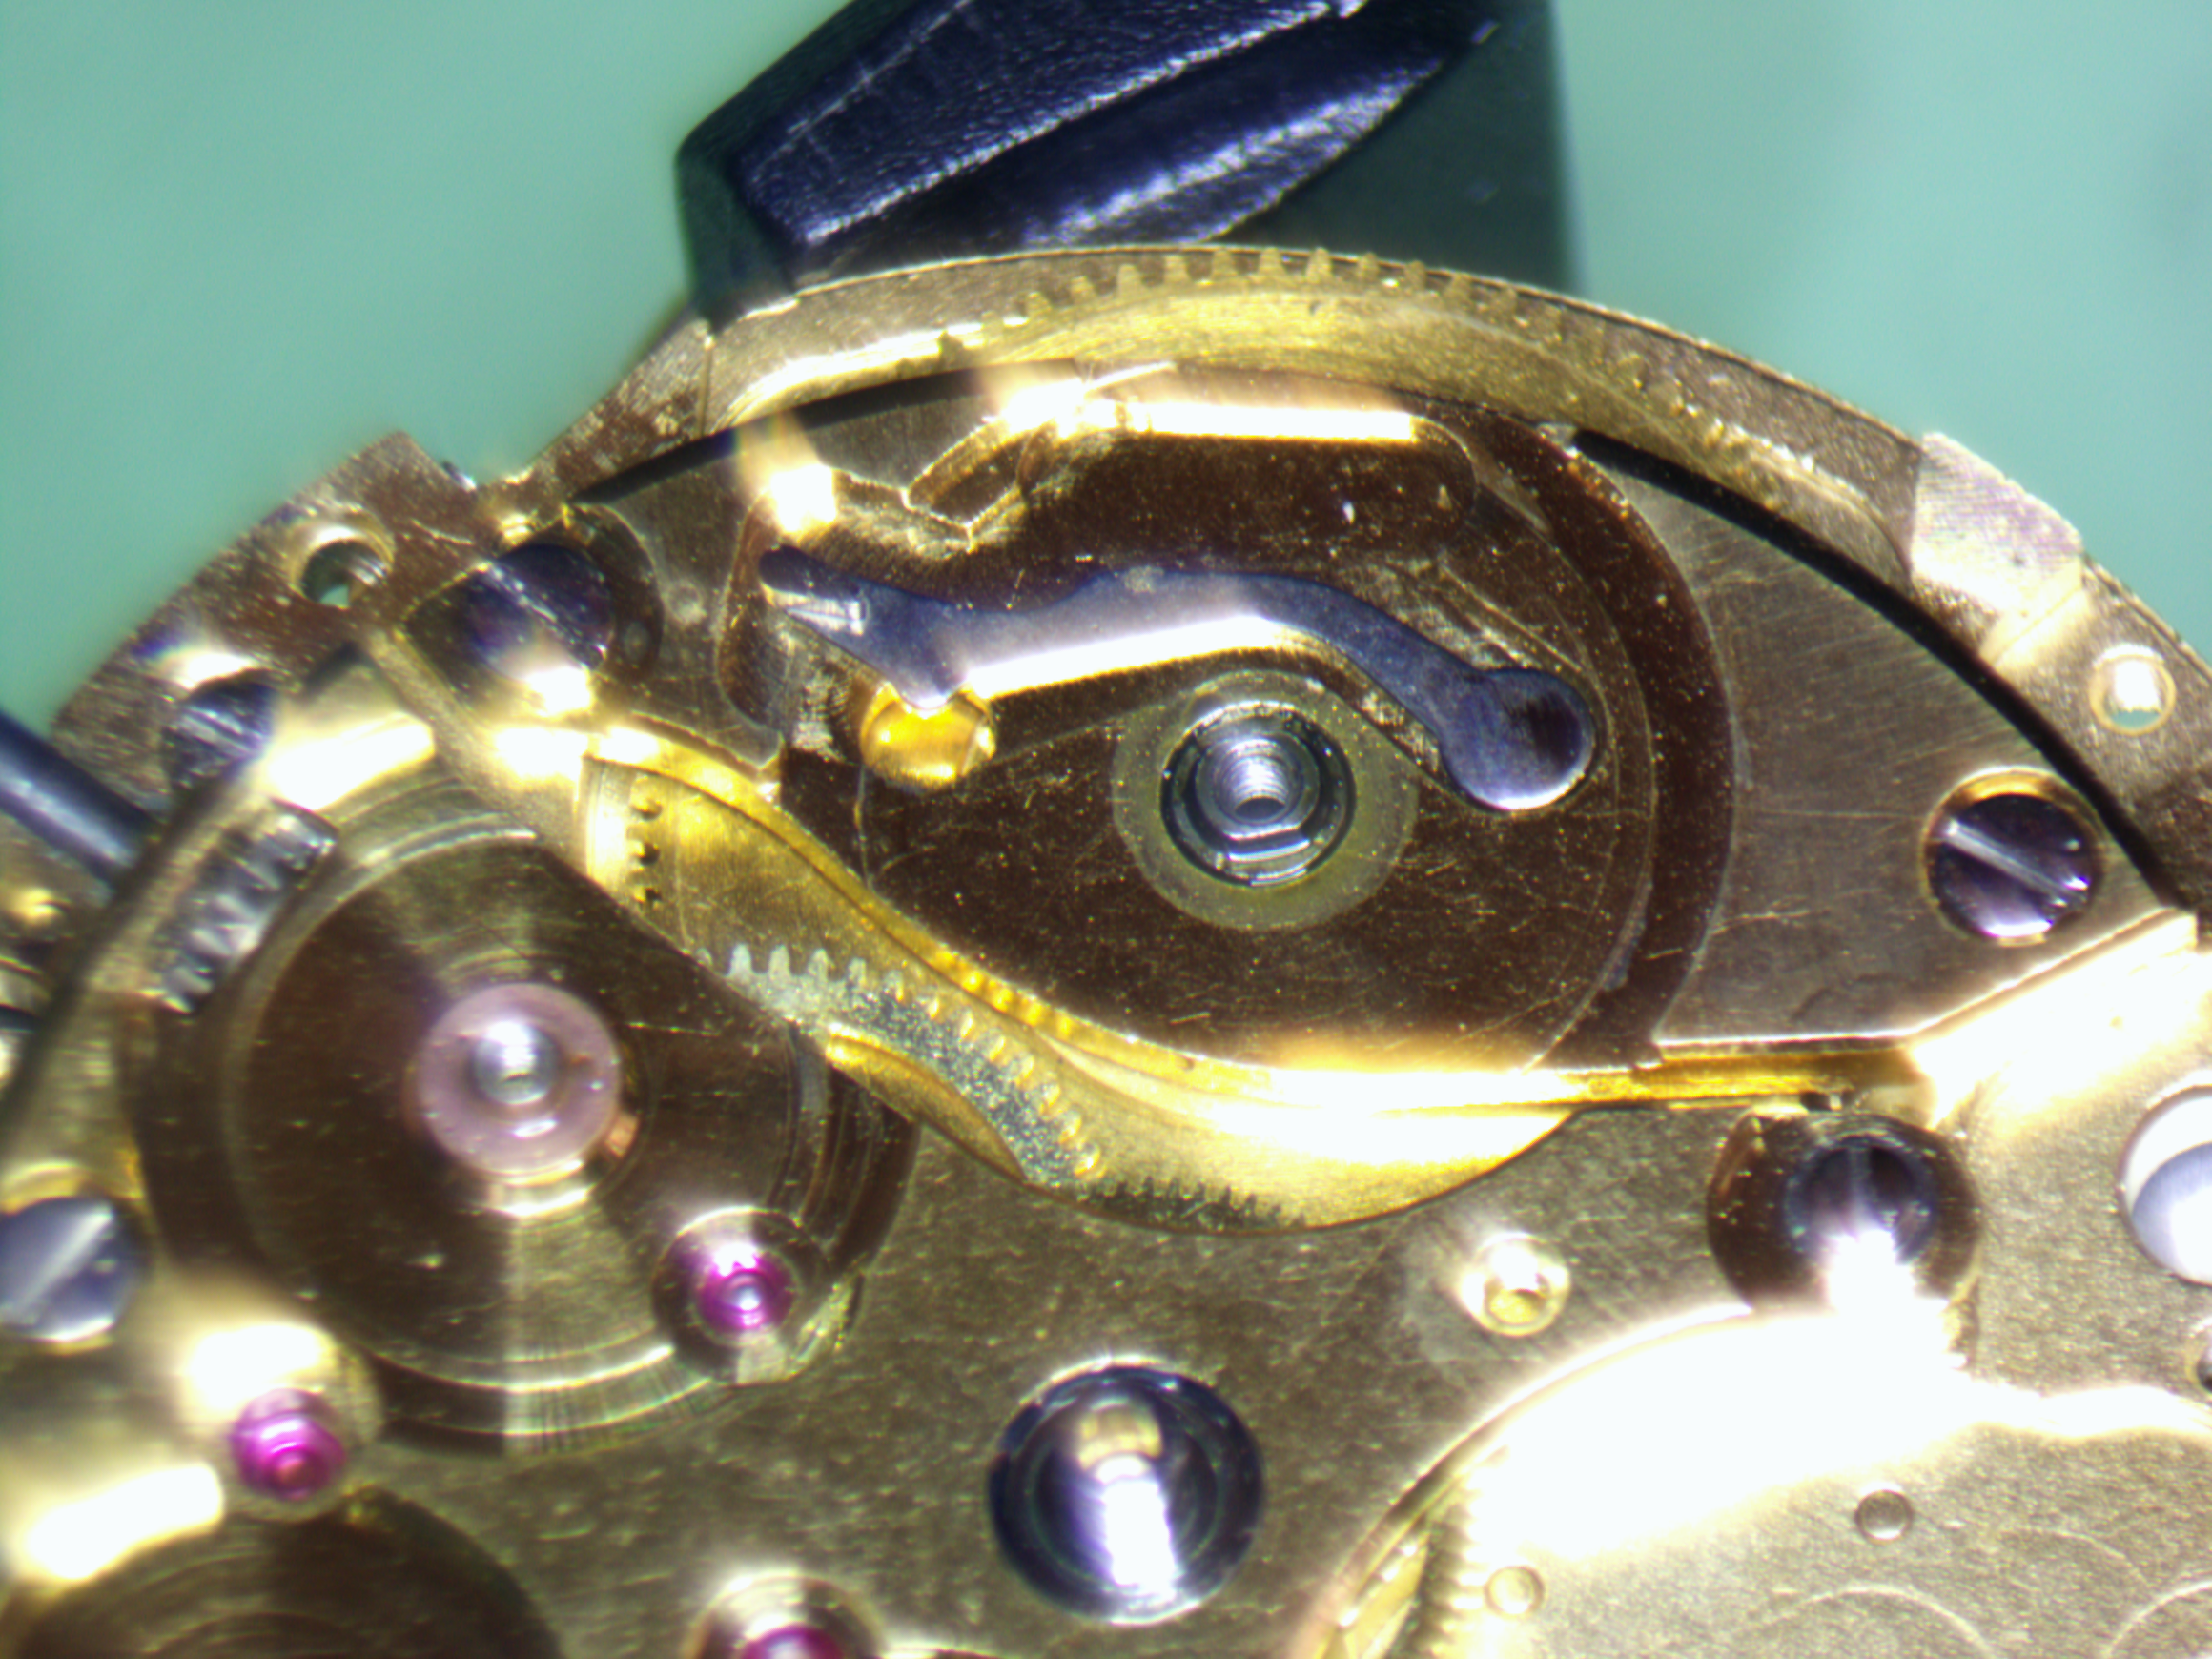
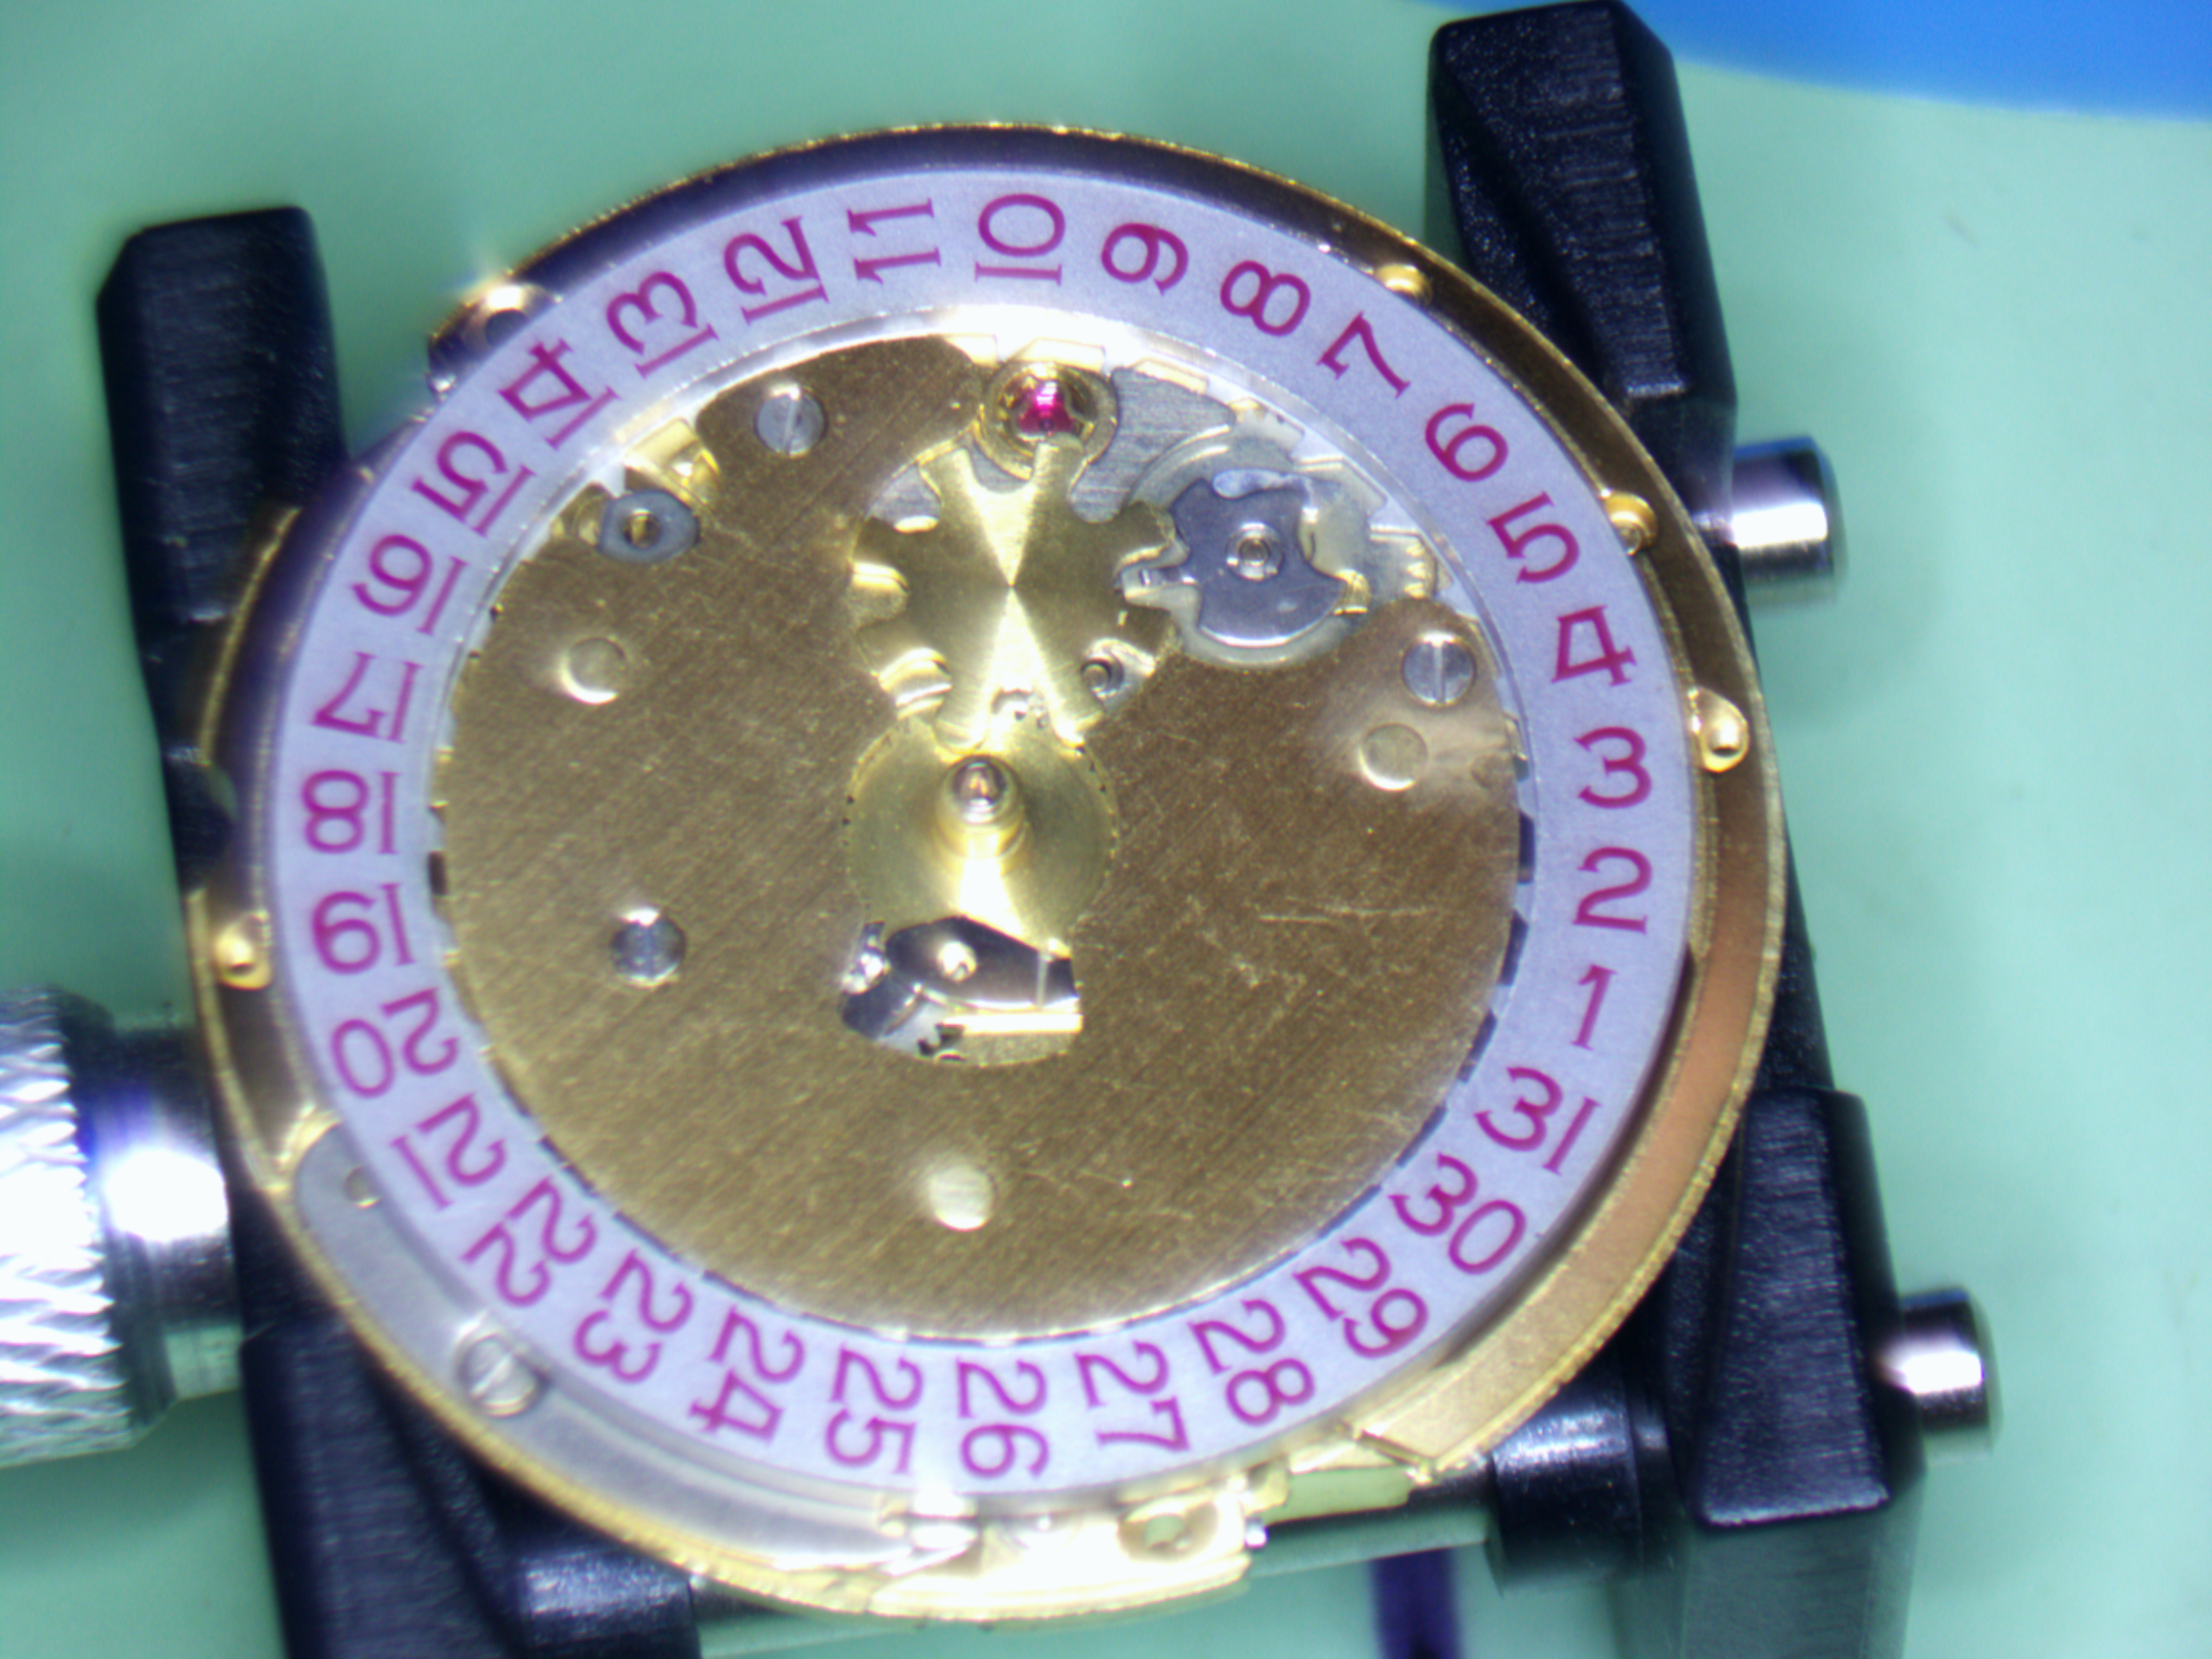
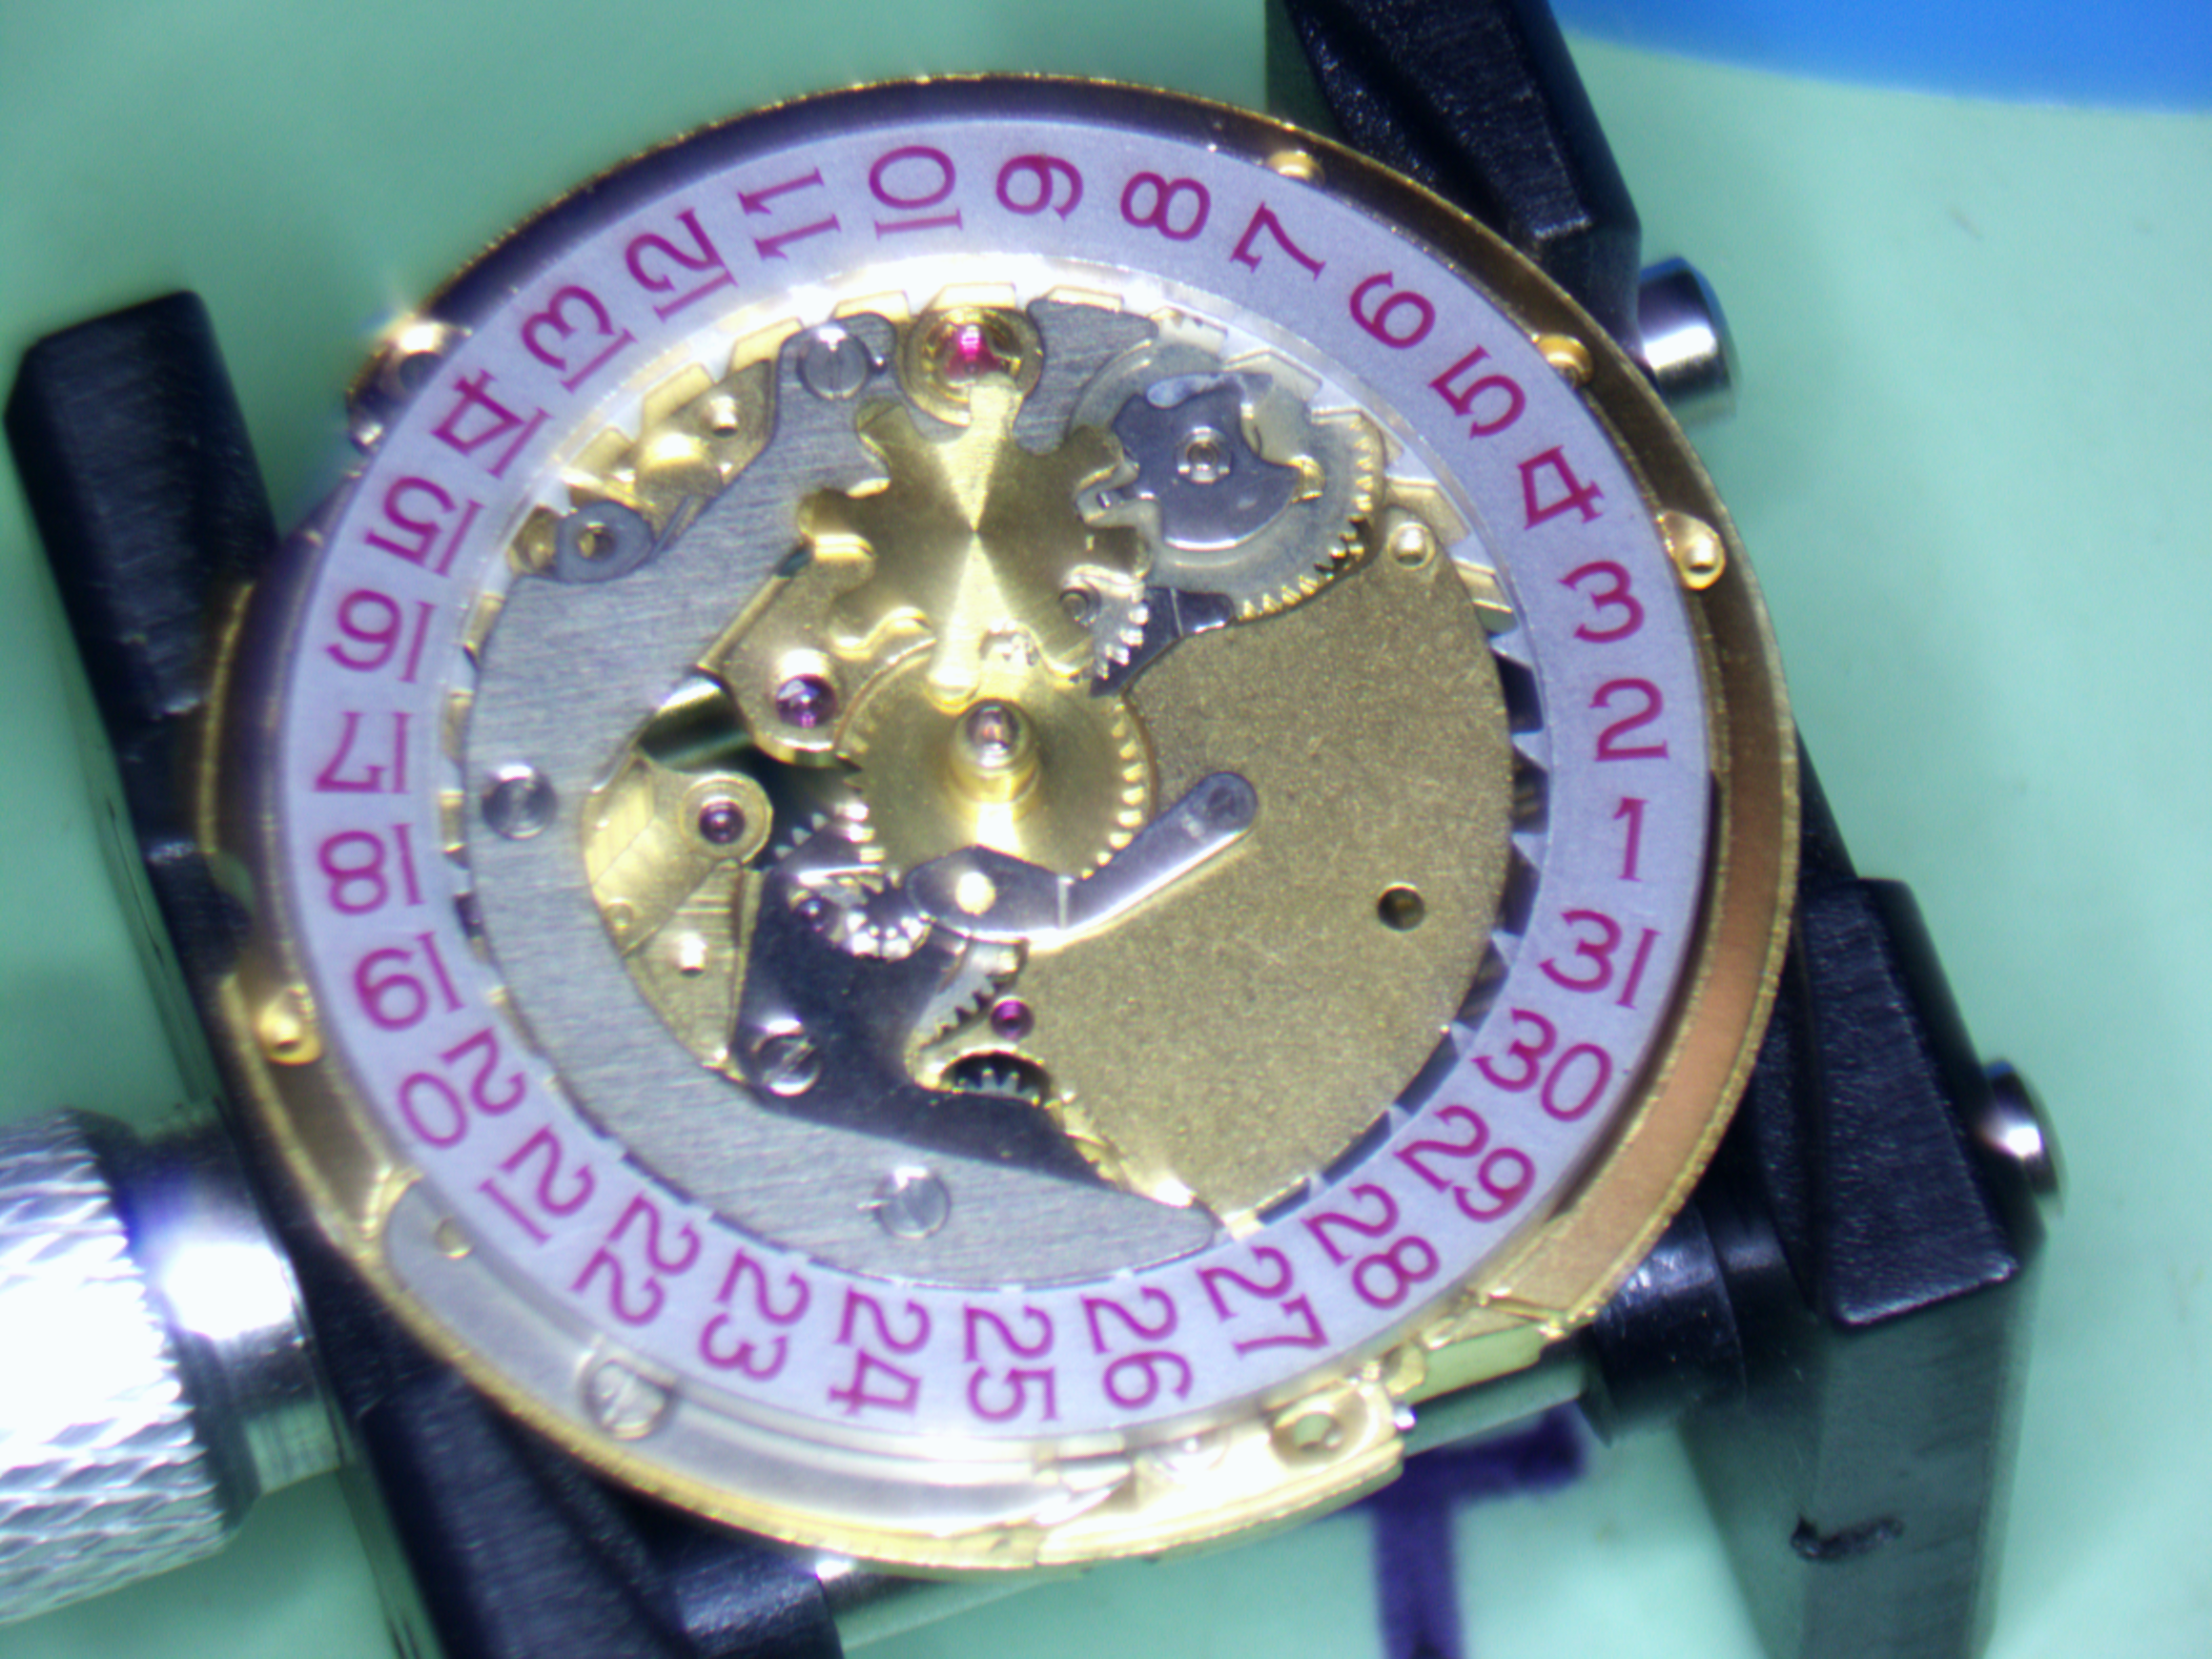
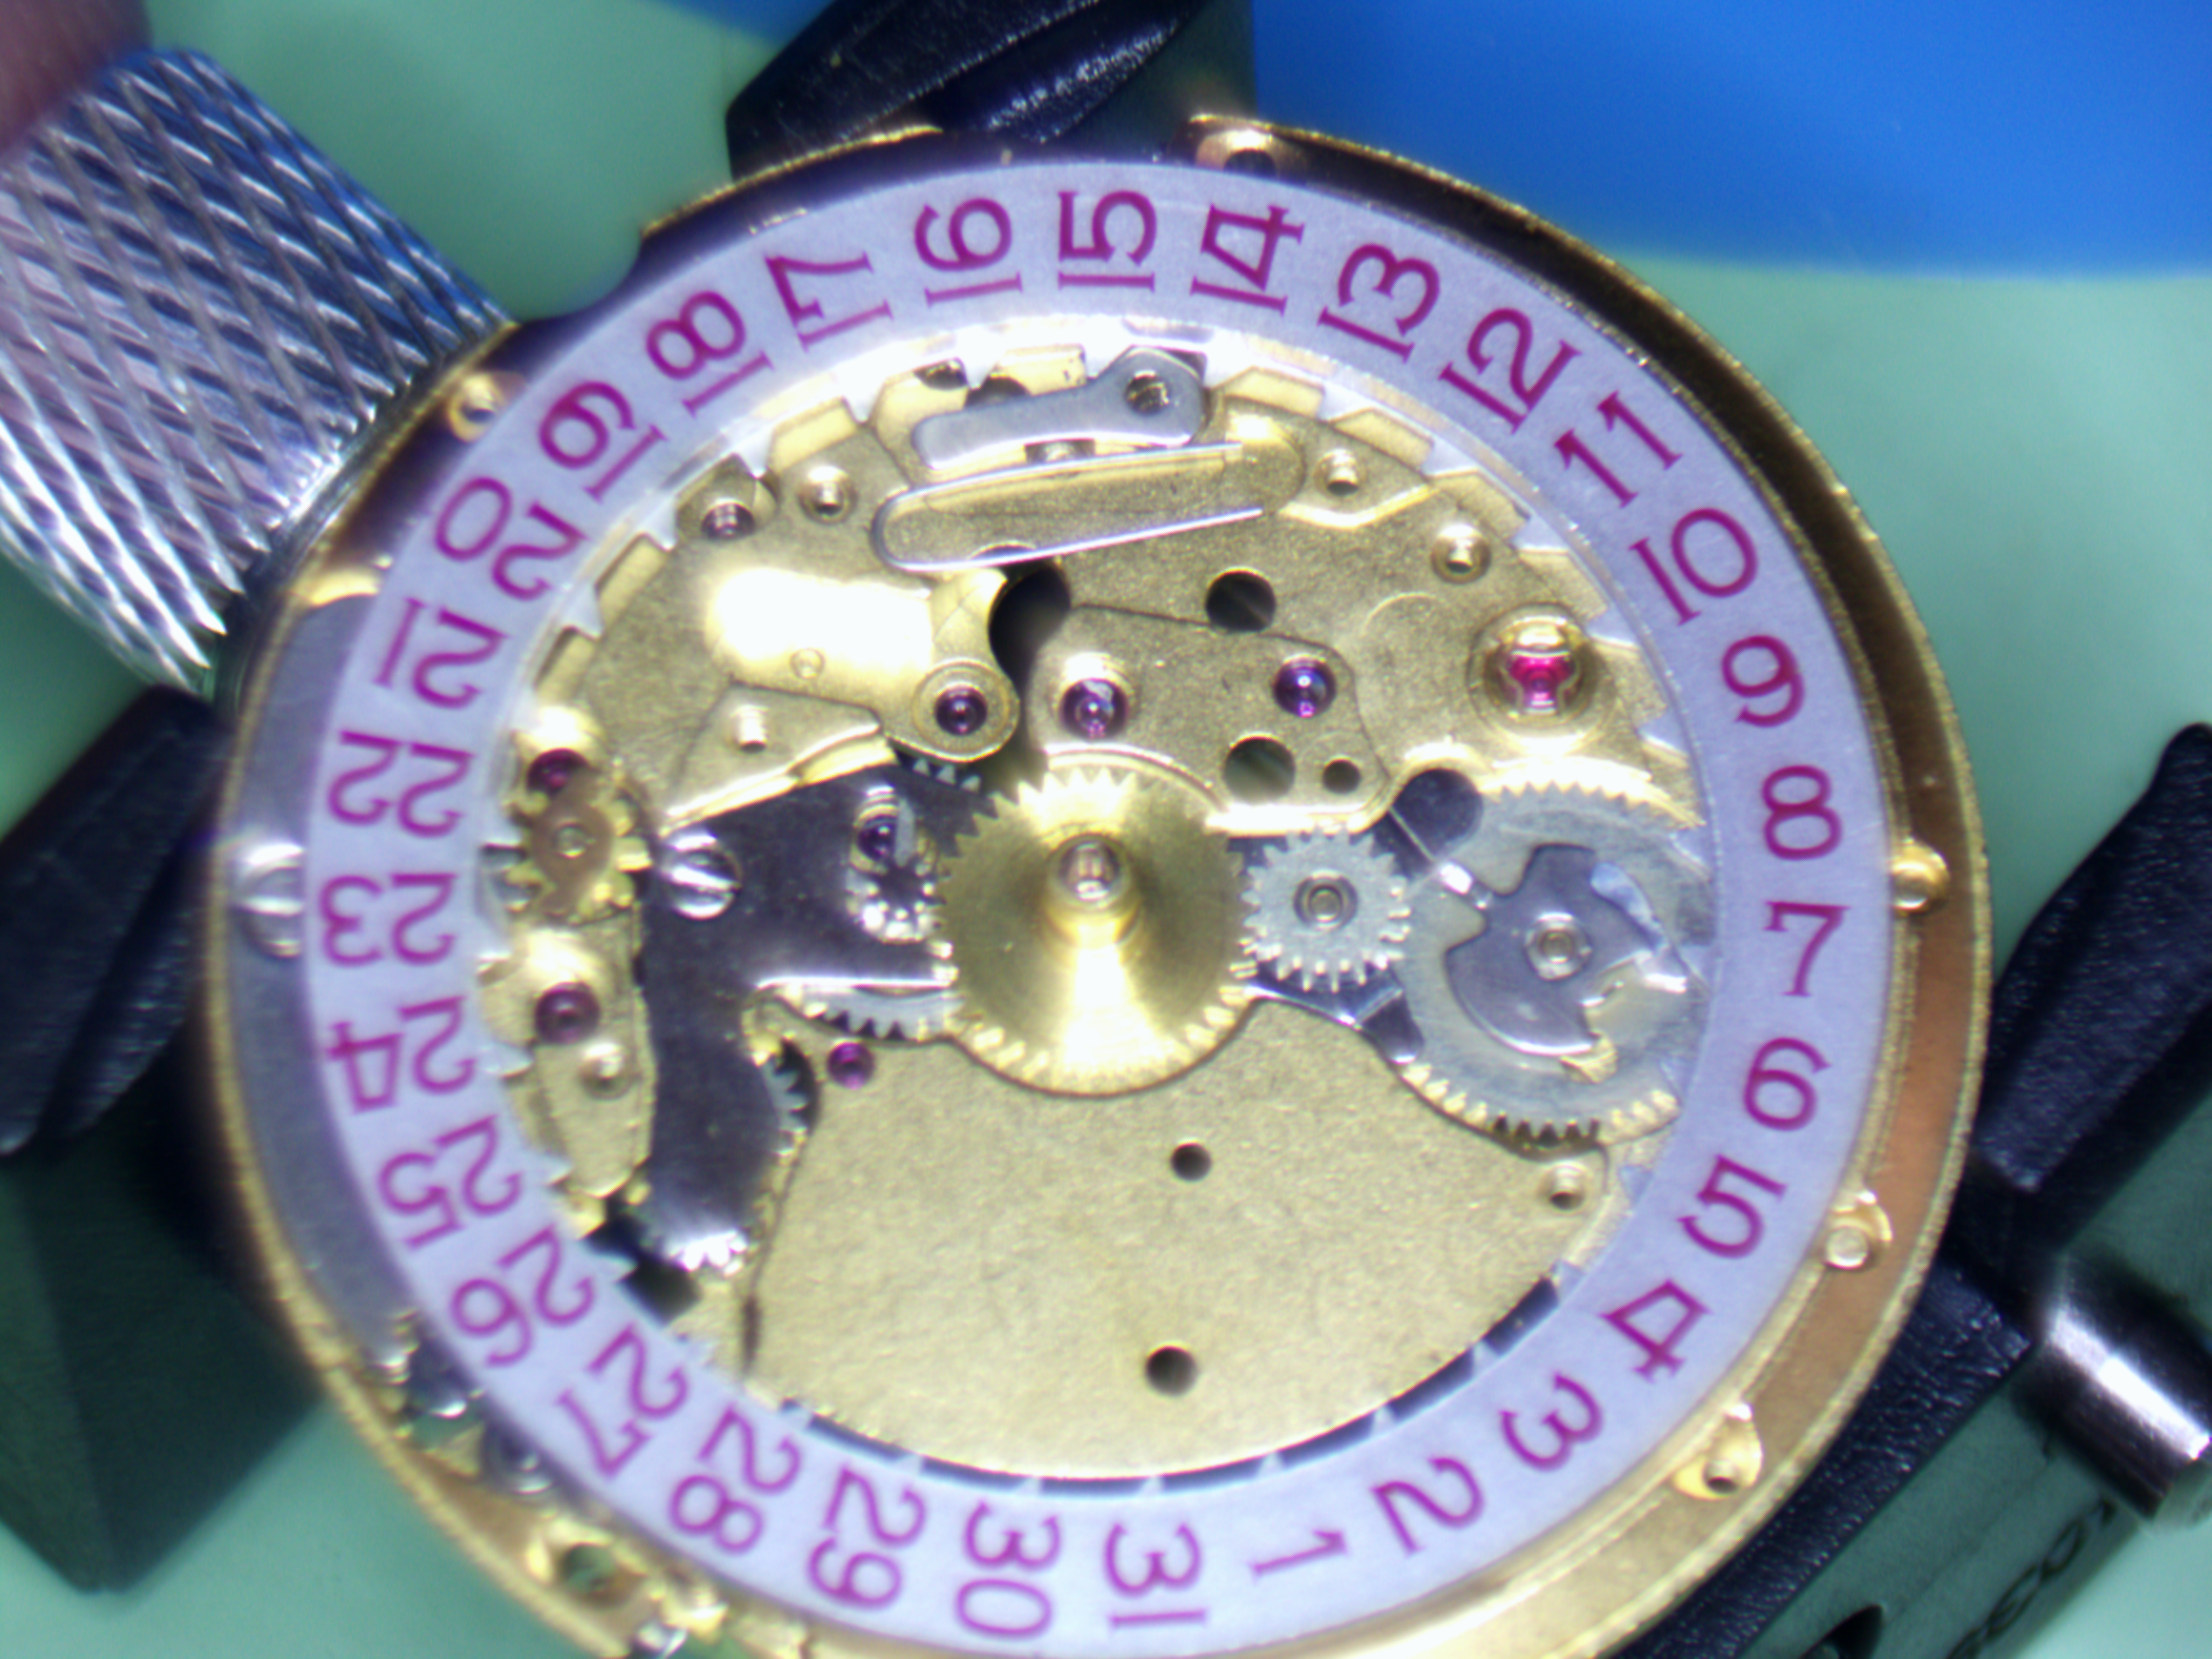
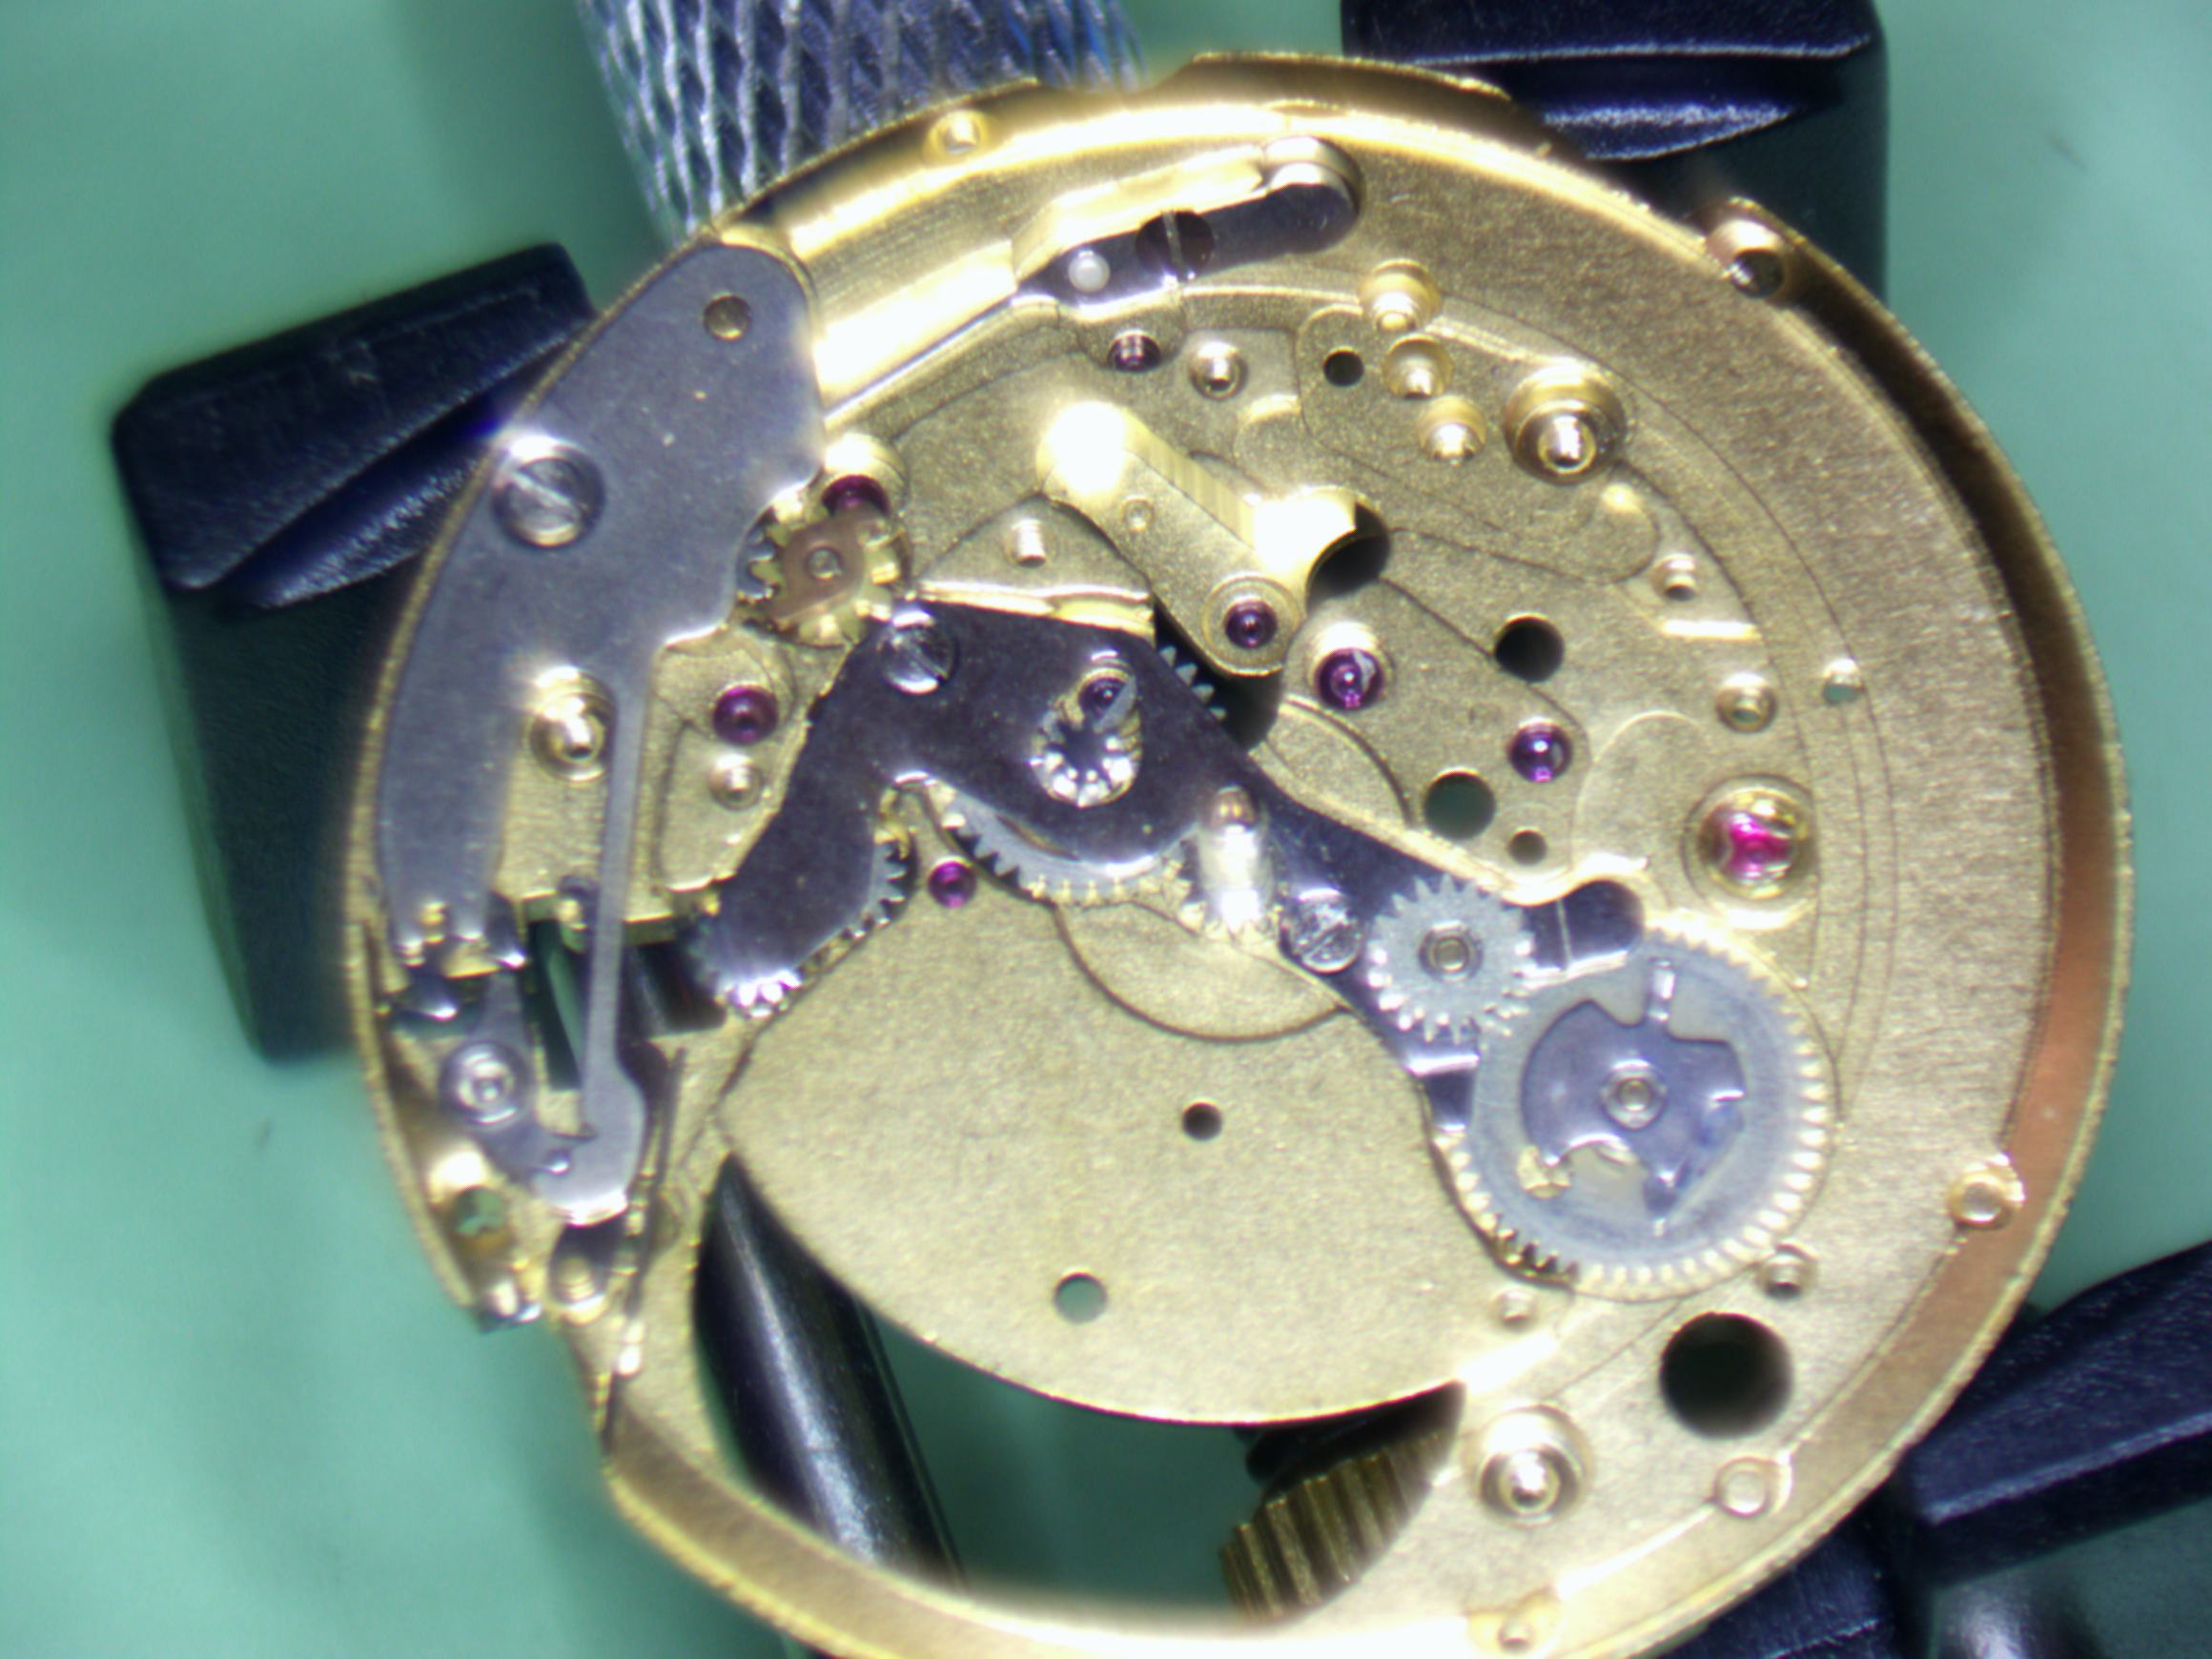
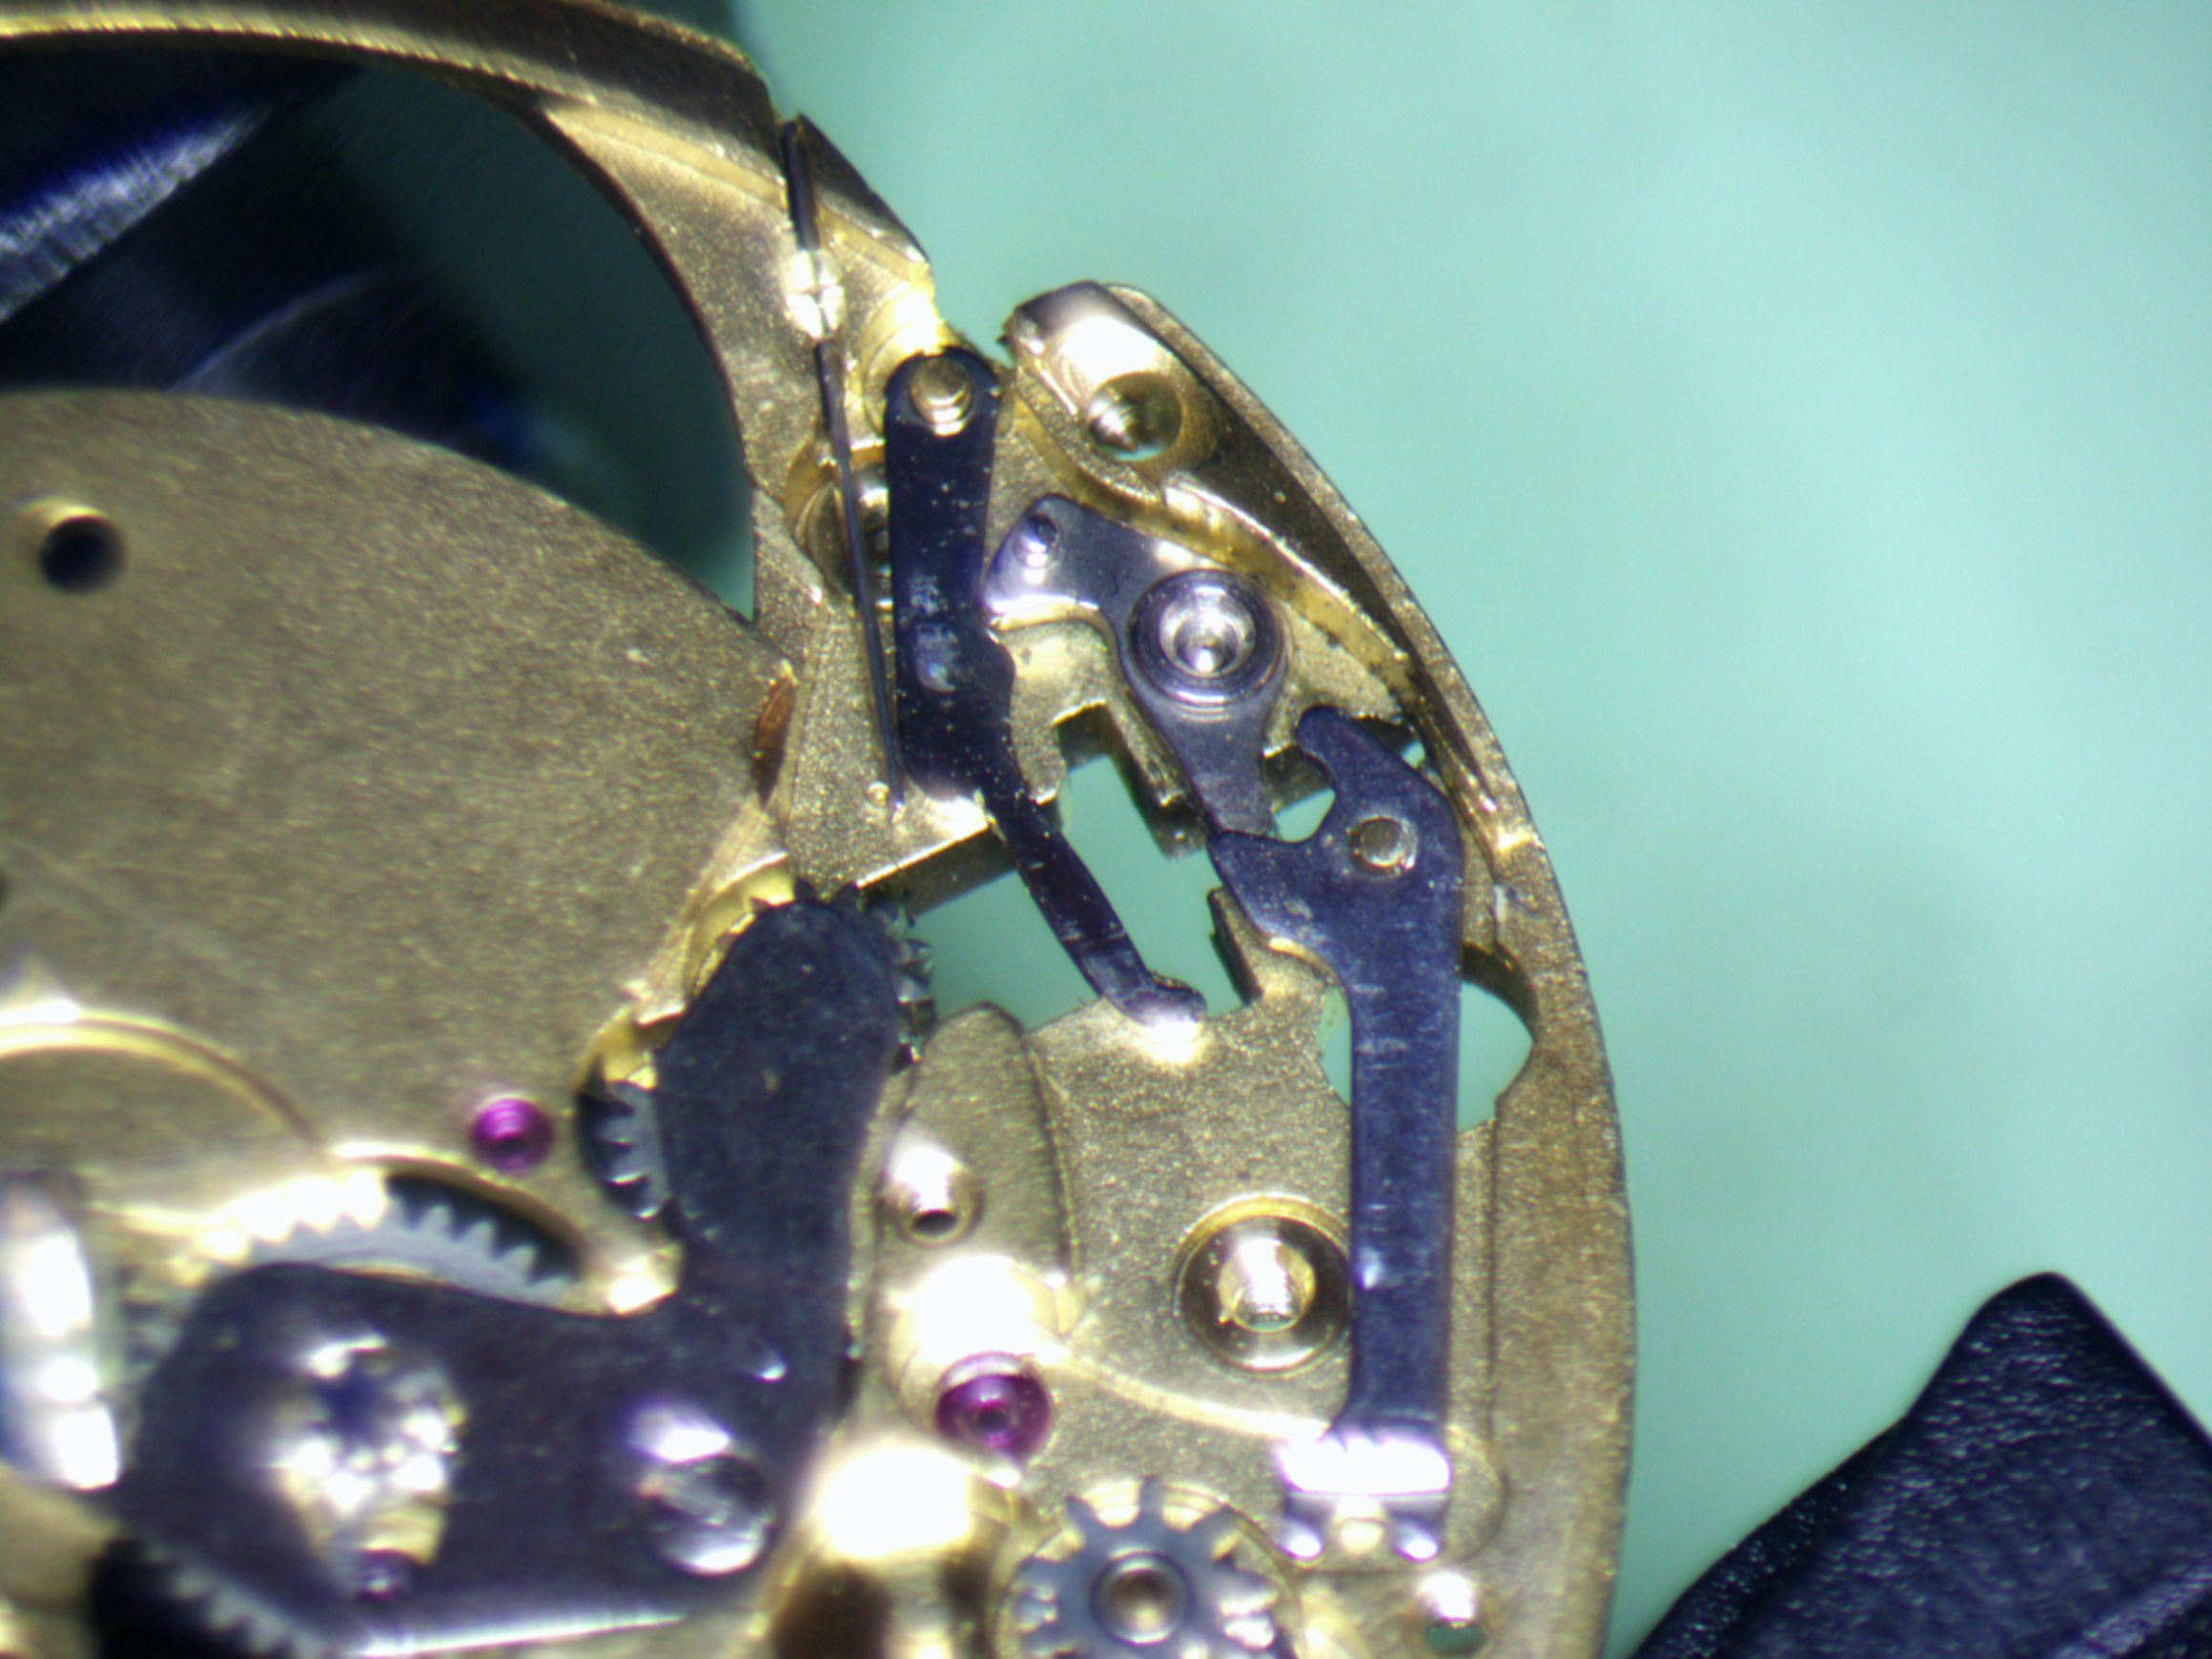
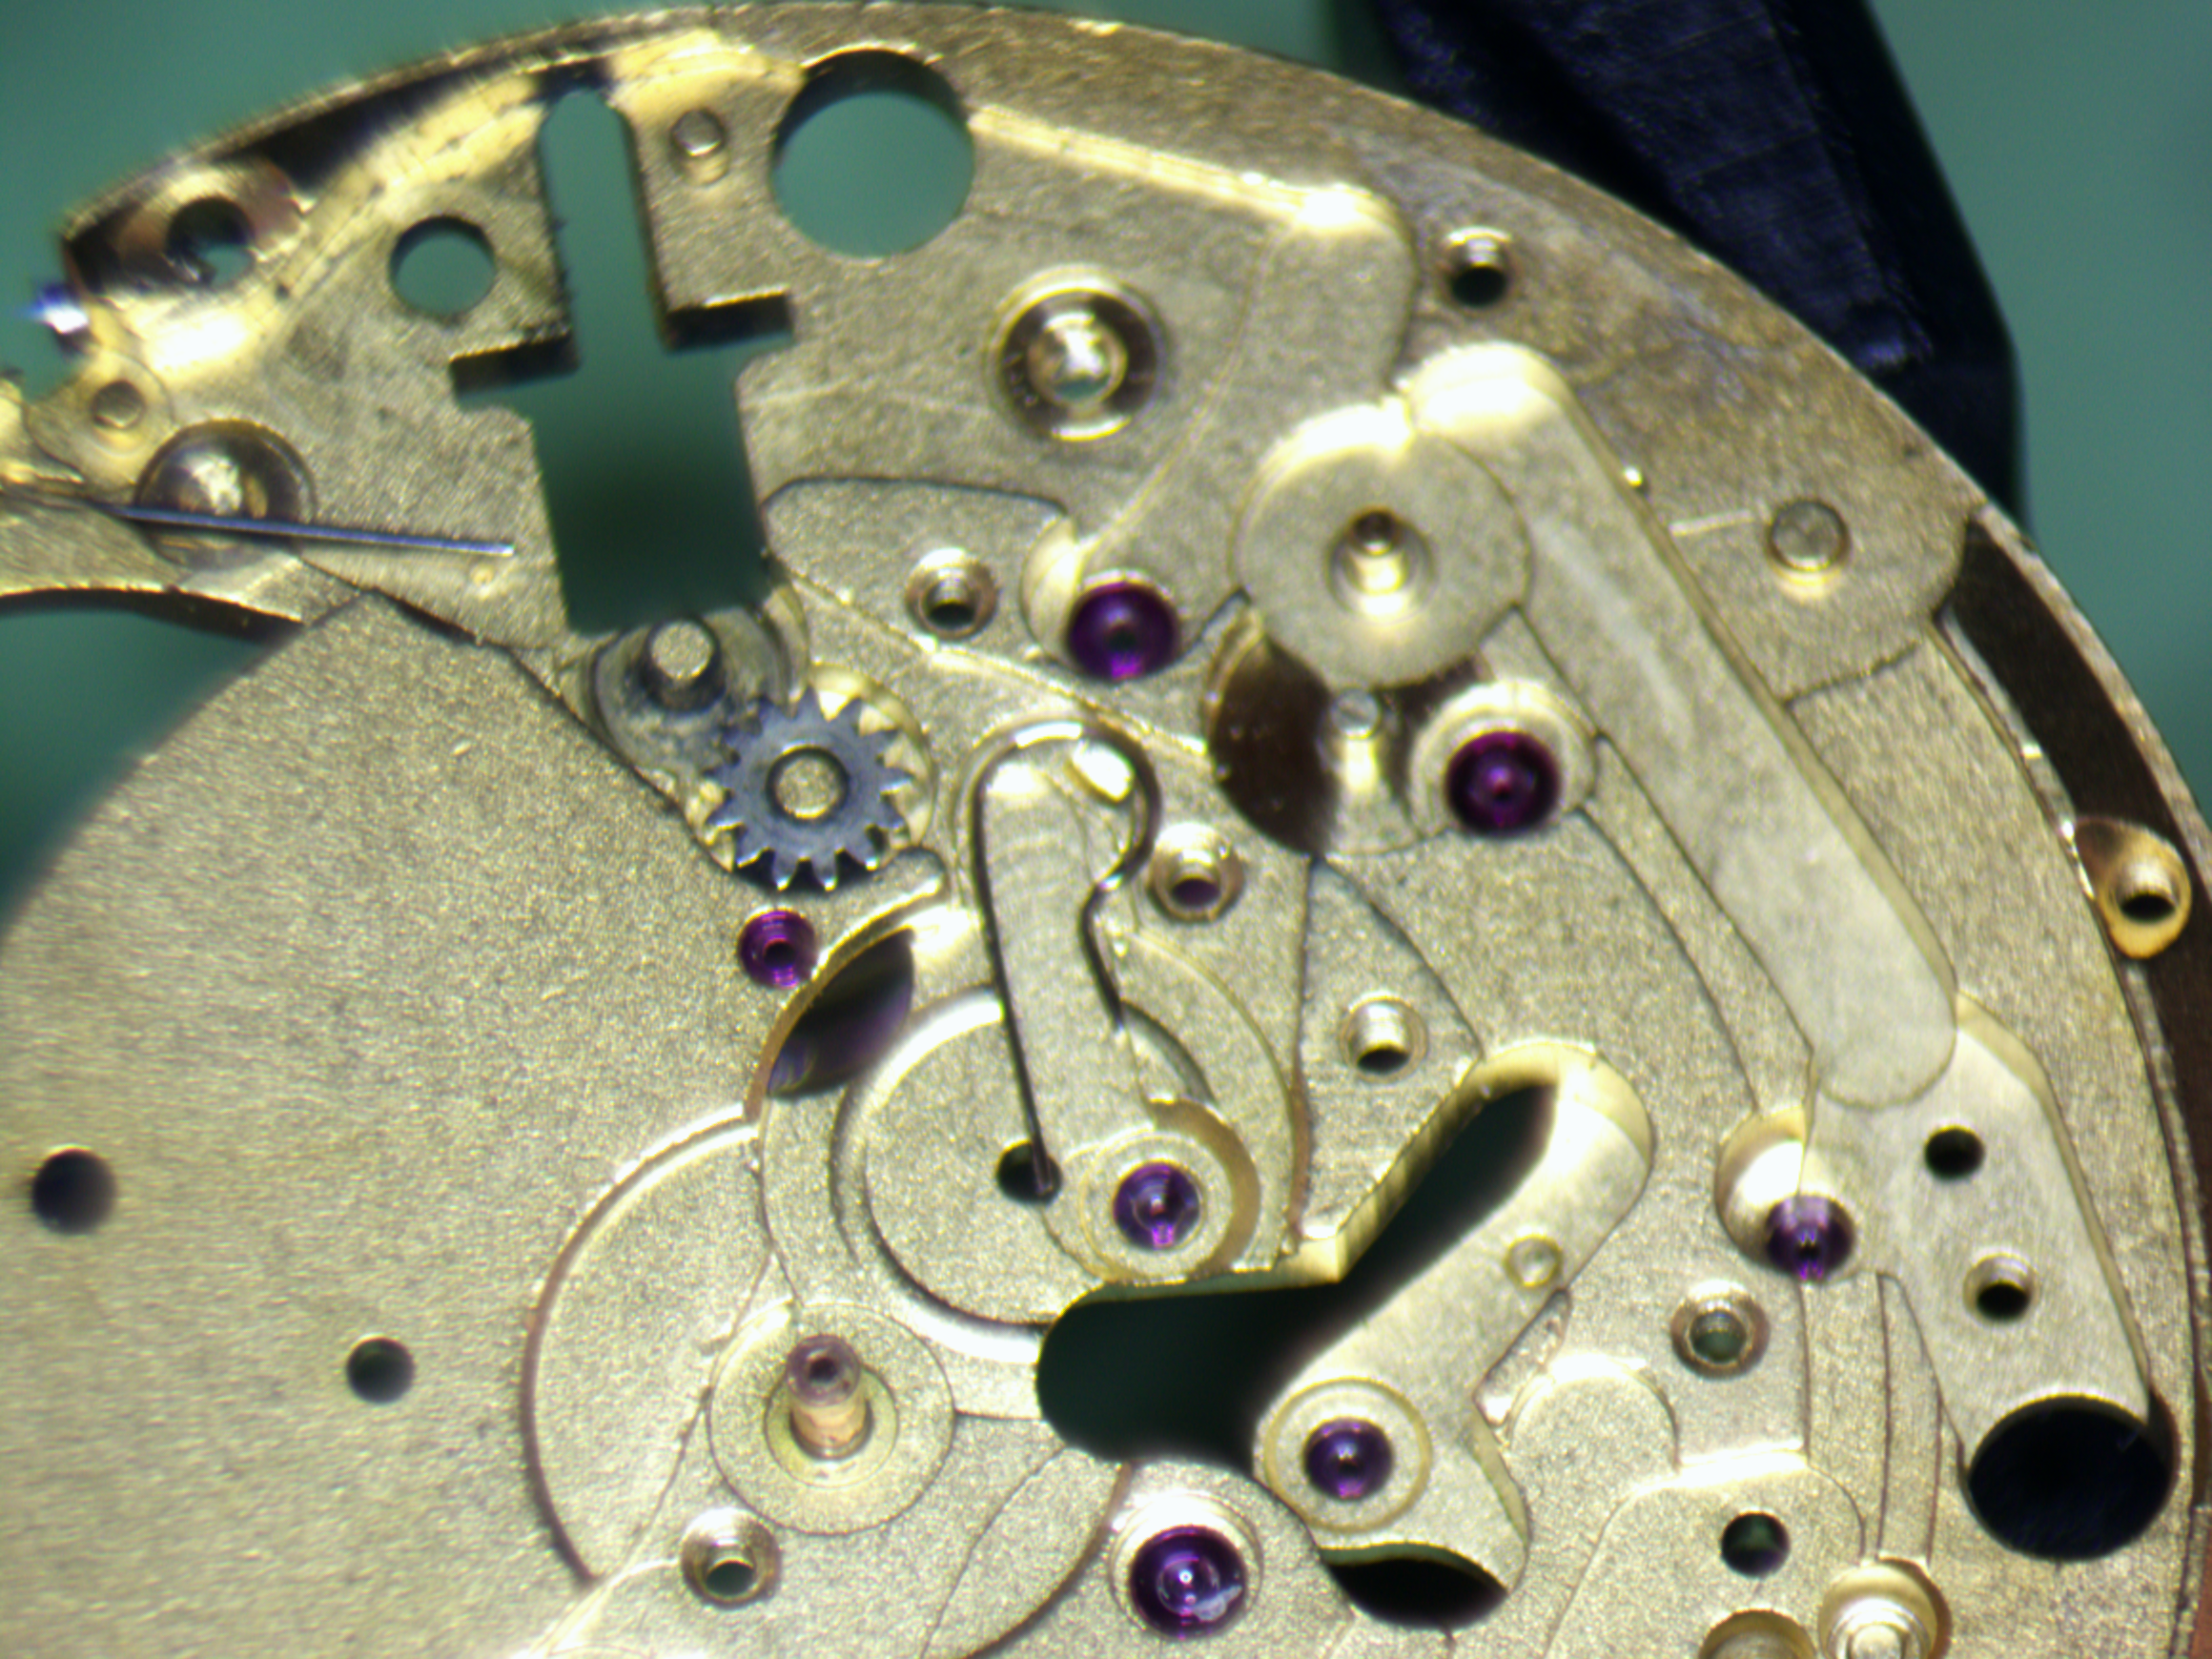
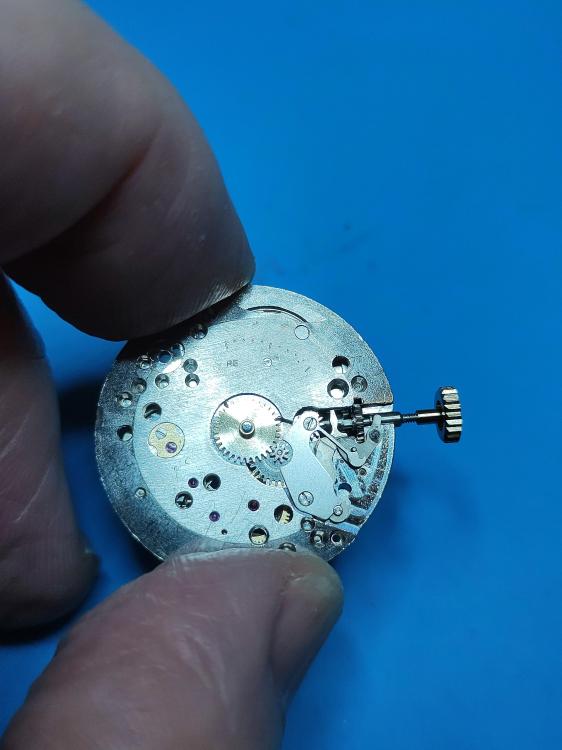
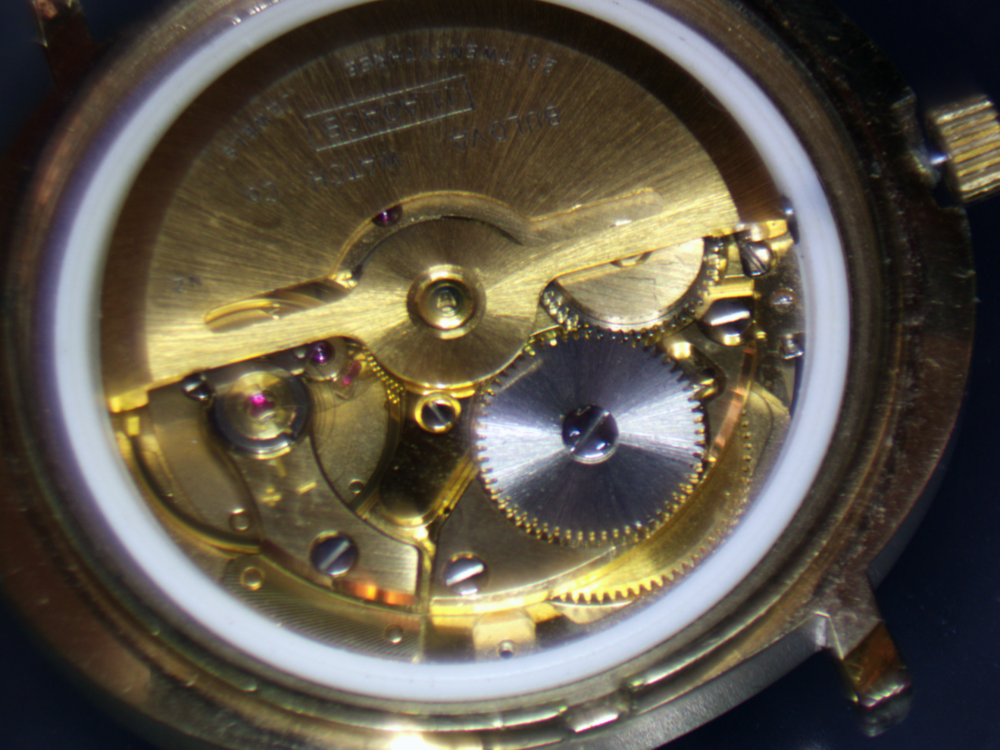
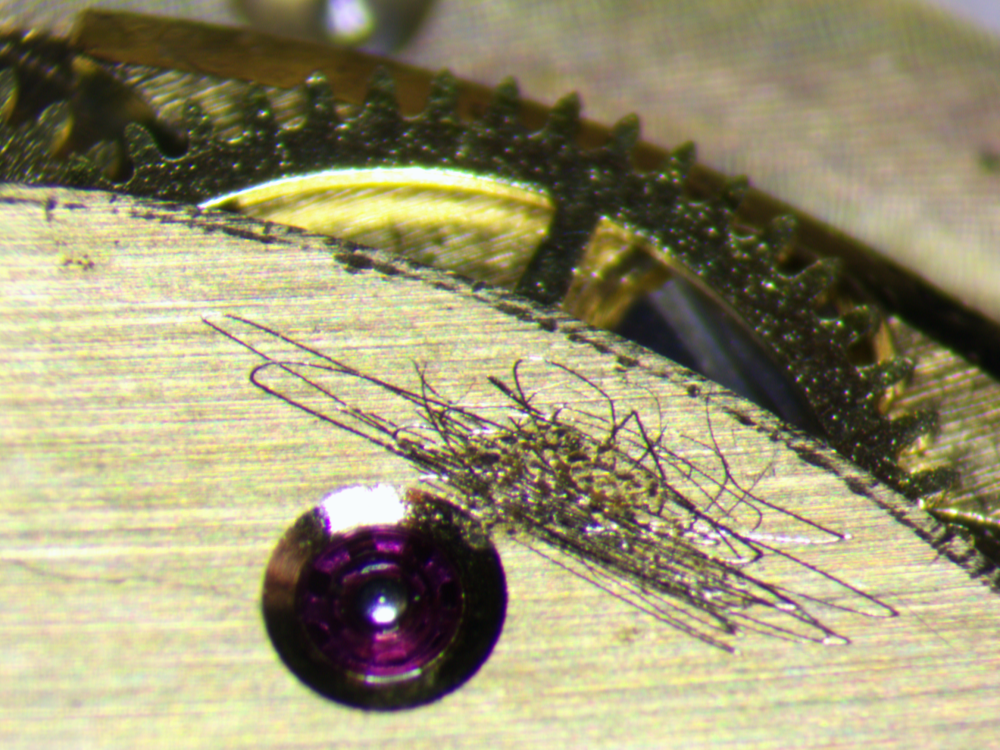
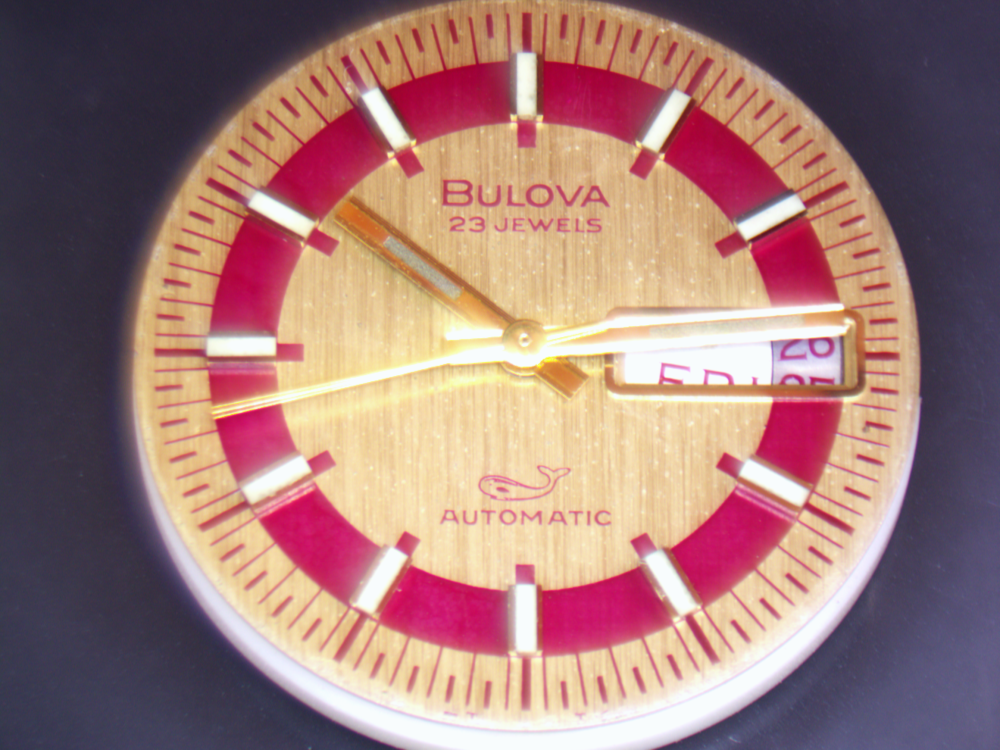
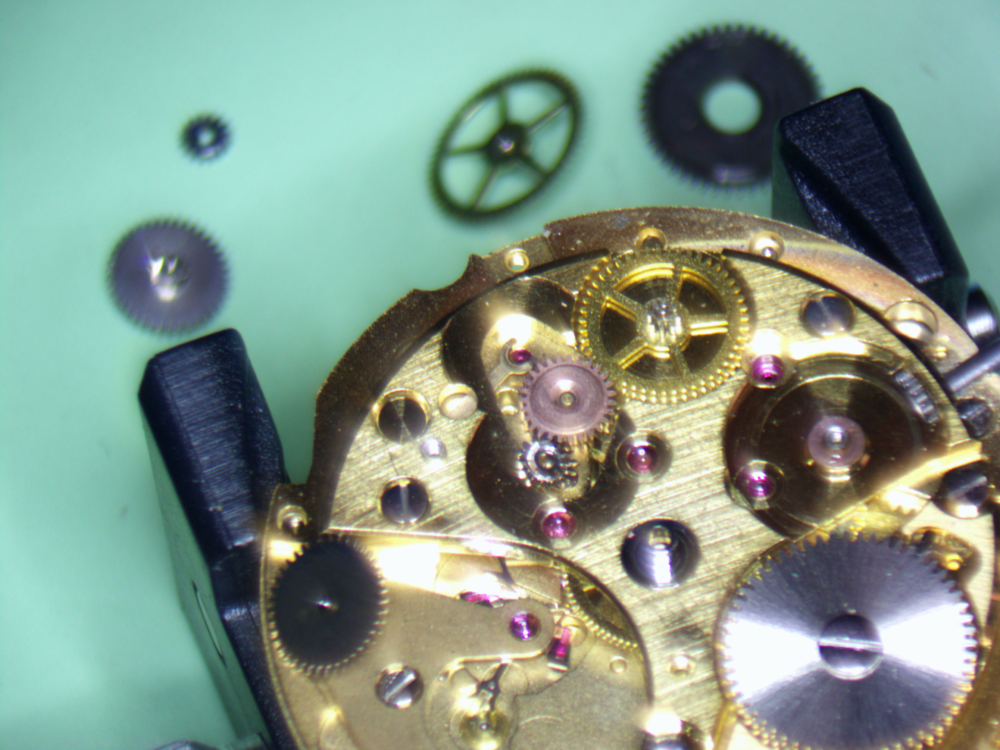
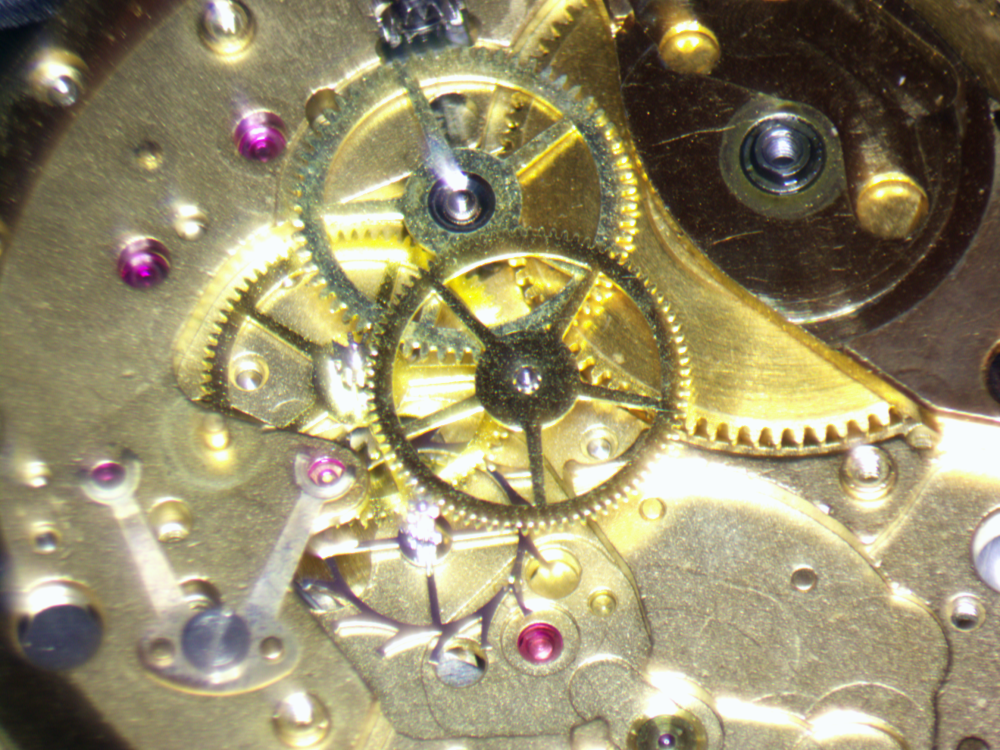
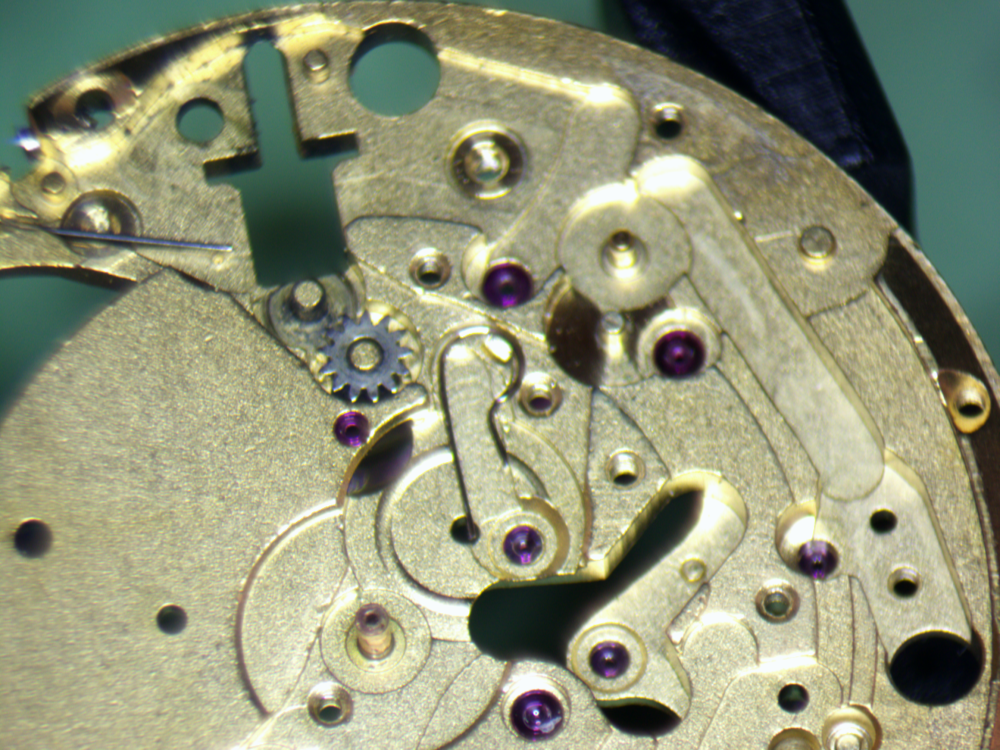
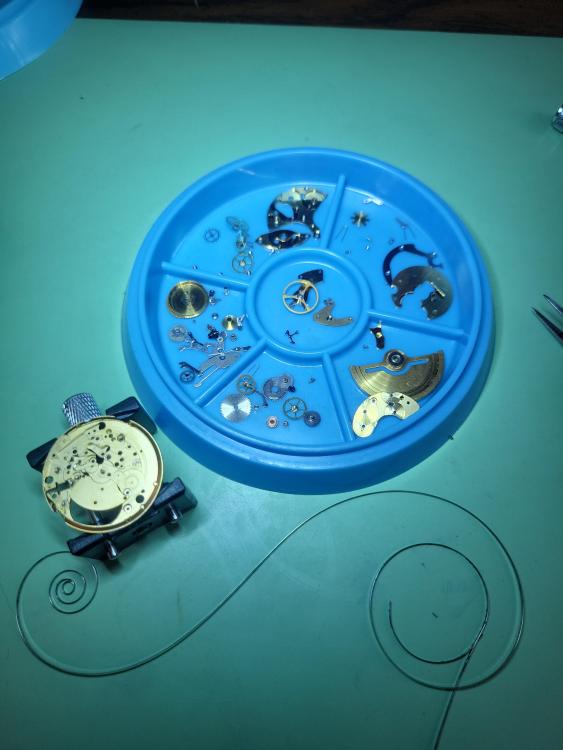
Recently picked this guy up, and took it apart for cleaning tonight. Looks super clean inside as far as wear and tear goes, but there are puddles of oil everywhere! Hopefully a good cleaning will bring the amplitude back up. I did learn that the automatic bridge is spring loaded, which you can see below in the yard sale of wheels and gears all over the place. Sorry in advance for all the pictures and if some aren't in perfect focus. I take a lot of progress pictures through my microscope, and I figure if someone is here looking for help, they might be useful to them. And this is where I stopped, since I got into the wine.


 2 points
 -
You can use bombé jewels with regular pivots if you put the convex surface facing the shoulder. You see it on (primarily older) high end pieces, particularly nearer to and including the escapement.2 points
-
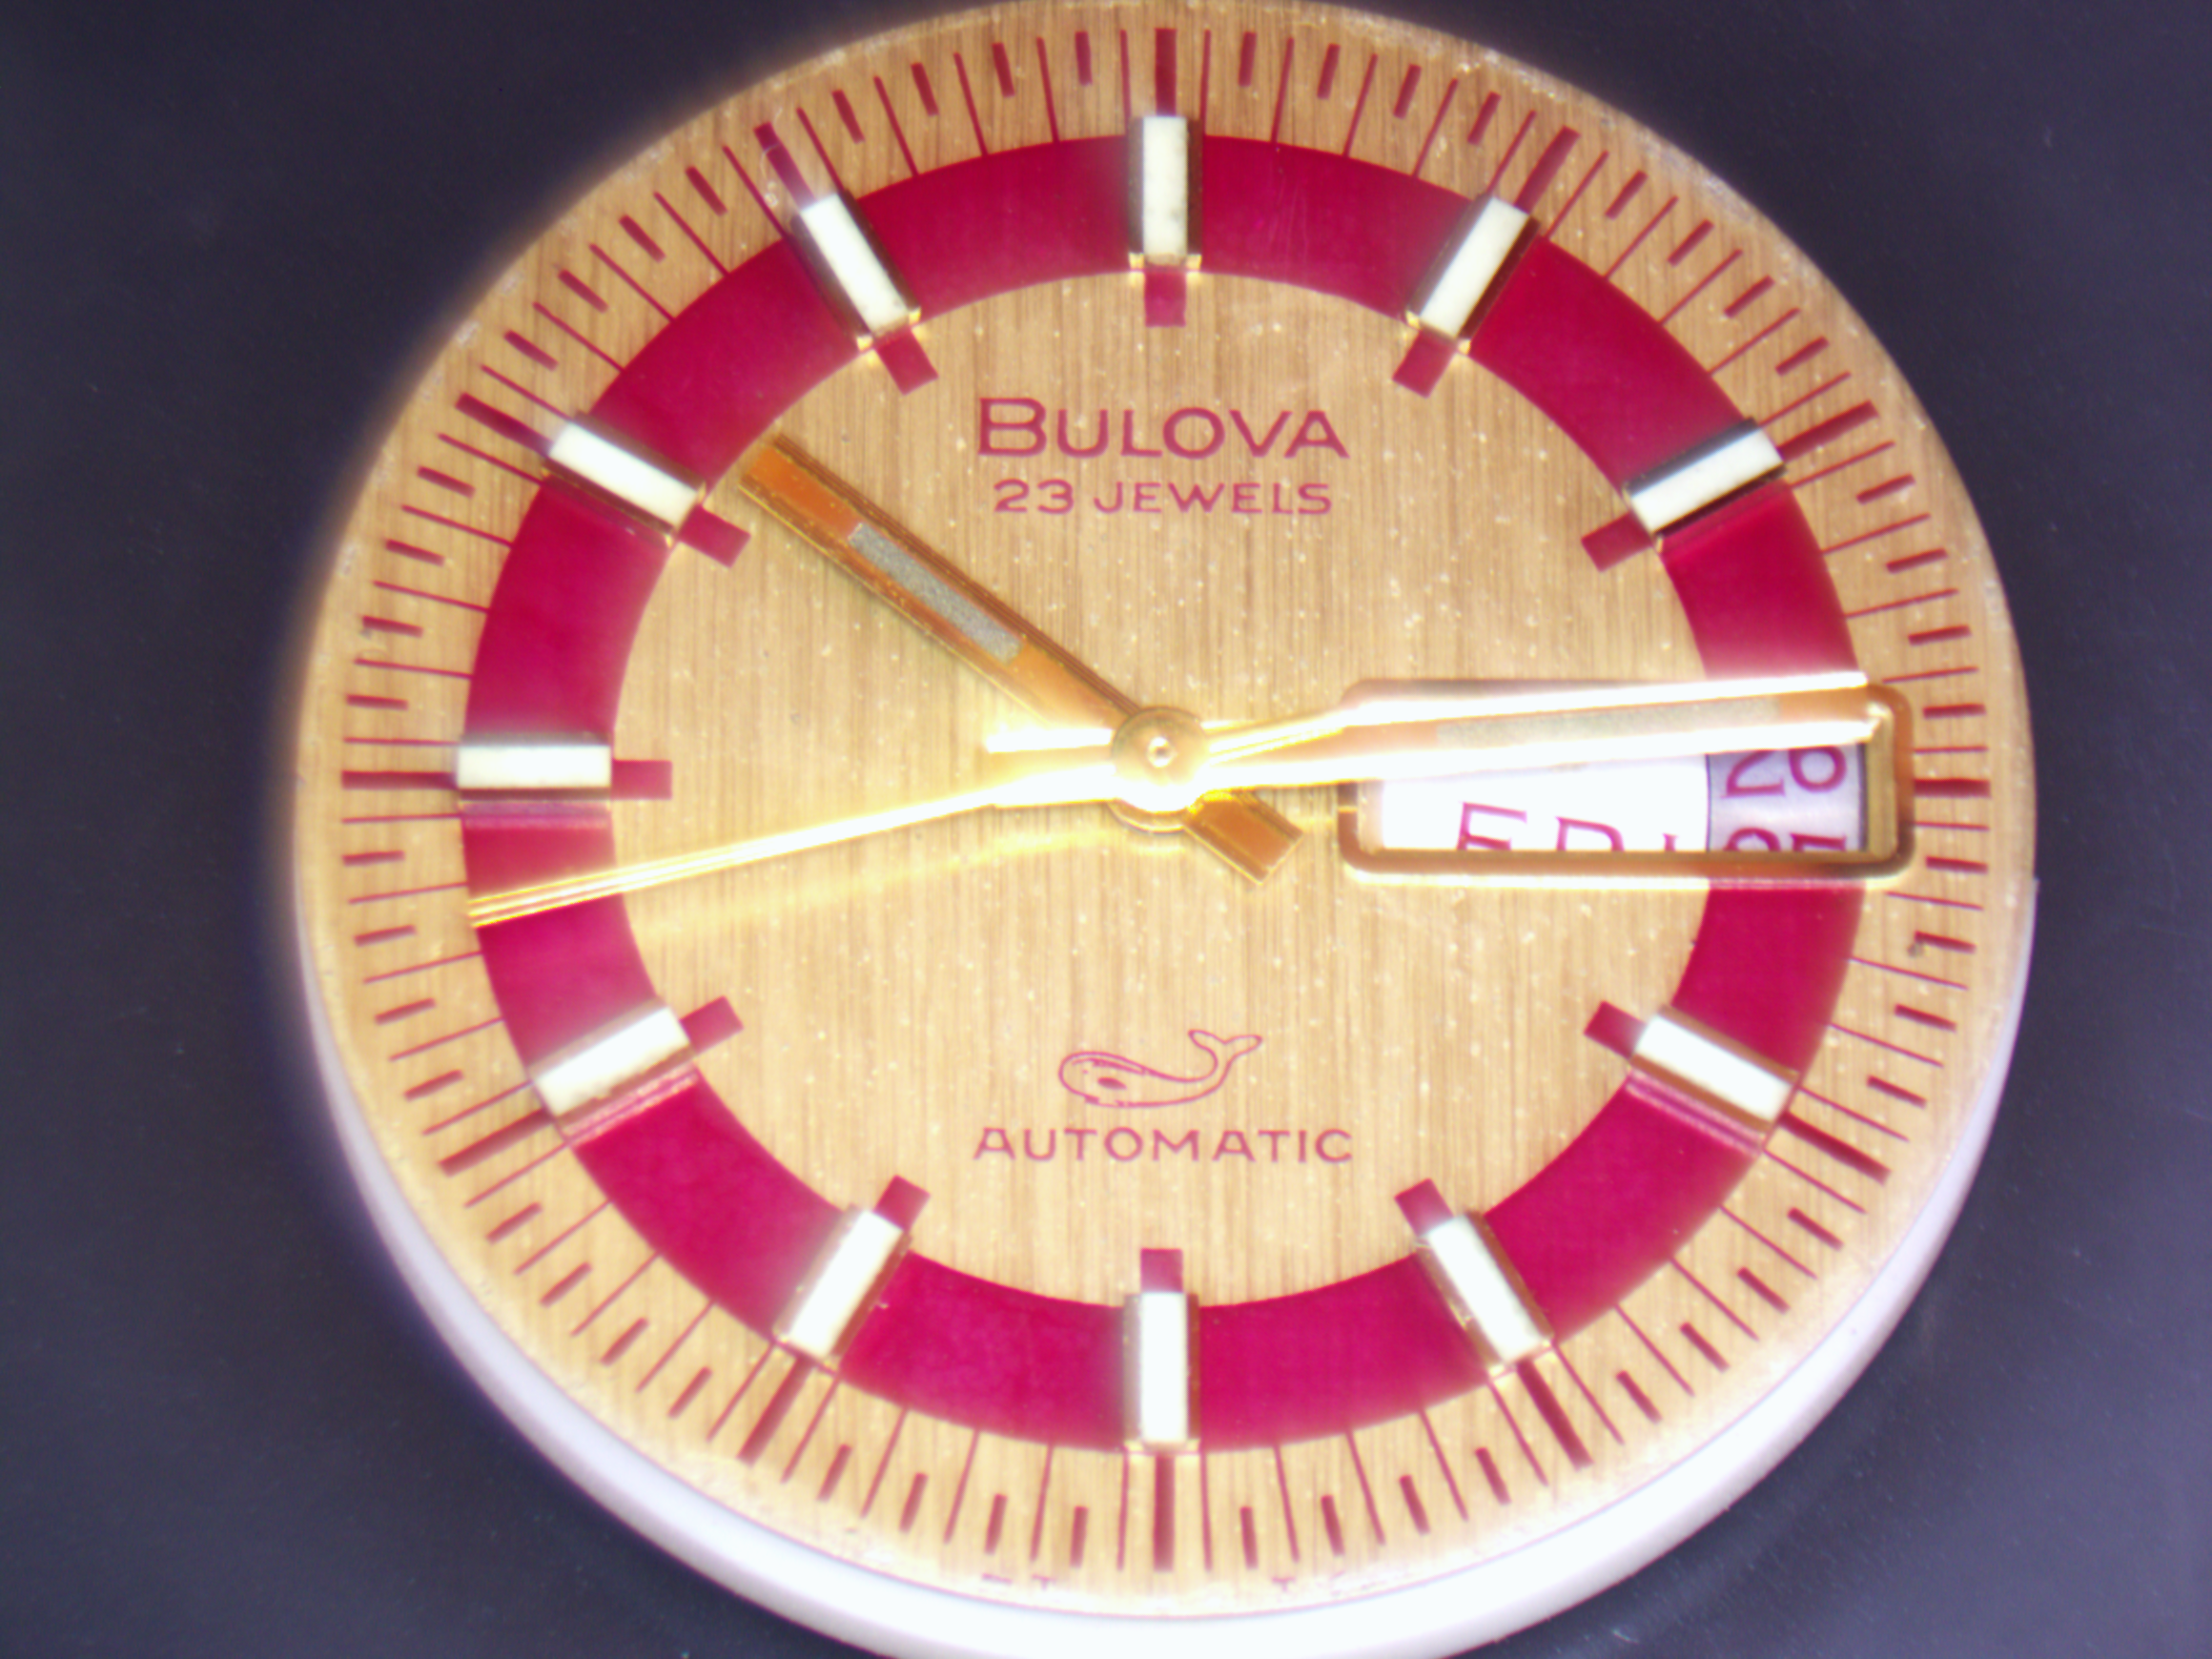
Not SS but very slight wear on the underside edges have a little brass showing under magnification. New crystal arrived £3 with tax. Nice champagne dial color.
 2 points
 -
Getting more interesting this post, innit? Mikeplilk, Waggy. Impressed with your efforts. Makes mine look amateurish. Hey, that's what I am. Still, I have good results with the 'frog'. Apprentice test piece. Paper is from https://www.ebay.co.uk/itm/234602659940?var=534248554534 I am aware that the more I delve into the DIY, the more I am gaining understanding of watchmaking. Well, a little each time. Ross2 points
-
Yes, as watch repairers we never ever use force, we use percussive persuasion!2 points
-
If you have access to a 3D printer, here is my design I did a few weeks ago:2 points
-
VWatchie makes a very important point regarding the importance of being relaxed when working on watches. It’s importance cannot be overstated. One thing I’d add is that you will sometimes find yourself unable to relax and get ‘into the zone’ for watchmaking. If you’re too stressed, angry, tired, unwell, anxious or for any other reason can’t relax and concentrate only upon what you’re doing, then walk away from the bench. This applies no matter how skilled you are. Also, we are all human, there may sometimes be a day when for no good reason you find you can’t stop making mistakes. No problem. Just walk away from the bench, stop wasting your time and risking a bad mistake. Go and do something less exacting. Best Regards, Mark2 points
-
Tips for how you can minimise the risk of pinging parts. Make sure you have a decent set of well-dressed tweezers. When you're new I'd recommend a new Dumont No.2 or Dumont No.3 (Fine Tips). Those are well-dressed from the start and don't require maintenance for many, many years unless you abuse them. Finer tips than No.3 increase the risk of pinging parts. When gripping a part never use more force than is required to hold it without dropping it. When moving the part keep the tip of the tweezers as close to the work mat as possible, and always try to minimize the distance the part needs to travel. Practice this by placing some small parts on your work mat and then moving them around to designated places on your work mat. You can also scratch up the insides of the tip of the tweezers for improved friction between the part and the tweezers as shown by Kalle Slaap here. However, be extremely careful not to overdo it as it will risk creating a gap in the tweezers. Don't ask me how I know! Relax! This is more important than anything else and something we talk too little about. Relaxing is especially important when we're doing something which we perceive as difficult like replacing a tiny, stiff spring. In those situations, we tend to become very tense and that's when disaster strikes. Relaxing physically and mentally is something we need to practice but once we get it we can say goodbye to shaky hands. You have to honestly ask yourself "Am I relaxed?" If the answer is no, close your eyes, take a deep breath, and relax. Then repeat the question until you can relax no more. Be especially watchful of your shoulders. Try to relax them as much as possible. If we don't relax watch repair can become exhausting and in the worst case can kill the interest. On the other hand, if we learn to truly relax it becomes meditative and extremely enjoyable. BTW, did I mention the importance of being relaxed when working on watches?2 points
-
I couldn't resist Ross, and have started hacking some brass I have left over from the balance holder. Construction is under way ! What lapping paper do you use ? Alex uses 6, 3, 1, and 0.5 micron. Cousins don't have 6 micron, but they have 5 (4500 grit). I have 3000 grit wet and dry, so I'm wondering if I could go from that to 3 micron, 1 micron, and 0.5 micron (is this final one really necessary ?) I need to find some glass The hardest thing was finding the parts I knew I wanted, but had no idea what they are called. I found them eventually


 2 points
 -
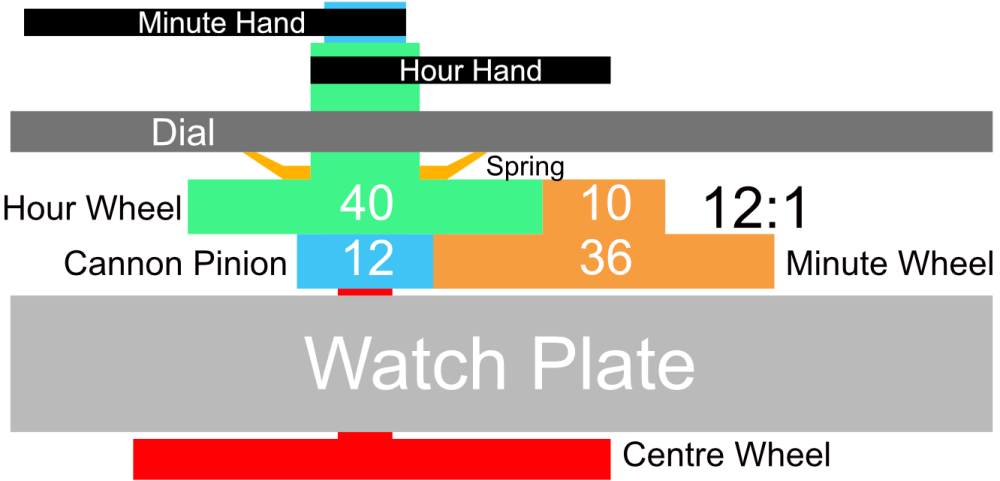
Hi All, I thought I'd draw a diagram to help me understand the motion works for an eta 6497 so I thought I'd share it here in case anyone else finds it helpful. Any corrections, please let me know! Hope it helps. Stirky.
 1 point
 -
It's pronounced "bombay" like the city. French for bomb is, , bombe, pronounced the same as in English. Bombé, bombe.1 point
-
I used green blotting paper under thick glass and a few tiny pin nails on the sides of the glass to stop it from moving. I also had wood beading all around my bench to stop things rolling off.1 point
-
Hello and welcome to the forum. Attached a bit of reading for you TZIllustratedGlossary.pdf1 point
-
Have you looked here. https://moleroda.com/radial-wheels-for-cleaning-and-polishing/1 point
-
Thank you for your introduction and welcome to this friendly forum. We all look forward to your contributions and continued involvement.1 point
-
Good job! Wear it well.. .1 point
-
sometimes the barrel bridge is rubbed too, causing more movement, I assume as said above the setting lever is like new? you can get a small chuck to hold it in your Dremel like you said fine abrasive/grit, might be difficult to keep even, good luck anyway......1 point
-
I thought Bill wore the Bill gates watch.
 1 point
 -
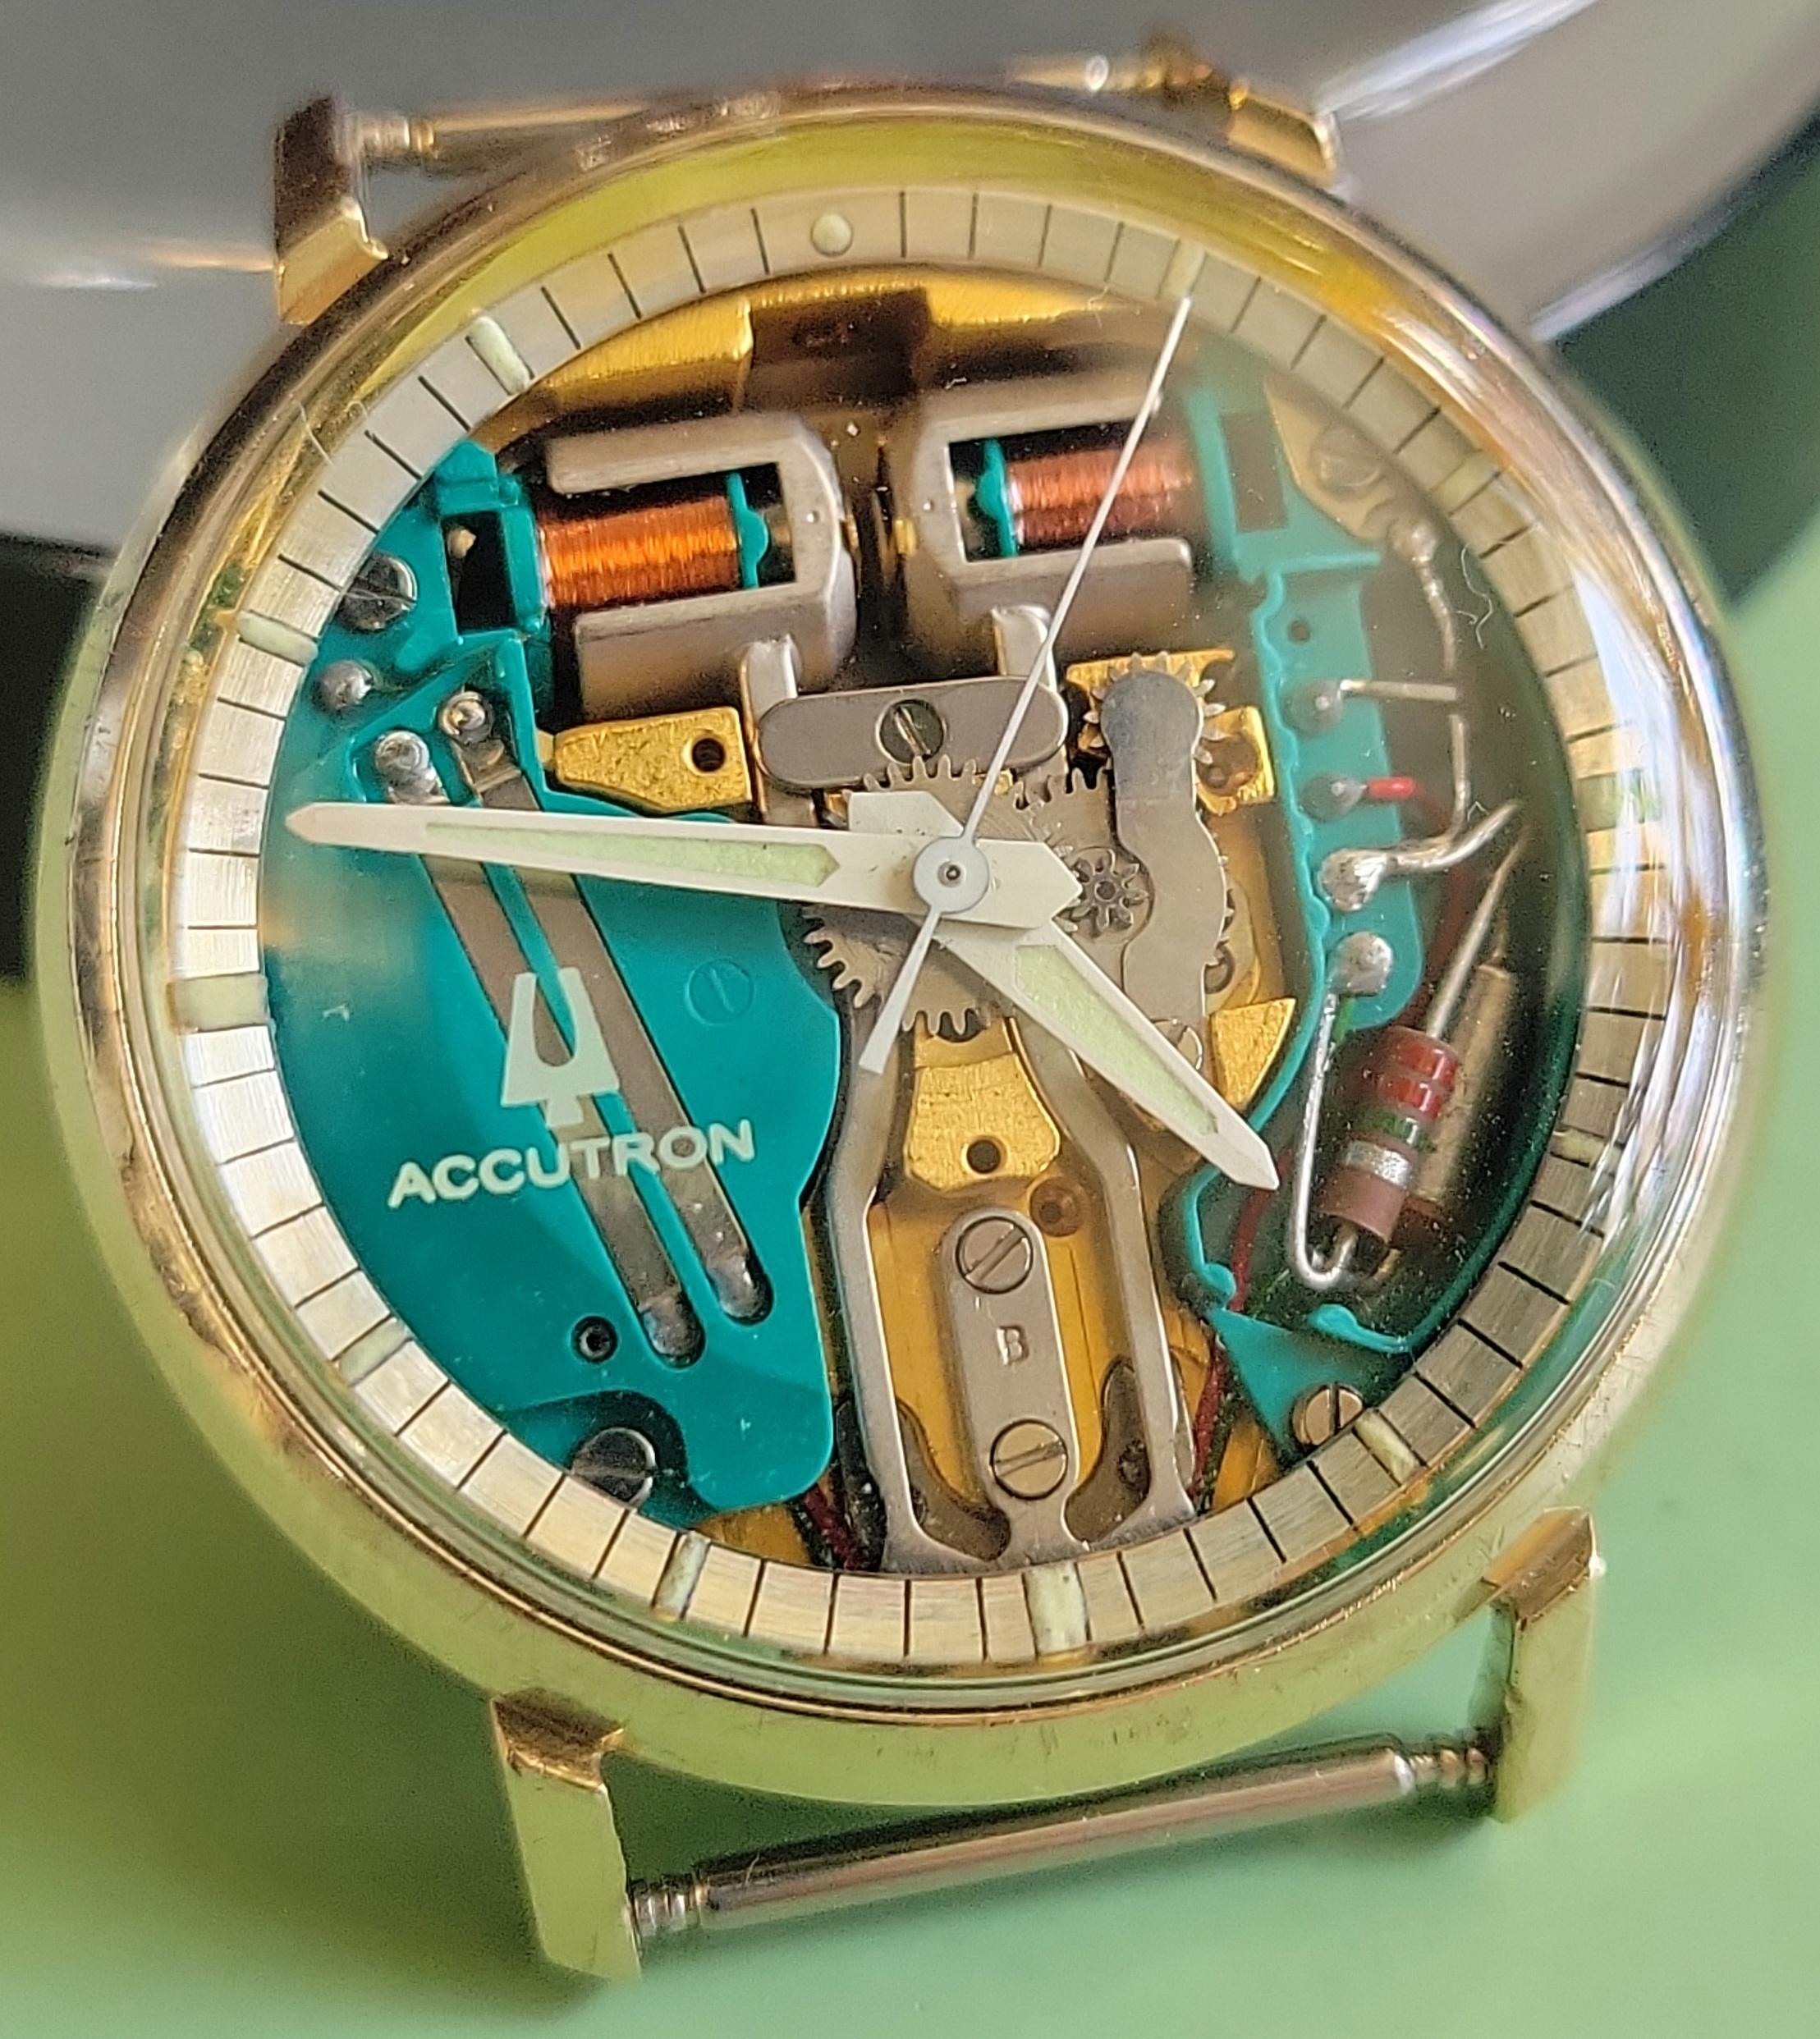
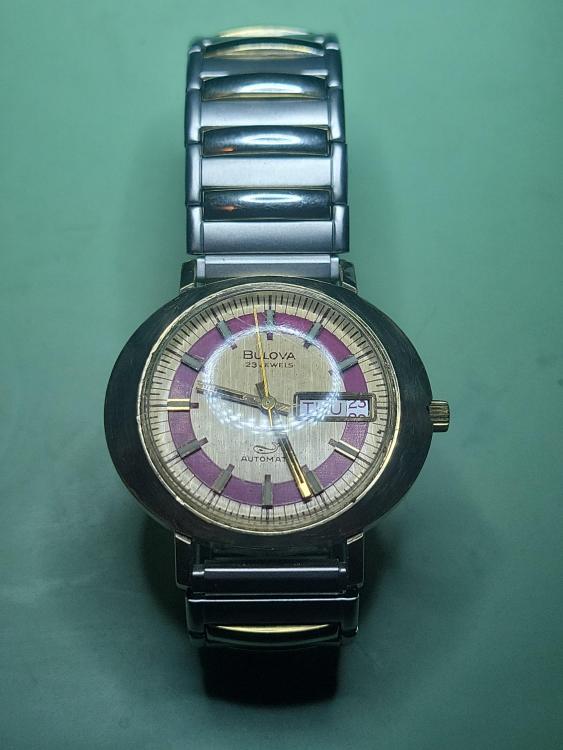
I EXTREMELY carefully pressed the seconds hand firmly back on, so fingers crossed. While I had it apart, I took the opportunity to press the Spaceview crystal back in, and I have a vintage Caravelle rally strap on its way to me. I do not get tired of how beautiful this watch is.
 1 point
 -
I recognize myself all too well. It takes a lot of experience and discipline to recognize when it's time to cancel and come back at a later time. Very well said! We should have a forum dedicated to this topic as it is critical to achieve success when working on watches. It's a lot more important than most other things related to watch repair. And yes, just a short break can make a world of difference!1 point
-
I had a box of extremely thin brass wire which I used to hang clock parts by when using lacquer. That will be ok for what you want just google very fine brass wire.1 point
-
OK, but first what is the reason why the stem You have 'keeps pulling out'? Is it wear of the setting lever, the retaining screw/hole, the hole in the plate for the stem? Is there a danger that if You reduce the 'hub' diameter, the new stem will start pulling out too? Yes, the hub diameter can be reduced not using lathe, just pin vice and good hand grinding tool needed, but some dexterity and skill needed too for good result.1 point
-
I find this especially true when working on hairsprings. After a while of concentrating so hard, you tense up. Many times I have then just pushed on to finish the final tweak - with disastrous results. I now know to step away and relax before continuing.1 point
-
I tried all sorts. I find the silicone mats too soft and springy, and the green hobby cutting mats too hard. I found the best (and cheapest) option is to use an offcut from some vinyl flooring. It has just the right amount of 'give', and is wipe clean
 1 point
 -
Good idea for small items. Alex uses the stump for larger objects. Same principle with shellac though.1 point
-
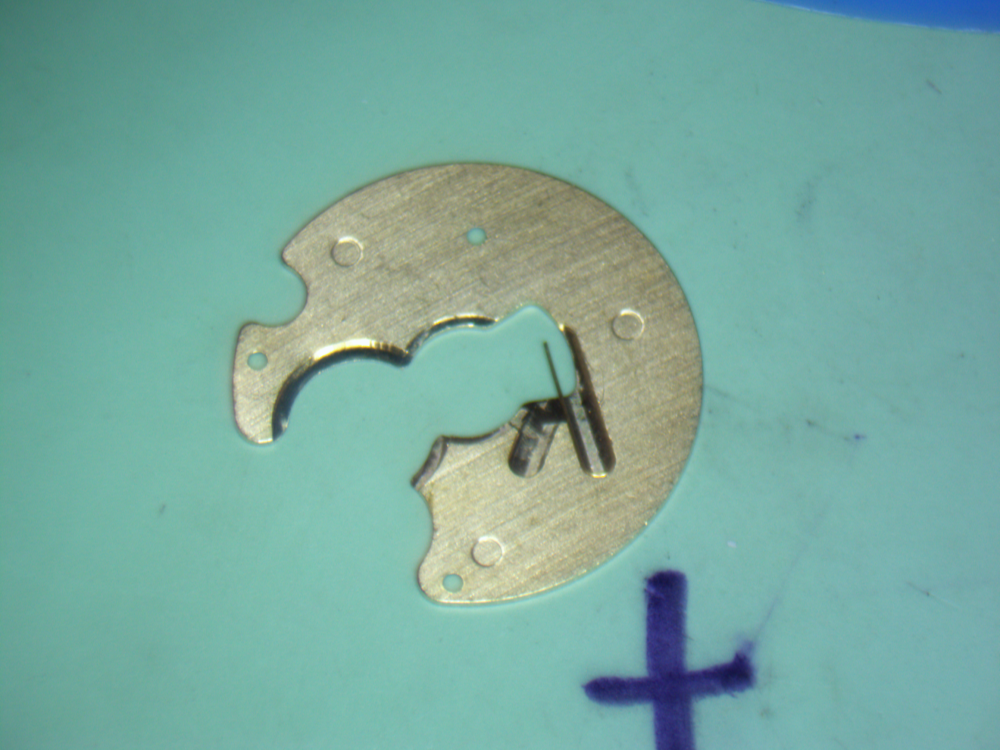
That's how I did it until I saw Kalle Slaap's video. As @ifibrinpoints out, if the plate isn't flat, it can be difficult to sit it on a flat stump, and get the punch exactly centred. I had this problem and ended up with the created chamfer not being symmetrical. Using the two punches makes it much easier to get the plate and punches perpendicular, and the punches centred in the hole. As @praezis points out, there is a danger of increasing vertical play, but this shouldn't usually be a problem. The pic shows one I just did, with the chamfer arrowed, being much less than the width of the arbor shoulder.
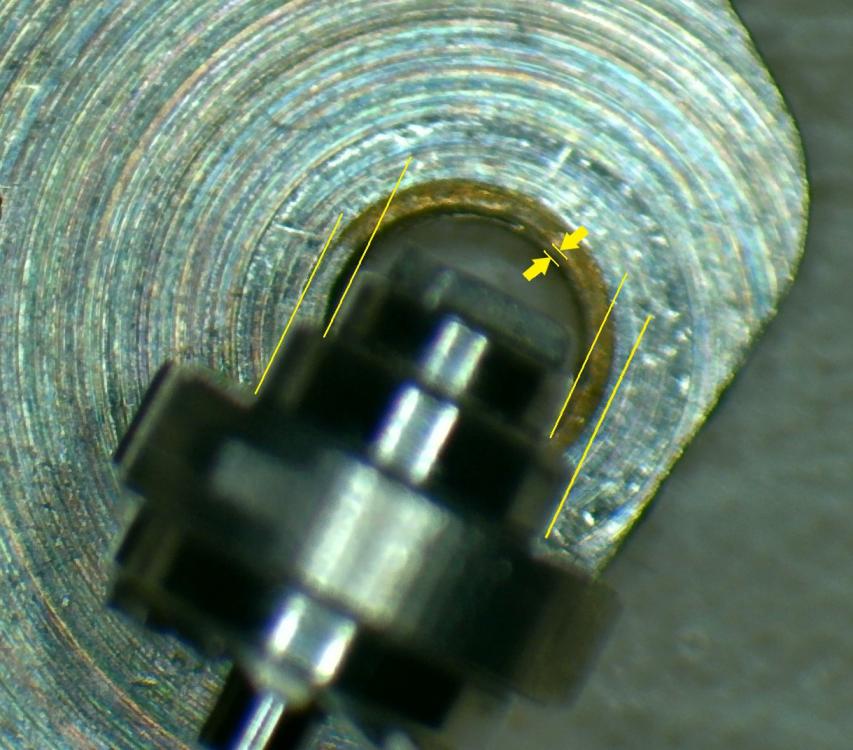 1 point
 -
If you are careful I don't think this is so. If you only deform a little at the edge of the hole, the 'shoulder' on the top of the arbor is wide enough to press on the flat surface of the bridge. I closed a hole in a barrel bridge this afternoon, and just put it under the microscope to check that the vertical play is not affected. And for the movement I'm working on, the bridge is far too thin to bush - at least for my tools/experience.1 point