Leaderboard


Popular Content
Showing content with the highest reputation on 05/07/24 in Posts
-
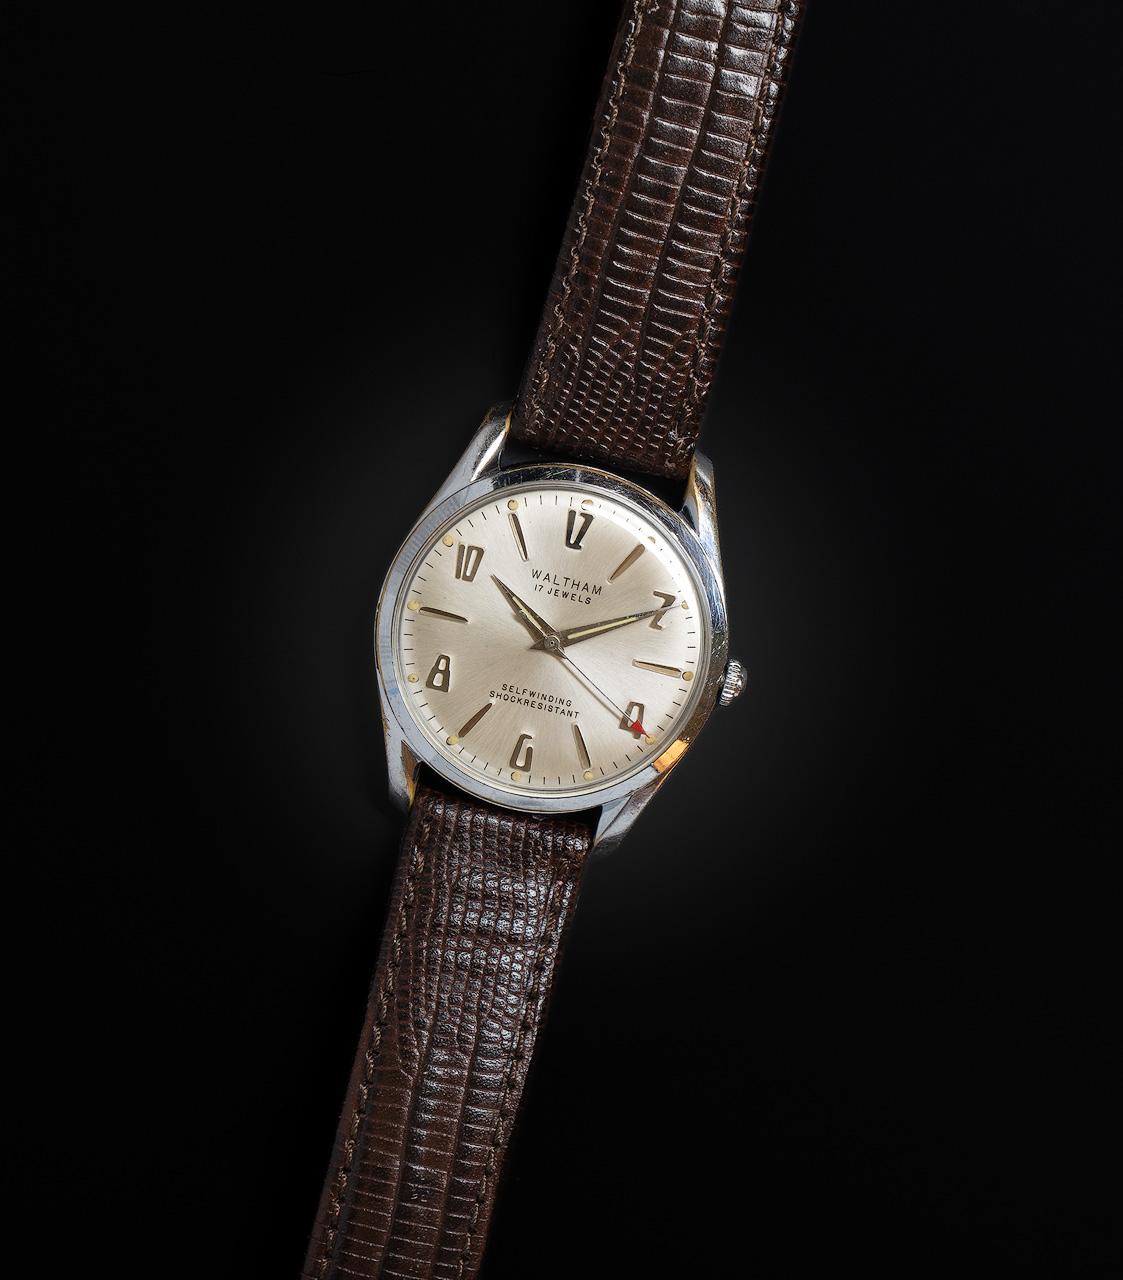
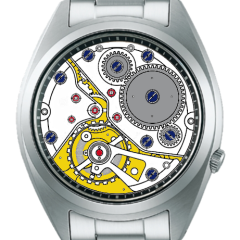
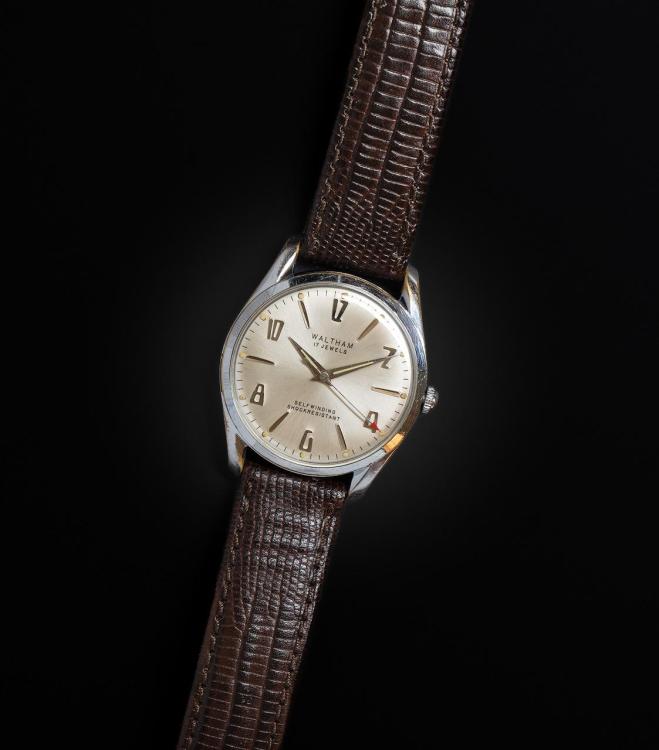
My newest 404 candidate, a late '60's / early '70's Waltham with a UTC 33 / Seiko 6601 17 jewel automatic movement. It needed a new crystal and I put on a strap from my Strap Graveyard. The timegrapher was a snow storm before servicing but it cleaned up nicely. I really like the funky font used for the hour markers.
 2 points
 -
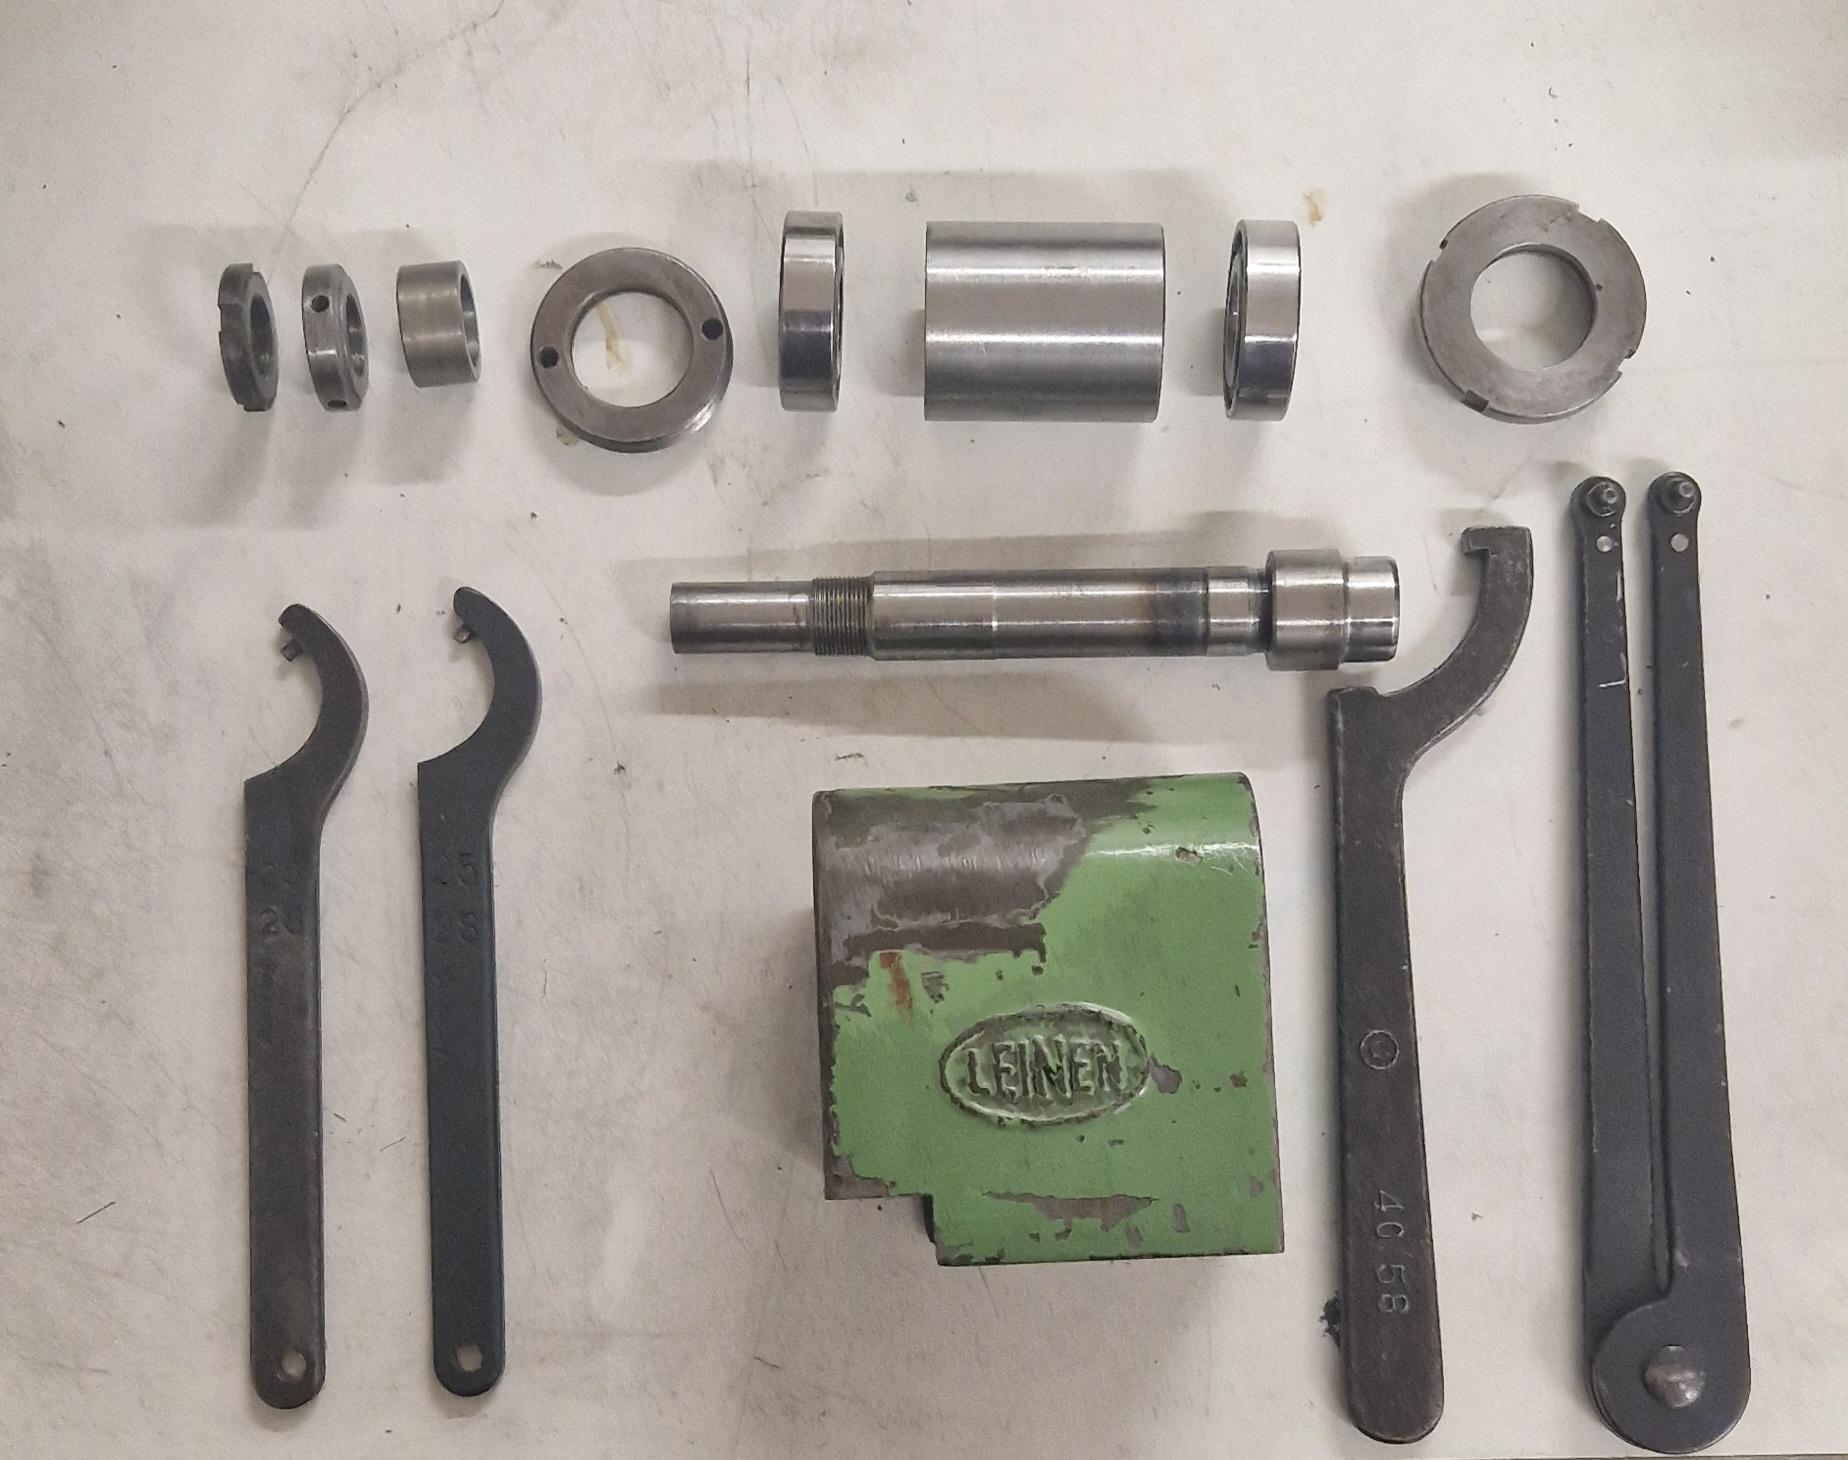
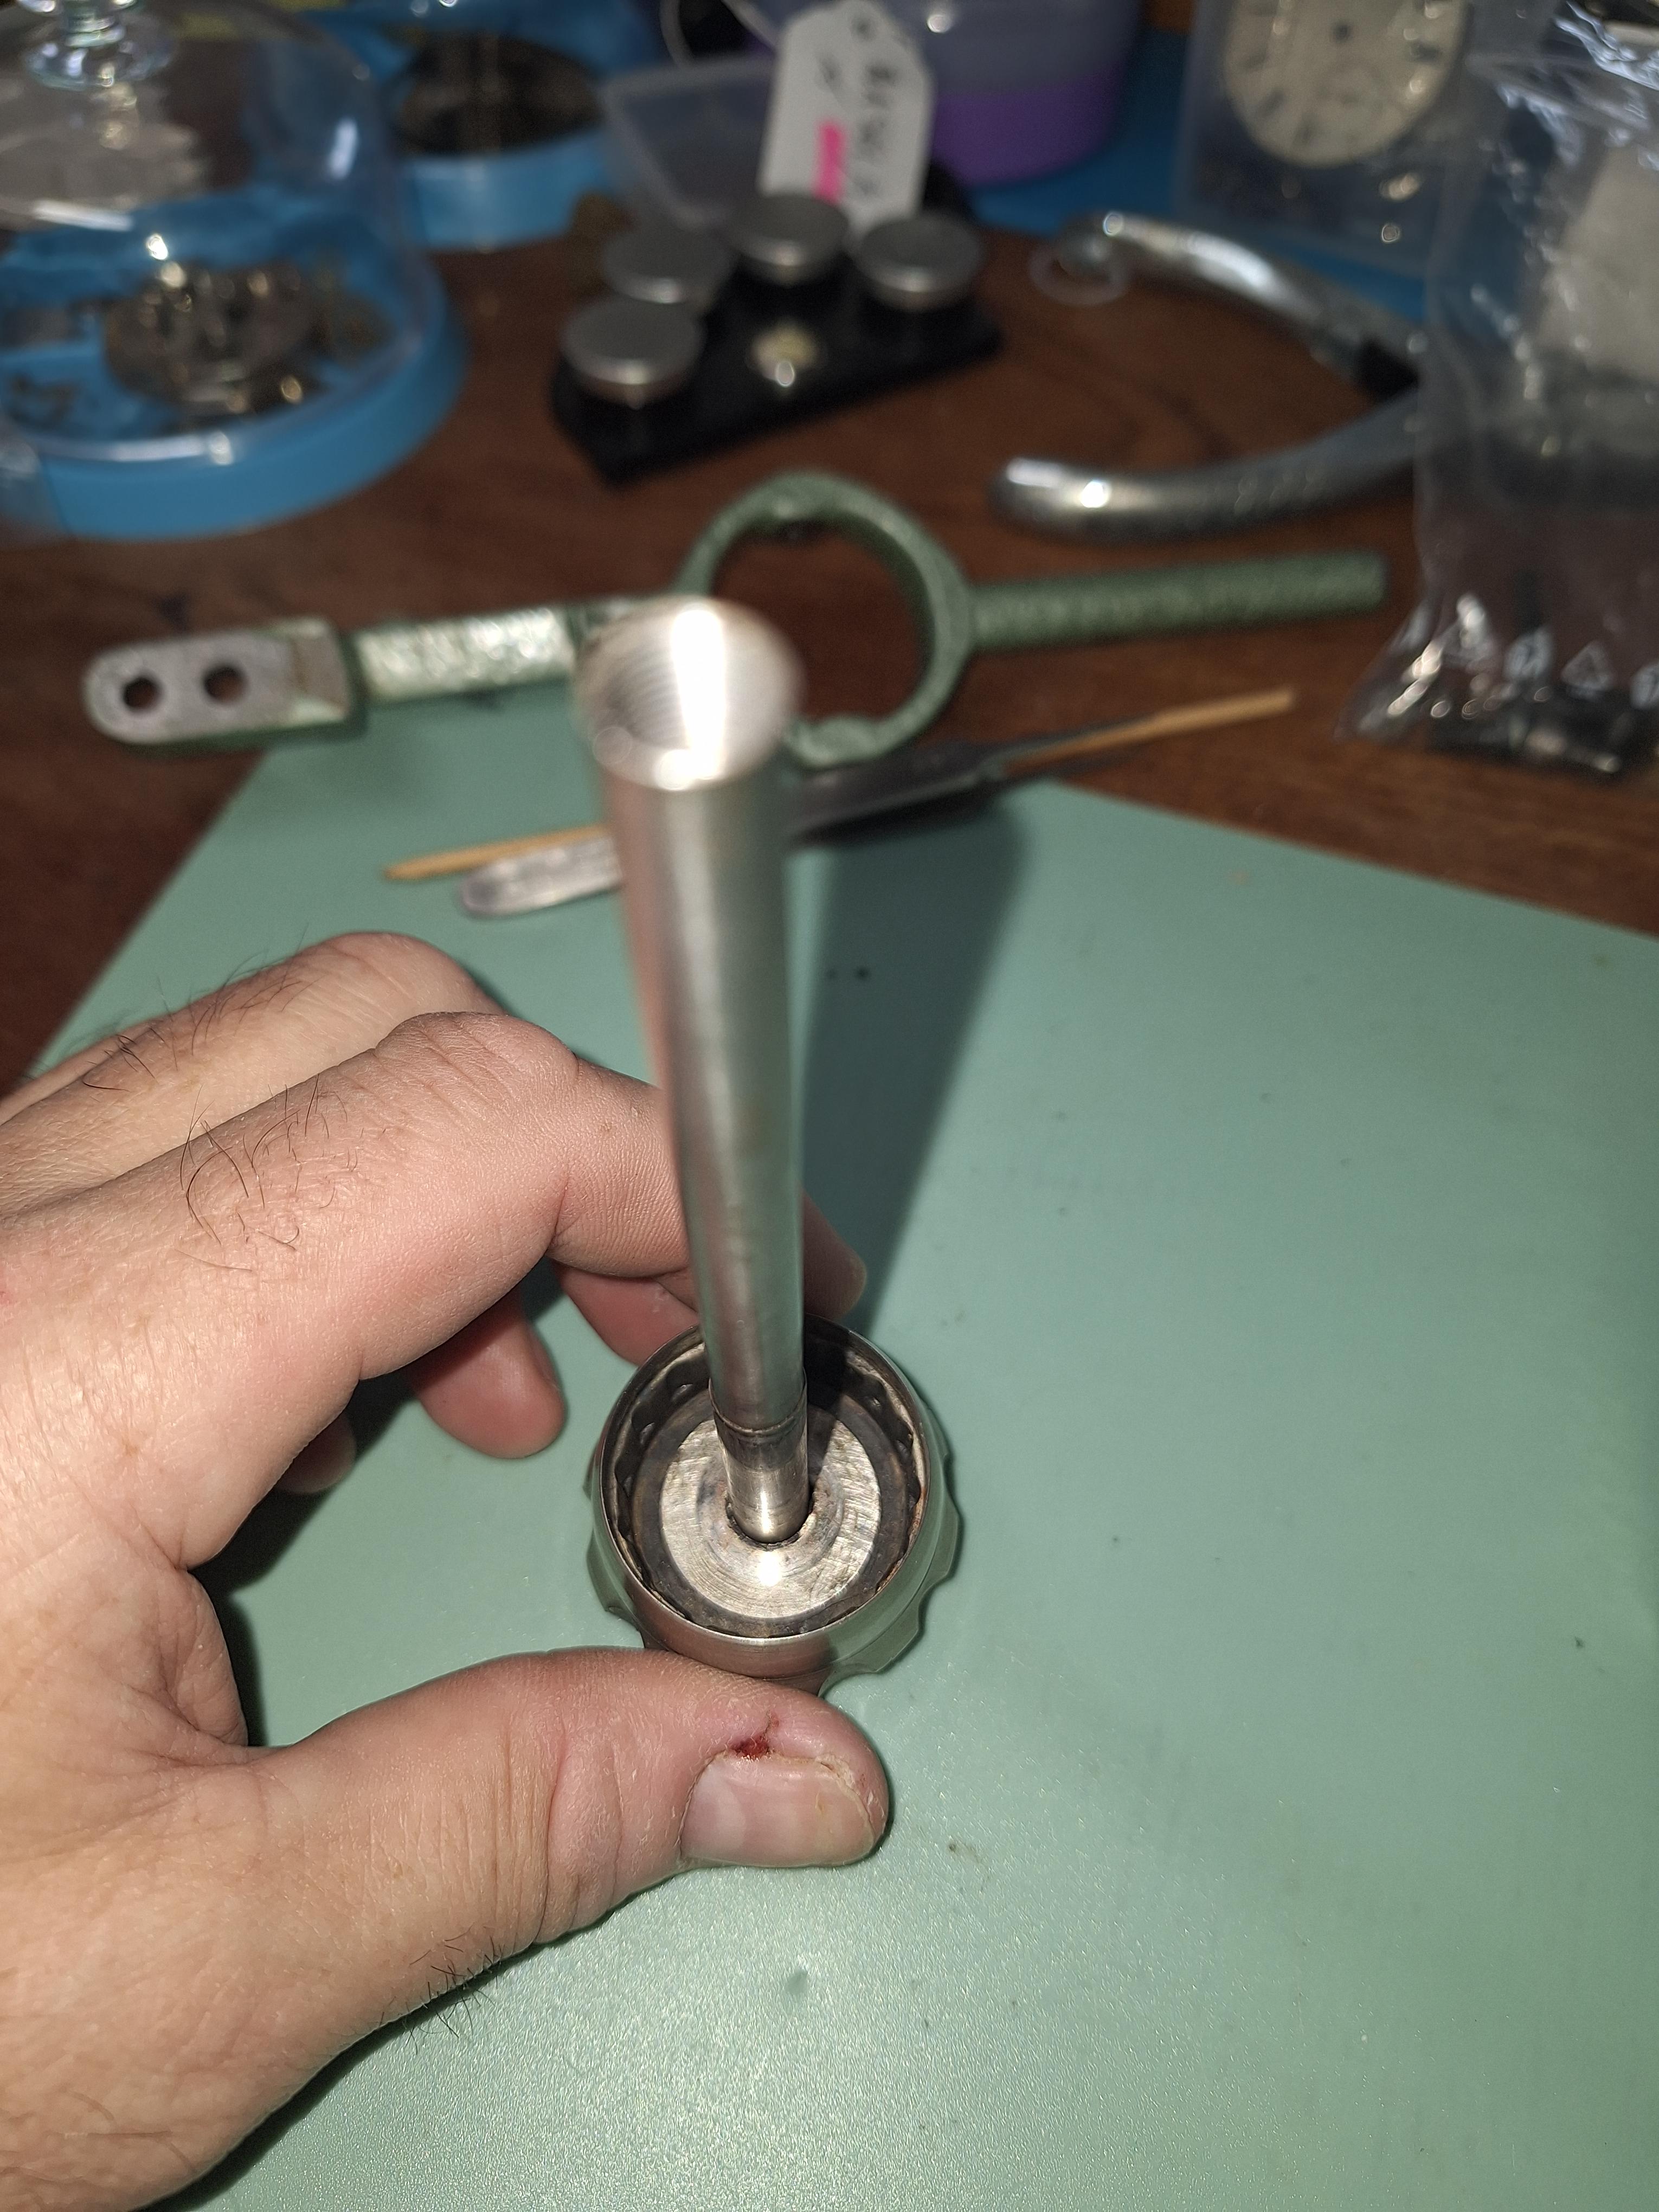
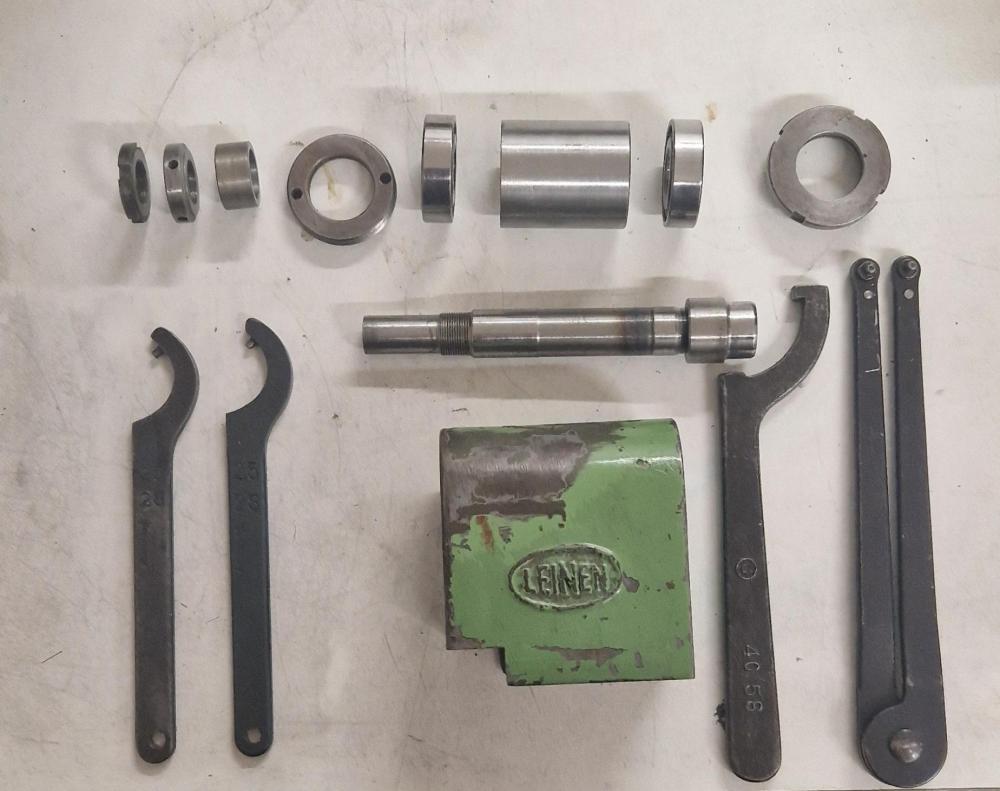
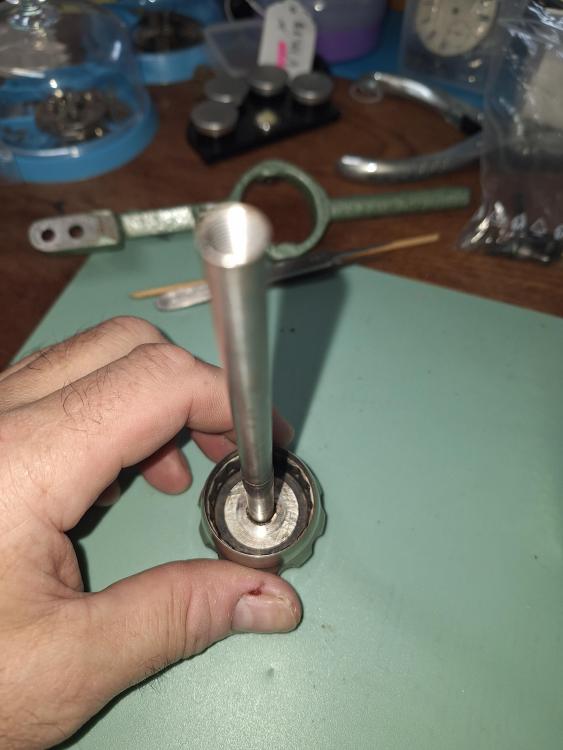
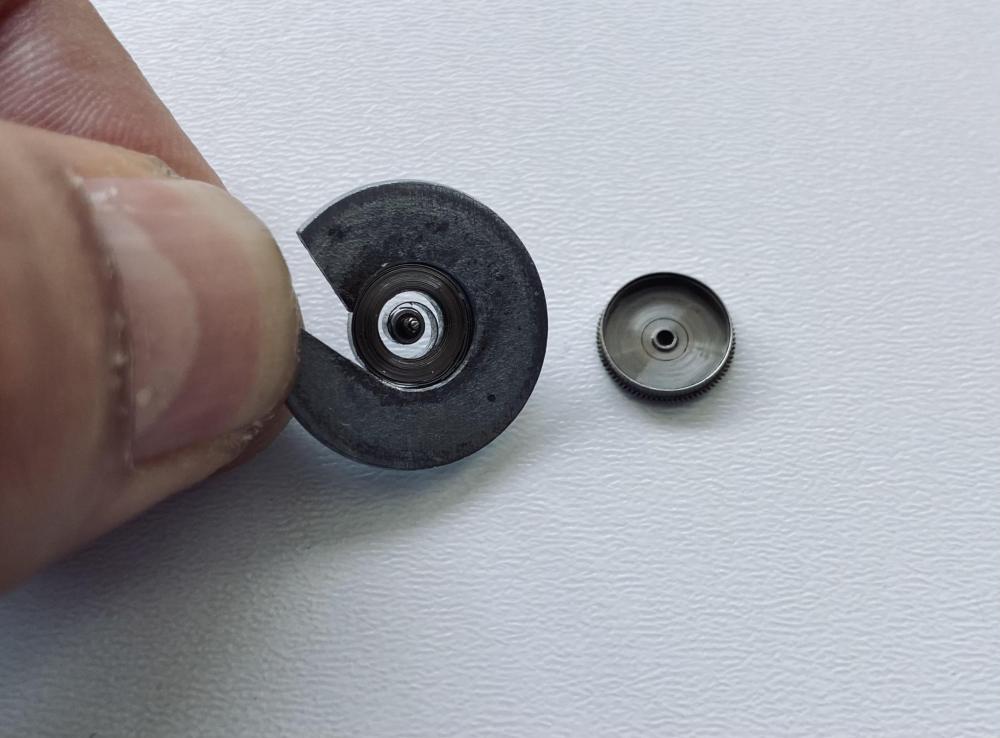
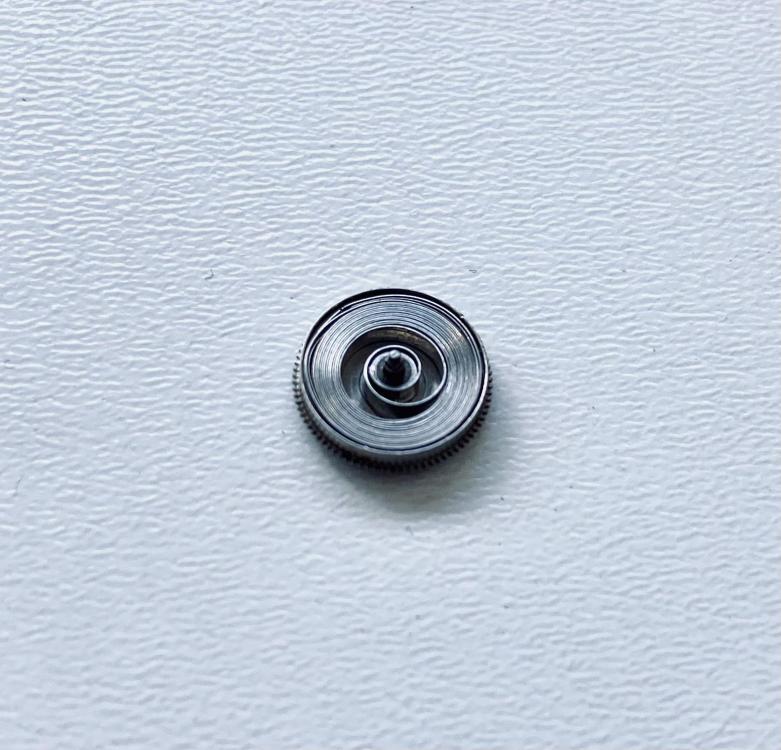
I have only been in one head with the lever closer, and that was a long time ago, but I don't recall anything attached there. Does it function? I have an old ratty head I pulled apart to give an exploded view, with the tools necessary to take it apart. You can see the large spacer, then the small inner spacer I made in the other pics (standing up with the large one, and on the spindle).

 2 points
 -
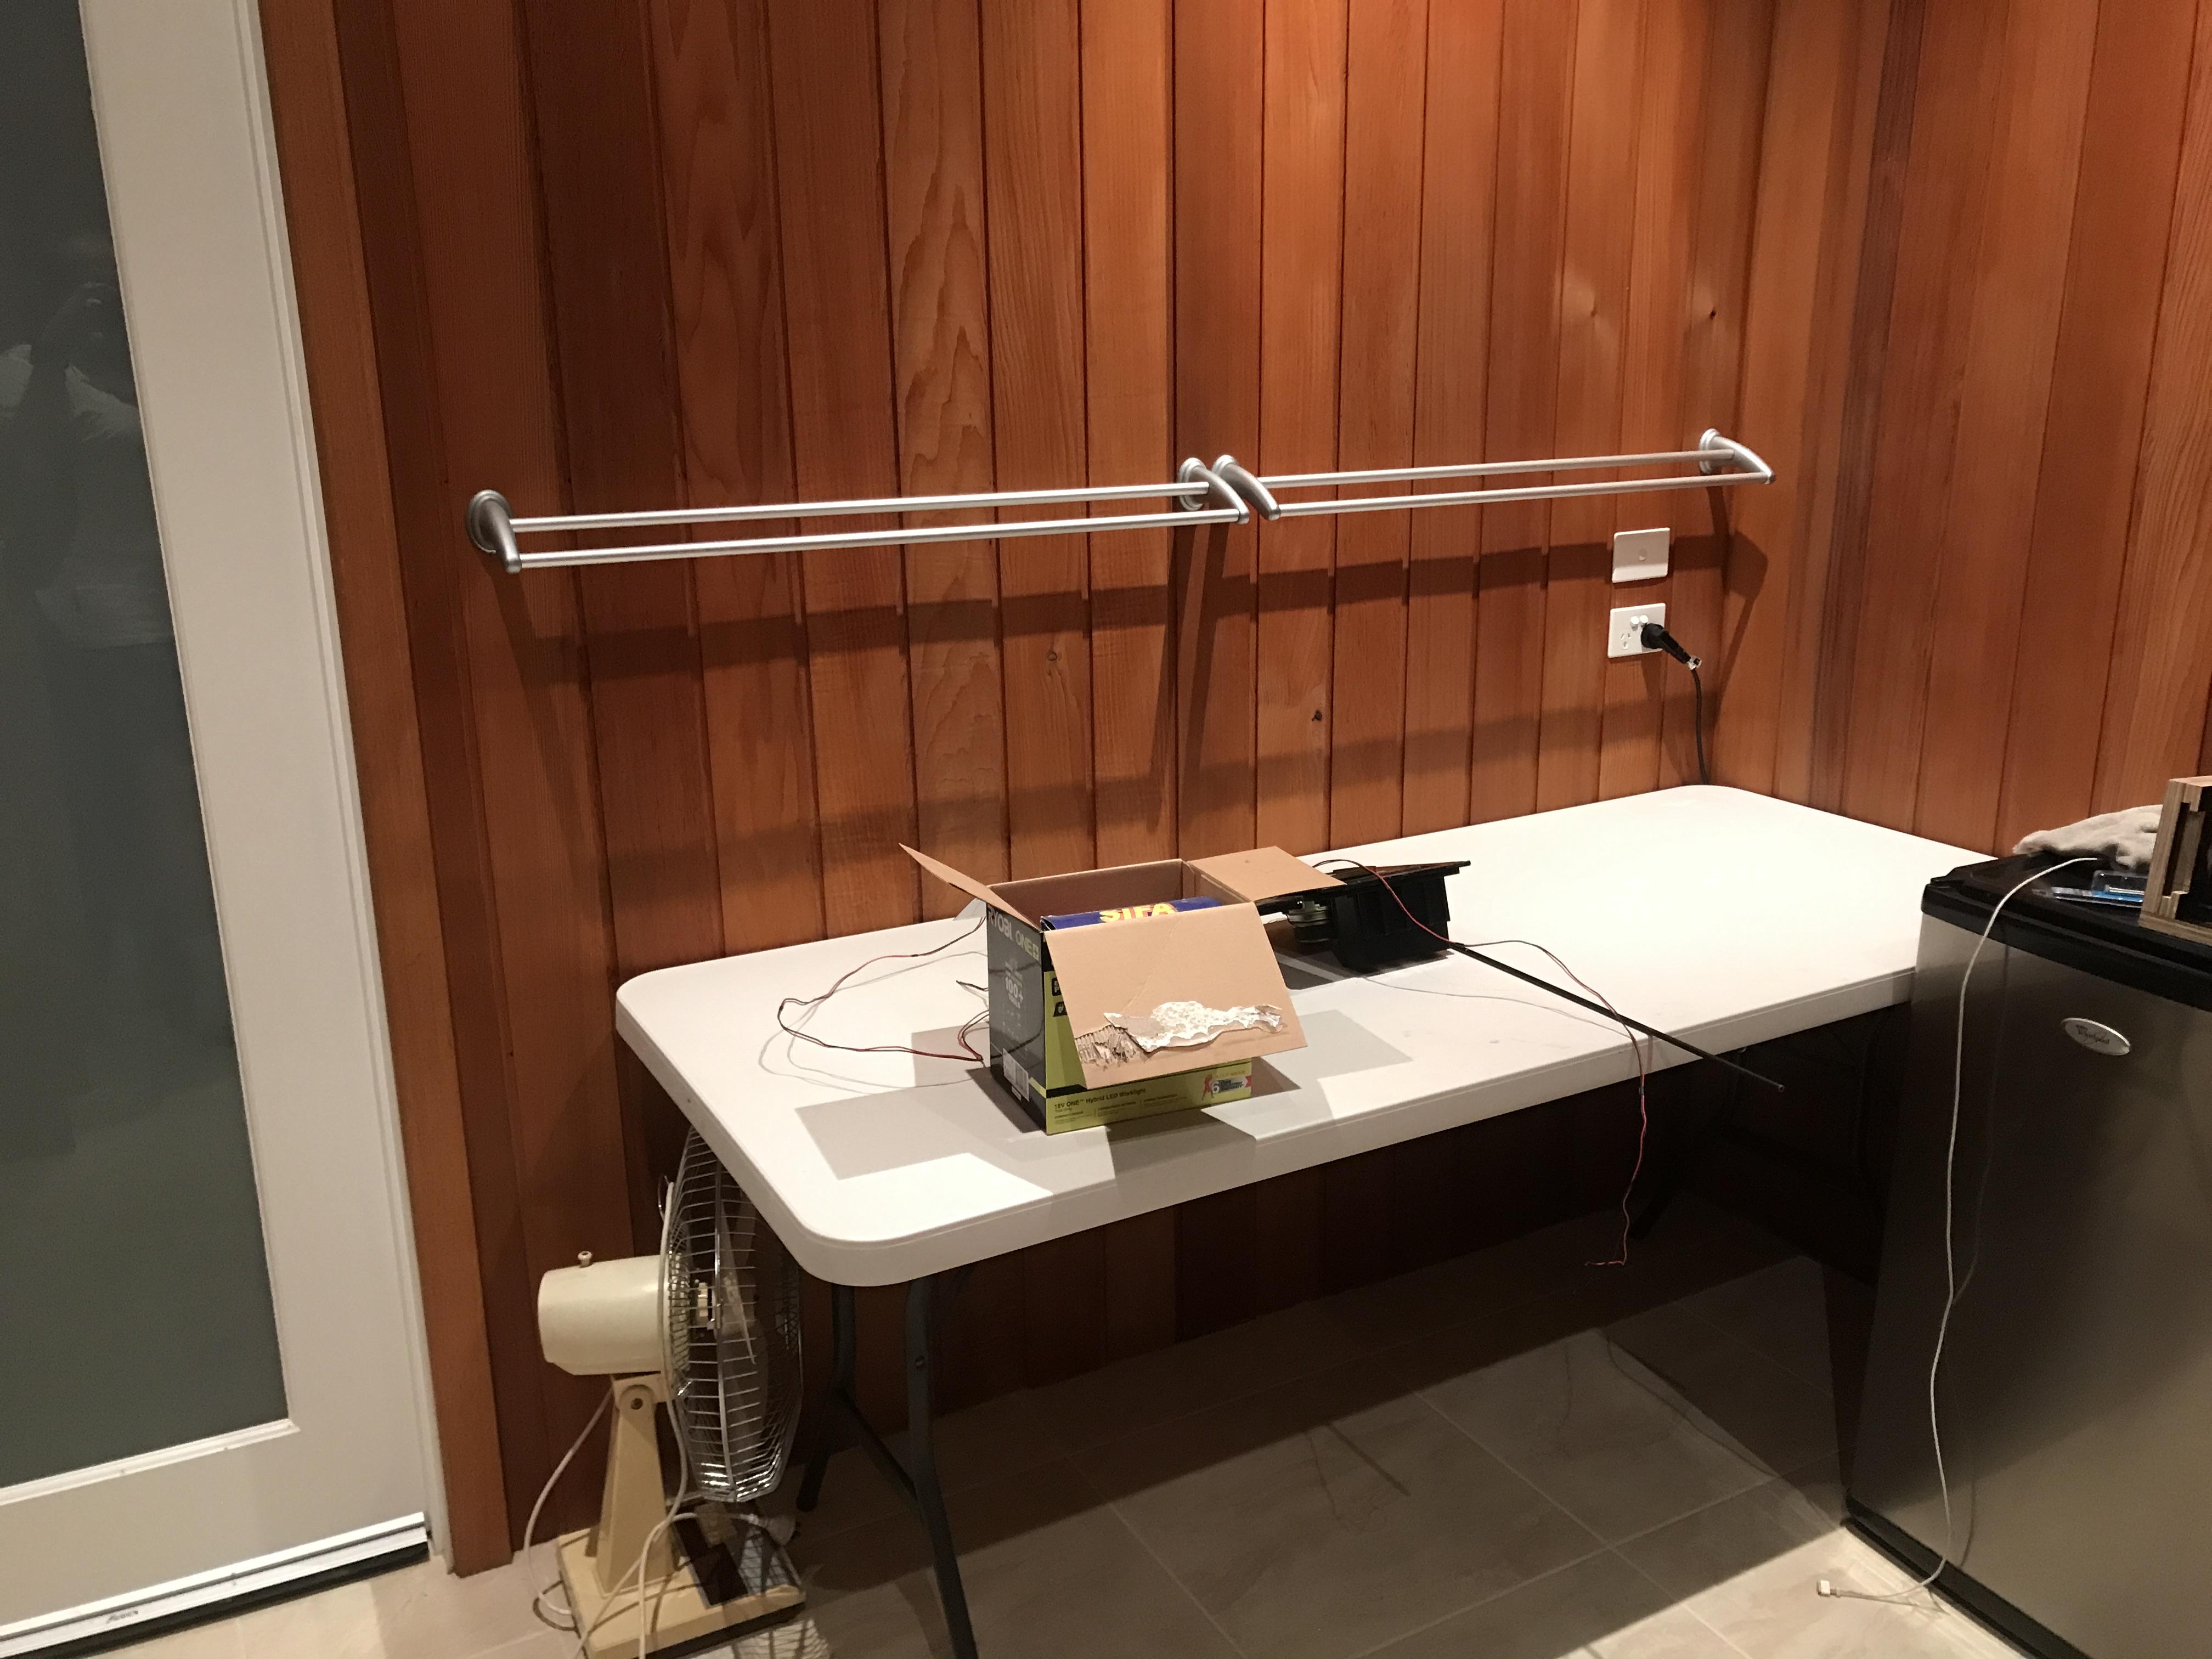
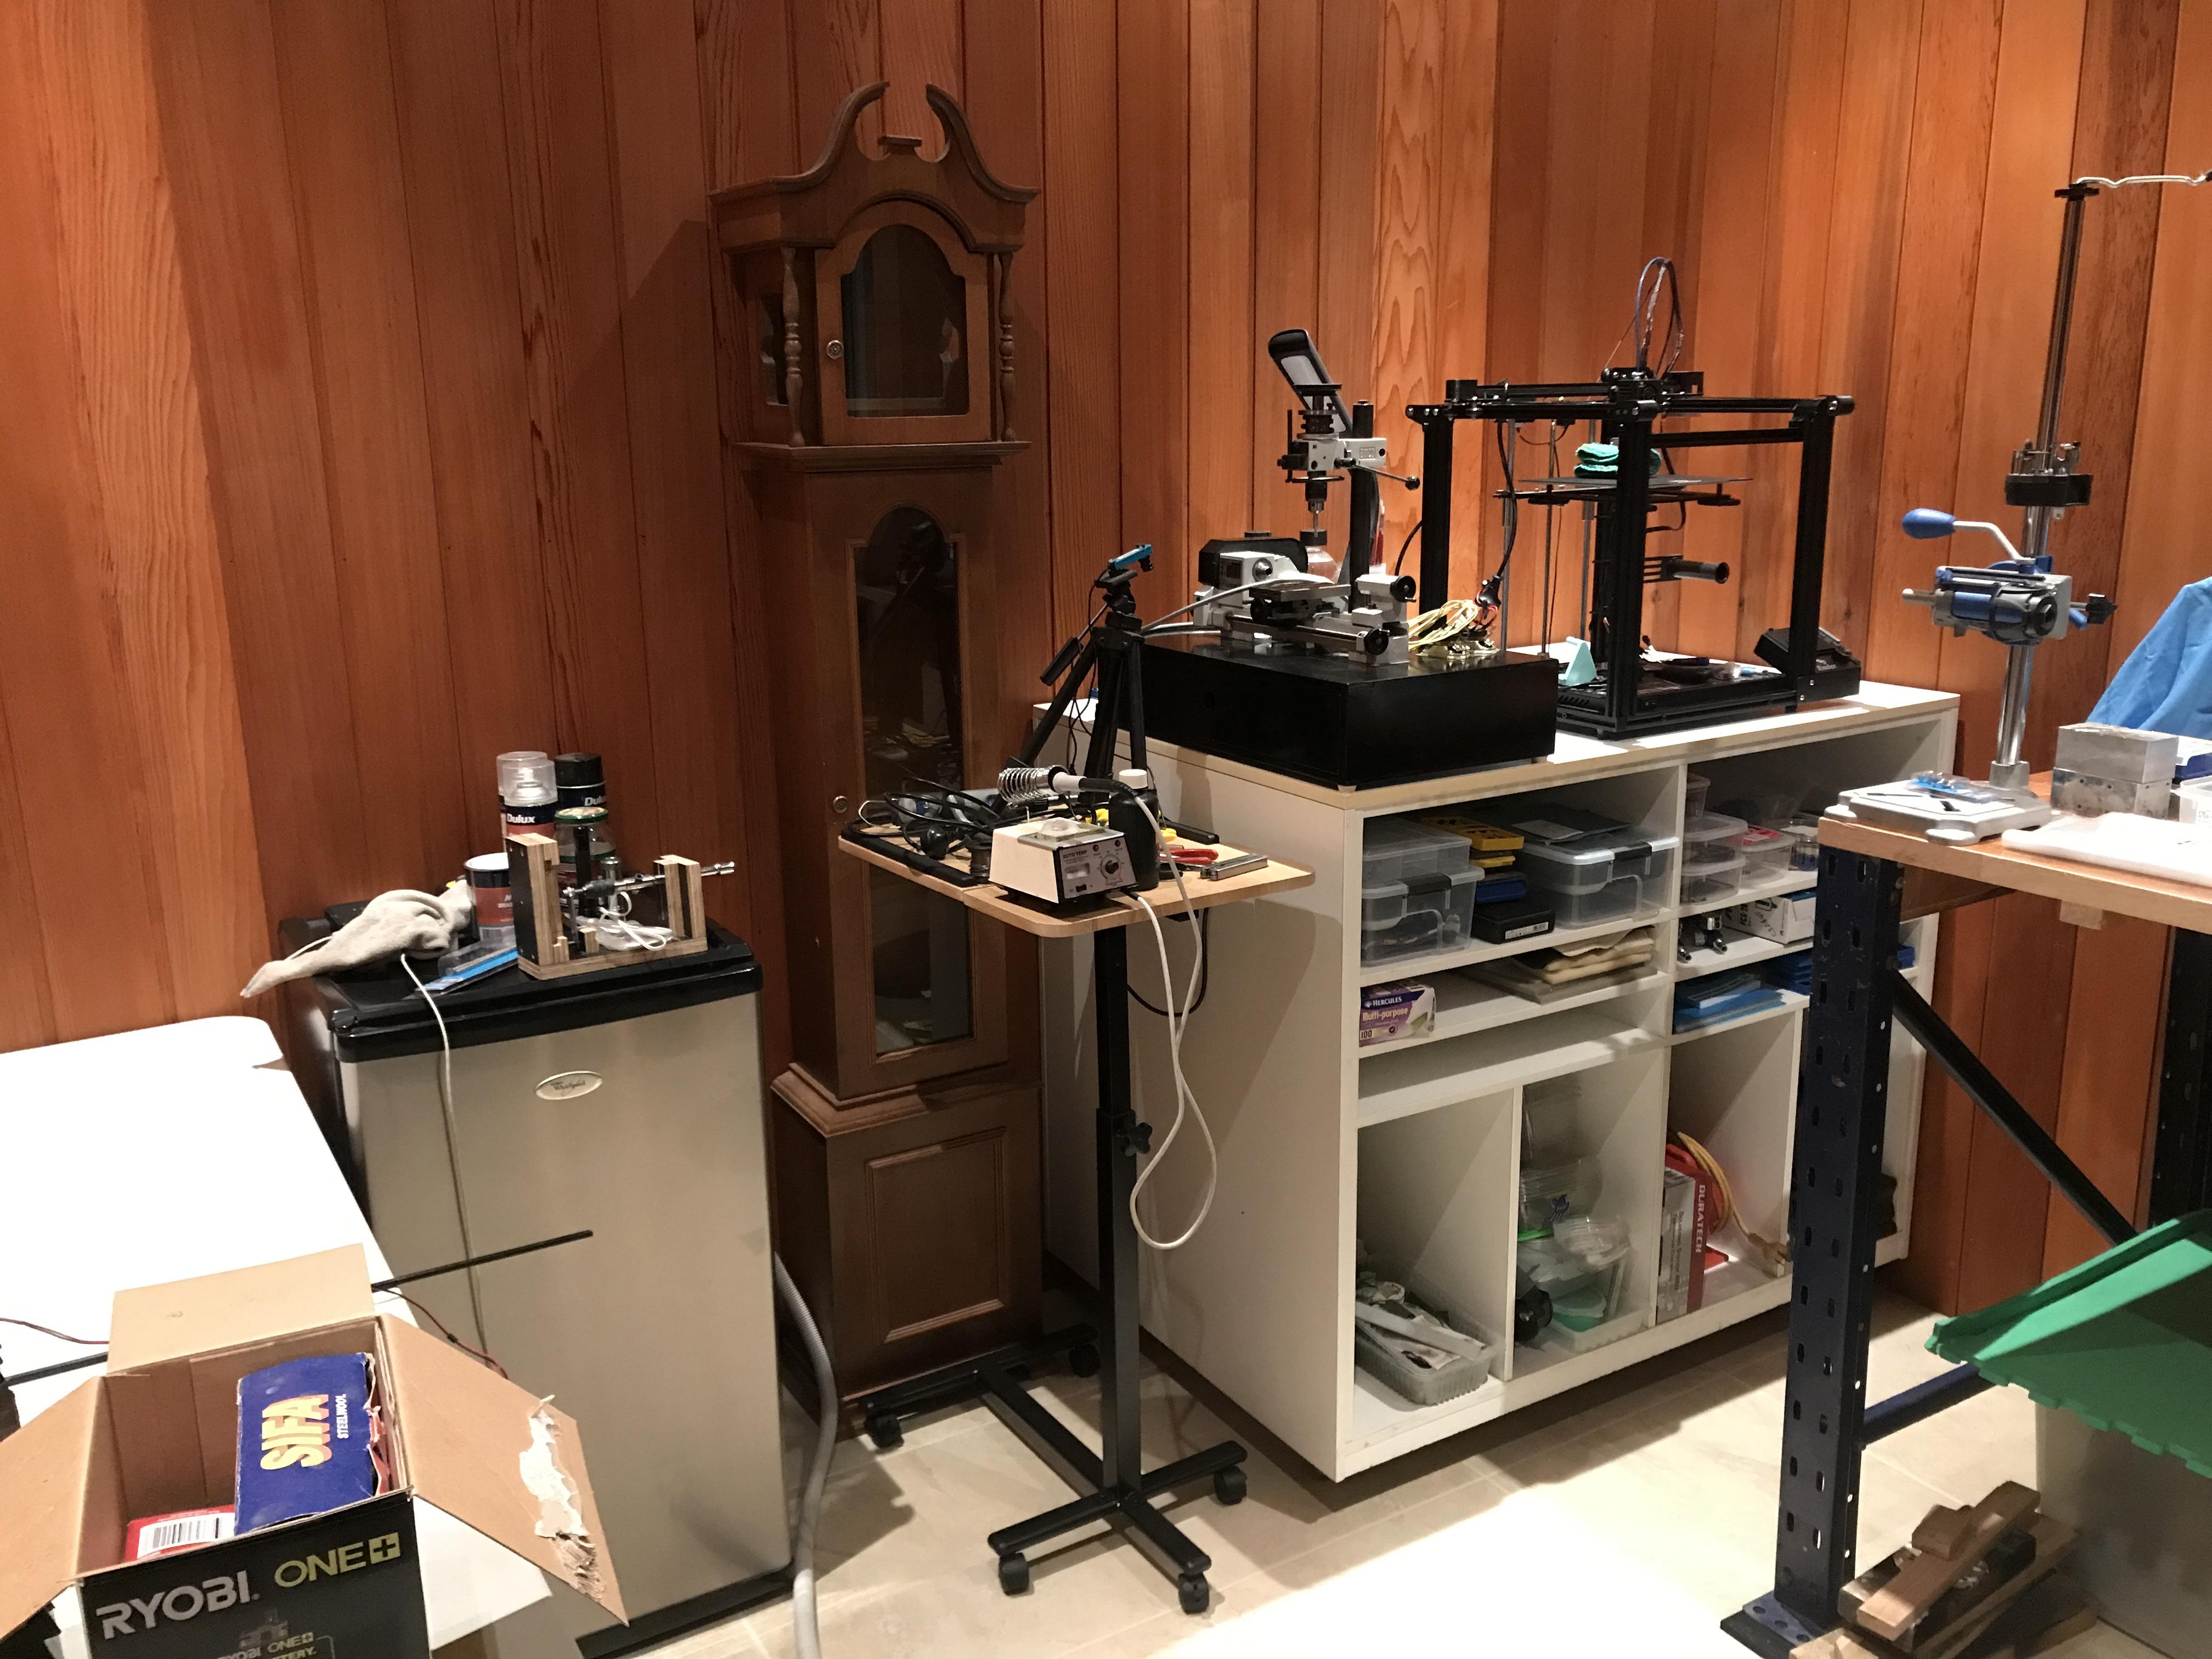
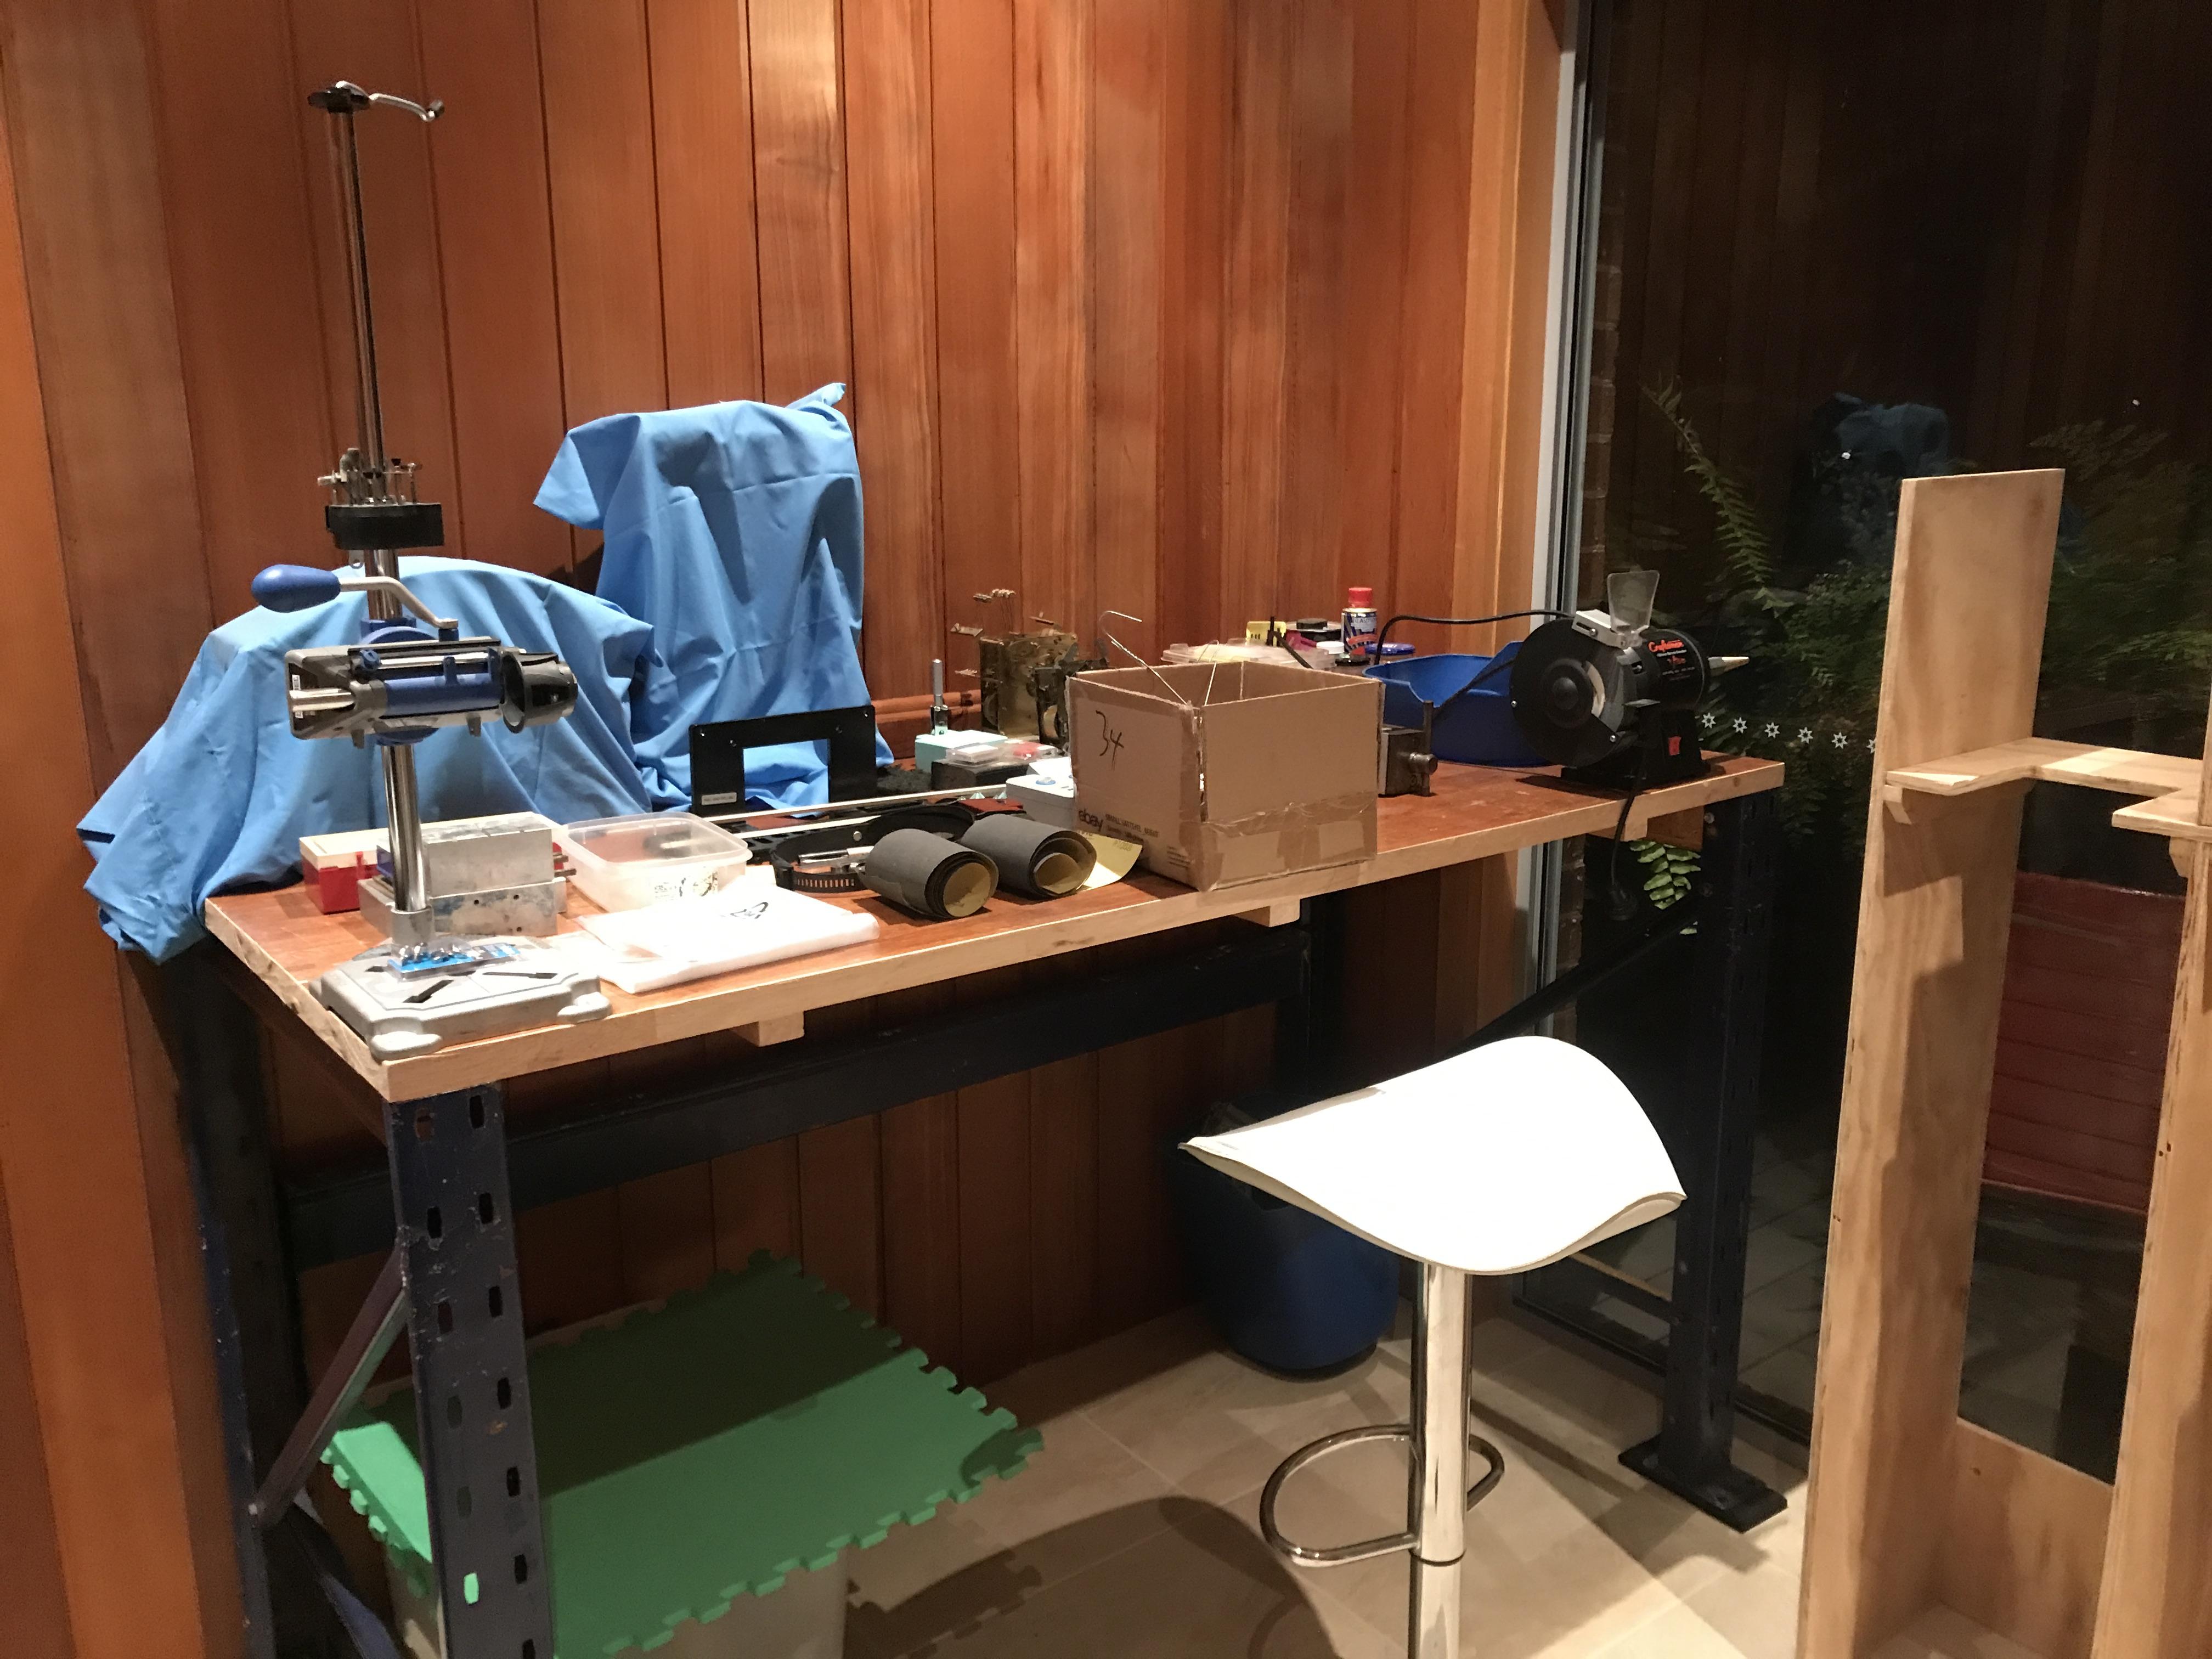
My second iteration. Cleaning to be underneath the towel rails. That makes sense. Moved the fridge and the maching/printing table around to the right. Changed the lathe to be used over the end of the bench. Not much room in front of the 3D printer, but you don't have to stand there while it is doing its thing. I may swap the fridge and the machining/printing bench yet. Not sure. And the 'doing' area. The power that was brought in for tha spa was 30A I think, so there will be more power than I need. I will have to check how level the benches are as well as find a spot for the movement testing rig to go. The tiles do have a fall toward the drain so I will have to work something out to be able to level the rig easily no matter where I put it. I'm also going to cut some slots in the bottom for pendulum clearance and some squares in the top section to be able to better see the movement. I'm getting more excited now.


 2 points
 -
That is what I have moved to, I said 9010 in my post for the sake of simplicity, but what I actually use is Dr Tillwich 1-3 where I would use 9010 and Dr Tillwich 3-5 where I would use HP1300/D5, similarly I use their B52 grease instead of the Mobius/Molycote ones. Only downside I see is that they are all clear, including the grease, so you need to be a little more careful on how much you apply as it's not so easy to see the oil/grease.2 points
-
I think you are describing paramagnetism, where a material will react in the presence of a magnetic field, but are not themselves magnets or can become magnets, here is a link which explains. https://byjus.com/jee/paramagnetic-materials/ All austenitic stainless steels are paramagnetic, and looking at newer alloy mainsprings and hairsprings, they look like stainless alloys so I wouldn't be surprised if they are acting paramagnetically. great minds think alike2 points
-
Drilling is going to be difficult, firstly because the drill bits are so thin and brittle, expect to break a few. The second issue is access to the 'hole', as the other lug will be in the way, meaning that you will have to drill at a slight angle, putting a bending stress on the drill bit and with the slightest drop in concentration .... and back to my first point. I would be tempted to grind them flat with a Dremel type tool or small jewelers file, and then put a center punch in the center of the bit to be drilled so the drill bit doesn't skip around and break... but expect this to be slow and frustrating work. By the time you have done 4 of these you'll be an expert and can come back and tell us all the best way to do it if you go down this route. However, I would seriously consider What @watchweasol said and drill from the outside-in, this will ensure straight holes without having to work around the other lugs. It may be worthwhile making yourself a simple paper template so you can be sure to match the position of each hole before drilling. In the end you will be left with 4 holes on the outside of the lugs, but many cases are made this way and unless you are looking for it you probably won't notice or realise that it's not the way the watch was meant to be in the first place.2 points
-
What works for me (waiting for the villagers to assemble with torches and pitchforks) is to put a liberal (in watch terms) spot of 9010 on one of the pins of the pin pallet, this seems to improve amplitude and beat error.2 points
-
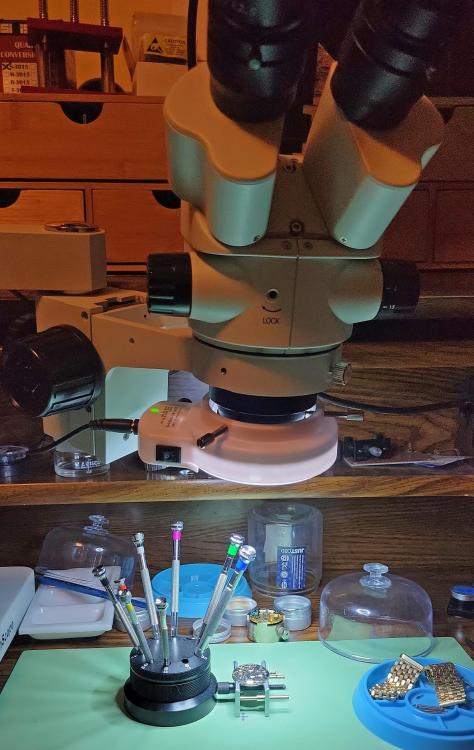
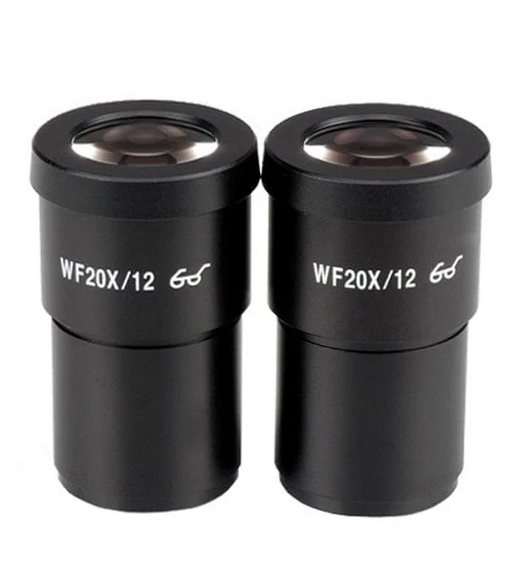
More than enough. Here's mine at the height I work at. I think the working distance with the included 0.5x Barlow lens is about 9". So yes, that halves the magnification. The full story is the objective lens goes from 0.7x to 4.5x. The eyepieces are 10x, giving you the advertised magnification of 7x-45x. However the working distance is unacceptably short, so it comes with an 0.5x Barlow lens, reducing the magnification range to 3.5x-22.5x, but giving you a good working distance. What I did was buy a pair of Extreme Widefield 20x Eyepieces for when I need more magnification. You keep your high working distance, but get your 45x magnification back, at the cost of some width of field.
 2 points
 -
You can try a rubber on that the sort for rubbing out a pencil.1 point
-
On the plus side it kept everything from going rusty1 point
-
A photo of the dial would help face side up.1 point
-
I tend to replace them with friction fitted jewels, unless the client wants to keep the originality of the movement, but then they pay more for that luxury.1 point
-
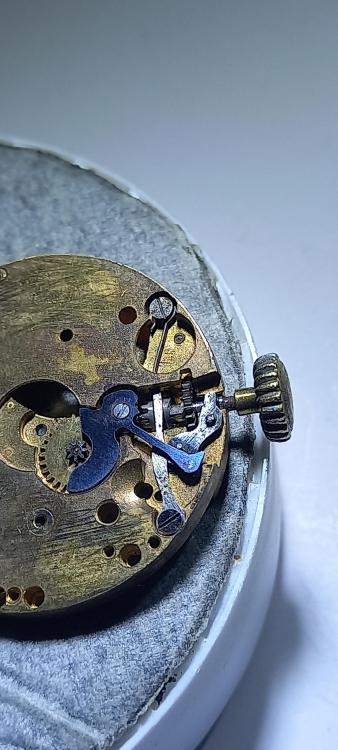
You're right Rich, throwing money at something that is practically worthless. I've had i happen a few times, its disappointing, but a lesson learned in checking everything out before you put in too much effort. I'm still tempted to look through a load of balances and wheels i have to see whats doable with the genuine staffs, I'm thinking the wheel that it came with is not genuine, it's had it weight completely hacked down.1 point
-
Ok thanks it was just the brass cover next to the previous 3 keyless parts. Normally i wouldn't have expected that to be used to identify, but I've searched American, German and French part catalogs and coming up with nothing for the set lever,set spring and yoke. I will have another look later today. There is another way but you would have to measure the stem very accurately.1 point
-
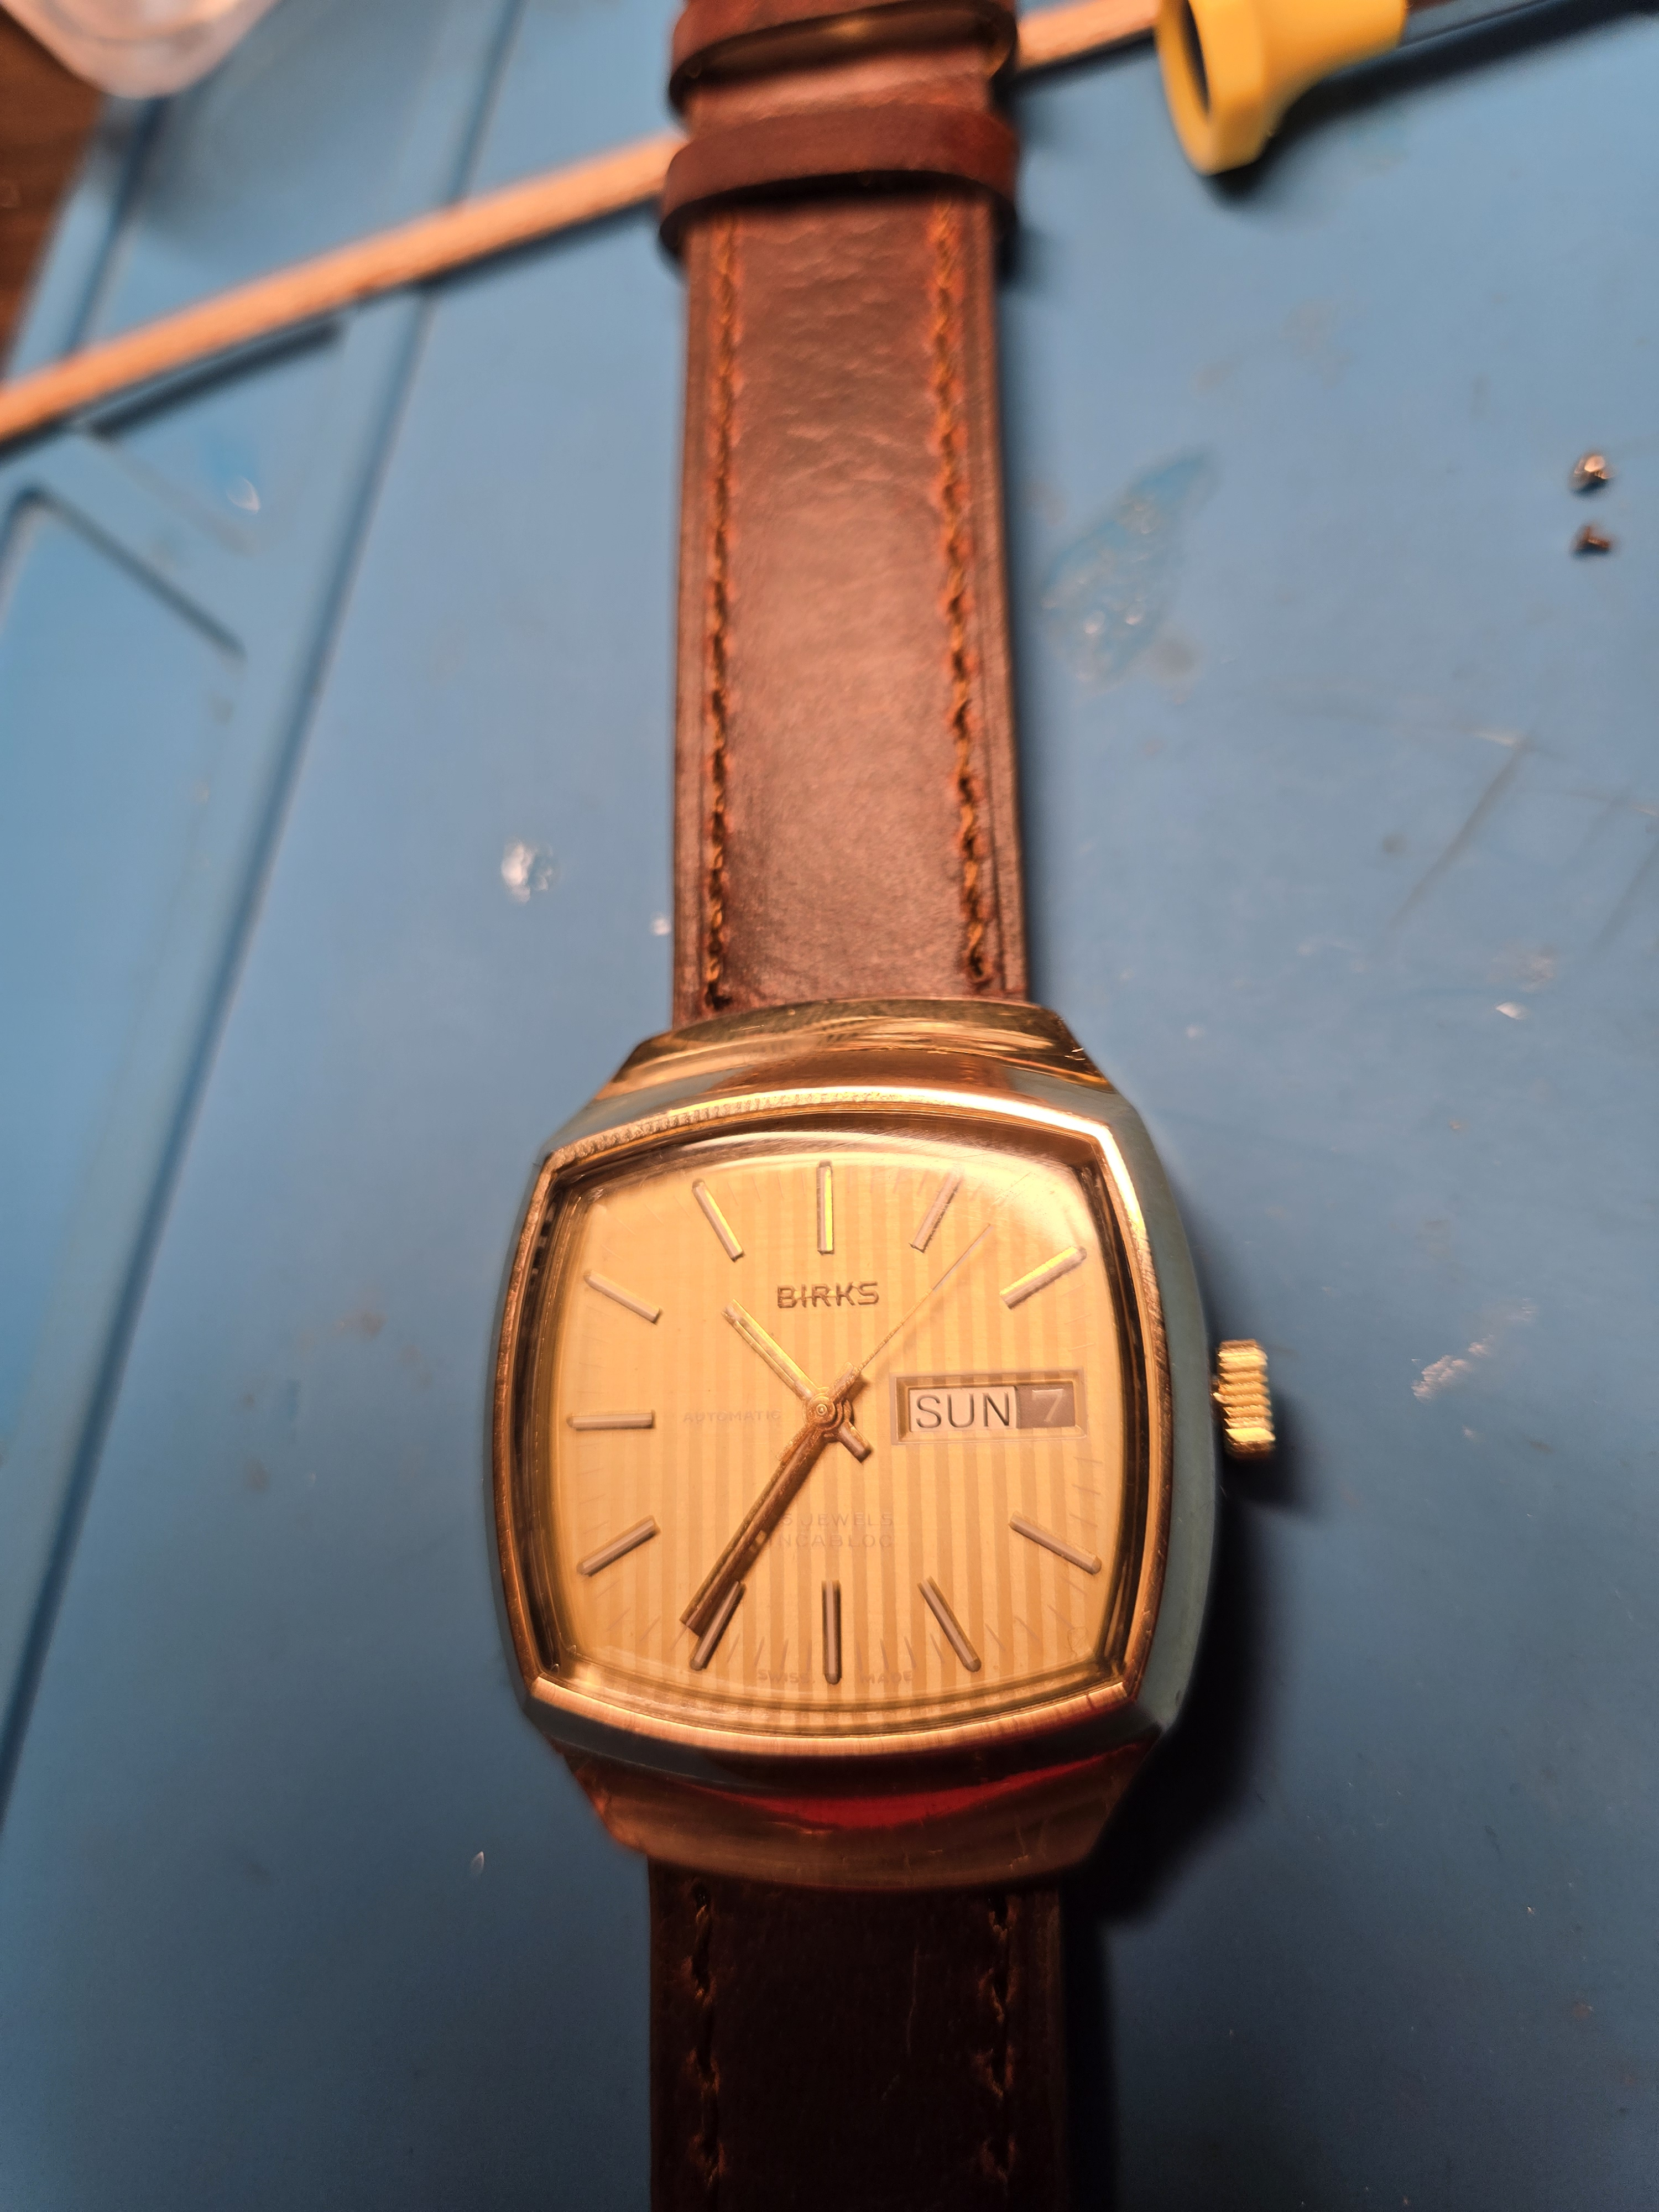
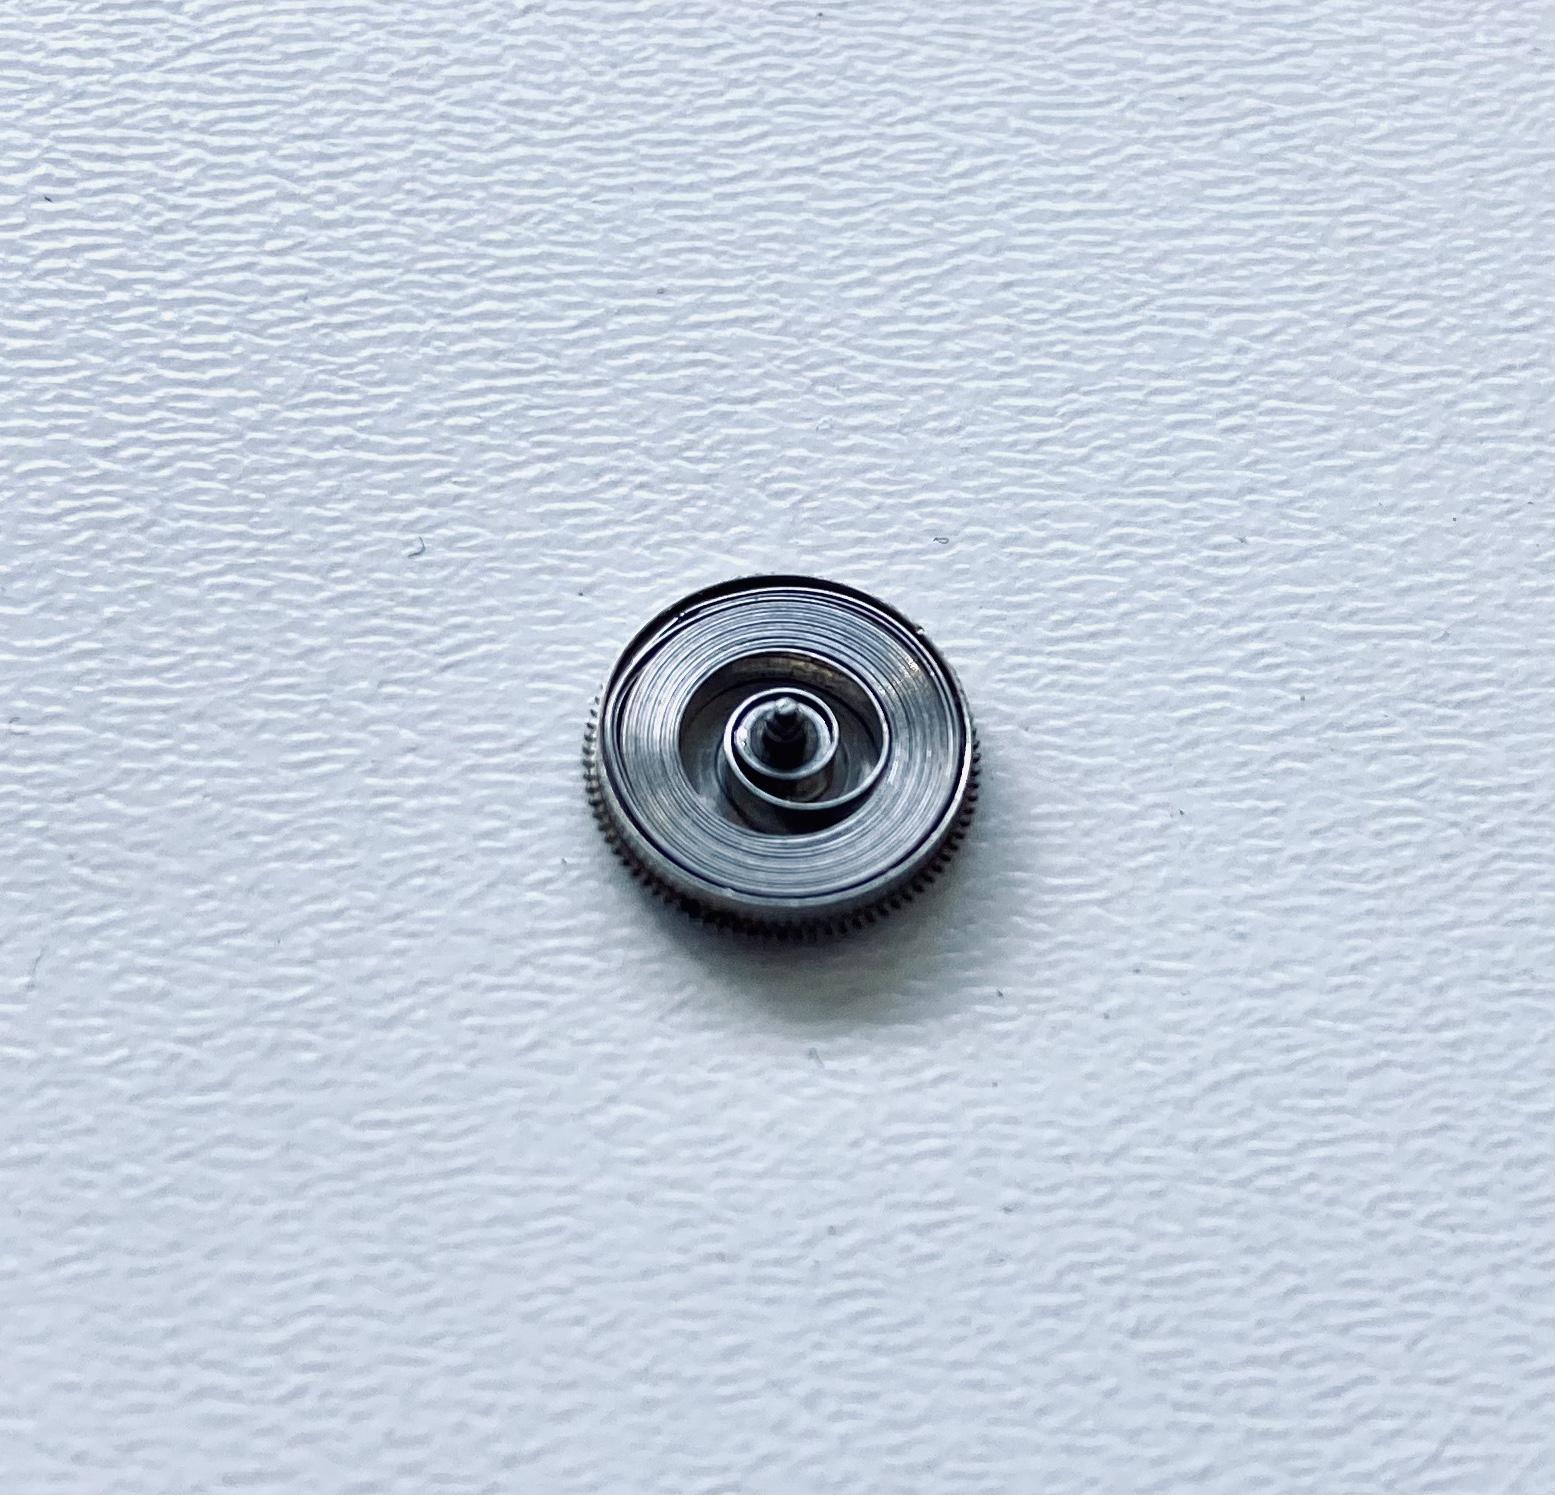
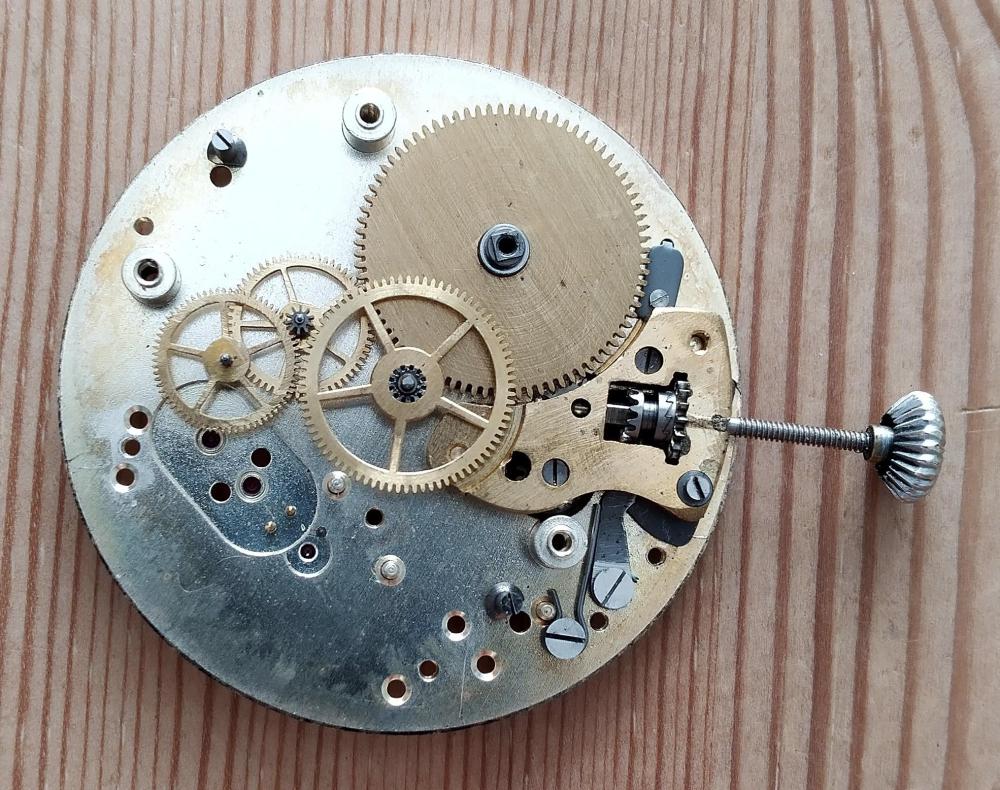
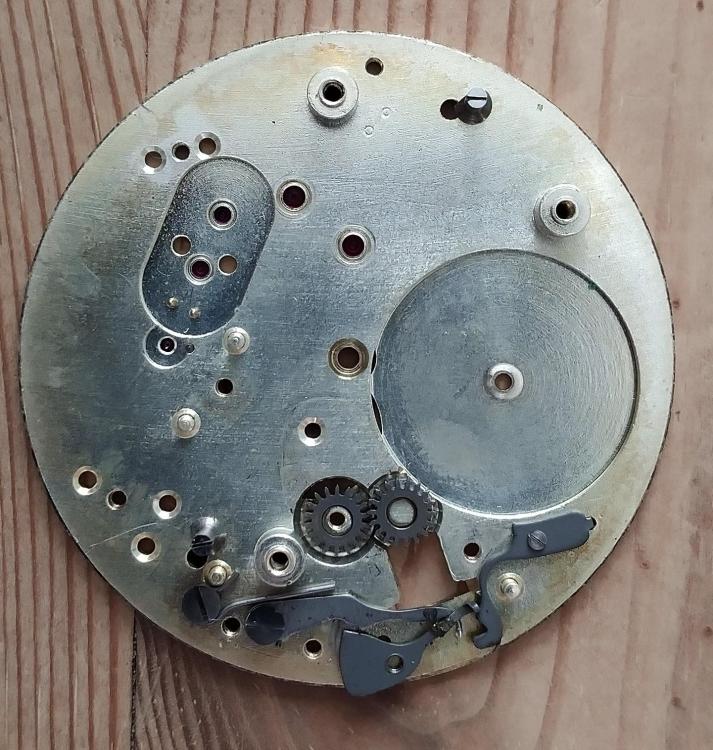
That's true. It is not a chronometer. As a matter of fact, I got it with another timepiece which is e real one, and only that (not a watch). I add a few pictures of my Chronometer / watch. no indication of a brand ...

 1 point
 -
I'm not convinced it is a chronometer, just because it says so on the dial. I think the two springs was a misunderstanding.1 point
-
I would cut my losses, keep it for parts. Buying a balance complete would be a Sunk cost fallacy.1 point
-
Looking good Michael1 point
-
Thanks Rich and scott for that information, so much more to learn.1 point
-
Ah i didn't notice that but it was past one i the morning when read it The keyless works used for identification are hidden under the watchmakers side. You would have to disassemble it, you dont need to worry so much about that, doubtful it is a Remontoire as i suggested earlier this morning but you never know1 point
-
Paramagnetism?1 point
-
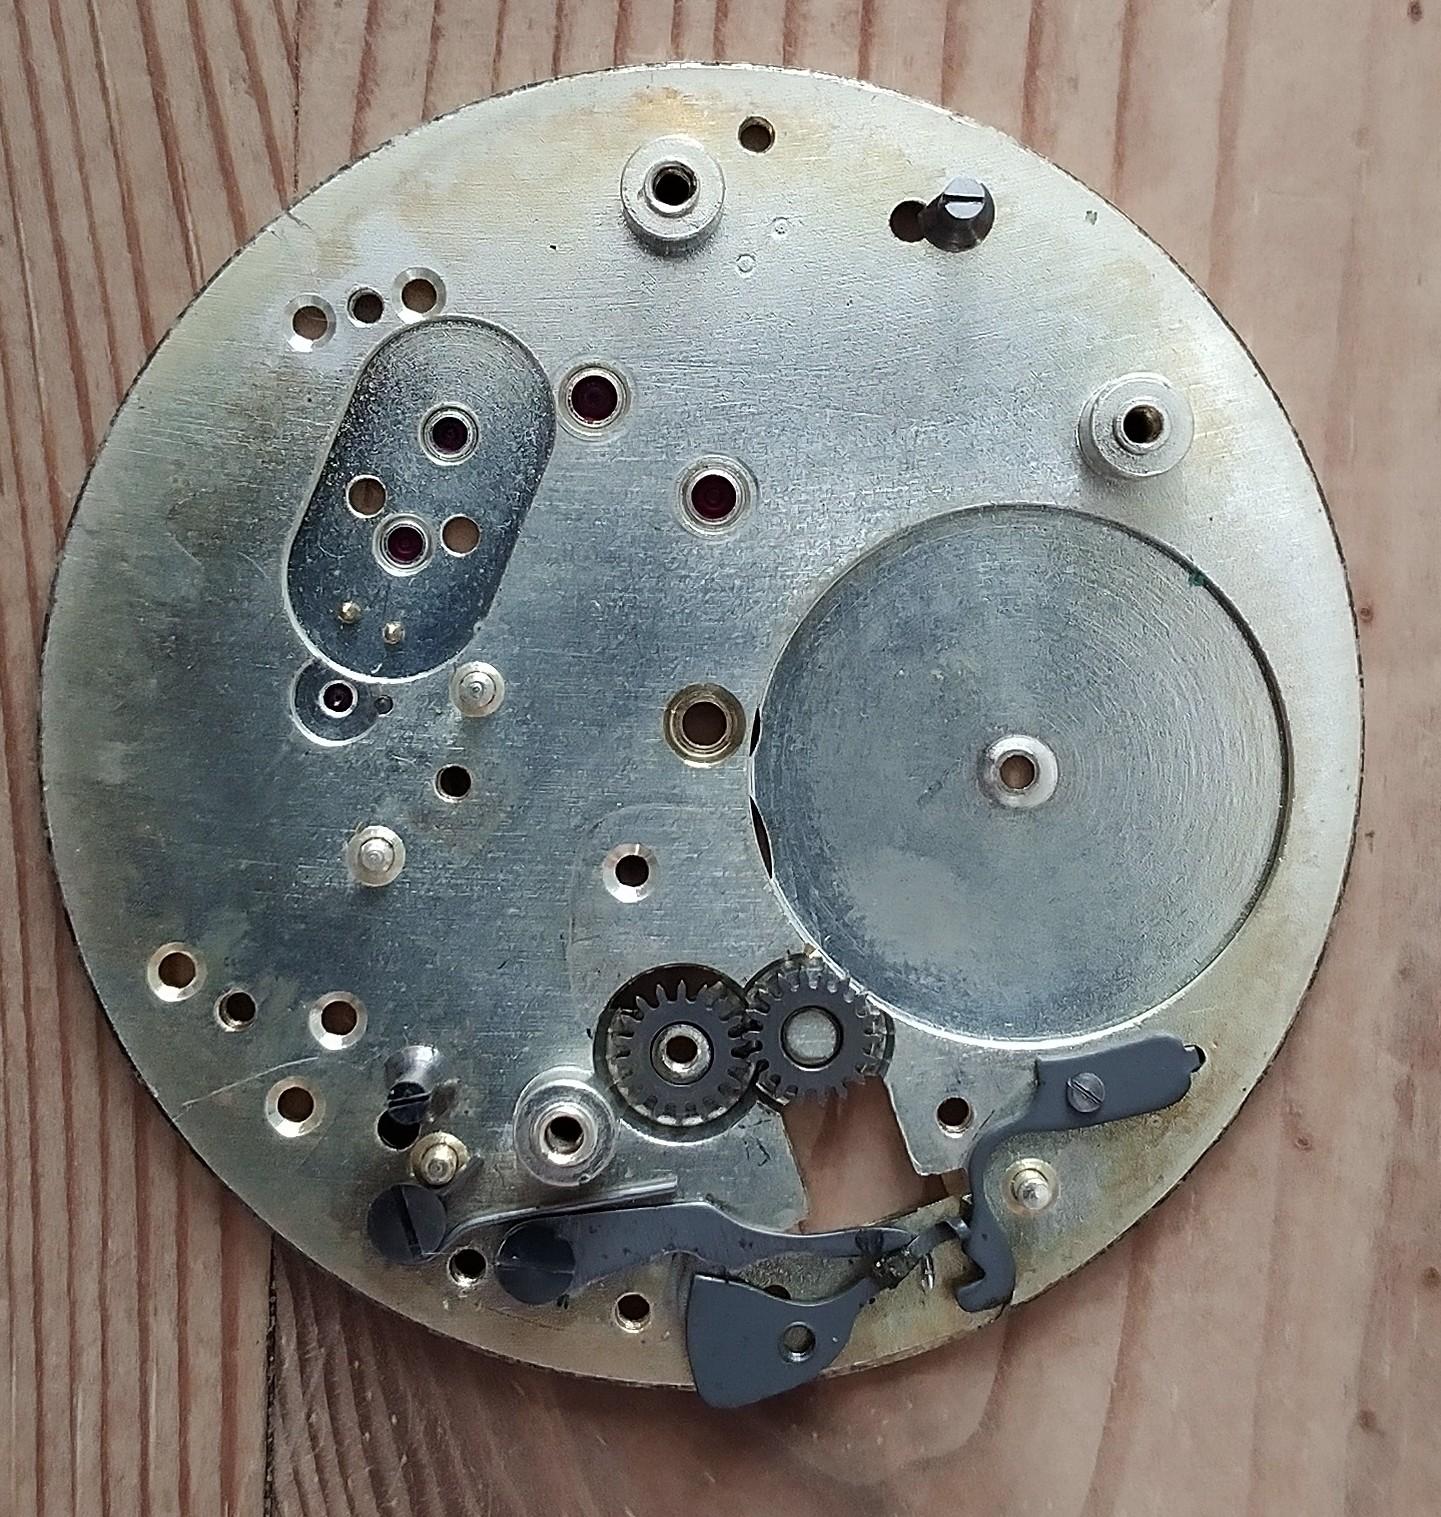
Both! It’s a Timemaster alarm watch. It has cap jewels over the hole jewels on 3 of the train wheels making 8, 2 on the escapement, 2 on the pallet pivots, and 5 on the balance (including the impulse) making 17. But no pallet stones. And it has a cheap, ‘stamped metal’ sort of bridge/balance cock, an open mainspring barrel, and the alarm spring barrel had a weird arbor/gear hybrid. Not seen that before. It was interesting to figure out how the alarm works, so learning all the time, but this was definitely a cheap one, despite being ‘fully jeweled’.1 point
-
I am not sure for the terms in english, but if I directly translate from Bulgarian or Russian, there are 'magnetic soft' and 'magnetic hard' magnetic materials. The first group will not get magnetised, thow they will be attracted by magnets. The soft iron for example. The second group, like hardened steel, will get magnetised. So non magnetic hairspring aloys belong to the first group.1 point
-
Non-magnetic is a poor description of such a hairspring. A better description would be unmagnetisable hairspring. There are metals and alloys that are attracted to magnets, but don’t become magnetised themselves. A hairspring made out such a material will be attracted to magnetised tweezers, but will not become magnetised. These hairsprings can be disrupted by being in close proximity to a magnet, but the disruption will cease the moment the magnet is moved away. These are hairsprings that could conceivably be disrupted by a magnetised hairspring stud. Best Regards, Mark1 point
-
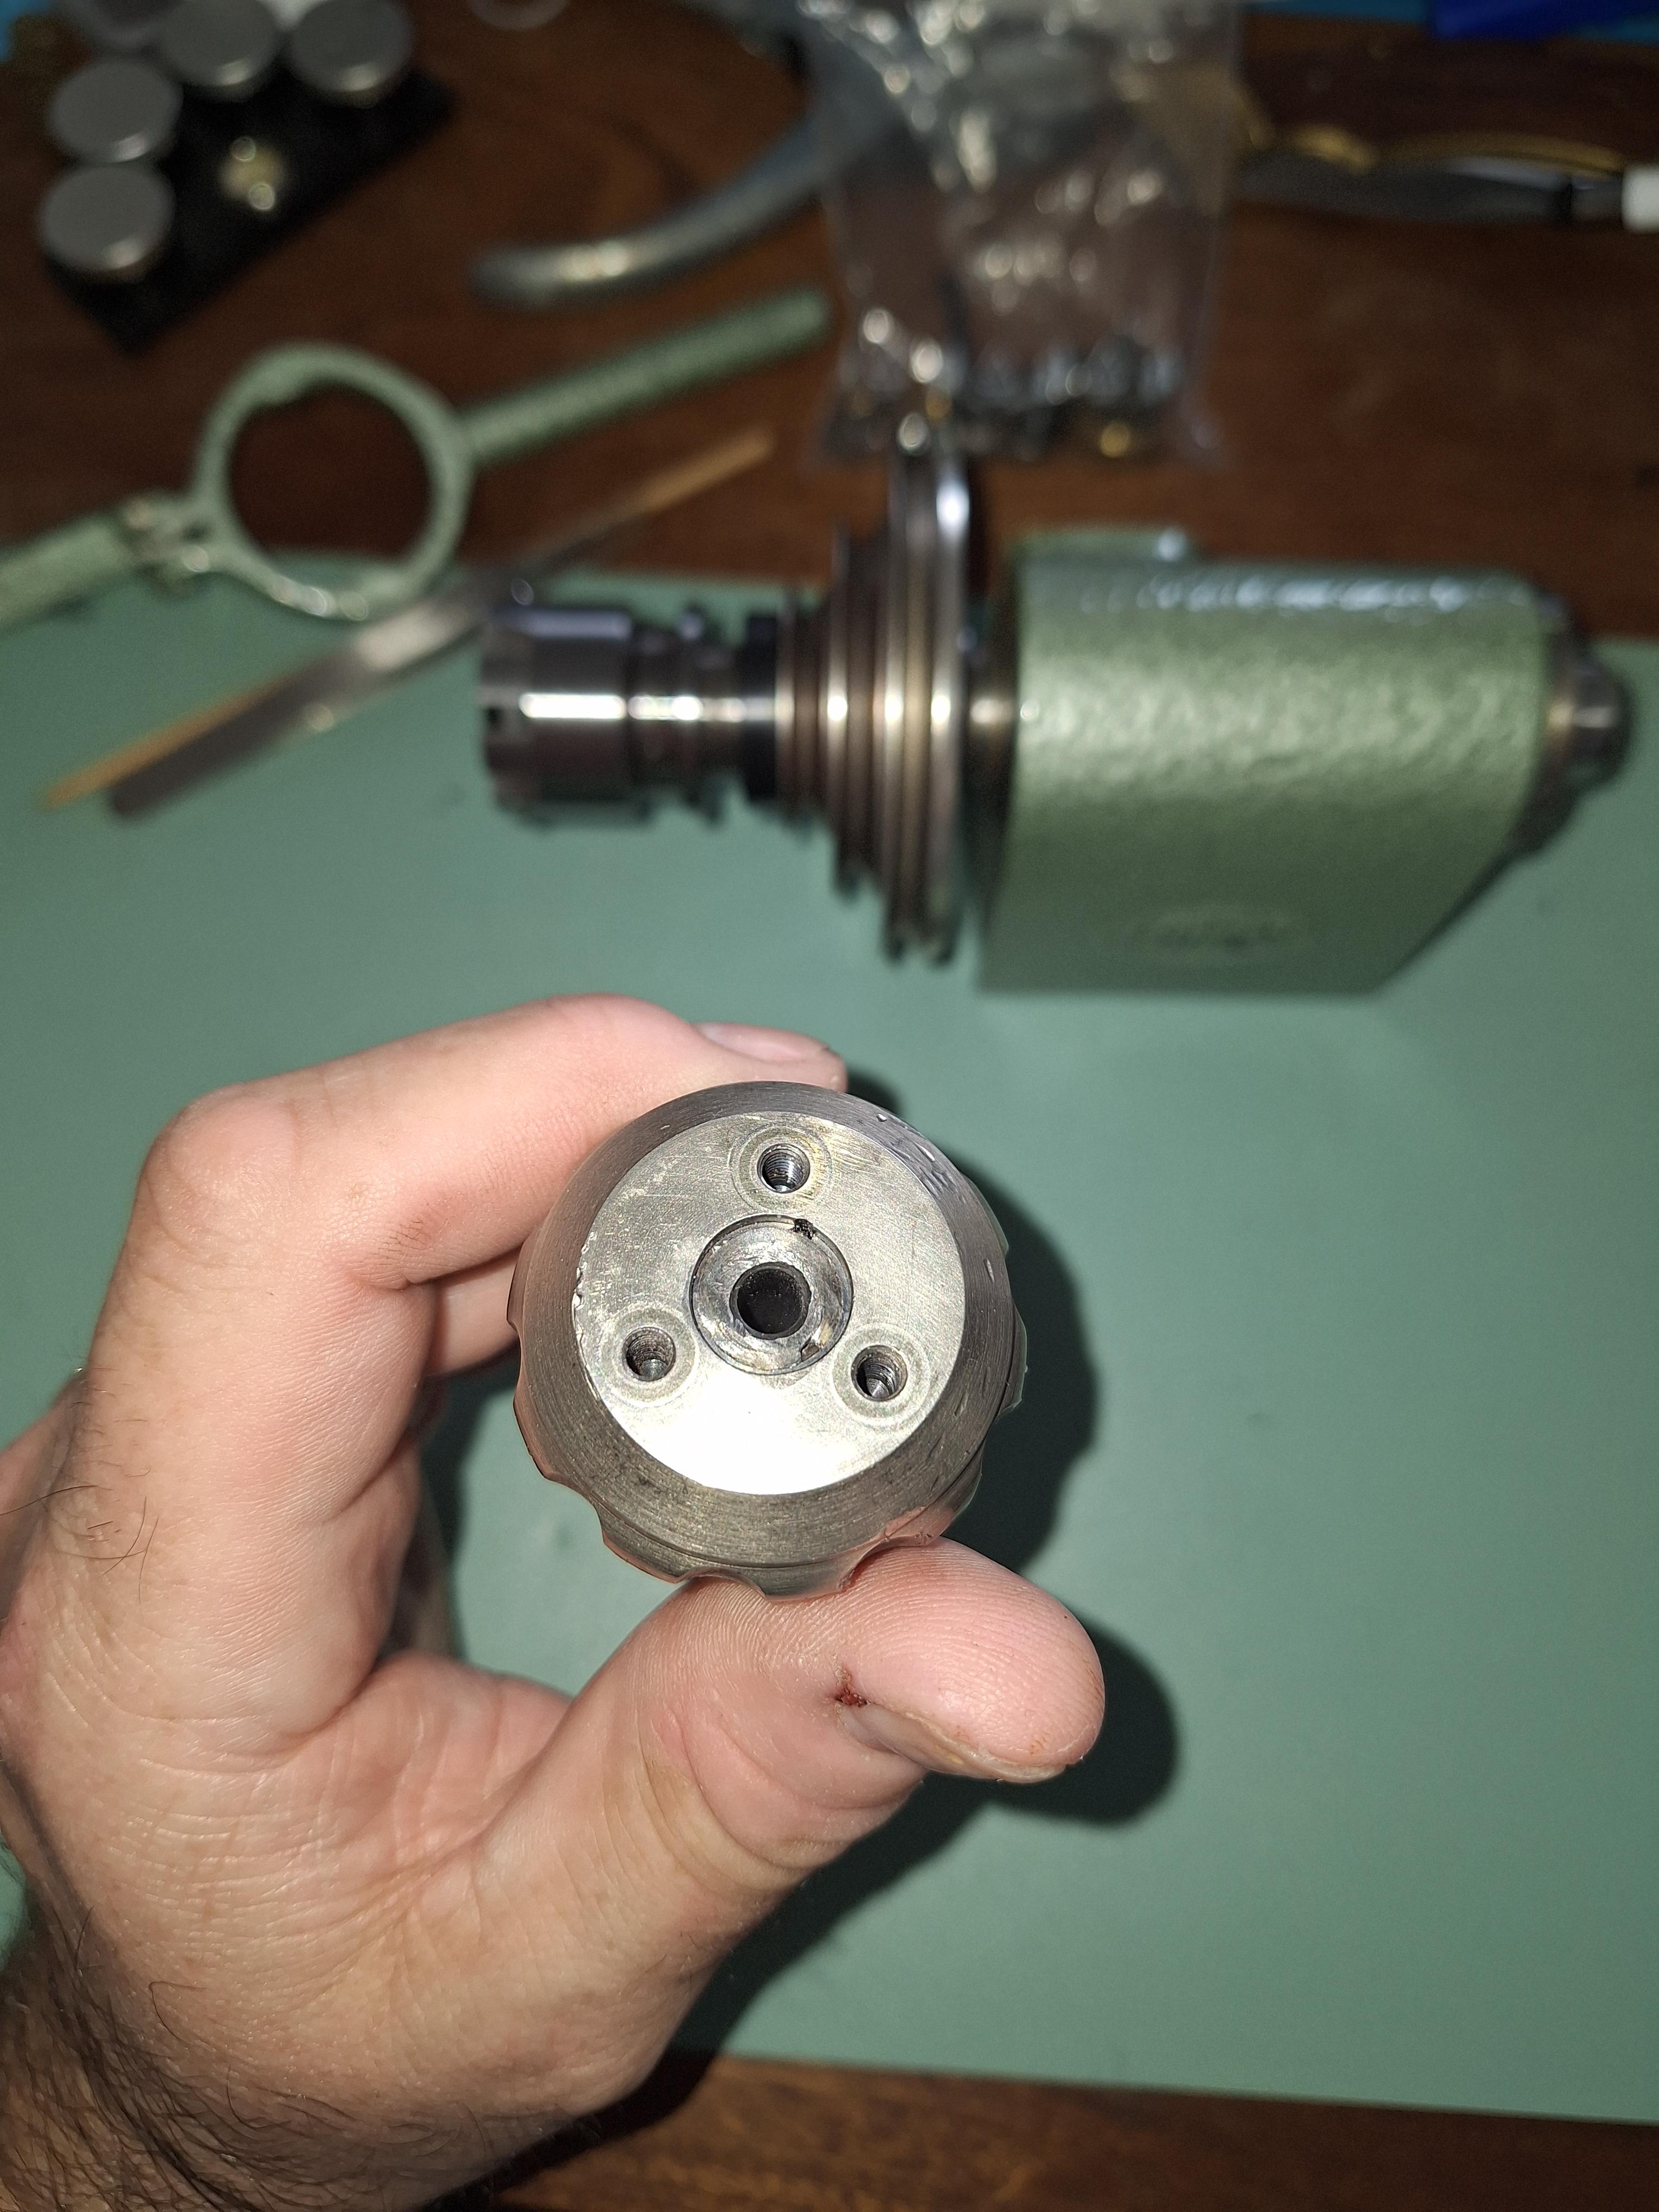
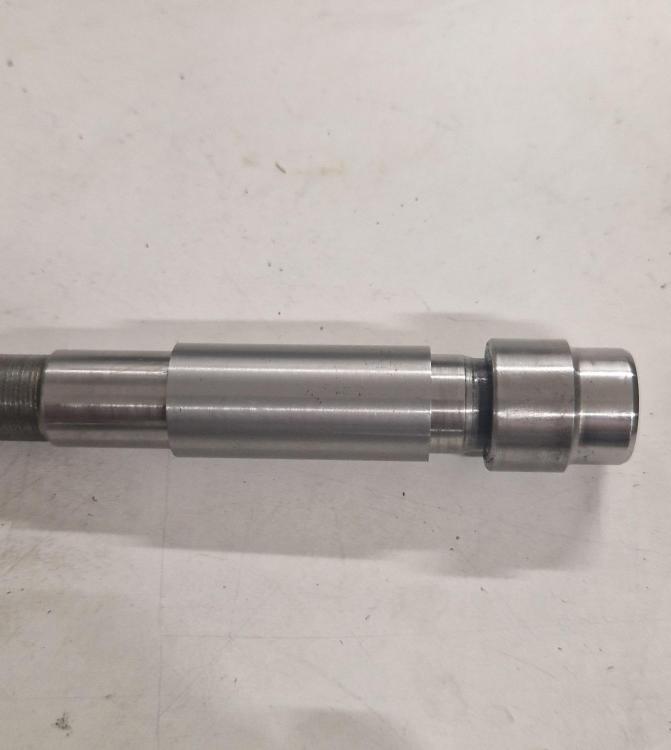
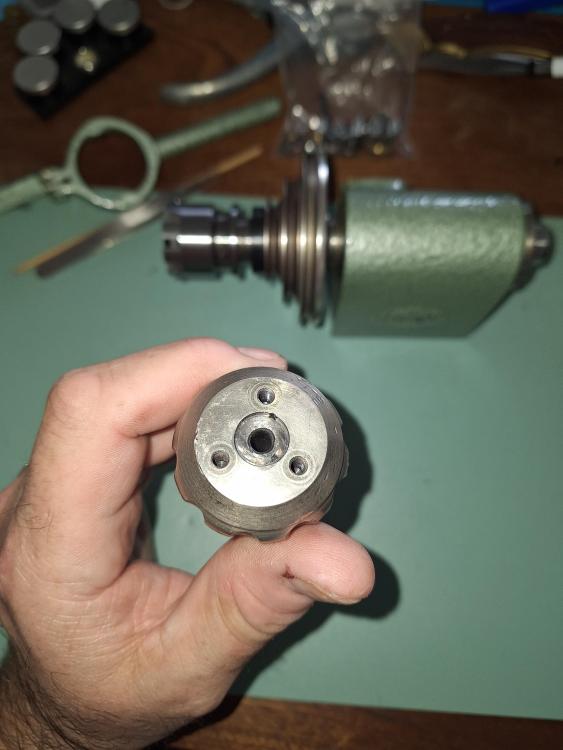
Many thanks for the explanation that is extremely helpful and gives me a starting point. I hope the bearings are in good condition and come off without damage. I have nothing that will allow me to grind a spacer to a tolerance of a micron, so great care is required. If I can encourage the pulley to let go I may be in business. I could probably use the lathe without the key but it would drive me insane. Could you give me any insight into the quick release mechanism. I suspect I am missing something as there are three holes in the draw bar that look like they located a collar or other mechanism. All I have is a washer in the back of the draw bar. Many thanks for your assistance on this. Warm Regards Andy
 1 point
 -
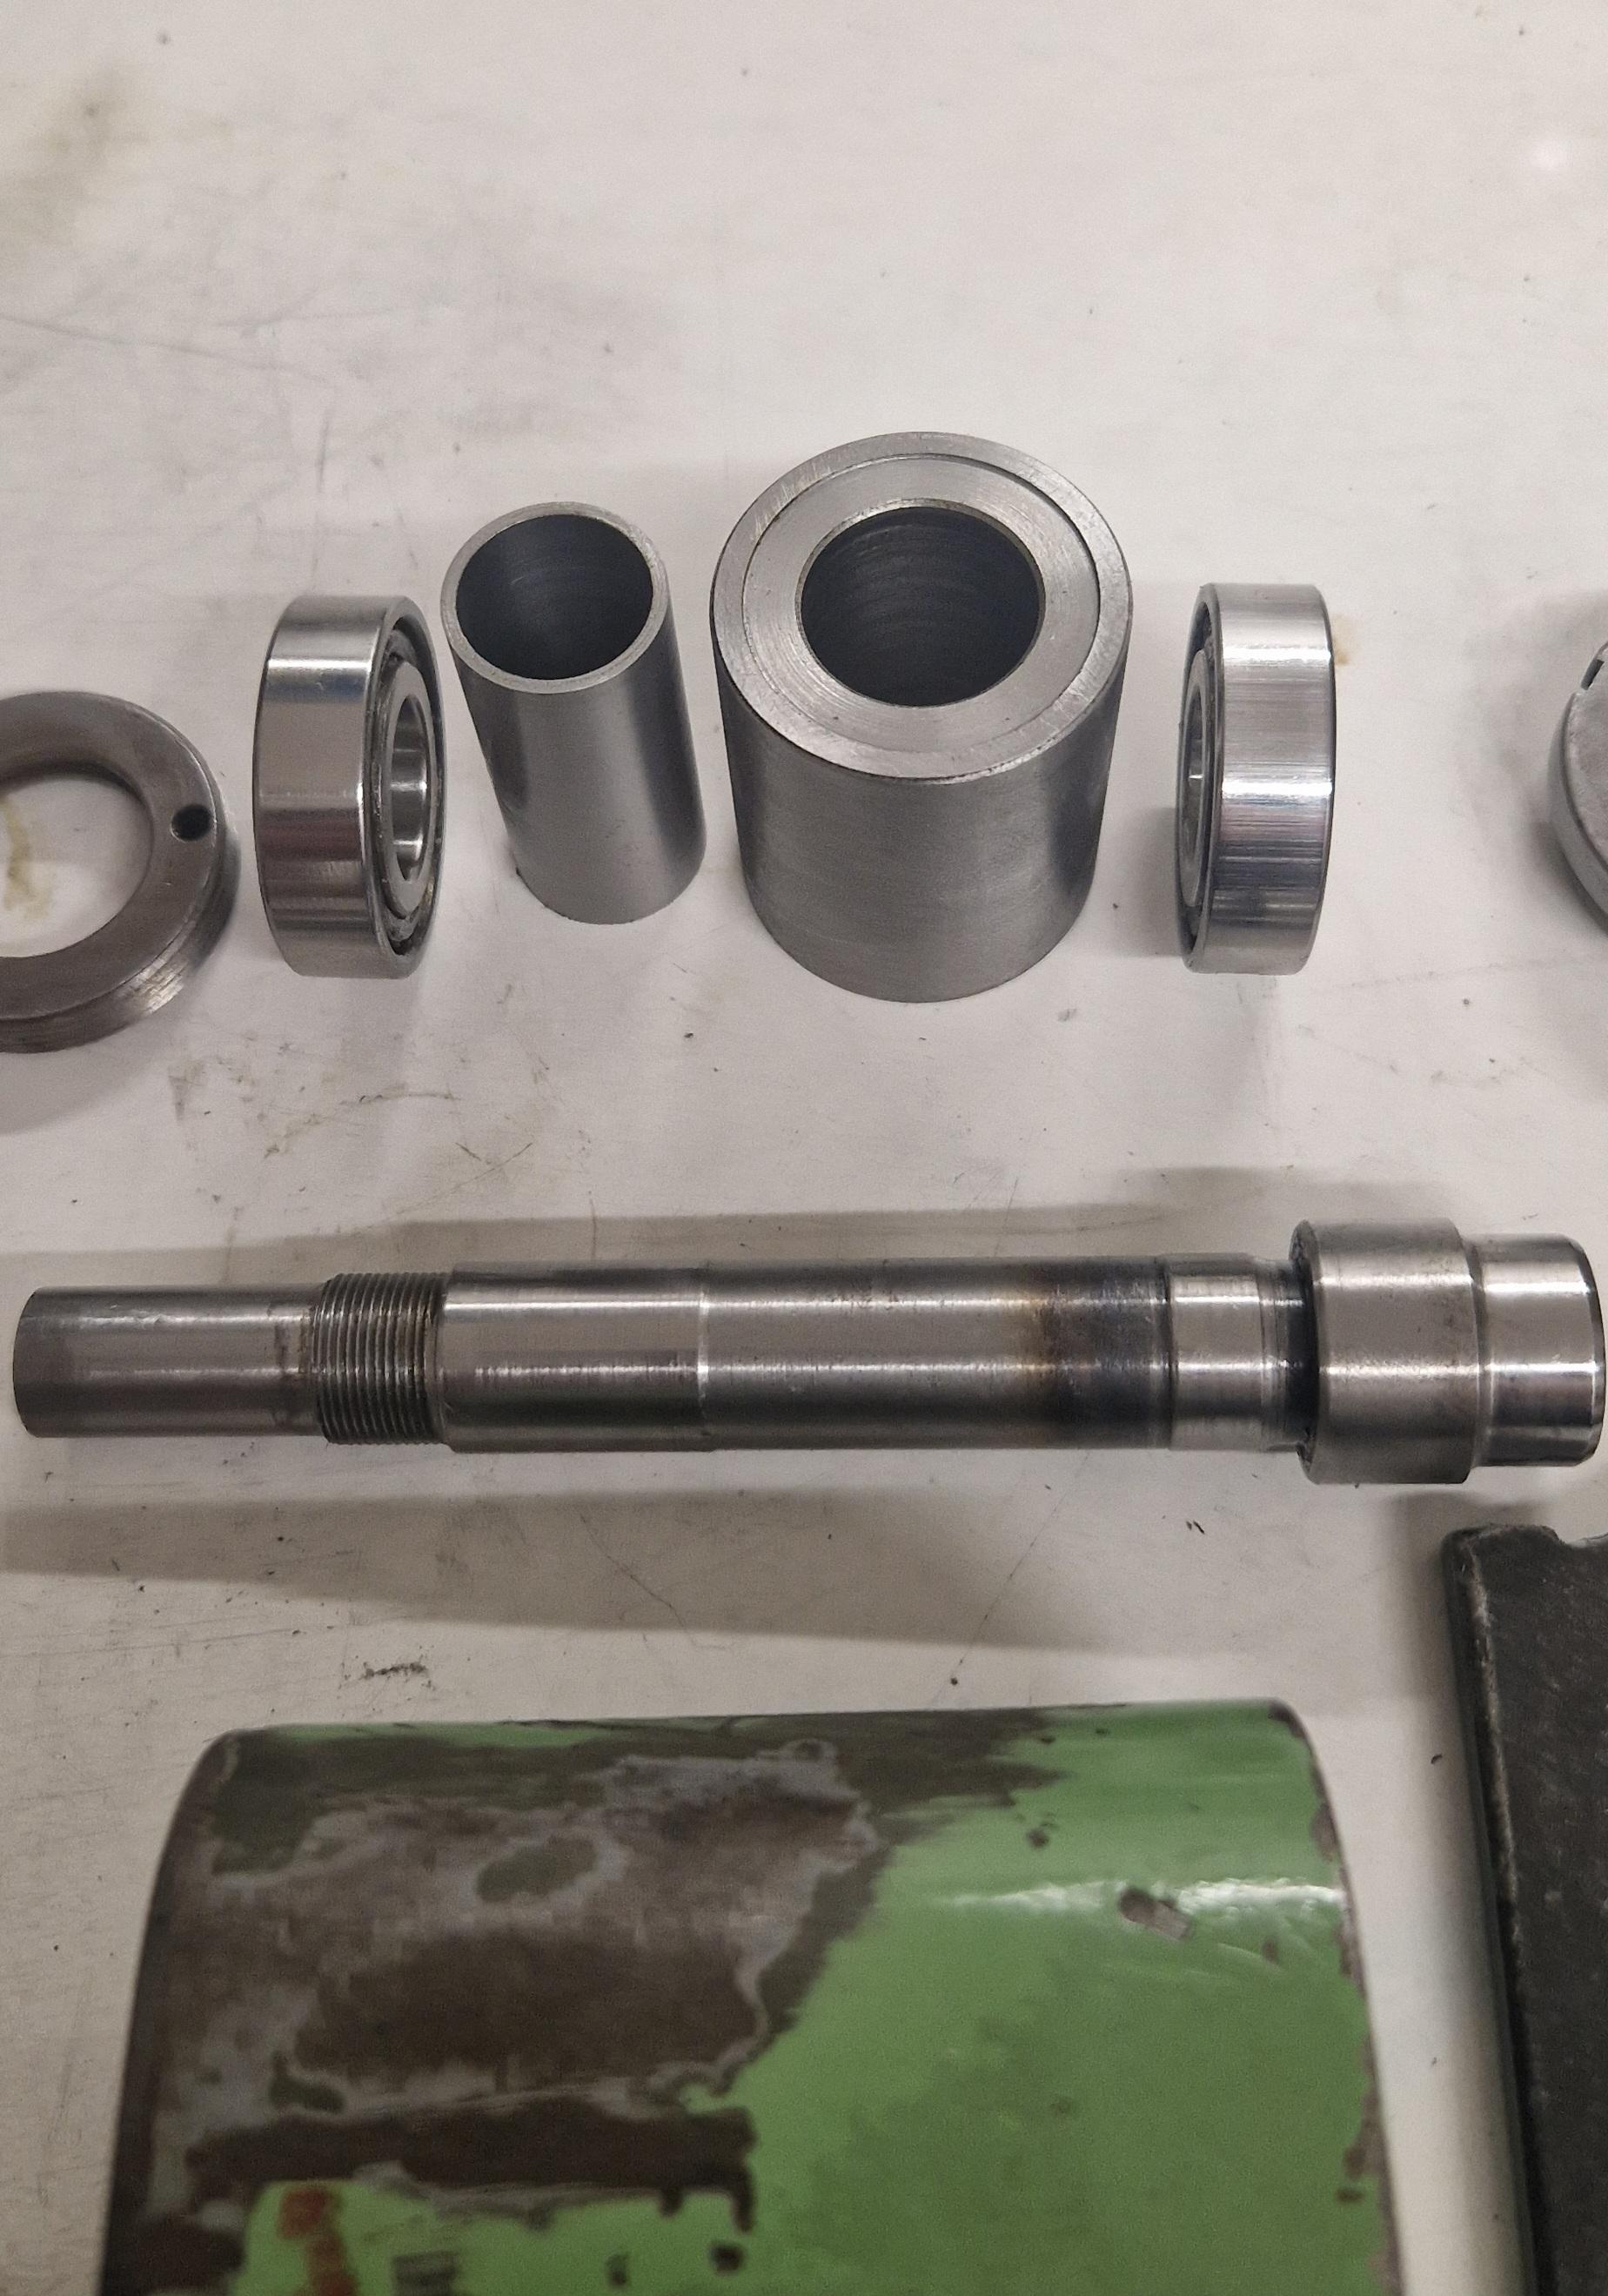
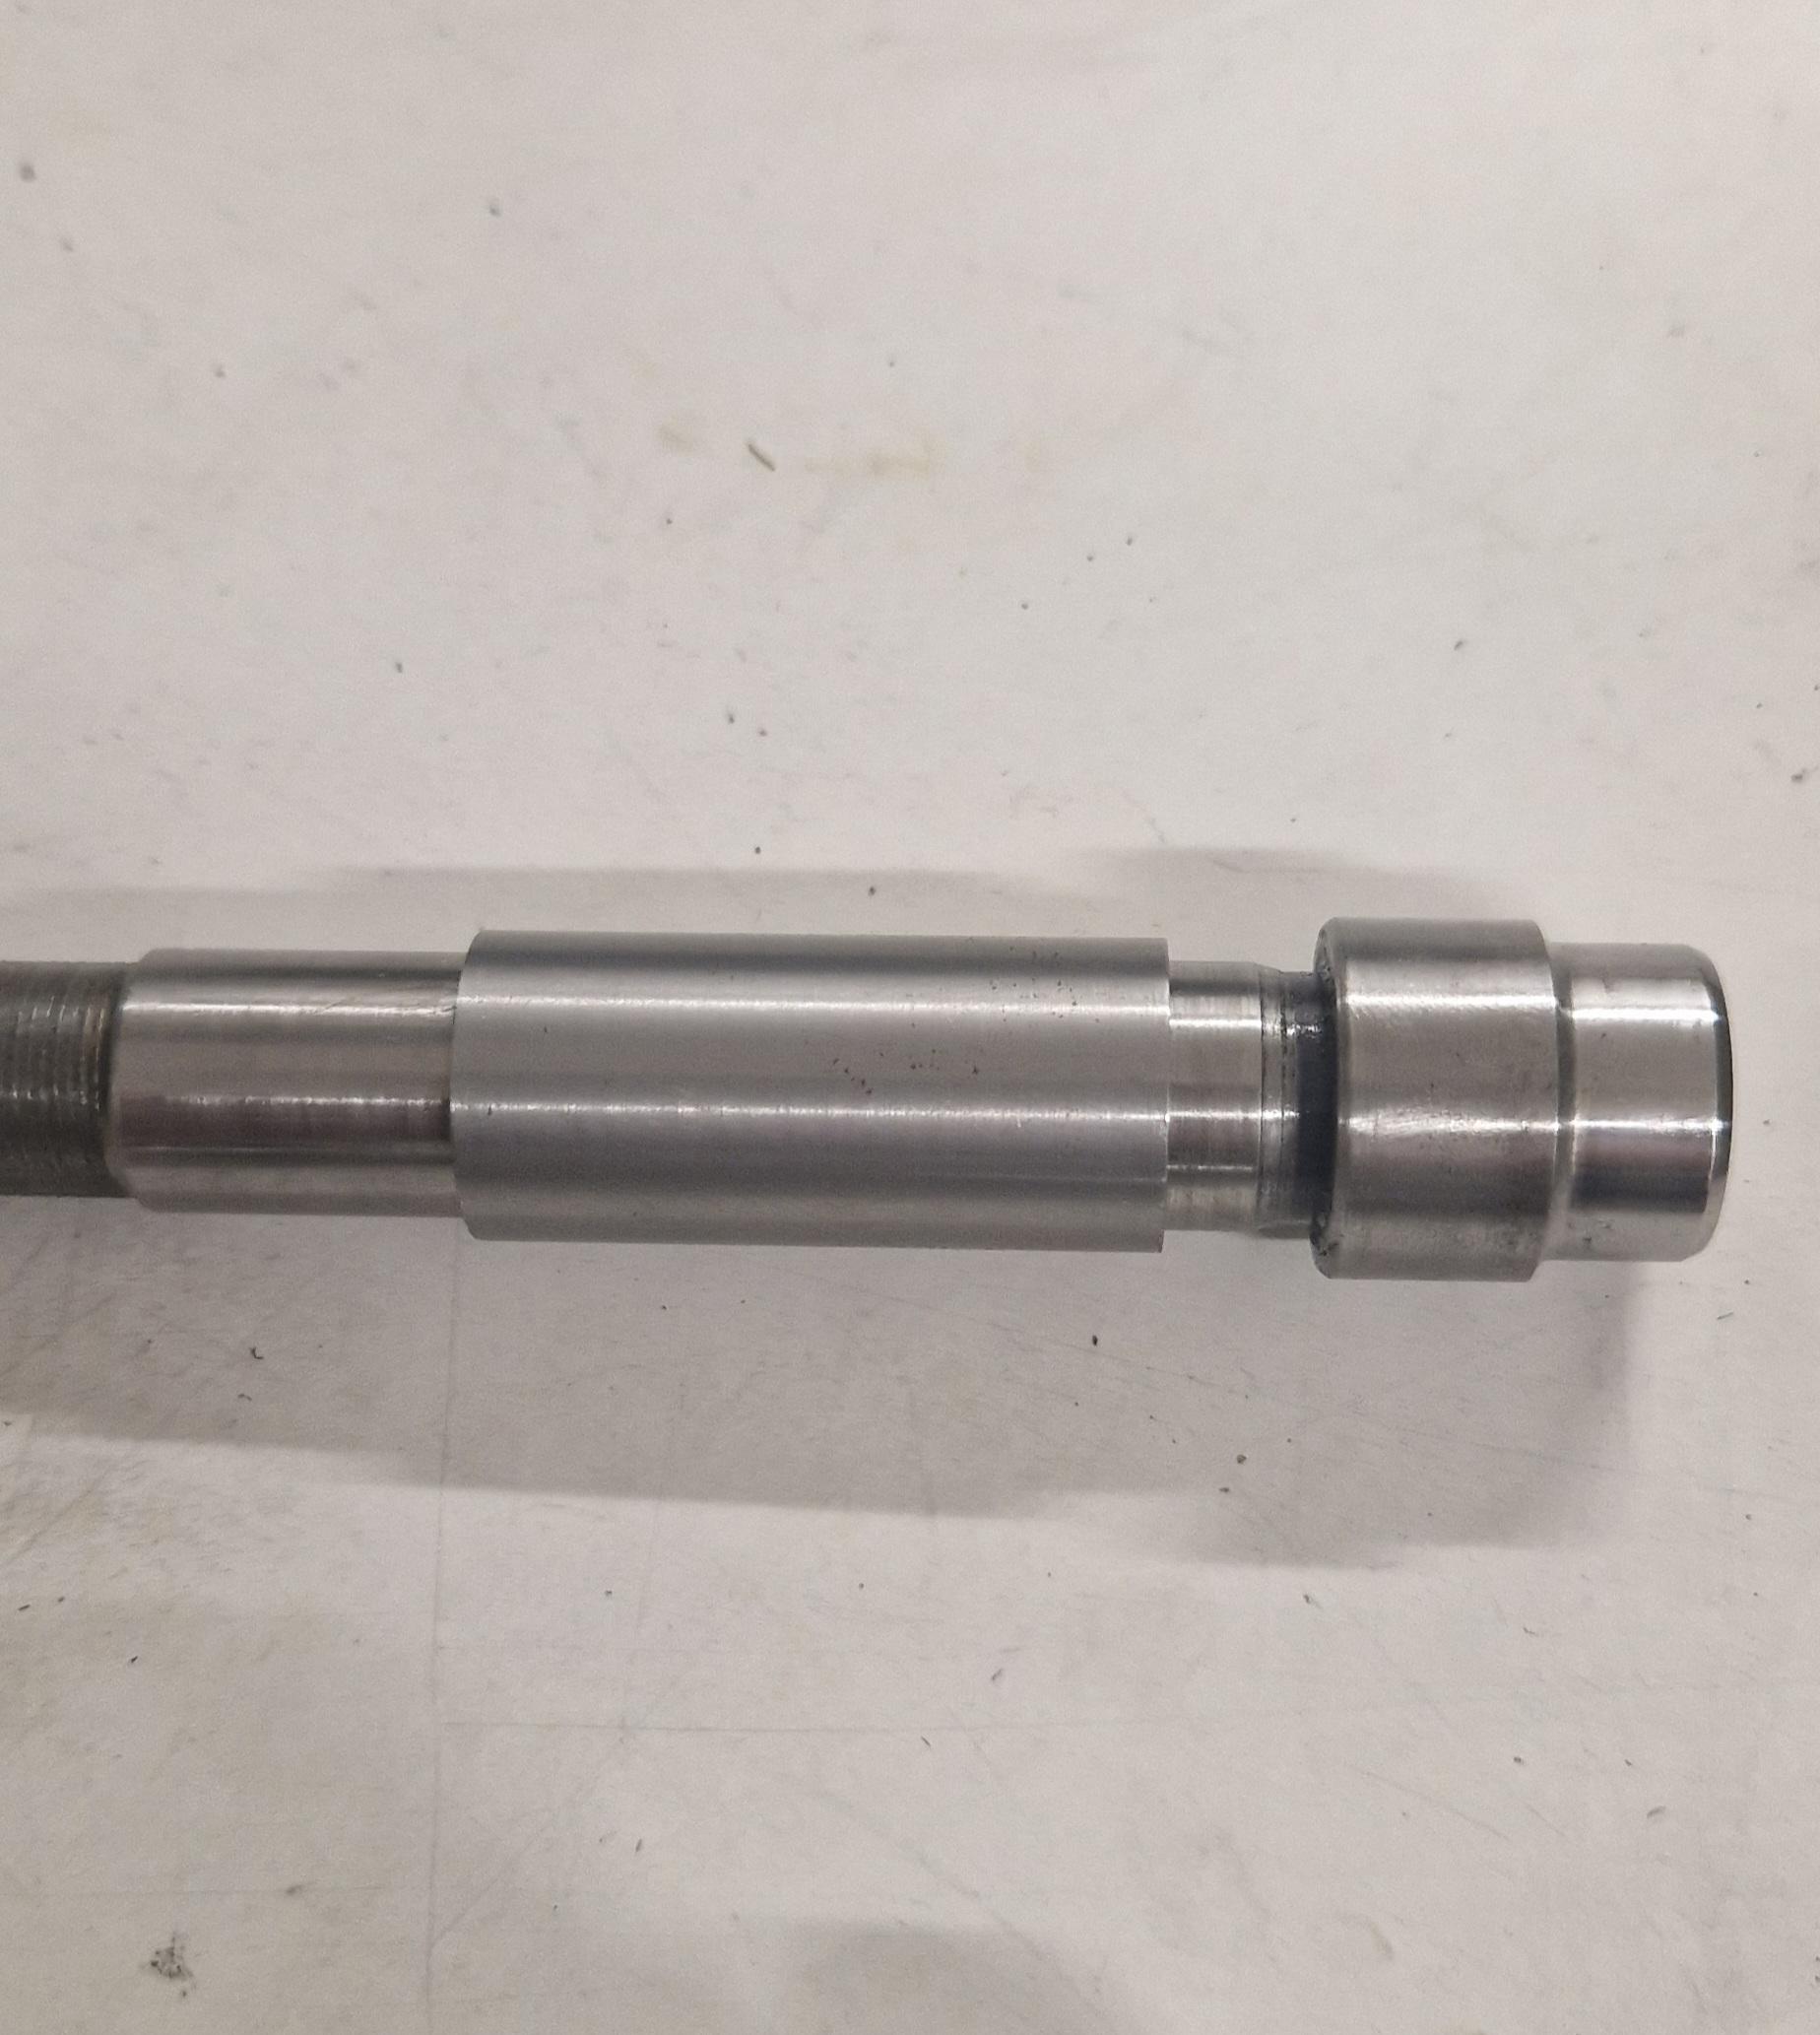
Once you have the collet closer bits off, and the pulley off, there are two nuts on the spindle. These must be removed. There is a large nut in the back of the headstock with two holes, remove this with an appropriate wrench. The front large nut comes off too. The spindle now comes out- but wait- there's more! There is a spacer between the outer races of the bearings; the spindle will almost certainly come out "assembled" with both bearings and this spacer (it can actually come out front or back-ways with the large nuts off the headstock). You have to manage to press out the spindle from the rear bearing, get the spacer off, then remove the front bearing, now you can get to the key. Imagining you get it all apart without causing any damage to the bearings, now the fun part starts. You must apply preload to the bearings, and this is a very tricky endeavor. Basically once you have the bearings back on, and are in the casting, you snug up the rear nut (one of the two) on the spindle, checking the play of the spindle with at least a 0.002mm reading indicator, until there is zero axial play, then just a little more, then snug up the second nut to lock things in place. Of course snugging up the second nut influences the preload, so you can go back and forth a few times to get it right. Too much preload and bearing life diminishes, too little, and you get poor performance, poor surface finishes, ball skidding, etc. When I replaced the bearings in one of mine many years ago, I was surprised to find that the bearings were regular deep-groove bearings, but of a higher precision class than normal. I replaced with dimensionally identical angular contact bearings, class P4. In trying to set the preload, I just about lost my mind, so called Barden (the high precision arm of FAG bearing makers, and who made my new ones) and a nice engineer told me that the folks at Leinen were either crazy, or really good- he also said it's 100% A-OK to set up deep groove bearings with preload like this, but best is angular contact. In this bearing setup, the standard way to do it is to have a spacer between the outer races, and another between the inner races. Leinen has the former but not the latter, haha. His advice was to make an inner spacer. The trick is it has to be the exact same length as the outer spacer, within like a micron. Then you just tighten everything up and the preload is set, because the bearings (the new ones) are ground in a way that they have proper preload in that situation. Easy. Sort of- if you have the means to make the other spacer! Just to note- Schaublin does the preloading as Leinen did on these on their lathes using angular contact bearings. There is a procedure in the manual, where you tighten the nut until axial play is zero, then a certain number of degrees more. This works on their setup as the nut itself locks without a second nut, and they spent the time to figure it all out in a repeatable way. I say all this not to scare you off from dismantling your headstock, just to give a heads-up what you're up against to get it back to where it was before.1 point
-
Do, write a nice letter to Santa. I do all disassembly and assembly under the microscope. I consider it a necessity.1 point
-
Hi as said by @oldhippy it will need to be drilled out. Try usin£ a drill bit in a pin vice, it will be slow but doable. The other way is to drill from the out side of the lug a nd plug and polish when finished.1 point
-
Hello, I'm new to watchmaking and I'd like to learn more about it. Best regards.1 point
-
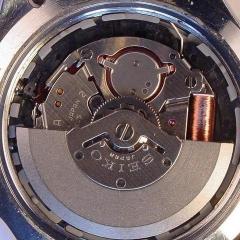
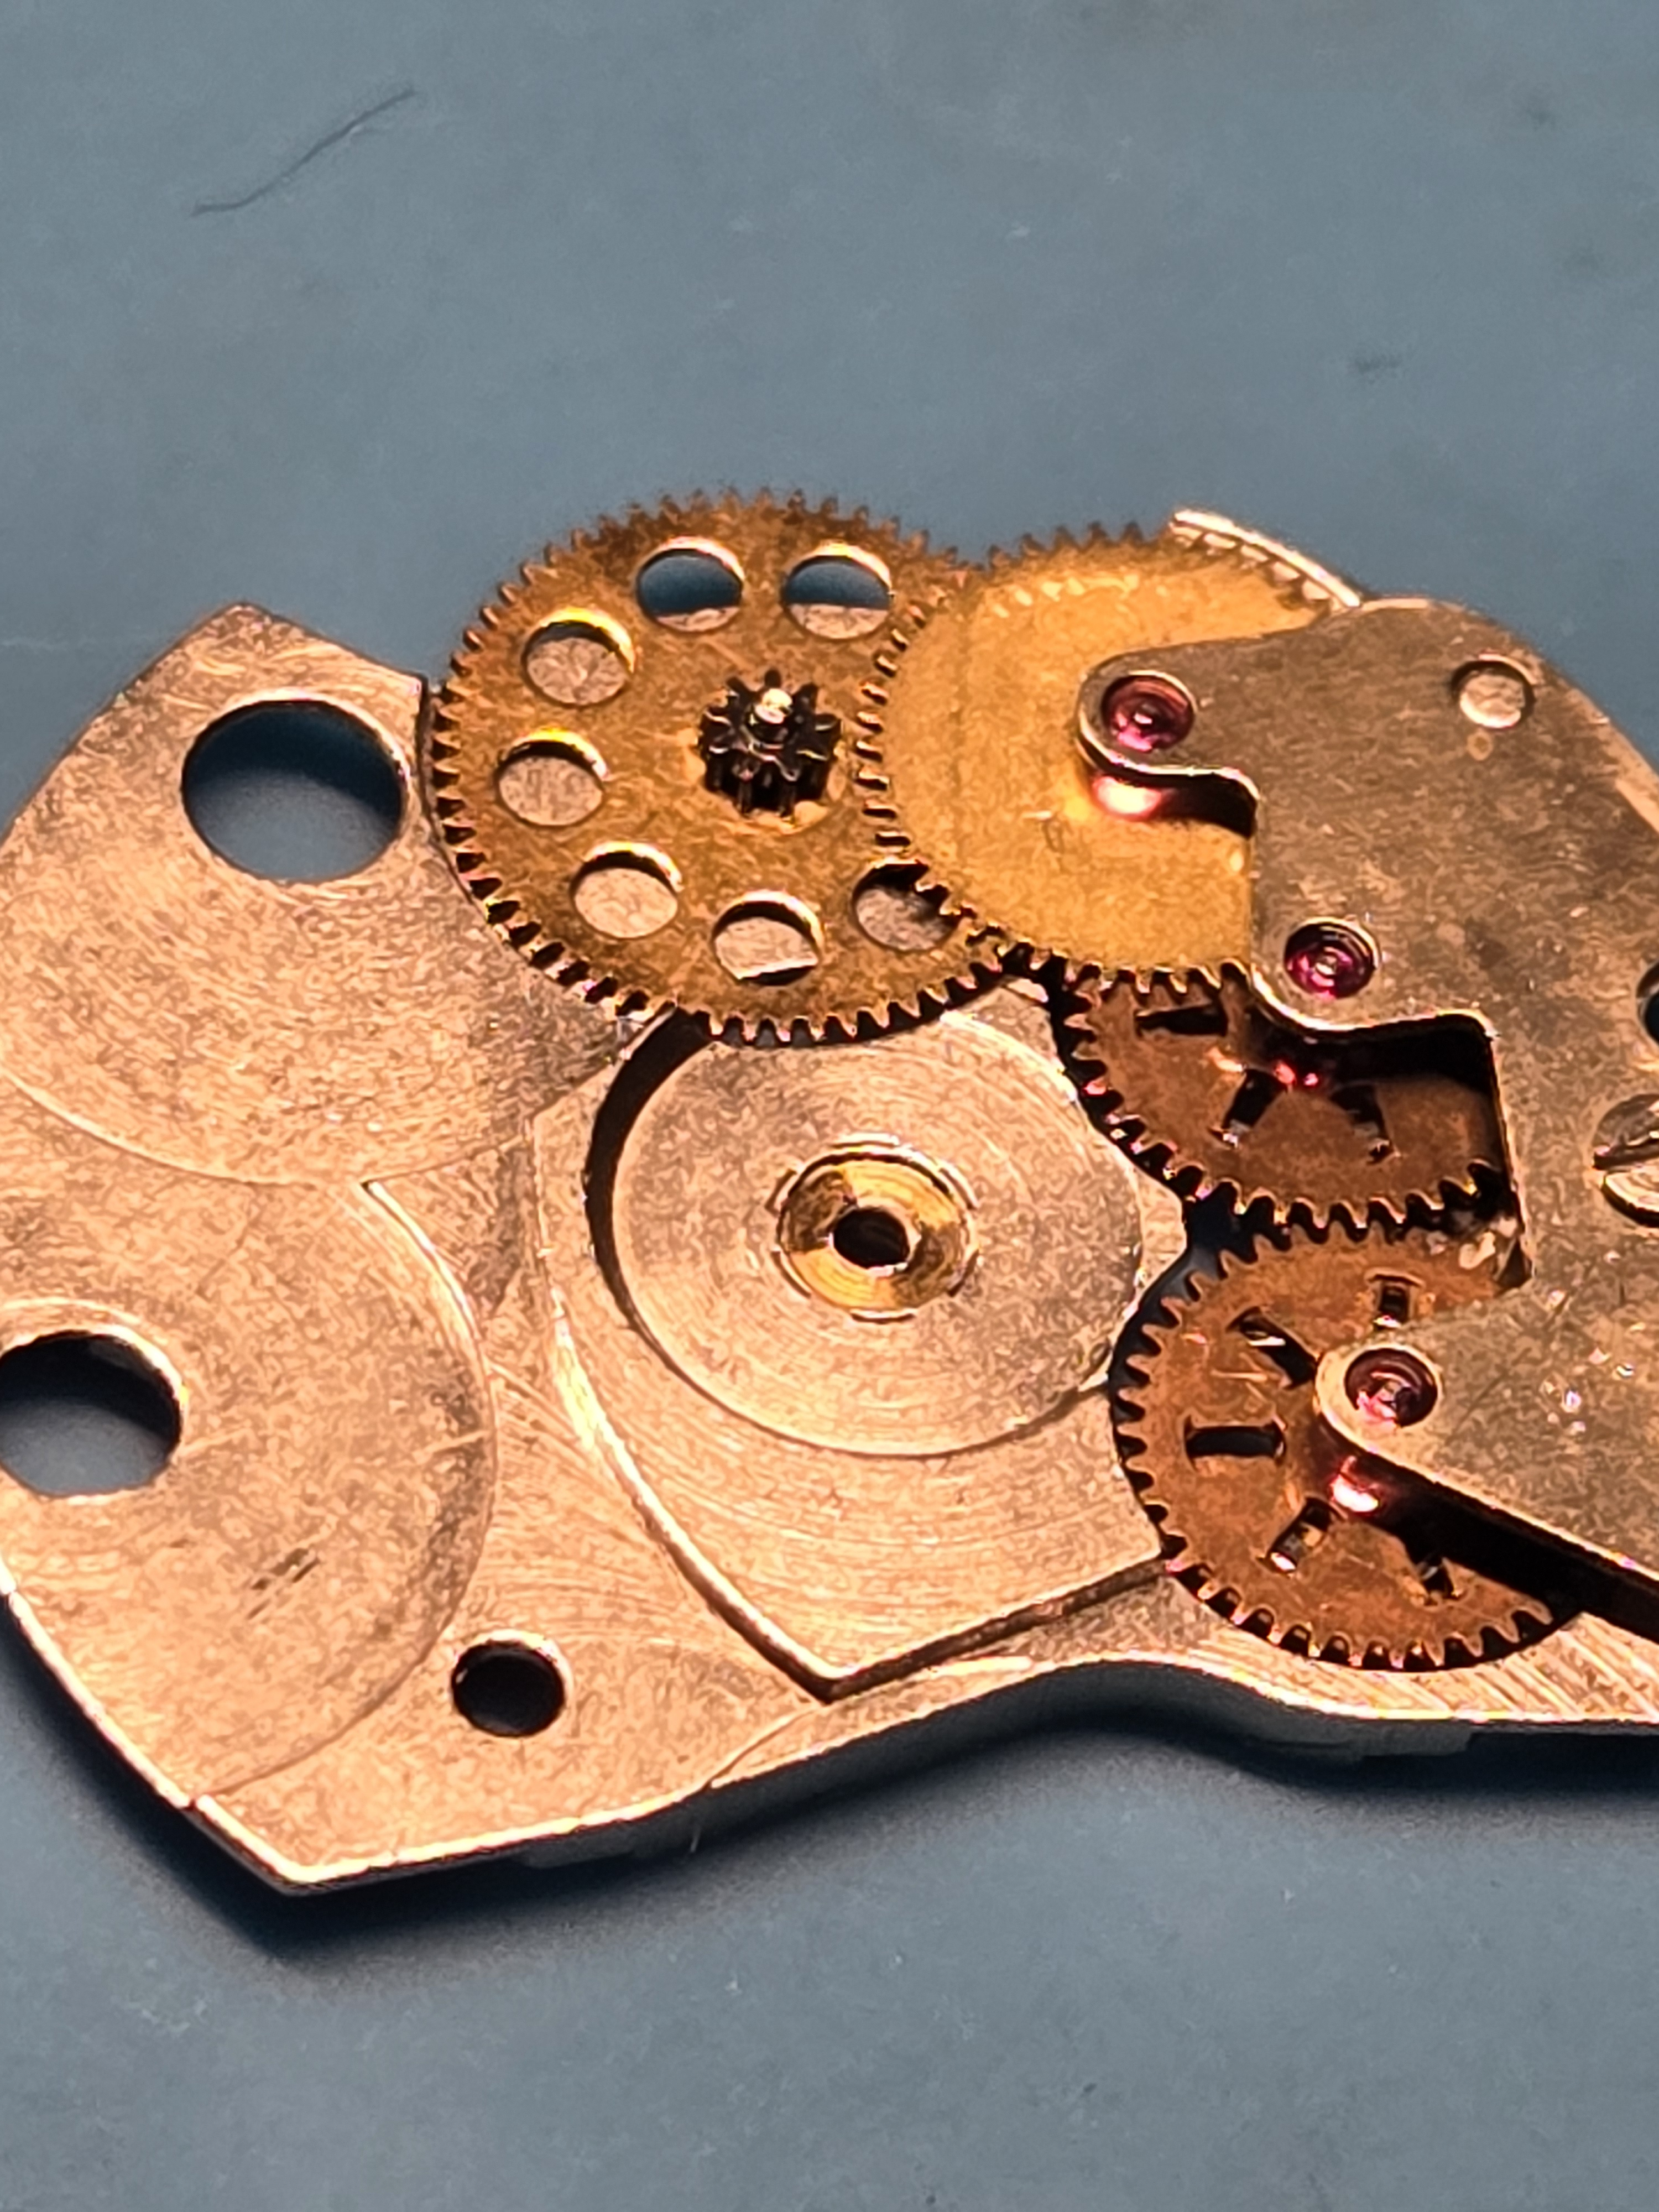
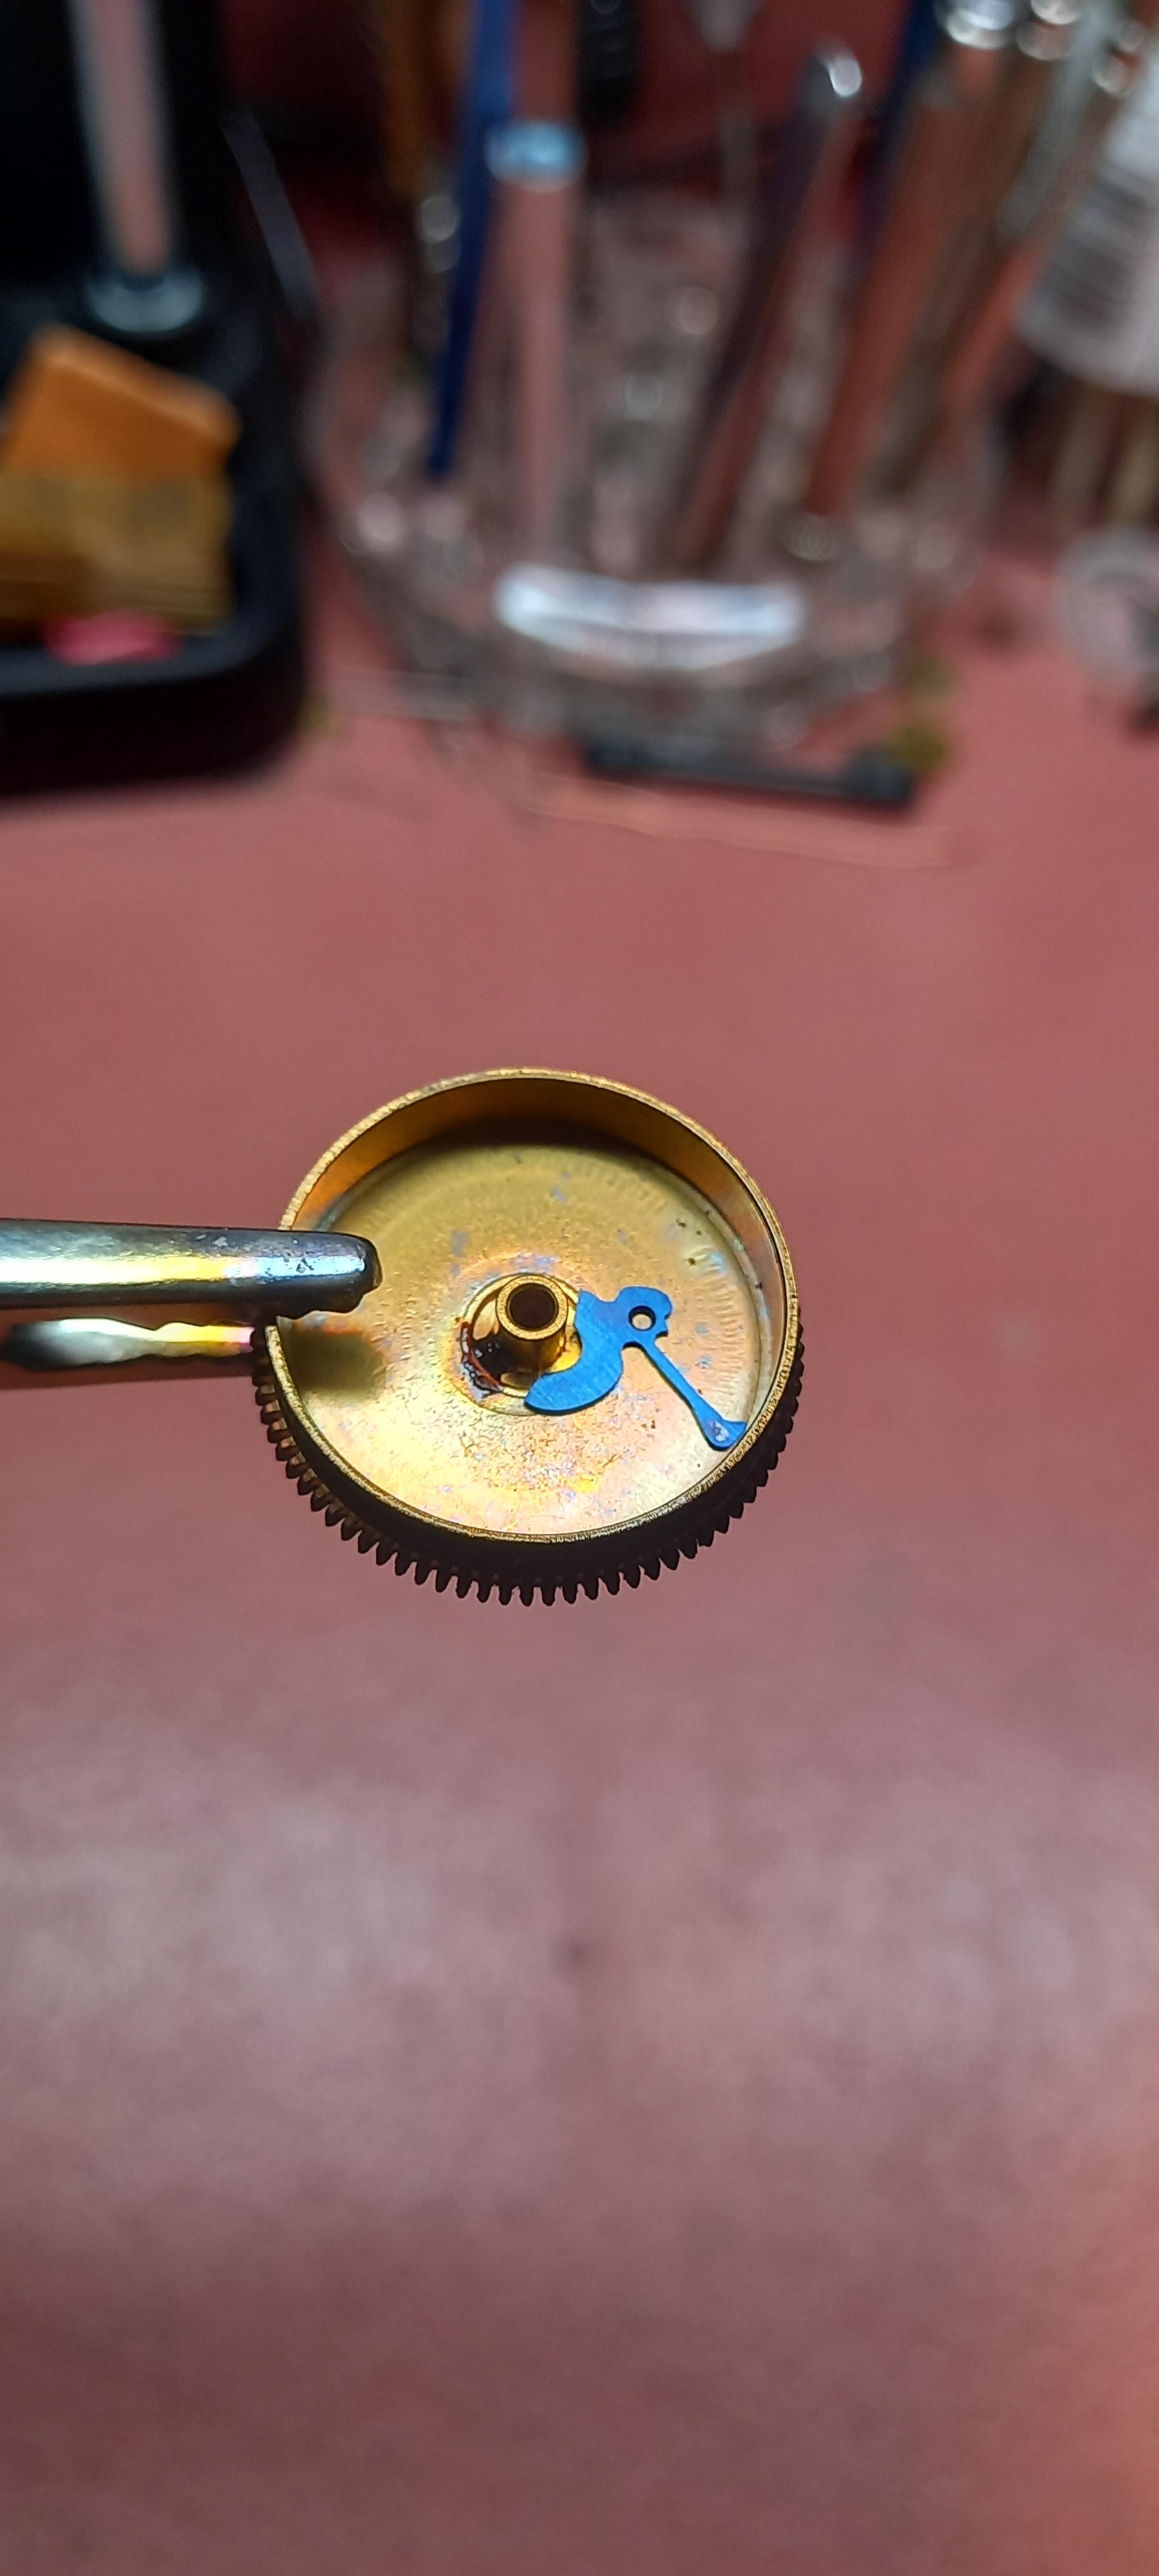
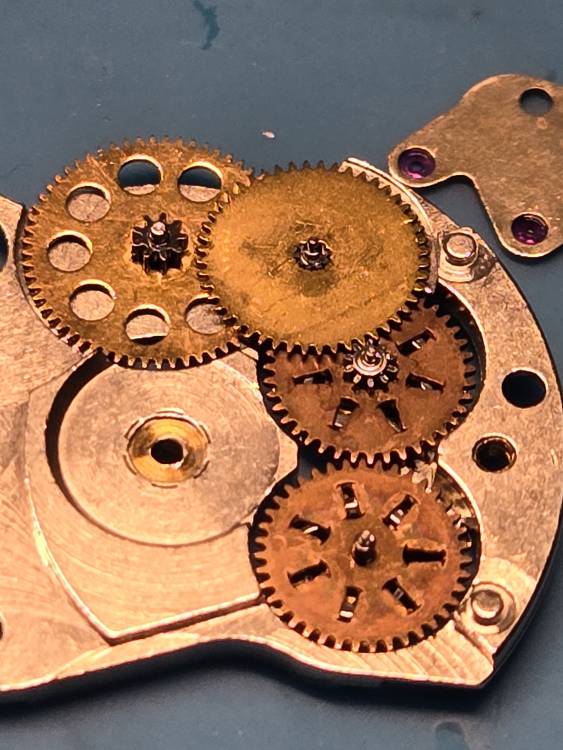
Here are the pics of the bridge. Looks correct, but as soon as I screw on the rotor, the watch stops. Video here: https://1drv.ms/v/s!ArG5E62RGctxjokY5ws85BzuJLVakA Pics. Might have figured it out. I have been working on this watch for a while and since I got it as a non runner in a terrible shape, there was no guarantee that parts were proper. I think the main screw that was used on the rotor was too long, so it was stopping the main train. As soon as I fished out a much shorter and larger headed screw, things were good again. Please celebrate with me.


 1 point
 -
One-dip or naphtha should be safe, but are you sure it isn't magnetized? I would also check that. Although, if that balance is from an Elgin 760 0r 761, I would think it would have a hairspring of non-magnetic alloy.1 point
-
If I'm replacing the crystal, I like to leave it off until after setting the hands so I can use the case as a holder.1 point
-
Tbh thats how i would do it. Being a joiner and setting up a few workshops in my time. I would have full worktops all the way around instead of seperate benches, but still a station for each process. Dedicated disassembly/assembly (clean area ) cleaning, repair , polishing and lathework.1 point
-
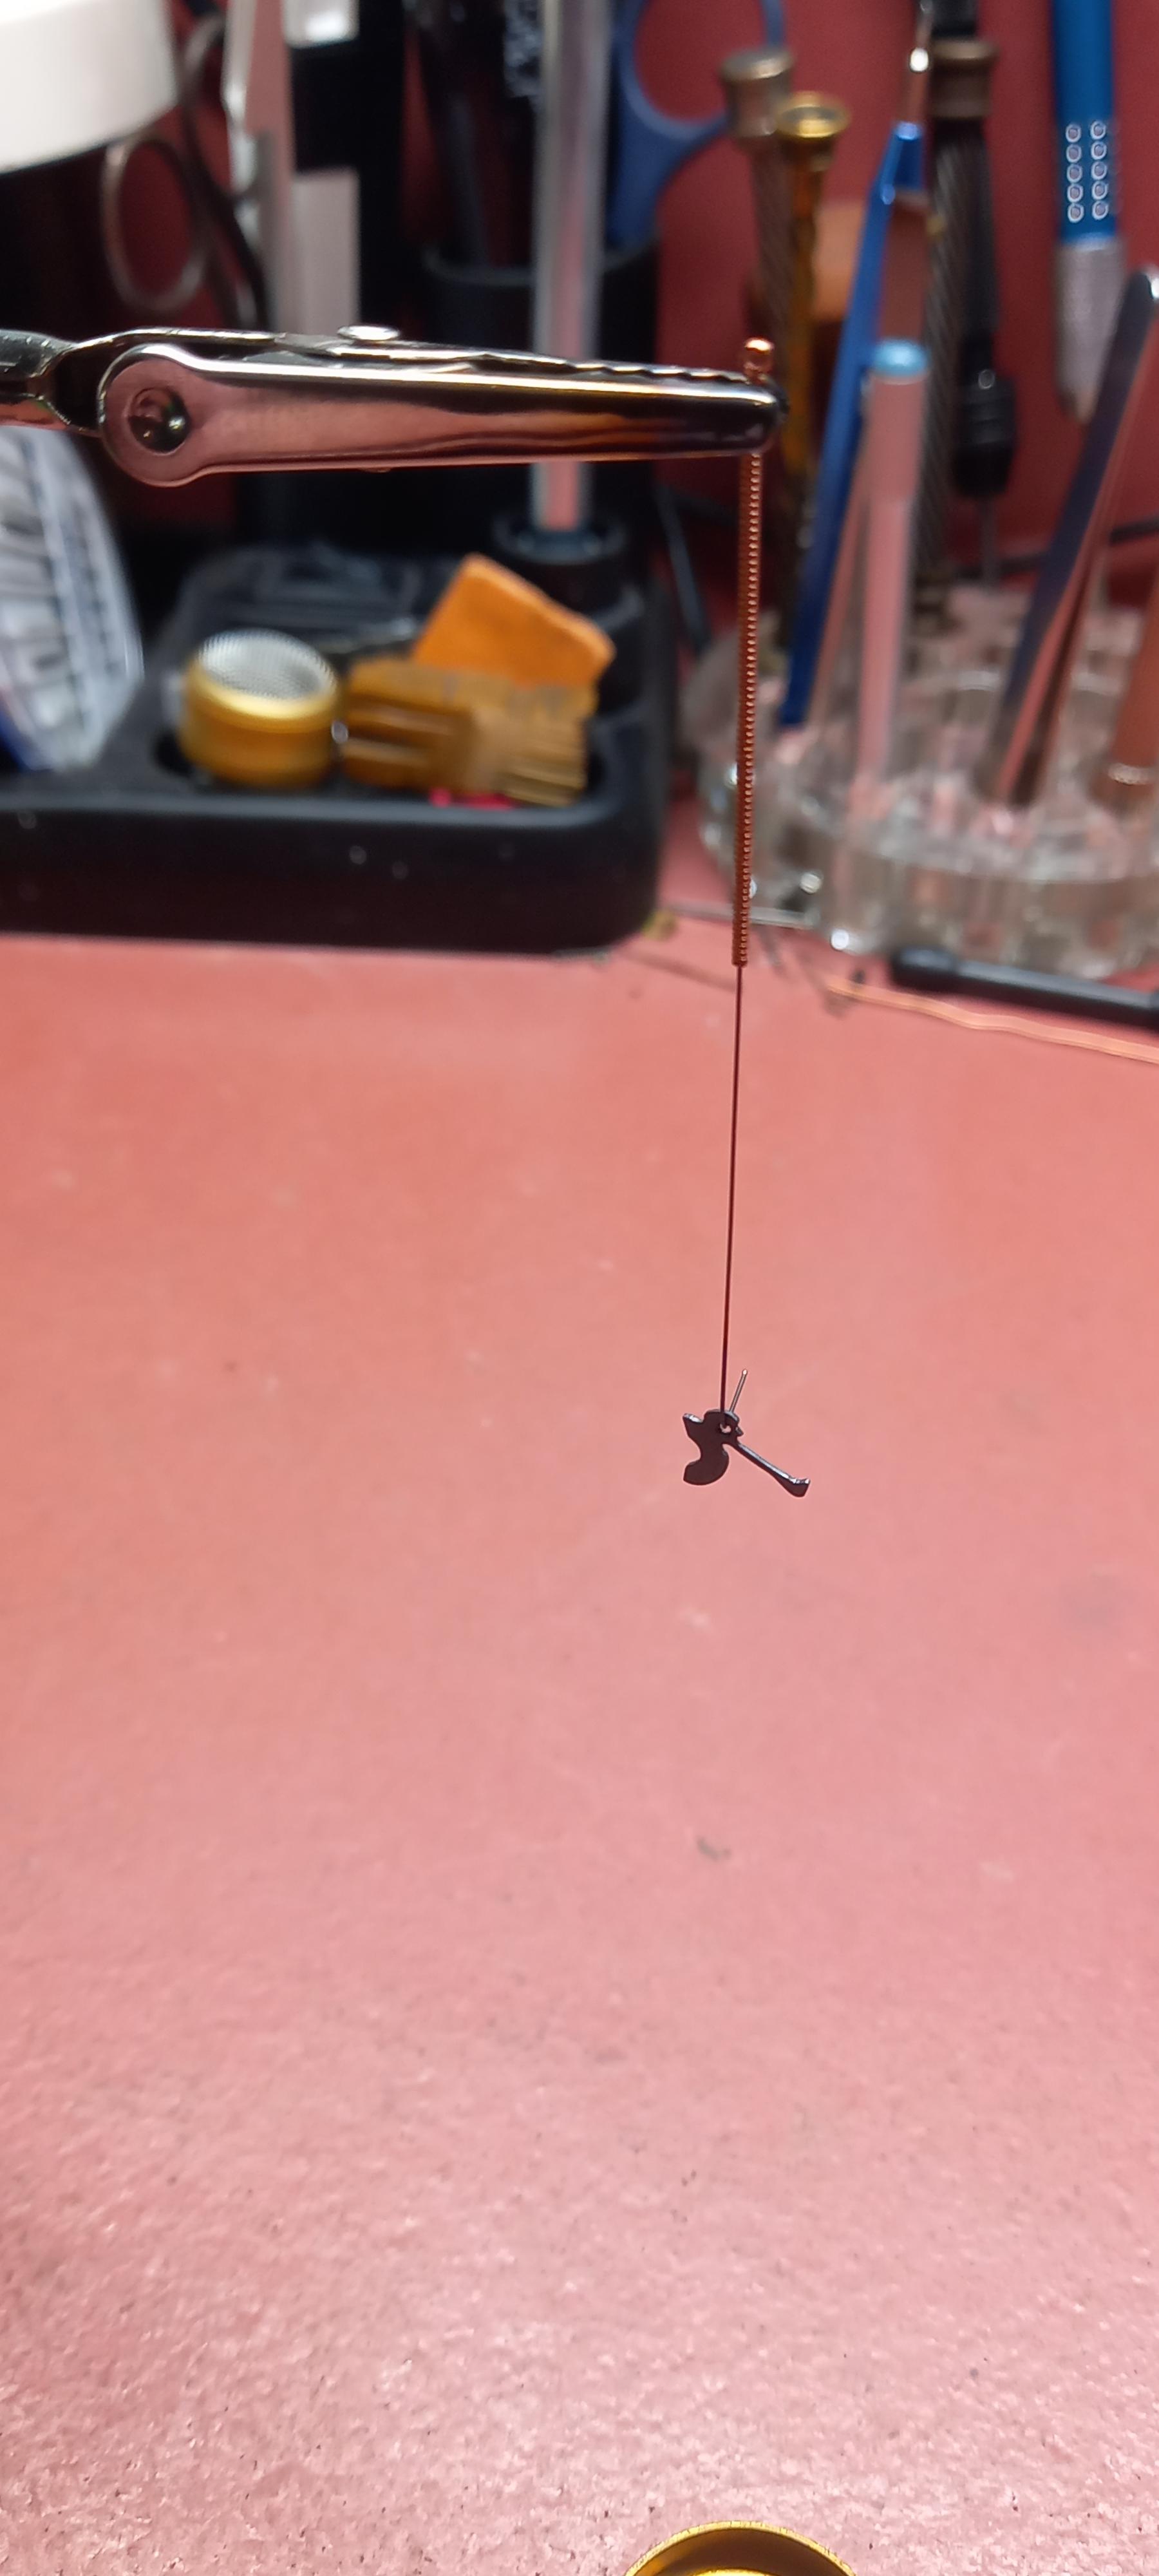
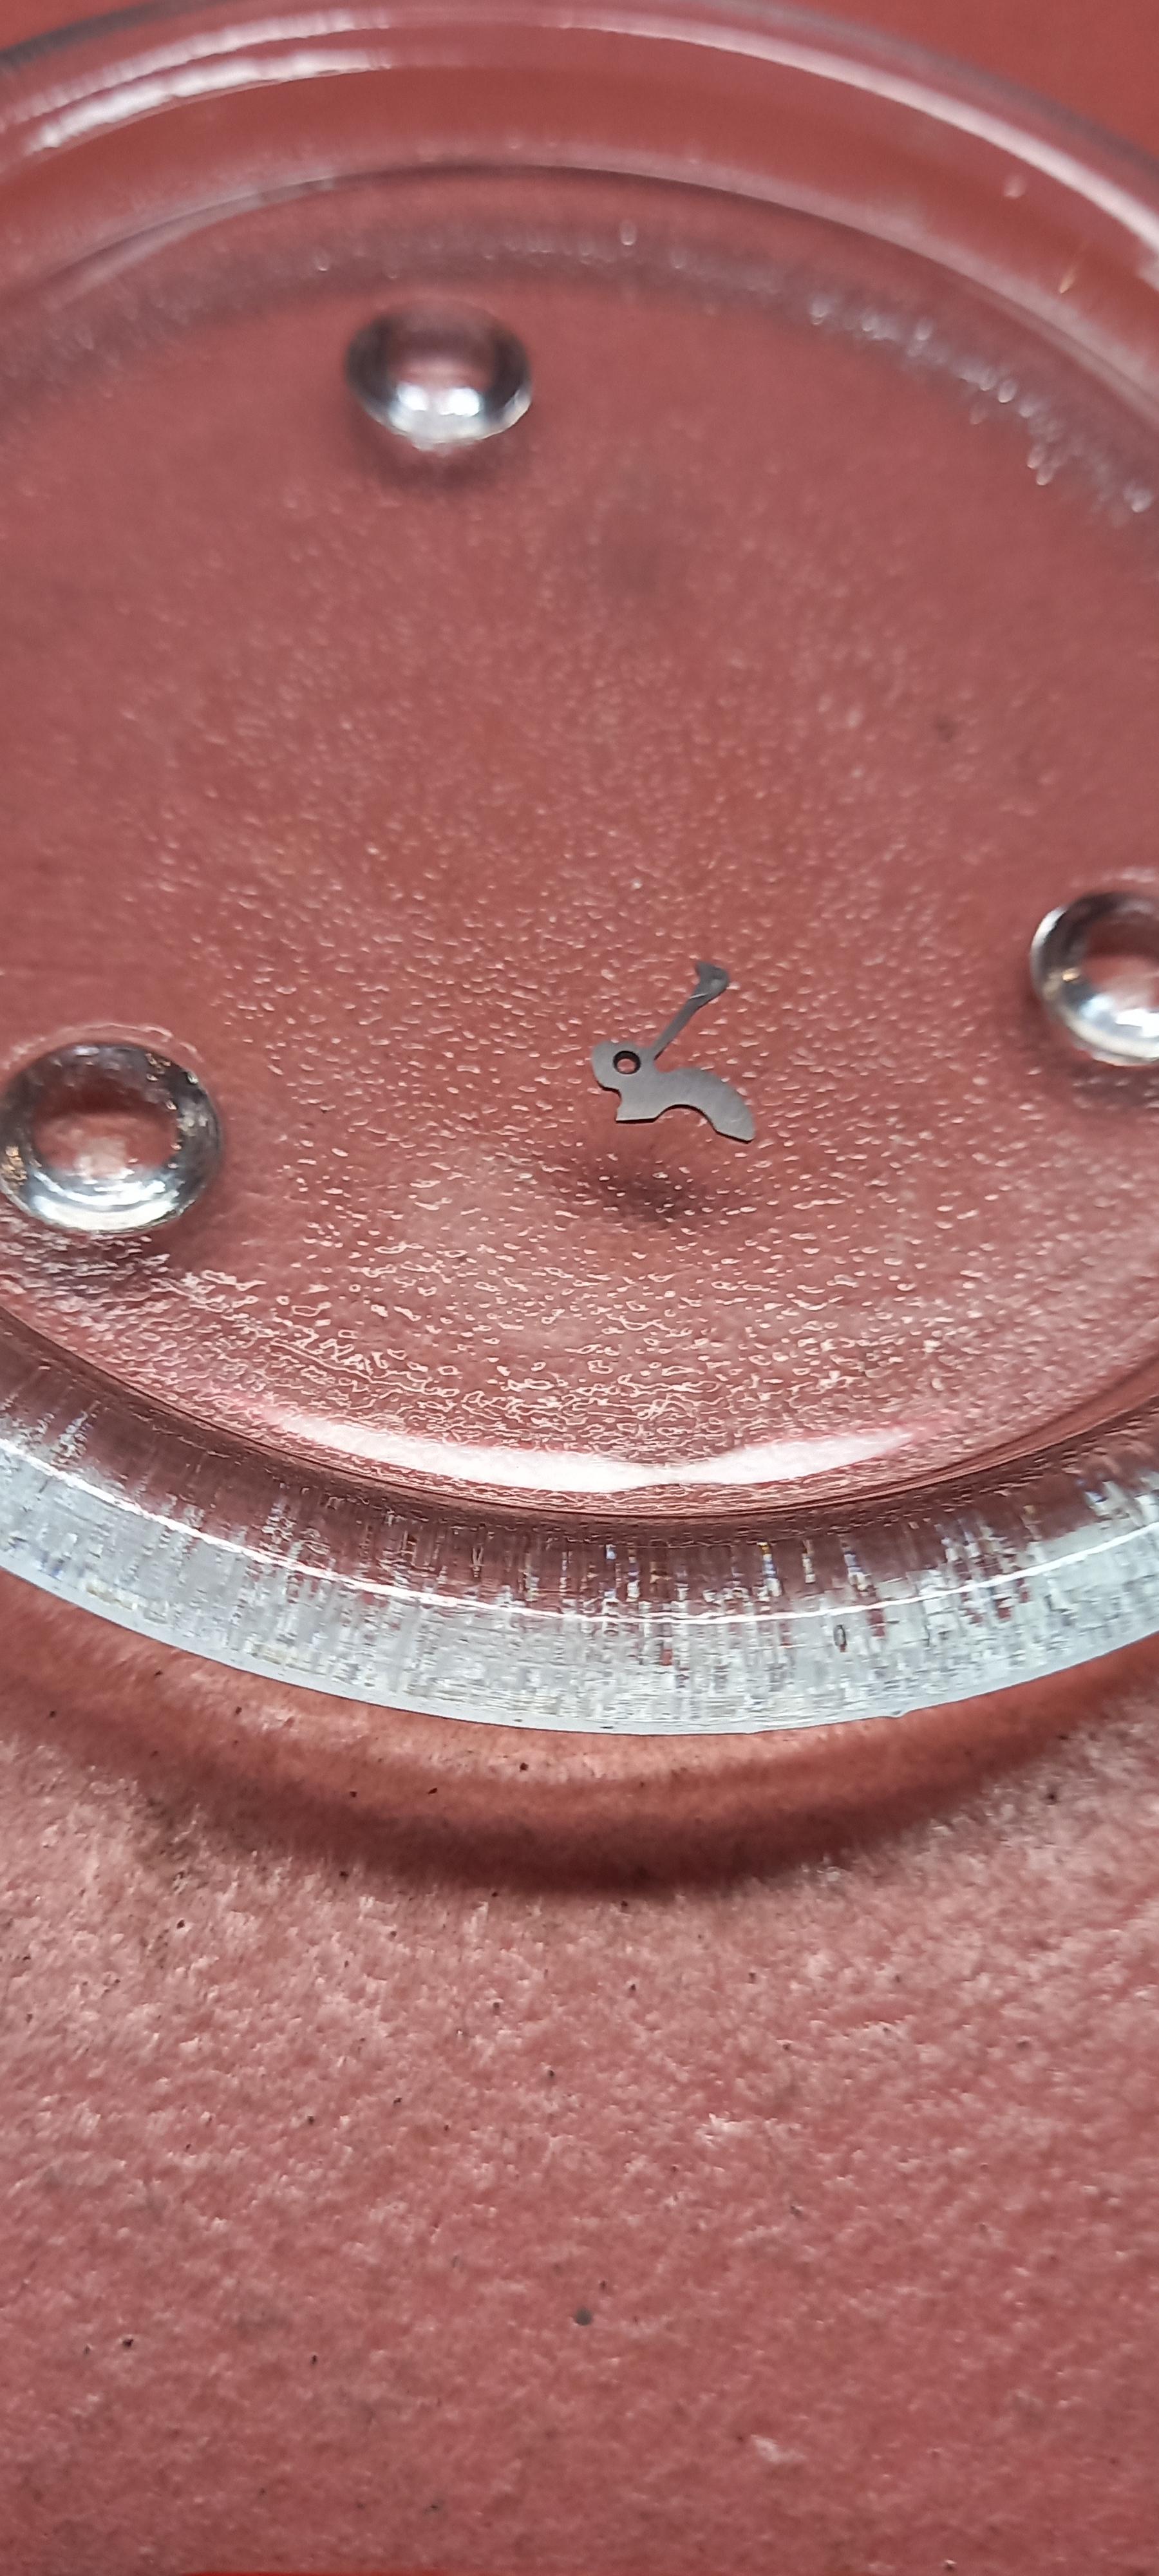
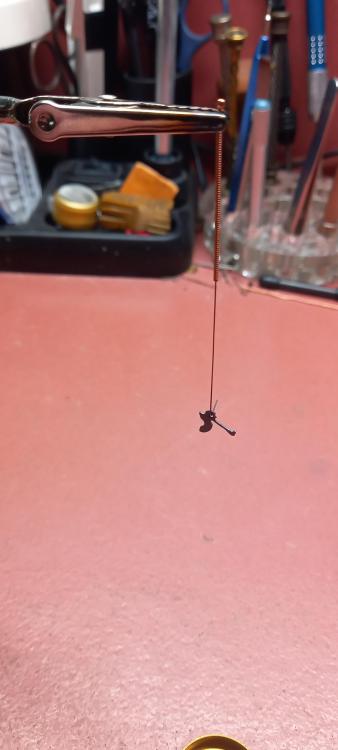
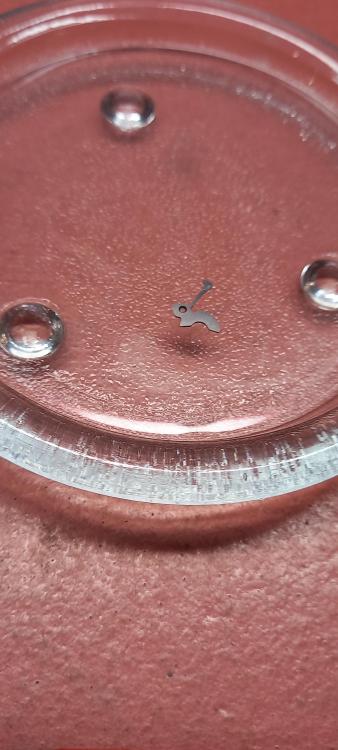
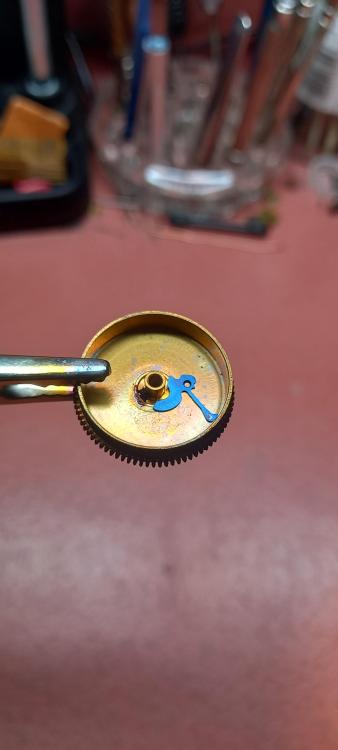
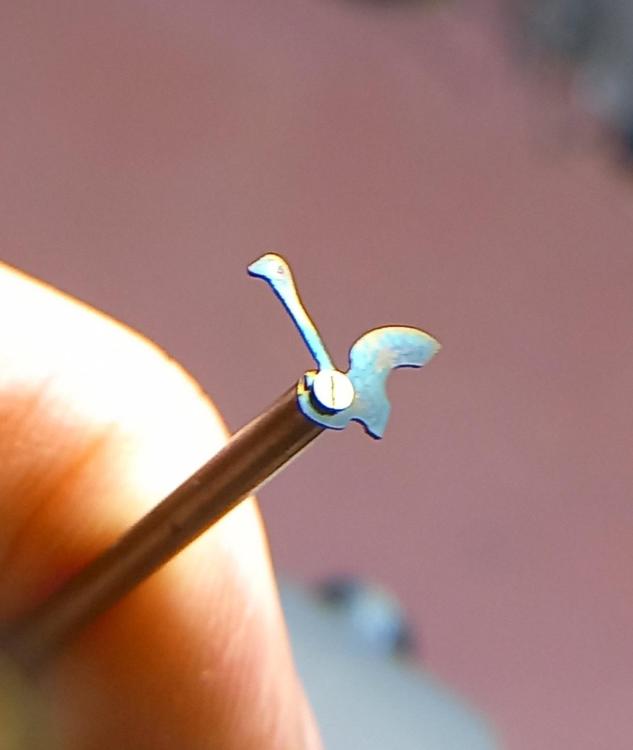
Tah-dah. A mini blow torch to harden it, then quench it and just a lighter held under a brass mainspring barrel that the part sits in to temper, Its important to wipe off any grease from fingerprints with ipa, you might be able to see i missed a bit at the top of the arm. Its a very satisfying process. I now just need to deal with the more difficult repairs, anybody any good at replacing rubbed in jewels ?
 1 point
 -
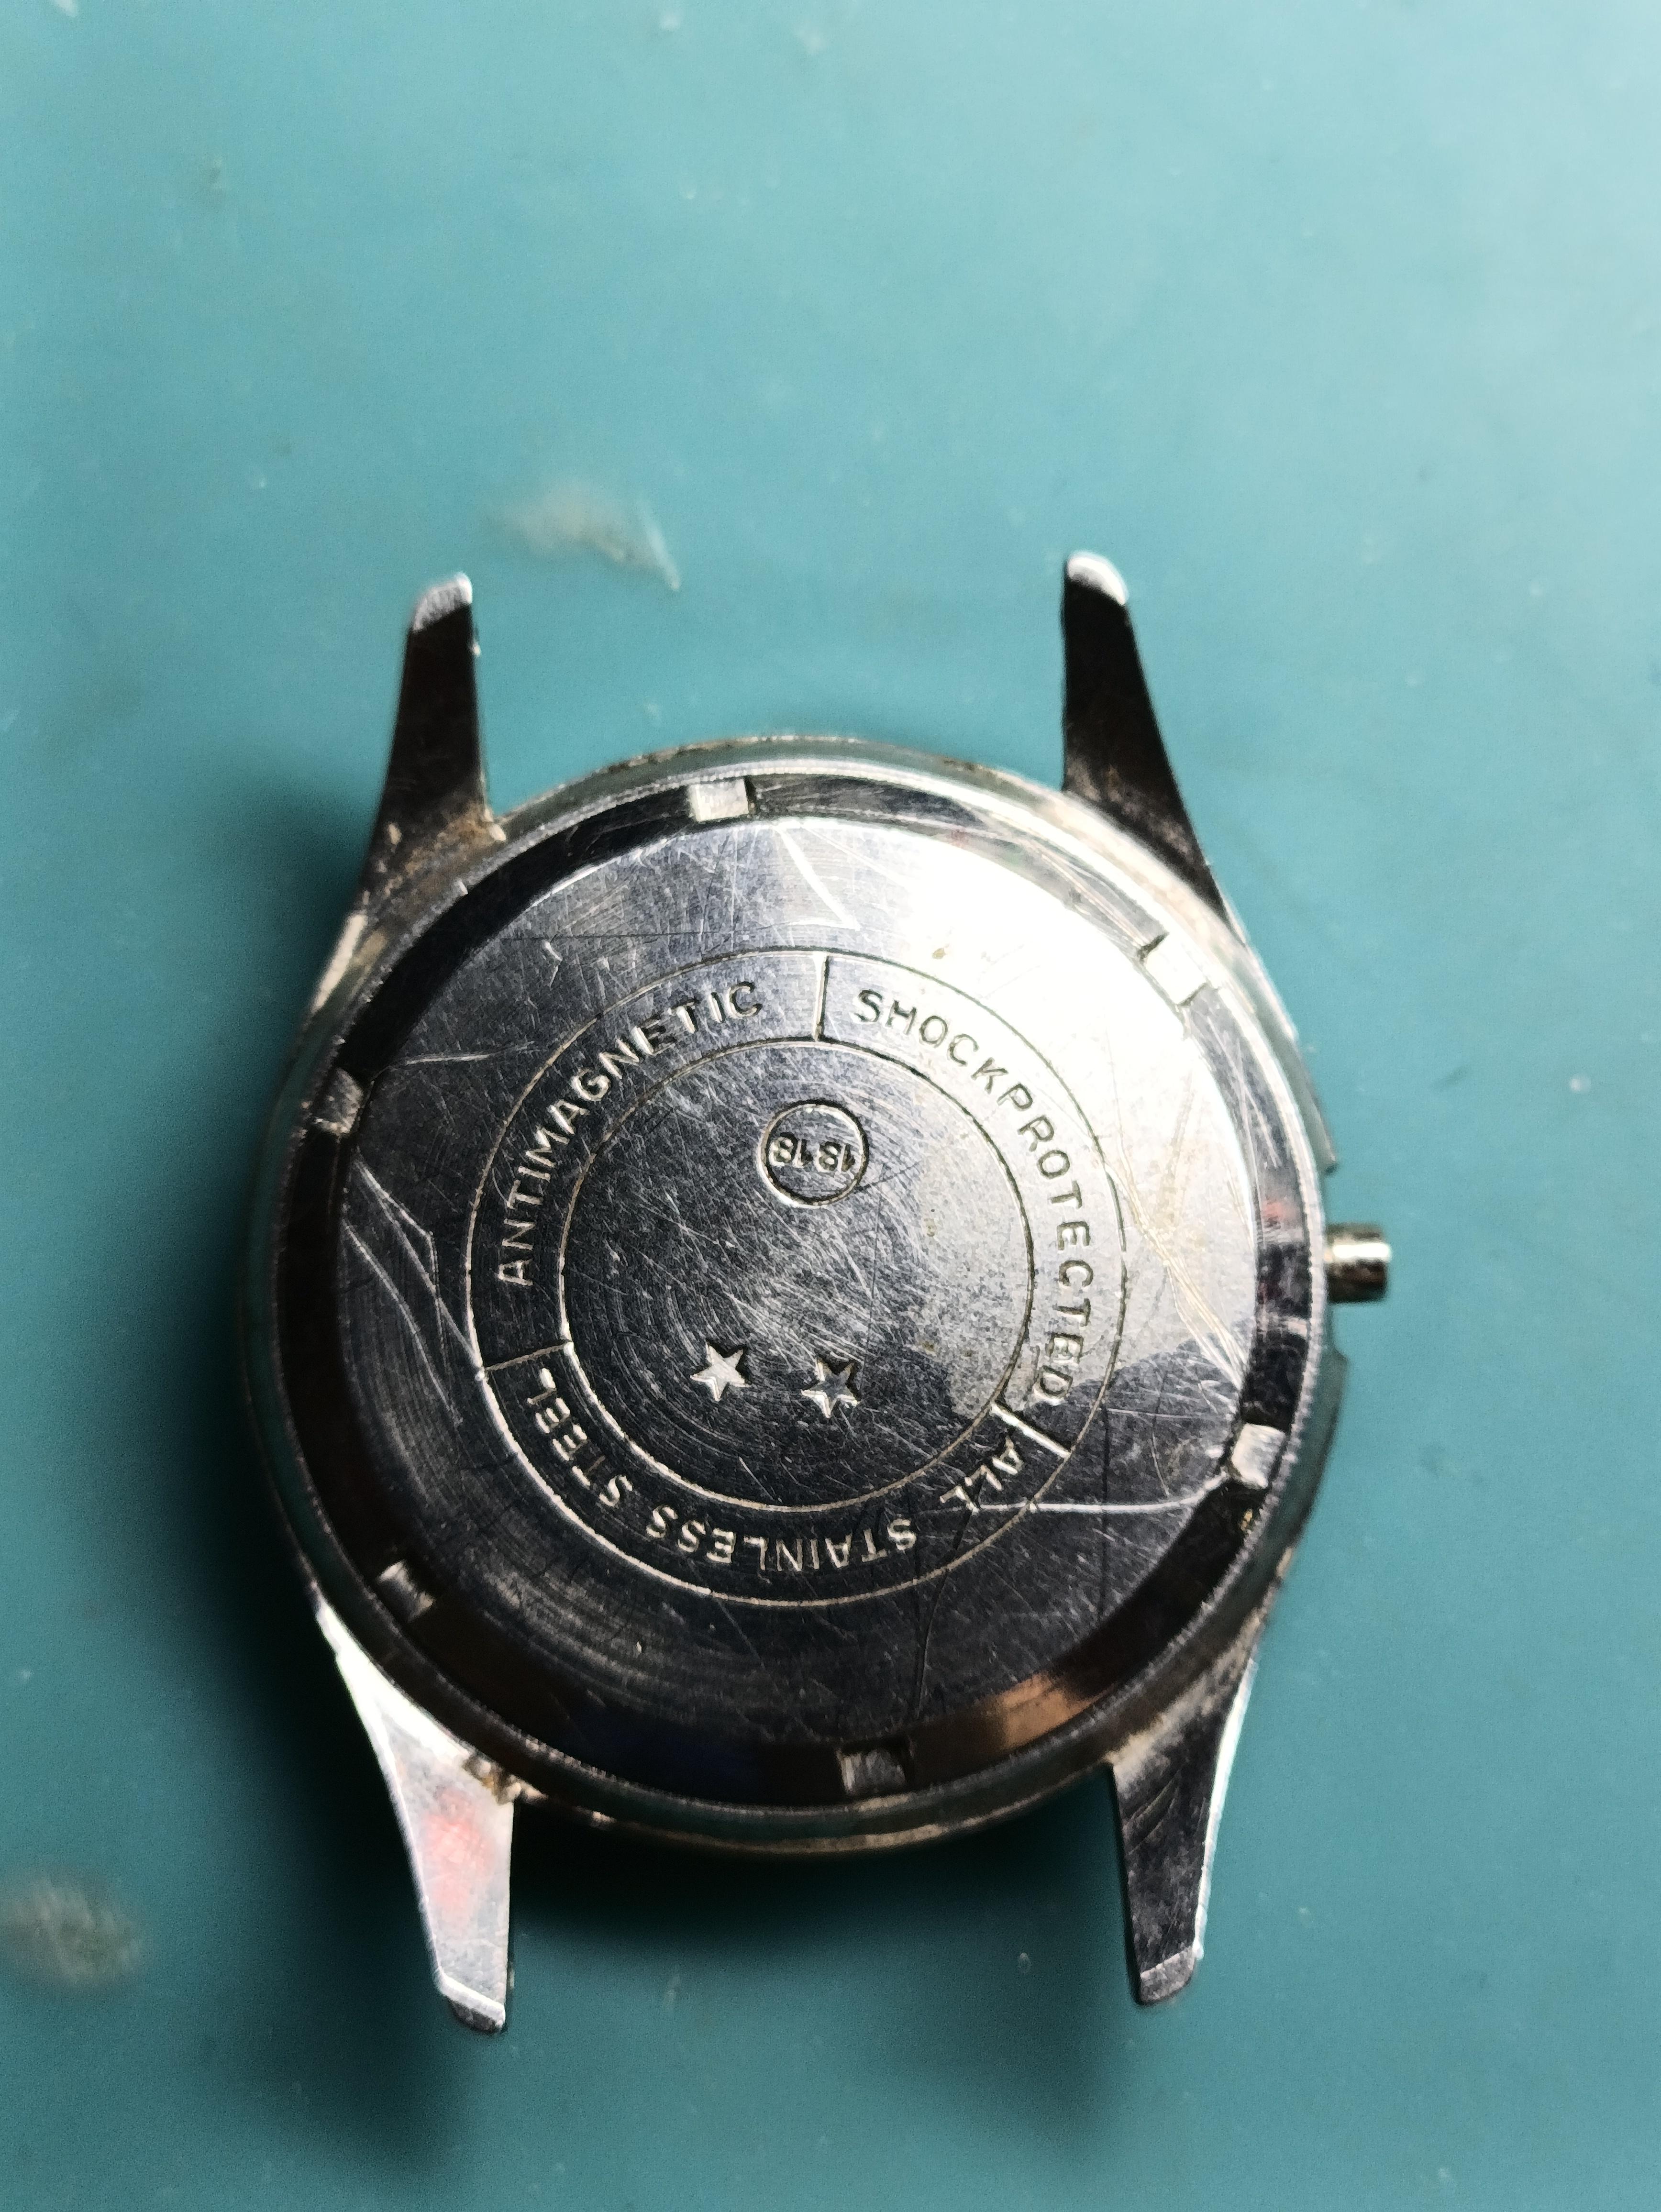
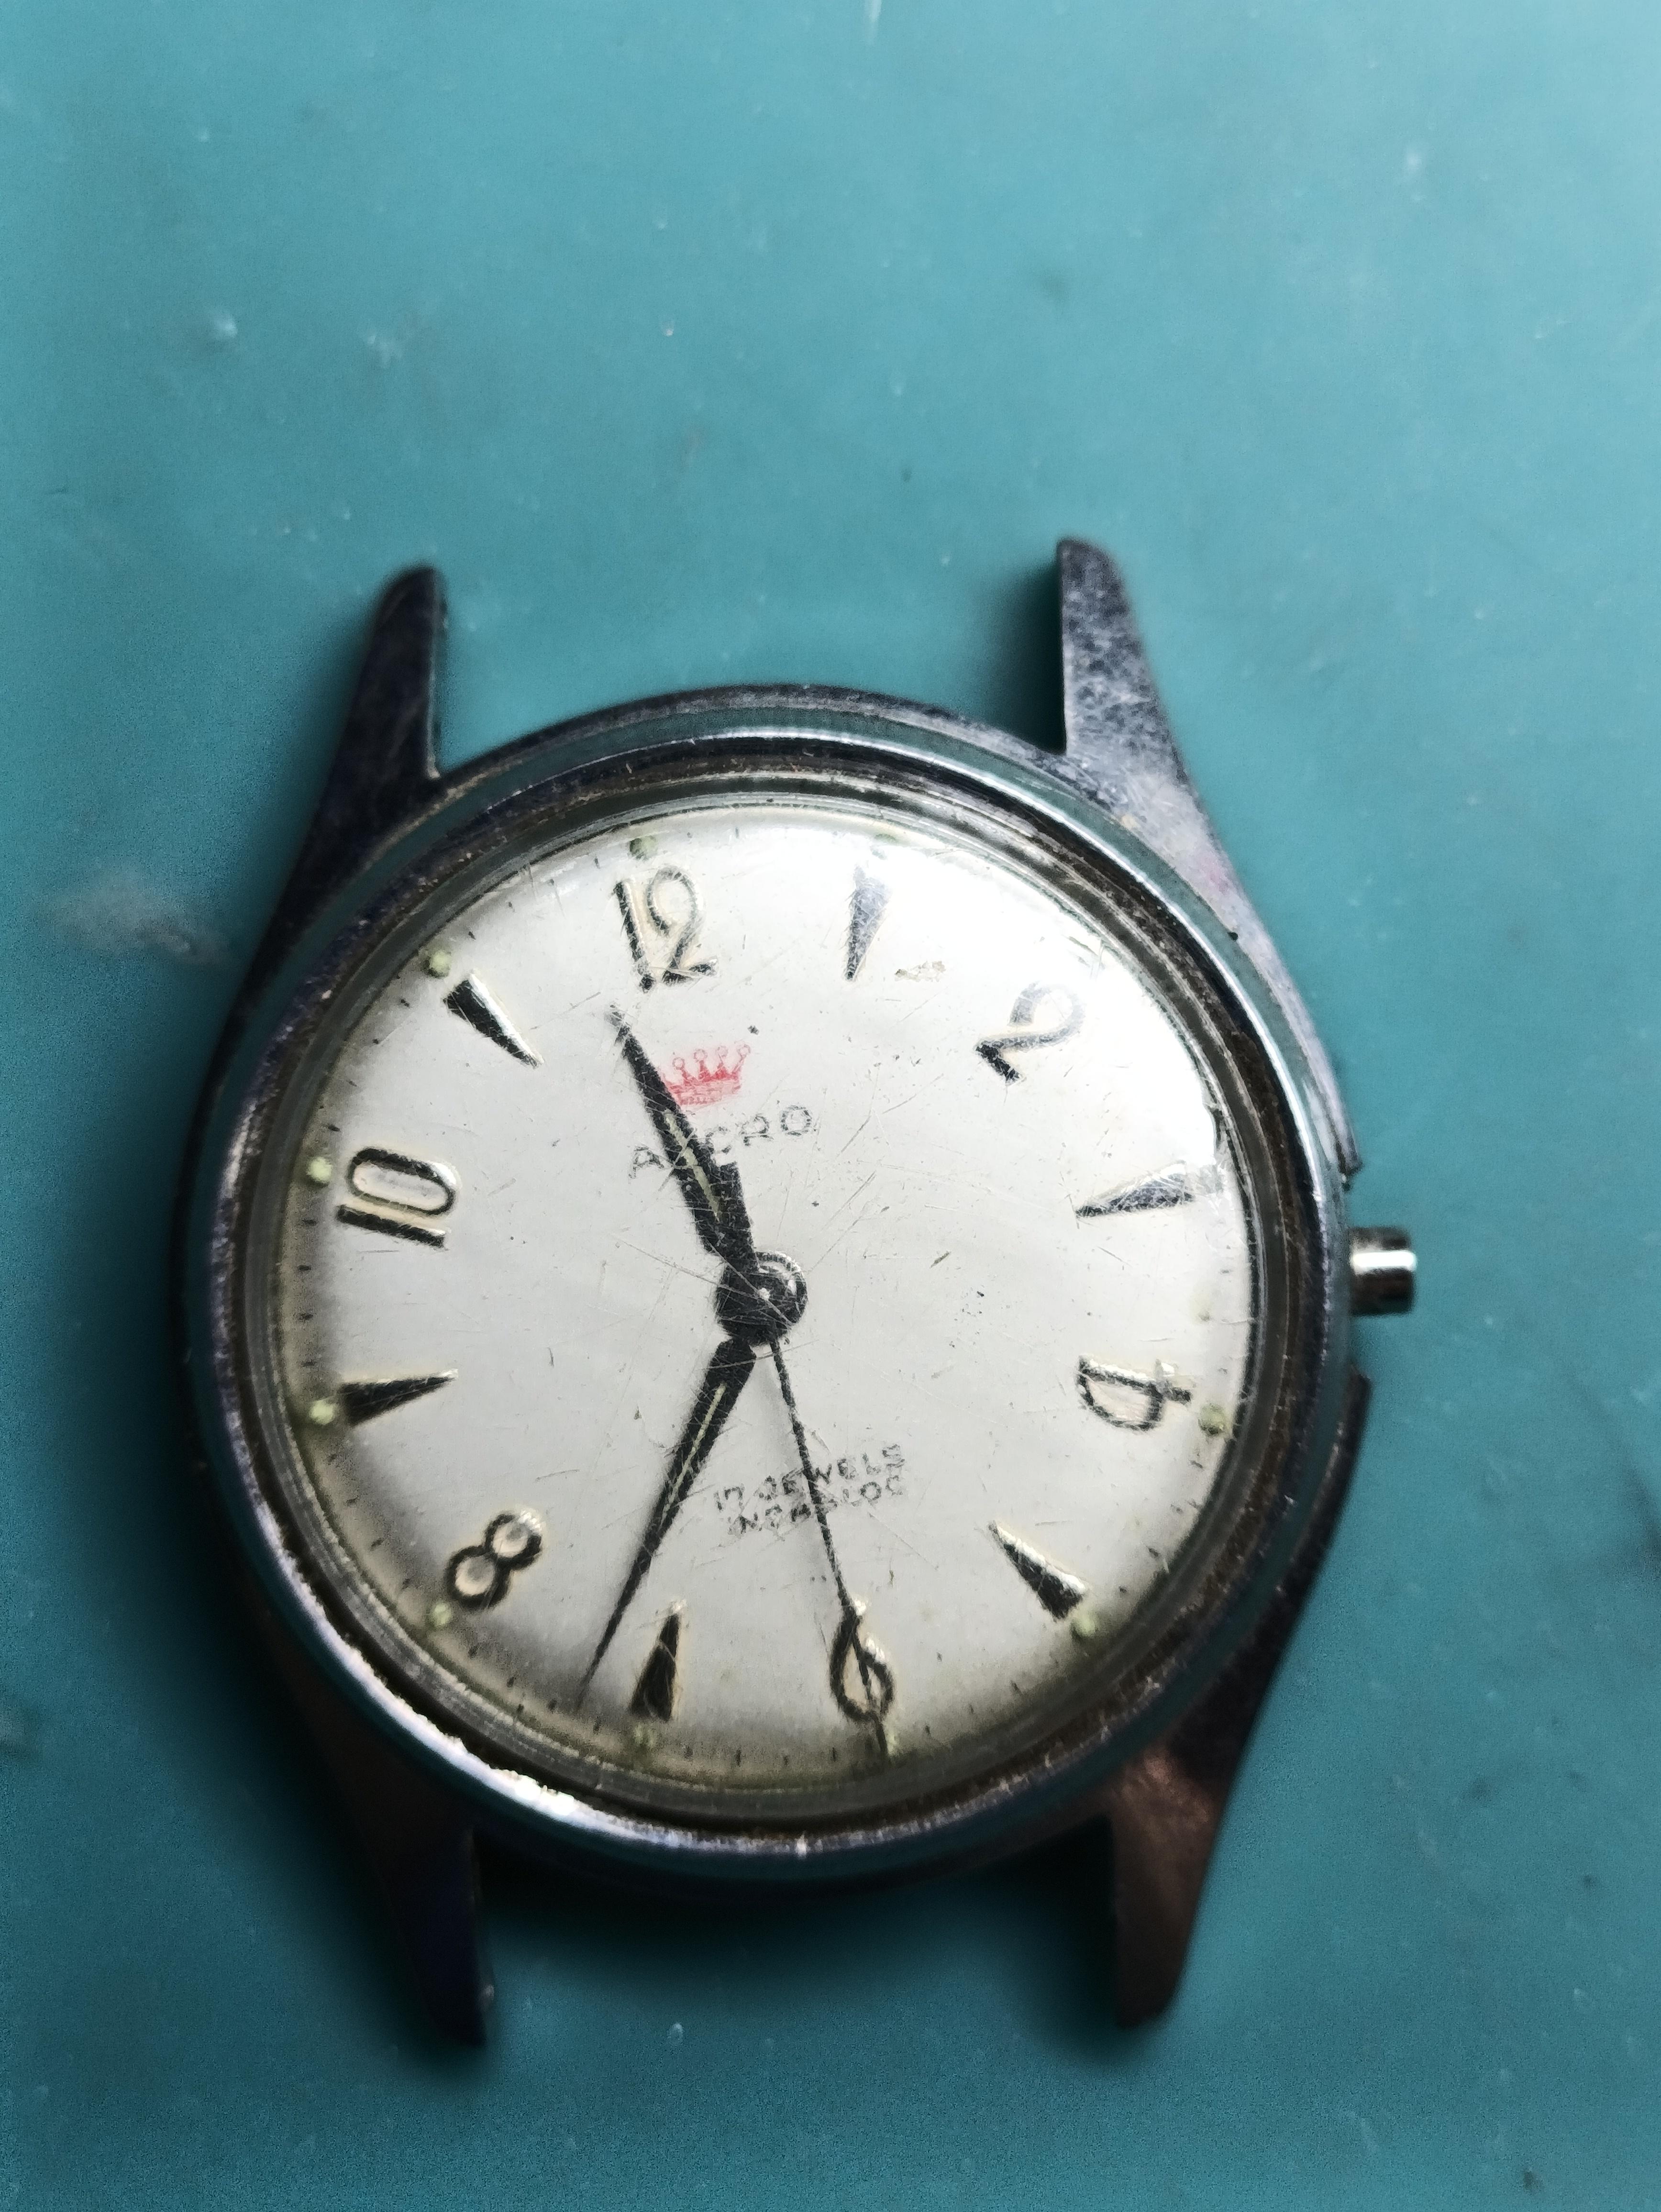
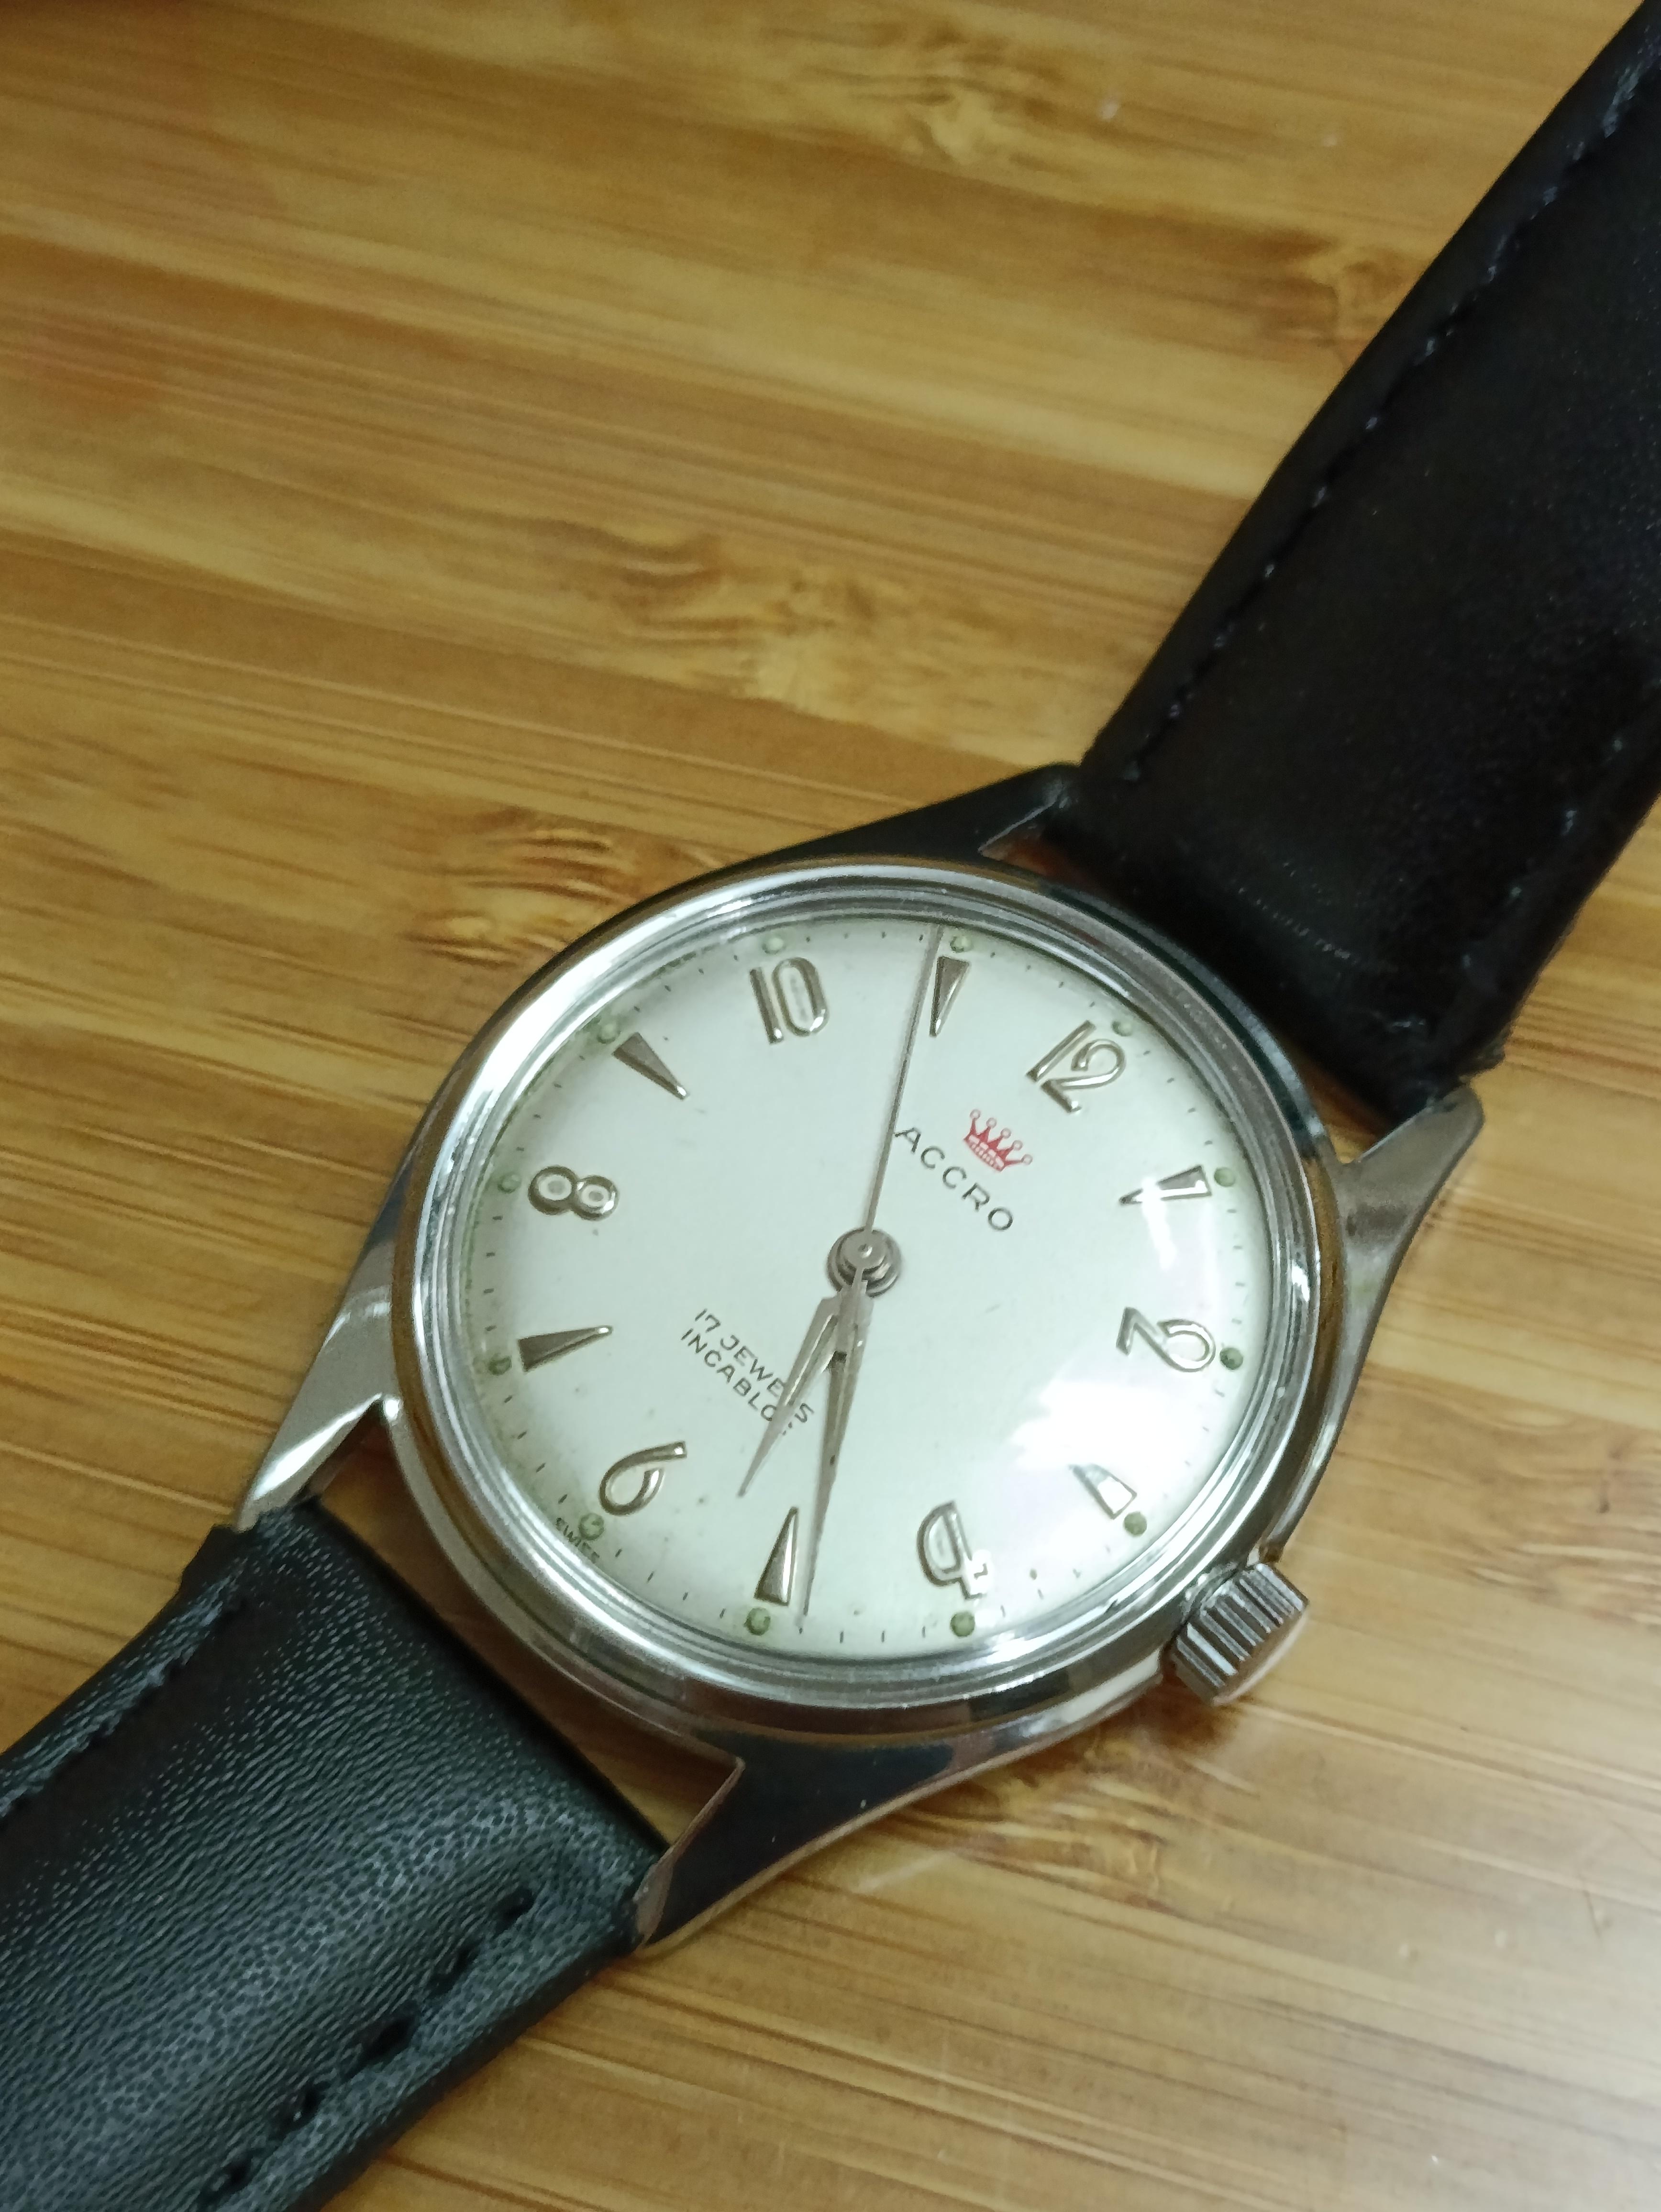
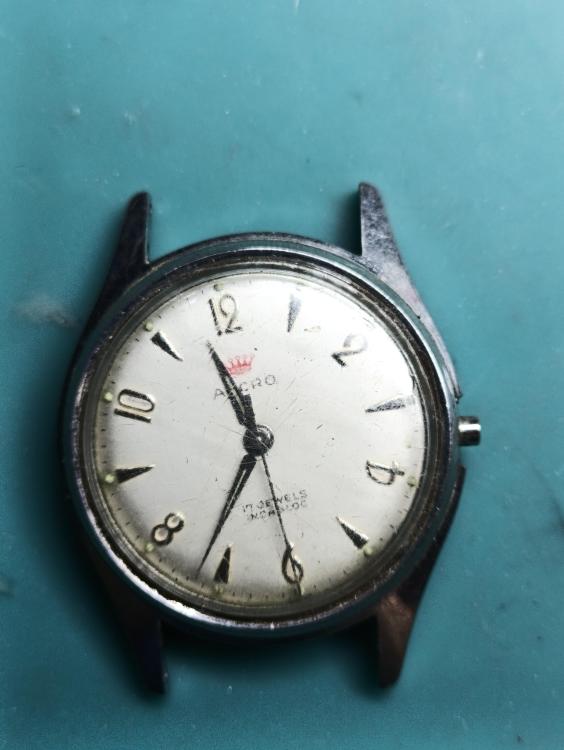
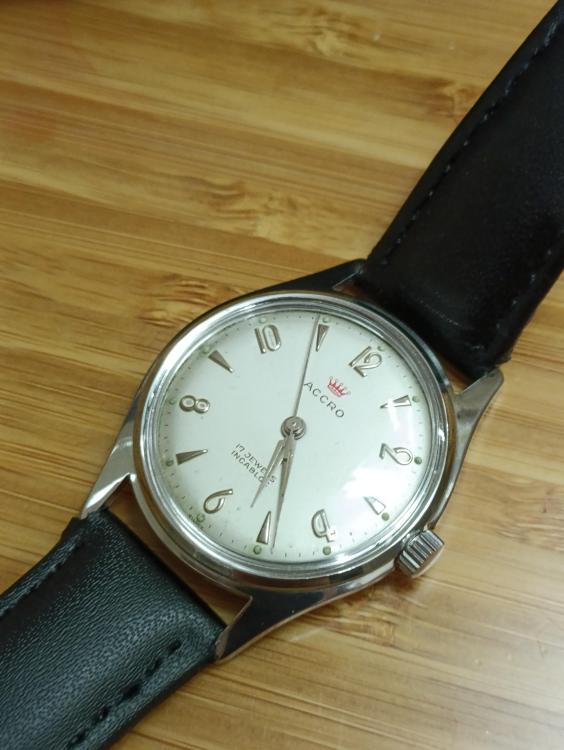
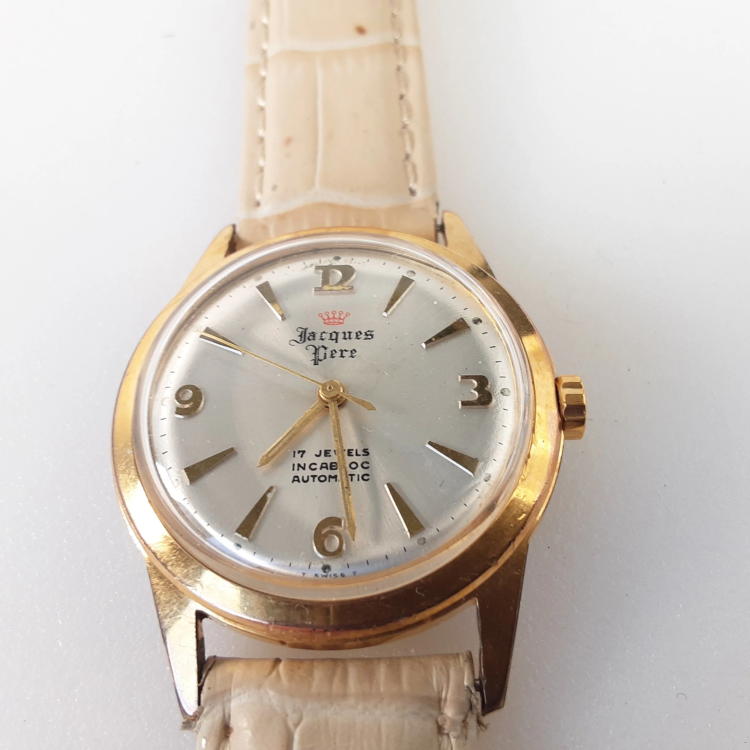
Knocked out another 404 last night...when you are in the zone! This watch was a non-runner which I picked up as part of a lot of 8 watches, so works out to be $3.12 per watch. Before: And the finished watch, new crown and stem and the crystal was cracked so was replaced. I also replaced the mainspring as the original was the old steel type spiral and very 'set' - all else is original: The Movement was a AS 1686, but in reading around a little the ACCRO watch company were sued for their use of the five point crown on their Jacques Pere range as it resembled Rolex, see below: ACCRO then reverted to just ACCRO on their watches - I have done some sniffing around the internet and haven't seen another example of ACCRO and the crown together on a dial so maybe I have something unusual, or maybe I was looking in the wrong places .

 1 point
 -
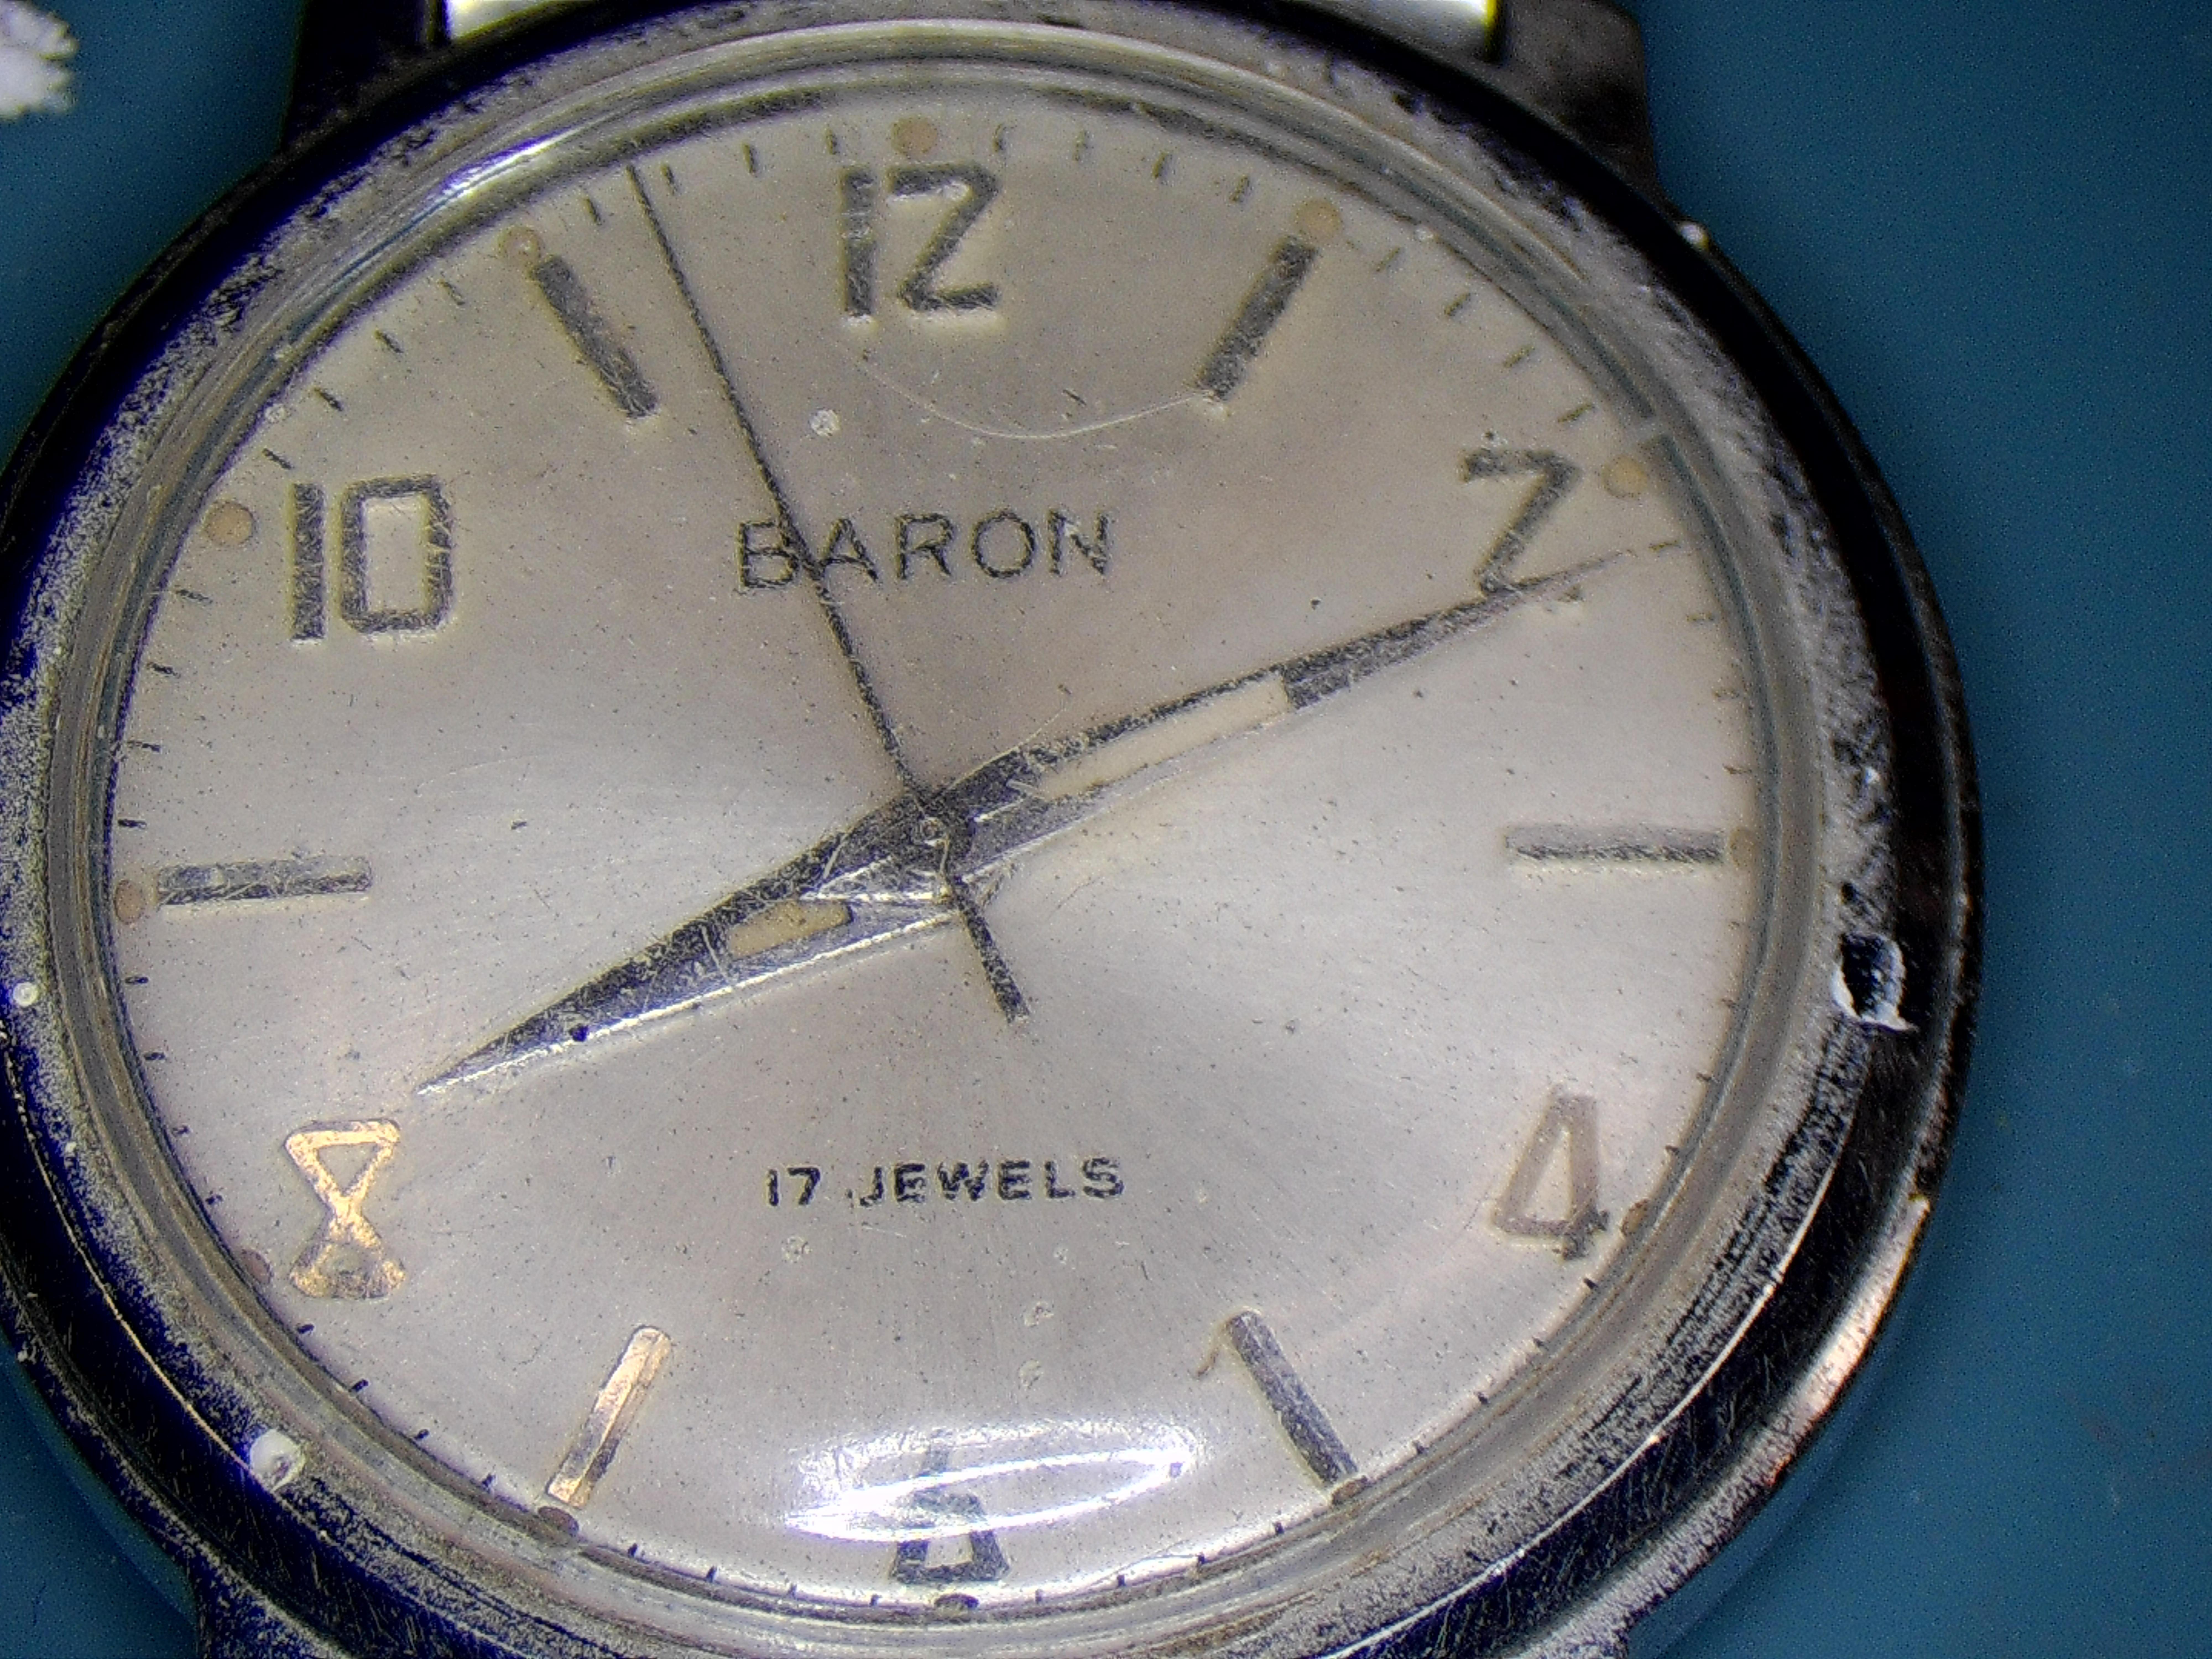
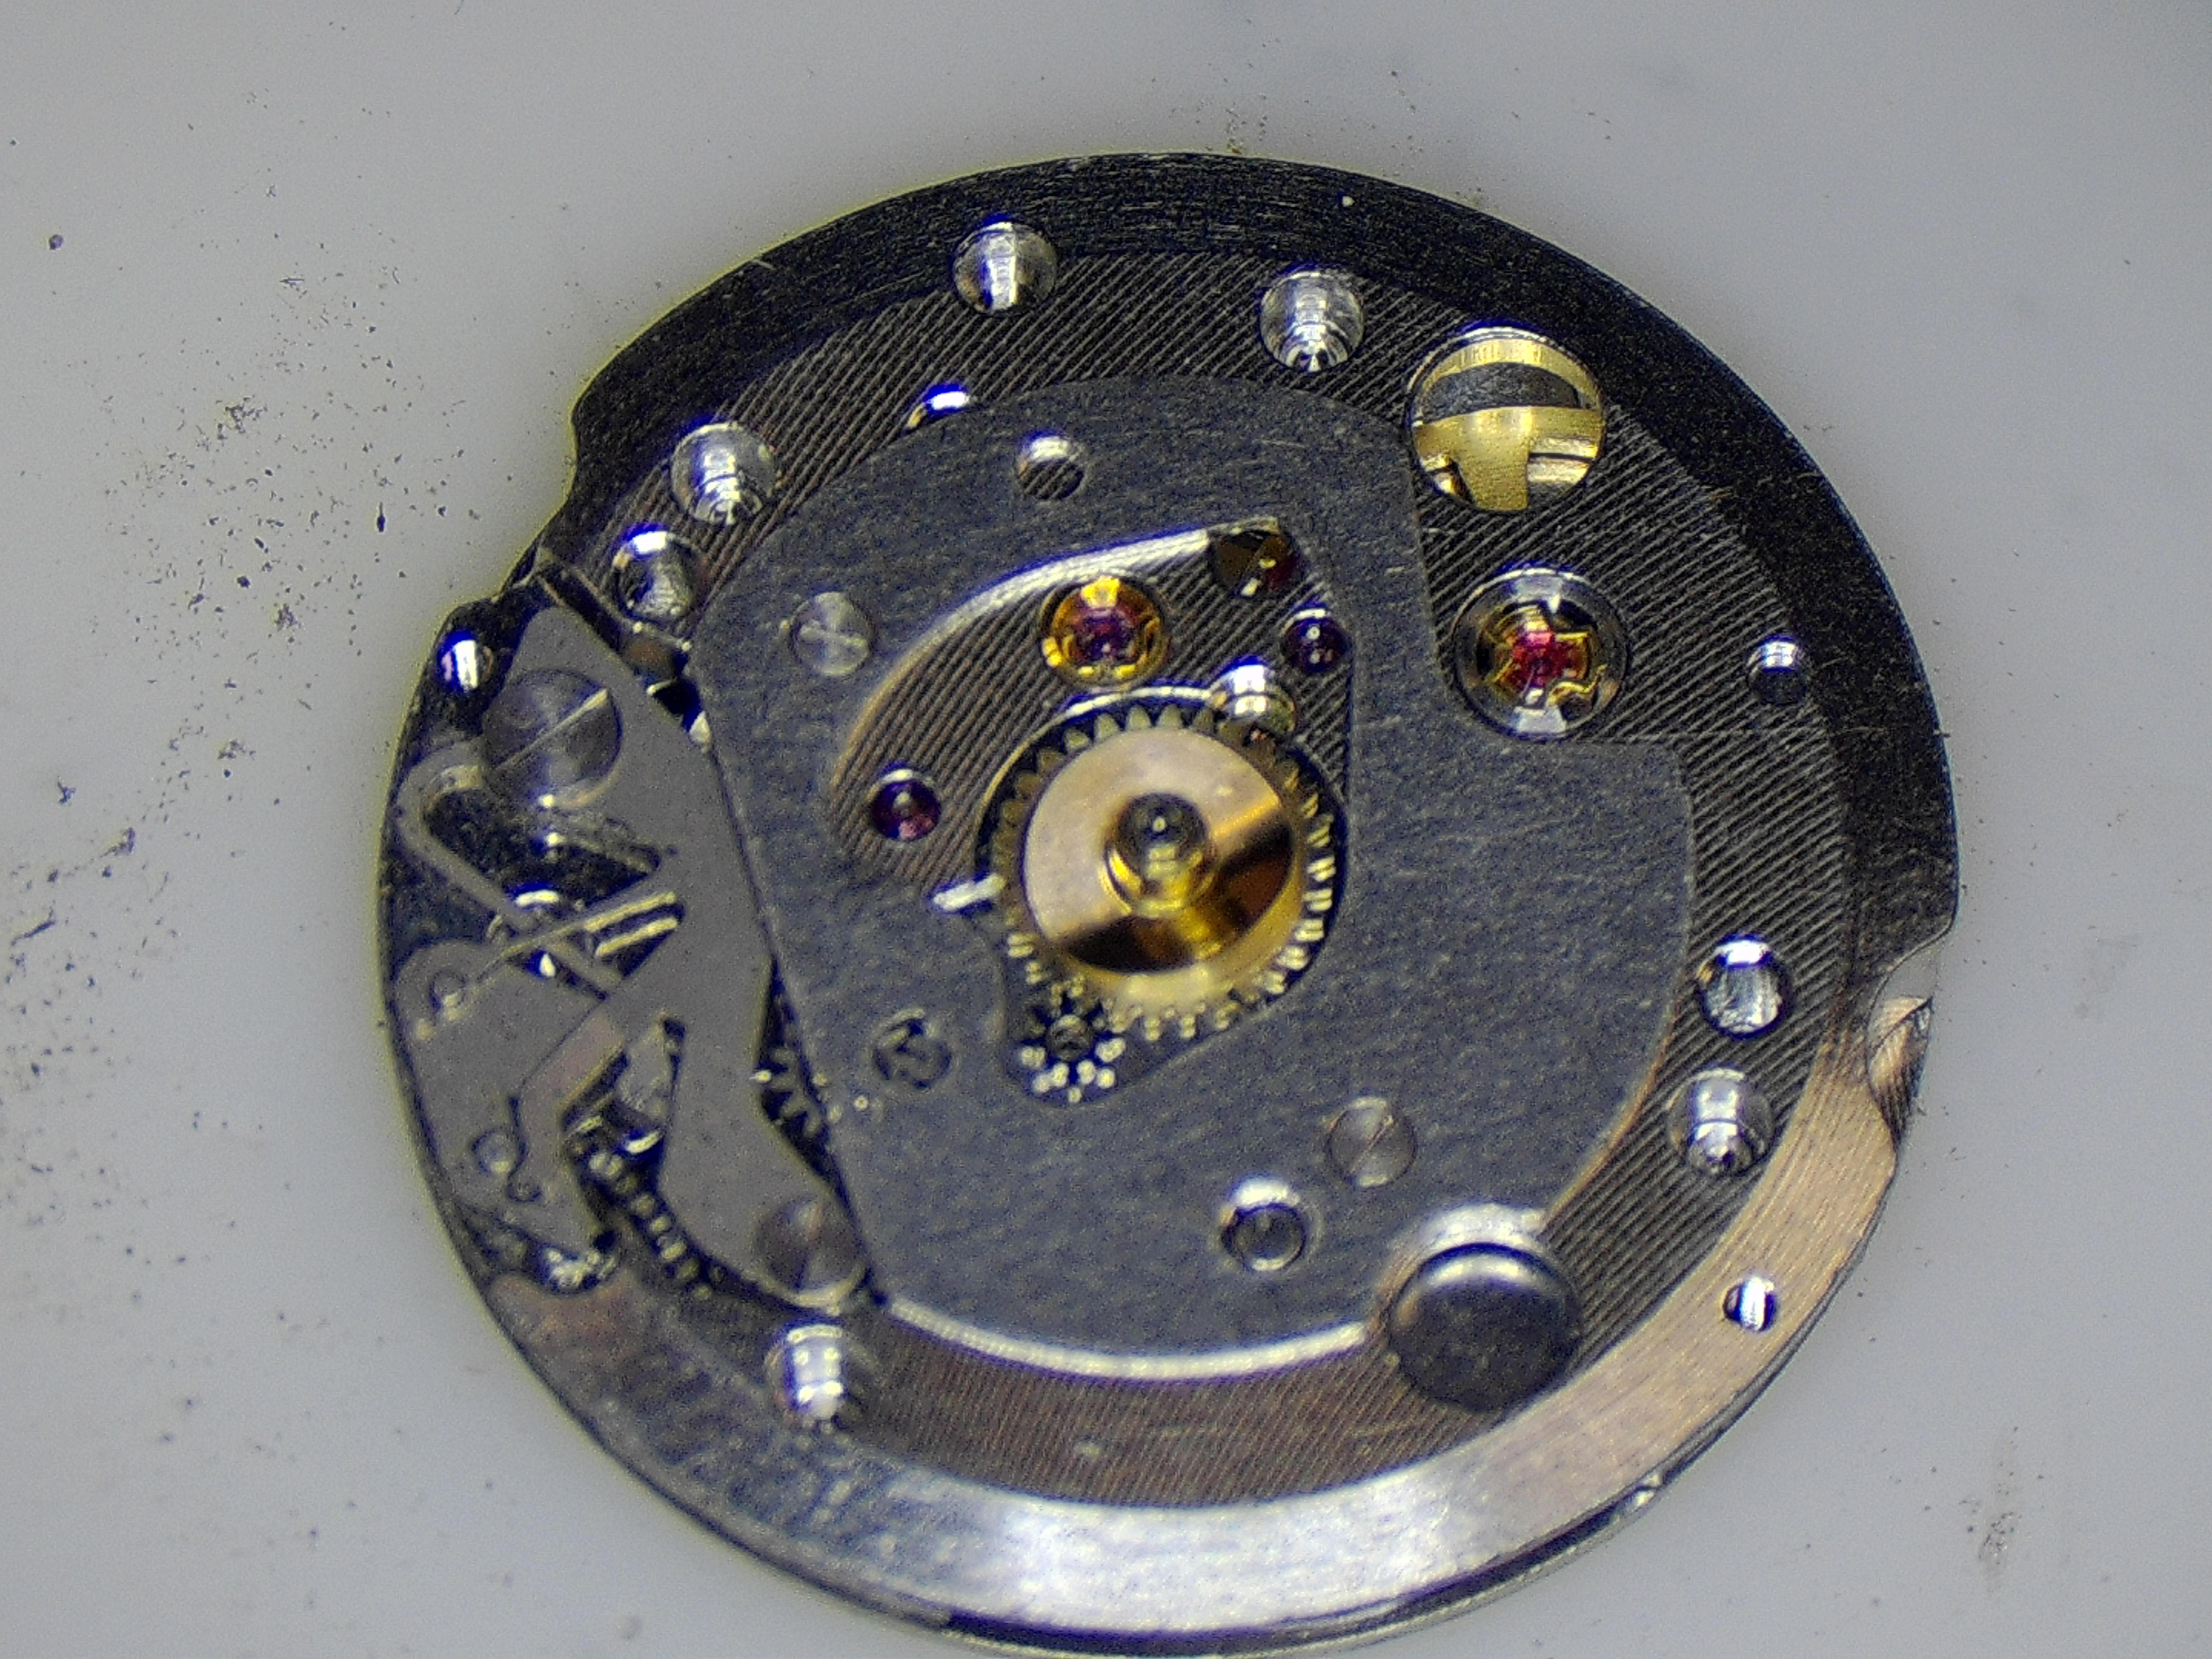
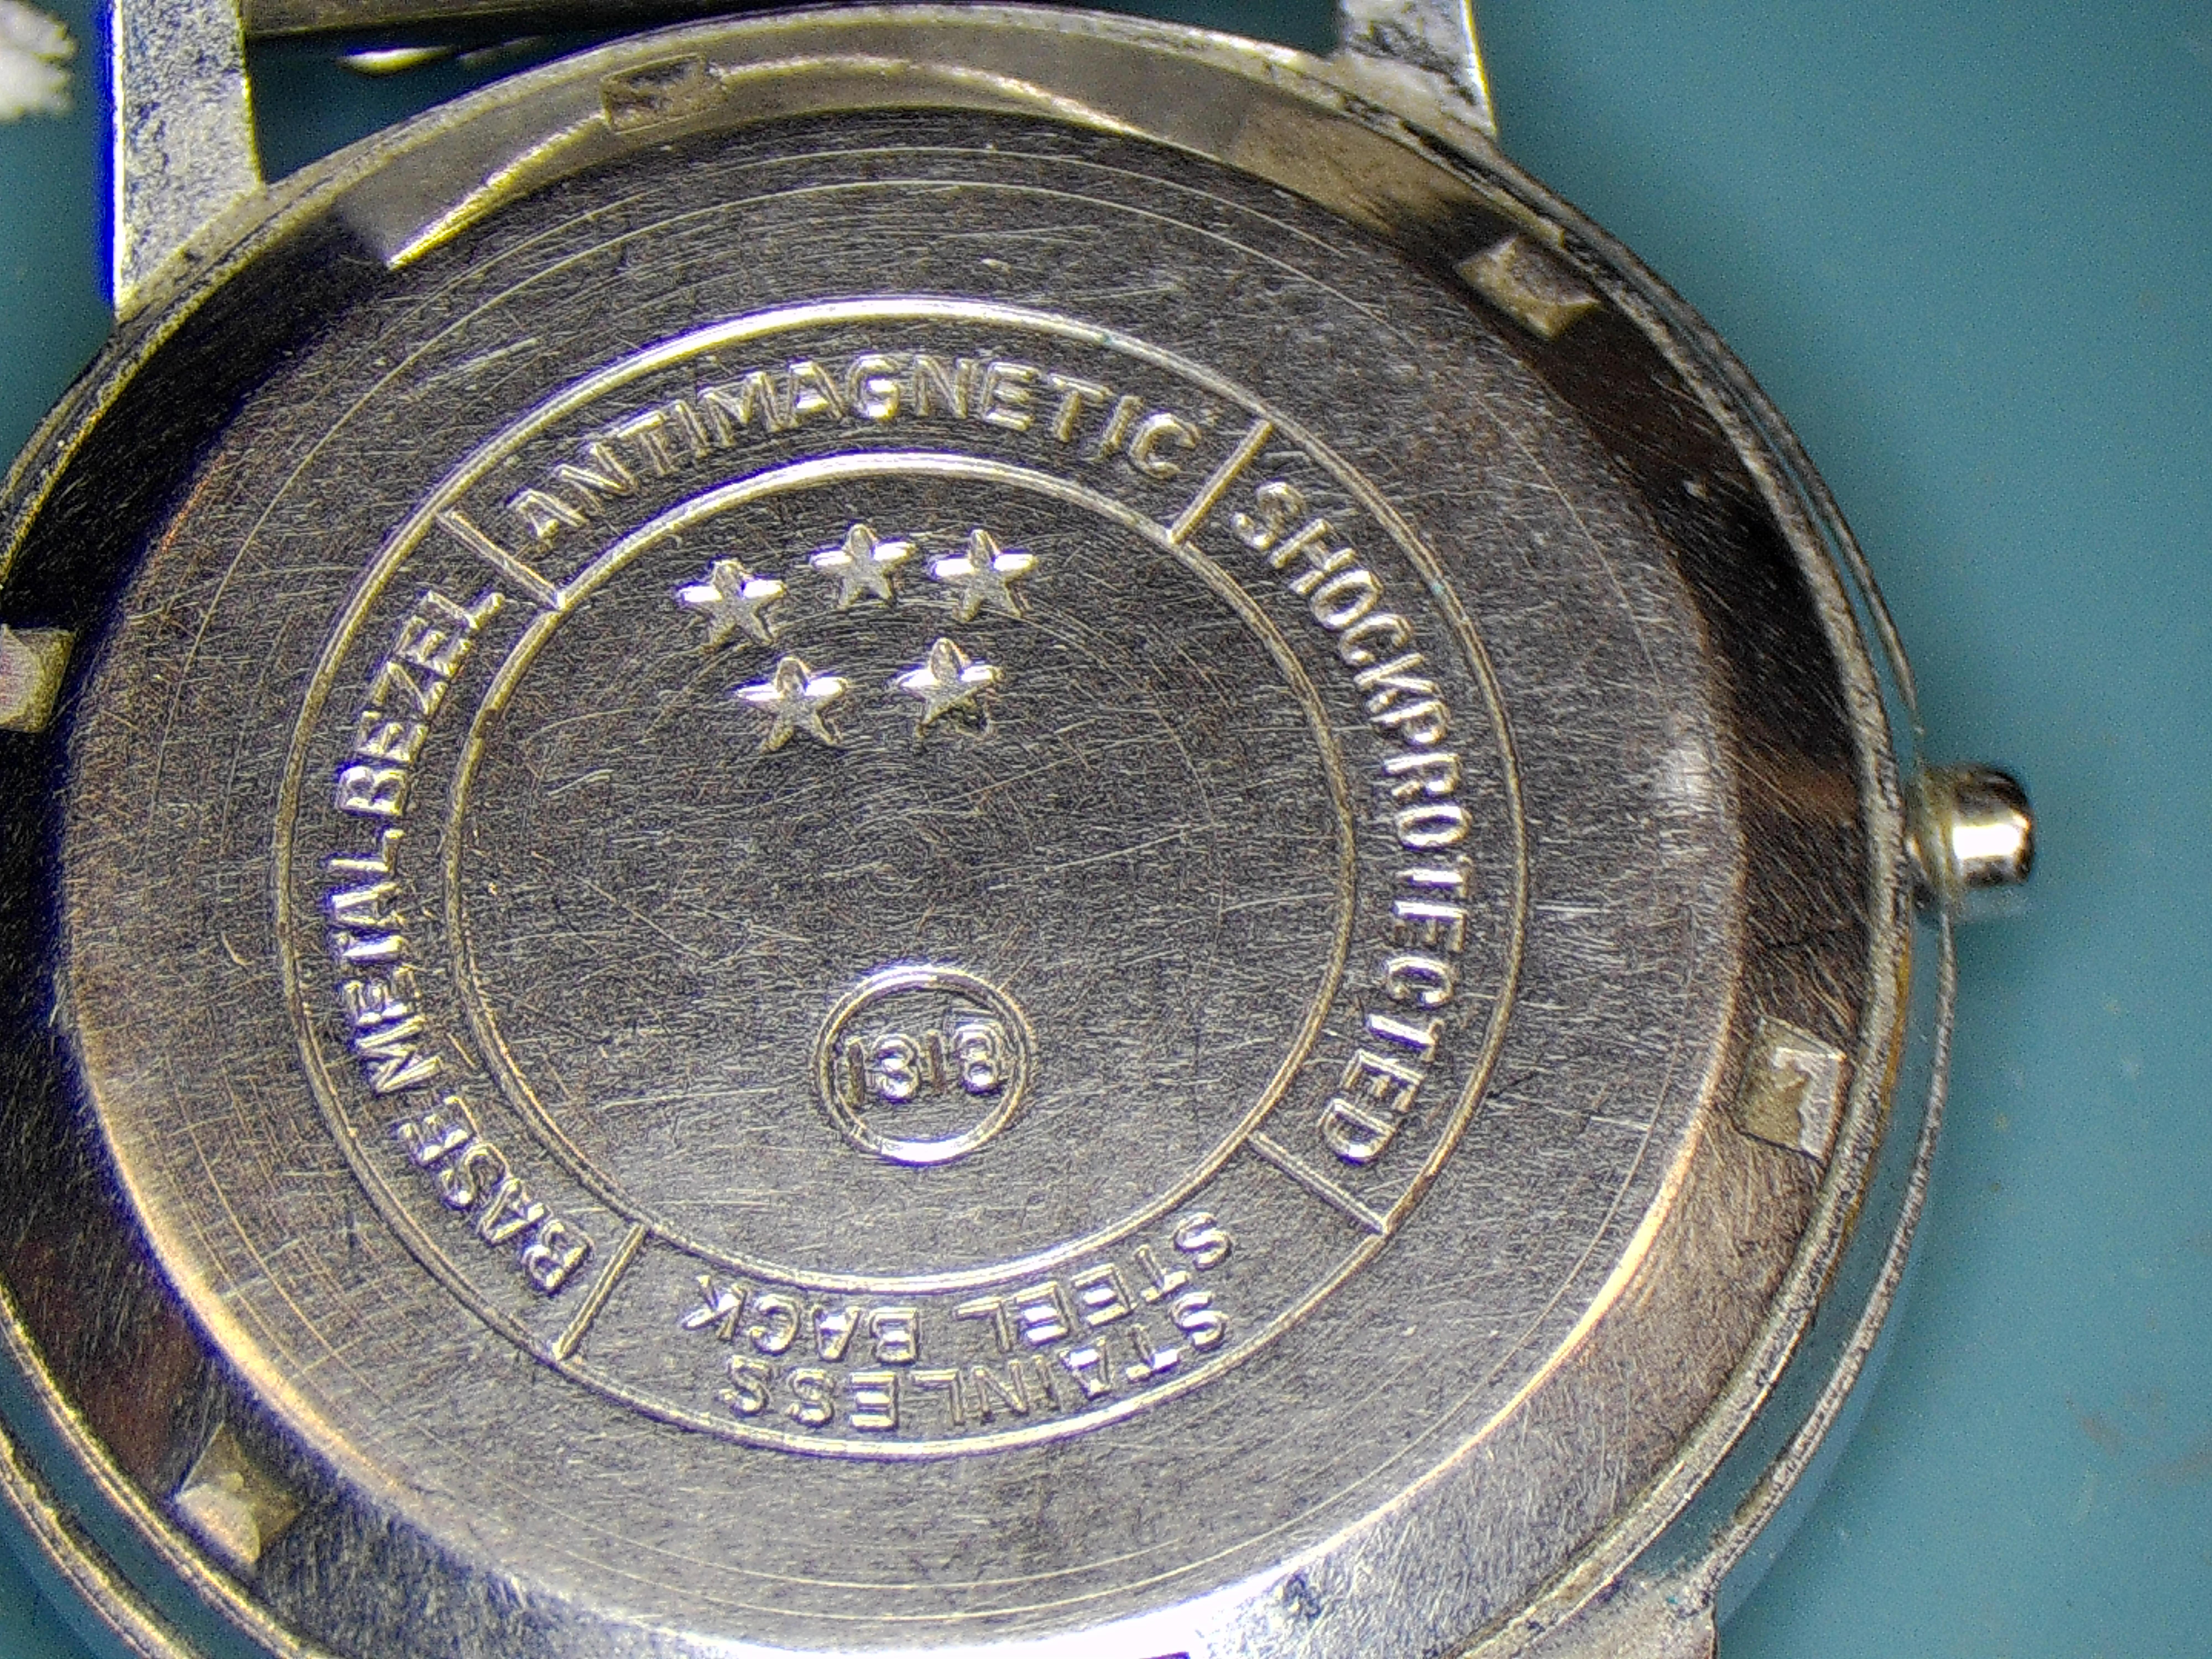
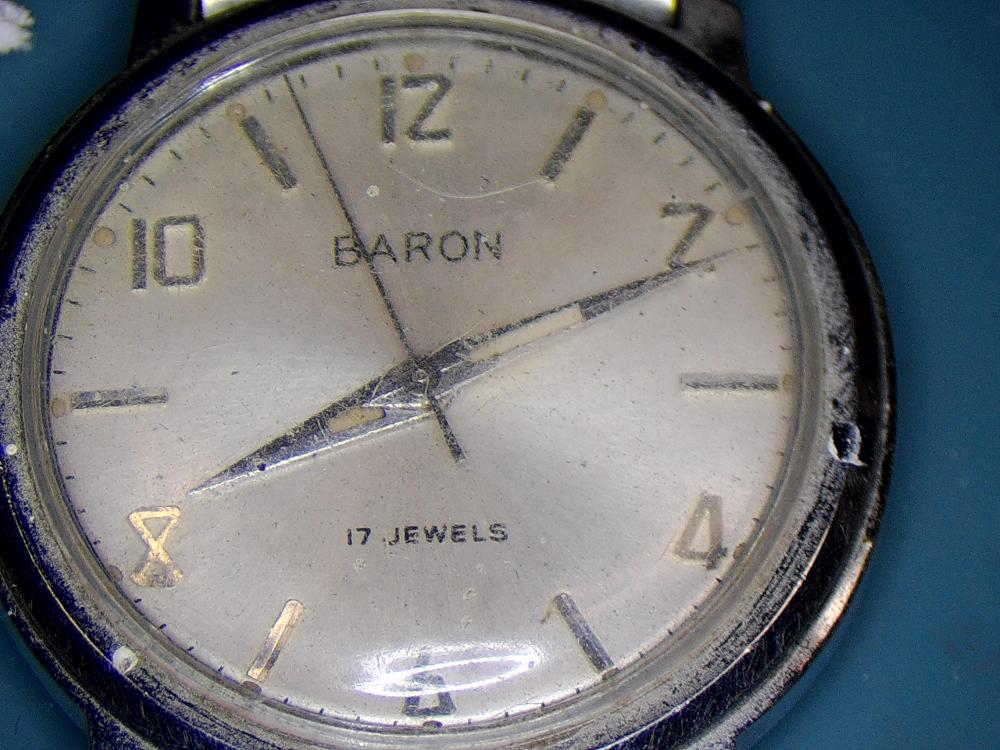
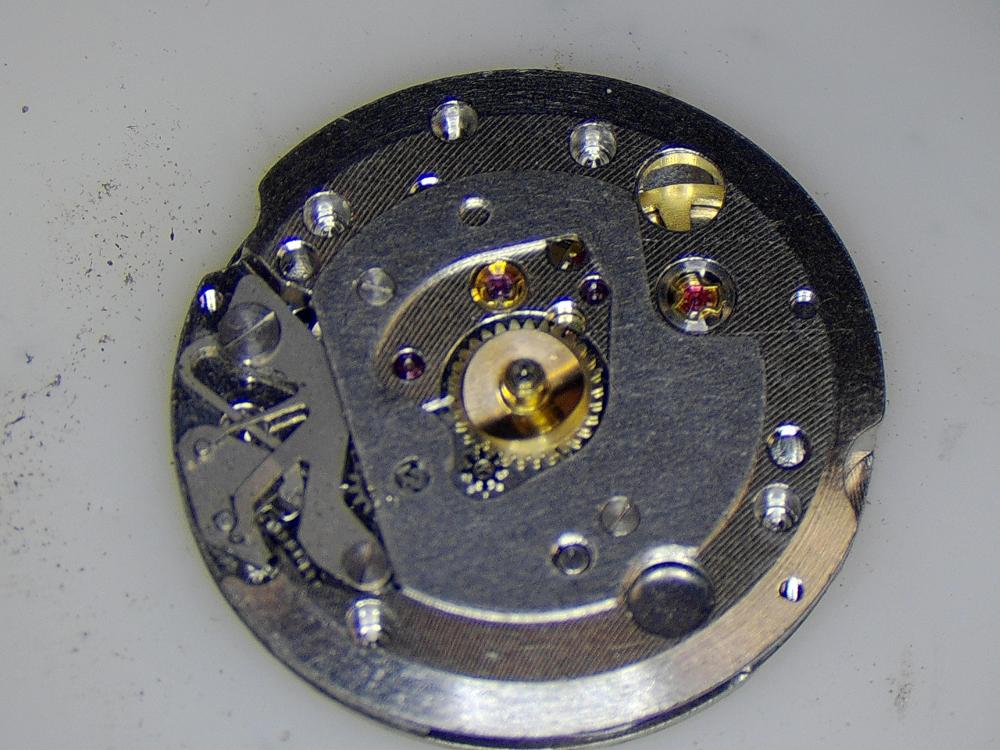
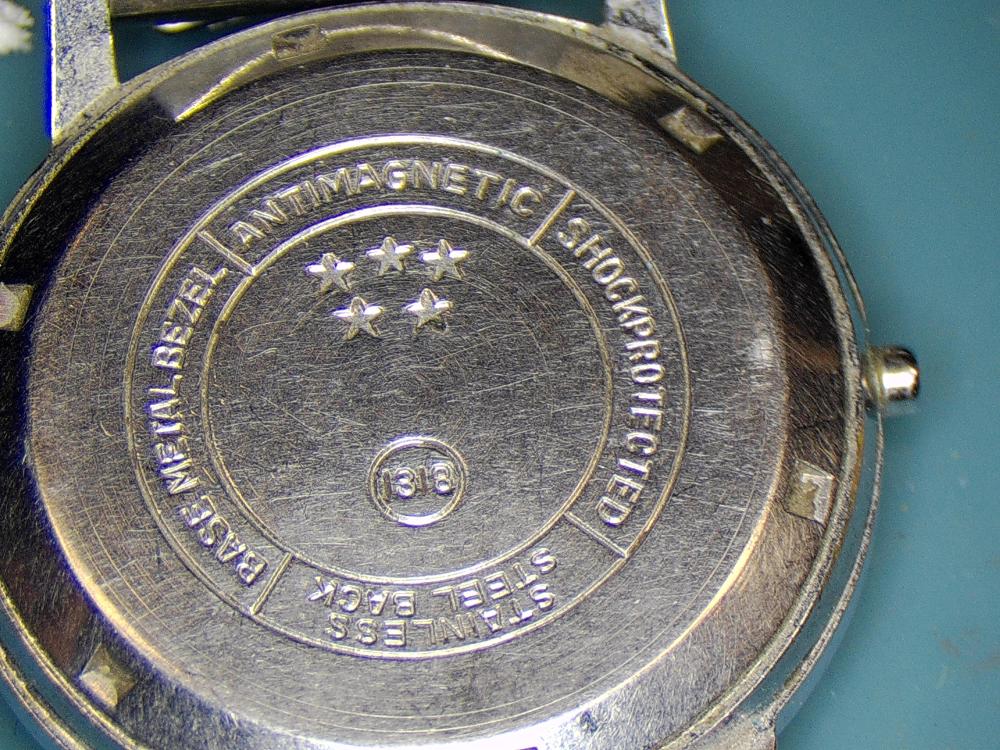
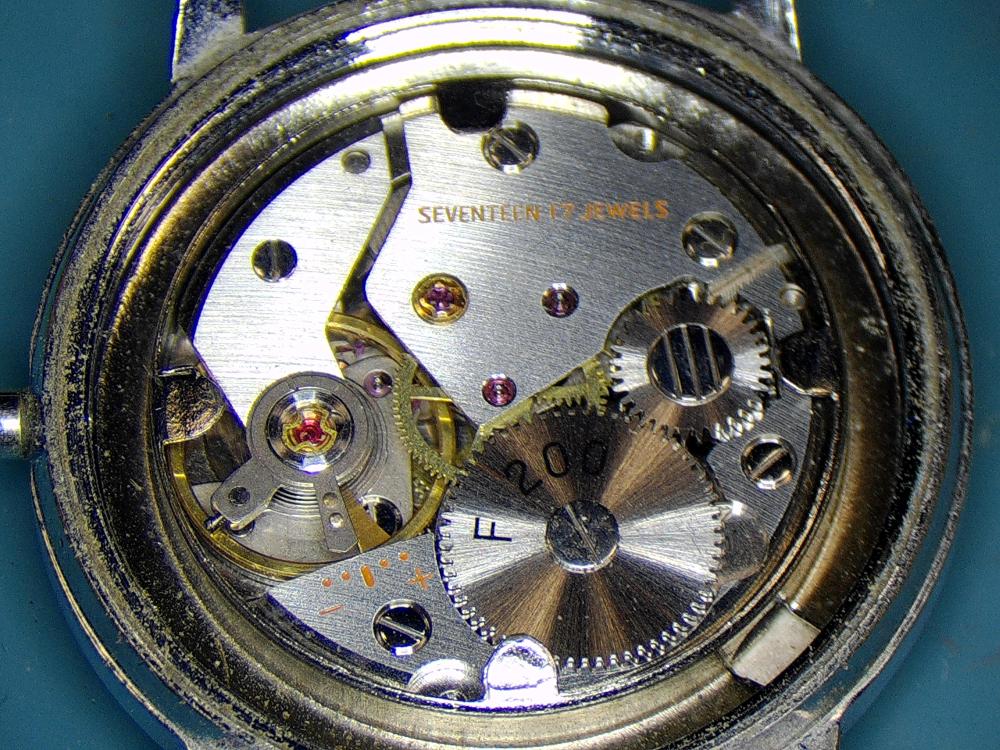
Latest 404 is this Baron which has a copy of a Seiko 66B movement in it, handy when I needed to find a replacement setting lever. Apart from the setting lever, crown, stem and new crystal (original was cracked) the watch is original. Finished result:
 1 point
 -
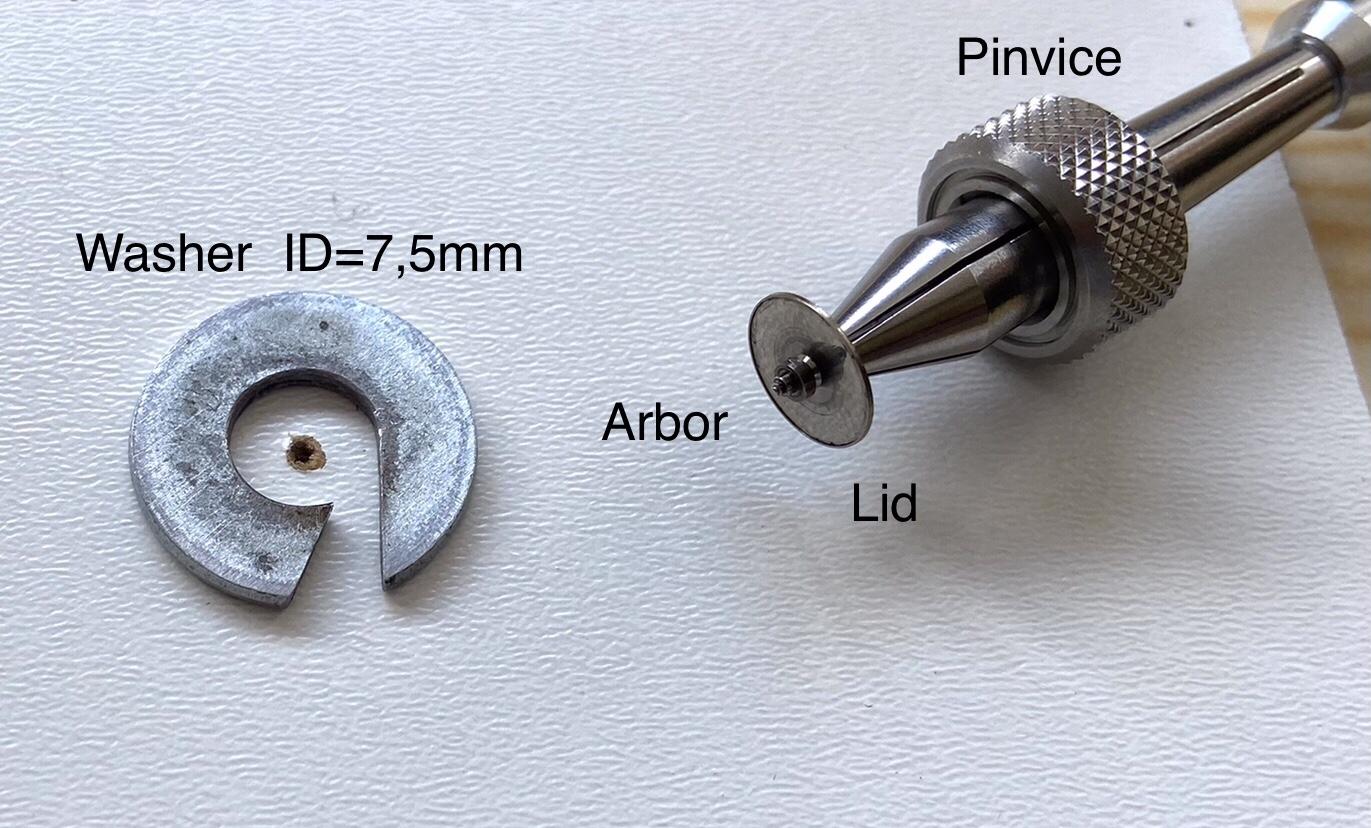
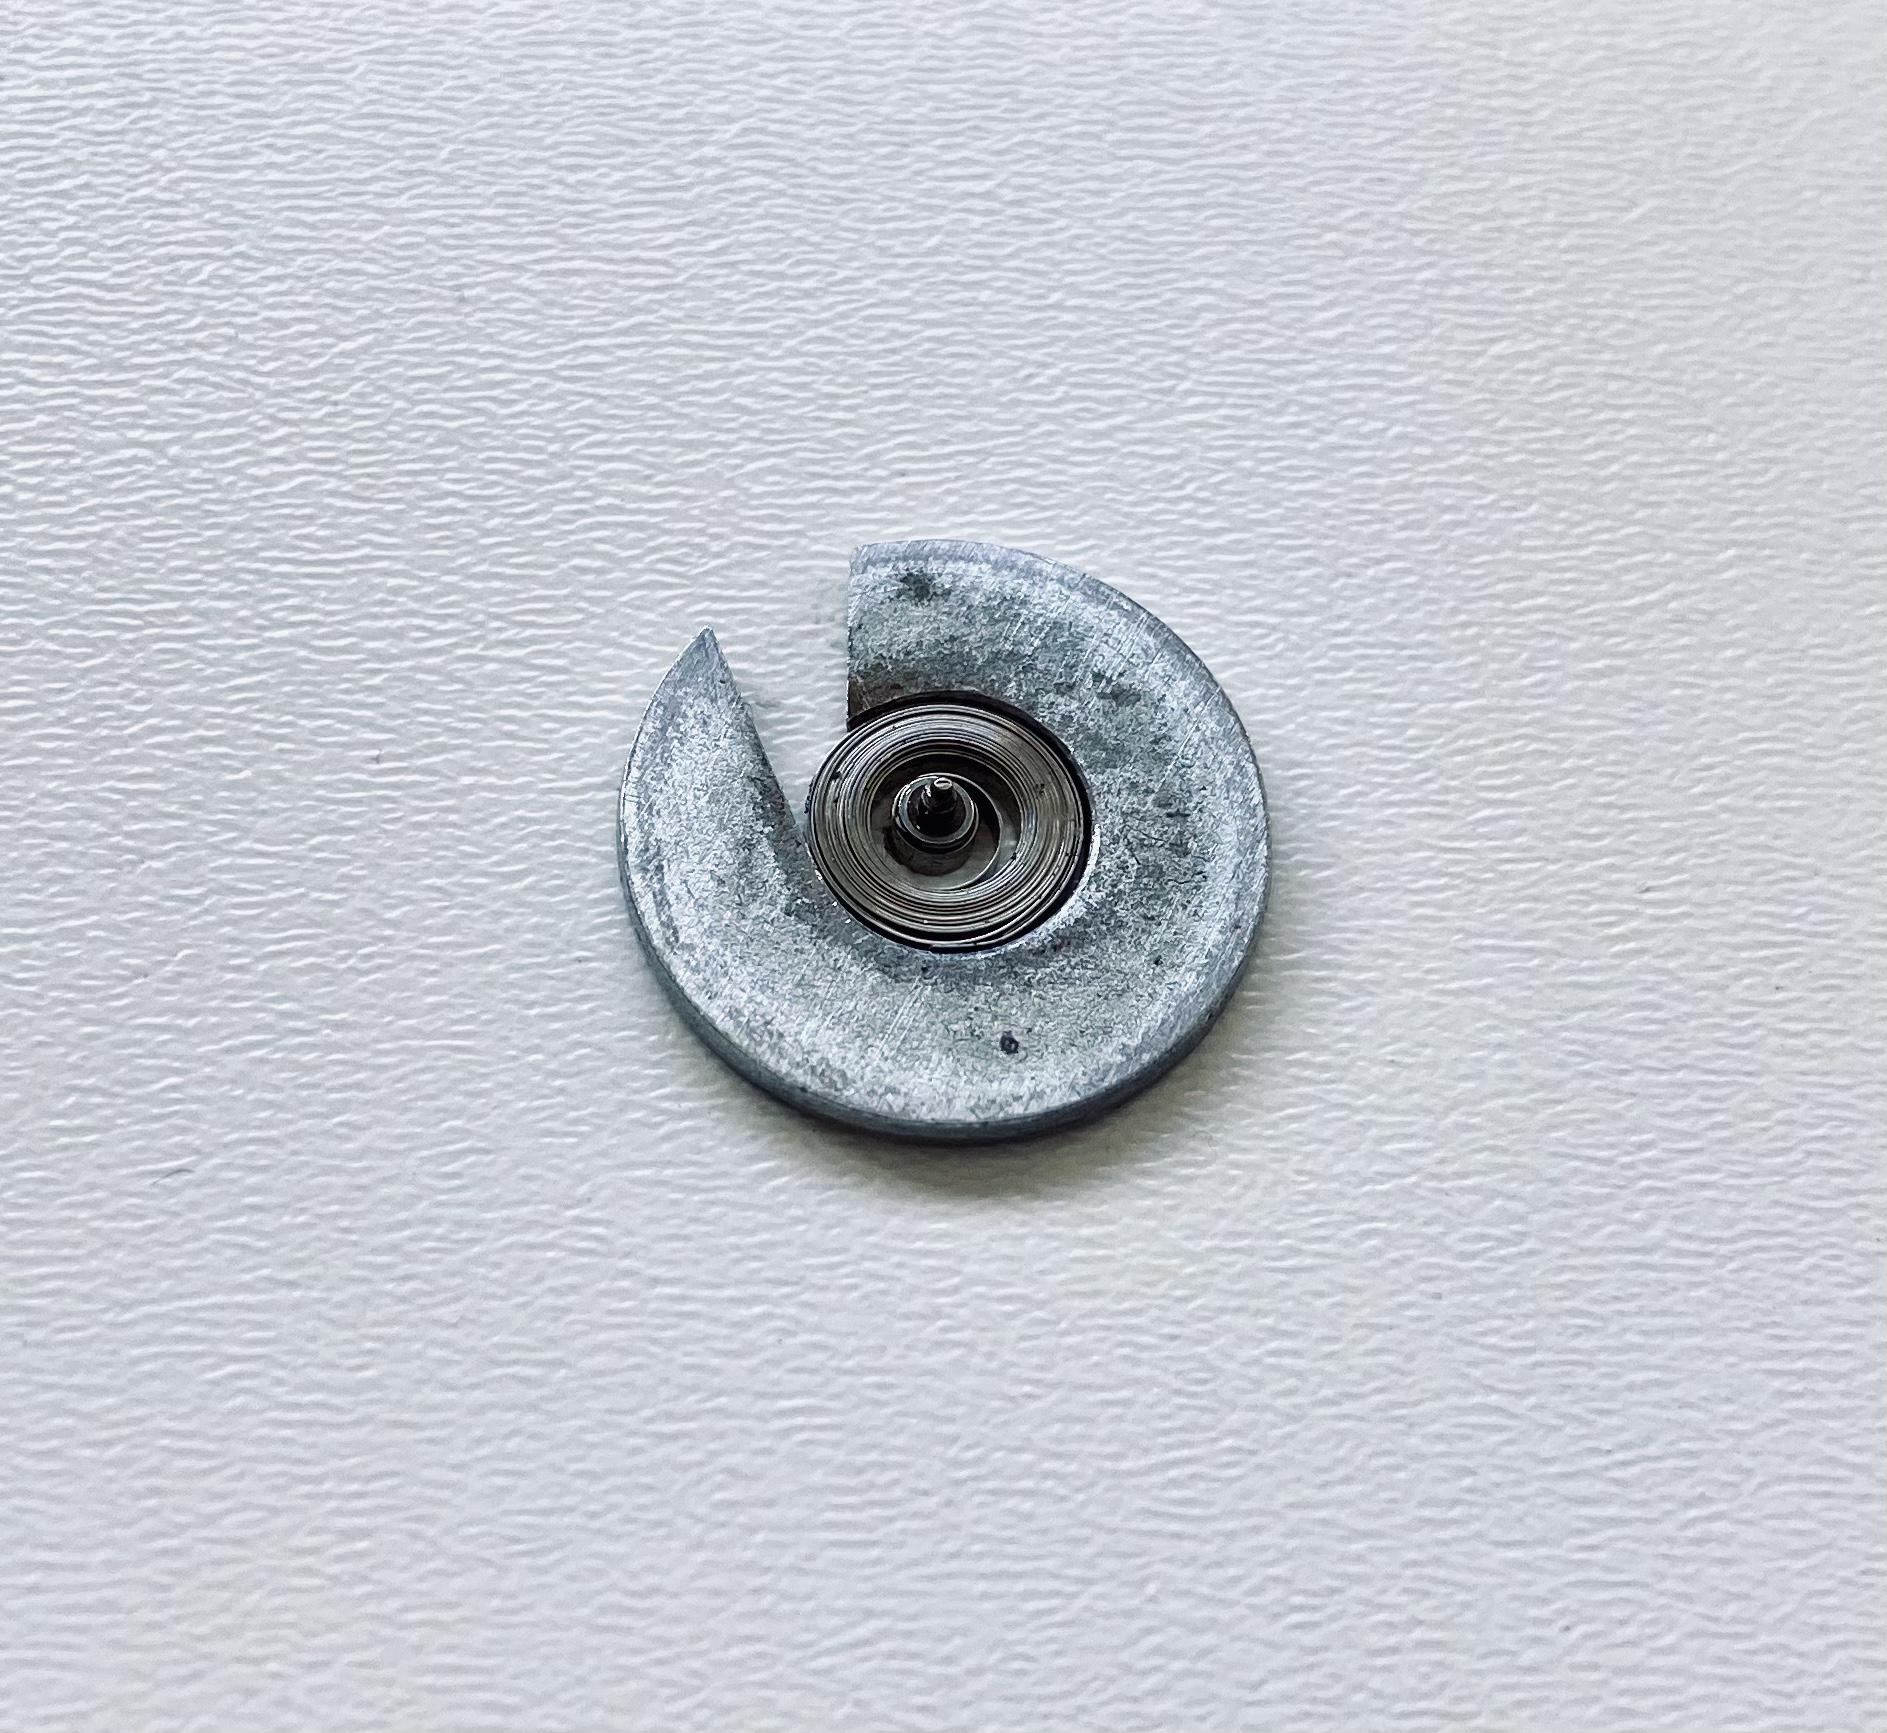
Inspired by the Mastercraft winder I tried to use its principle for a „quick and dirty“ mainspring winder. The spring I used for testing has an arbor diameter of 2,2mm (left wound) and the barrel has an ID of 8mm. The mainspring has a hight of 1,2mm. So I found a washer with the right thickness of 1,2mm, drilled it to 7,5mm ID and cut a slot in with my dremel. Then the washer was fixed to a board with three tiny drops of super glue. I used the original lid and arbor and my pin vice to complete the tool. The rest is selfexplaining looking at the pics. Any thoughts?
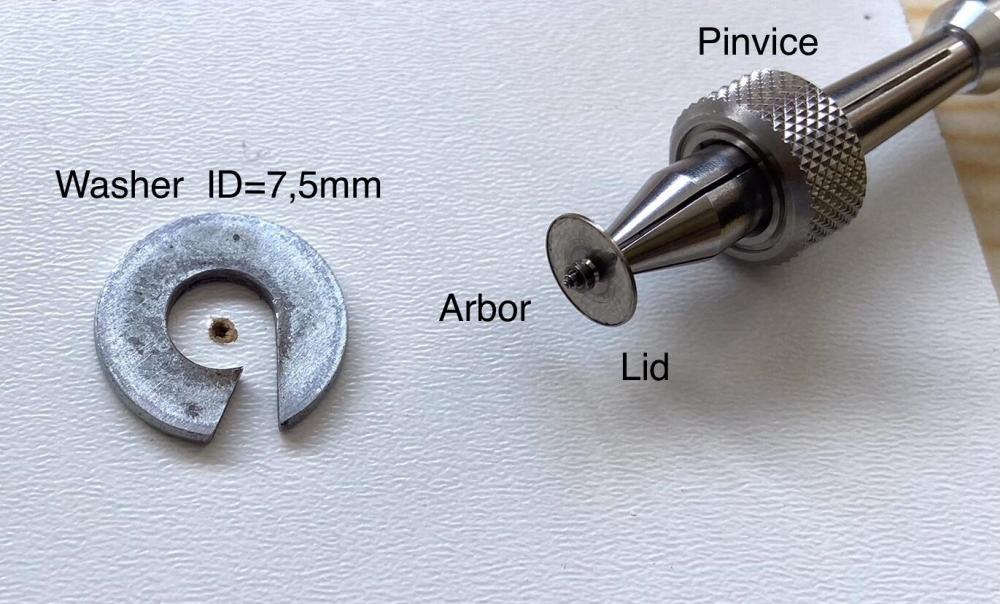
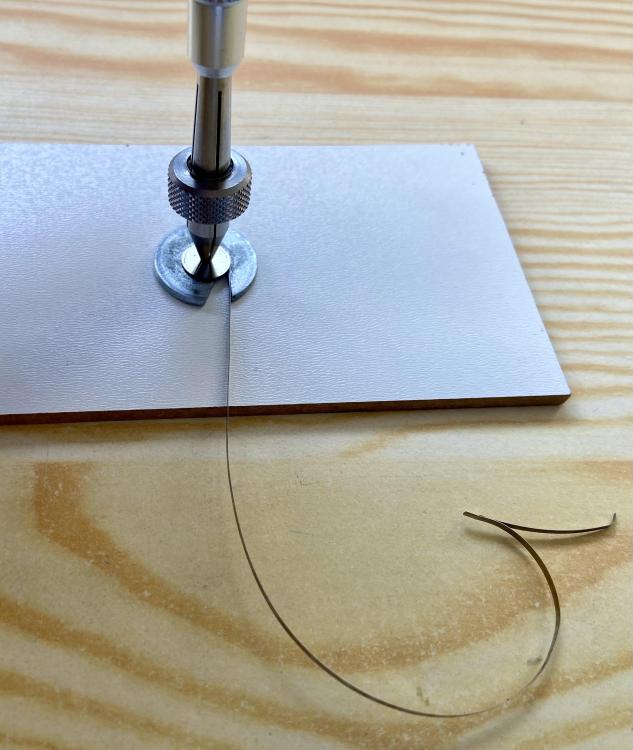
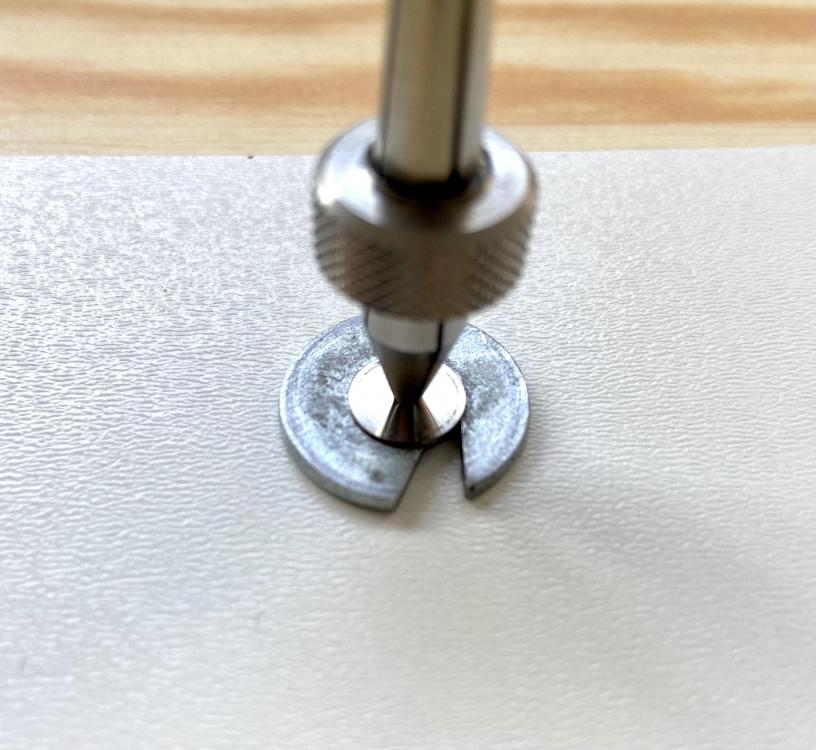
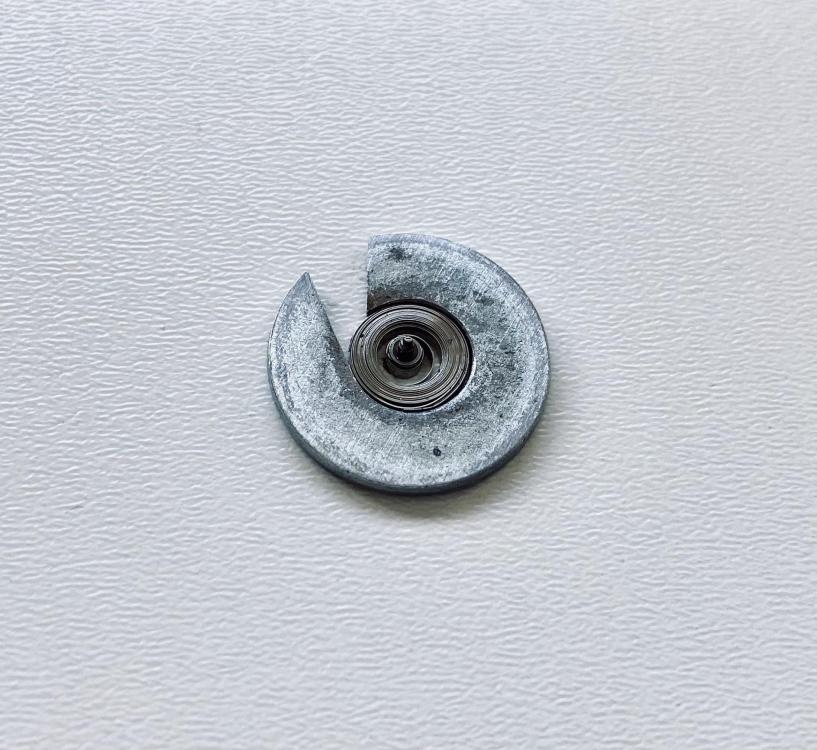
 1 point