Leaderboard
The search index is currently processing. Leaderboard results may not be complete.


Popular Content
Showing content with the highest reputation on 08/27/24 in all areas
-
i buggered up the replacement of one of the tampons a few months ago. Attempting to reposition the good one that was set too low the cylinder cracked in half. I didn't swear though so at least I'm improving that aspect of failure .3 points
-
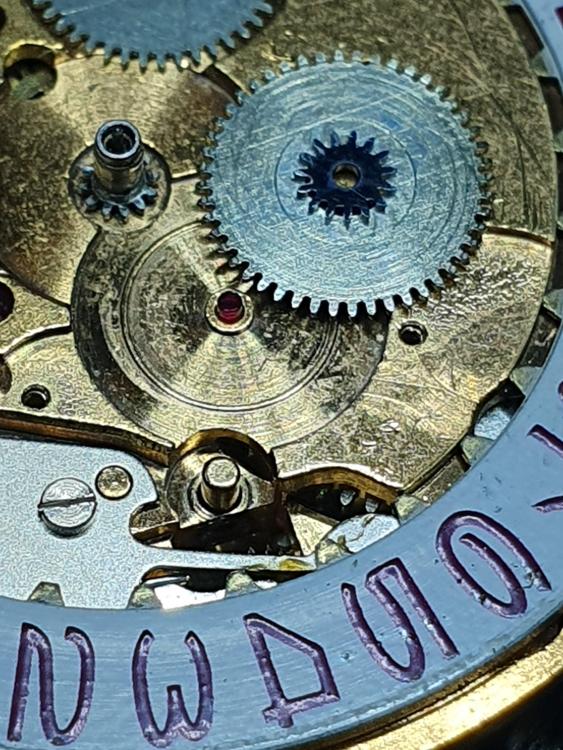
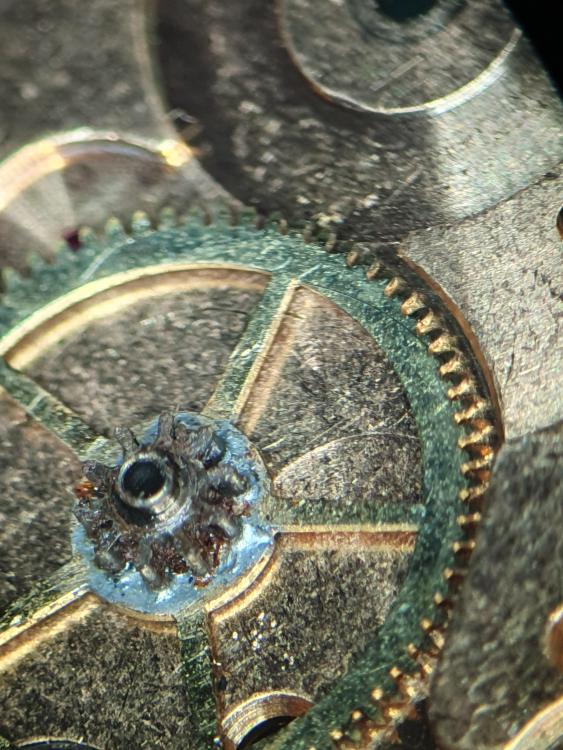
I'm servicing a nice but very dirty (gasket dust) Enicar Sherpa with a 1141 movement. It has a minute wheel on a ruby post. I've never seen this before. Is it just an Enicar thing, or more common? Well, I'll have to re-think the "nice" comment on this Enicar. I got it from the first owner, who bought it when he was young. He told me he only got it serviced once in the 70's by an east German watchmaker, but it wouldn't run very well afterwards, so he put it in a drawer. What do you think, would a broken, warped and soldered centre wheel influence timekeeping??
 3 points
 -
Unlike @nickelsilver, I don't have a ton of experience, but I too have never seen this on any movement other than Enicar's. The above picture is from my service walkthrough of an Enicar cal. 161. As already mentioned, the purpose was likely to get the jewel count up, but I think it looks sort of pretty or intriguing.
 3 points
 -
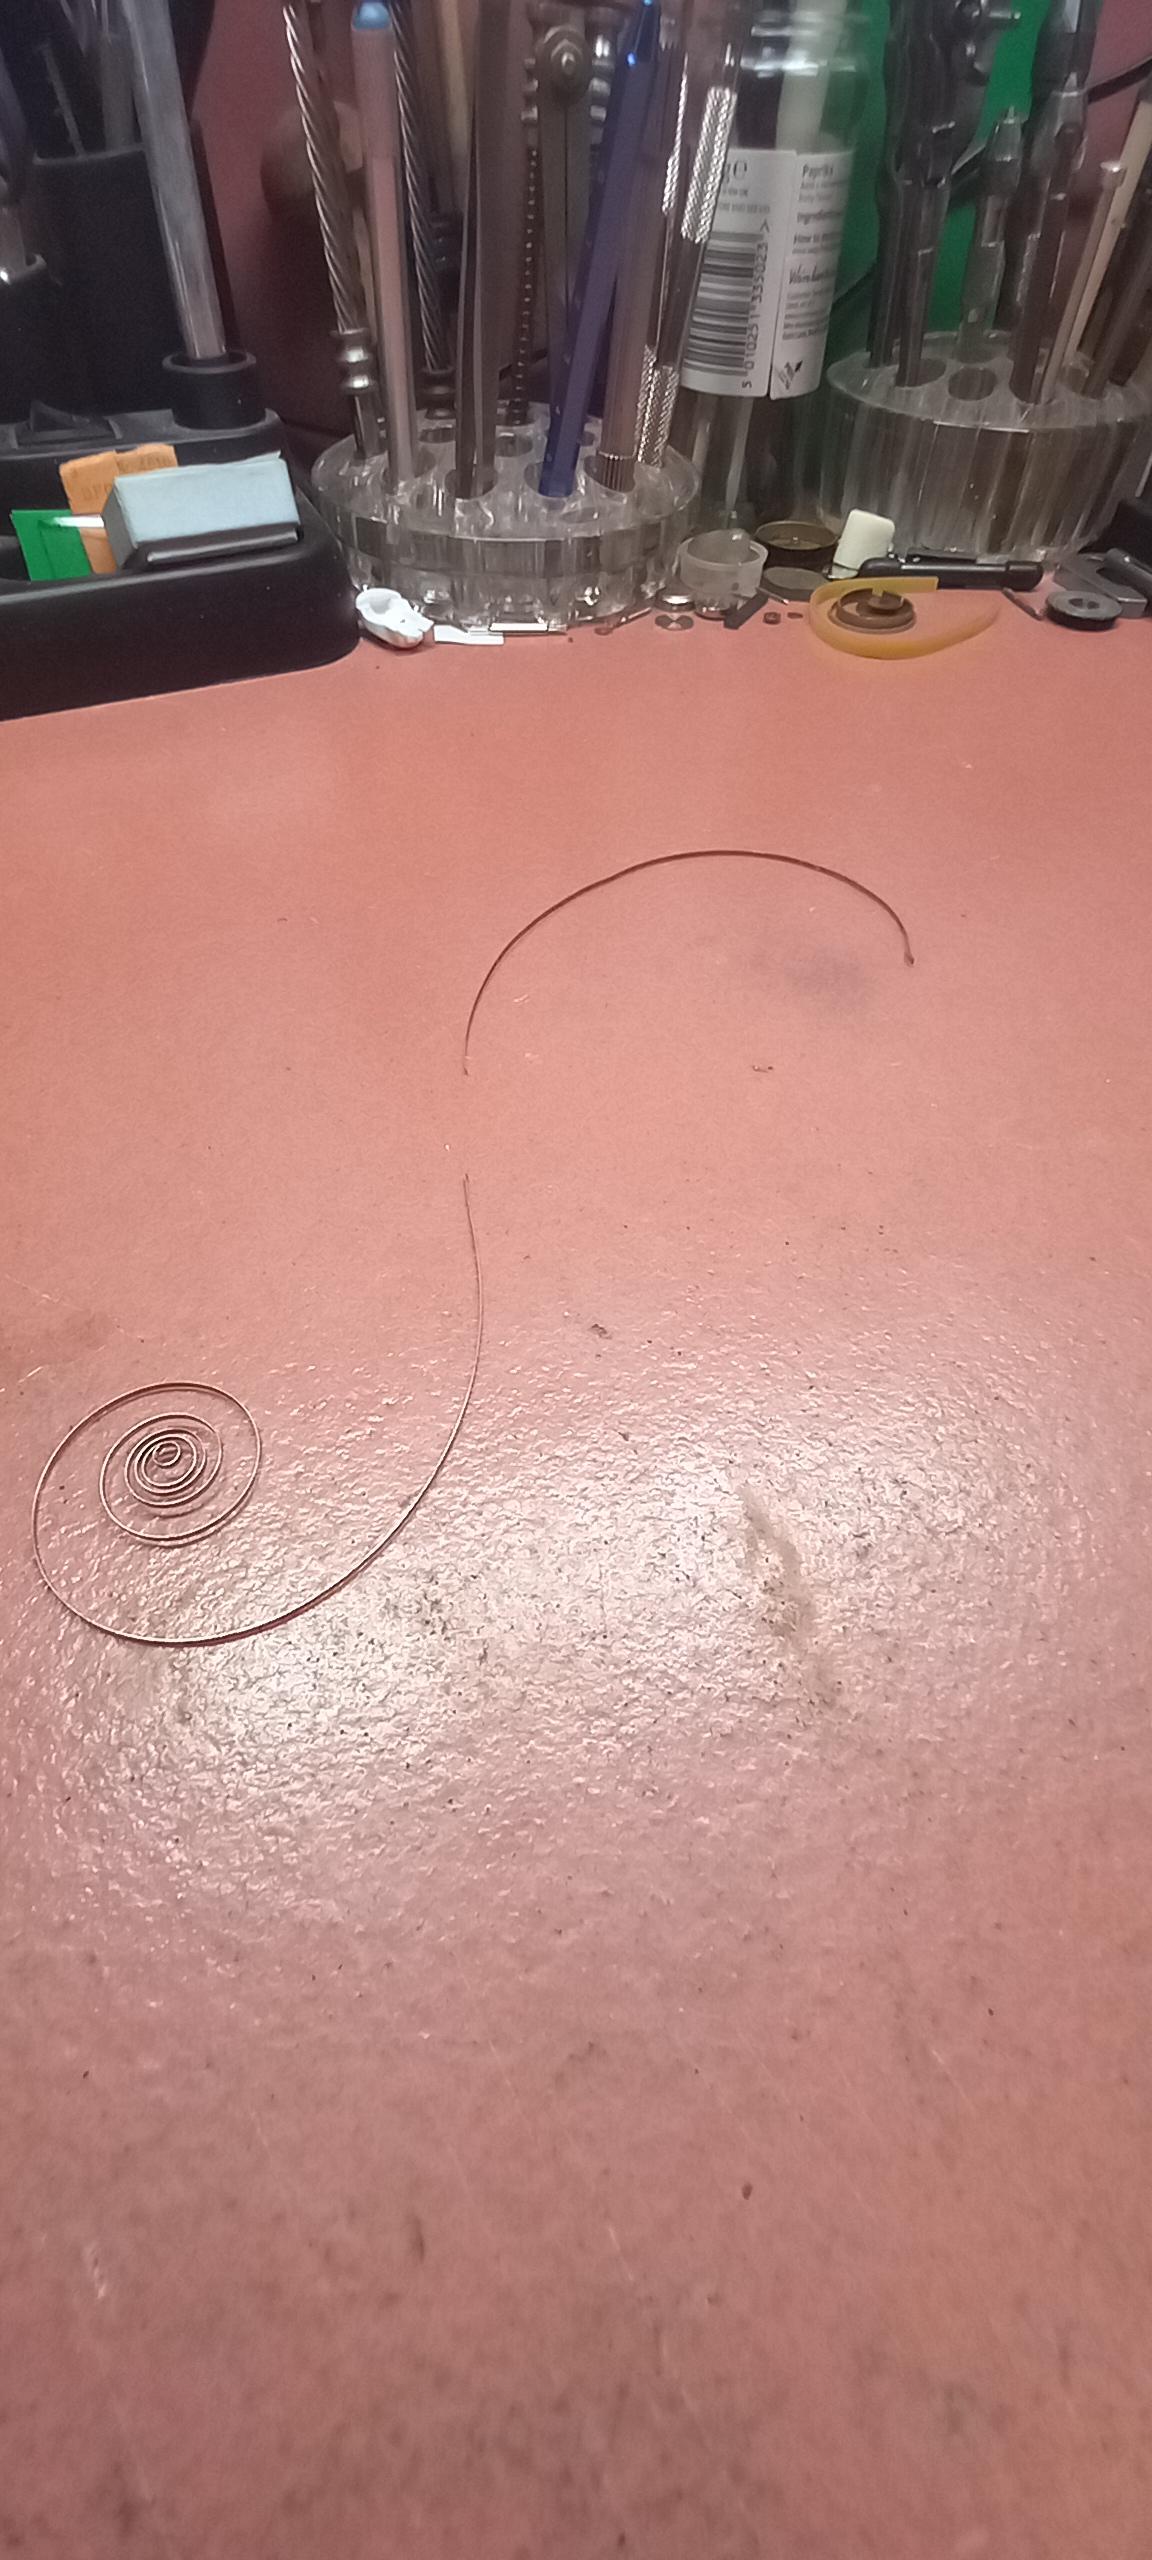
a modern spring has better elasticity, i picked the center portion of the spring to use. Dont try to cut these, they'll bugger up your pliers or grap your cutting wheel. Hold in straight pliers and bend them over then finish off using your fingers to bend fully over, nip tight and they will snap more or less where you want them to.
 2 points
 -
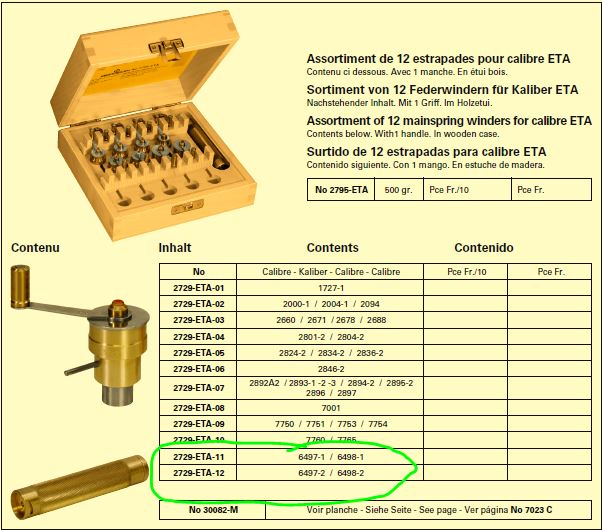
one minor little problem here if it's a clone of the 6497 it's running at 18,000 but if it's running at 21,600 it's not exactly a clone it's 6497 – 2 which is going to bring up a minor problem. Fortunately we've had this discussion before and here's an image then as far as dimensions ago I'm attaching a PDF. HJ-Mainspring-Winders.pdf
 2 points
 -
I have only seen this on Enicar, I think it was just to legitimately get the jewel count up. They are decent movements, but their automatic systems range from over complicated to totally over complicated! I was tasked with assembling 100 movements that had been modified for quick set day/date some years back for a small-ish brand; that was an ordeal .2 points
-
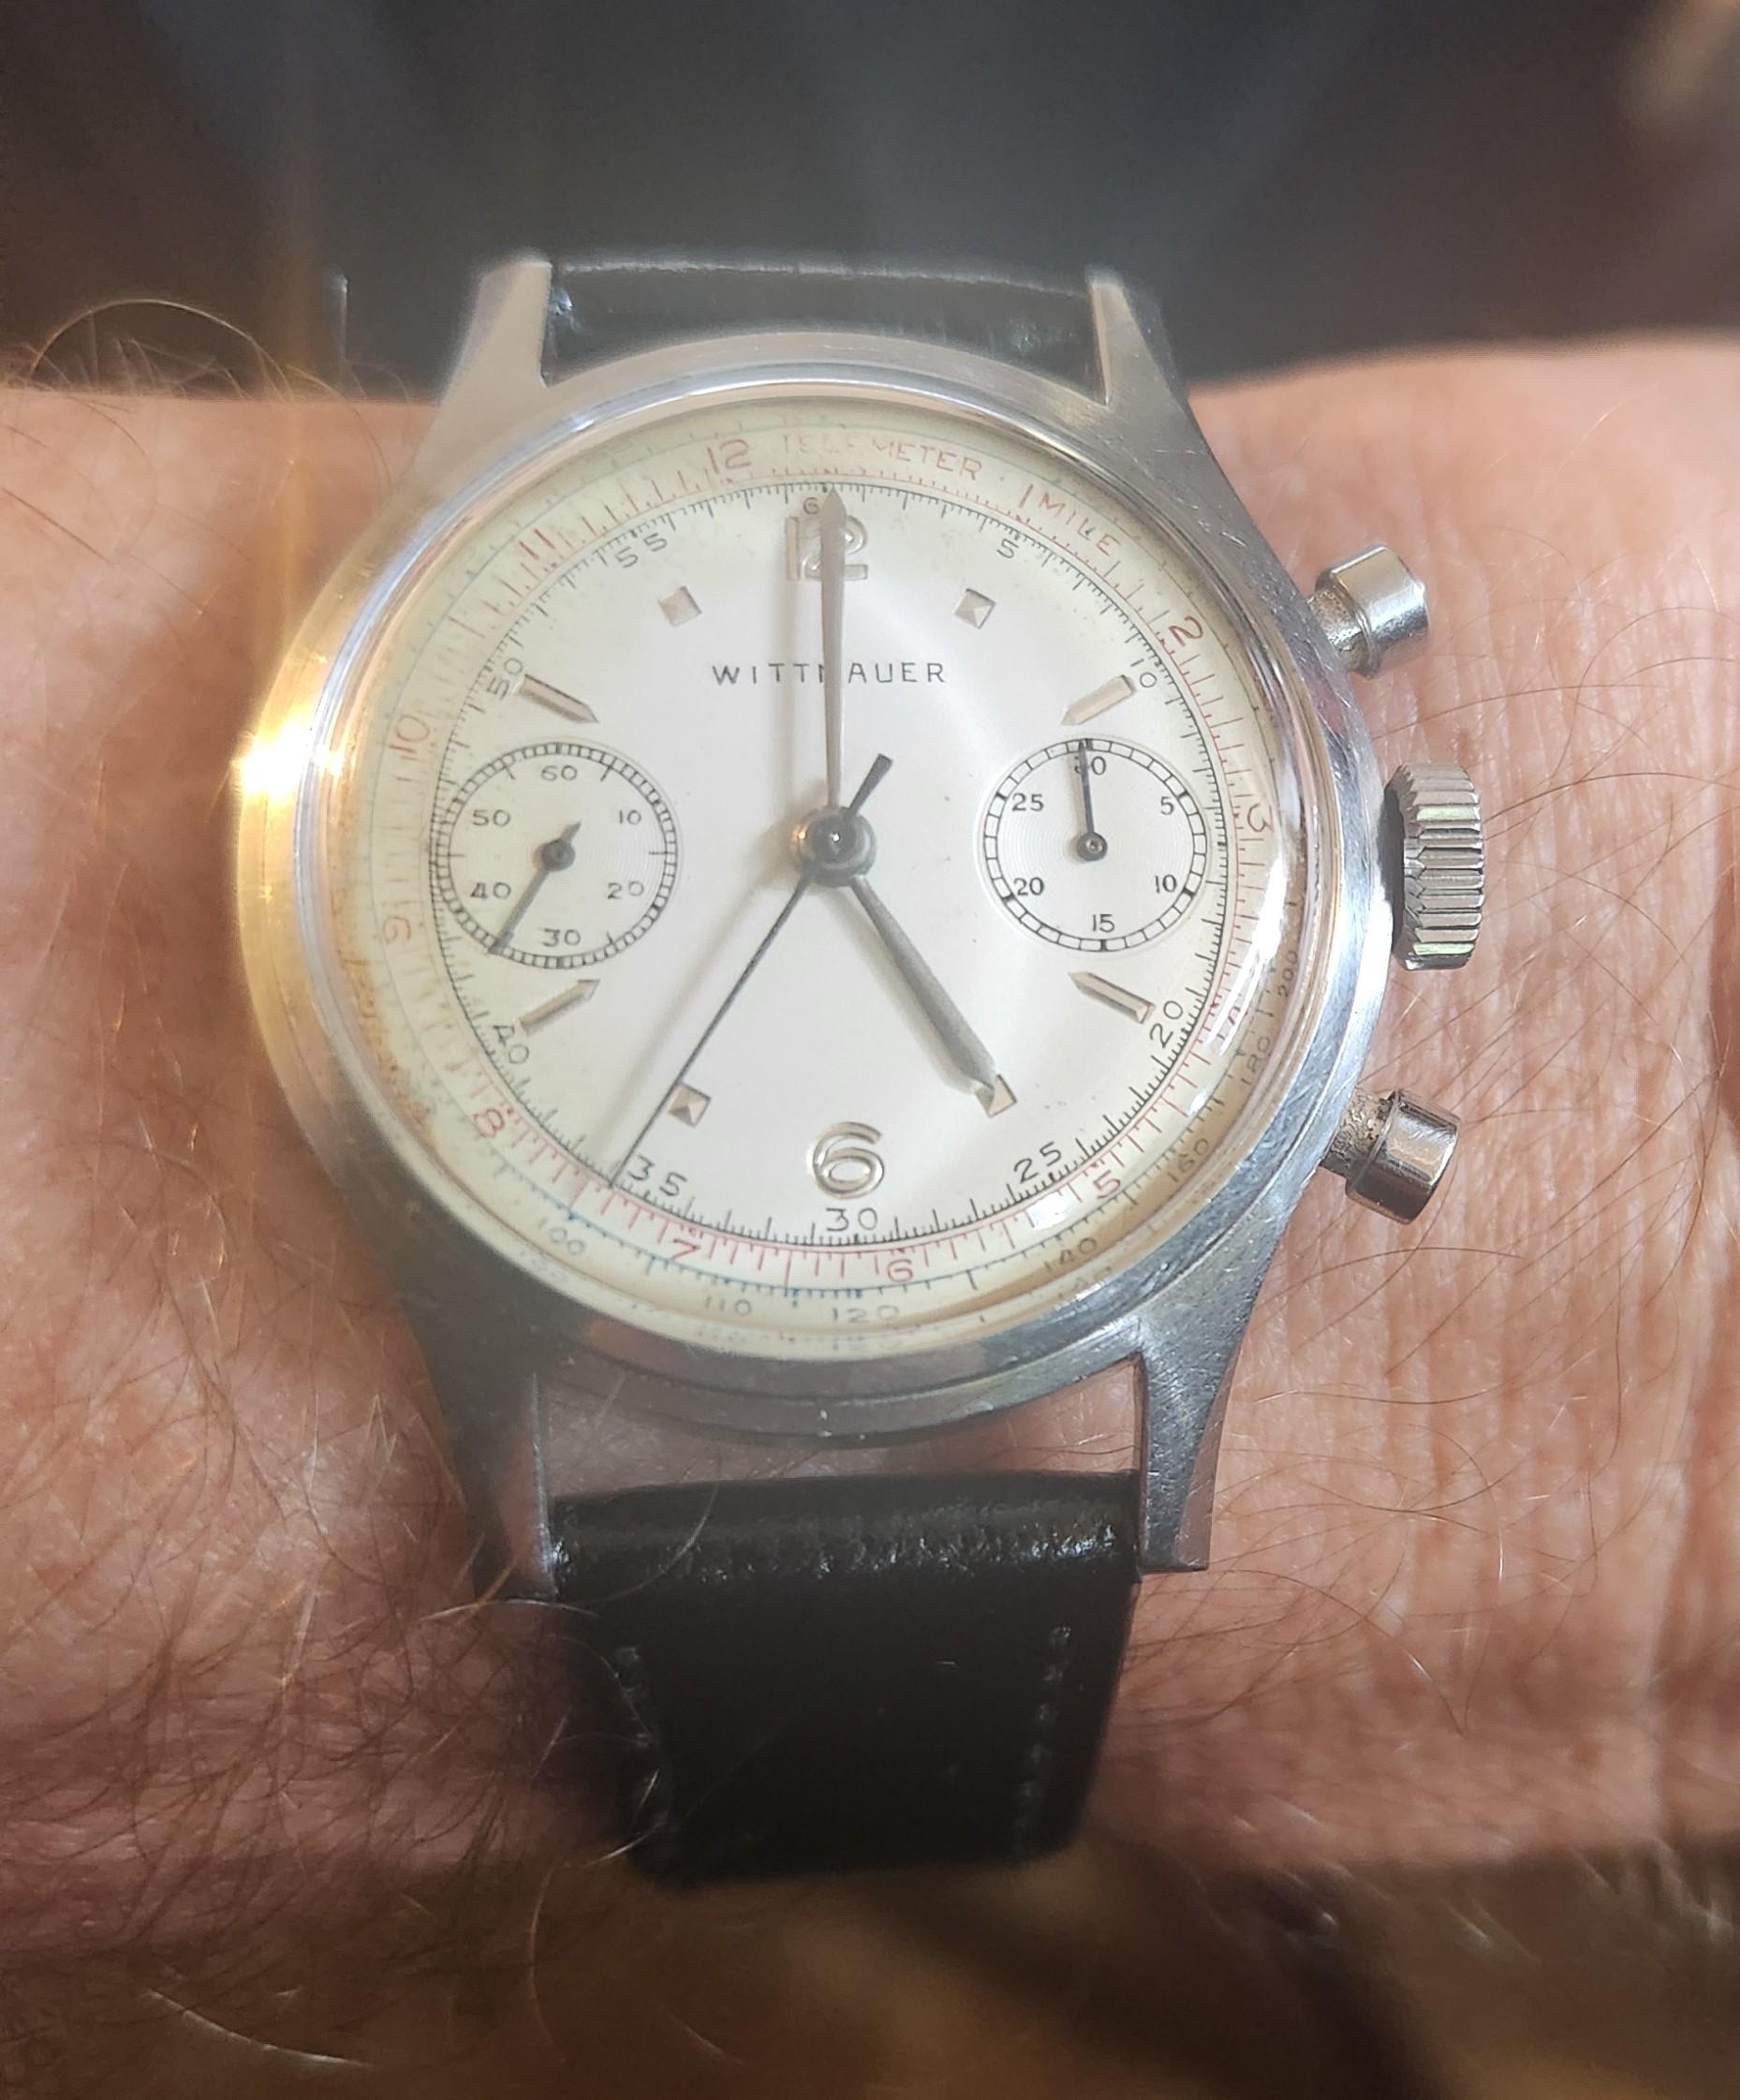
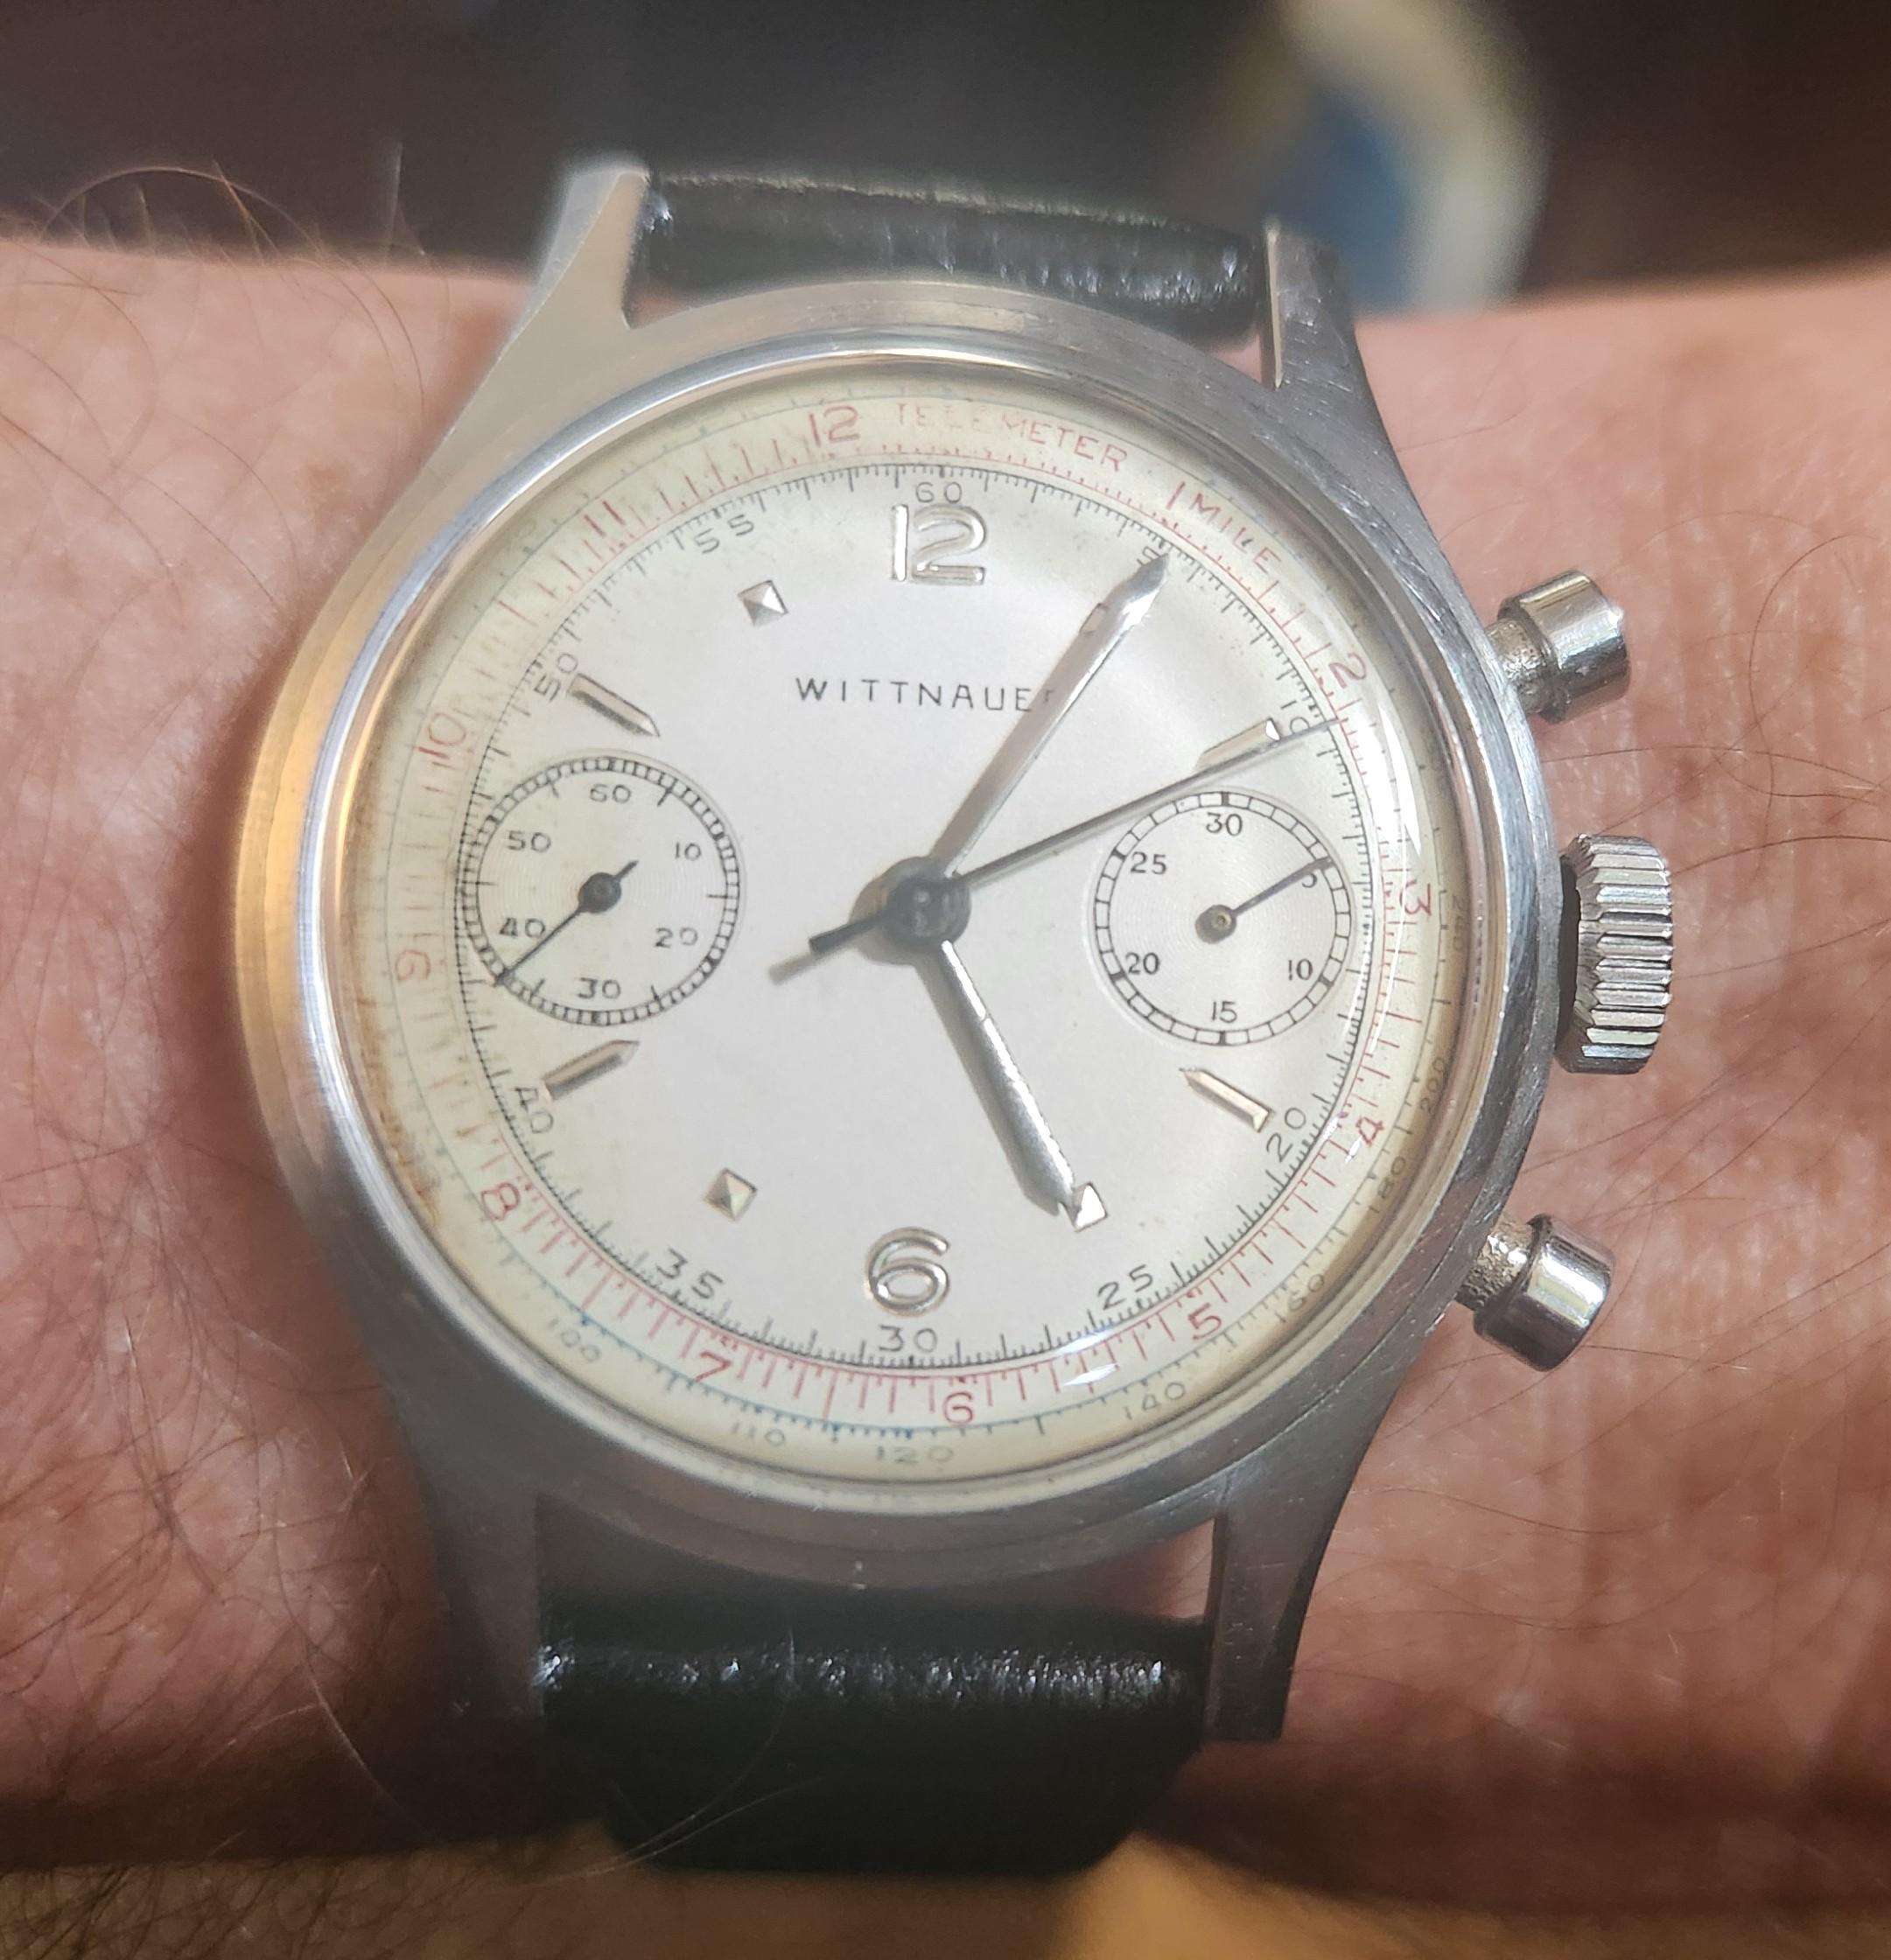
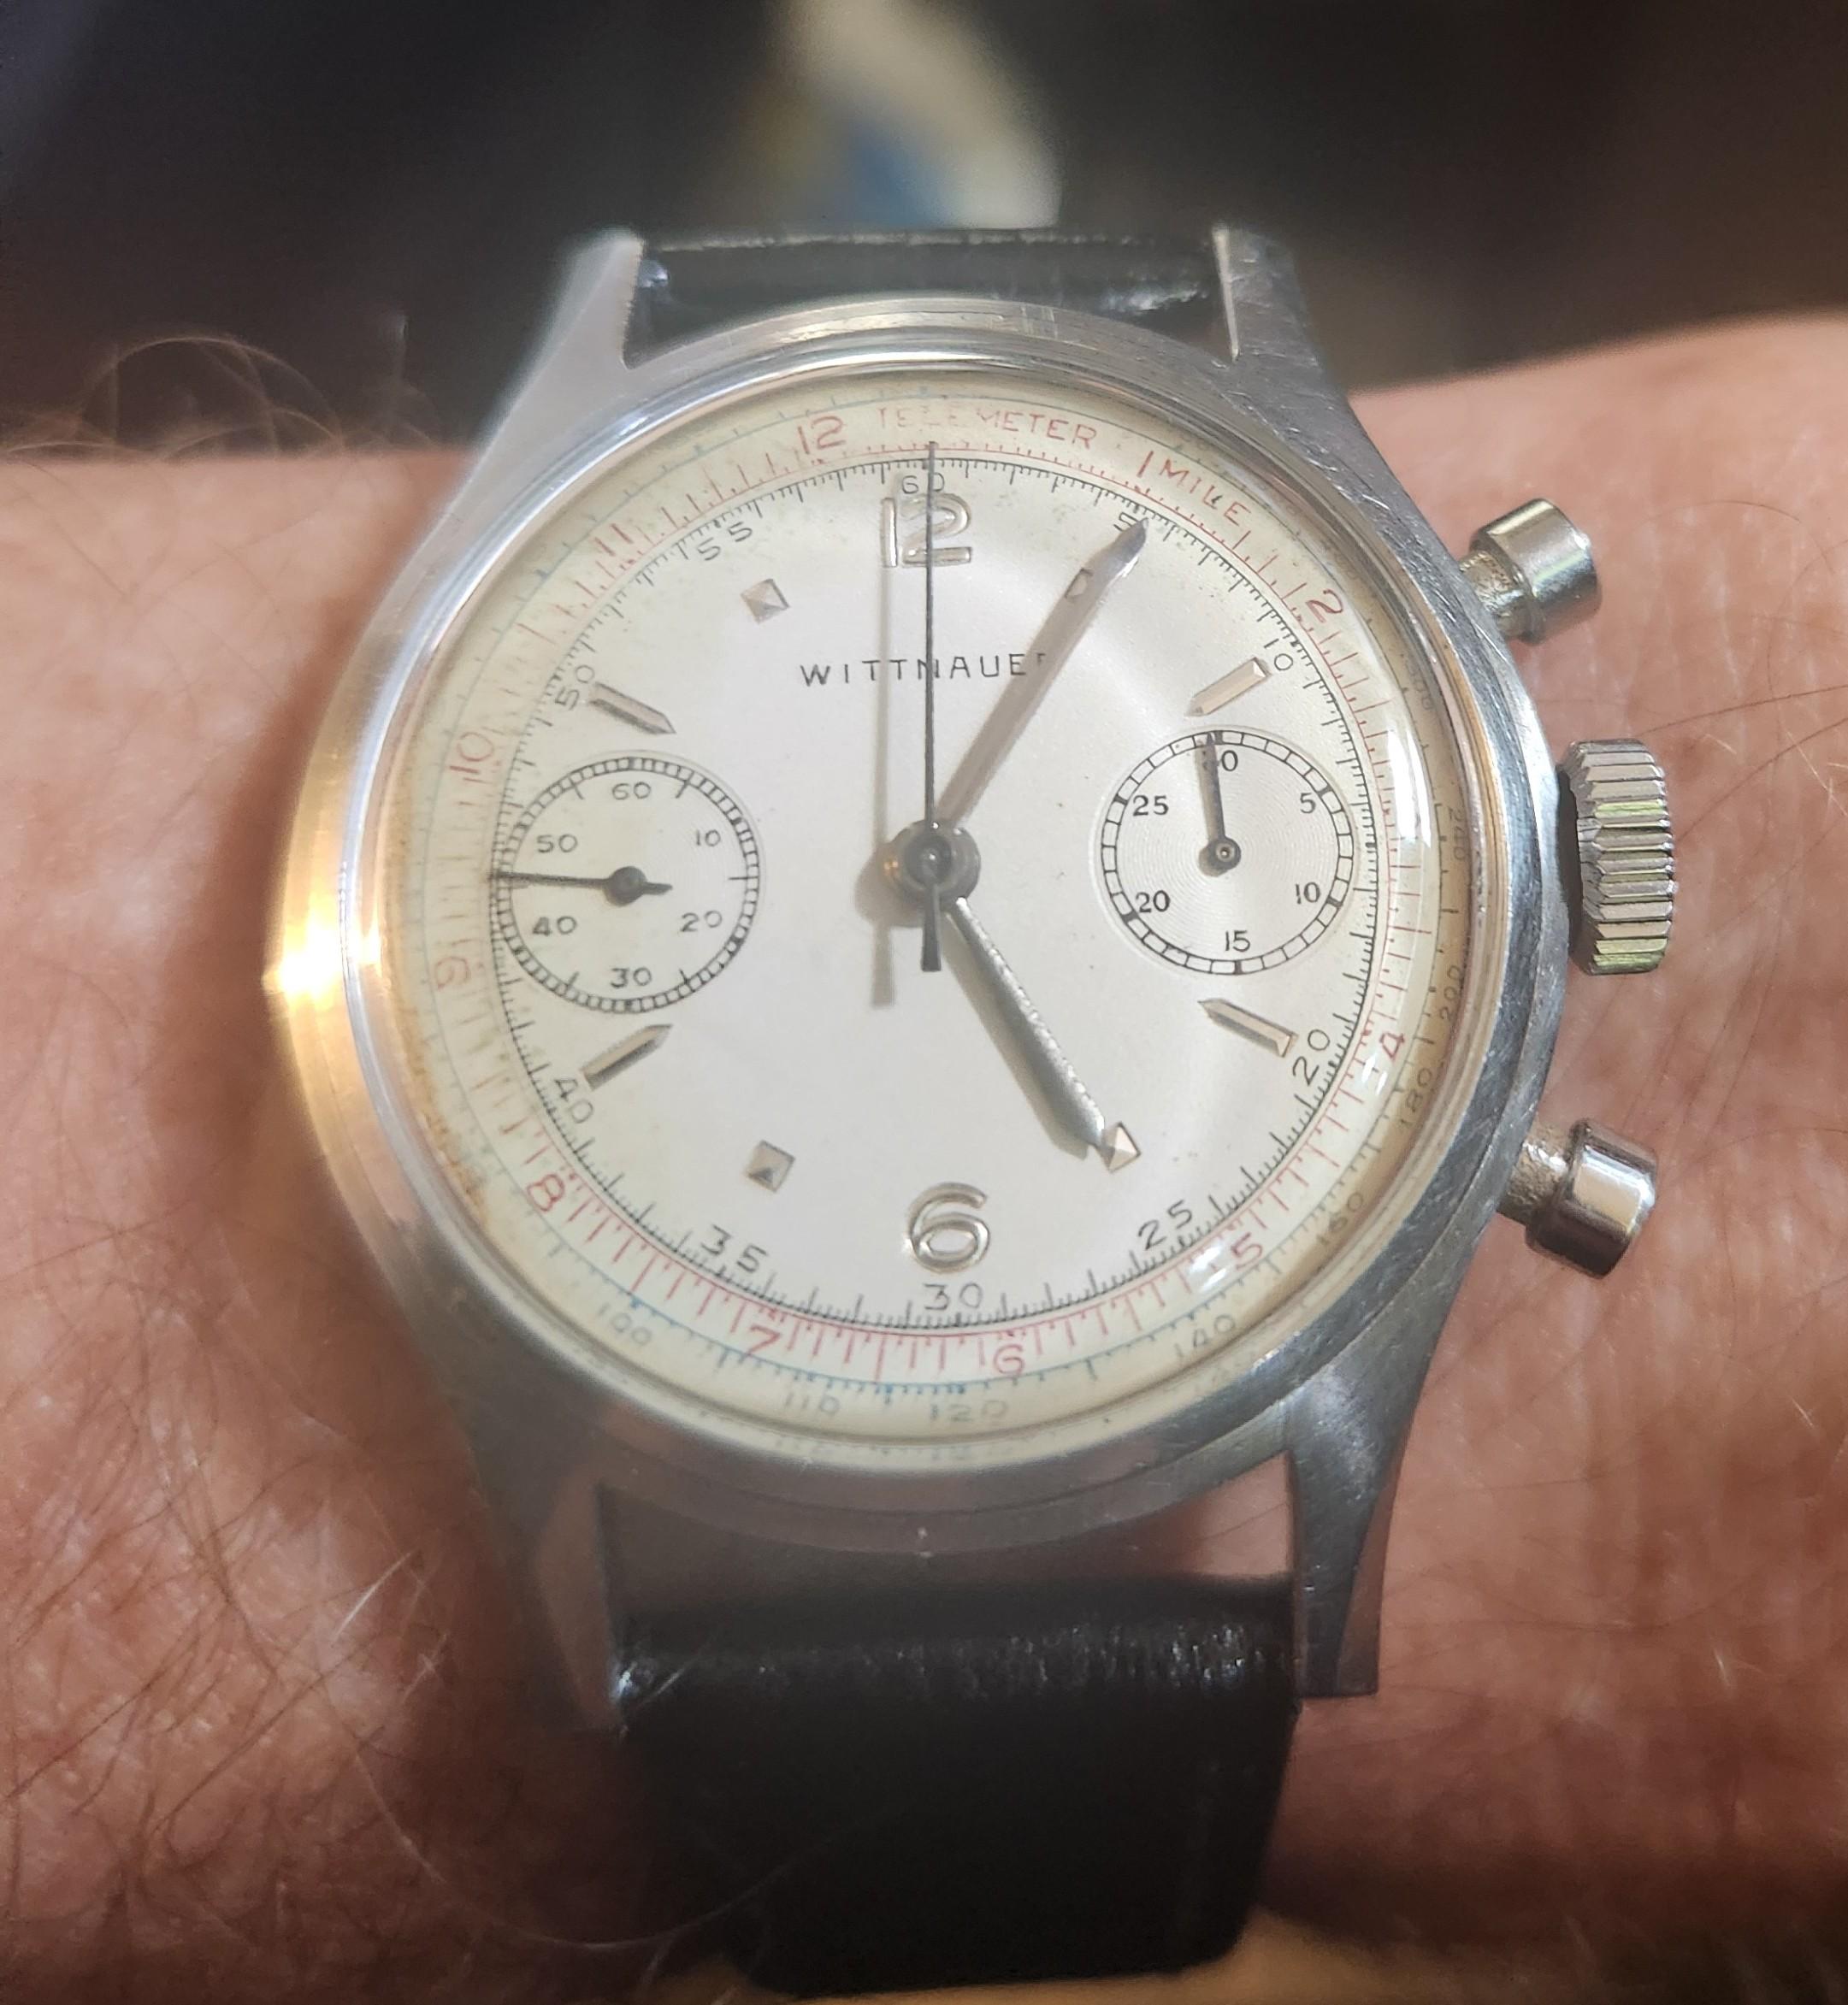
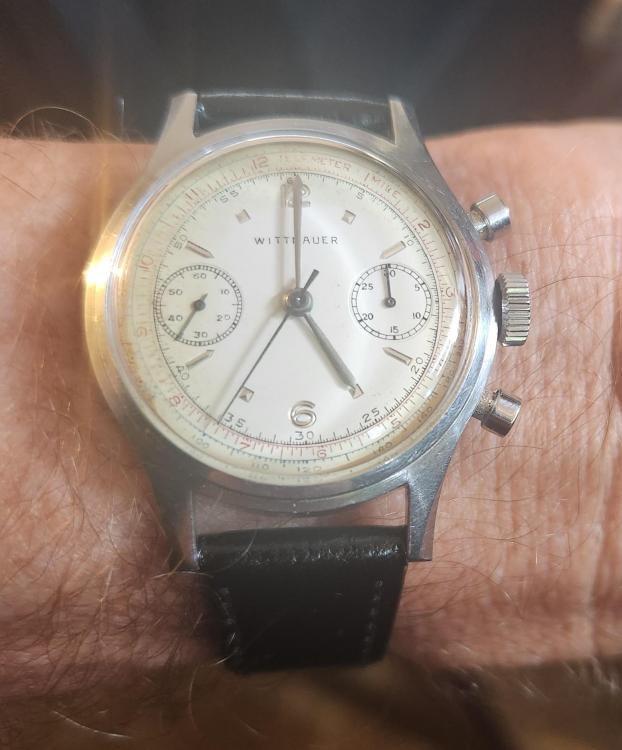
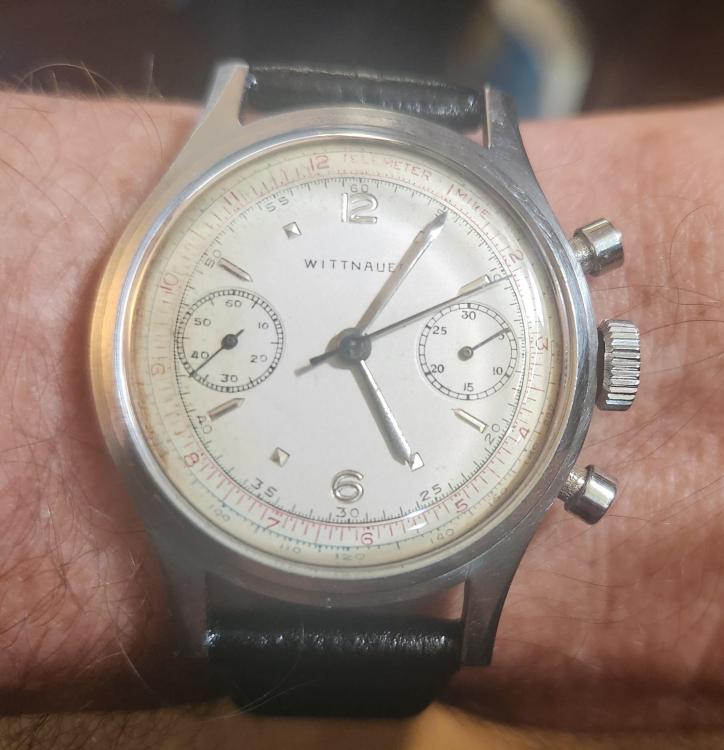
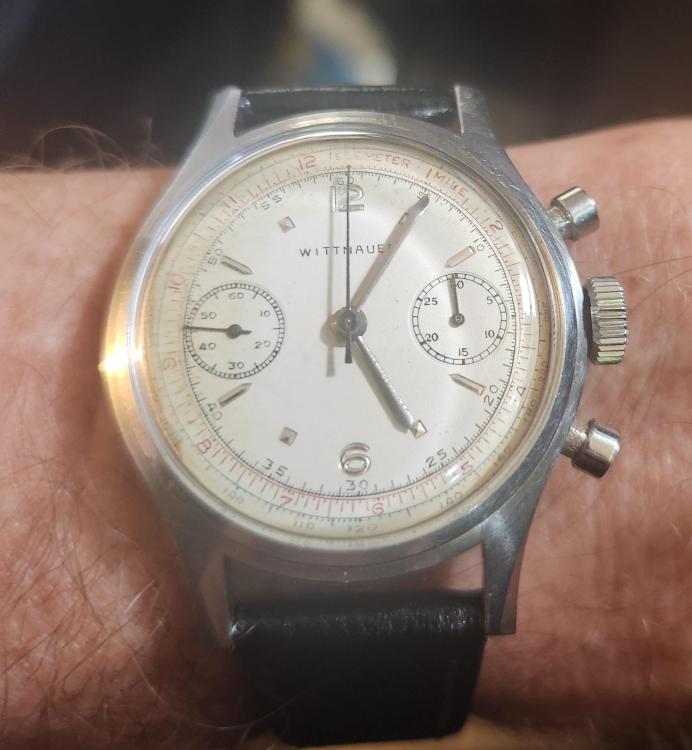
Spent a couple of hours last night and this morning reassembling the Wittnauer. Need to fine tune the minute recorder hand slightly off. But everything rums and the hands all are operational. Slight problems with the haispring but the chrono works perfectly. I think it is an issue with the terminal curve on the hairspring that is causing issues with the rate, Amp and BE for the most part.
 2 points
 -
Details here show the rubyrotor on 1125, 1126 & 1127. https://chronopedia.club/Enicar2 points
-
Normally you would loosen the screw a couple of turns. Don't remove it entirely. Also, my thoughts (for what they're worth) are that if you're fairly new to watch repair (as I am), a cylinder escapement is probably not the best place to start. I haven't done one yet, and don't feel I'll be ready to for some time. It seems to me that cylinder escapement watches are very common on eBay so its worth being able to spot them. If a pocket watch movement is offered for under about $50 and it is not missing parts or full of rust, 80% of the time it's a cylinder escapement. Things to look for include no maker's name or caliber number on the movement or dial--they were cheap watches in their day that nobody was especially proud to be associated with. The real give-away, though, is to count to pivots of the train of wheels. A Swiss Lever escapement will have Centre Wheel, Third Wheel, Fourth Wheel and Escape Wheel pivots visible on the movement side, and there will be some space between the Escape Wheel and the Balance where the Pallet goes. A Cylinder Escapement will have one less pivot visible as there is no Pallet and the Escape Wheel interfaces directly with the cylinder on the Balance staff. If you can see the Escape Wheel, it will also have a distinctive appearance with what looks like tiny hammer heads on the end of each tooth. They're the things I look for; if I've said anything egregiously wrong I trust a more experienced member will correct me.2 points
-
When the pallet stones are fixed without shellac, they are put to the bottom in the slots (just like the pallets on the pictures here). When shellac is needed, then the stones don't get to the bottom, otherwise regulation will not be possible. Of course, applying shellac will not do harm for sure.1 point
-
So you used a modern alloy spring with an S curve rather than old chonky carbon steel?1 point
-
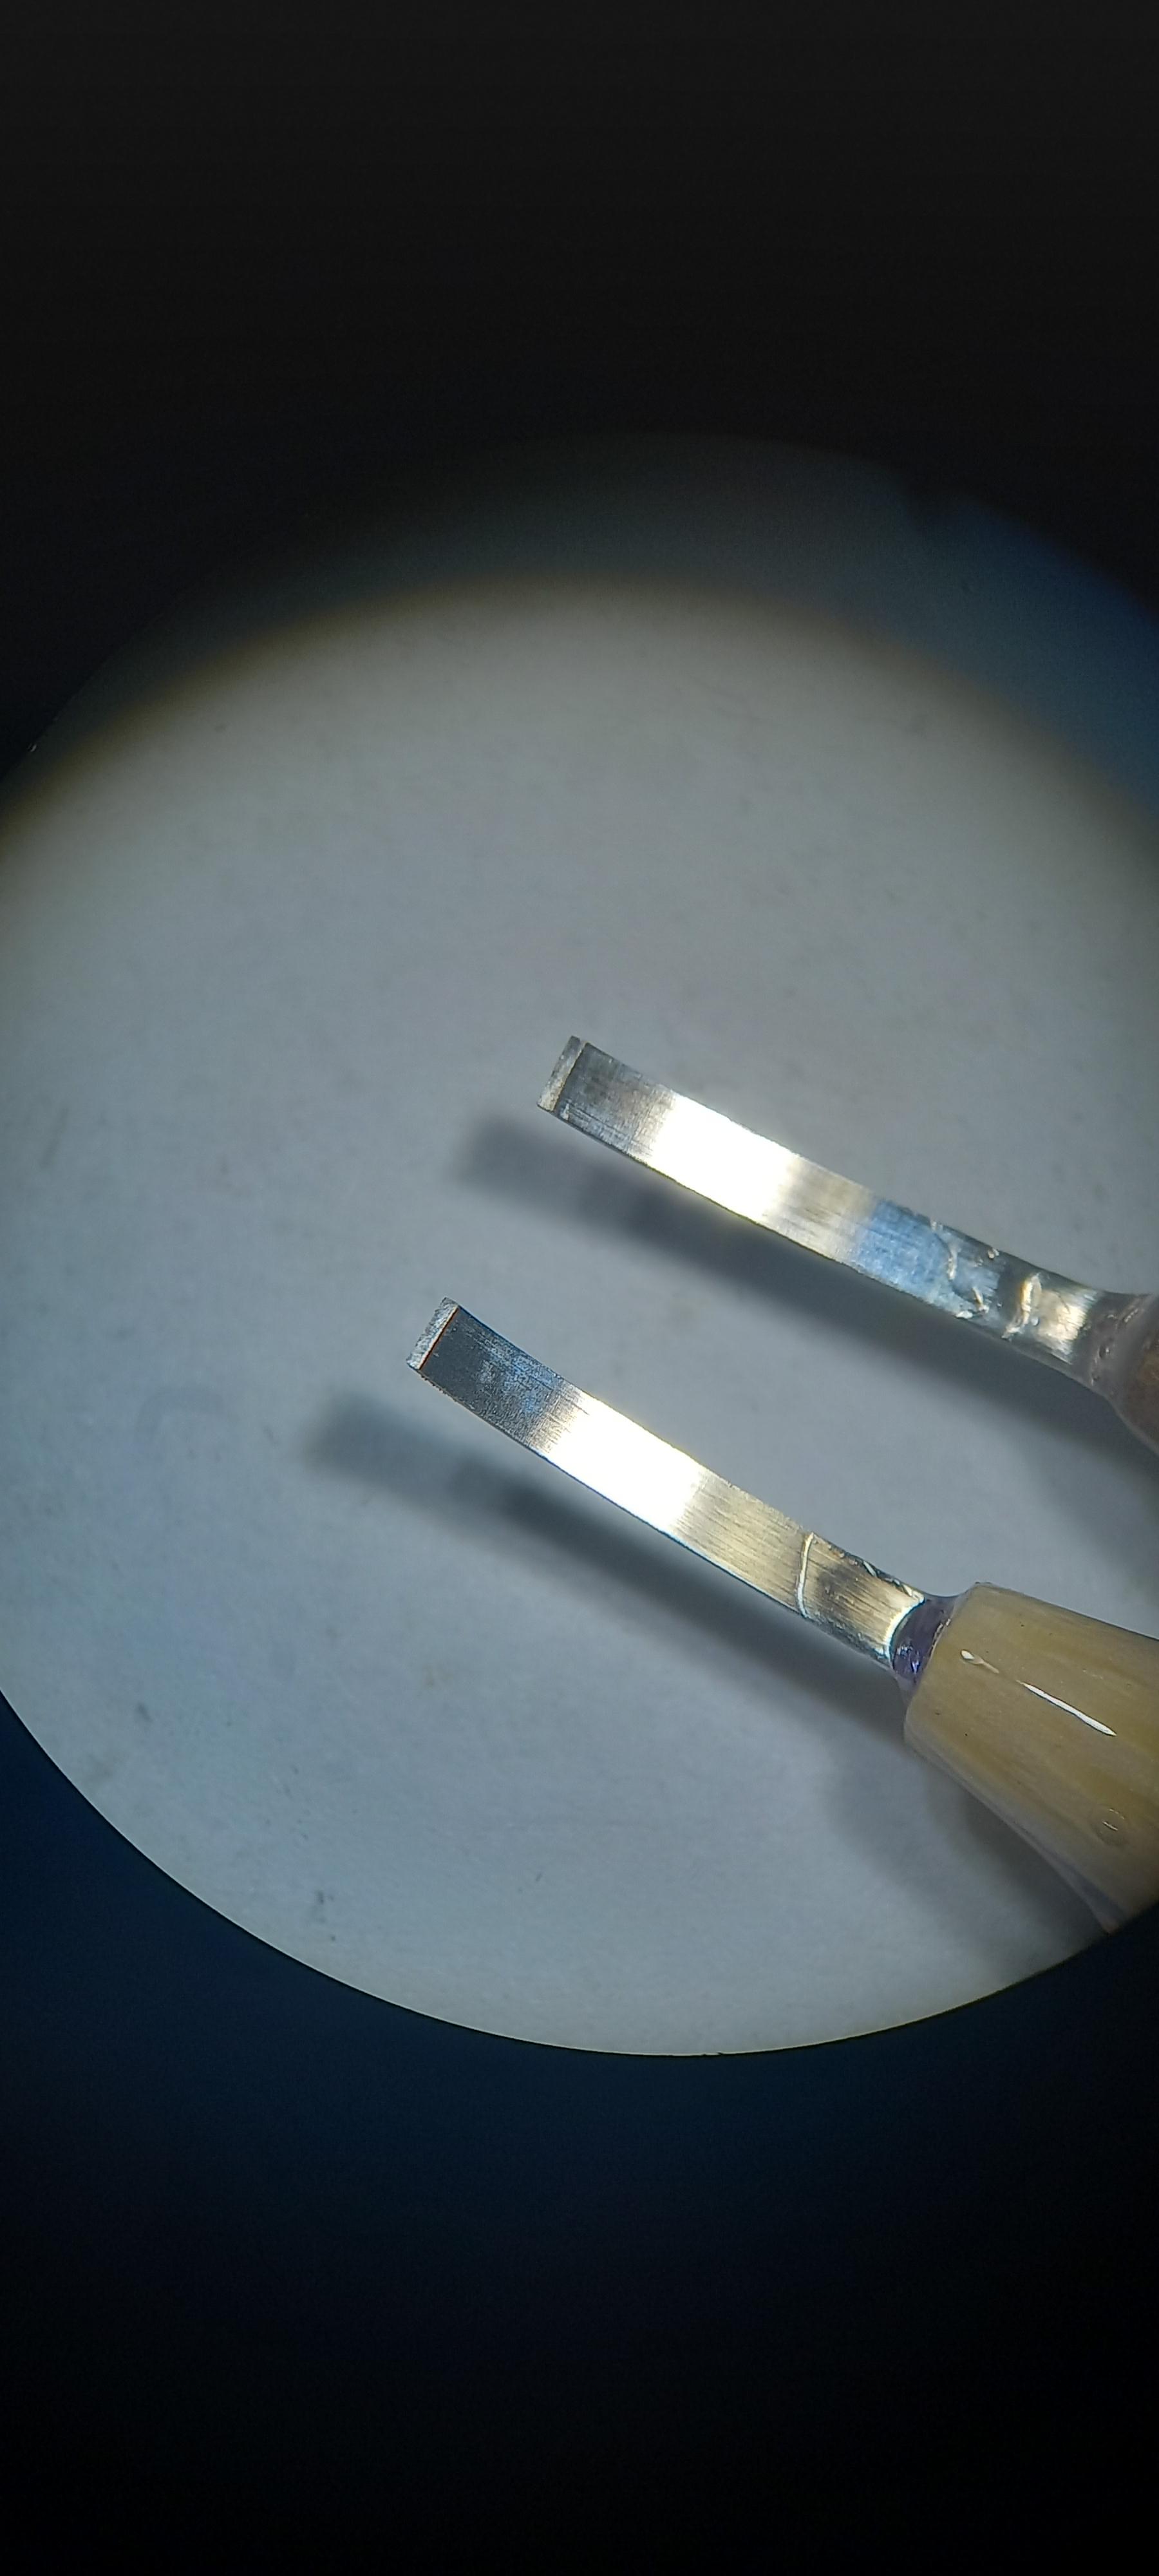
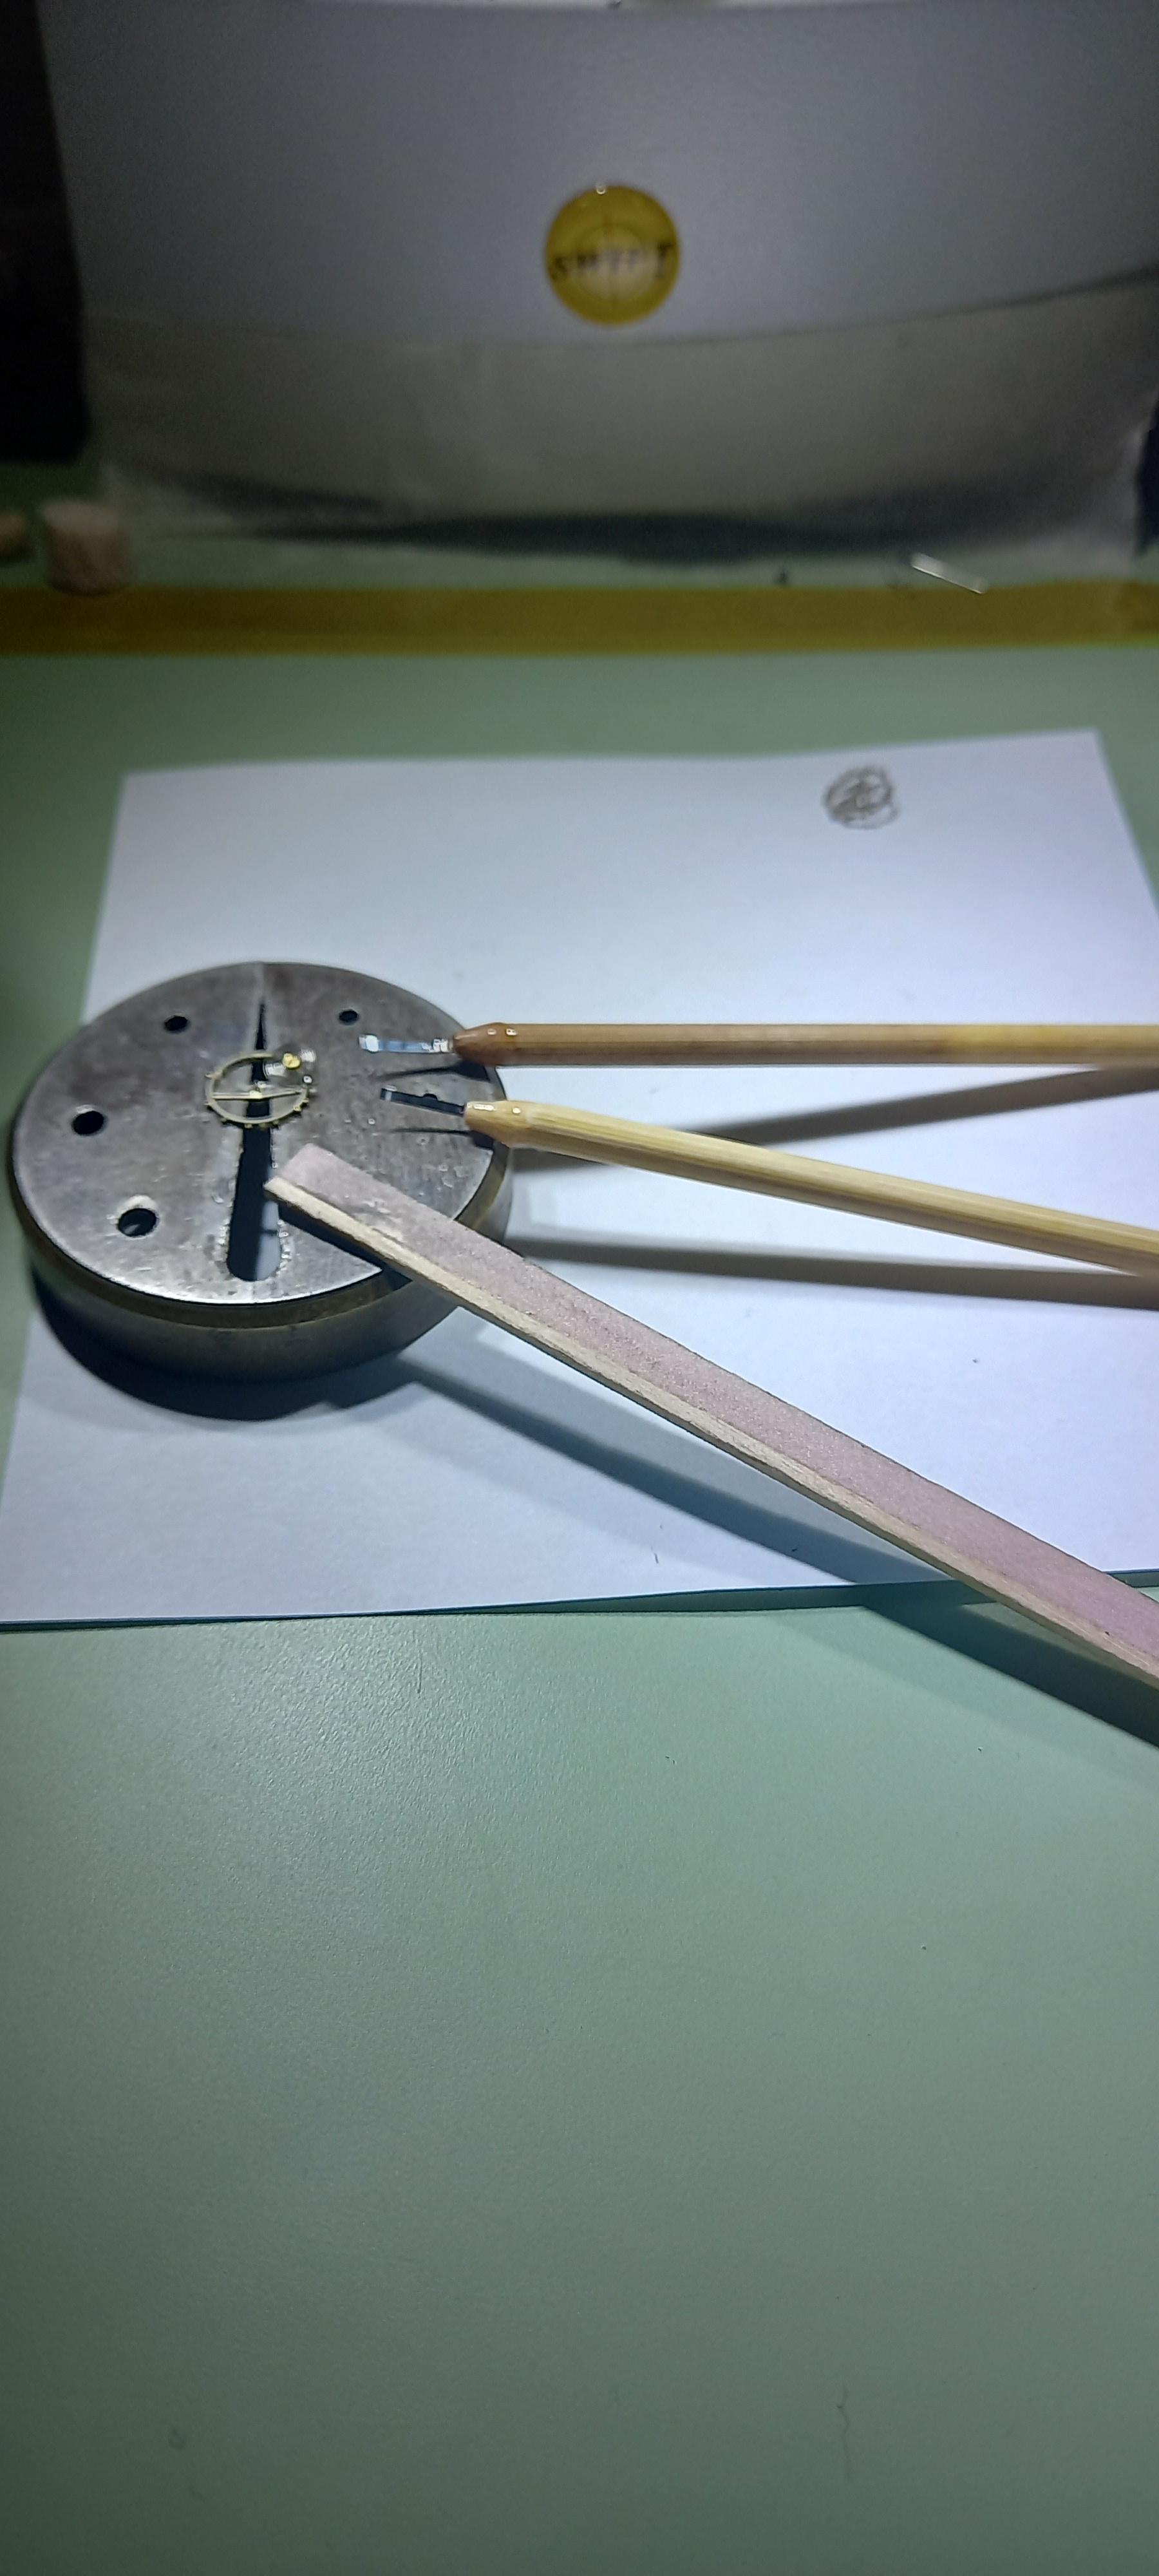
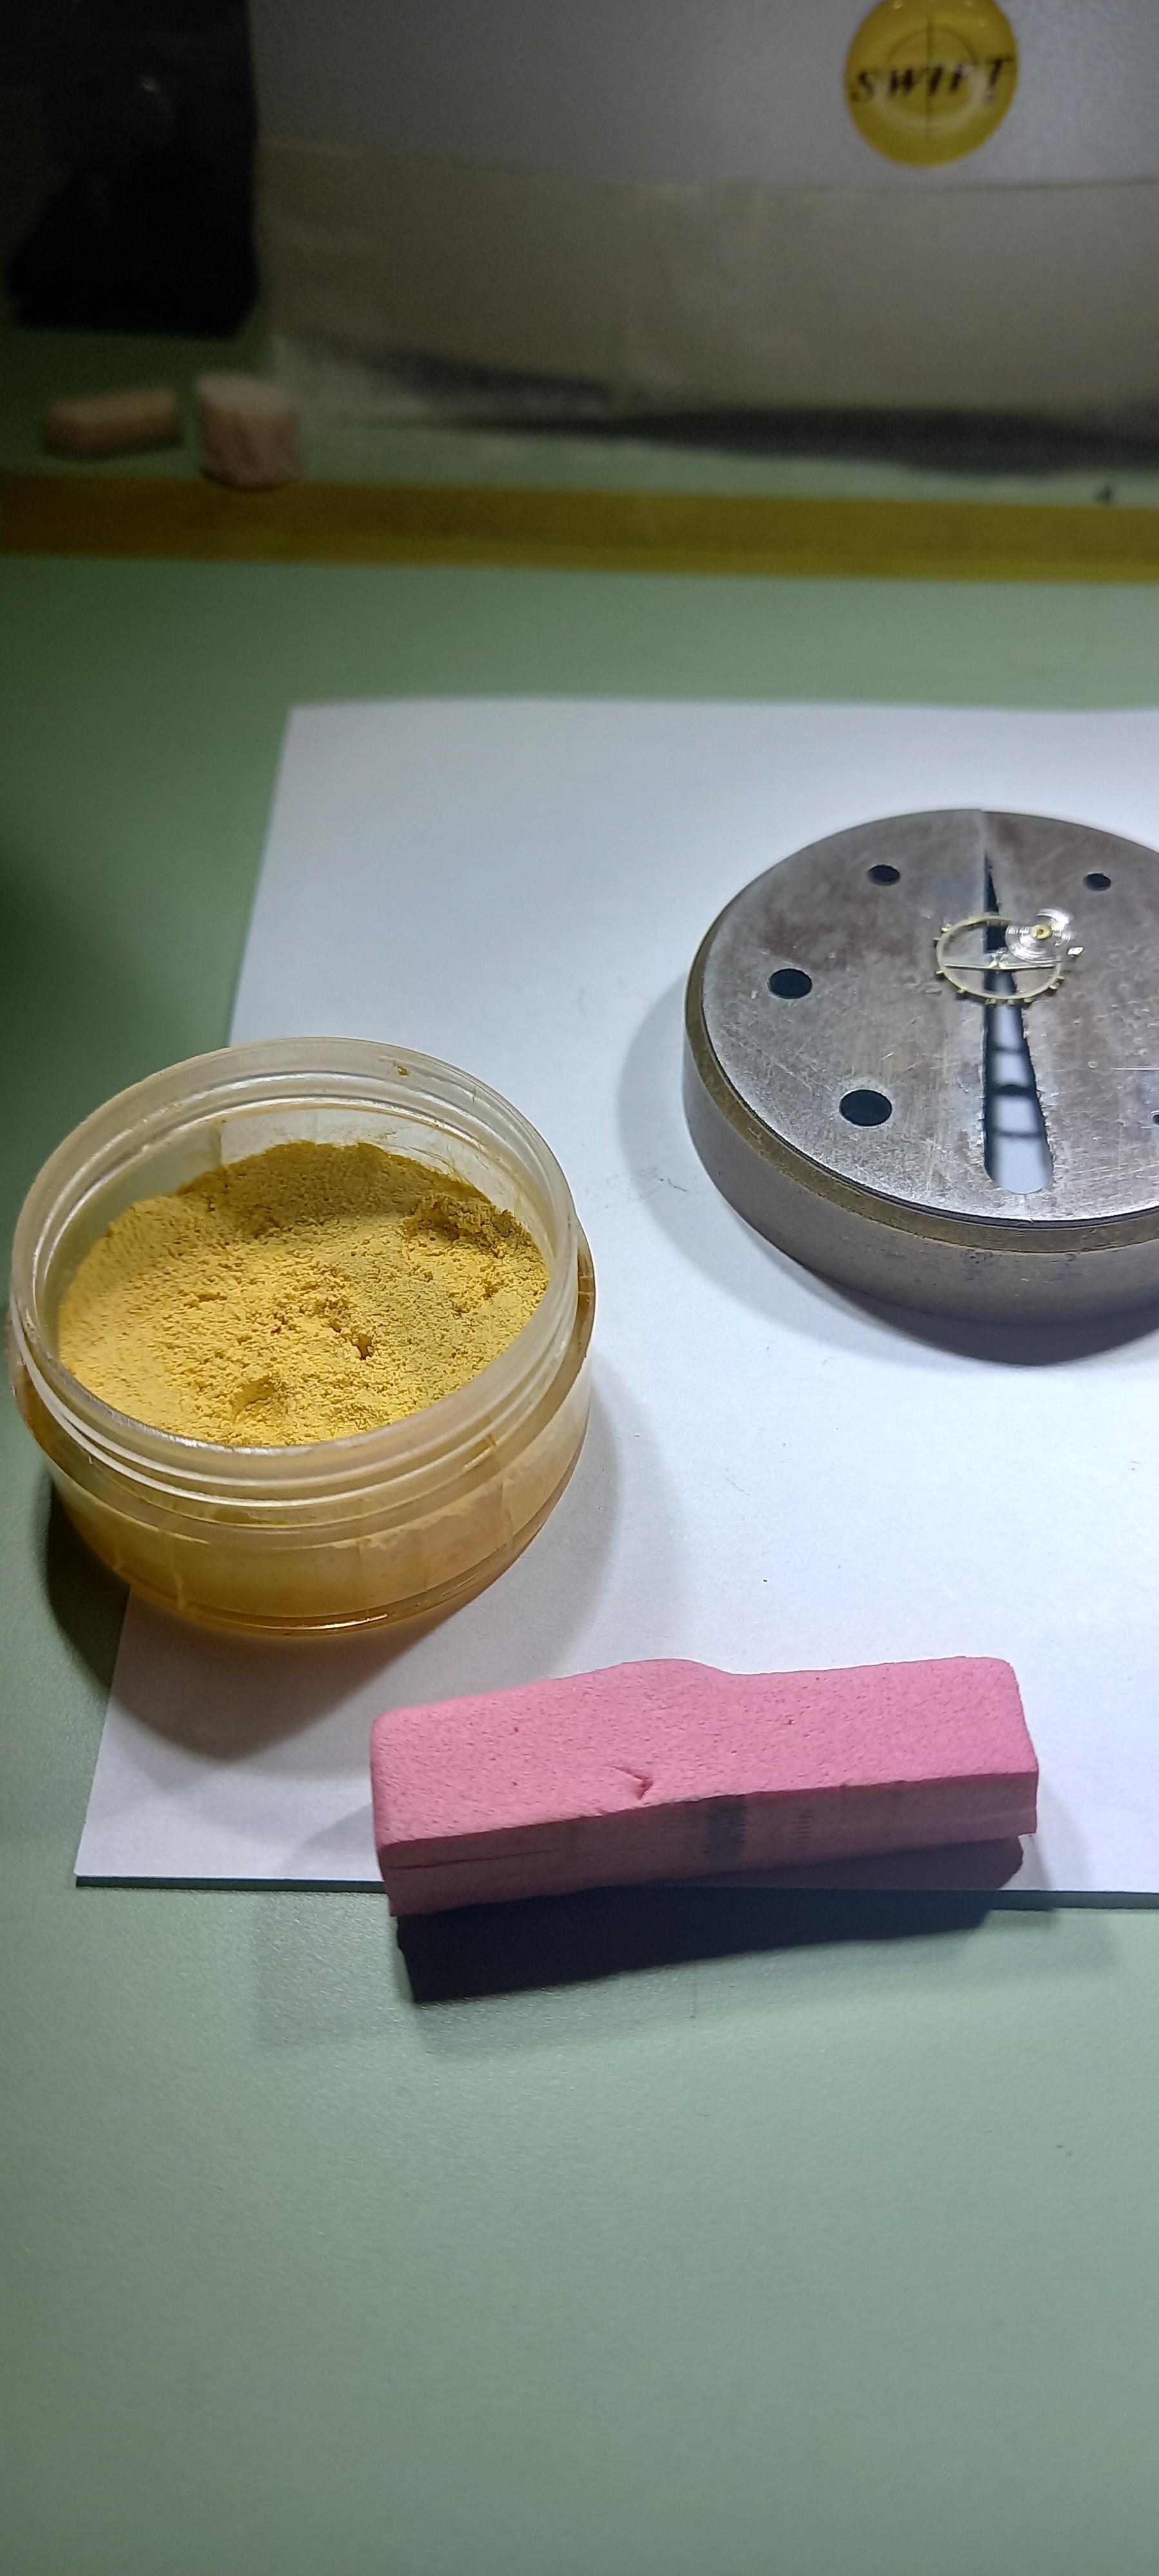
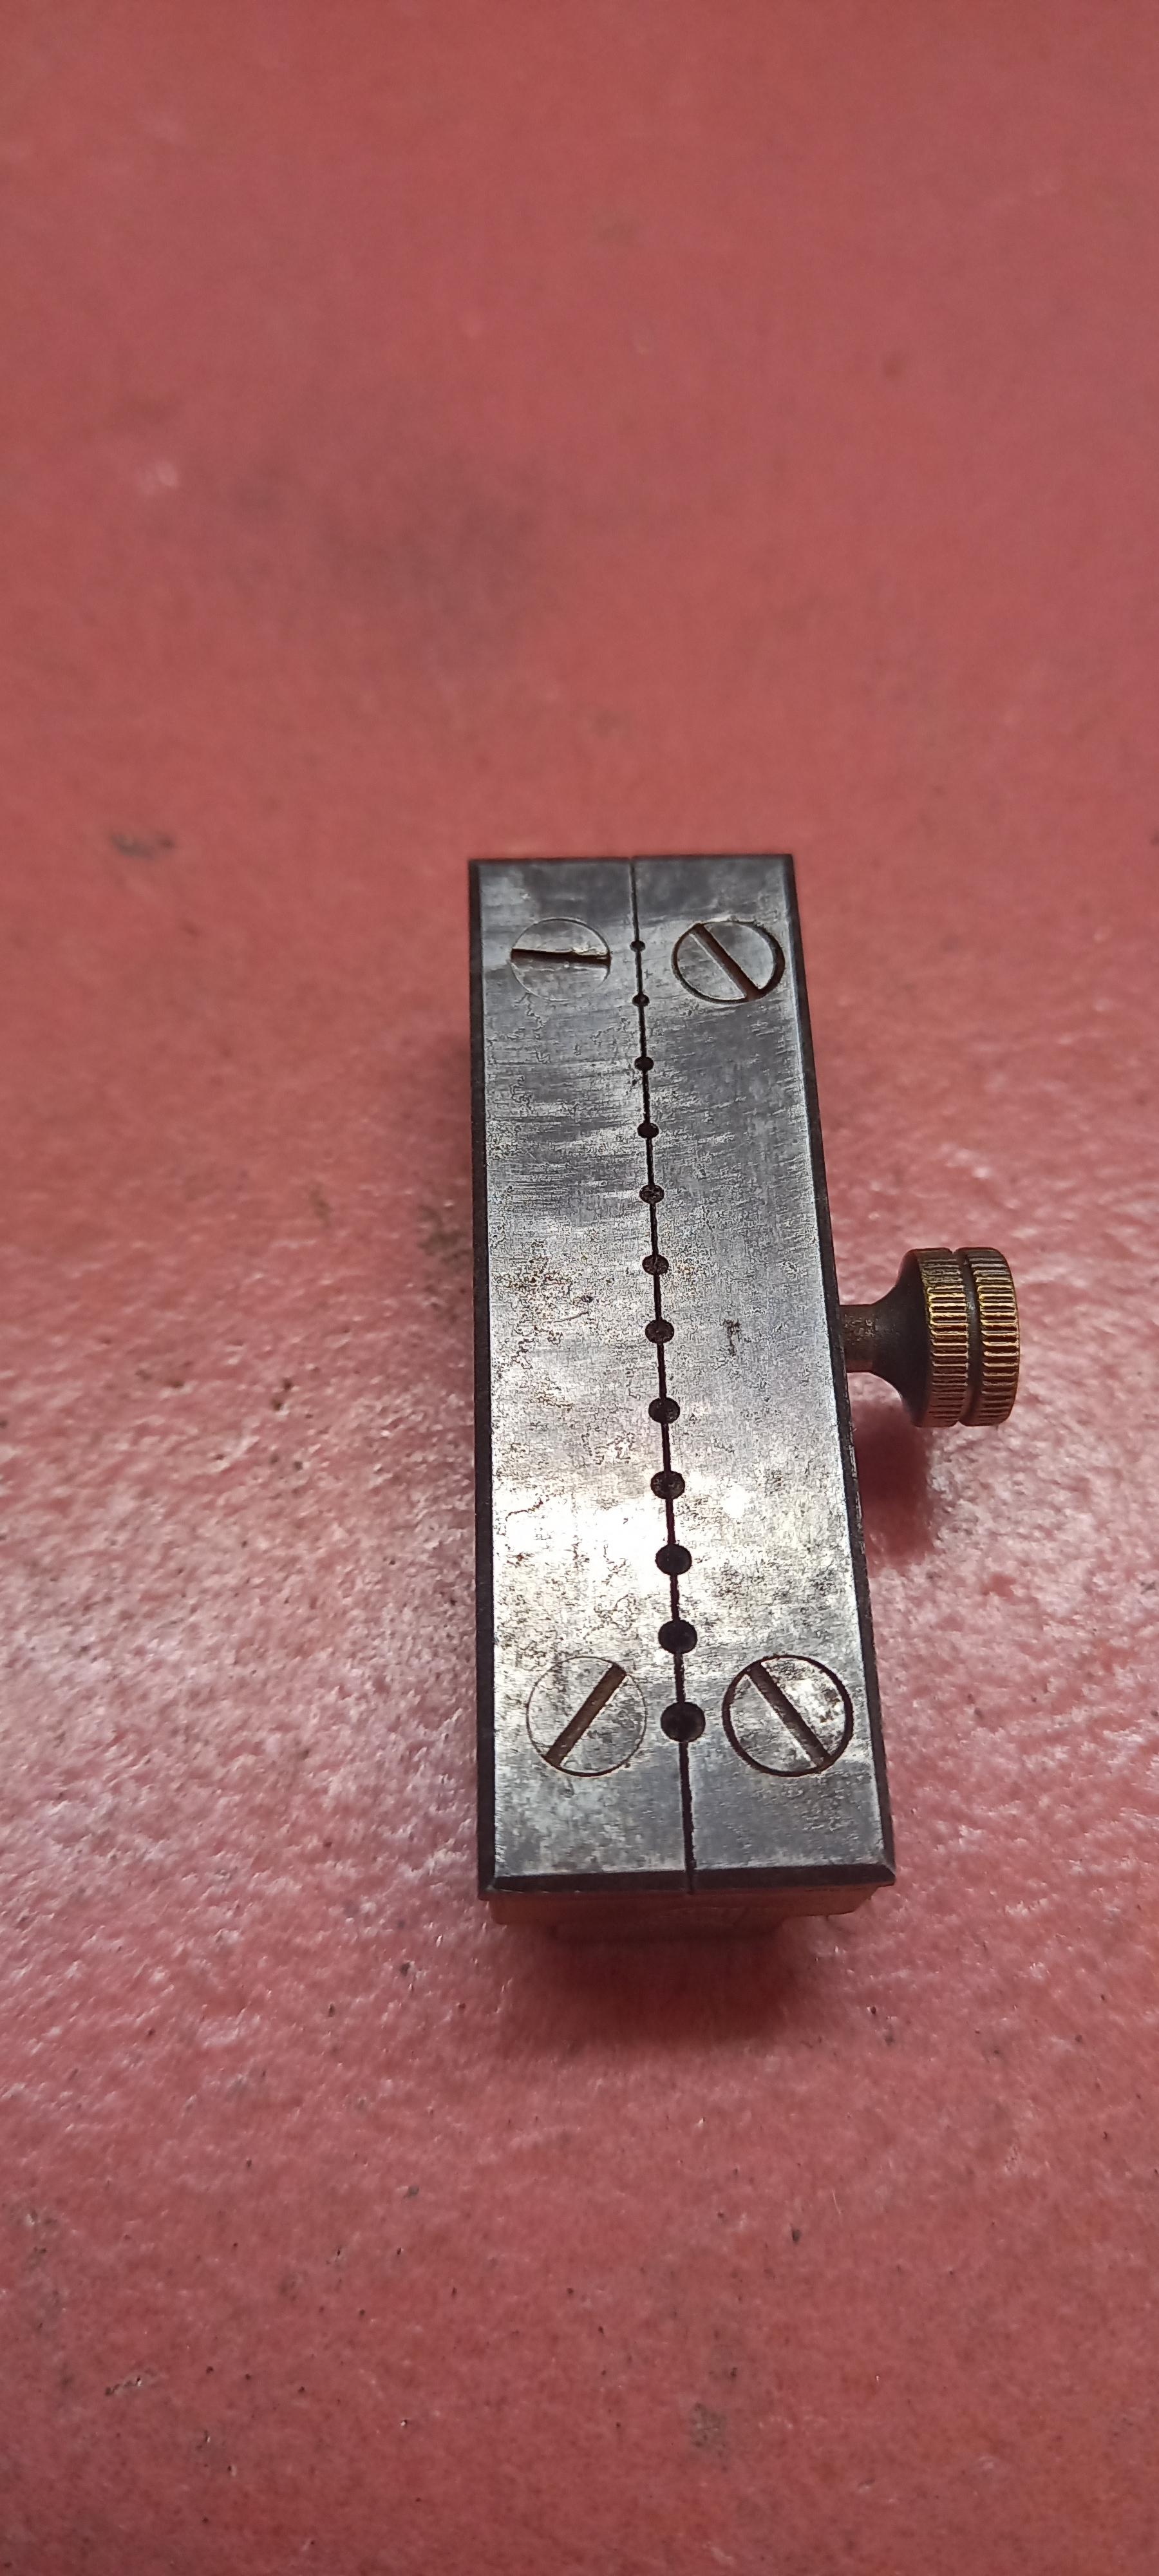
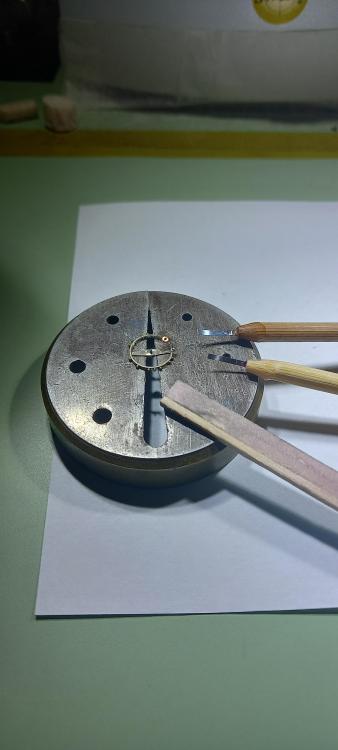
Yep rigid enough for this job. These work a treat as mini levers, bending the mainspring to snap the pieces i wanted from the straight center portion of the spring gave them just the right amount of curl to fit over the balance wheel rim and under the hairspring and collet. So the handles are 3mm pegwood which feels about right maybe a touch thicker might give them a better feel. A 0.2mm diamond disk cuts the 10mm slot in the pegwood to slide the spring into, fill the slot with clear nail varnish insert the pieces of spring, and run a bead of nail varnish around the slot and a little onto the spring, set them aside for a couple of hours to cure. When set add a bevel to the top edge only and remember to remove the burr created on the backside, using a fine diamond plate, fine finish the edge with dental strips, i guess the xfine is around 3000 @HectorLooi might know what the grades of these are. Finally polish up with polinum on a sponge pad add a drop of oil to either the polishing pad or mix it in with the polinun, job done . The spring measures 1.1mm x 0.7mm, i left around 8mm showing from the handle, its actually a tad long but works well, 5mm might feel a bit better.

 1 point
 -
the image is from a PDF off of their website. conveniently as way saw items were circled because we've had this discussion before. Usually people are looking for the mainspring which is really hard to get because it is a different size and because everyone keeps lumping all the watches under a general category of the original watch when they've been changed to run at the higher frequency plus of course the Chinese have made unknown modifications. On the other hand there still an outstanding watch to start with.1 point
-
I'll let you know as soon as the glue has set, just regular clear nail varnish to set them into a slot made in the pegwood . I'm hopeful that they will be rigid enough tbh i think the mainspring needs to be bigger, i had 20 mins to spare so thought I'd give them a go. If not then a cut down razor blade will be next to try. The mainspring formed its own curve to aid getting under the hairspring when i snapped them, that was a bonus.1 point
-
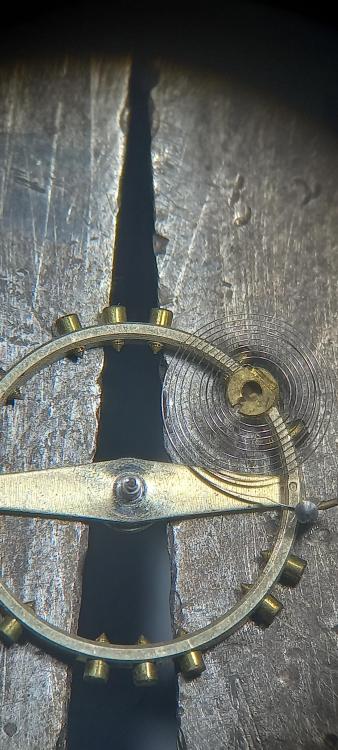
Hi it’s a Swiss five bar. Cylinder movement.so named by the fact there are five bars or cocks each holding its own wheel etc. not a watch to take on lightly. The balance wheel has no roller but the staff is cut allowing the escapement to work , the staff pivots are plugs or tampons, can be replaced but needs special tools and a lot of experience.1 point
-
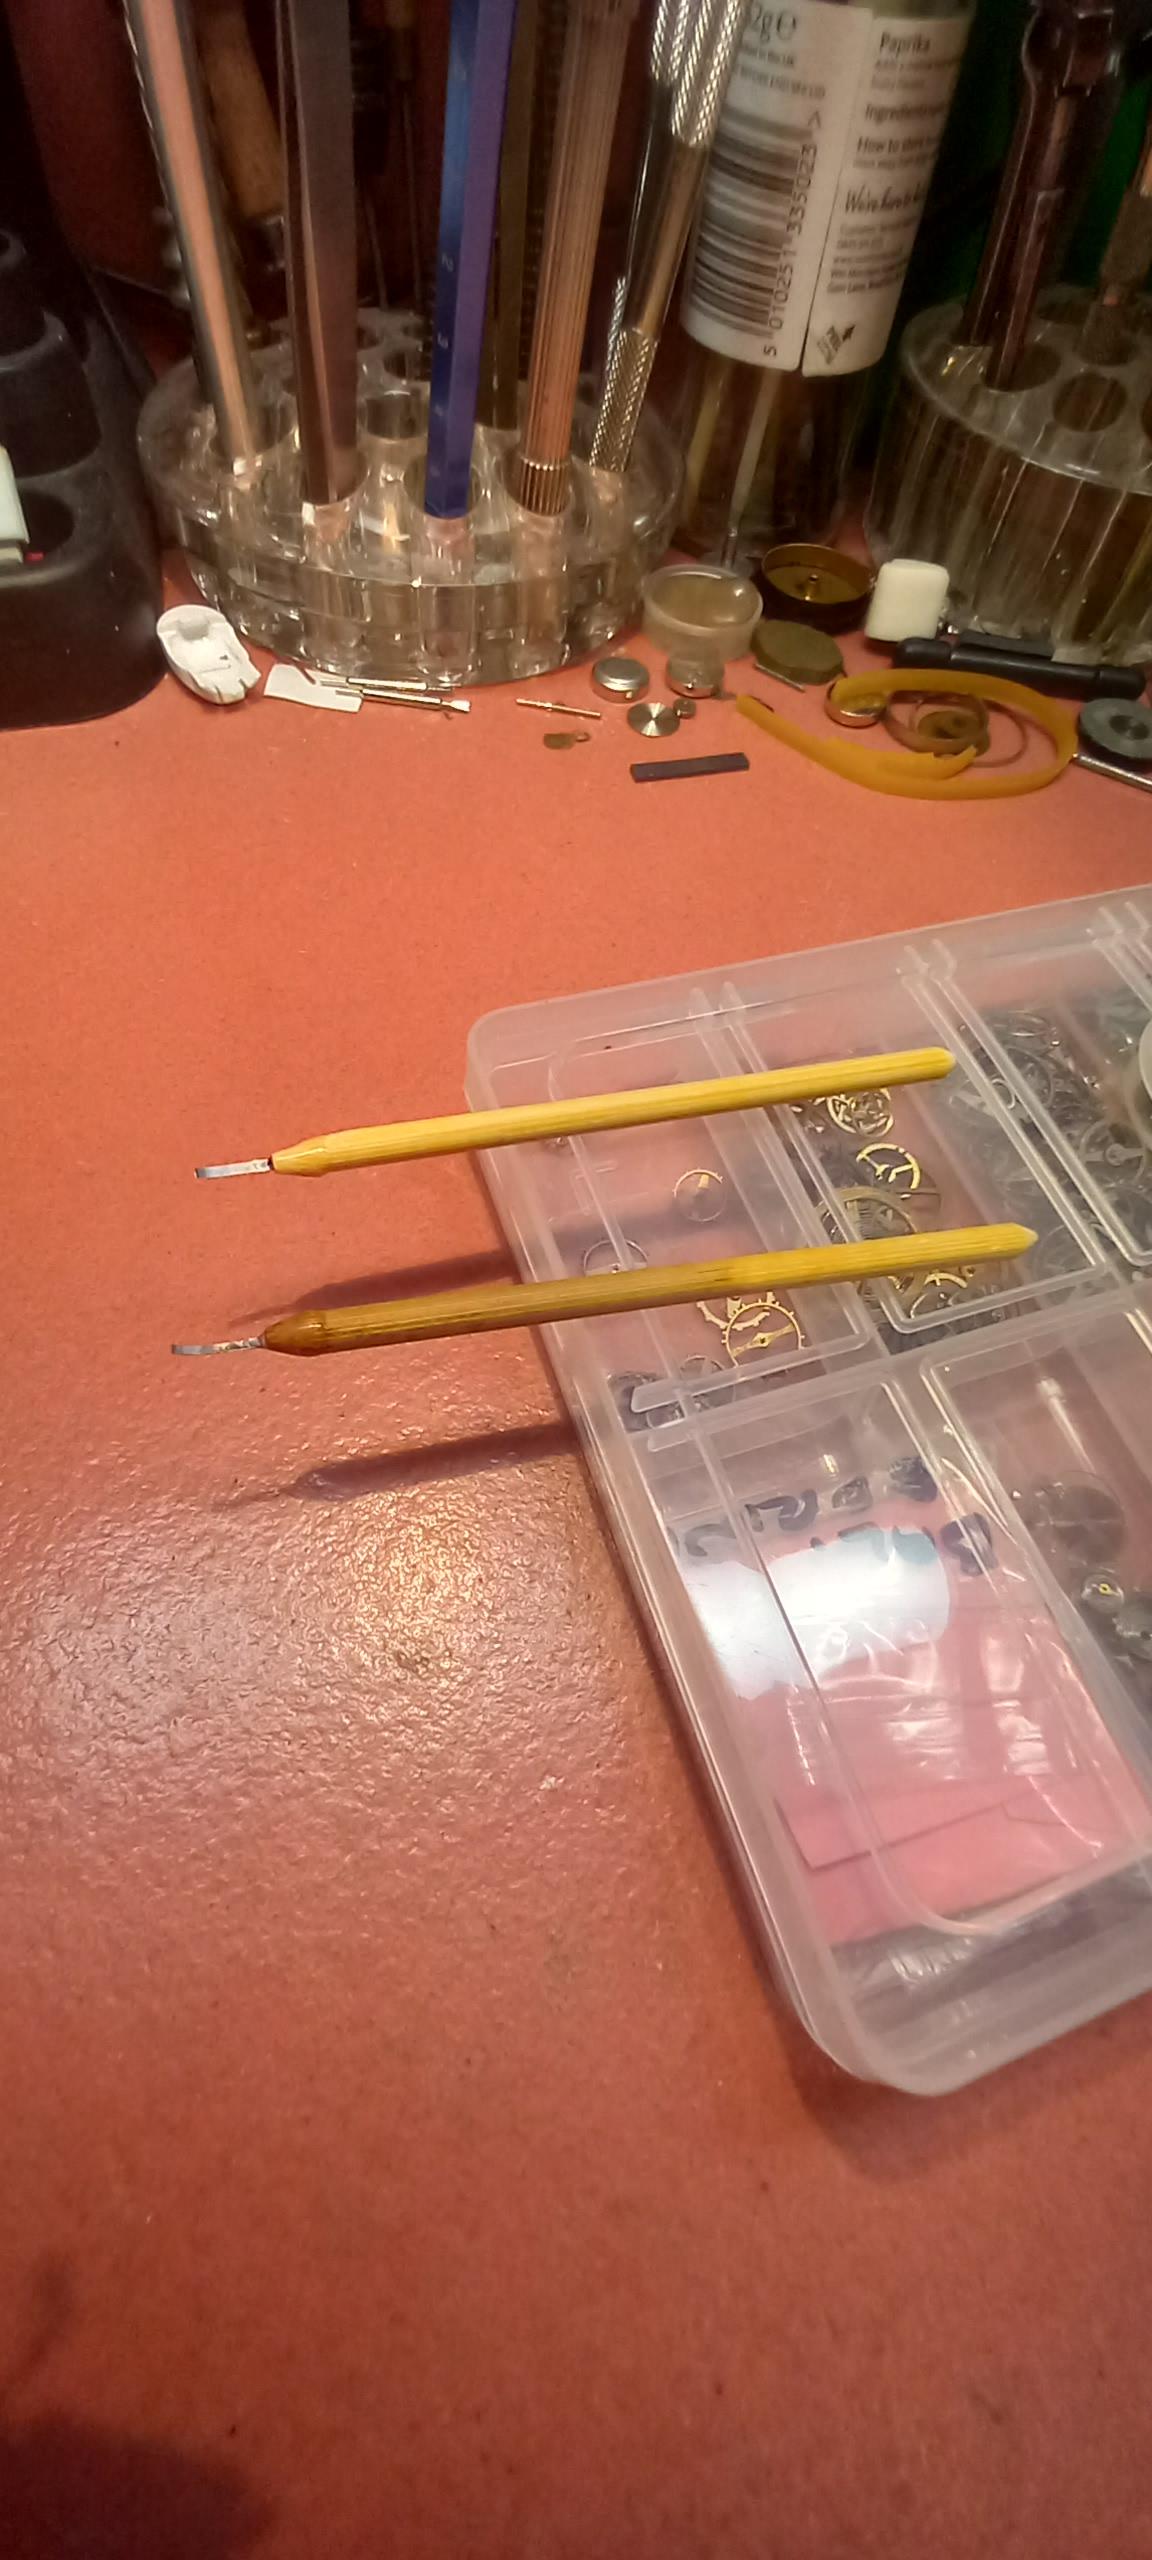
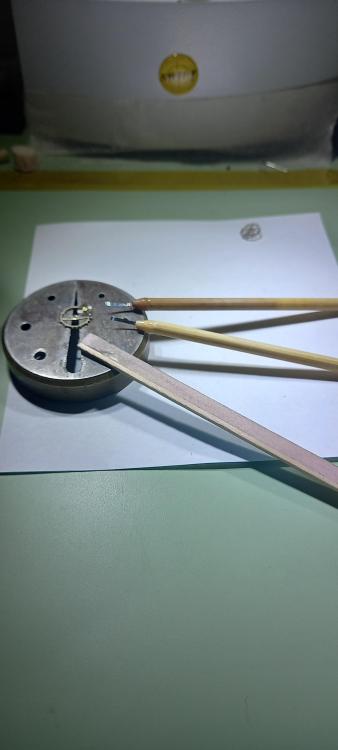
It was such a good idea i had to make a pair
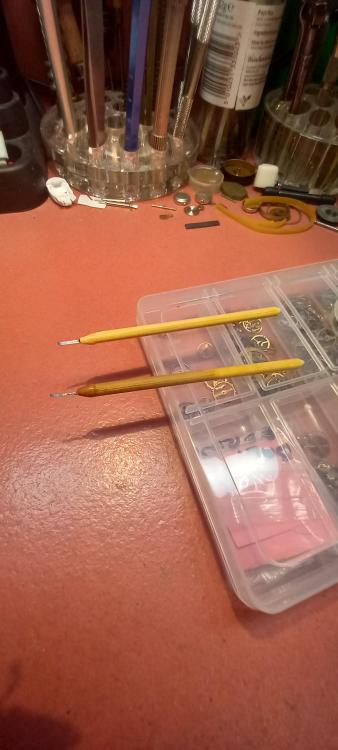 1 point
 -
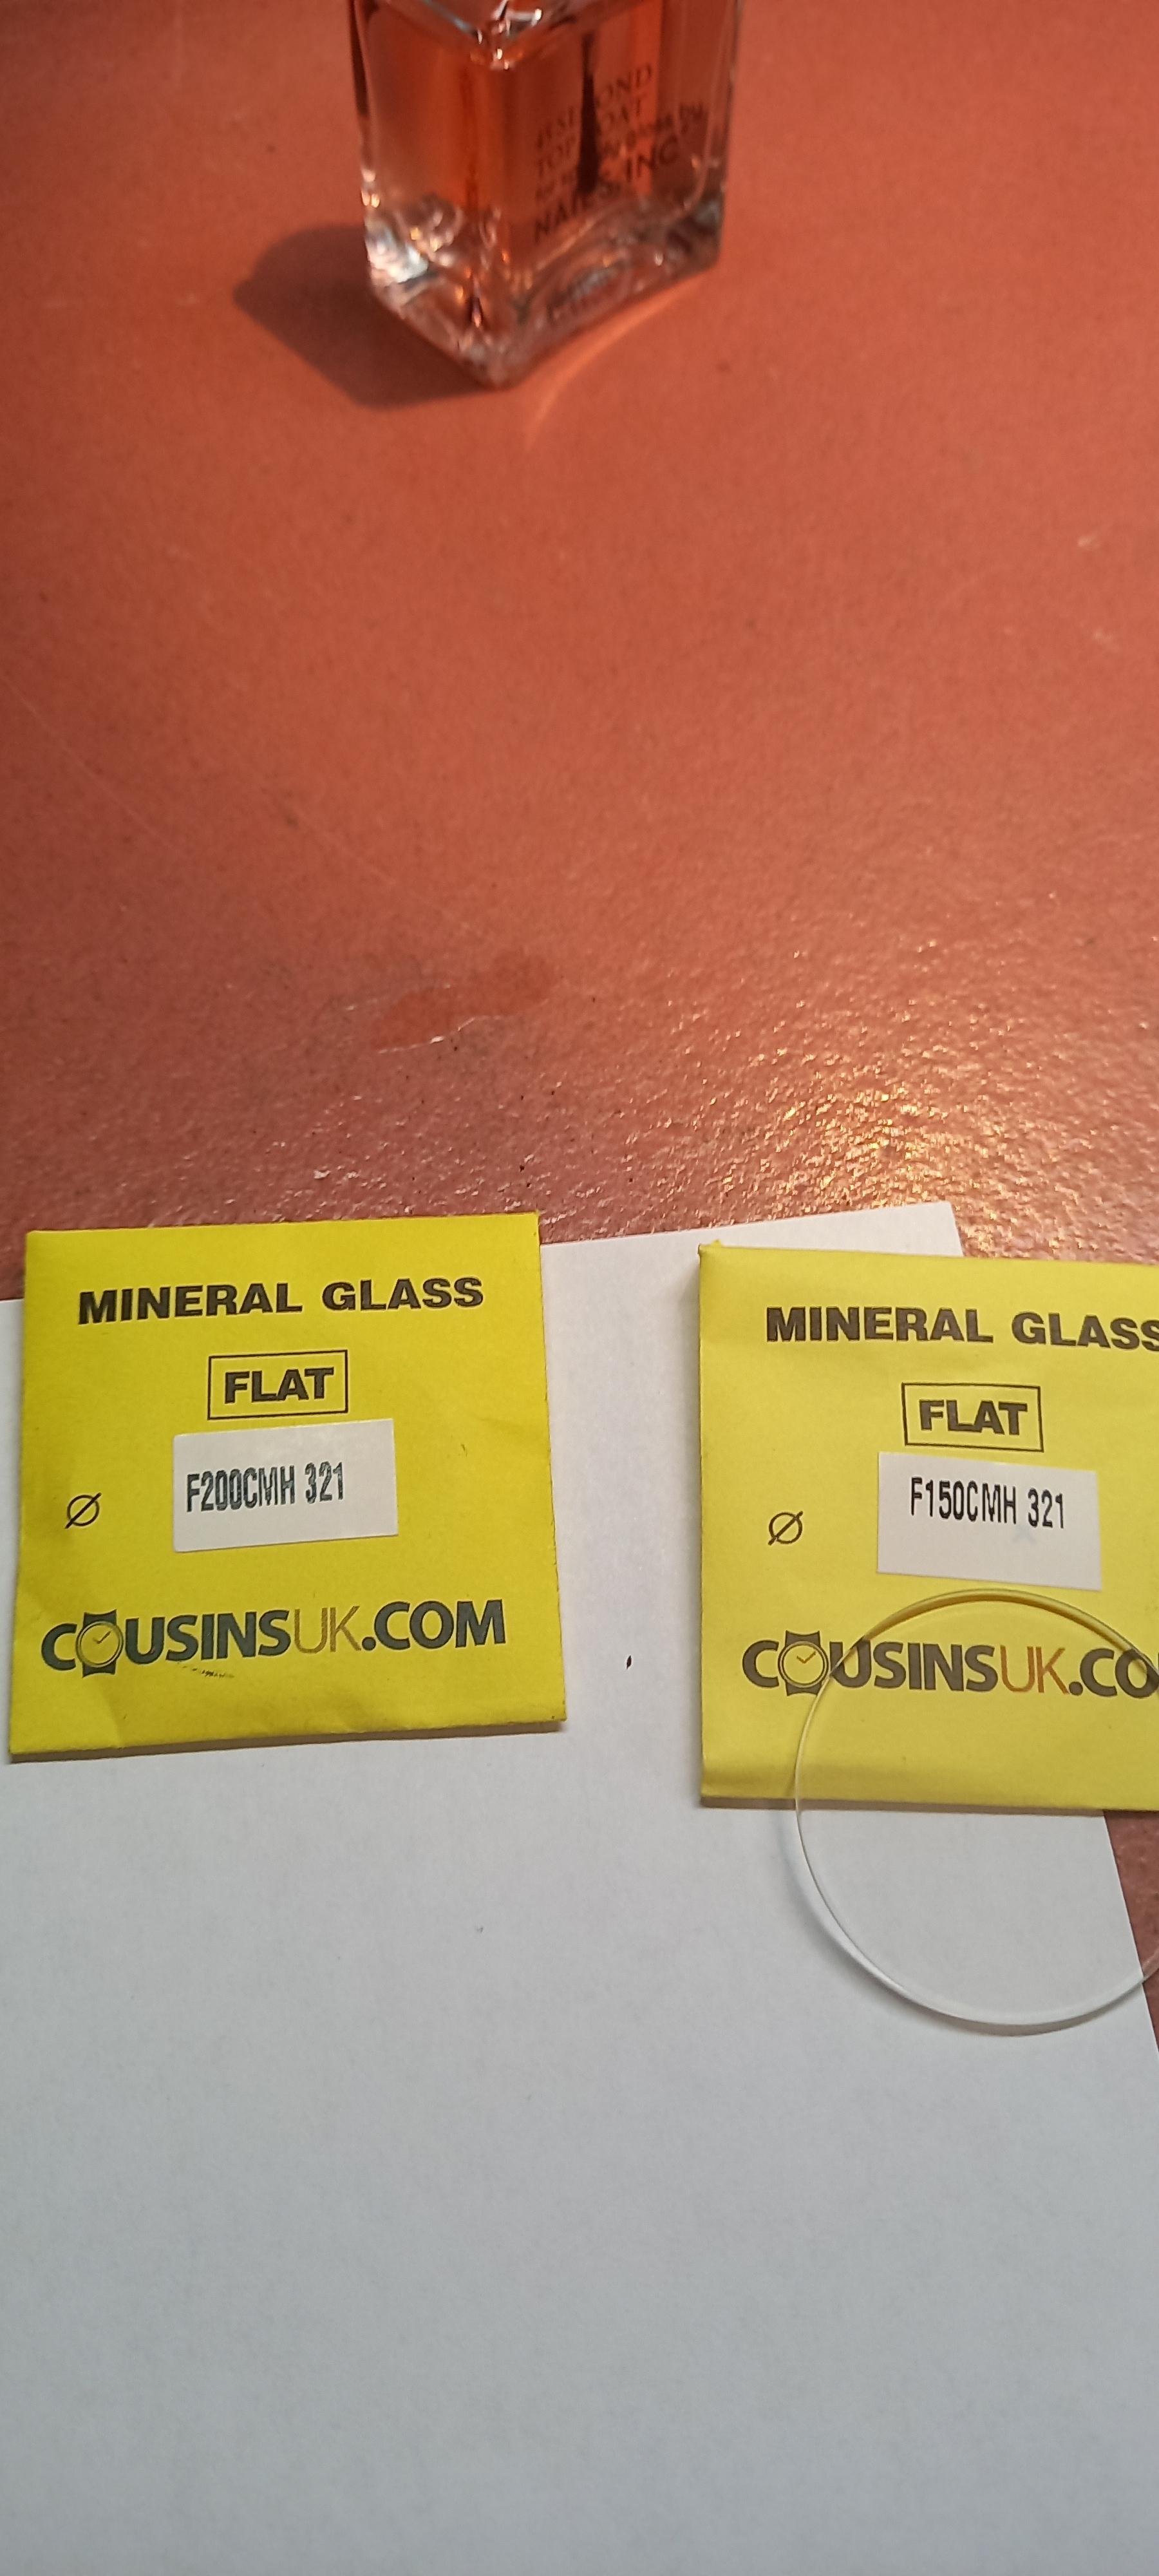
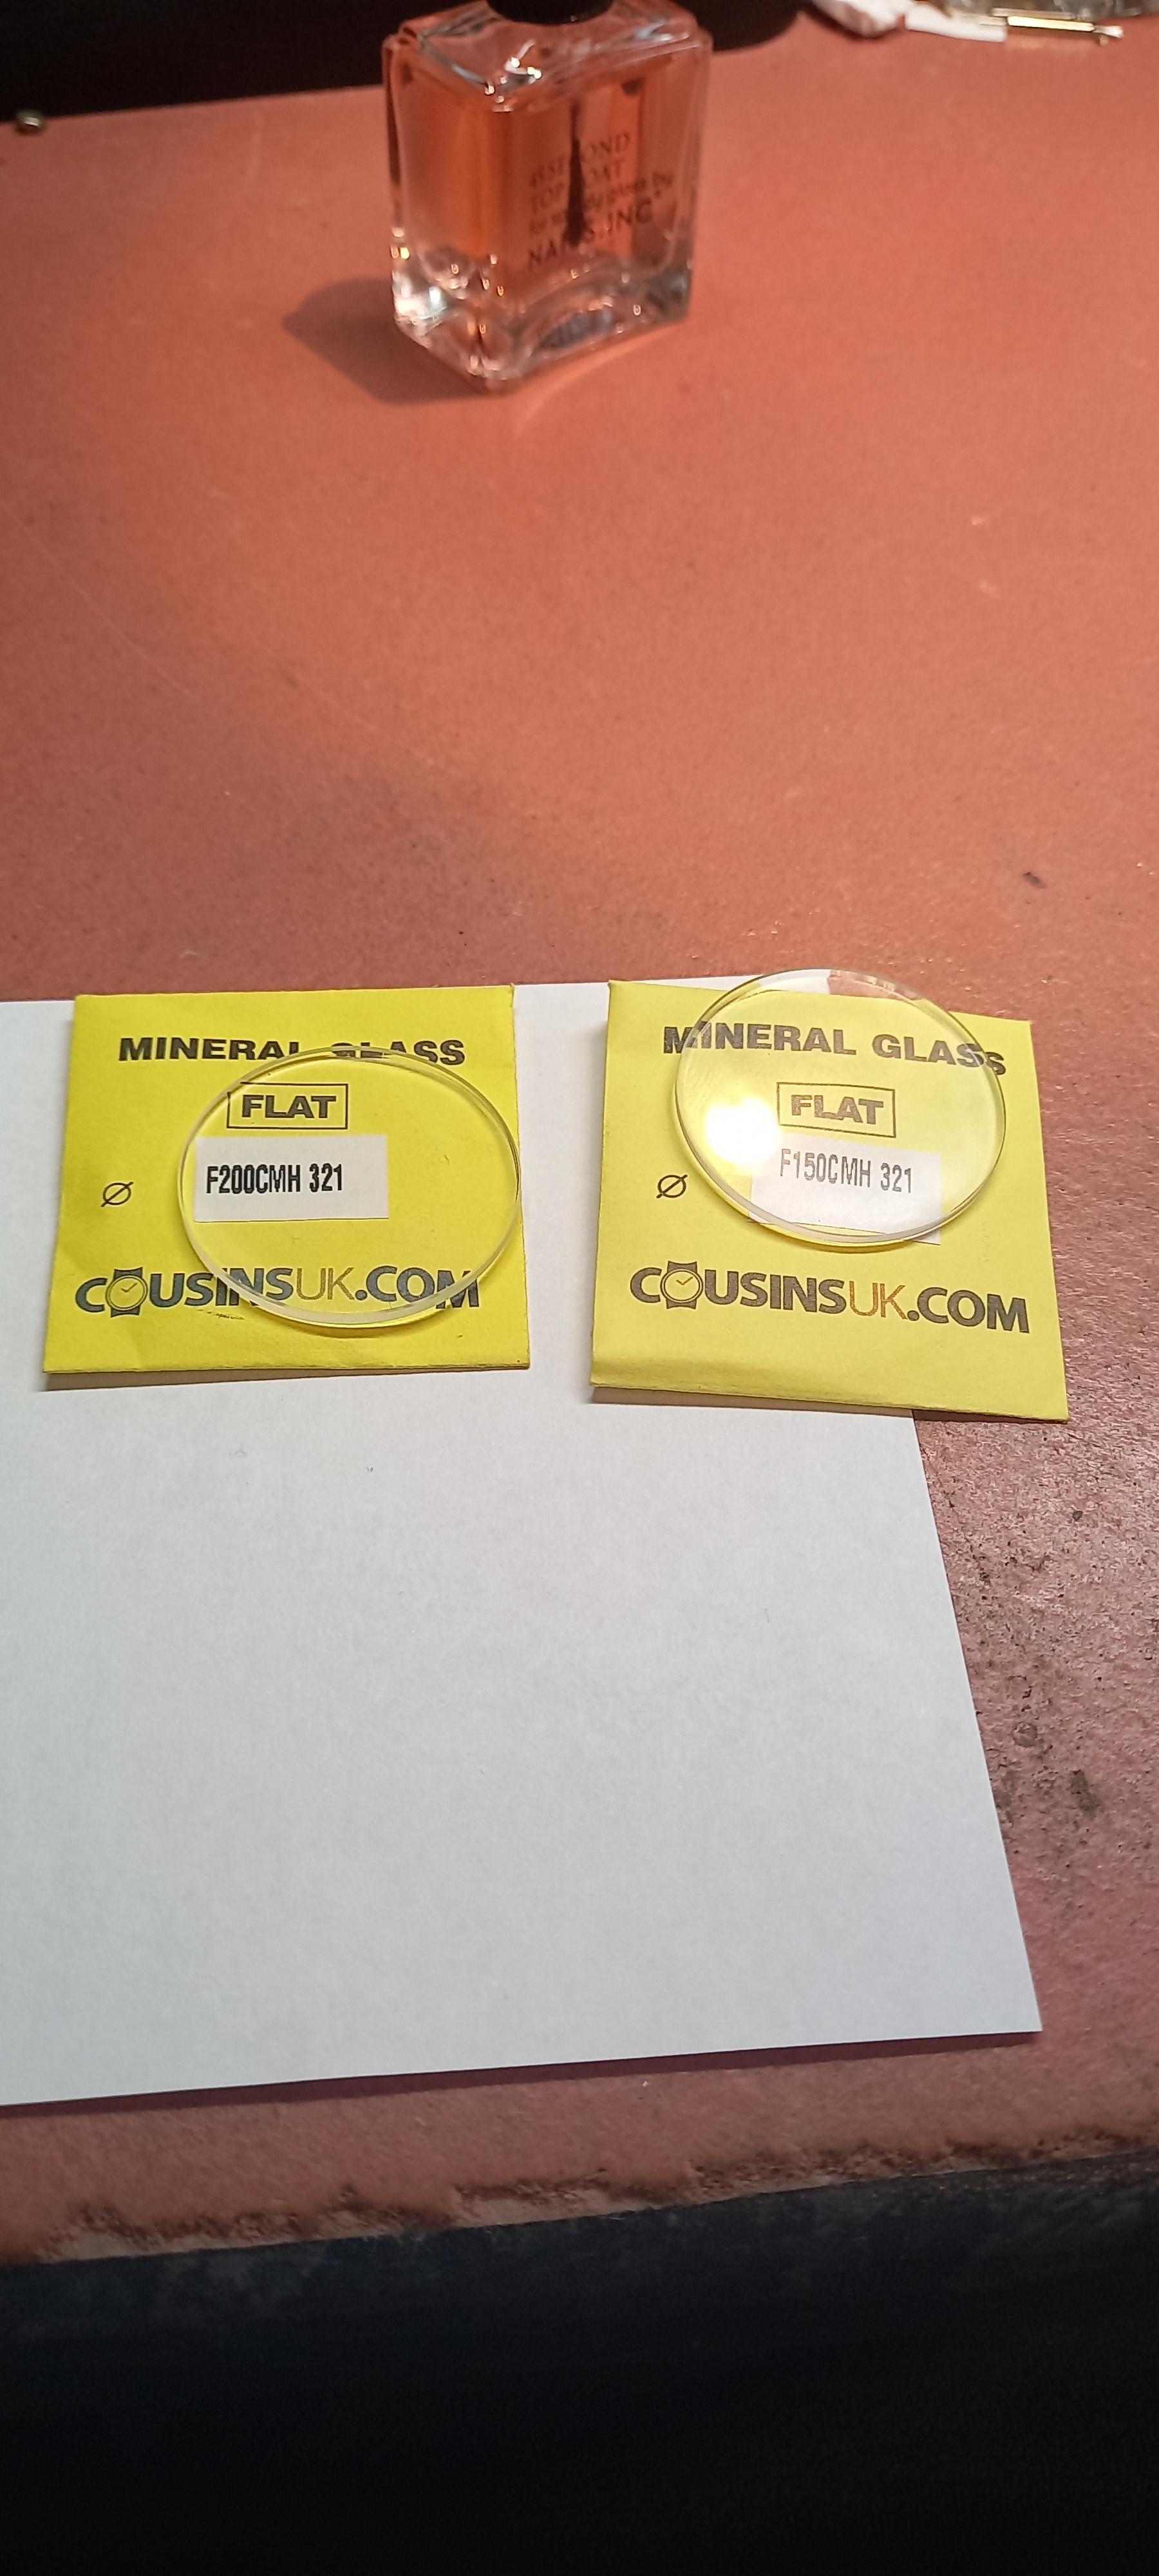
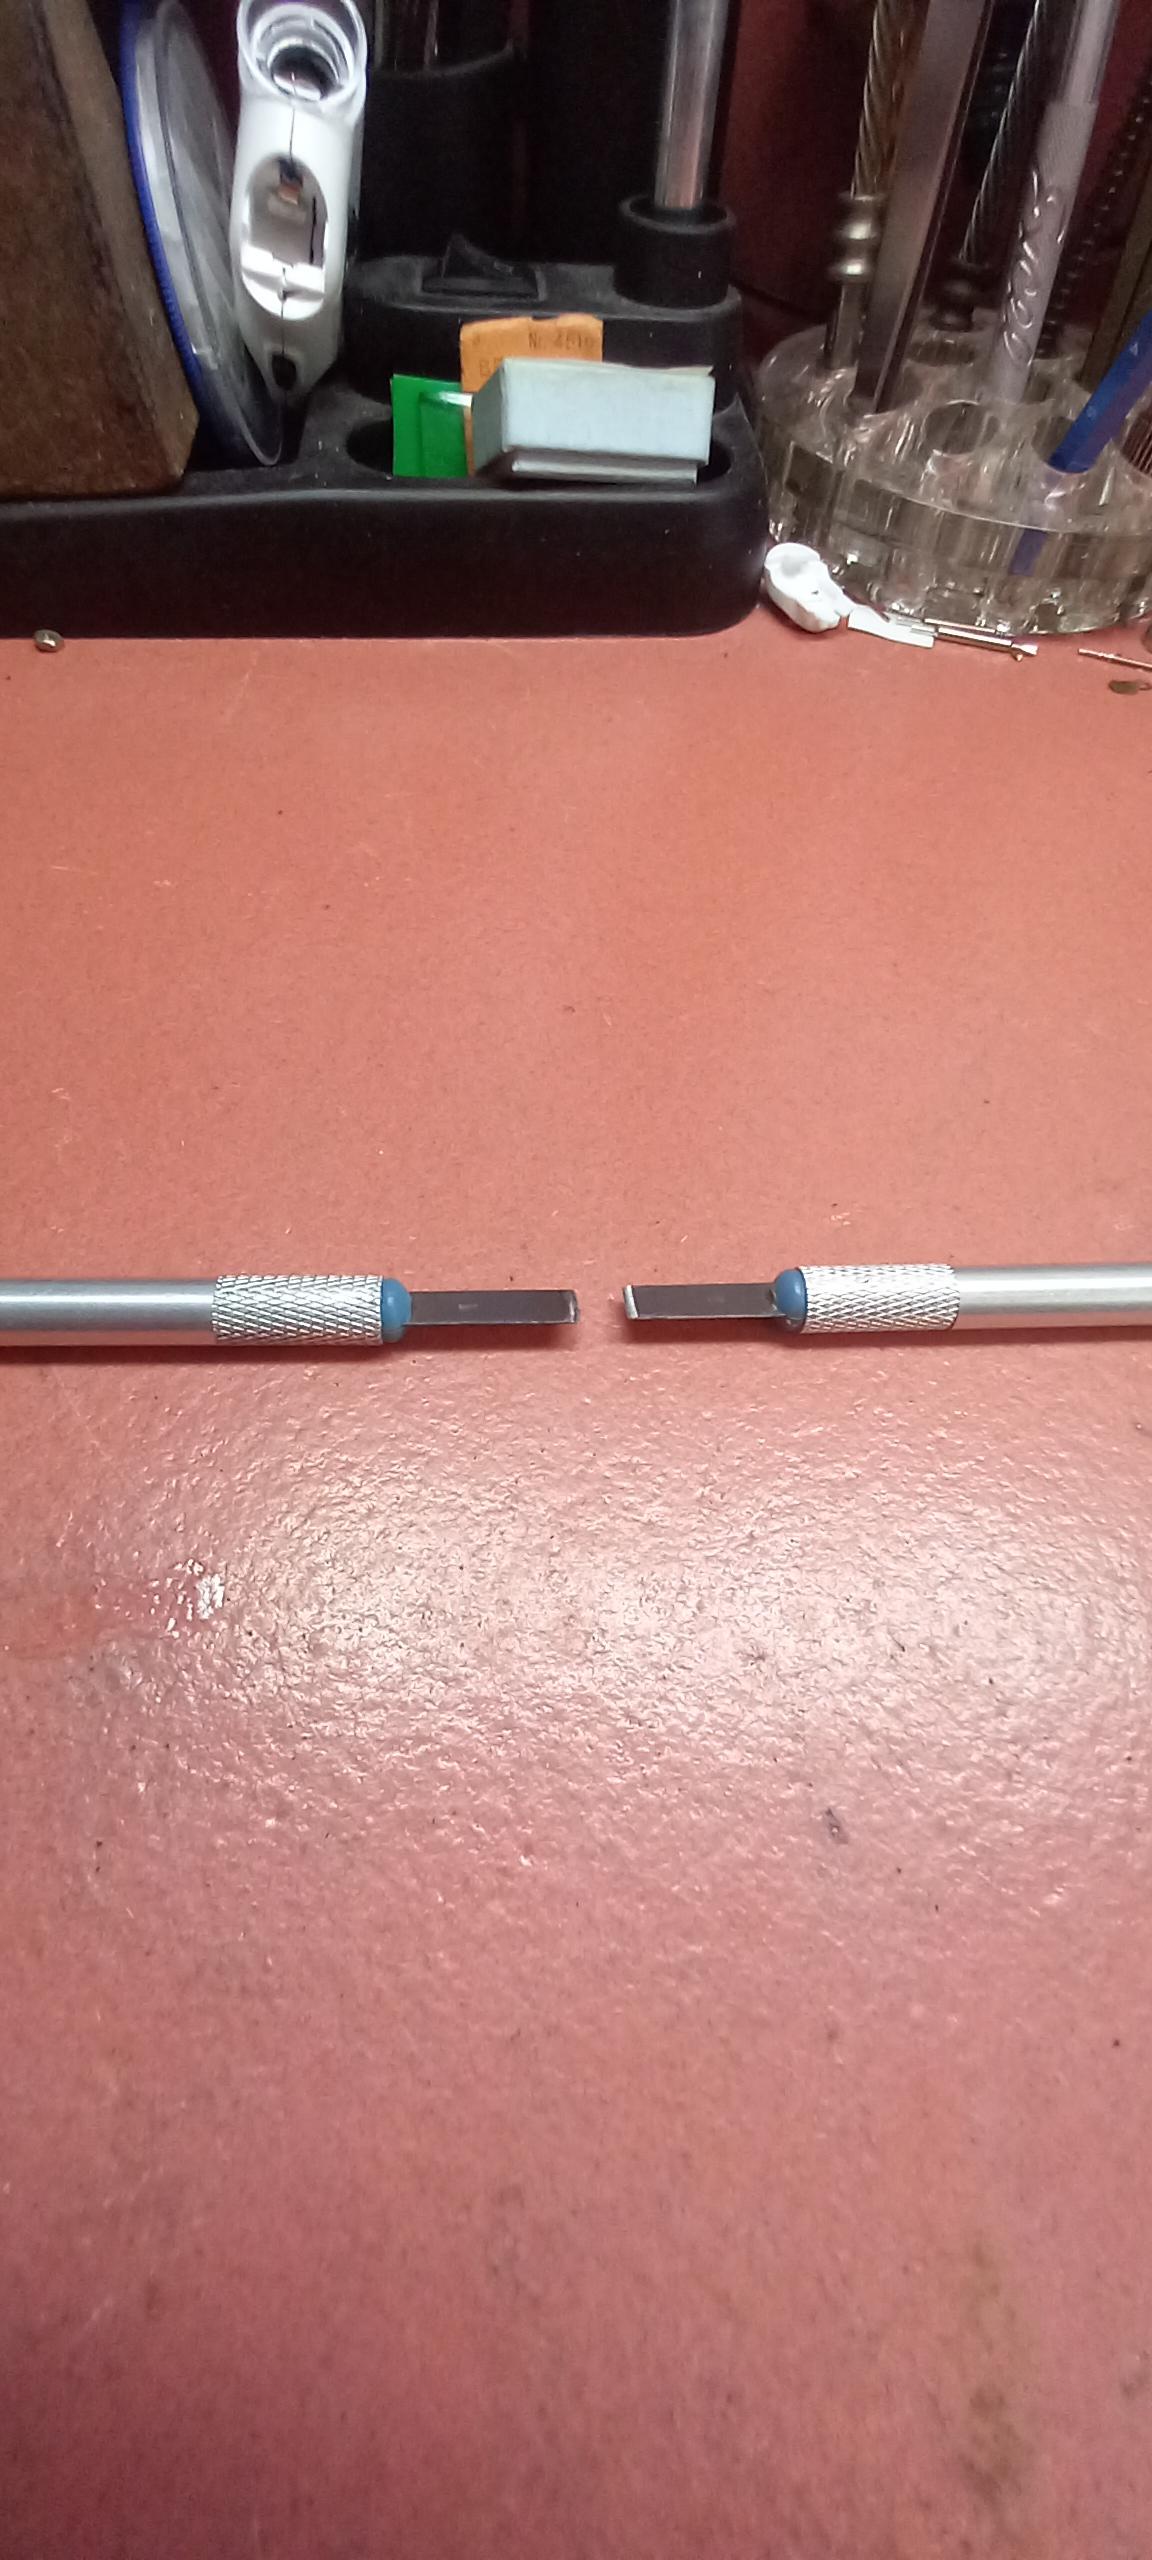
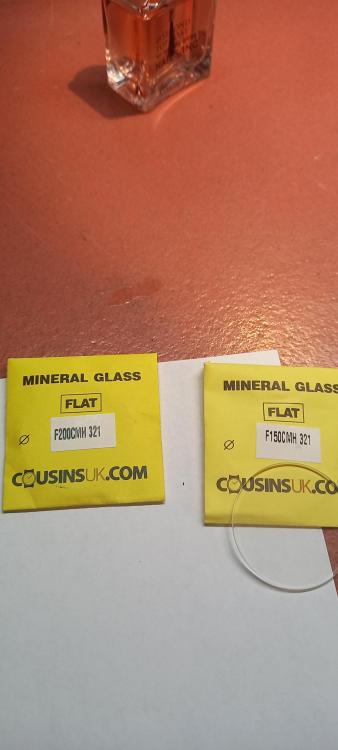
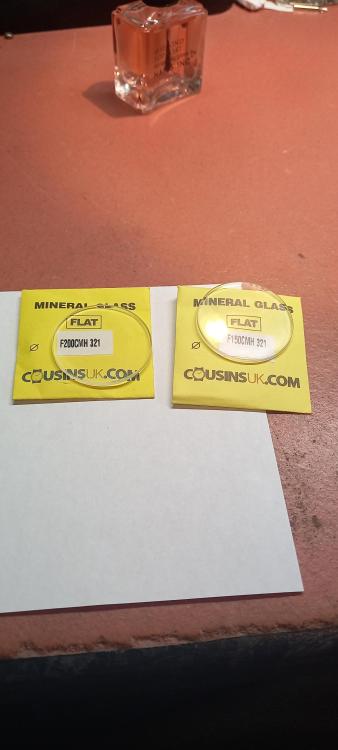
I changed the glass to this exact same watch H , the watch itself was 99p with shafted movement and the glass had a chip on the bevel edge and lots of scratches, i got the chip out but the scratches were a different story. So i ordered 2 plain edge from cousins for less than a couple of quid each, swapped the movement out , that was about 12 quid if i remember. The glass just pressed in, it was tight , the cousins dimensions were a bit off but i did squeeze it in ok. My missus has been wearing it for 2 months and loves it, but then what does she know about watches , i leave her ignorant to the fact that its really crap . Give me a few hours to get you the details of what i used, doing mum stuff today . Next time i see the missus I'll get you a picture of it , the watch looks fine without the bevel cant remember why i didn't order the bevel edge. Heres the glass H , its not domed just flat, i ordered a 1.5mm and a 2mm thick , but you do have the correct diameter at 32.1mm buddy. The picture shows the old glass on the right that i tried to restore, it was ok but not good enough for me, it does indeed measure 32.1mm. The glass on the left is the cousins 2mm glass that i didn't use it measures 32.15, but i did manage to squeeze the 1.5mm into the case that also measured 32.15. No glue needed just a tight friction fitted, no gasket , i think it pressed into either the steel edge of the bezel or a plastic lip that was inside the bezel. Make sure you protect that DIAMOND encrusted bezel, i used the polishing cloth that comes with spectacles and folded it over a couple of times .
 1 point
 -
As I recall, the jewel production method starts with a sapphire rod, that's cut into small discs, a hole drilled in each, then they're sort of hung and spun on a diamond impregnated string to get the hole to the right size. Seems they made the discs really tall, and just stopped.1 point
-
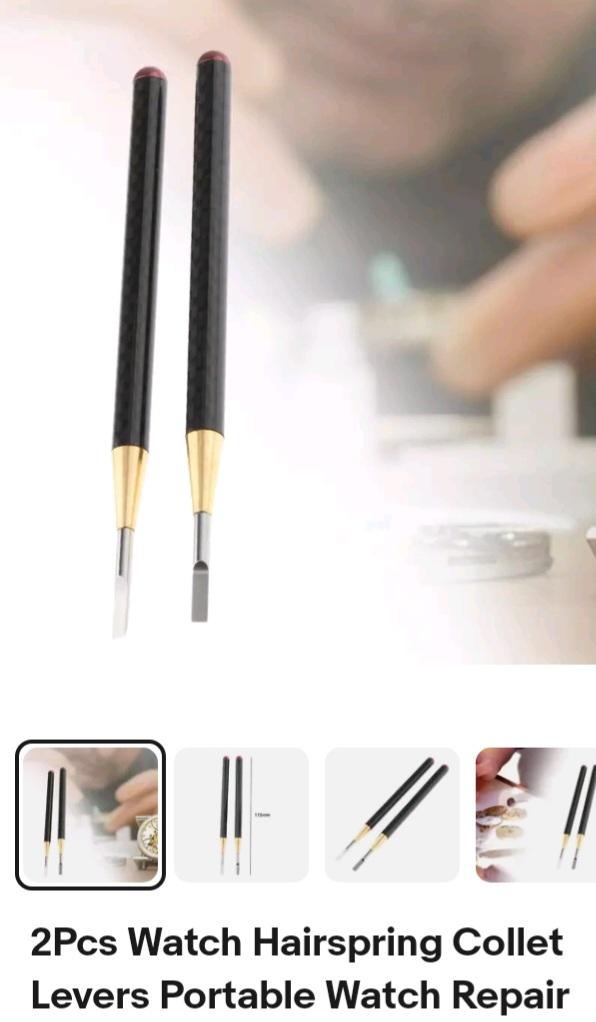
.... The Collet that the hairspring is attached to, careful with opening this up, or you might need one of these to close it up again, or worse break it half These look kinda nice, i use two crafts knifes that i changed to a bevel on just one side but they're a little too big and sometimes still too thick at 0.4mm . Razor blades will get you down to 0.2 but you could also make a pair using an old mainspring that will get you to around 0.1mm and a width that wont need reducing.


 1 point
 -
Thnx for the feedback gents! I agree it does give an impression of quality, but I think using a jewel in the mainplate for the centre wheel or jewelling the barrel would have been a bigger improvement. Must have been more expensive I guess.1 point
-
Since you contribute so much great information on the site, I really wish I could help you. The Chinese set I bought from Cousins does not include the ST36, and when I google it I can't find anything useful. When I've worked on these pieces, I've always wound the spring by hand but I realise that's not a good option in a teaching context. I'm keeping my fingers crossed that someone else can come up with a good tip!1 point
-
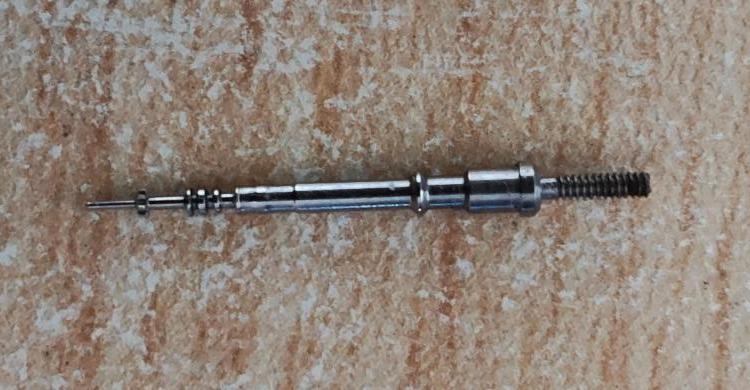
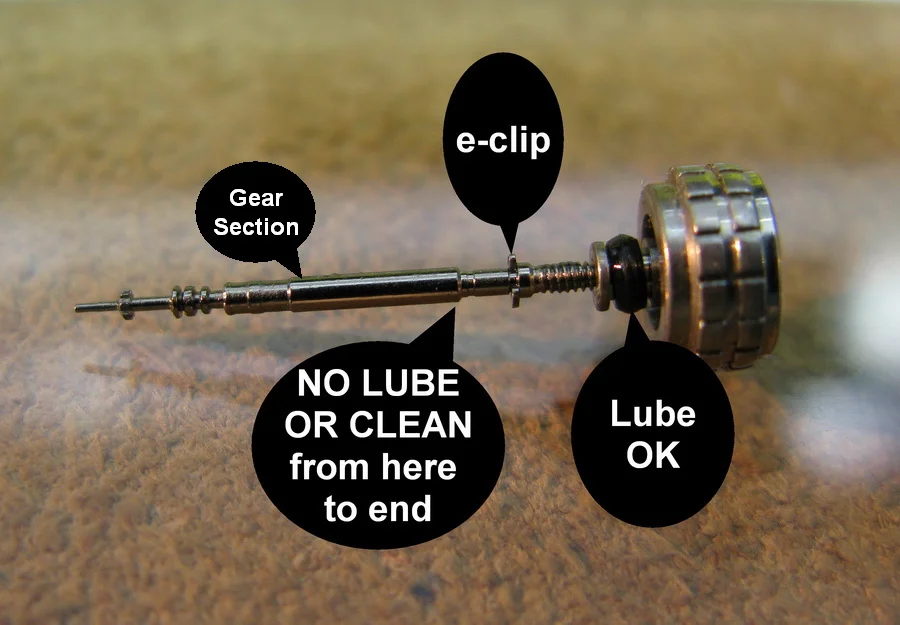
That appears to use exactly the same stem as the watch you asked about back in June? From what I can see, one of the movements that uses that is an M314 There is another Timex stem style here that looks like it may? be adaptable - similar end detail, with a circlip that could fit a similar position to the narrow ridge on the ones above? That is from this Watchseek thread: https://www.watchuseek.com/threads/timex-mods-anything-you-got.2969762/page-15
 1 point
 -
If it is one service the hope is the East German didn’t attack the screw slots and scratch up the plate and bridges …there’s reference to the Enicar ‘Rubyrotor’ about…looks like you got one…1 point
-
Fortunately, that happens less and less these days, but it does happen, like giving that little mark on the dial a quick clean and then you've got half the lacquer on the end of your bud thinking that wasn't meant to happen!1 point
-
You could try supergluing a small torx or pentalobe bit into the screw head, letting it cure fully, then trying to unscrew it? If the screw comes out you can break the bit free and try the same with the others. The last resort is very carefully drill through the head using eg. a 1.2mm or 1.0mm bit in a pin vice. Once the head starts to move, twisting it out. You should be able to remove the rest of the screw after removing the back.1 point
-
I presume you mean stripped the head and not the thread? Have you tried with either a flat blade or a torx bit? Edit You may also have success with the smallest DR from a set like this. https://www.amazon.co.uk/Mesee-Extractor-Damaged-Stripped-Extension/dp/B0D7MHH5KH/ref=sr_1_15?crid=13R0BWWI19IZG&dib=eyJ2IjoiMSJ9.DvAKsAL-pid5egNQxHpMSDme3IPVmI5x8Wf19RtREscDFxRMZSeQ-NkNhXgTnryIUVD4PxgJbe6BWSXSB8BMb42rixEADGRxpl_P52pCaobvyb4CeytnpdtkalxmUe0as5h86TznmCHRvCepxVoERViDJdciYG4ECxAn8ooYVvewg9IxftunMVnO-VTMch3-WdIf7eS0hS6Igtl0Sch4Iw.L095Ig0bZXz7rNMdVagbcvp8kl7m4X21D3CDWmA2GWk&dib_tag=se&keywords=1mm+screw+removed&qid=1724589768&sprefix=1mm+screw+removed%2Caps%2C131&sr=8-151 point
-
Wearing it with dead date, is good for your health. A practice for the coming toothlessness days.1 point
-
A repair is a lot more advanced due to the solar cell but this is part of the movement so it's a fairly easy complete movement swap. First question would be is it just the Day or the Day & Date. Secondly does it/they change on manual operation both by advancing past 12 and with the Quickset?1 point
-
Reporting back. Here's what worked: Hand sanitizer. Decided to give it a try since none of the other conventional cleaners were touching it. Best thing ever - it dissolved the black goop immediately and it wiped away easily with bud swabs and Scott tissue. It works really well removing Sharpie marker and tape goo, guess gasket removal goes on the list, too.1 point