Leaderboard


Popular Content
Showing content with the highest reputation on 08/28/24 in Posts
-
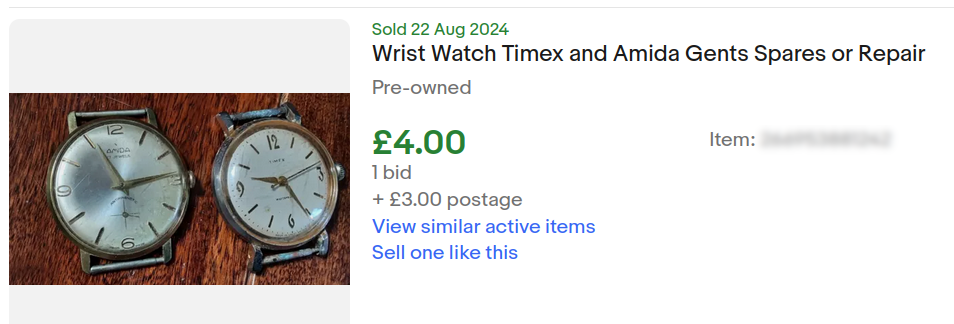
This "twofer" just arrived. The Amida runs, but needs serviced and the Timex stutters forward a couple of seconds after a shake but doesn't run. I suspect both will work just fine after a little TLC. I'll keep you posted on progress.
 3 points
 -
This evening I'm sporting a 1959 Timex Marlin - One of a pair of watches I picked up for the 404 club. It was filthy and gunked up to the point that it barely ticked, but a little TLC has it ticking away with that distinctive alarm clock tick that only an ancient Timex can muster. .
 2 points
 -
Welcome dz, a Seiko Sportsmatic nice. Your watch kit ....... maybe lets not talk about that . Your gonna need some real tools fella to tackle that. Unless you really like Seiko and are prepared to jump in near the deep end i would start a little lighter than this.2 points
-
Welcome! It's wristwatches that dominate on WRT so if you can provide pictures of the movement then that's a good start. It may be the case that getting hold of a brand-new barrel is impossible. This is true for many movements, but mainsprings are usually solved. However, you can often find a donor watch or movement on eBay, for example, if it is not too odd. If you're really skilled, you can make parts that need replacing, but I don't belong to that category. We look forward to hearing more about your project!2 points
-
All watches can be repaired (but not all watchmakers can or want to repair all watches ), it generally comes down to a question of cost.2 points
-
Photoploymerization is inhibited by contact with the oxygen in the air. So, the surface that is exposed to air is unable to be cured and remains sticky. The air inhibition layer is necessary to be able to add new layers of resin over cured resin. Some resin formulations have a thinner air inhibition layer than others and the final "glaze" layer is able cure without any oxygen inhibition layer at all. Your better halves who visit nail salons will be able to understand this. The excess glue that is squeezed out when you put the crystal in has to be cleaned off as much as possible. I sometimes have to "tack" cure a few spots around the crystal to hold it in place, so that the crystal doesn't move around when wiping off the excess. Cleaning off the excess now makes cleanup a lot easier than after curing it. Hope this makes sense.2 points
-
I have glued in a lot of crystals with UV glues. Even undersized ones. I have used the Sternkreus UV glue before but I didn't really like it. The uncured glue smells terrible and the glue doesn't set hard. It has a very thick oxygen inhibition layer and is very sticky even after curing. The sticky surface has to be cleaned off with IPA or naptha. The Sternkreus glue is also very viscous and requires a lot of force to squeeze it out of the syringe. I now use UV glues from AliExpress. I have 3 types of glues, one is a low viscosity type that doesn't set very hard, the 2nd one is a medium viscosity one that sets a bit harder, then a high viscosity one that sets really hard. For gluing crystals, I usually use the low and medium viscosity ones. The hard setting one, I've used it to set pallet stones. My sifu uses it for gluing silicon hairsprings too.2 points
-
@Neverenoughwatches he's referring to the domed crystals.2 points
-
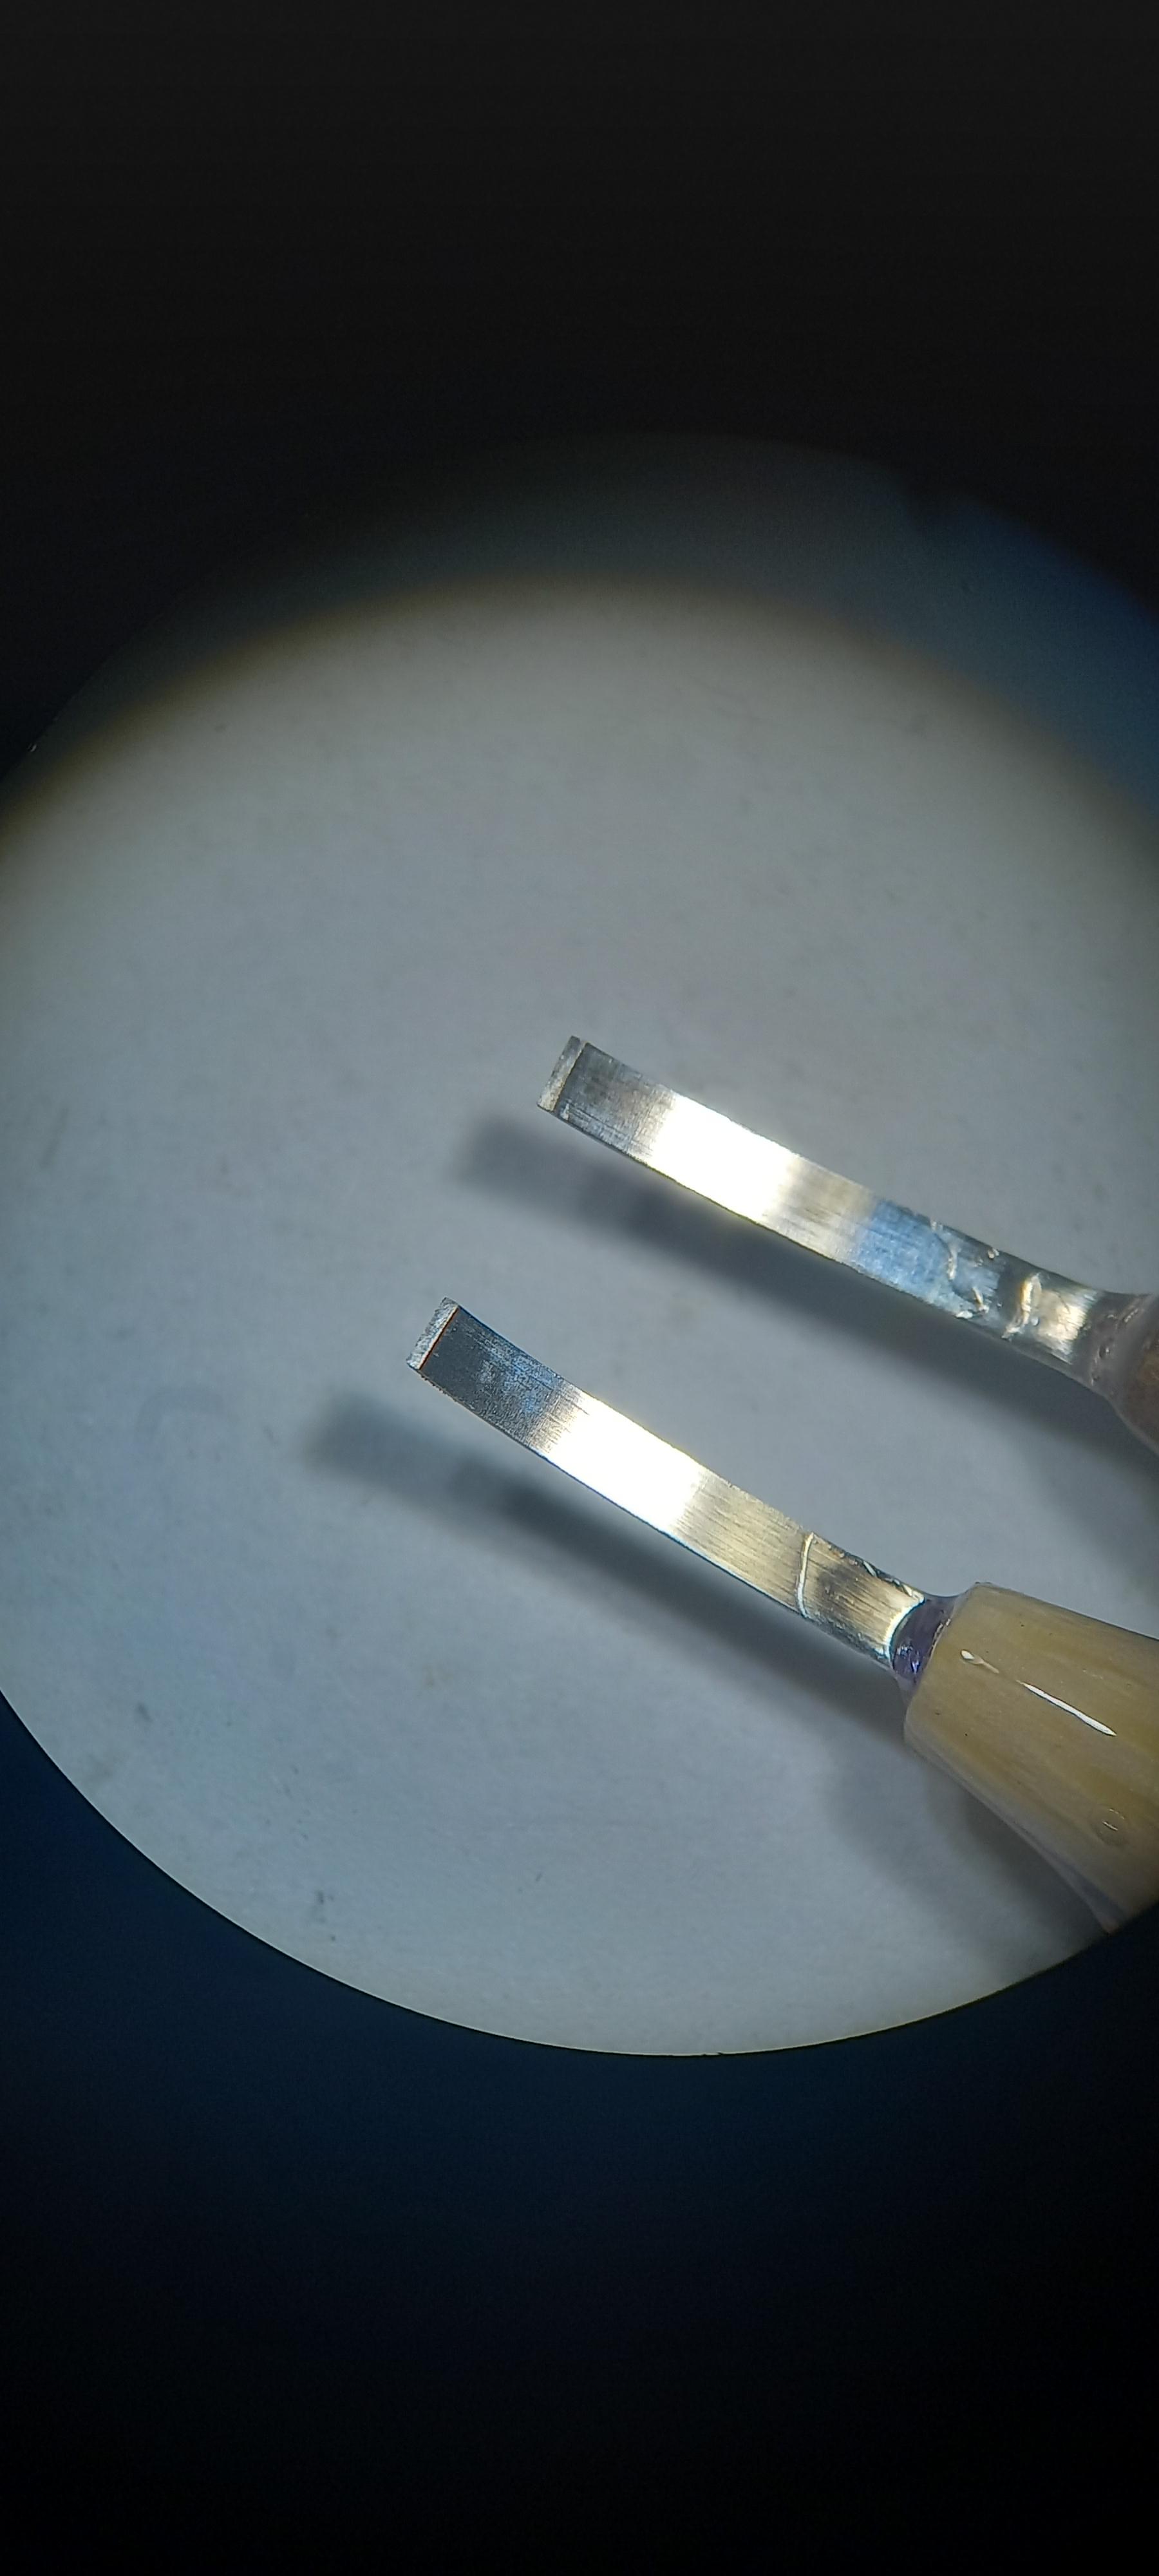
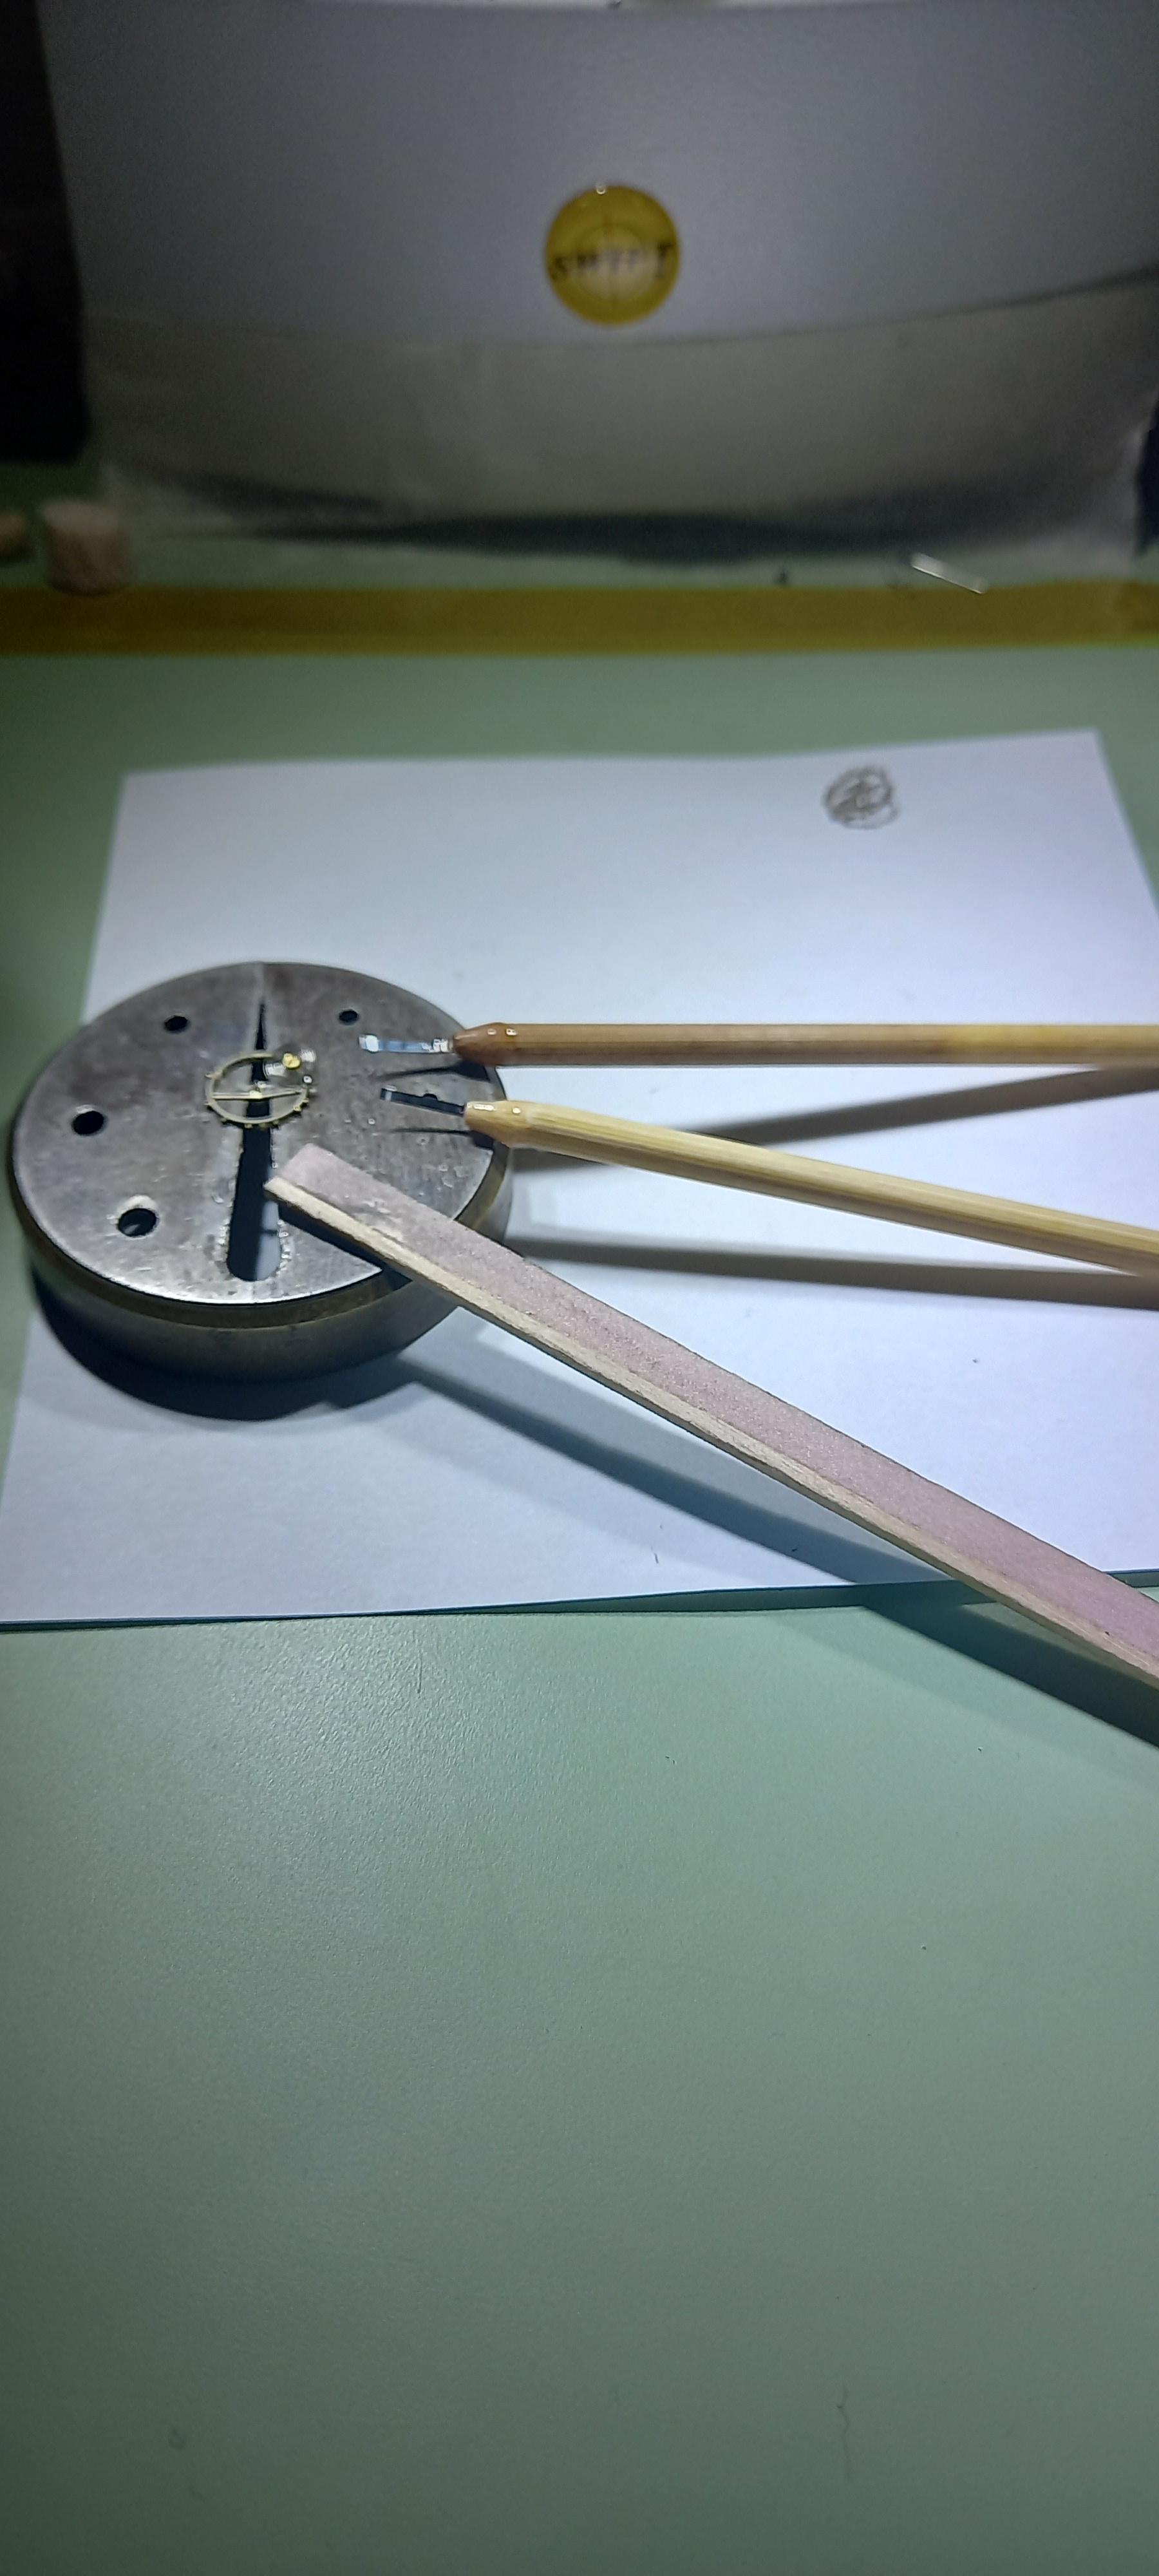
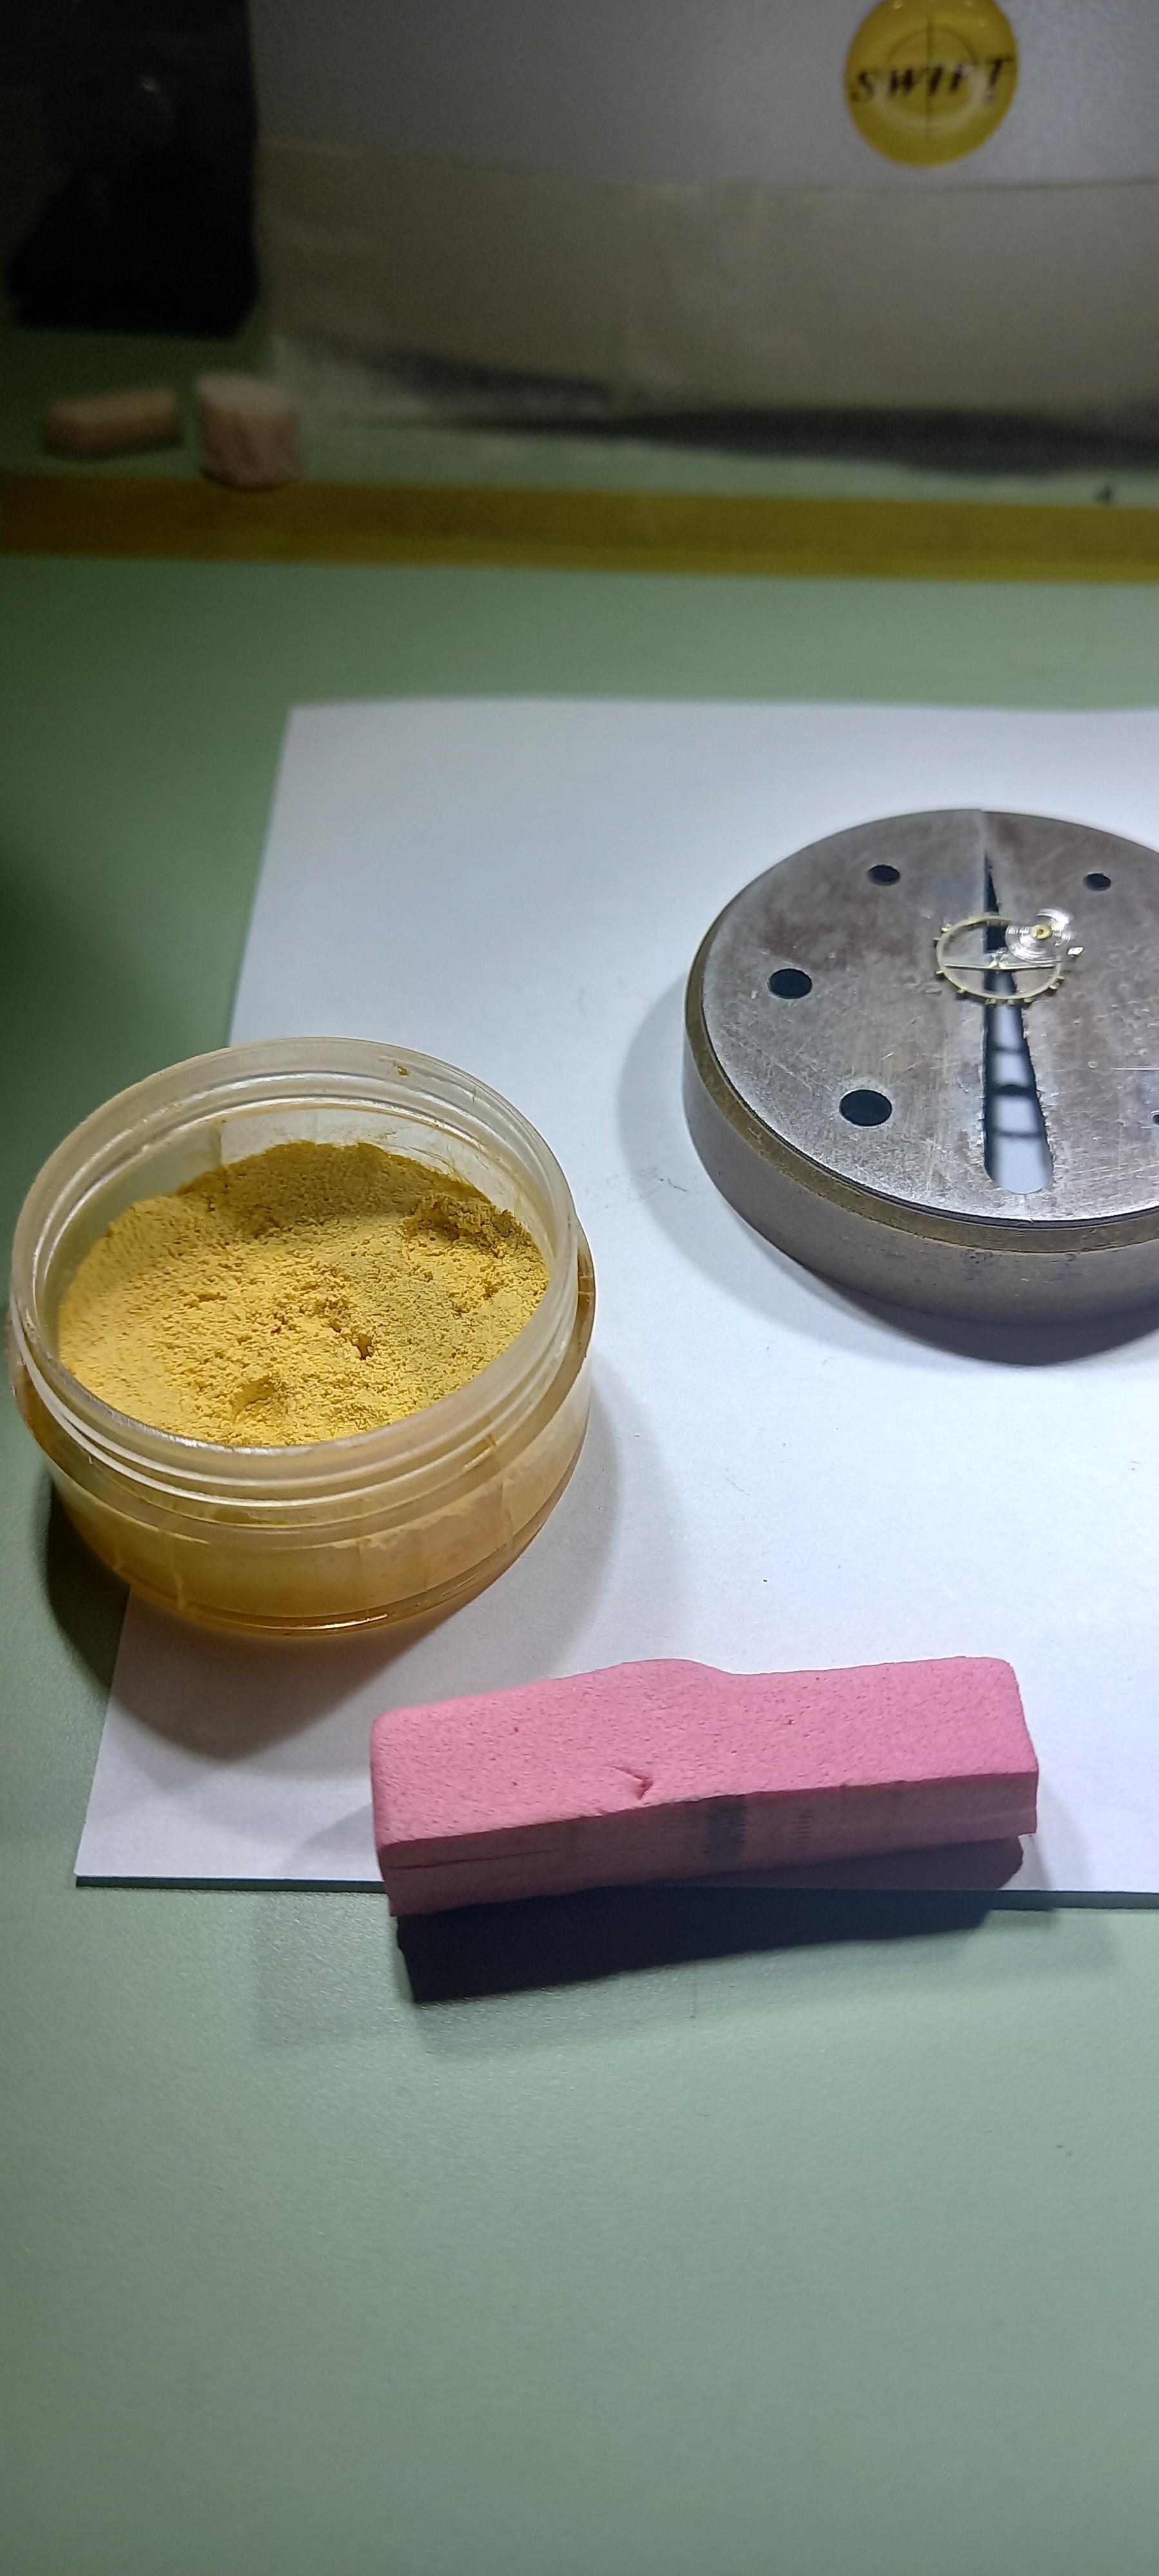
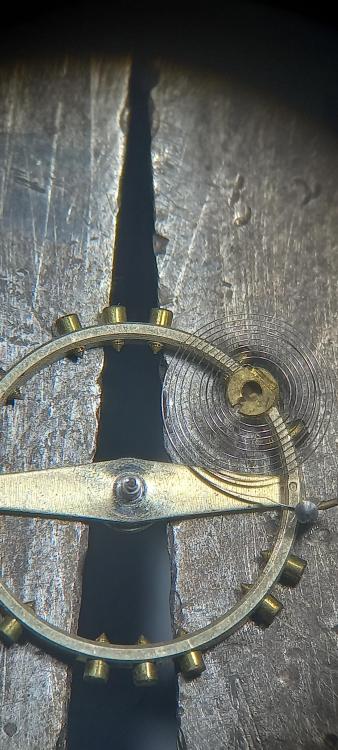
Yep rigid enough for this job. These work a treat as mini levers, bending the mainspring to snap the pieces i wanted from the straight center portion of the spring gave them just the right amount of curl to fit over the balance wheel rim and under the hairspring and collet. So the handles are 3mm pegwood which feels about right maybe a touch thicker might give them a better feel. A 0.2mm diamond disk cuts the 10mm slot in the pegwood to slide the spring into, fill the slot with clear nail varnish insert the pieces of spring, and run a bead of nail varnish around the slot and a little onto the spring, set them aside for a couple of hours to cure. When set add a bevel to the top edge only and remember to remove the burr created on the backside, using a fine diamond plate, fine finish the edge with dental strips, i guess the xfine is around 3000 @HectorLooi might know what the grades of these are. Finally polish up with polinum on a sponge pad add a drop of oil to either the polishing pad or mix it in with the polinun, job done . The spring measures 1.1mm x 0.7mm, i left around 8mm showing from the handle, its actually a tad long but works well, 5mm might feel a bit better.

 2 points
 -
You can drag and highlight part of it and get a pop-up for Quote or just click the +Quote at the bottom of the post. Should have noticed that the lugs were different.1 point
-
Making a Printed Circuit Board watch dial. Hackaday link to their related article -> https://hackaday.com/2024/08/26/turns-out-a-pcb-makes-a-nice-watch-dial/1 point
-
Best place to look now if you've got the patience. https://ranfft.org/caliber/index?CaliberSearch[name]=fhf&CaliberSearch[movement_type_id]=&CaliberSearch[dimensions]=22&CaliberSearch[launch_year]=&page=1&per-page=301 point
-
Remove the hands, dial plate, balance and fork. Drop the rest in Coca Cola for 30 hrs soak. Do not postpone disassembly after the soak. All screws including the two small ones on cap stone plate will then unscrew with incredible ease. I would loosen screw of the keyless, but don't remove until identification. Rgds1 point
-
Welcome to the WRT forum.1 point
-
The bridge makes me think FHF but can you post the size and if possible remove the dial and post a photo of the setting levers.1 point
-
Hello and welcome from Leeds, England.1 point
-
Welcome to the forum The calibre should be 7009 from the 7009-3161 on the case back. Here's a 7009 Manual but there are other on the internet. 7009A Service Manual.pdf1 point
-
Google, Seiko 7606 pictorial A walkthrough right here on WRT forum. Keywords , seiko 7606 pictorial watch repair talk Also go on to mizeni bidfun Ronald ranfft For specifications Good luck1 point
-
scanners are really good, especially if you're scanning a part with curved surfaces etc. On a simple part though its often not necessary to scan as you have the dimensional data available either manually, or as part of a 2D drawing or 3D model. Its more common to use scanning to produce a model, then the model used to extract the necessary machining data. or a combination of both. For example, if making a number of parts to different dimensions, such as shafts, toothed wheels etc, the CNC programs can be parameterised. You might supply the various dimensions for number of teeth, outside diameter etc, and the part pops out the end without much/any programming effort each time.1 point
-
When it comes to clocks that have been handmade and are of considerable value and parts need to be replaced they should and are normally made by hand in the traditional way without machines.1 point
-
Yep. I started my working career as a CNC machine tool programmer, not for watch or clock parts but for all manner of components, including aircraft parts. Of course, I wouldn't have the same level of competence on 150-year-old tools compared to my CNC skillset, but that's only because those skills are no longer needed with modern techniques so you have no reason to practice them. Some things are very similar, such as working out how to best hold a piece of material to machine it accurately, etc., or understanding how a cutting tool performs on a specific material type. Watch and clock parts follow the same principles; they're just smaller. I found that, while a computer can be used to design and machine a part, you still need the same level of engineering experience in the designer/operator to drive that process. Machines allow very precise tool positioning and complex movement patterns, but it still requires a skilled programmer/operator to ensure the finished part comes out as you expect, taking into account tool wear, material flexing etc. Where the old methods come in very handy, especially in this trade, is when you only need to repair or make one item. If I'm manufacturing 200,000 of something, then CNC wins every time. If I need one, manual hands-on is probably quicker if you have the skills and tools available.1 point
-
I have used this method, 0.4mm sounds like a lot, but remember this is only 0.2mm on each 'side'. I use regular wet-and-dry around 600 grit on a flat surface, and use a rolling action with my wrist, then change 90 degrees, then a few more , then change 90.... and so on. I've had pretty good results. Regular checking of fit id needed as it can get away from you! I use the G&S Hypo Cement, I did get a tube of Seiko UV stuff, but haven't used it yet1 point
-
I think you are going to have to get the nearest fit and make sure it clears the hands and use one of the recommended cements. The only other thing I can come up with if you have a lathe you could turn it down to fit by using the different abrasives that are about today.1 point
-
No worries hector i guess the same applies here, if they file and leave a smooth finish thats all that matters .1 point
-
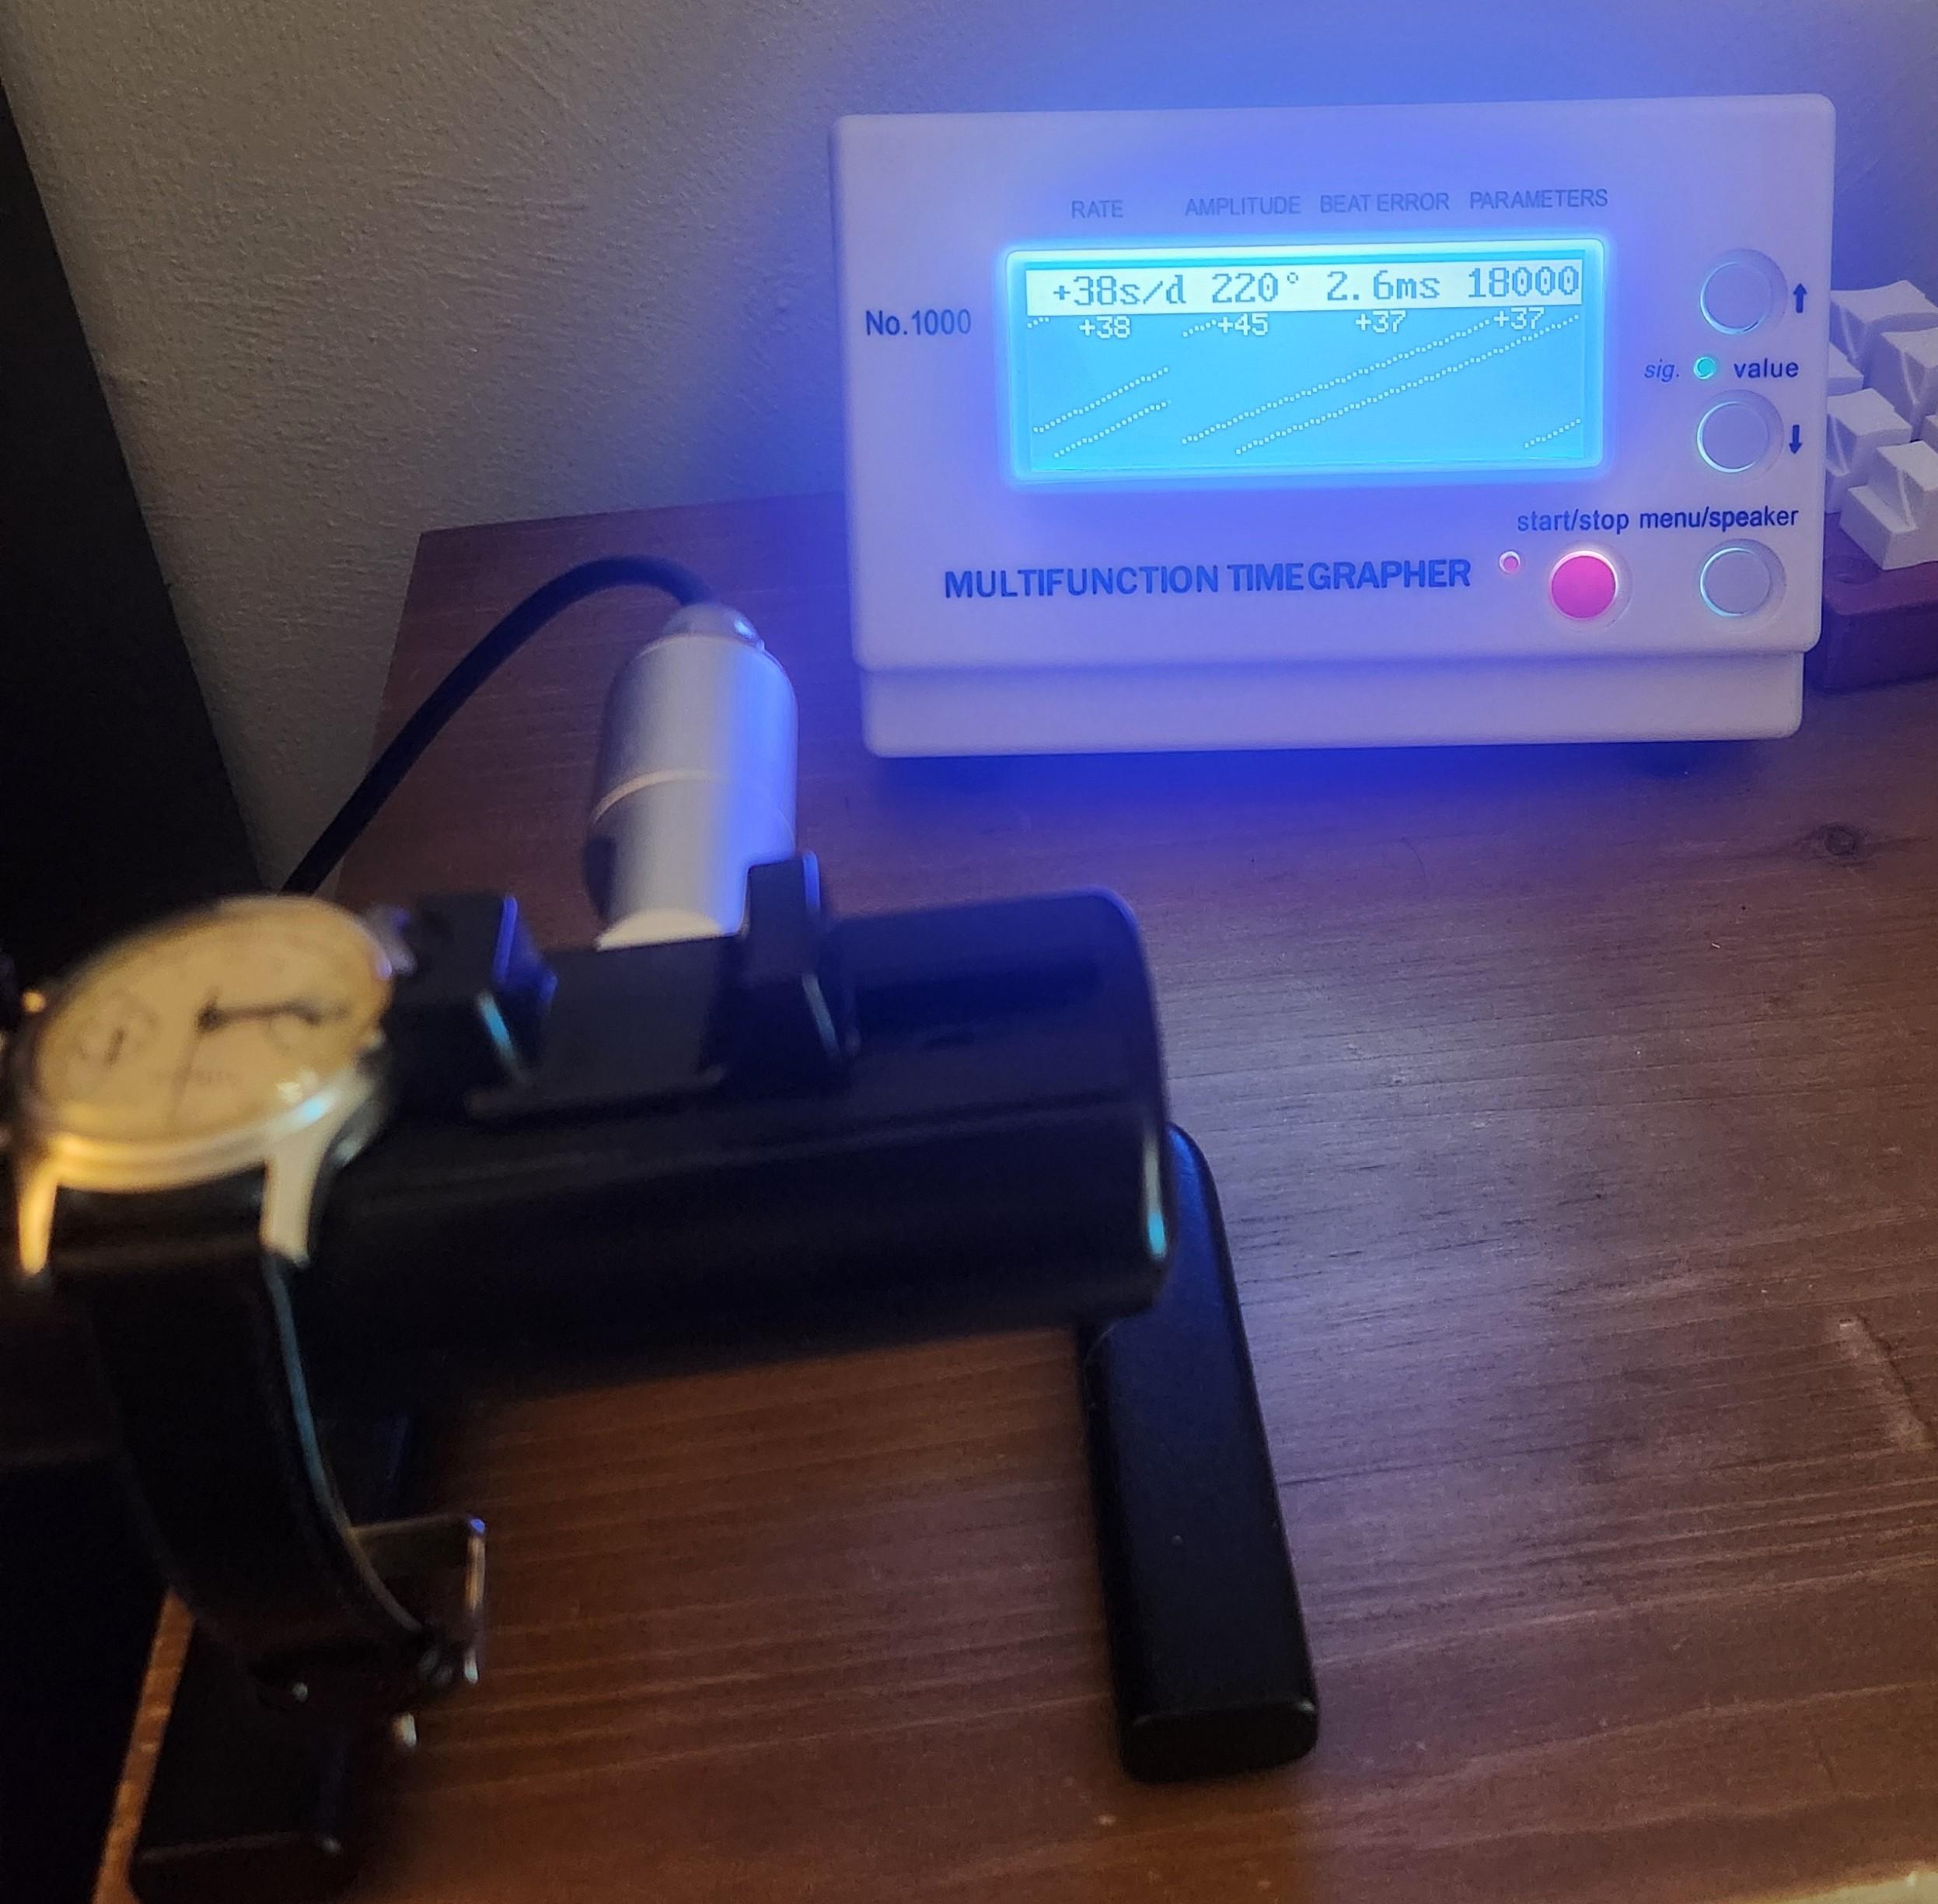
Some fiddling tonight was able to get somewhat of a terminal curve going which helped the spacing of the spring while breathing. Got the rate down to manageable. Gain 35 degrees of amplitude just by that tweak alone. Also helped on the beat error. Taking it slow will let this cycle through a wind or two before attempting anything more on the hairspring adjustment.
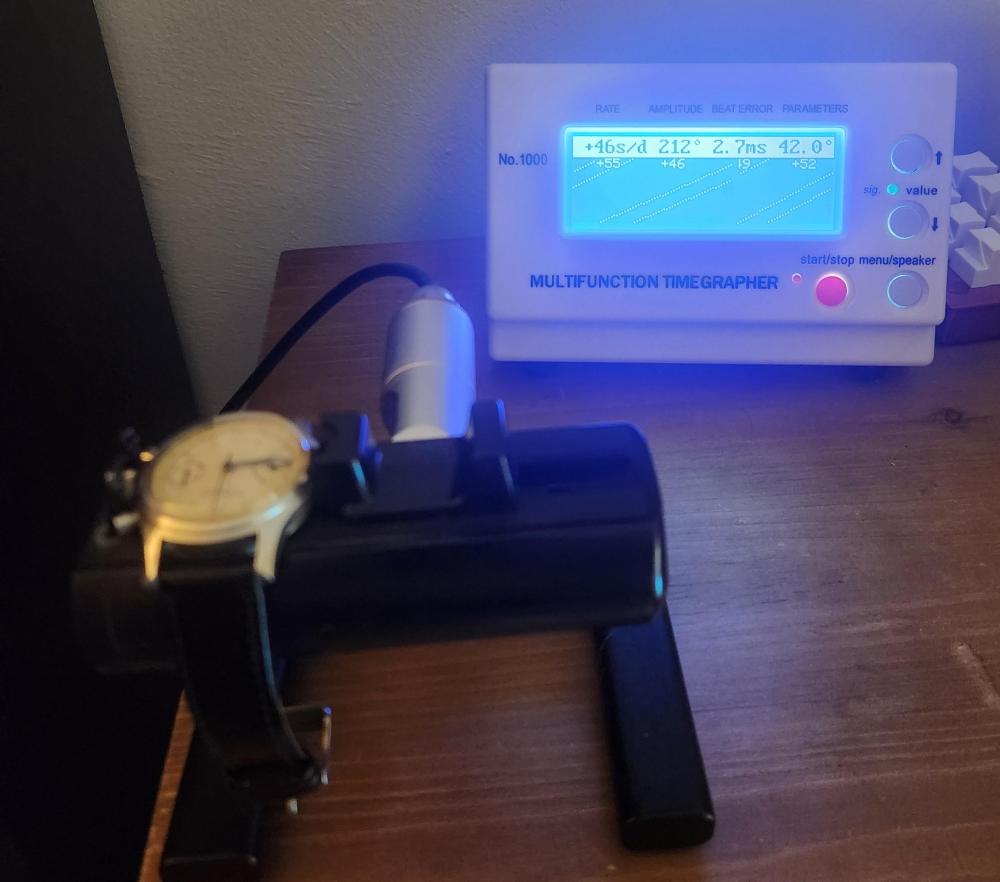
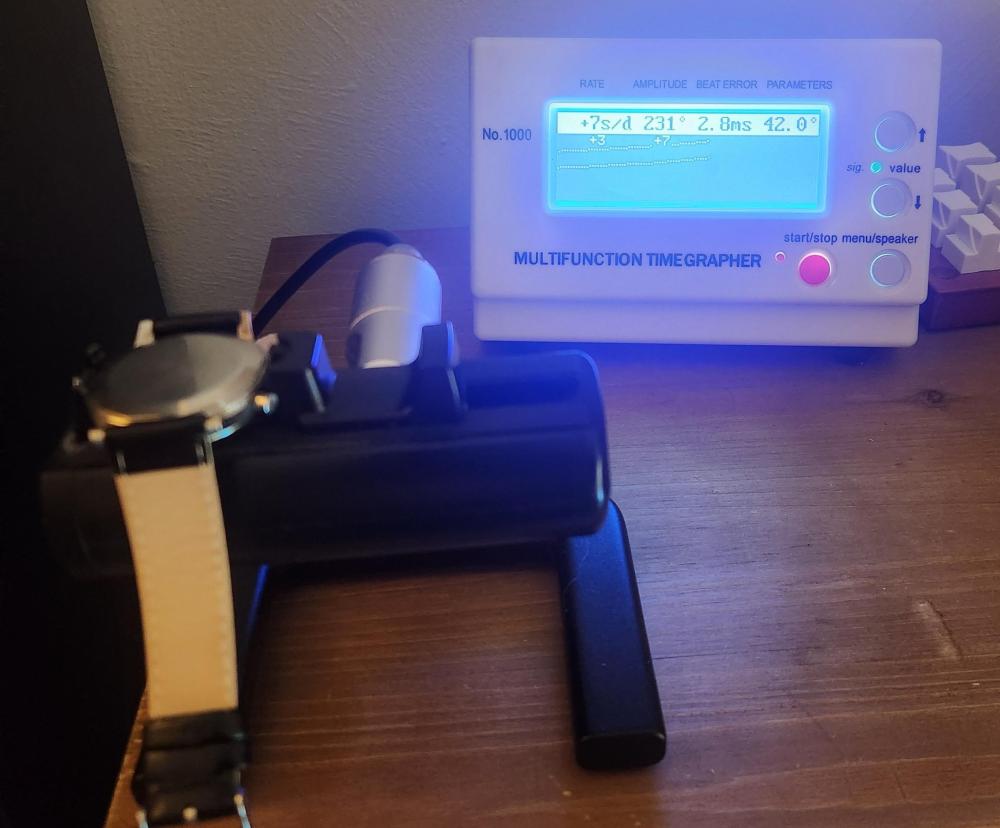
 1 point
 -
I have absolutely no idea. Most dentists are not very technically minded. As long as it gets the job done, we don't care.1 point
-
When the pallet stones are fixed without shellac, they are put to the bottom in the slots (just like the pallets on the pictures here). When shellac is needed, then the stones don't get to the bottom, otherwise regulation will not be possible. Of course, applying shellac will not do harm for sure.1 point
-
the image is from a PDF off of their website. conveniently as way saw items were circled because we've had this discussion before. Usually people are looking for the mainspring which is really hard to get because it is a different size and because everyone keeps lumping all the watches under a general category of the original watch when they've been changed to run at the higher frequency plus of course the Chinese have made unknown modifications. On the other hand there still an outstanding watch to start with.1 point
-
Have a look at WatchGuy below and his 188 services. In some he makes comment about low amplitude due to 42 deg lift angle. https://watchguy.co.uk/cgi-bin/library?action=show_brand&brand=Breitling&calibre=Venus 188&offset=01 point
-
The movement is a Seagull ST6.1 point
-
I think I see graining on that rotor. It’s definitely a high end cheap Chinese movement …1 point
-
Really, are you sure? Look at that quality of that cheap Chinese movement1 point
-
rivets? I'm still waiting for proof of this! I looked through all of these and not one single riveted together movement. maybe it is just a myth
 1 point
 -
I think that's a subject where everyone has slightly different opinions. For me, "normal" with such as wheel pivots is just enough so you can see it being drawn down the side of the pivot by capillary action, but no obvious oil afterwards. Sufficient depends on the part - for a pivot, possibly slightly more than as above; for sliding parts, enough to ensure a film over the wearing surfaces. I got most of my info from watching the "Wristwatch Revival" youtube channel; that guy is very good at explaining what he's doing and does not skip sections as many other do. He occasionally also goes over all the specific lubricant types in detail. I've ended up with about half a dozen types; 9010, very fine blue oil for the smaller parts, 9104 which is the heavier red oil, 9504 blue grease, molykote, plus 8213 braking grease for automatic mainsprings and 9415 for pallet stones in some movements.1 point
-
Spread a white sheet of paper or thin cardboard on a flat surface, drop the end stone on it flat side down facing the paper, put you index finger on end stone, pour a bit of naphta or lighter fluid over the paper, scrub the end stone over it as much as you like, end stone will clean incredibly. Under magnification you will inevitably see paper debrie around the permeter of the end stone, drop it in a small jar add ligher fluid, shake, save the extra fluid. I fish out the end stone out of the jar by my finger. No need whatsoever to blow dry since it is a stone, put a bit of Rodico on tip of a screw driver, another safe place for the end stone to stay put, oil , drop in chaton. Holding end stone in your tweezers is an unneccessary skill. Good luck.1 point