Leaderboard
The search index is currently processing. Leaderboard results may not be complete.


Popular Content
Showing content with the highest reputation on 08/29/24 in all areas
-
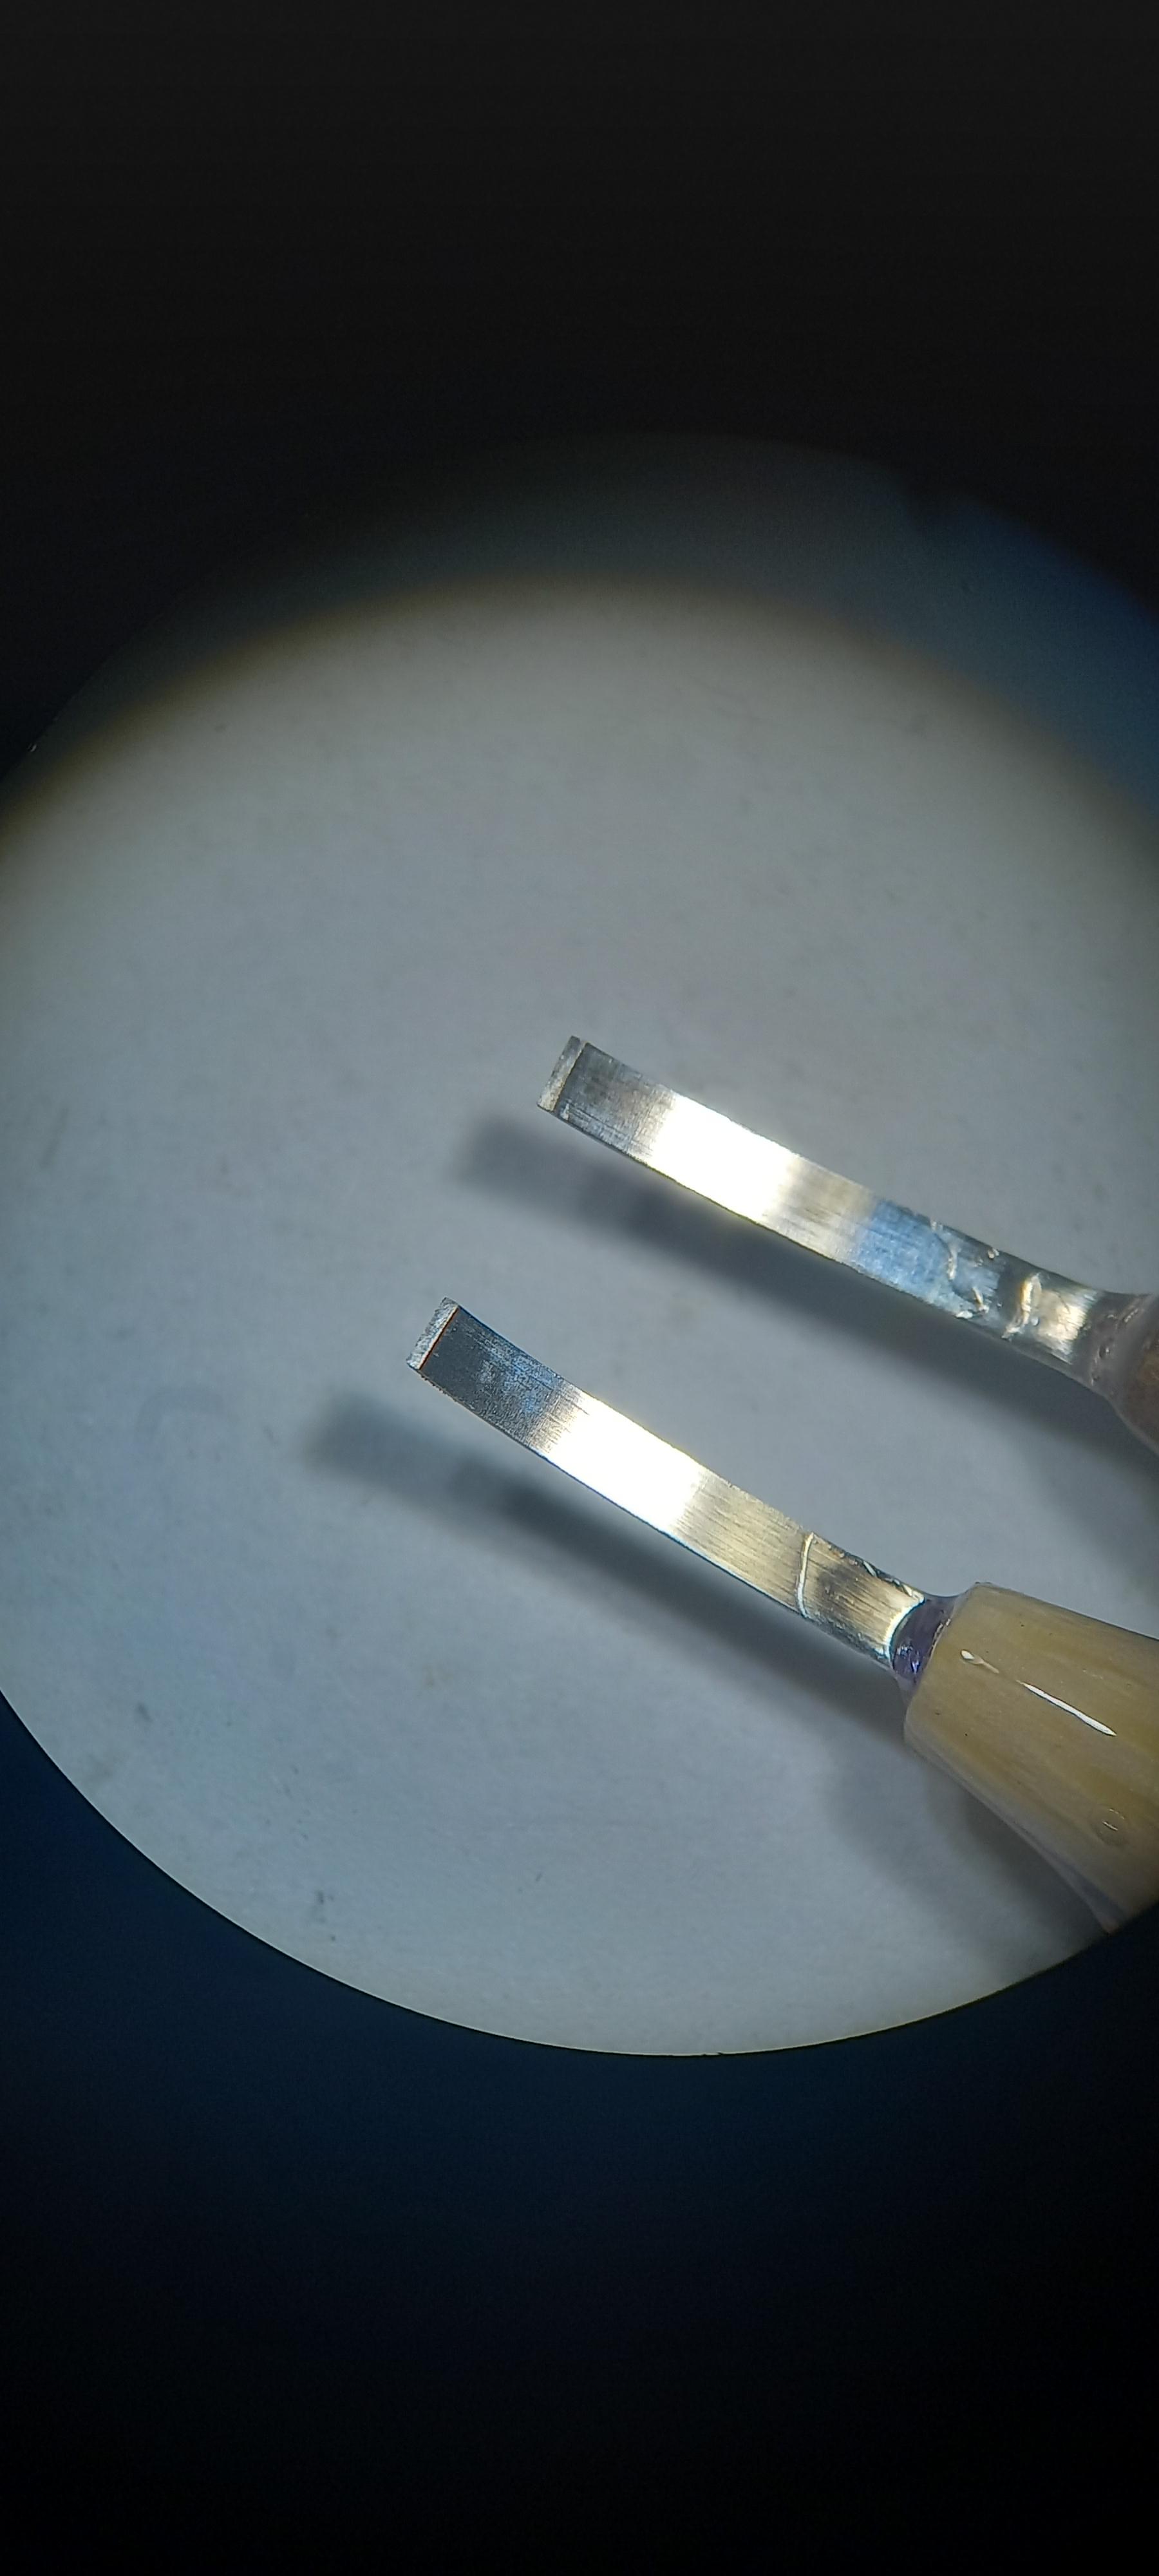
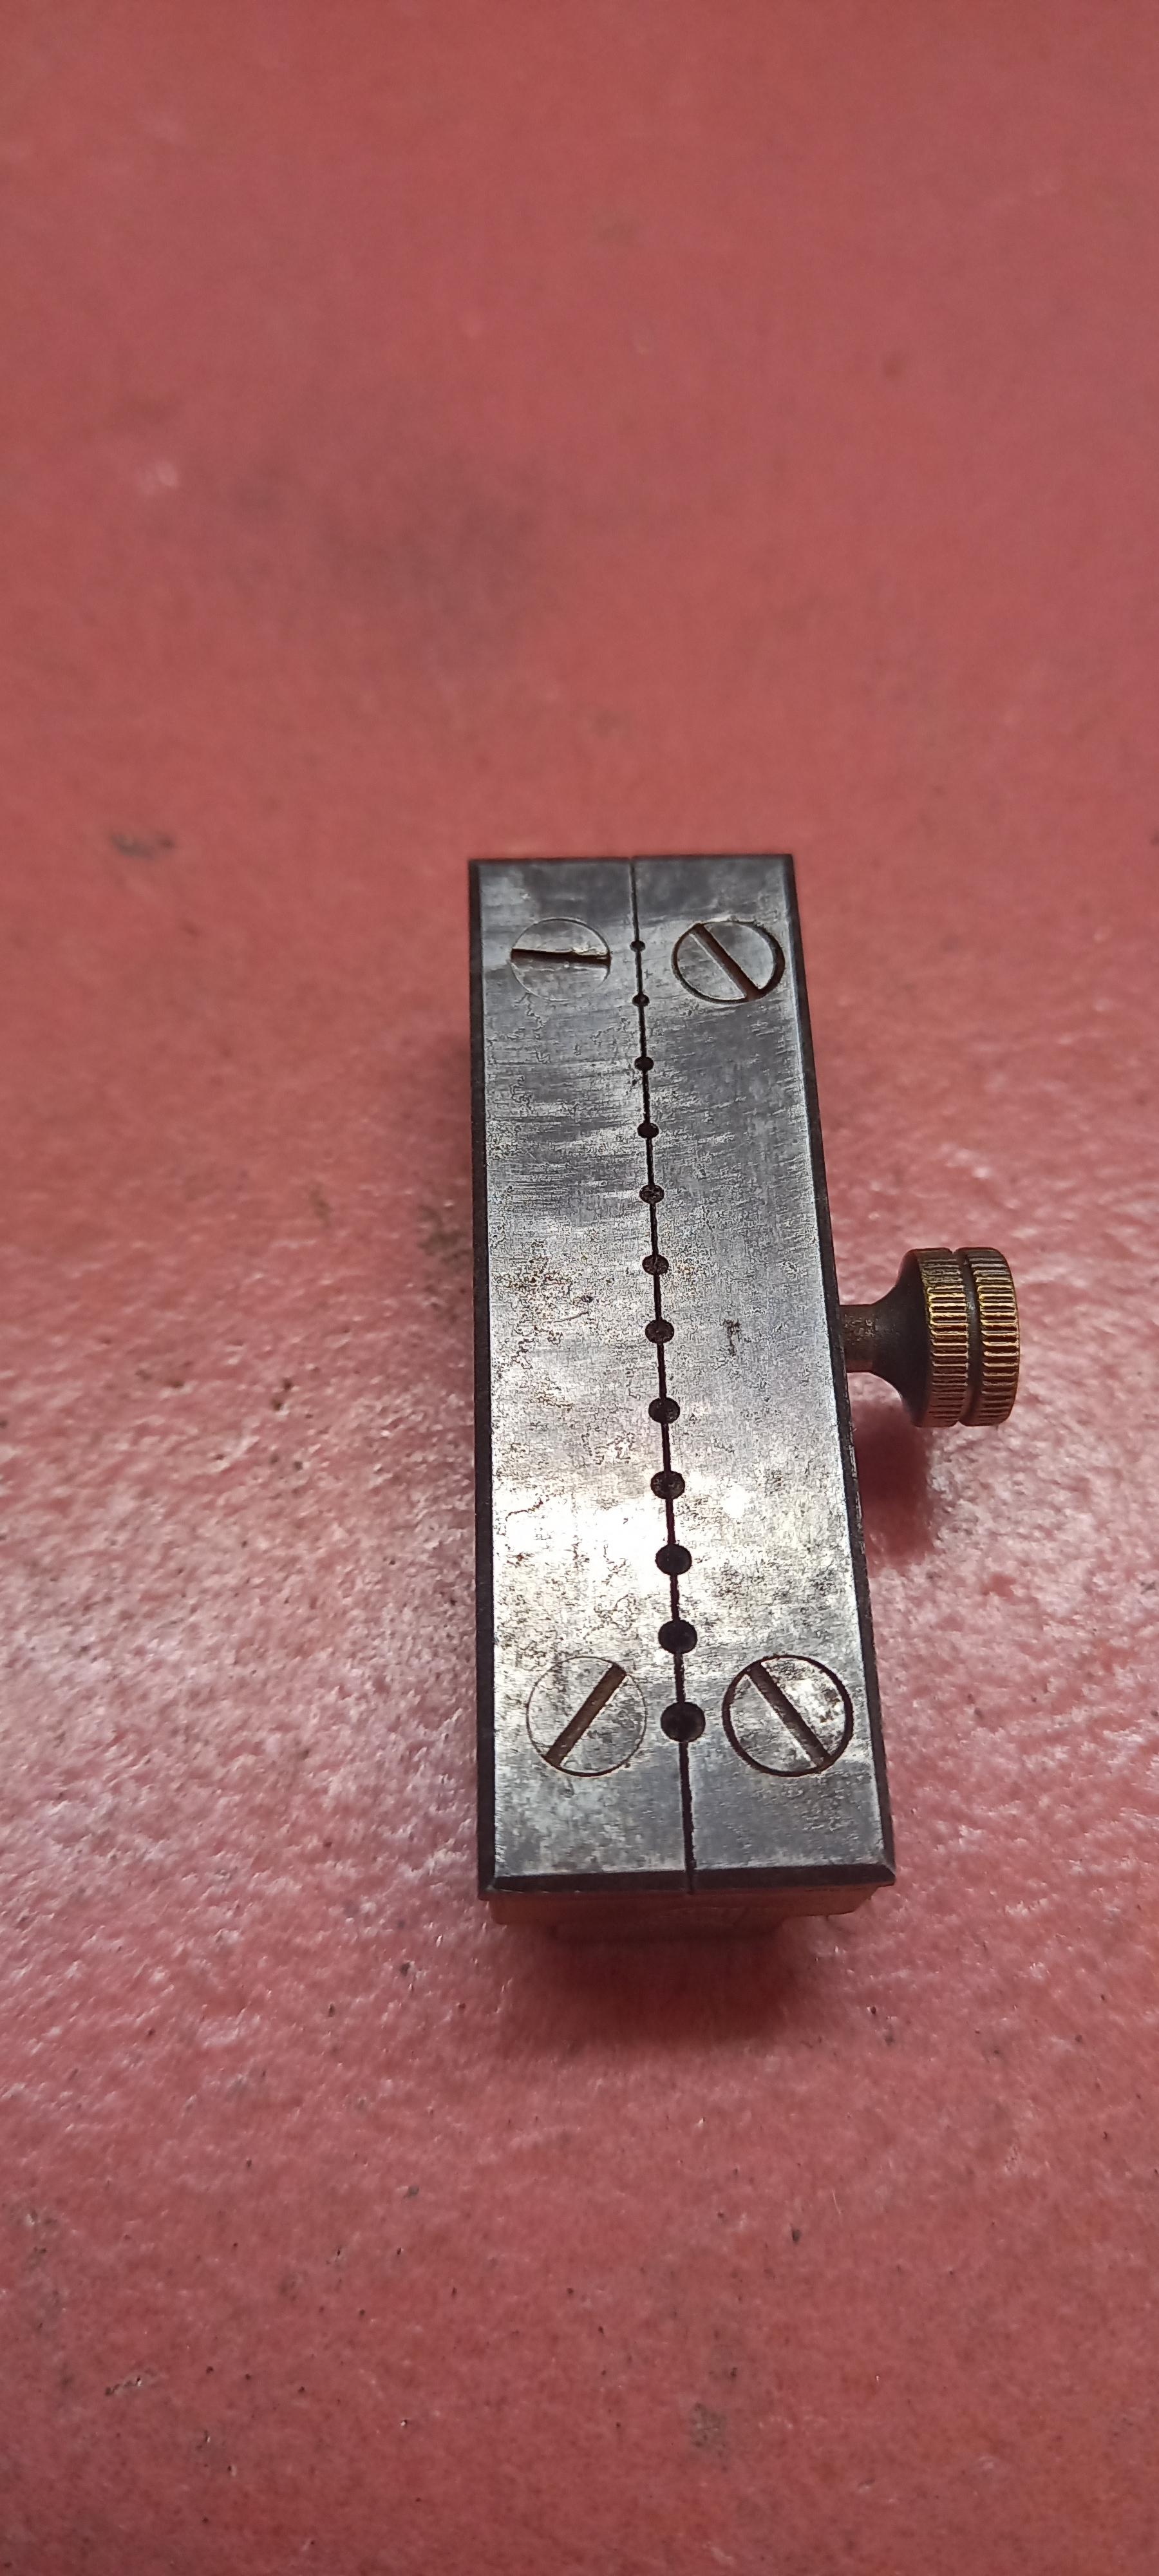
@Simeon - I took an 8 cm section of a broken wristwatch mainspring, filed a V-shaped notch in one end, and another slightly-hook-shaped notch in an edge just a bit down from the V. I chuck it in a pin vise and use it to help align pivots on full-plate movements. It's so thin that I can reach around and over obstacles easily with it. Makes setting all the pivots much easier.4 points
-
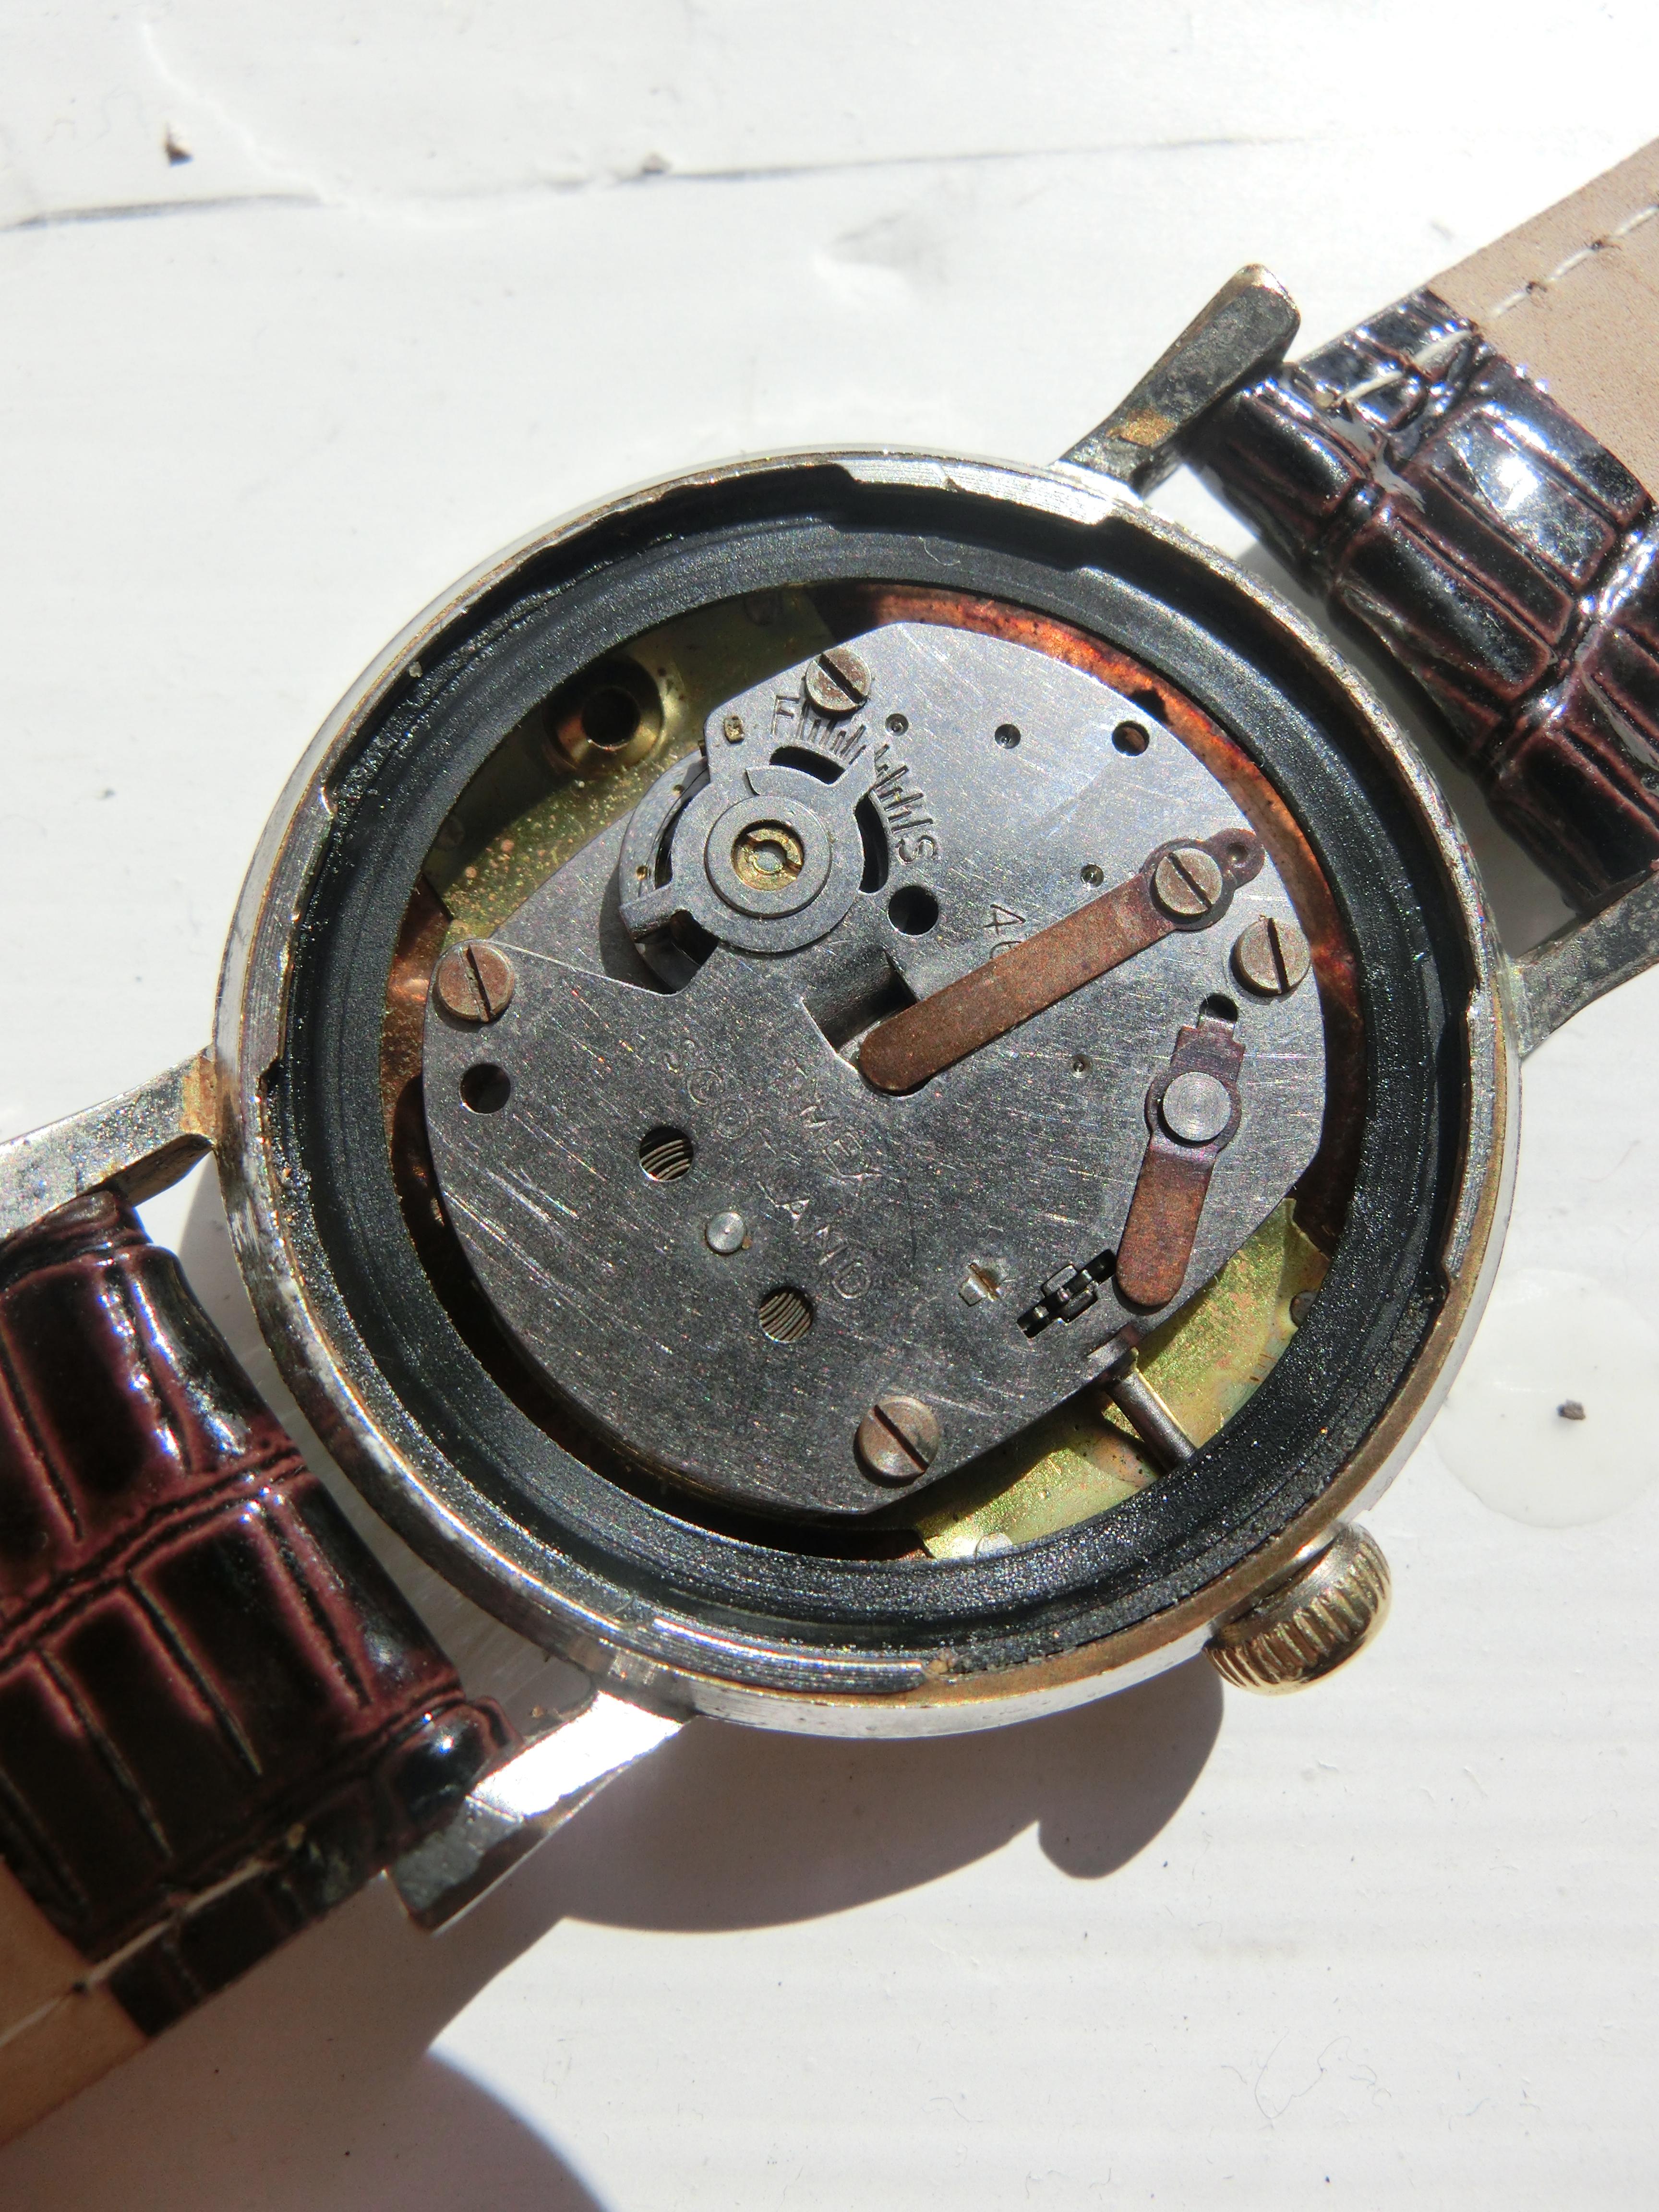
It is indeed an M22, produced in Scotland (Dundee). The single plate construction means they can be a little fiddly to strip down and re-assemble. This one just got a quick solvent slunge, and some fresh lube. The trickiest job on these is to sort out hairspring damage, but fortunately this one didn't need any real fixing, just a clean and fresh oil.
 4 points
 -
Probably not a screw back, have a read here3 points
-
Make a wig for your old lady.3 points
-
Are you sure those are all mechanical watches? Tom3 points
-
Your instincts are spot-on ! What added to the initial confusion in my mind was that somehow I'd managed to turn the caseback a little anti-clockwise with my 3-proged opener but couldn't achieve the necessary alignment again to turn it further. If I had though, I would still be turning it now as it was indeed a press fit - and I actually managed to secure it again after replacing the battery ! What a great forum people like you are maintaining. Many thanks !2 points
-
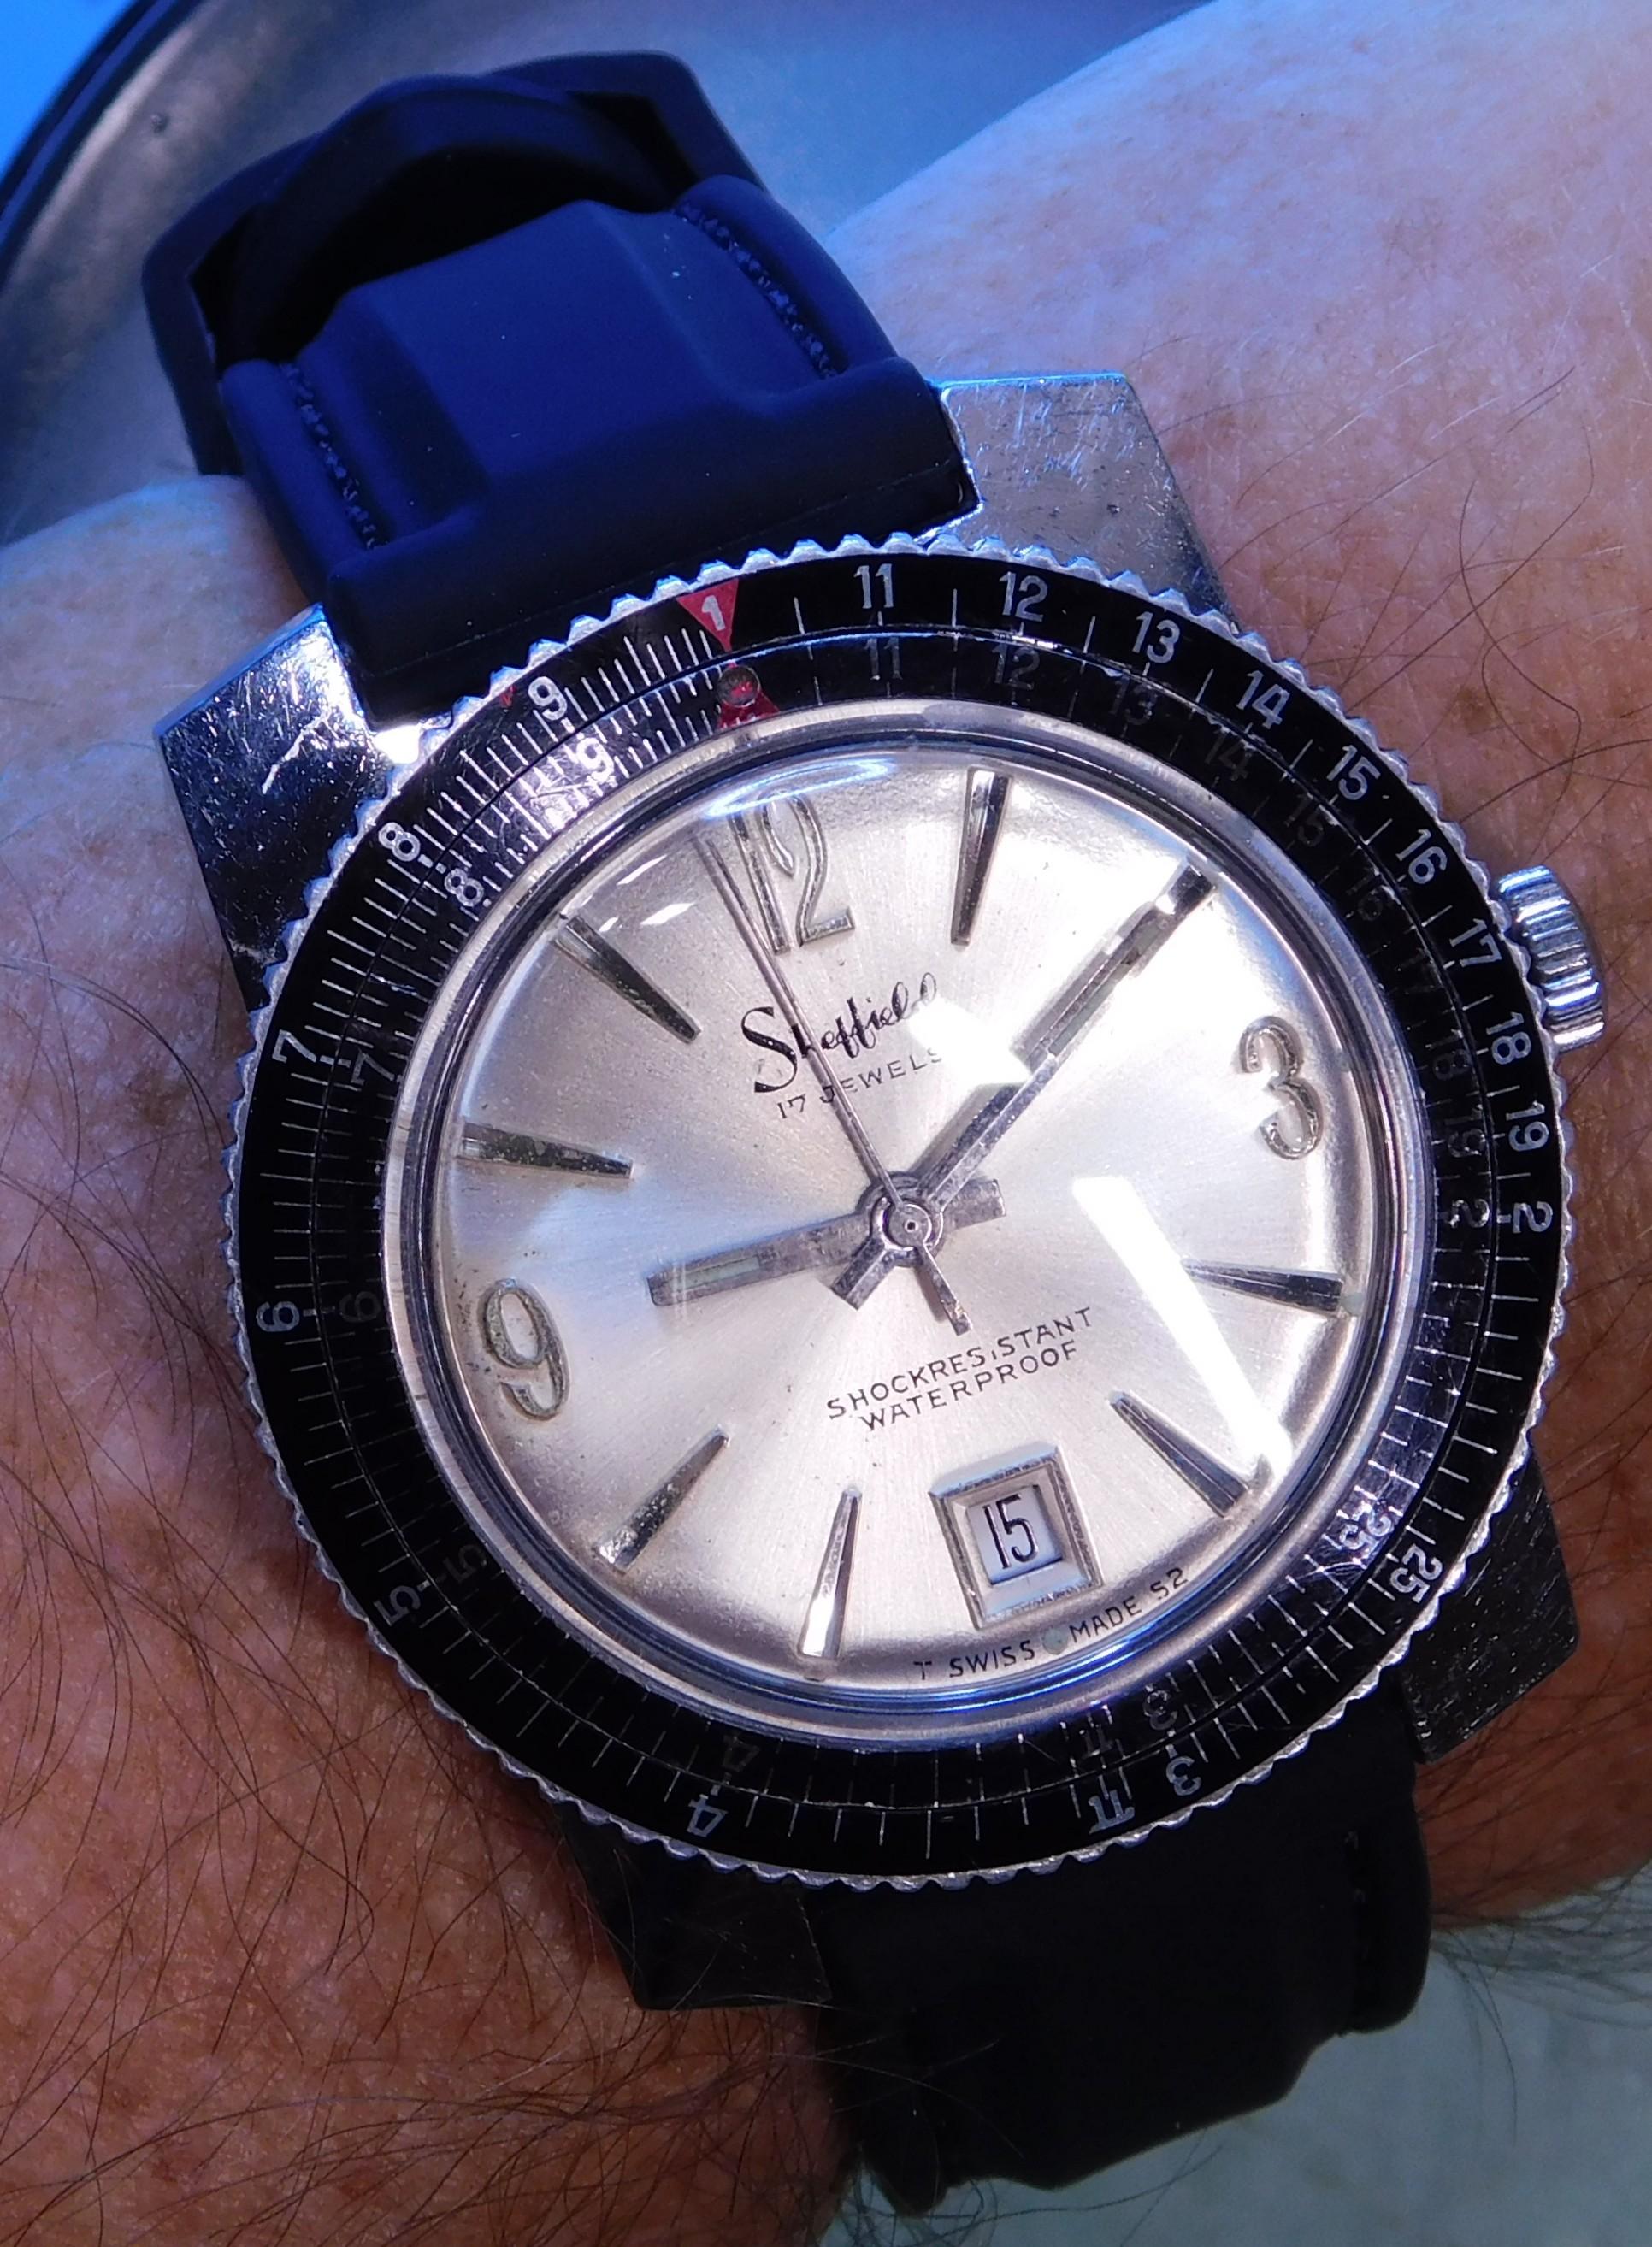
This example is a Sheffield 17j EB8800. I got it a while back and finally got it running with a new winding wheel with clutch install. I think it must be an engineers watch because the bezel is some sort of slide rule with 2 independent moving exterior bezels. Still in progress as after cannon pinion, pallet fork and winding wheel issues, the calendar works stopped. Now that I think about it I did find an extra U spring on the bench, probably related. Will reopen the "case" to see if that is the perpetrator of the issue. I must say I haven't seen too many 17 j EB8800 with a pin pallet, they seem to trend in the 1 j category, at least in my neck of the woods.
 2 points
 -
I just thought I'd leave this here.2 points
-
From experience, and so starts to slipper slope of hoarding, lol. Check out a post near the end from @Neverenoughwatches2 points
-
This evening I'm sporting a 1959 Timex Marlin - One of a pair of watches I picked up for the 404 club. It was filthy and gunked up to the point that it barely ticked, but a little TLC has it ticking away with that distinctive alarm clock tick that only an ancient Timex can muster. .
 2 points
 -
@Simeon there’s this video as well to make a regulator pin adjustment tool Tom1 point
-
I think we have a confusion here? For instance your software it automatically will detect the quartz watch? I snipped out an image from the manual for my timing machine. This is the witschi watch expert two and this is for the automatic range. Notice the lowest frequency 12,000 not 3600. Up above I snipped out the image from the Chinese manual which has one more frequency higher up because they kind of sort of cloned the witschi watch expert three which has a higher frequency. But poor show is a sad description of a witschi timing machine. what I suspect is the problem of not reading the users manual where it very clearly states that this is a timing machine for what exactly? Let me snipped out an image. It appears to be a timing machine for mechanical watches. I wasn't sure so I googled Casio and mechanical watches it appears to be they make a heck of a lot of digital watches. it does not appear though that they have ever made a mechanical watch but I look forward to seeing the pictures of the mechanical watches there were put on this timing machine made by Casio maybe there rare collectors items? then I'm really curious about this? I didn't know there was a shop that would repair the Chinese timing machines?

 1 point
 -
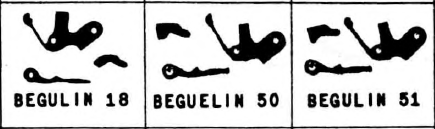
FHF is Fabrique d'Horlogerie Fontainemelon with the H being the centre part of their logo. After a second look through Bestfit I'm fairly confident that it's a Beguelin movement but with limited details on them and these only shown as 10 1/2 or 11 1/2 lignes I've been unable to get any further.
 1 point
 -
sometimes I feel like I'm out of touch with the world I didn't know Casio had mechanical watches? I guess you learn something new every day I would like to see pictures of those and maybe pictures of all of them believe it does bring up the problem of this is a timing machine for mechanical watches that haven't mainspring and do not have a battery sort of. There are some battery-powered watches it Balance wheels but it would be unlikely to have one of those and they'll look strange on the timing machine anyway. It's much more likely that their quartz watches which would be a problem for the timing machine.1 point
-
hi my name is Alan I'm from north lincs uk ive only being doing watch service well learned how to do it a year ago and still learning1 point
-
I suggest we all send you our used mainspring collection. A draw back to this is, the problem you will then have, is a bigger problem. lol1 point
-
Kalanag I see you don’t have a mainspring winder here are plans to make one. Dell https://mb.nawcc.org/threads/joe-collins-spring-winder-plans.123442/1 point
-
Making a Printed Circuit Board watch dial. Hackaday link to their related article -> https://hackaday.com/2024/08/26/turns-out-a-pcb-makes-a-nice-watch-dial/1 point
-
I've seen a few of the MK5354 for sale and they do all appear to have a slight dome. There also appears to be 2 different version where the number is either around the edge or in the centre. I'm interested myself so I've got one coming from a friend to have a look at.1 point
-
The wifes wasn't glued in , it pressed straight out. No glue around the edge of the original. Next time i see her I'll check the ref. numbers, I'm curious as to why yours was domed.1 point
-
The bridge makes me think FHF but can you post the size and if possible remove the dial and post a photo of the setting levers.1 point
-
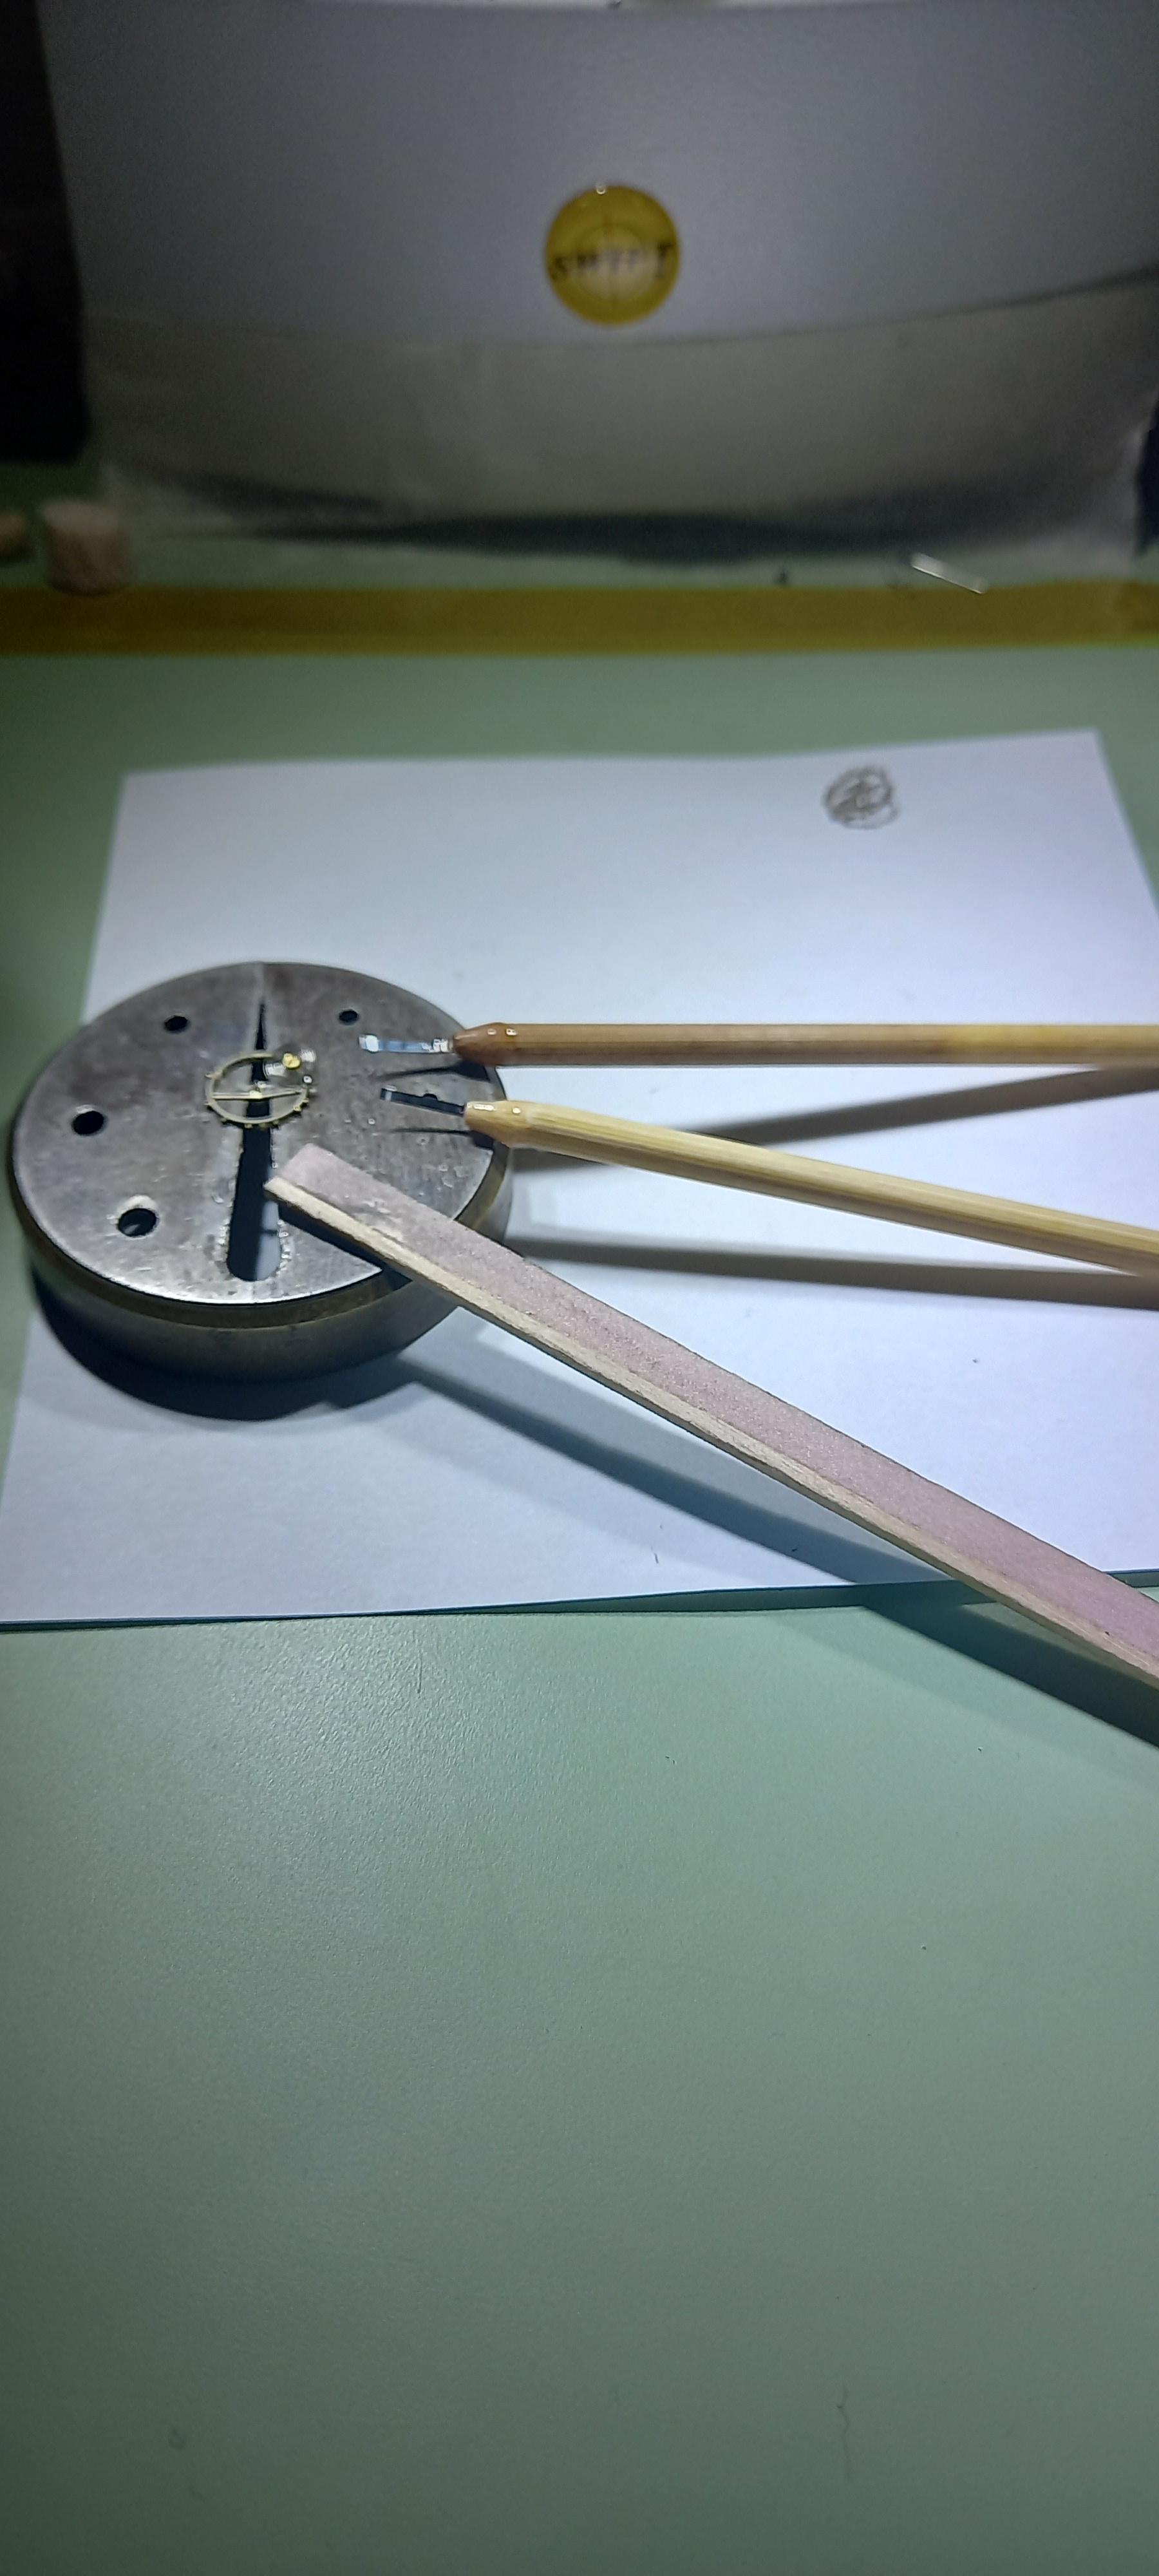
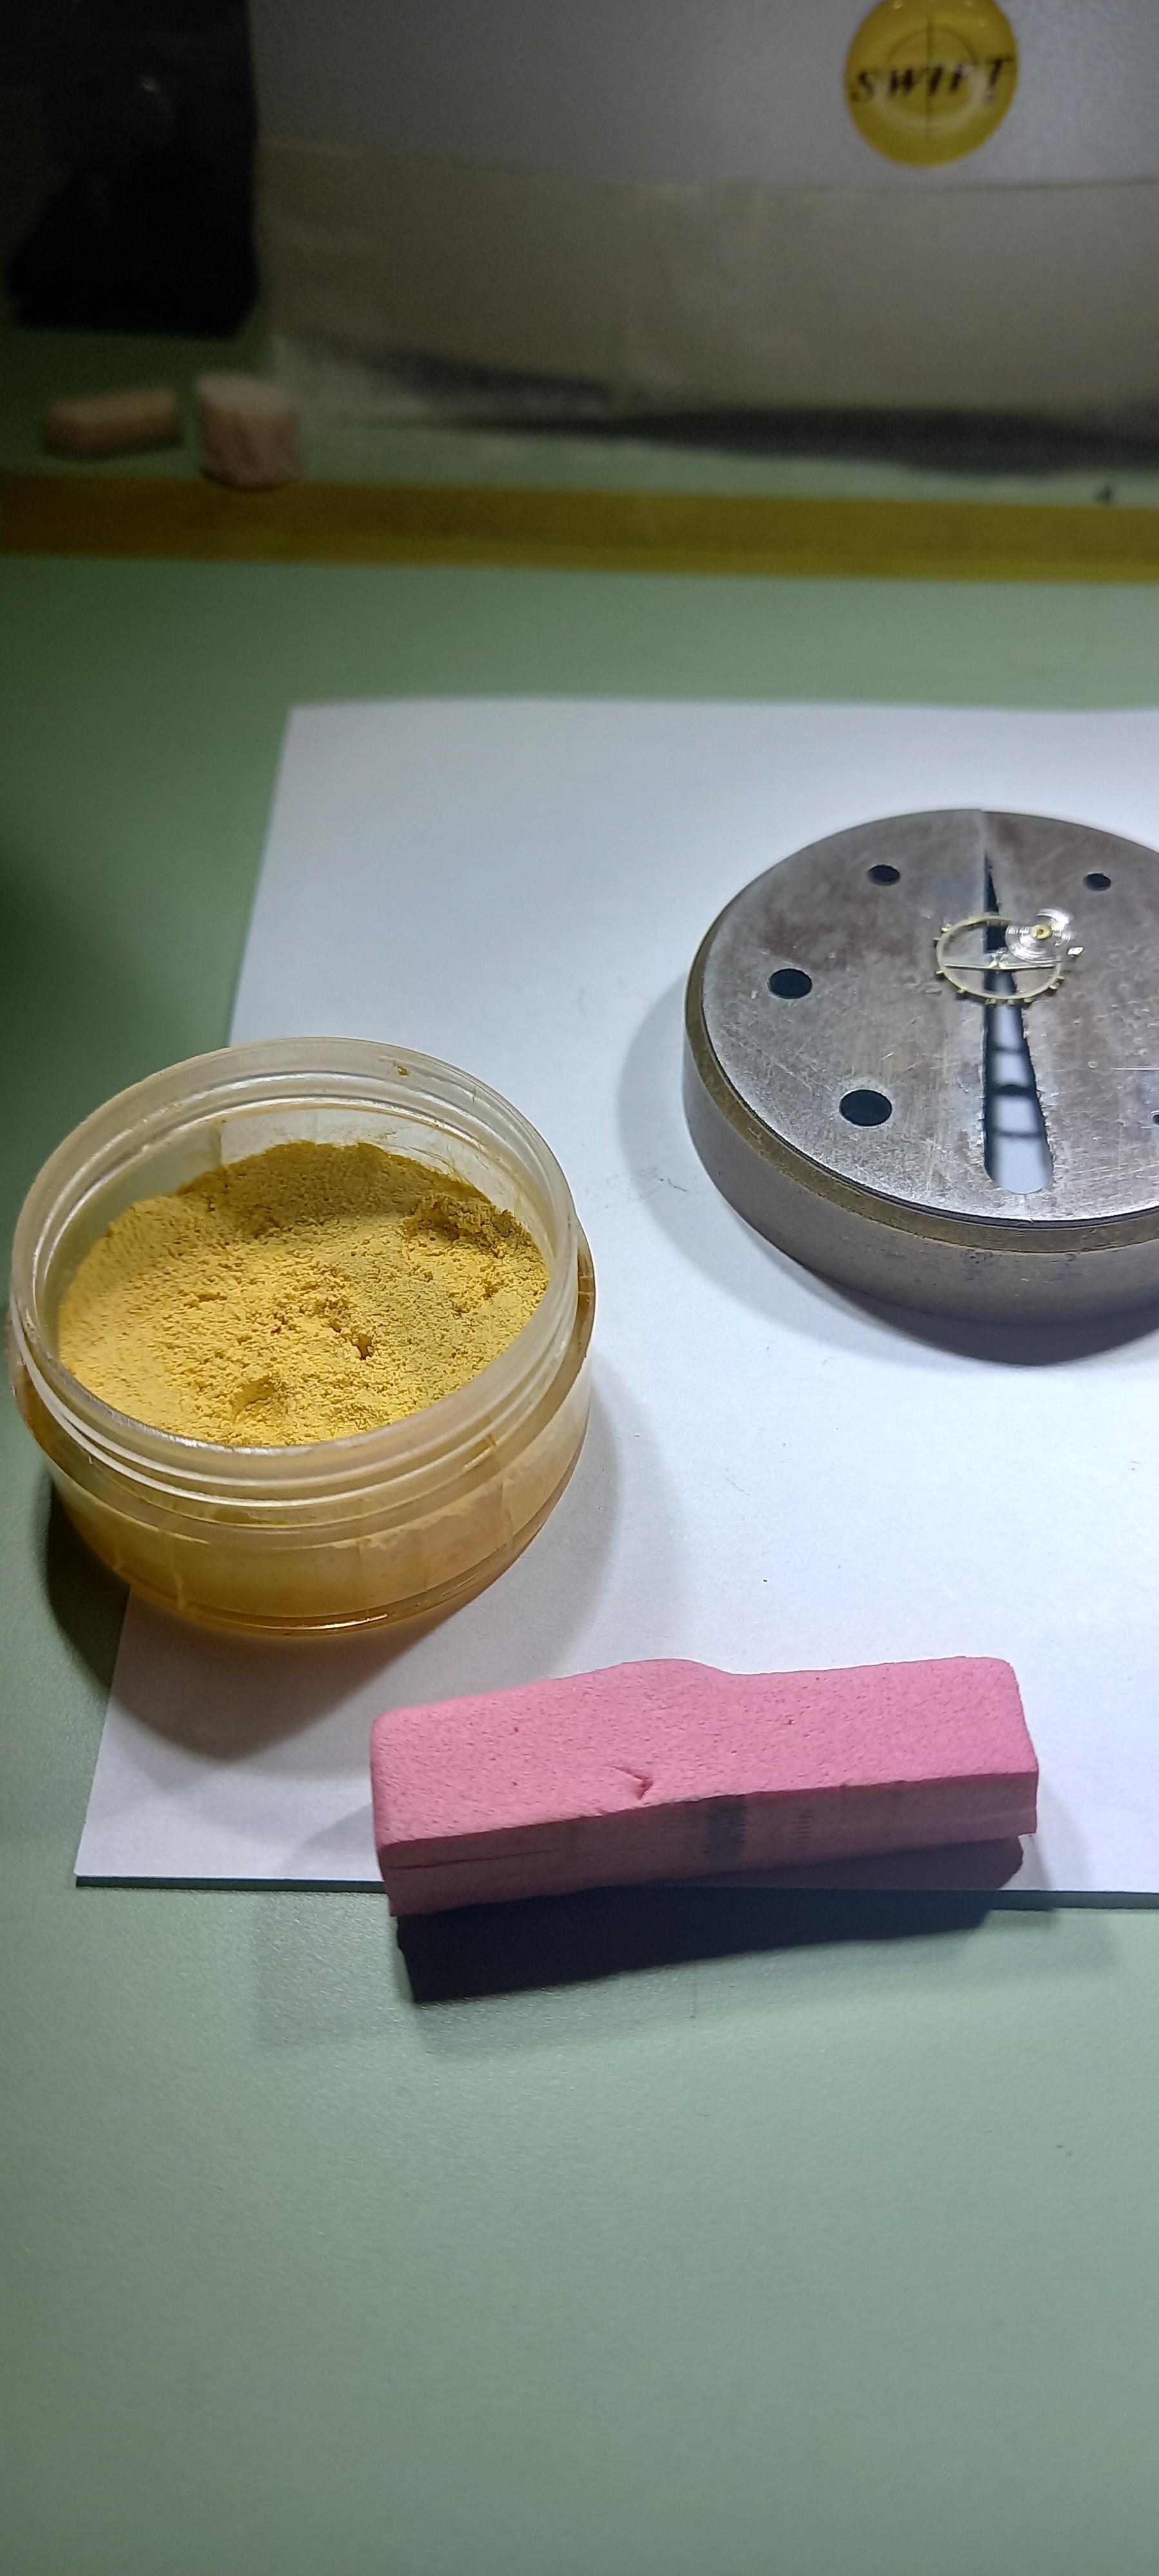
Yep rigid enough for this job. These work a treat as mini levers, bending the mainspring to snap the pieces i wanted from the straight center portion of the spring gave them just the right amount of curl to fit over the balance wheel rim and under the hairspring and collet. So the handles are 3mm pegwood which feels about right maybe a touch thicker might give them a better feel. A 0.2mm diamond disk cuts the 10mm slot in the pegwood to slide the spring into, fill the slot with clear nail varnish insert the pieces of spring, and run a bead of nail varnish around the slot and a little onto the spring, set them aside for a couple of hours to cure. When set add a bevel to the top edge only and remember to remove the burr created on the backside, using a fine diamond plate, fine finish the edge with dental strips, i guess the xfine is around 3000 @HectorLooi might know what the grades of these are. Finally polish up with polinum on a sponge pad add a drop of oil to either the polishing pad or mix it in with the polinun, job done . The spring measures 1.1mm x 0.7mm, i left around 8mm showing from the handle, its actually a tad long but works well, 5mm might feel a bit better.

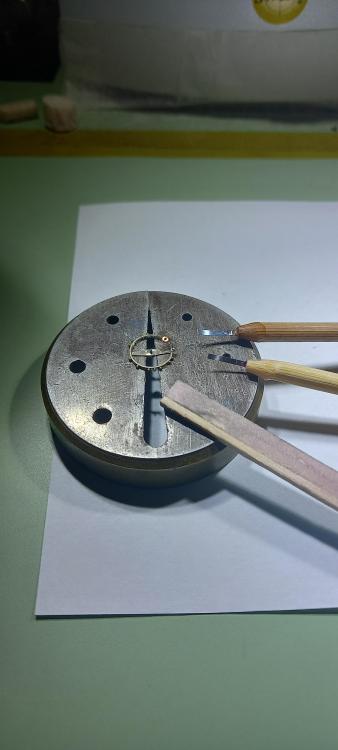
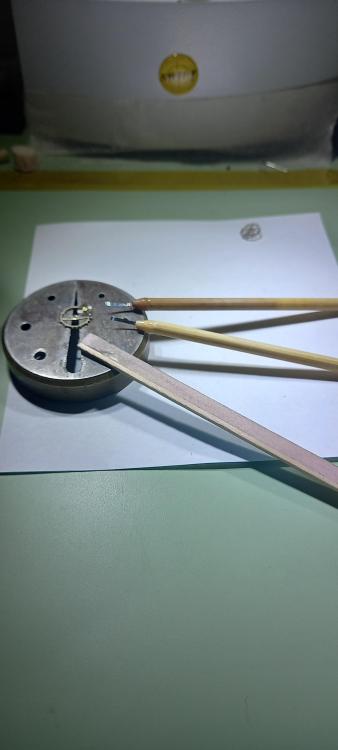
 1 point
 -
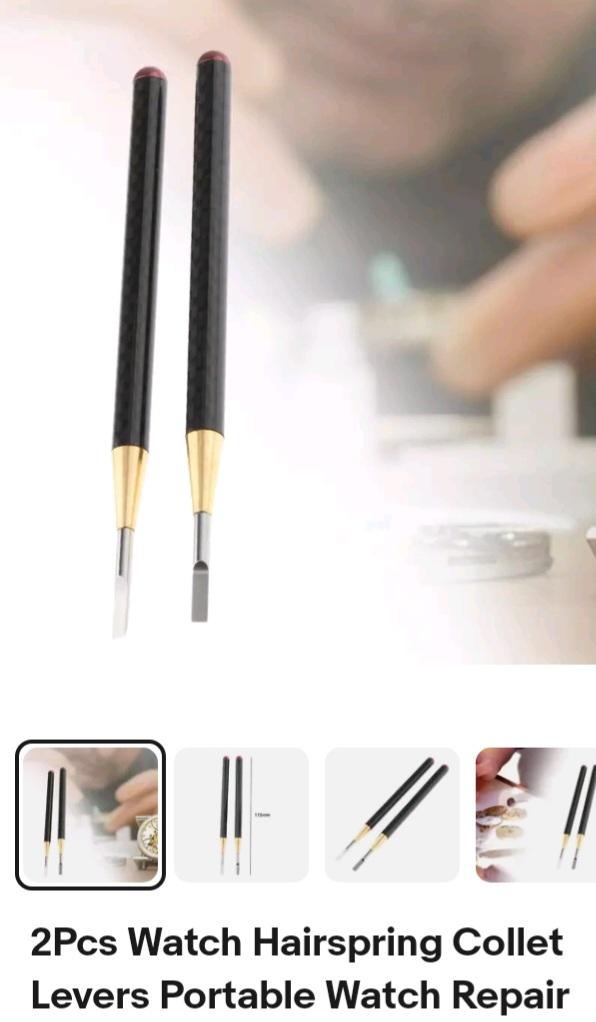
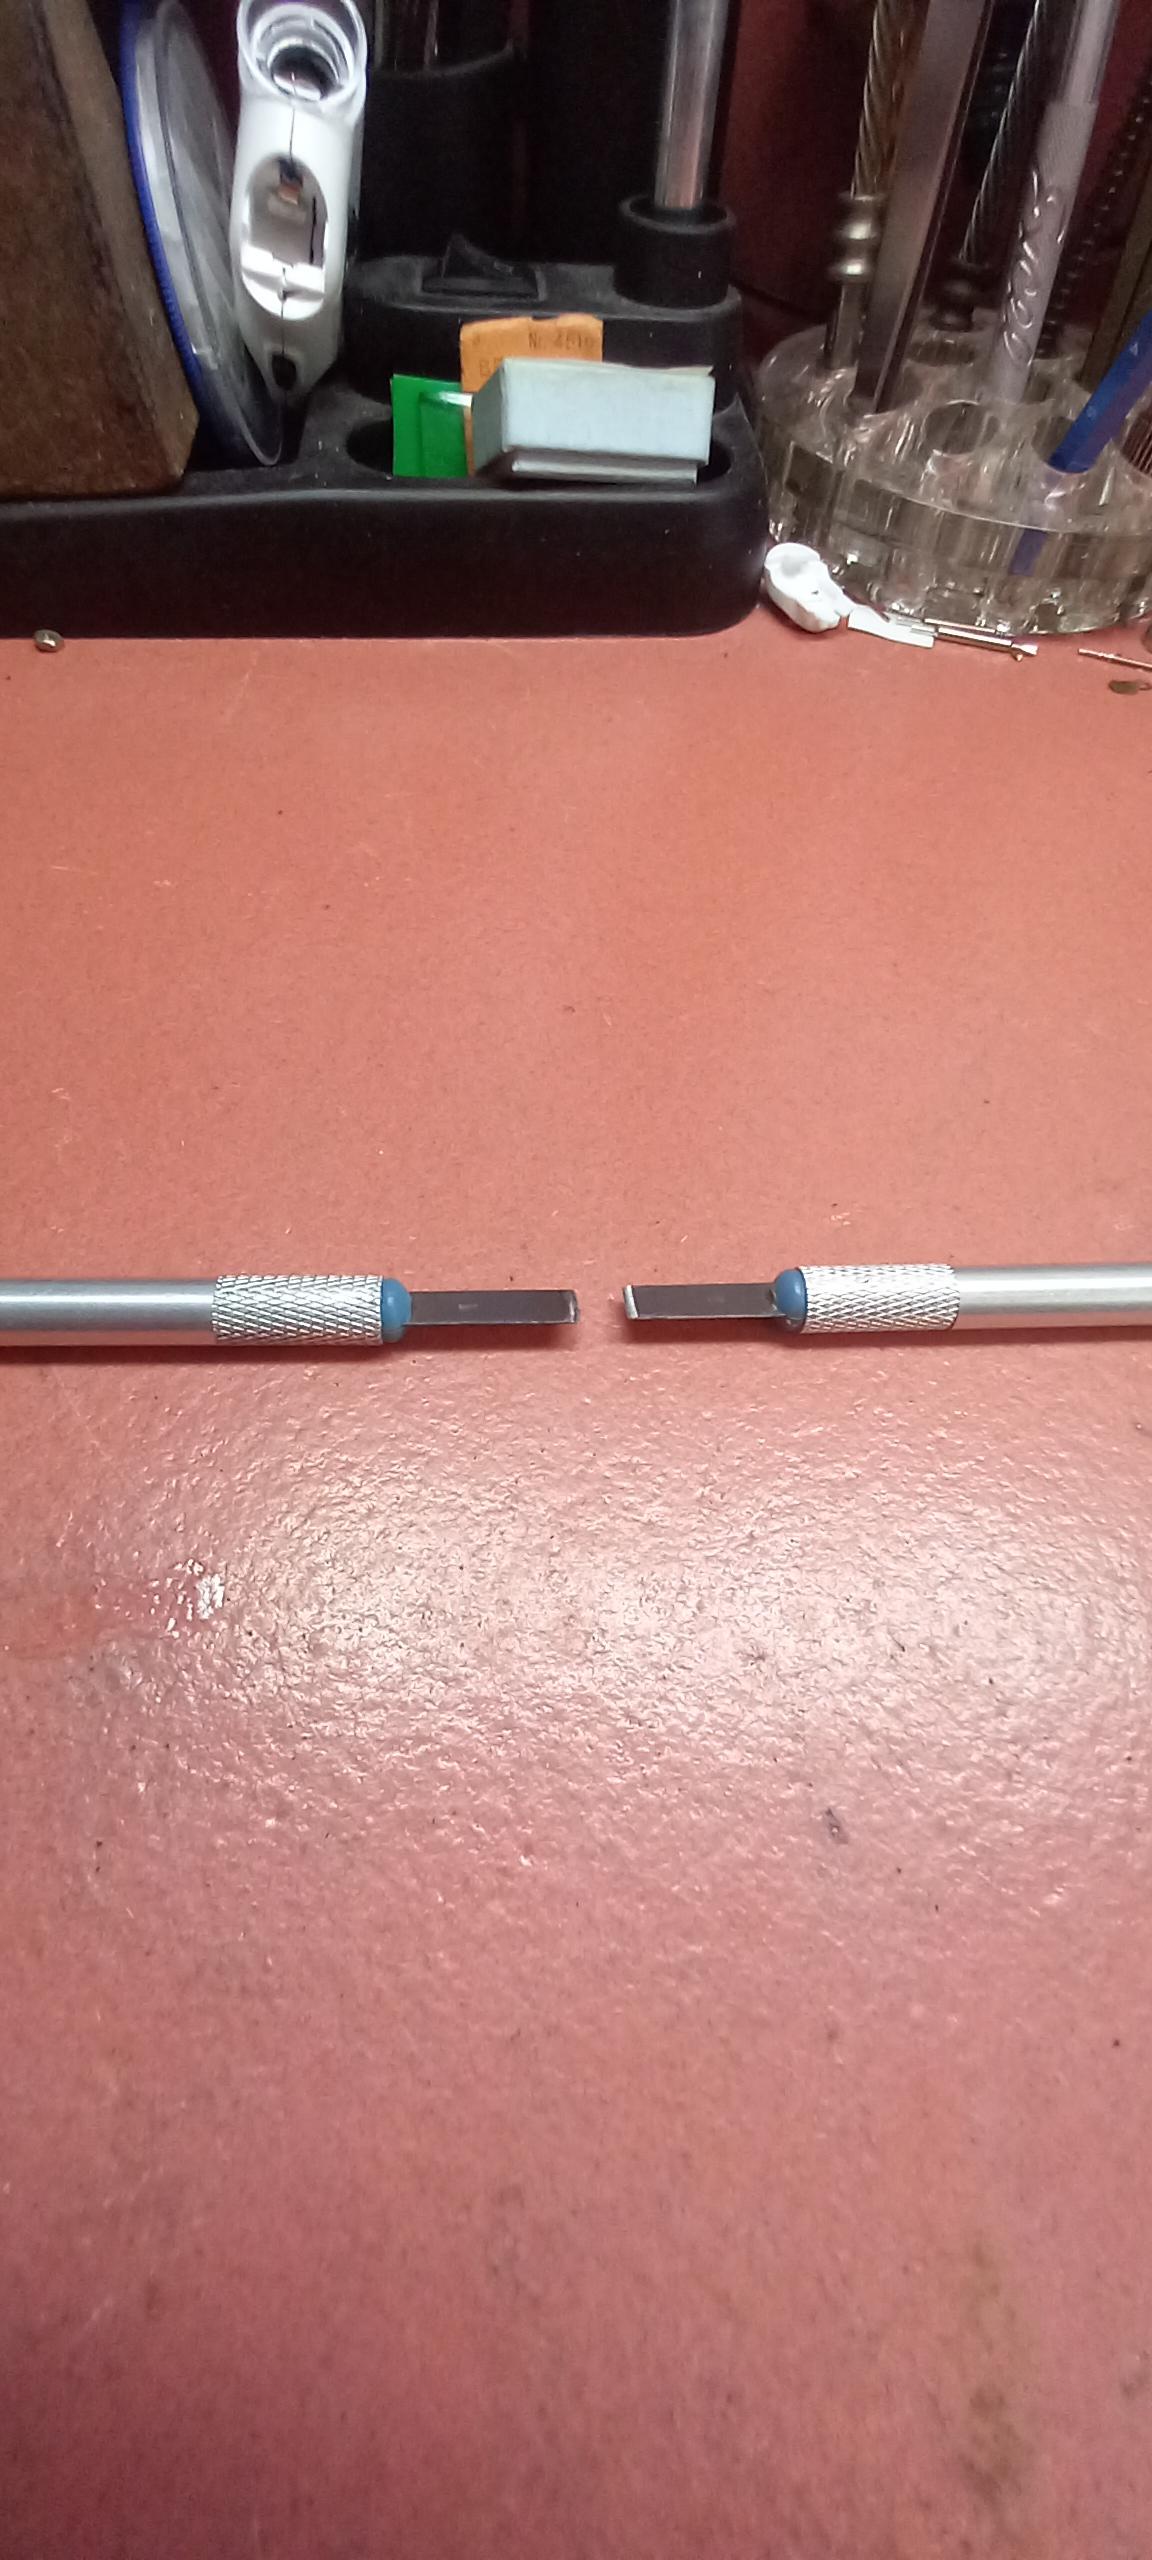
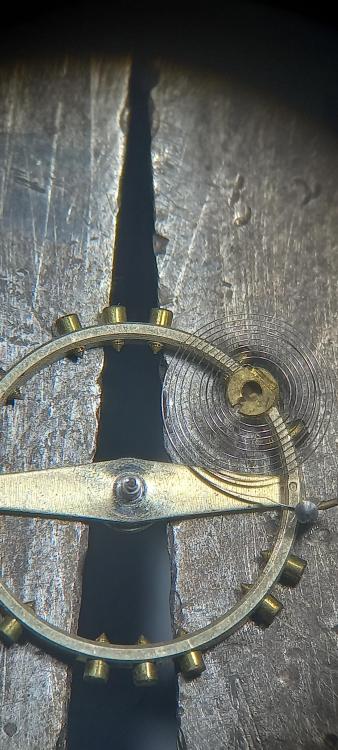
.... The Collet that the hairspring is attached to, careful with opening this up, or you might need one of these to close it up again, or worse break it half These look kinda nice, i use two crafts knifes that i changed to a bevel on just one side but they're a little too big and sometimes still too thick at 0.4mm . Razor blades will get you down to 0.2 but you could also make a pair using an old mainspring that will get you to around 0.1mm and a width that wont need reducing.


 1 point
 -
Thank you so much for the confirmation. The precision of the roller assembly did make it look like a factory friction install. I'm happy not to remove the hairspring again because it is now perfectly in beat. I am going to keep researching the pallets. They also look very perfectly fit but I really don't want them to dislodge later. NAWCC may have info.1 point
-
If you have found a dial already that fits what you want and are prepared to buy it then there isn't anything actually stopping you attempting the mod on the original.1 point
-
That's where the big leap happens from following photos taken to reassemble a movement, to spotting something out of place, because you know how the movement should work and you are not making assumptions about what you have found when disassembling. I always tell my students 'Don't assume what you find is how it is meant to be.' Like the brake spring. You'll be surprised what you find when you look at a movement with scepticism.1 point
-
Not to impugn your amazing work, but a few more plastic parts and you’ll have yourself a nice Seiko!1 point
-
Do you have a pic of the movement? It's suspicious that the seconds hand is stopping in the same place. If this has the typical wheel on extended pivot of the 3rd wheel driving a seconds pinion in the center, I would check there.1 point
-
Try removing it from the case and see how it runs then.1 point
-
Which video is it - I'd like to see why he is doing it? Does he just rotate them in the jewel holes? That is what the part is doing anyway. The idea of pegging, is to use a soft and slightly absorbent material (i.e. wood) to clean out the jewel holes. When pressed lightly, the wood moulds itself to the hole shape, and cleans any stuck on grime. The metal tools won't do that.1 point
-
The gentian wood would be really fragile, it's close to pithwood in consistency. Great for polishing bevels, not much else. Regular pegwood is light years beyond toothpicks, the "normal" horotec i described above is a-ok for jewels down to say 0.07mm no problem. You should peg the pallet hole jewels if nothing else, a good 30-40 degrees of amplitude lie there!1 point