Leaderboard


Popular Content
Showing content with the highest reputation on 10/23/24 in all areas
-
If anything, the more you use the brass filings the better. I have some that are at least 10 years old.4 points
-
Based on the photo, you're doing this without the pallet installed. In that case, the barrel should turn as you turn the ratchet wheel as any wind you put in the mainspring should immediately unwind through the train, and you shouldn't feel an accumulation of tension. If you've done that with three different barrels it seems unlikely that none of them would have a properly engaged and unbroken mainspring so if you are not seeing any movement in the train the problem is likely not in the barrel. You said the train moved freely when you turned the barrel before installing the ratchet wheel. Can you still turn the barrel and see the train move with the ratchet wheel in place?3 points
-
When you succeed in reading the time, you then must subtract 1 hour again, to know what time it was when you first decided to find out.2 points
-
That's great! I have had at least a dozen of these (at least) over the years, and seen 2 or 3 where that screw/key had half the head cracked off, and of course the shaft was well stuck. Another common issue is the runner the pulley rides on gets knocked out of true. That's hard to rectify if you don't have a lathe you can put it in (it's 5mm diameter). In the lathe, you can put an indicator on it and bump it back true. A very nice feature on these Steiners is that you can adjust the headstock to line up perfectly to the tailstock. I seem to remember explaining the procedure once, will try to find the post.2 points
-
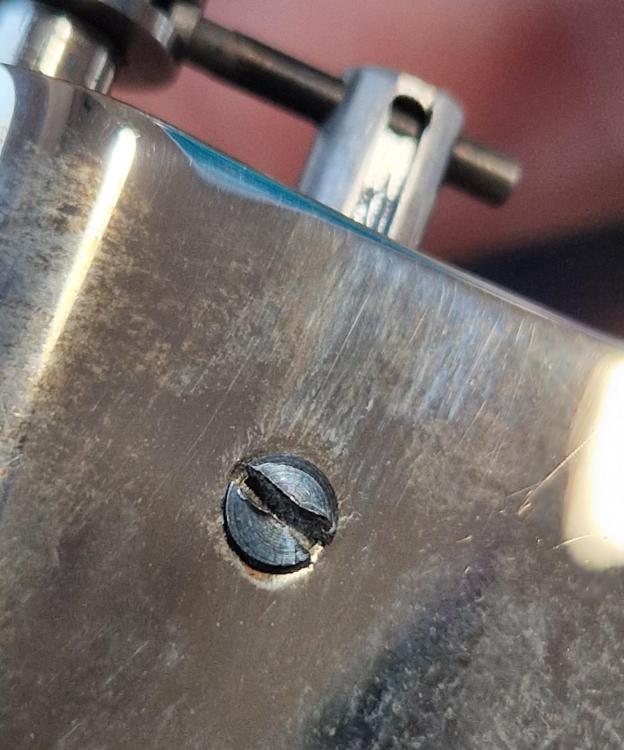
@nickelsilver, honestly, I can't thank you enough!! Without you, I'd NEVER have figured this out. And would probably have caused damage to the tool in the process. I followed your guidance (everything was VERY hard to remove) and found massive burrs (more like proper deformation/bending) in the shaft around the screw on the side. See below the picture of the screw (this was not me!). You can deduct from there how bad it was... Anyway, I filed away the burrs/deformation and now it's working very nicely! I'm super happy!
 2 points
 -
The have a dry lubricant applied at the factory, and it really has no limit especially if in the sealed pack.2 points
-
I would take hectors advice and not attempt anything before watching the video.2 points
-
If it's not automatic, you do not need to lubricate the barrel. Though I do put a few drops of HP11300 on the top of the spring and the base of the barrel - some do, some don't. I have a bag full of these old washers. If I have to re-fit a reverse wound spring, and don't have the correct winder, I fit the spring in to one of these washers, then I can reverse it when fitting.2 points
-
If you don't have spring winder, keep this ring, springs can be wound in it , when refitting used springs.2 points
-
I wouldn't rinse in anything but water at the risk of the varnish or even the paint being removed.2 points
-
I wouldn't use gasoline. If it is strong enough to clean dried paint from brushes, it will remove paint from the dial.2 points
-
Determine what the finish is, if its lacquered as WW said , be extremely careful with what you use, if the petrol activates and softens the lacquer then the dial surface is pretty much done for.2 points
-
Watch this before you attempt anything.2 points
-
Be very careful dials like this are usually lacquered. So a quick rinse to remove the loose partials and make sure it’s properly dry before attempting the next stage with the eraser. Test edges first before doing anything else.2 points
-
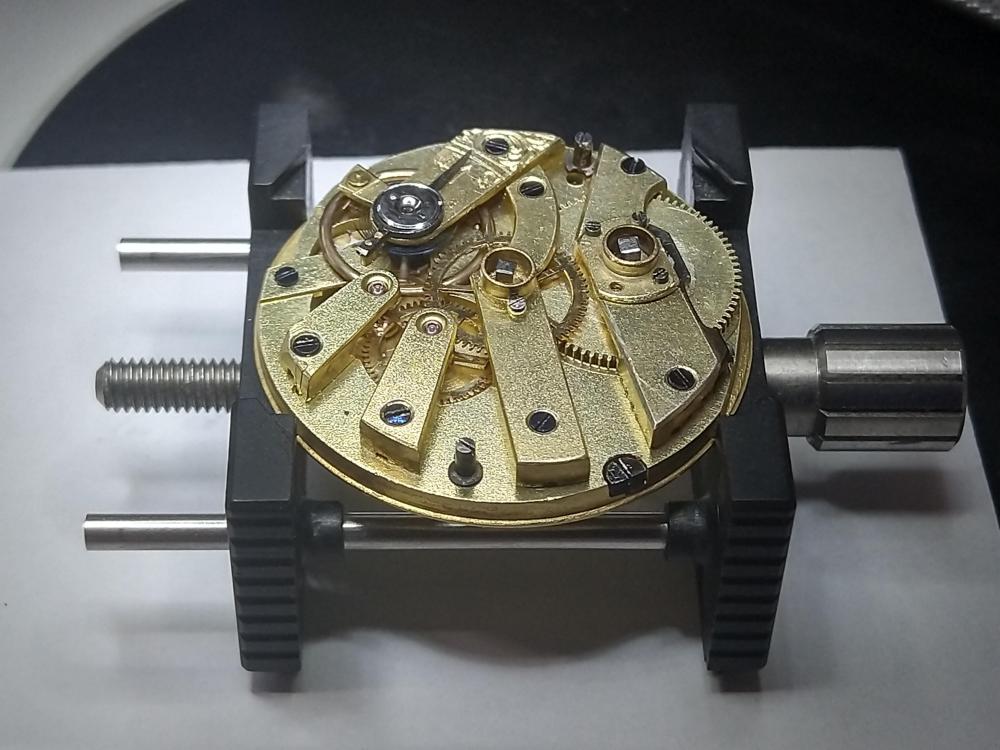
Just a stupid question: How did You release the power of mainspring when disassembled the movement(s) for the first time? My guess will be that You just turn the screw a little as to be able to lift the click and then let it go suddenly? If so, then You will have to open the barrels and see what has happened inside. There may be some chance at least one of the springs to be not broken and still to be possible to be hooked to the arbor. The thought that the arbor doesn't turn and the reason may be the arbor itself or the ratchet wheel is so naive that it is actually very hard to be commented. By the way, the down side arbor pivot is seen on the other side of the movement and it is not a problem to see if it turns or not. If the spring is hooked to the arbor, then it will start winding and You will feel resistance, the ratchet wheel will turn a little back by the spring torque until the click has engaged. If the train of wheels for some reason doesn't turn, then some energy will be stored in the mainspring and You will know it when removing the ratchet wheel off the arbor. Of course, I will guess that this is not the case, and the spring is just not hooked to the arbor.2 points
-
Without reading through..have you verified that the arbor is hooked to mainspring ? This is one of the unseen connections the ratchet wheel has with the barrel. The other would be the mainspring's bridle to the wall of the barrel. Is that intact/ badly worn ? Is it overly slipping ? Forget turning the screw, take it out , hold the ratchet wheel in place with a stick and push the ratchet wheel...can you see the square of the arbor turning ?2 points
-
Try as Joe says, the pink pencil erasers are the most effective.....they have abrasive in them , so be careful and test the edges first to satisfy yourself that the dial's finishing layer is not being harmed. Even using water to lubricate the mechanical action risks lifting print.2 points
-
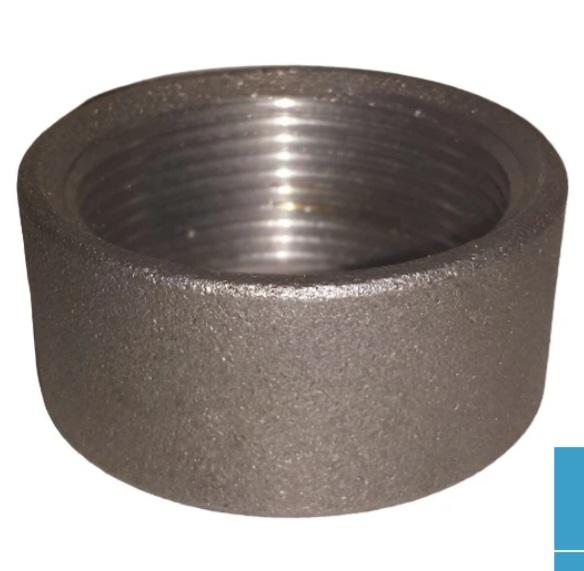
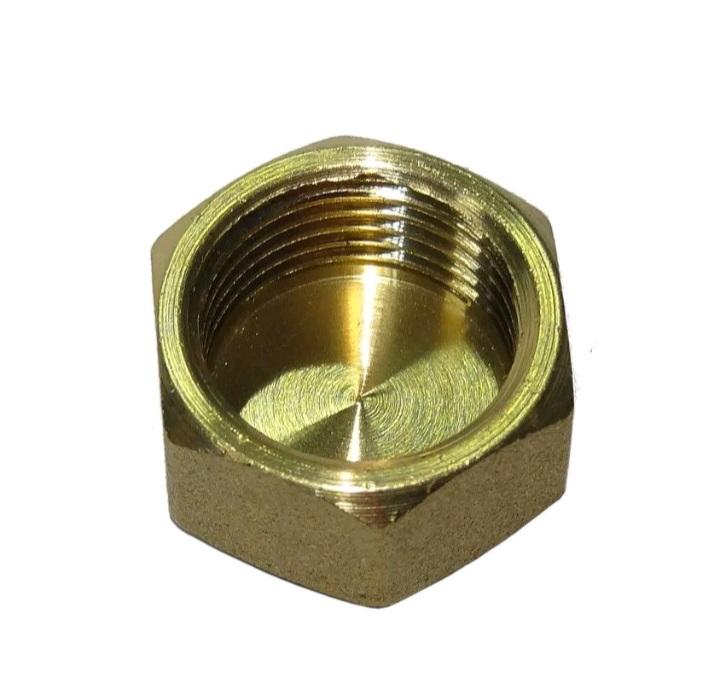
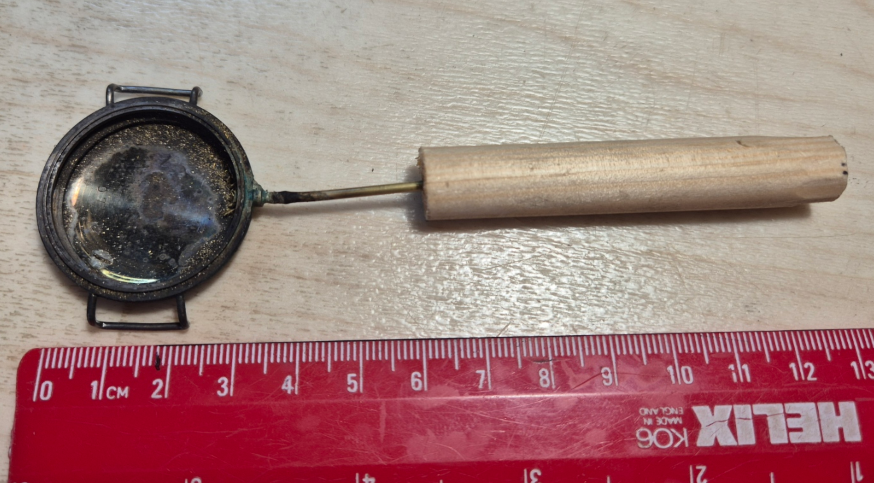
How about an iron or brass 1 inch cap nut for gas pipes ? You'll need more than an oil burner to get it up to heat quickly , then switch to the lamp to maintain the temperature. You can also get your shavings by reducing the walls of the brass one with a roughing file.
 2 points
 -
Over the past few years, repair channels on YouTube have popped up like mushrooms. Some are really good and informative while many are more entertaining than educational. One of the best and oldest channels is Watch Repair Channel but a couple of appreciated new additions are Chronoglide Watchmakers and Watch Repair Tutorials. My question to you is what other educational (not mostly entertaining) channels do you usually follow on YouTube or elsewhere?1 point
-
Now that I wound the proper spring the clock runs. It also chimes and counts the hours which was the problem the owner reported. Not sure what the problem was but the dial seemed stuck when I tried to remove it. We’ll see what happens once I reassemble the case . Thanks again for the lead on the parts diagram Dave1 point
-
I've burnished my first pivot this evening! It was a nice learning process. @VWatchie's youtube video was very helpful in getting a good hand position and feel - thanks! It took me some time to get a smooth and fast-enough motion, but I kinda got there (to "ok", not yet great) after some time. The pivot I was practicing on came out nice and shiny after a few tries. I'm super happy for today ! Will practice some more soon.1 point
-
No apparent glue used on it. Thankfully, whatever chemical the watch was exposed to only seemed to affect the crystal and the crown gasket.1 point
-
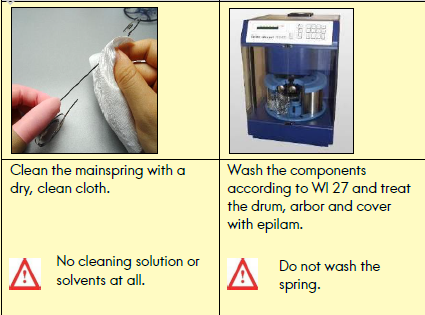
yes the mysteries of mainspring lubrication. This went over really well at school where we were commenting that there lubricated and why are you teaching us how to lubricate the mainspring? Yes those the questions you should never ask when in school. But typically the packaging any time indicated that always say it's permanent. That is where the 1963 omega guide is interesting because it actually has a suggestion of five years at least in use. But with everything lubrication related the rules will change no matter what. So Omega 2020 on their guide on recycling a mainspring barrel has this recommendation for cleaning. Then other than the breaking grease and I believe HP 1300 on the arbor there is no other lubrication to be used. I have a suspicion because of the HP oil that's why in the cleaning procedure below you see the reference to epilam on the barrel in the arbor and that would be to keep the HP oil from spreading all over the place. Which is why you'll also see on any watch that uses HP oils anywhere they always use epilam to keep it from spreading. no lubrication is required just shove it in and other than the arbor you'll be fine.
 1 point
 -
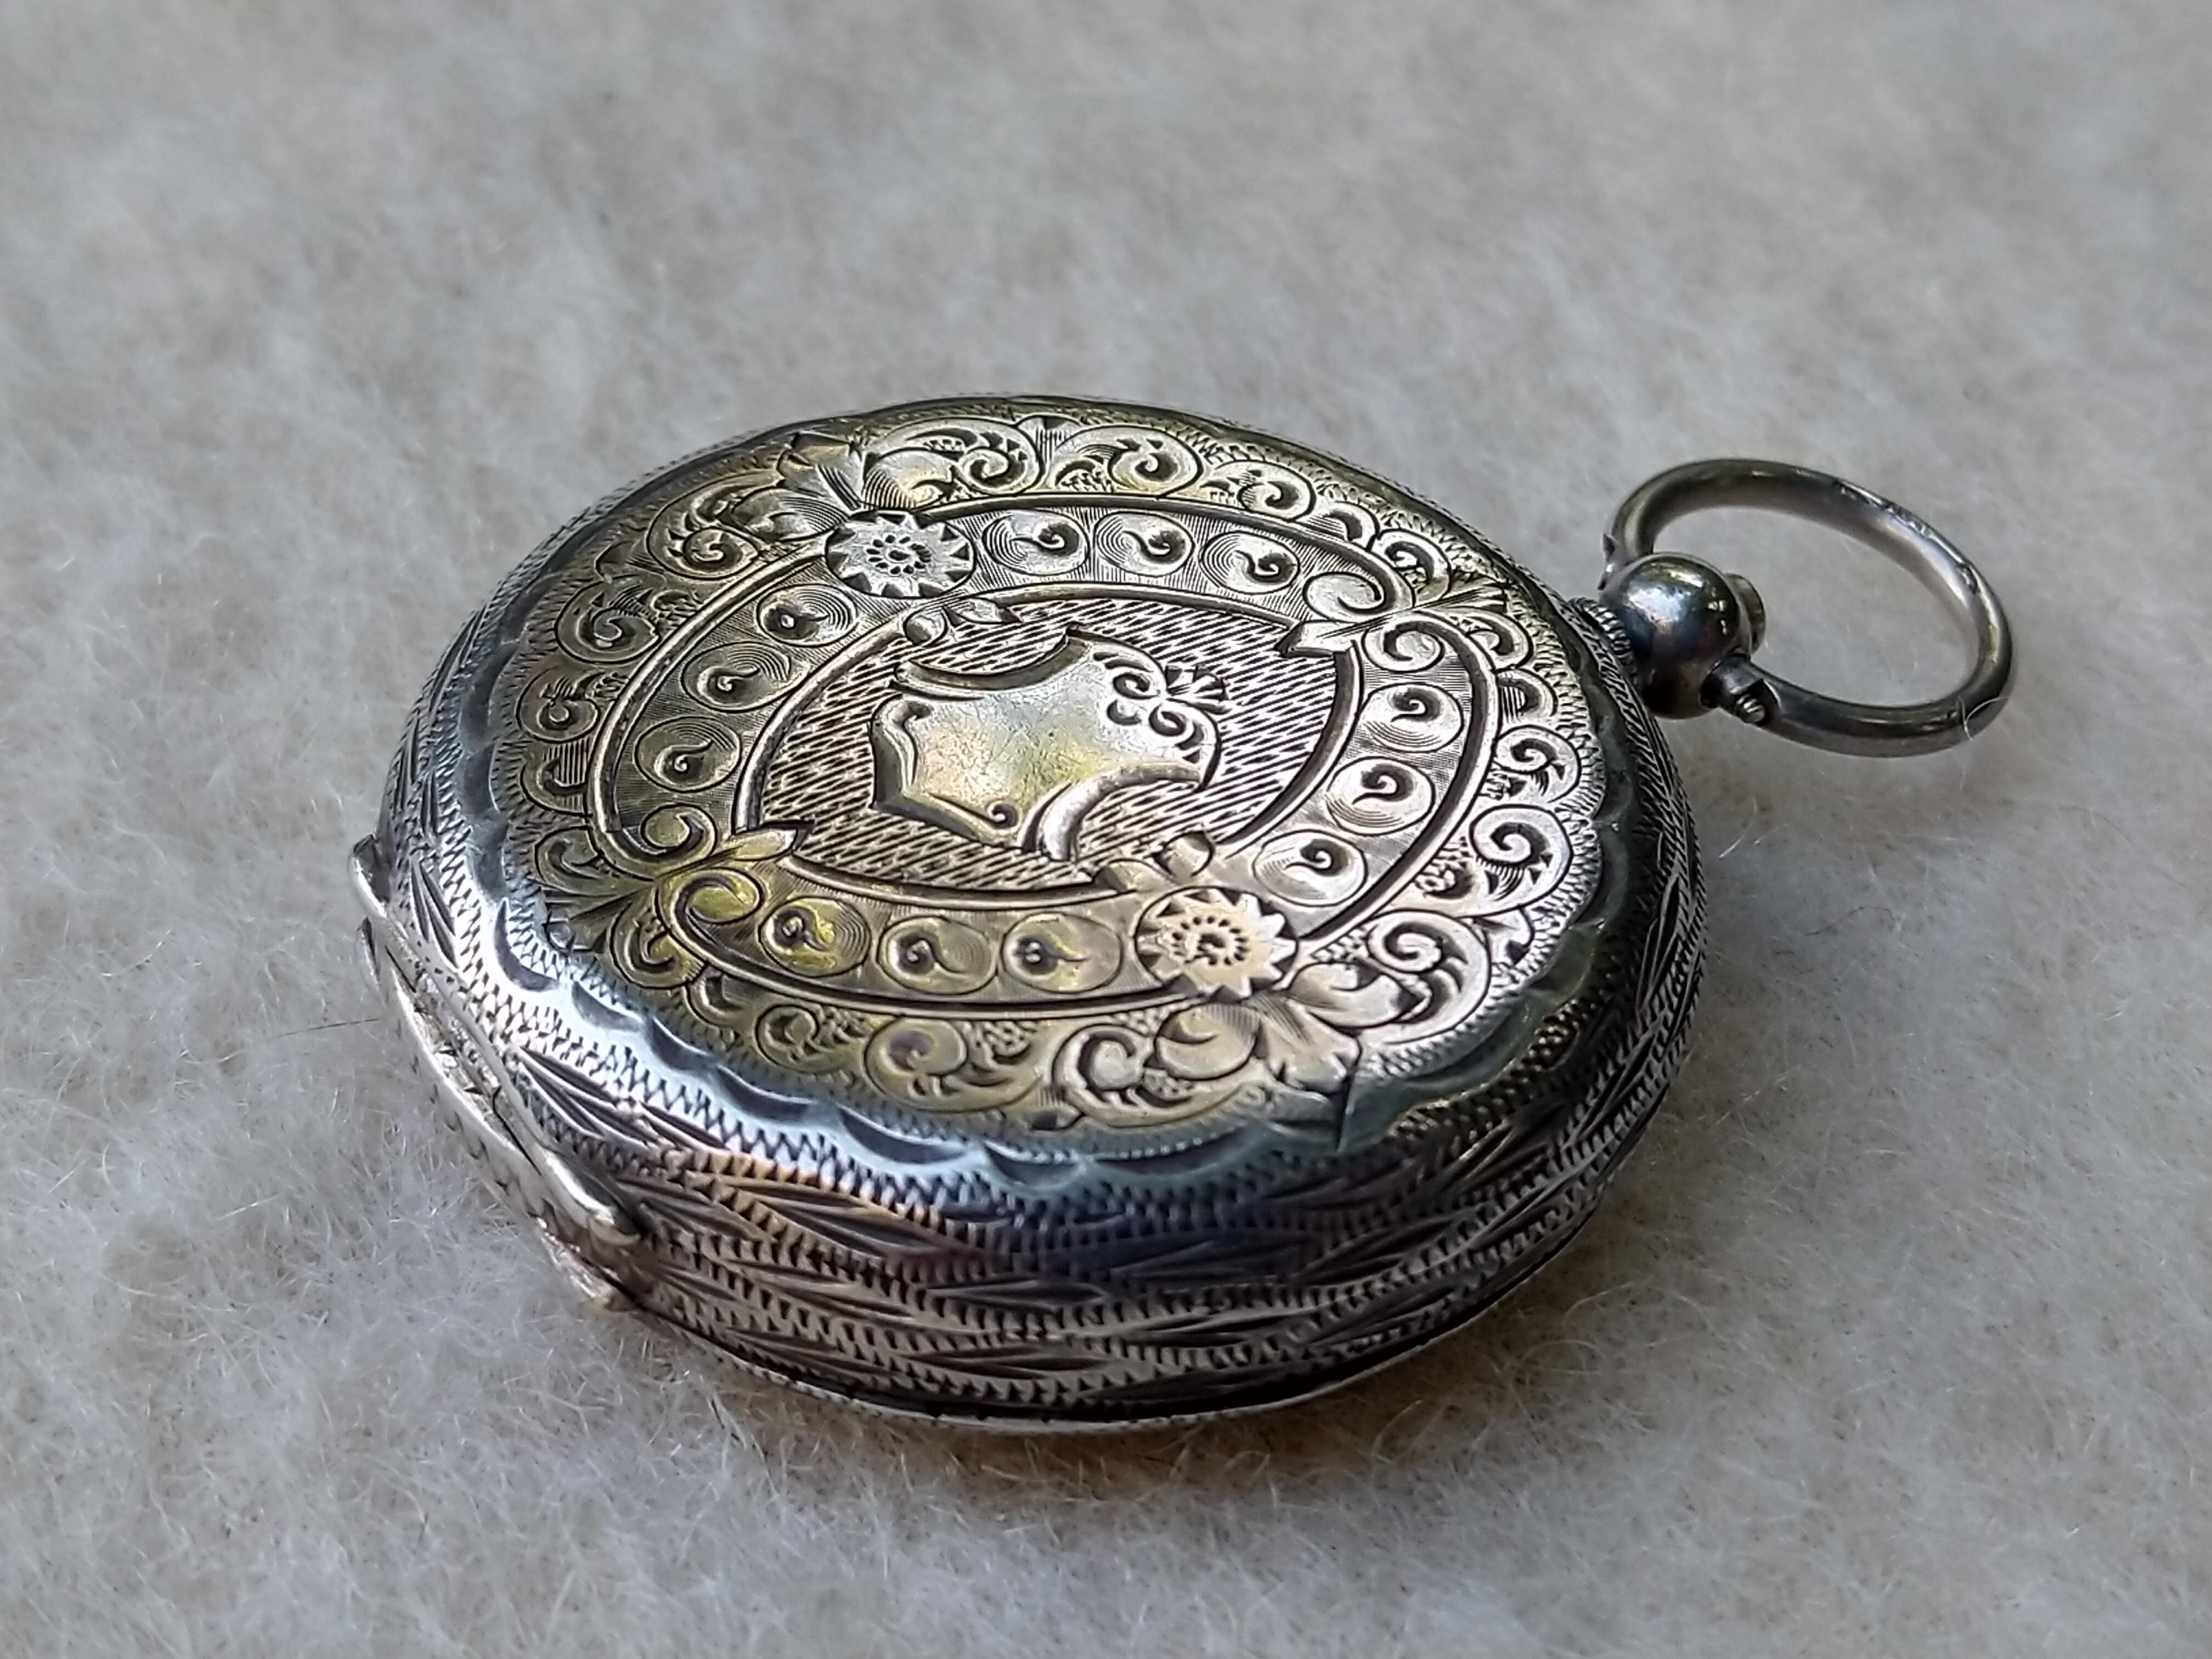
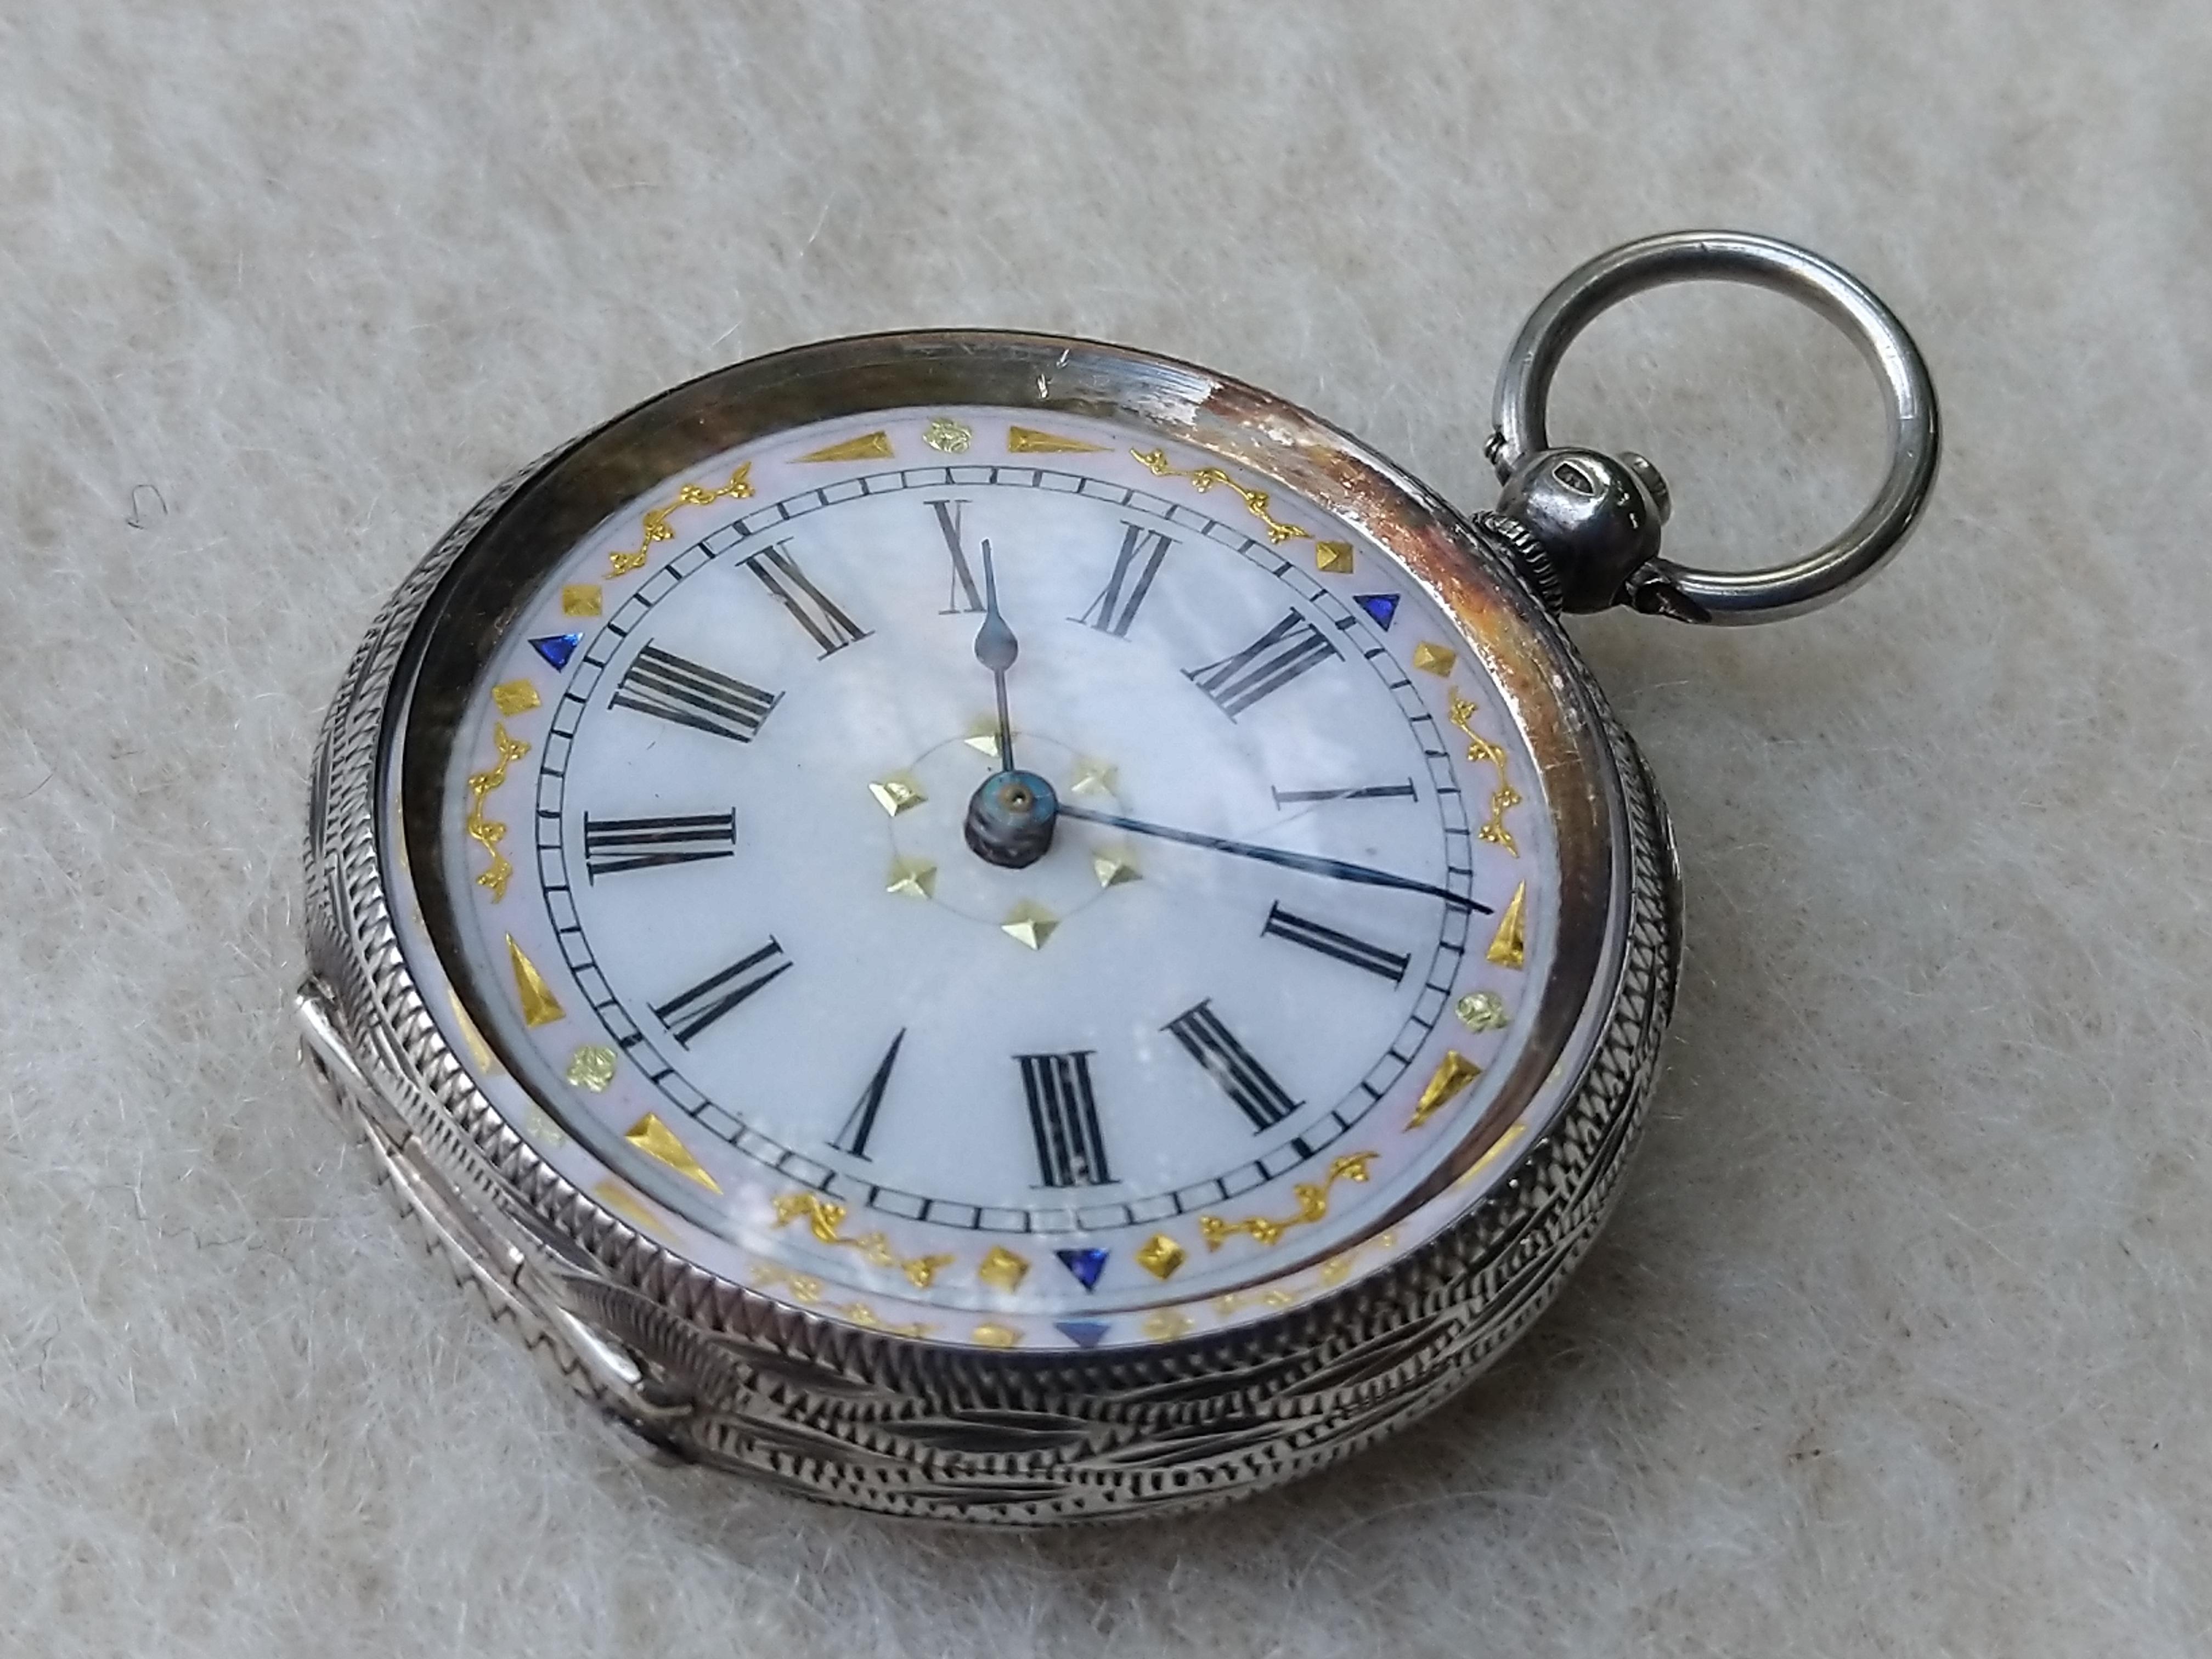
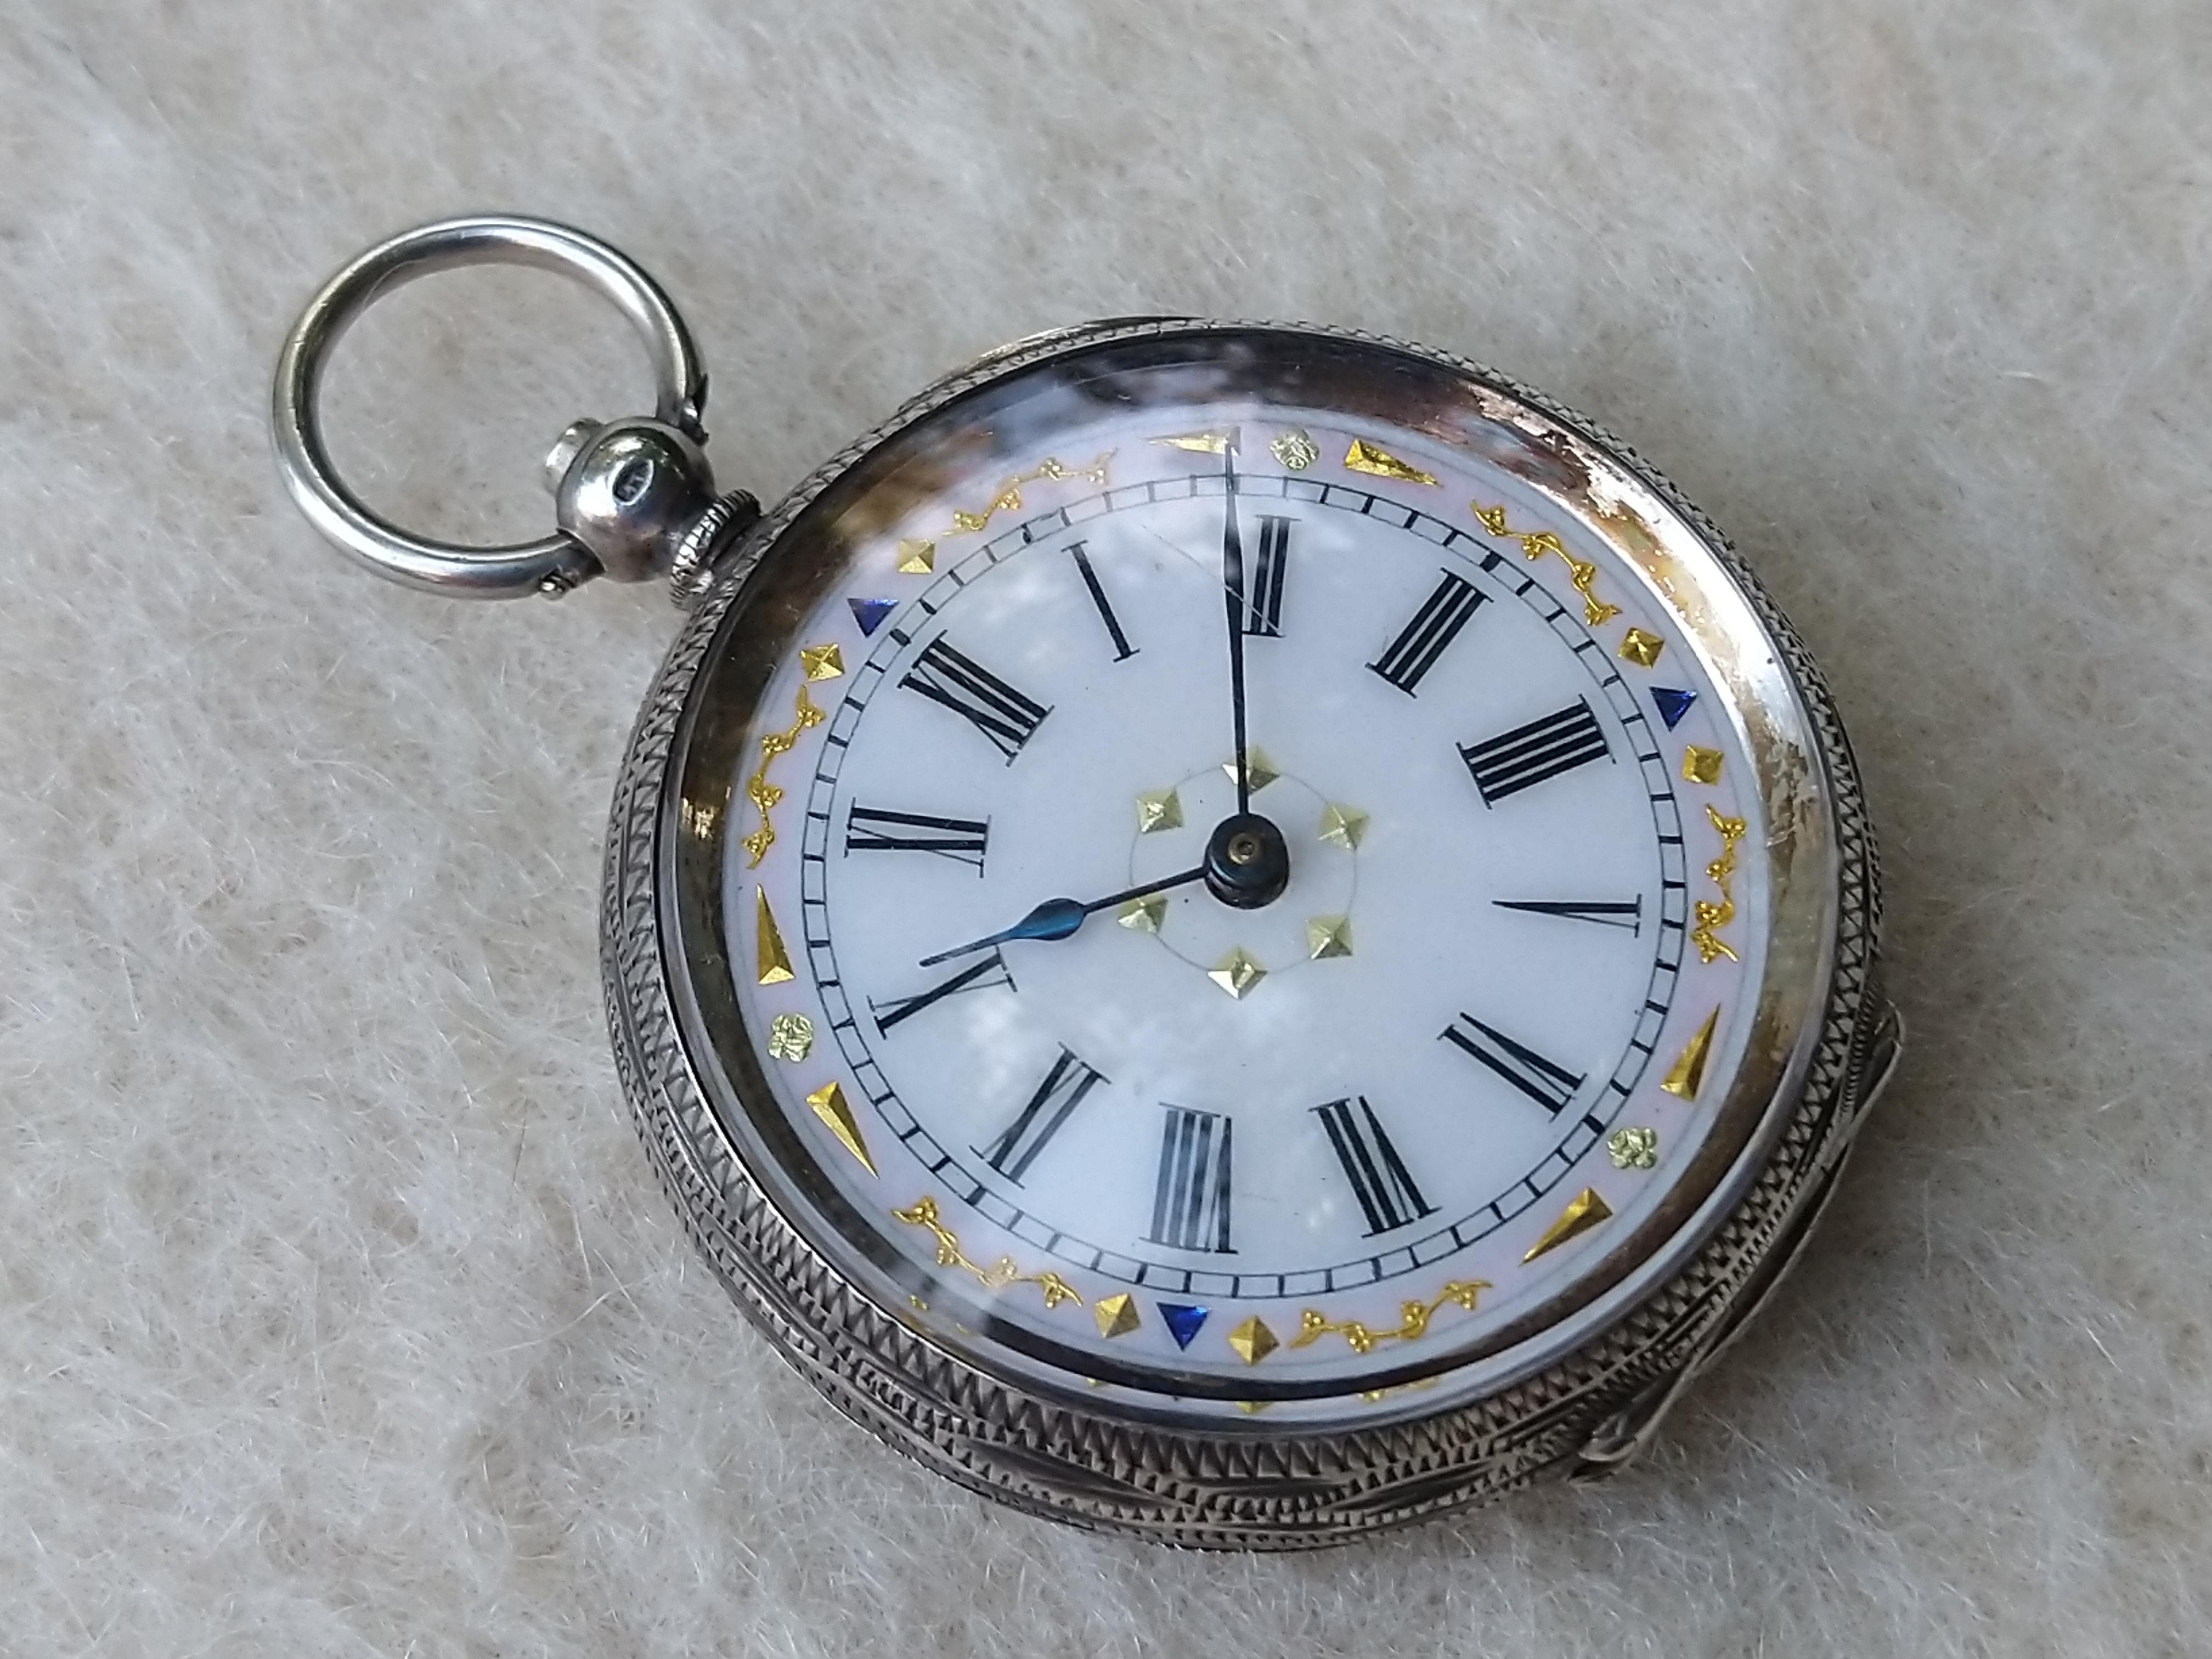
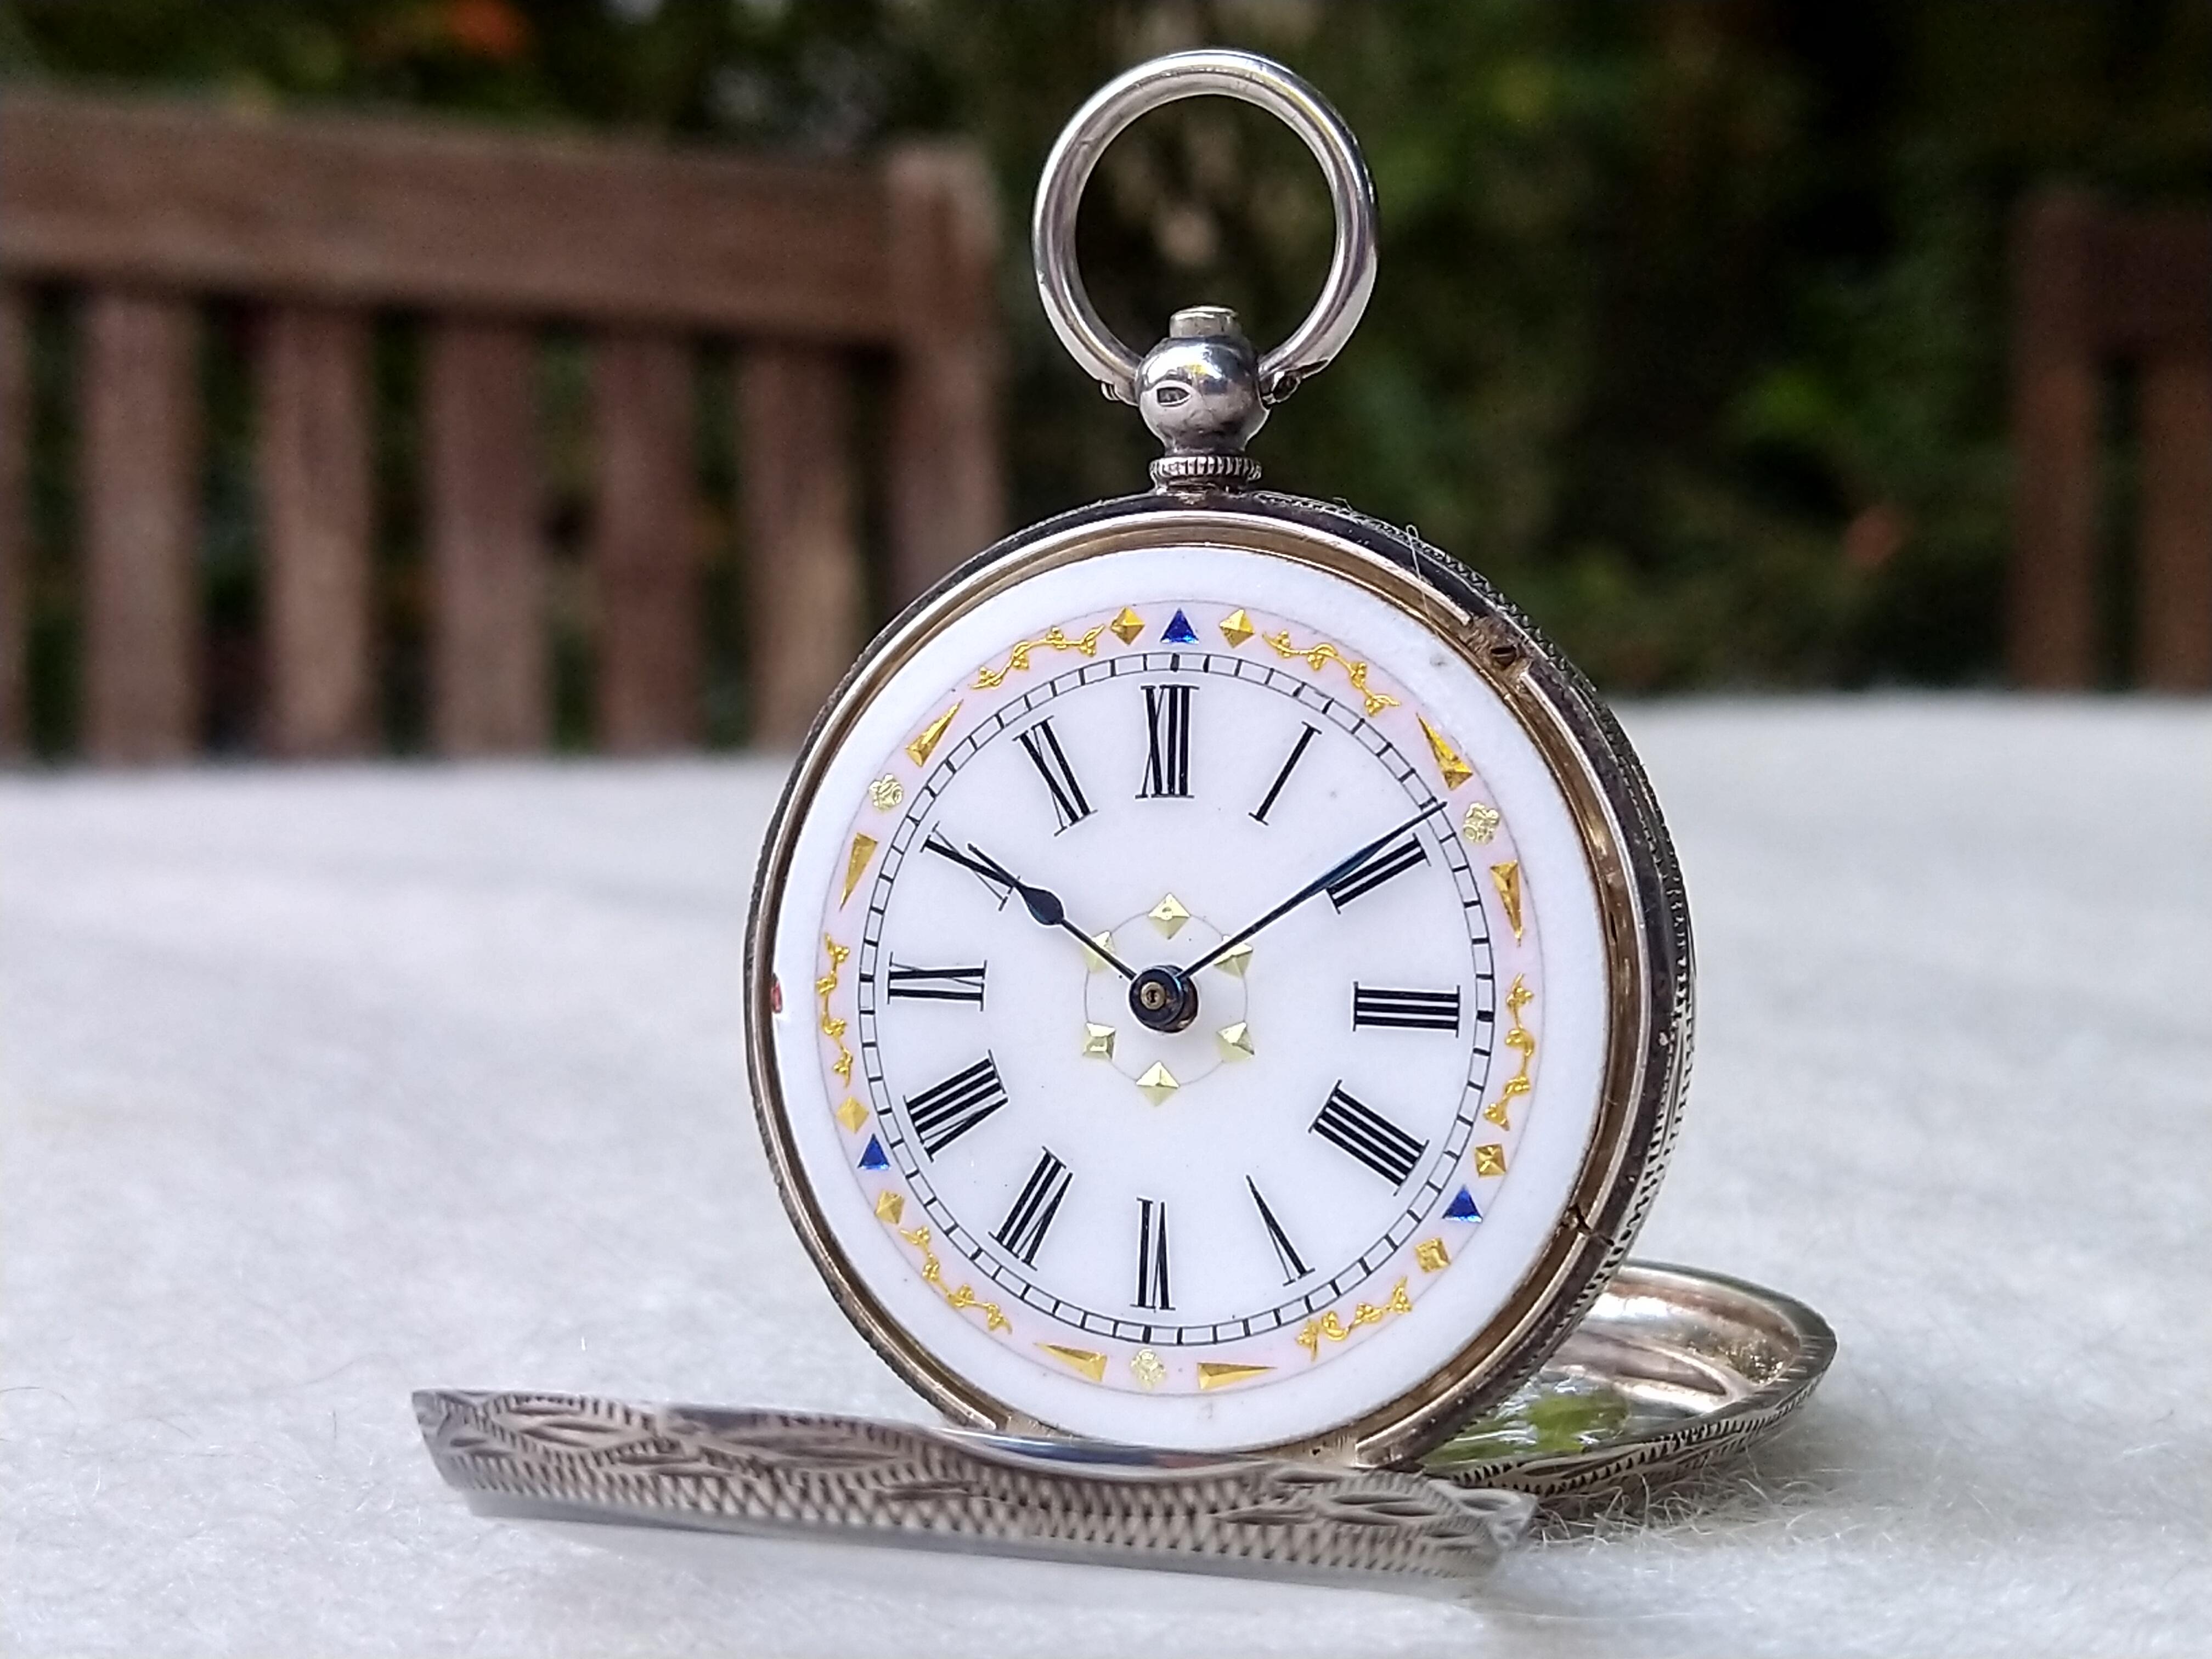
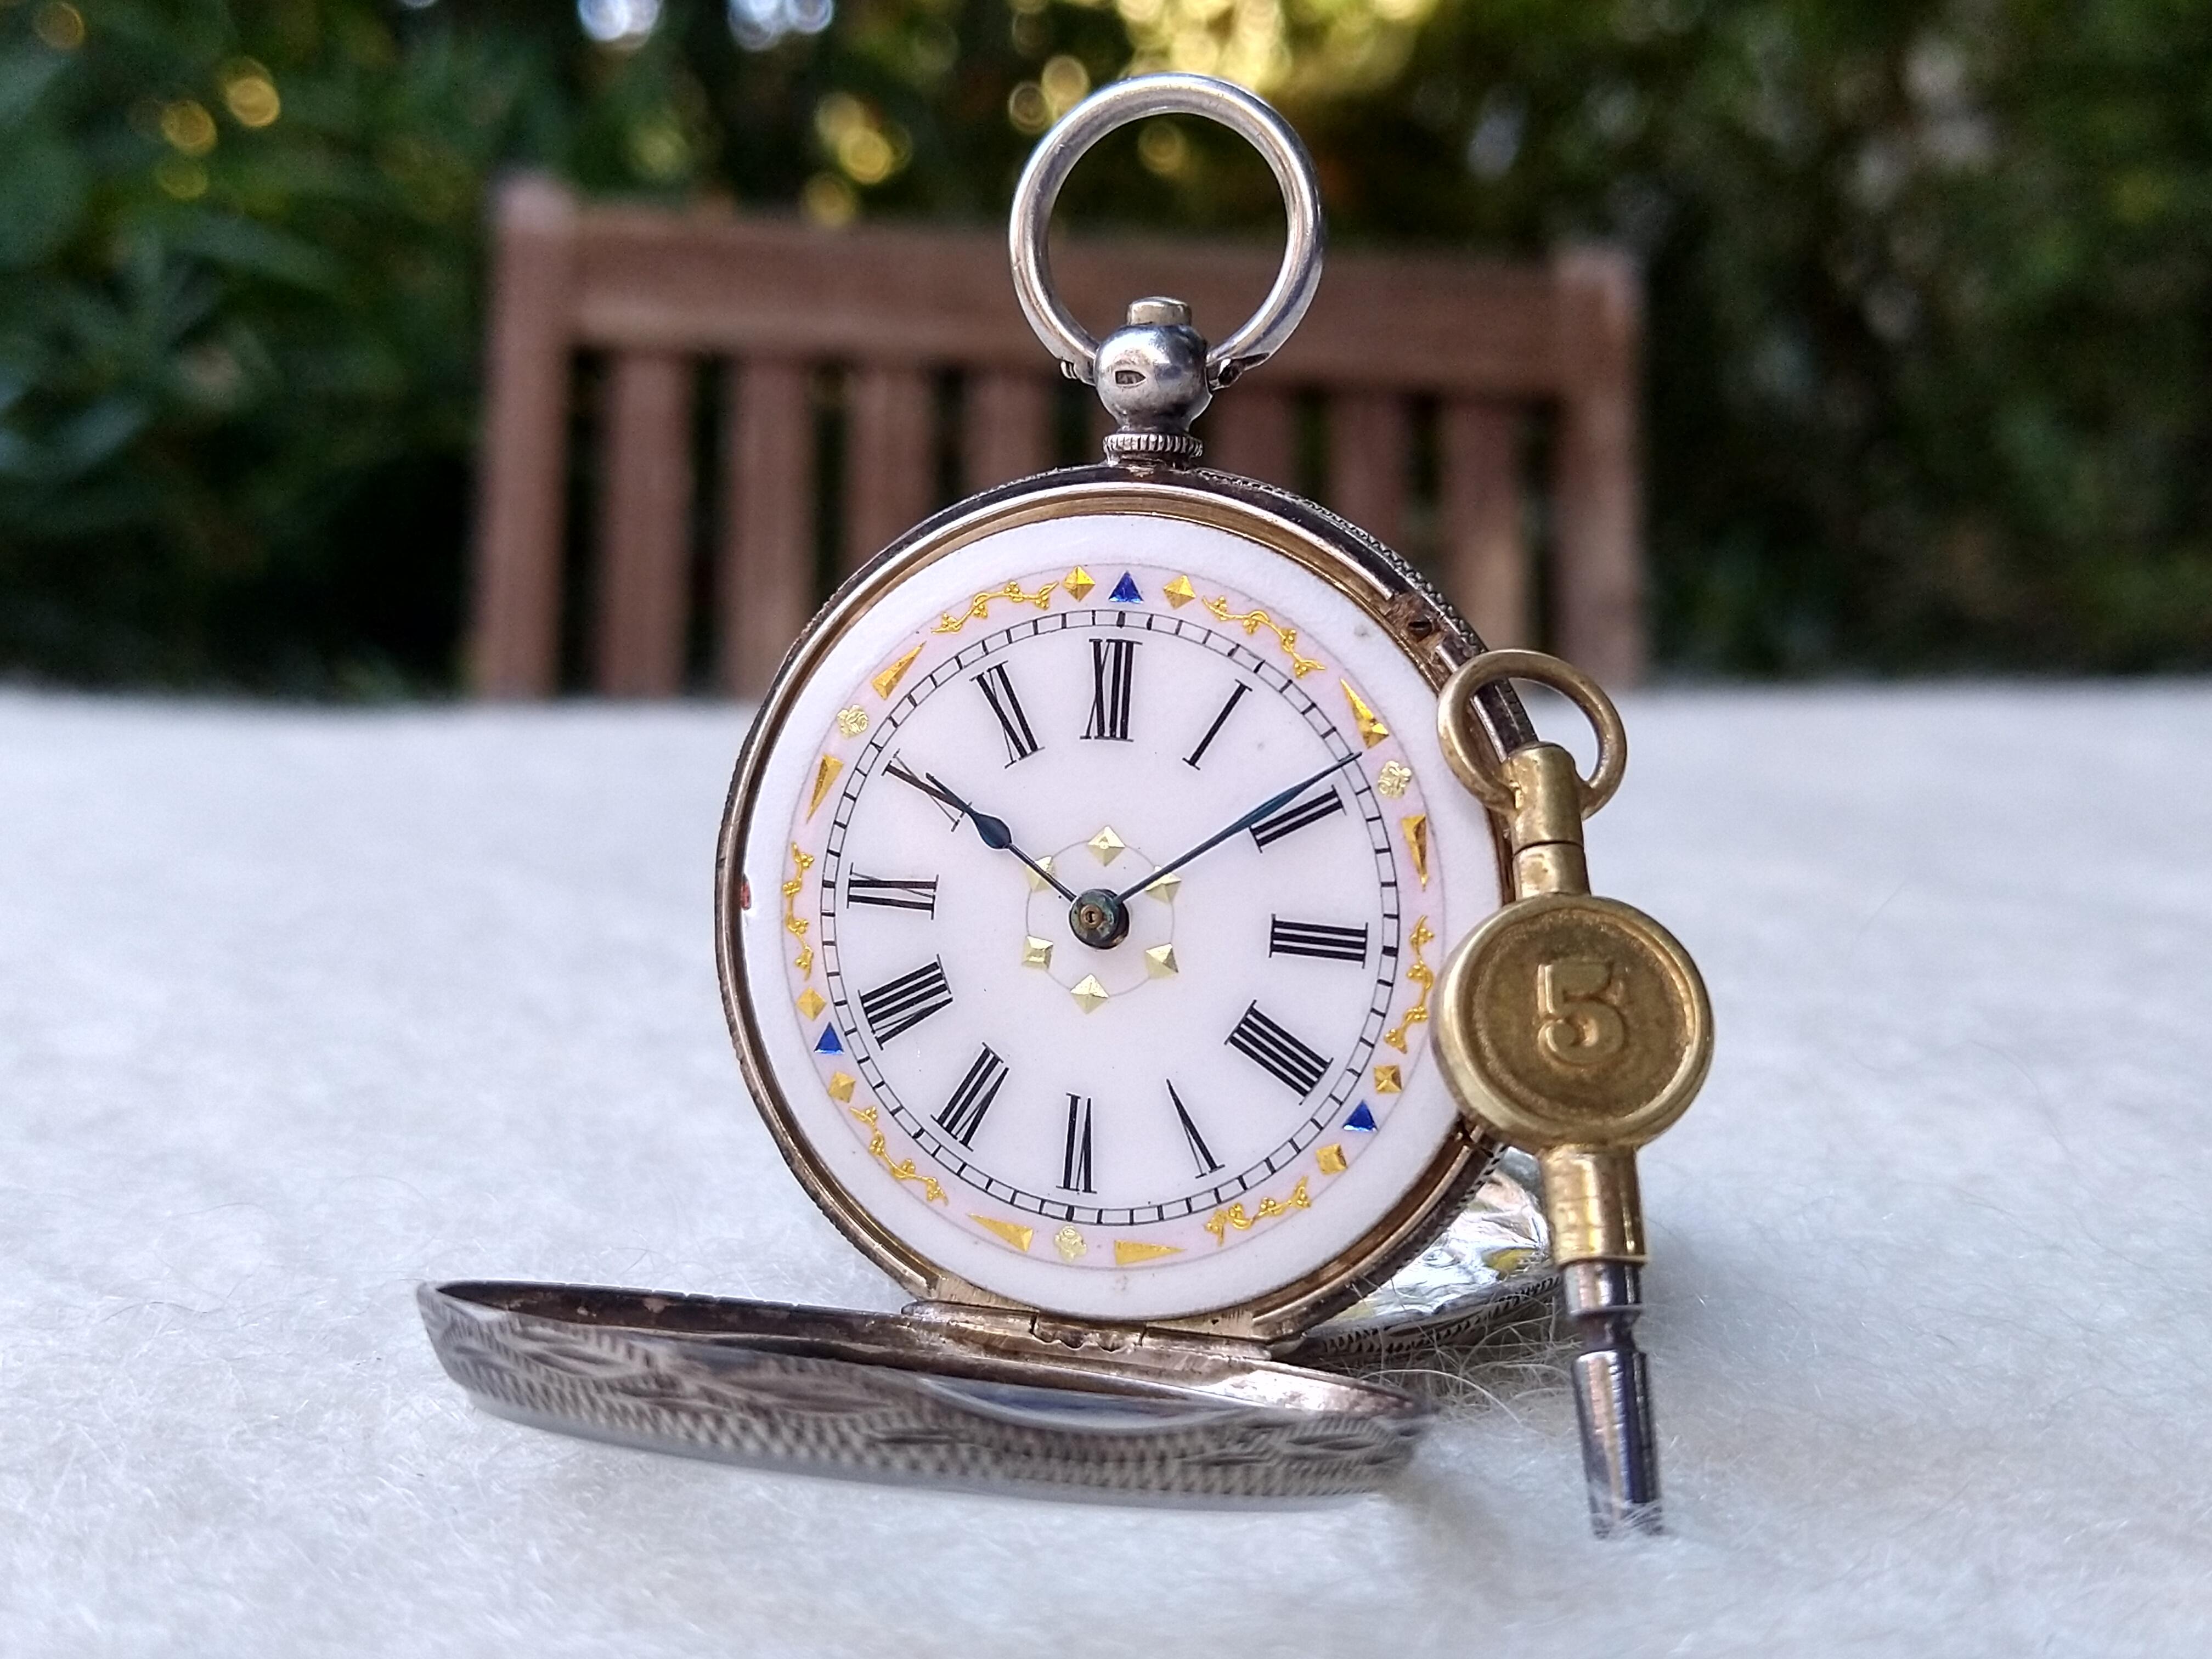
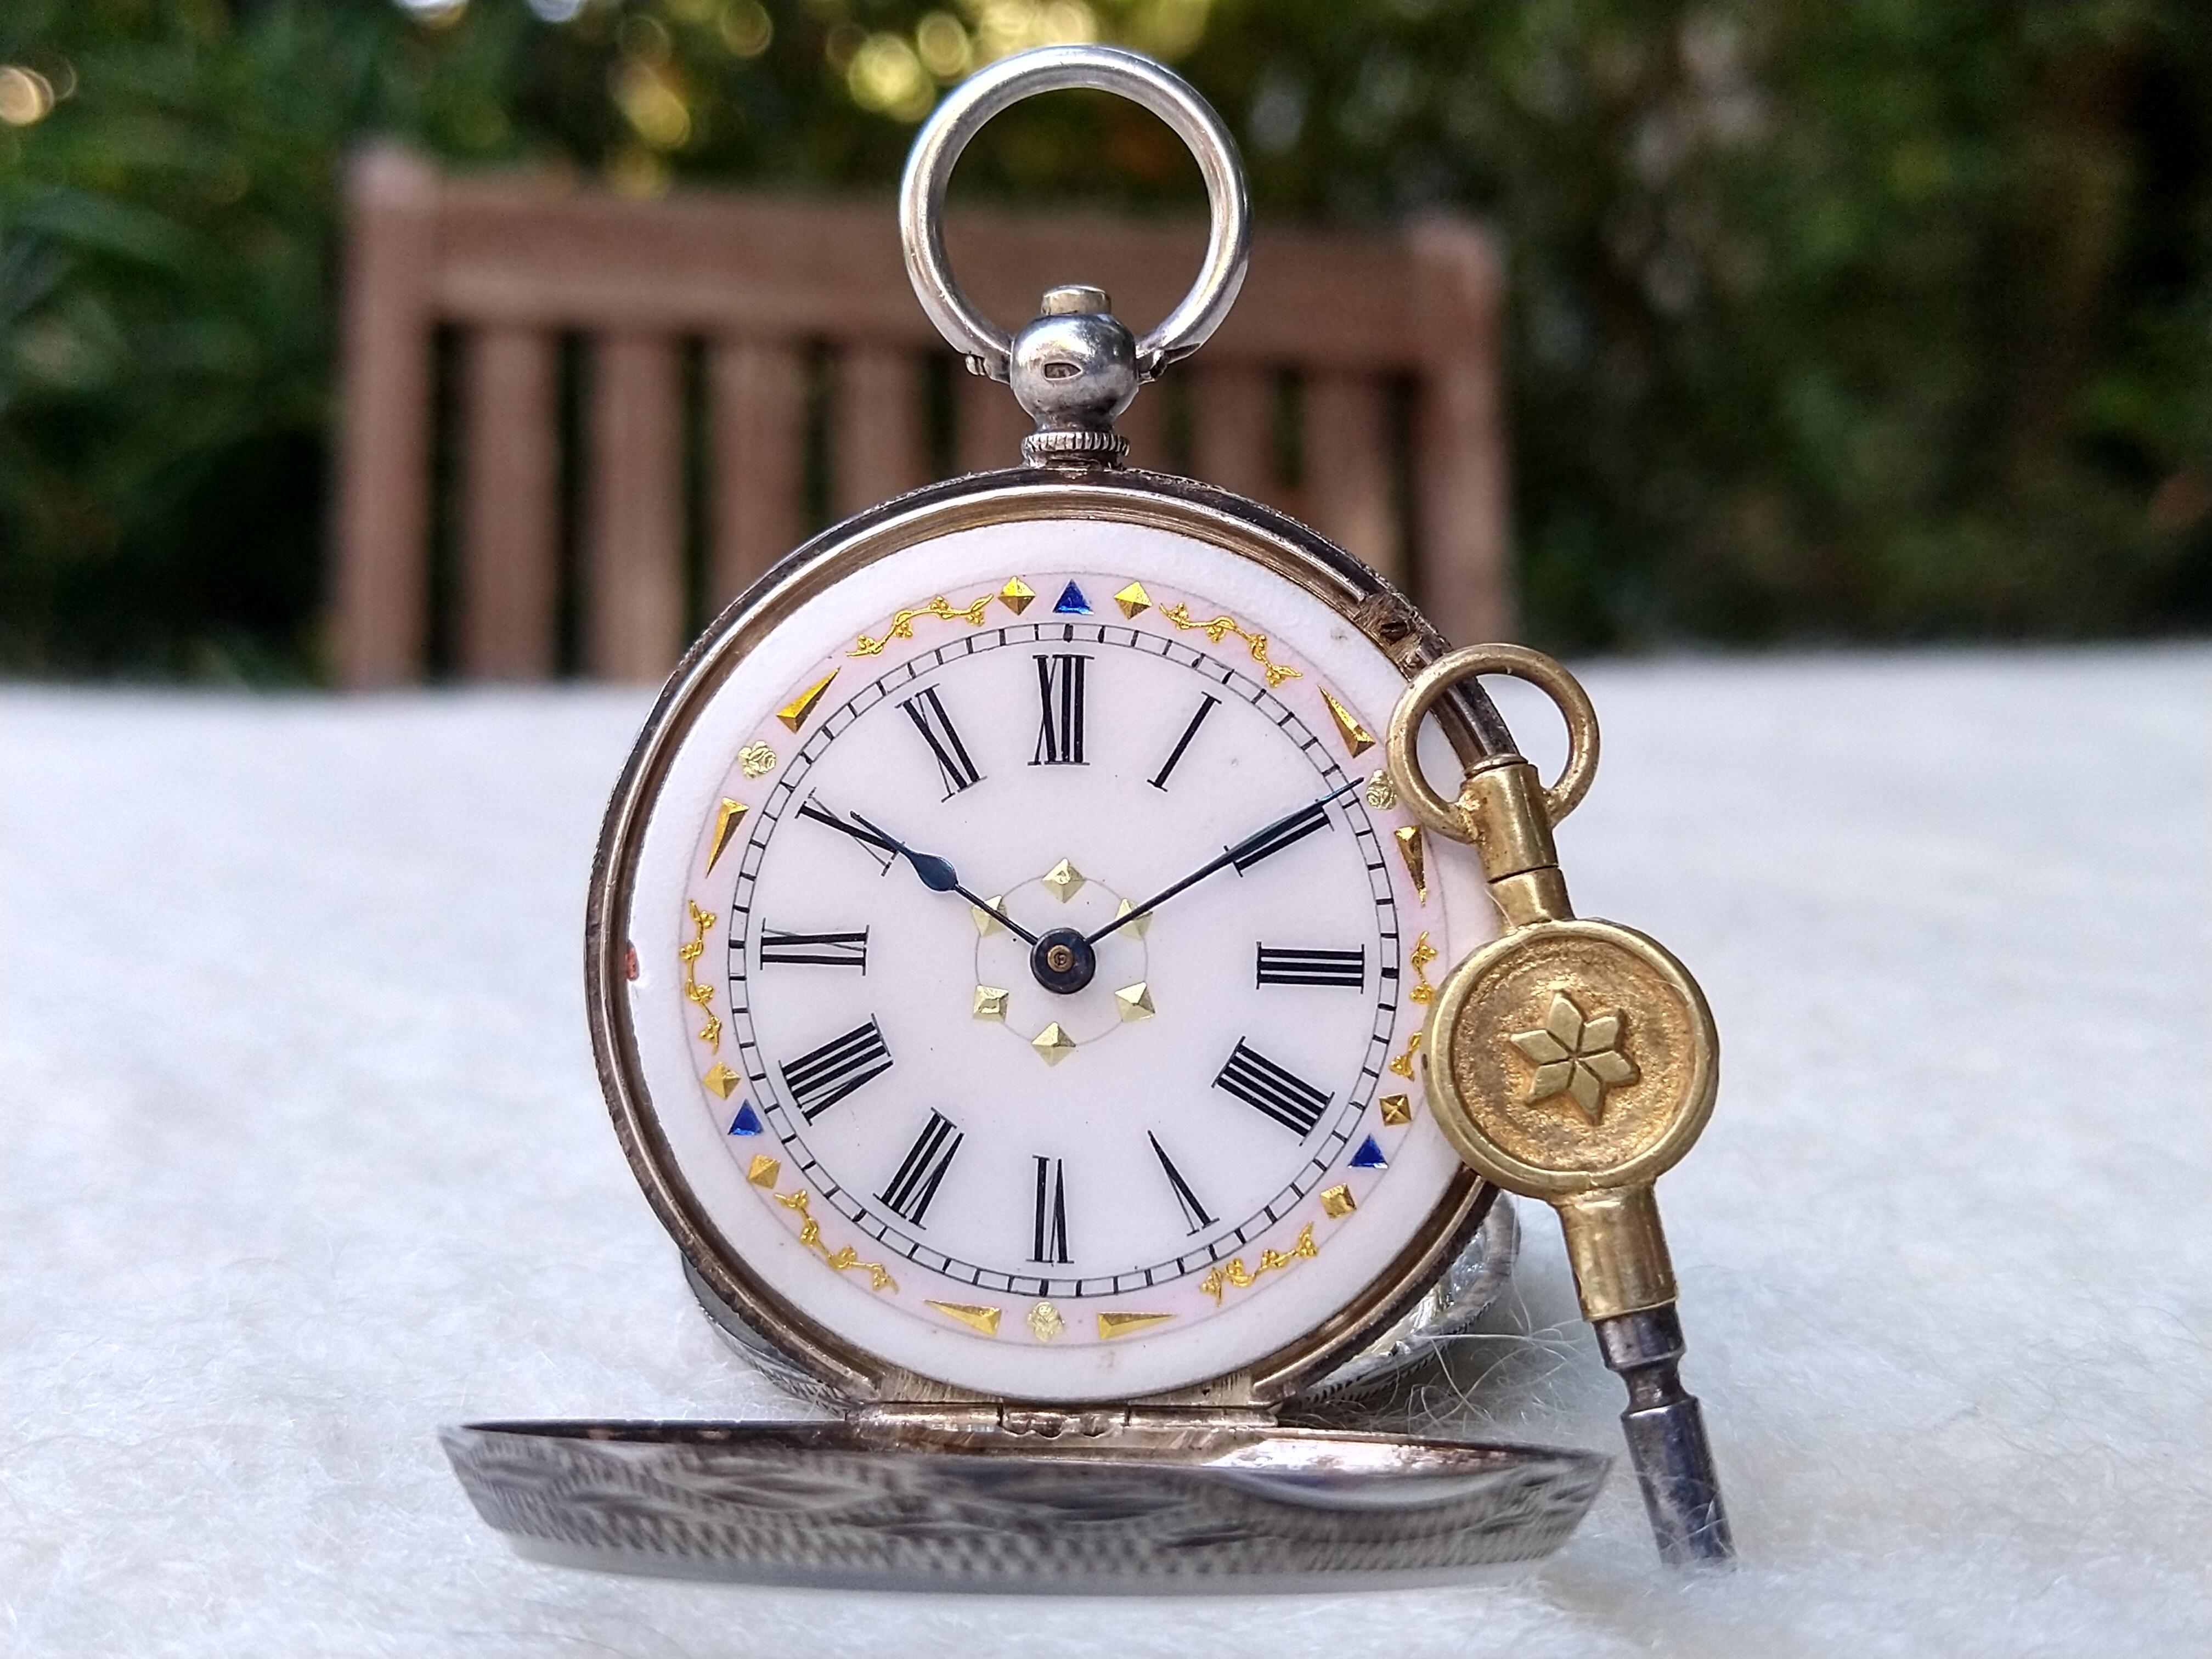
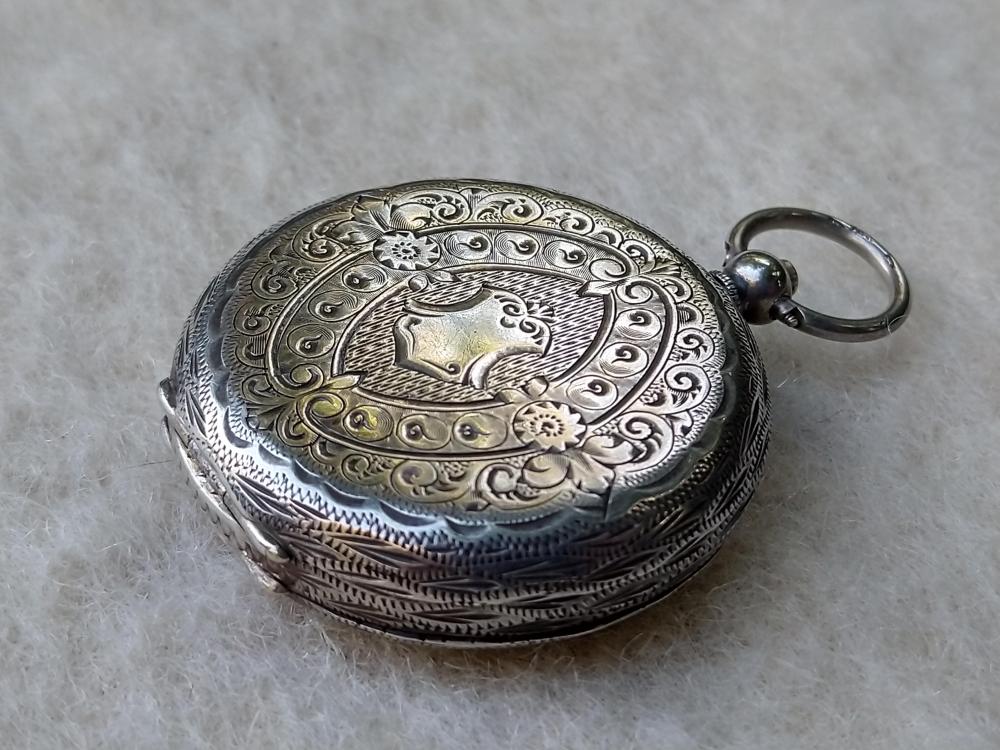
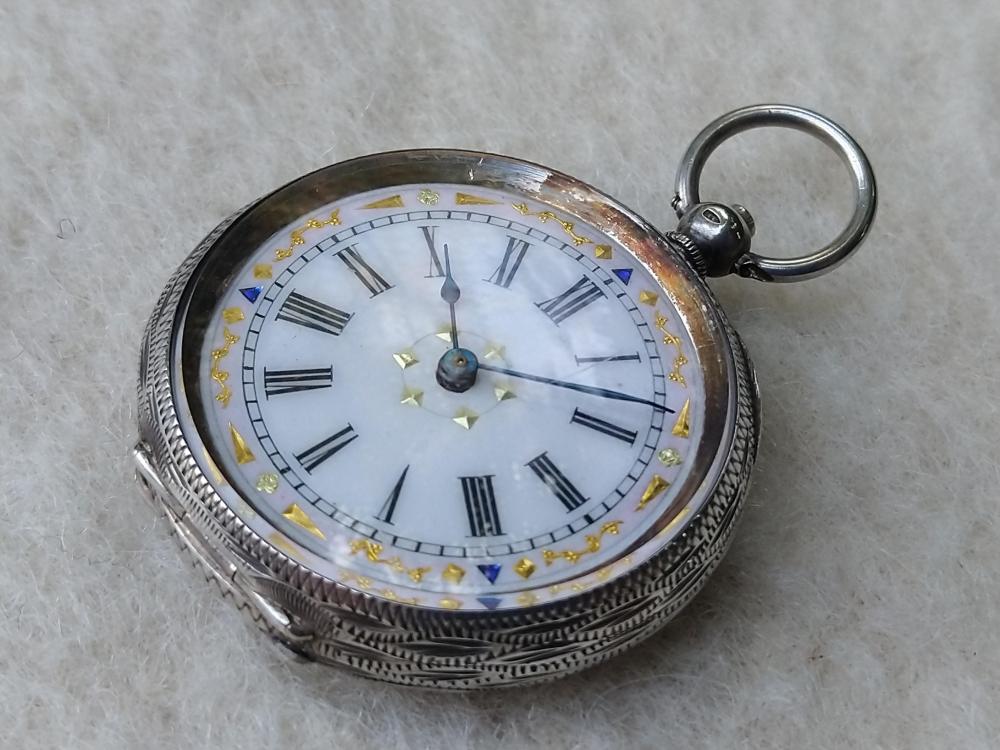
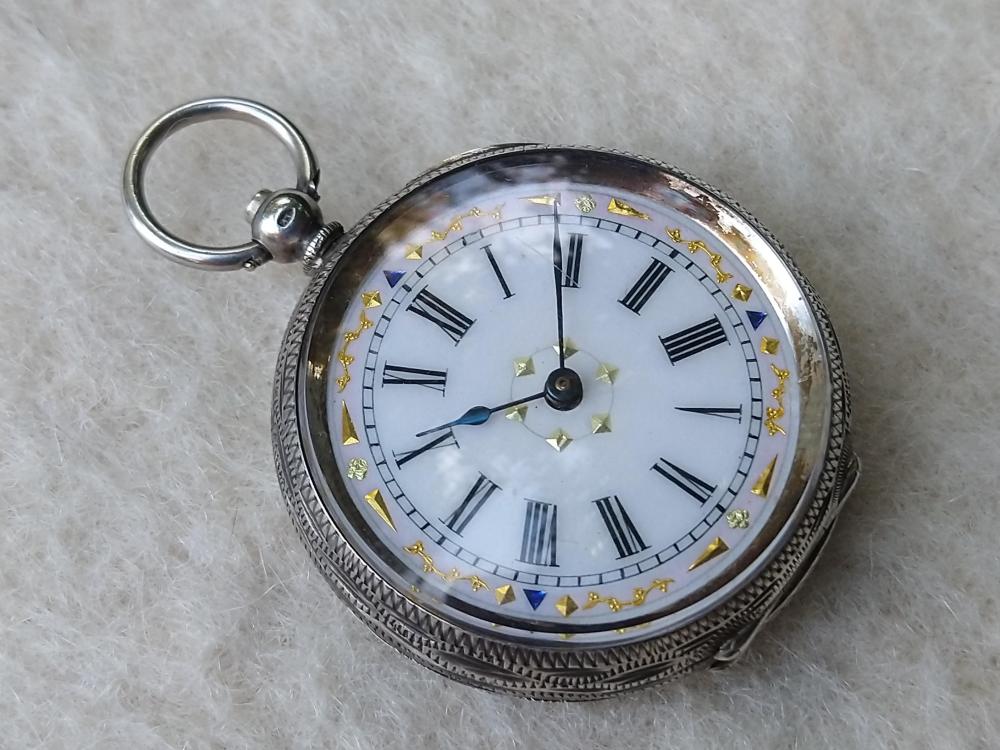
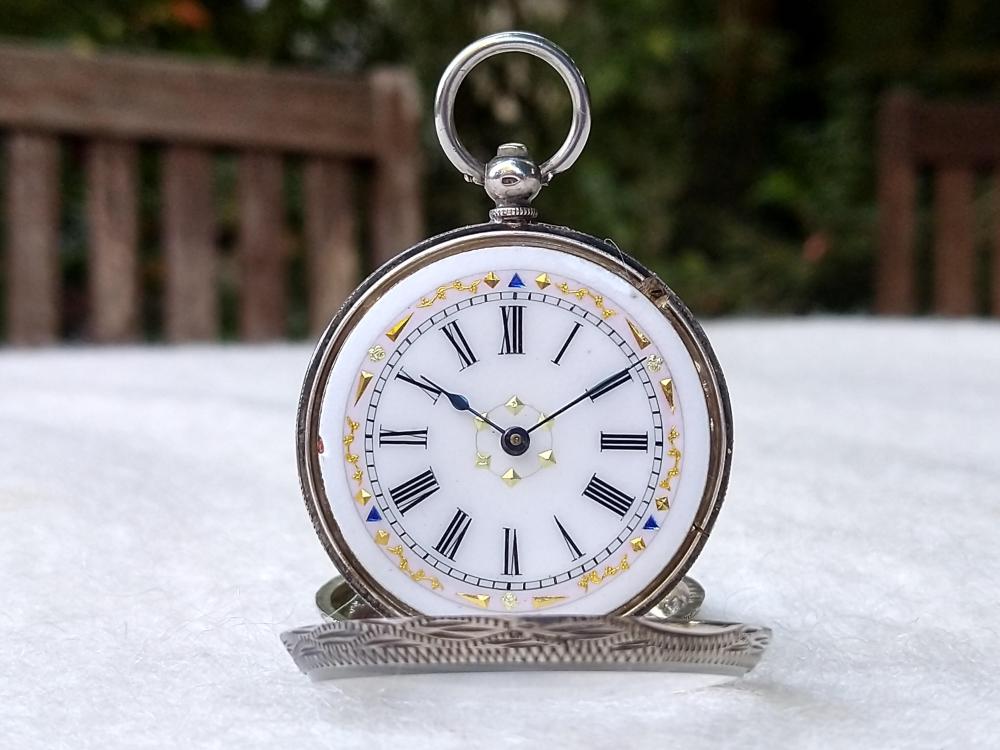
Mediaeval pocket watch time.1 point
-
Thanks for the advice. Yes as a novice, it’s difficult to dismantle a movement without any experience and is a learning process. I understand with time, to slow down and access is the best way forward. Practice is what I need so thanks for the tips.1 point
-
I have a Vostok Komandirskie 17J Cal 2414 - same as 2409 but with date. I serviced it a couple of years ago and added a new mainspring. Looking at my notes. I used : GR3126 1.25 x .105 x 320 x 9.5 BTW, the lift angle is 42° I've looked in all the usual places - Cousins, GR database etc but I can find no reference to the mainspring size, so I'm not sure where I found it. I suggest you measure your spring before ordering.1 point
-
It's a good video. Are you able to use VPN's ?1 point
-
I wish the vid would open on my device. I have tons of dials with damage to paint, have tested the paint with lighter fluid and avgas( aviation fuel). Water doesn't dissolve oil & grease.1 point
-
HWGIKE#26 Ladies silver pocket watch with cylinder escapement and natural ruby. Full service, hole for the center wheel tightened, mainspring was broken, but I found one in my secret MS stock, hairspring made flat and concentric, pin in the balance wheel replaced, both of the balance staff pivots (0.35mm) were polished in the Jacot tool and the same time straightened, end of the pivots are also polished. I am very happy than I accomplished this without breaking anything and the end result is acceptable.


 1 point
 -
Thanks for the description. I had the going power coming from the springs on the out side. I guess that’s why I could not follow the gear train. I work on watches and I am used to having a service sheet to see the construction. I will remove all power and “platform escapement” and see if the power train is free. I replaced a ratchet wheel on my grandfathers clock many years ago and I know assembling the top plate is problematic, I didn’t know this type of escapement was called a platform type. Thanks for your comments, Dave PS I was typing when R. Jenkins posted the link for the manual. I’ll check it our.1 point
-
If you got it from Cousins that I think you can pretty much guarantee it will be OK.1 point
-
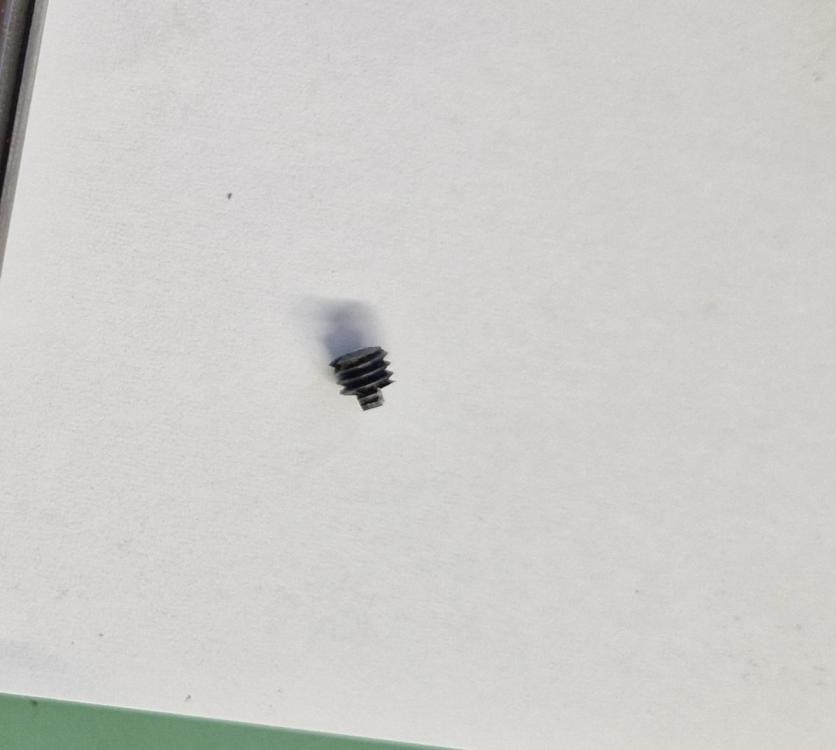
Yes, unscrew that, then you can pull the whole assembly out that side. It's a normal thread (unlike the thread that moves the pulley position shaft). If the keyed shaft does have burrs, it might take some effort to pull it all out, that's normal.1 point
-
The shaft that positions the pulley is keyed, and the key is the screw you see there on the side. Often folks who want to take the tool apart will try to unscrew that screw, but it will only come out once the shaft is out. If you turn it with force it raises burrs on the shaft, making it stick in the bore. The whole assembly comes out the left side, the boss on the tool is threaded in. If you remove the upright pin for the pulley (held by a set screw, and generally rather tight in its bore), you can unscrew the boss, and pull the whole works out the left side. It should unscrew without too much force, protect it with carton or something if you grip it with pliers (I grab it in a 10mm lathe collet but I have a large lathe). Check the shaft for burrs along the keyway, pull the screw on the side and check the flats for burrs. You can remove any with a fine file.

 1 point
 -
Hi. Dave. First thing to do is remove all power from the springs using a let down tool. Looking from the front of the clock , left hand. Is strike. Center going train. Right hand is the Chime train. having re moved all power, if you remove the escapement. ie. Platform and put a couple of winds on the going train ( center) and check if the train is free. The symptoms you describe would indicate the movement needs servicing. Dried out oil and dirt in the pivots, worn pivot holes are the most likely culprits.1 point
-
I'm glad you were able to insert those crown o-rings but rarely do they seal as well as original, I know there are aftermarket double o-ring crowns if they prove to be unsatisfactory ...it looks almost brand new, great job.1 point
-
Here's where he first shows the tool.1 point
-
I pulled the hinged caseback off a cheap 1970s pocket watch and blued some hands in it this evening. It worked fine, but still took way to long to reach temperature over the alcohol lamp, >10min. Once heated, it was at least able to consistently keep on bluing without needing to reheat a lot. I thought it was brass, but whatever the base metal actually was began to get a little bubbly and melty. Surprising. Not a good choice for repeated use. I still need to go with a smaller pan or use natural gas instead of the old-school lamp.1 point
-
Rinse let dry and used pencil earaising rubber to clean the entire plate.1 point
-
Hello and welcome to the WRT forum.1 point
-
Did you visually check the holes barrel arbour fits in? Barrel can rub on mainplate or barrel bridge in case it sits tilted OR barrel lid isn't fitted level/flush level with barrel wall, but three barrels weren't all bad. couple of test ; Loosen screws to barrel bridge up to two full turns, see what happens, as barrel or the fixed end of the click spring itself can rub on barrel. Remove the ratchet wheel and try turning the barrel with a wooden stick, barrel and gears in the train should spin then. Disassembly is not just tearing down the movement , unscrew ing every screw you see, ITS A PROCESS , in which you have a chance to test/check functions of each piece, shakes, unimpeded function of each piece when fitted in place, if you just clean and put together all part, any issue that was there has gone unexamined. In case above tests revealed nothing, you might end up tearing down the movement again. In pictures couple of ratchet teeth seem worn/bent, which may rub on the bridge. Rgds1 point
-
I stuffed two crown o-rings that I had into it. Tried a 3rd, but couldn't get it to sit in there right. I think it will be sufficient. The crown was in good shape, so I wanted to keep it. The 0.9mm thick caseback o-ring that I found at Esslinger worked out perfect. I just finished up the watch and it turned out well. After: Before: (that white stuff is on the inside of the crystal and won't come off)
 1 point
 -
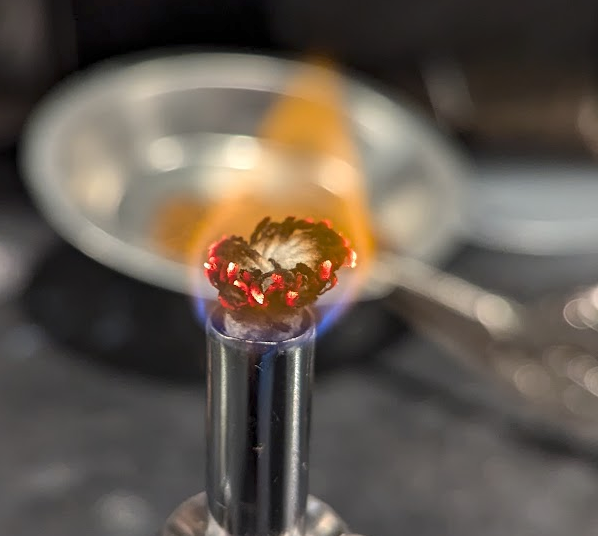
I made a small bluing pan out of some brass stock that I turned into what looks like a mainspring barrel, and filled it with brass shavings.1 point
-
Ok so if its a tension ring you are holding ? then you're trying to fit this that came with the original crystal into a non armoured crystal. What you have ordered are just snap in normal and high domes. Armoured crystals that are used on water resistance cases come with their own tension ring fitted. Lets have a look what you need. Double check your measurements from the original crystal using an accurate digital vernier gauge. Check the size externally in multiple places around the circumference of the crystal to find a good average. With the armoured crystal you order it needs to be right as there is no flex in the tension ring, the safe option is to order the one you think plus a size above and a size below.....so 3 glass orders. There is the potential to reduce the crystal diameter if required but you will be risking the water resistance of your watch which should be pressure tested with a glass change anyway if you are intending to have it exposed to water. Andy's comment...new thread and evaluating the situation from scratch... can't be bettered IMHO. The best advice i can give you if watch repair is going to be a regular hobby for you, is to order yourself a Sternkreuz catalogue from cousins and study it front to back and back to front. Dont skip any of the table of contents, foot notes, glossary or shape/lettering codes. The knowledge gained will go a long way towards preventing future mistakes and wasted dosh. Rich1 point
-
It would help if you cut down the sides of your pan until it is nearly flat. I made my brass shavings by filing some brass.1 point
-
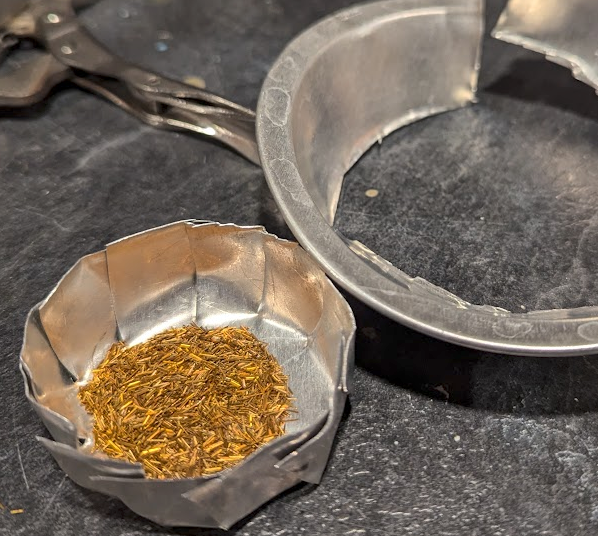
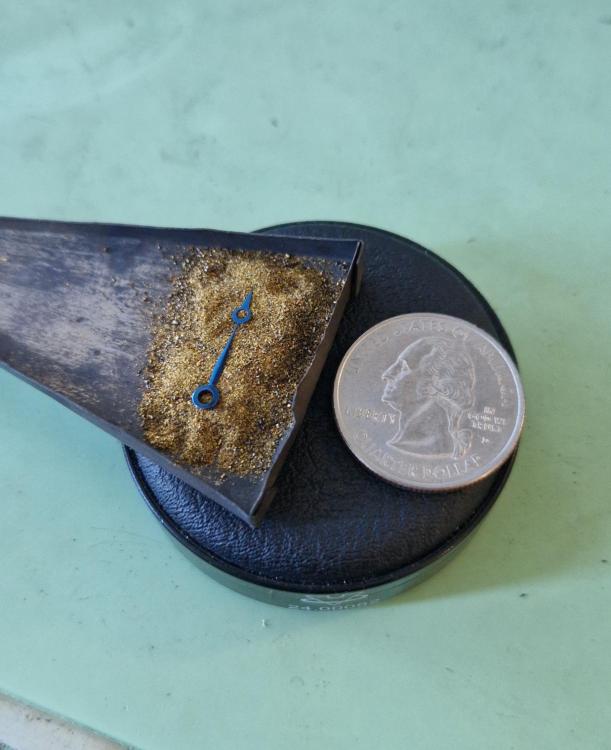
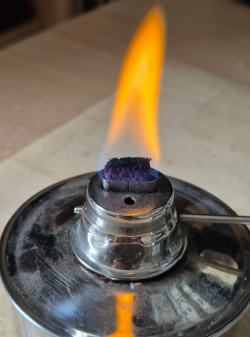
So I narrowed to two issues. First: My lamp's wick was generally too low, which I had done to keep it from burning up too quickly. Exposing more wick and fraying it more gave me a larger, bluer flame. Though the larger flame is short lived because the cotton wick does burn away quickly. That flame is far above the temperature needed for bluing. I could blue directly on the open flame in seconds, and also reach red hot almost instantly on smaller pieces. Second: My 12cm aluminum pie pan was acting as a heat sink. On only the thinnest test hands I could achieve an uneven bluing if I omitted the brass shavings and left them in direct contact with the aluminum. Even still that would not work for larger, thicker hands. So I sacrificed my little pie pan with some tin snips to produce this jagged little cup about 5cm across. In here I could blue small thin hands over the brass bits, very slowly and only after I reduced the brass by 3/4. But large ones still can't get past a brown color to the purples. This is a big one, about 18 size. To get this color I had to heat it on a small square of aluminum. Even against the bare metal cup right on top of the flame it could not go past brown. My test hands come from a big ol' assortment I have of old stamped steel unfinished, unblued hands. I cleaned them in 99% IPA but did no polishing. This isn't meant to look nice, just experimentation. I can do a lot better. Lesson I think I have learned: Aluminum is pretty unsuitable as a bluing pan over a spirit lamp. It works fine over a more aggressive heat source like a natural gas burner, but it loses heat much too fast to be very effective. My brass shavings (from ebay, I have no lathe to be producing my own) - are clearly much coarser than @nickelsilver's
 1 point
 -
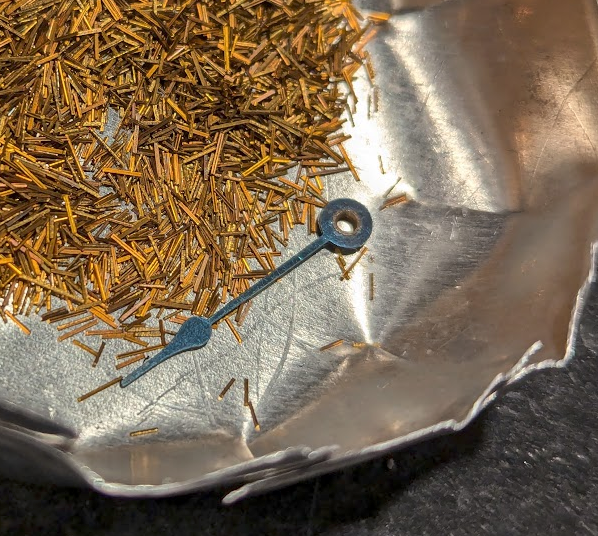
Ethyl alcohol is denatured in numerous ways, sometimes changing the color of the flame. I have tried several brands available from grocery/hardware stores here and found that they don't all perform the same- some are sootier, some don't seem to make quite the same amount of heat. But even those get plenty hot enough to blue small watch parts. I use a small brass pan similar in size to Mike's caseback pan, with fine brass filings in it, perhaps 3-4mm deep. Just a teaspoon or so. For a watch hand, to get the most even color, you want to heat it very slowly. Like take a good 5-7 minutes or more to come up to color. A pan with a handle makes it easy to distance it from the flame to allow the color to develop gradually. Taking time like this will let the color equalize nicely; a typical problem with a hand is getting too much color quickly on thin areas, while thicker ones lag behind, and when they've caught up, the thin areas are too light. Playing the pan over the flame even once certain areas are a deep blue lets the others catch up while not overheating the already-done areas. Letting the blue develop over time also seems to make a more robust (thicker?) oxide layer. You'll have to do a few to get the knack with your pan and lamp. The next most important thing is cleanliness. I take already clean hands, lay them on a clean piece of paper, and rub over them with freshly cut pithwood wetted with benzine (lighter fluid is fine). 99% iso alcohol is good too. Blow off any stray bits of pith with a blower (not your breath!!). If you have fresh brass filings, heat them in the pan for some time before use. This will burn off any contaminants, you will almost certainly see some smoke, and you don't want that happening when going for an aesthetic blue. Here's my pan with the amount of filings I tend to use.
 1 point
 -
12cm, that's huge You would need a blow torch to heat that ! This is what I use, an old watch back about 3cm. The flame feels much hotter than a candle.
 1 point
 -
With all due respect @Nucejoe option B describes one vibration, option A describes amplitude as explained in the links posted above and on pages 8 and 9 in the Witschi training course manual attached. Witschi Training Course.pdf1 point
-
It's A. See my responses here and here. You have an amplitude of 230 degrees, giving a total swing from one extreme to the other of 460 degrees. If you think about it, from the balance sitting at rest, it can rotate through something like 345 degrees in either direction before the impulse pin makes contact with the wrong side of the pallet fork, so it should be possible to see a total (extreme clockwise to extreme anticlockwise) swing of about 690 degrees without over-banking.1 point


.thumb.jpg.cb17a66989f1e796fd4217db2e9ca9df.jpg)