Leaderboard


.thumb.jpg.cb17a66989f1e796fd4217db2e9ca9df.jpg)
Popular Content
Showing content with the highest reputation on 10/25/24 in all areas
-
The first thing to check is hairpring side balance pivot2 points
-
New Crystal has been fitted! managed to get the profile and size perfect on the first try. N Sternkreuz 43.8 placeholder dial while I'm waiting on some lume to be delivered.
 2 points
 -
There is a 1940 parts catalog viewable via this page, though it's not downloadable and a real pain to read.. https://pocketwatchdatabase.com/reference/catalogs I found an alternate link with direct access to each section, this is the Automobile & 8 day link: https://pocketwatchdatabase.com/guide/company/waltham/catalogs/waltham-watch-co-material-catalog-1940/40 So, looking up the part number of the third wheel in that online link - it is listed in the 1911 catalog that only shows movements up to 1907... If you search through it, there are dozens of entries for the 8 day 37s! See the "Wheels" section on page 19 onward of the PDF - the first entry for each type.2 points
-
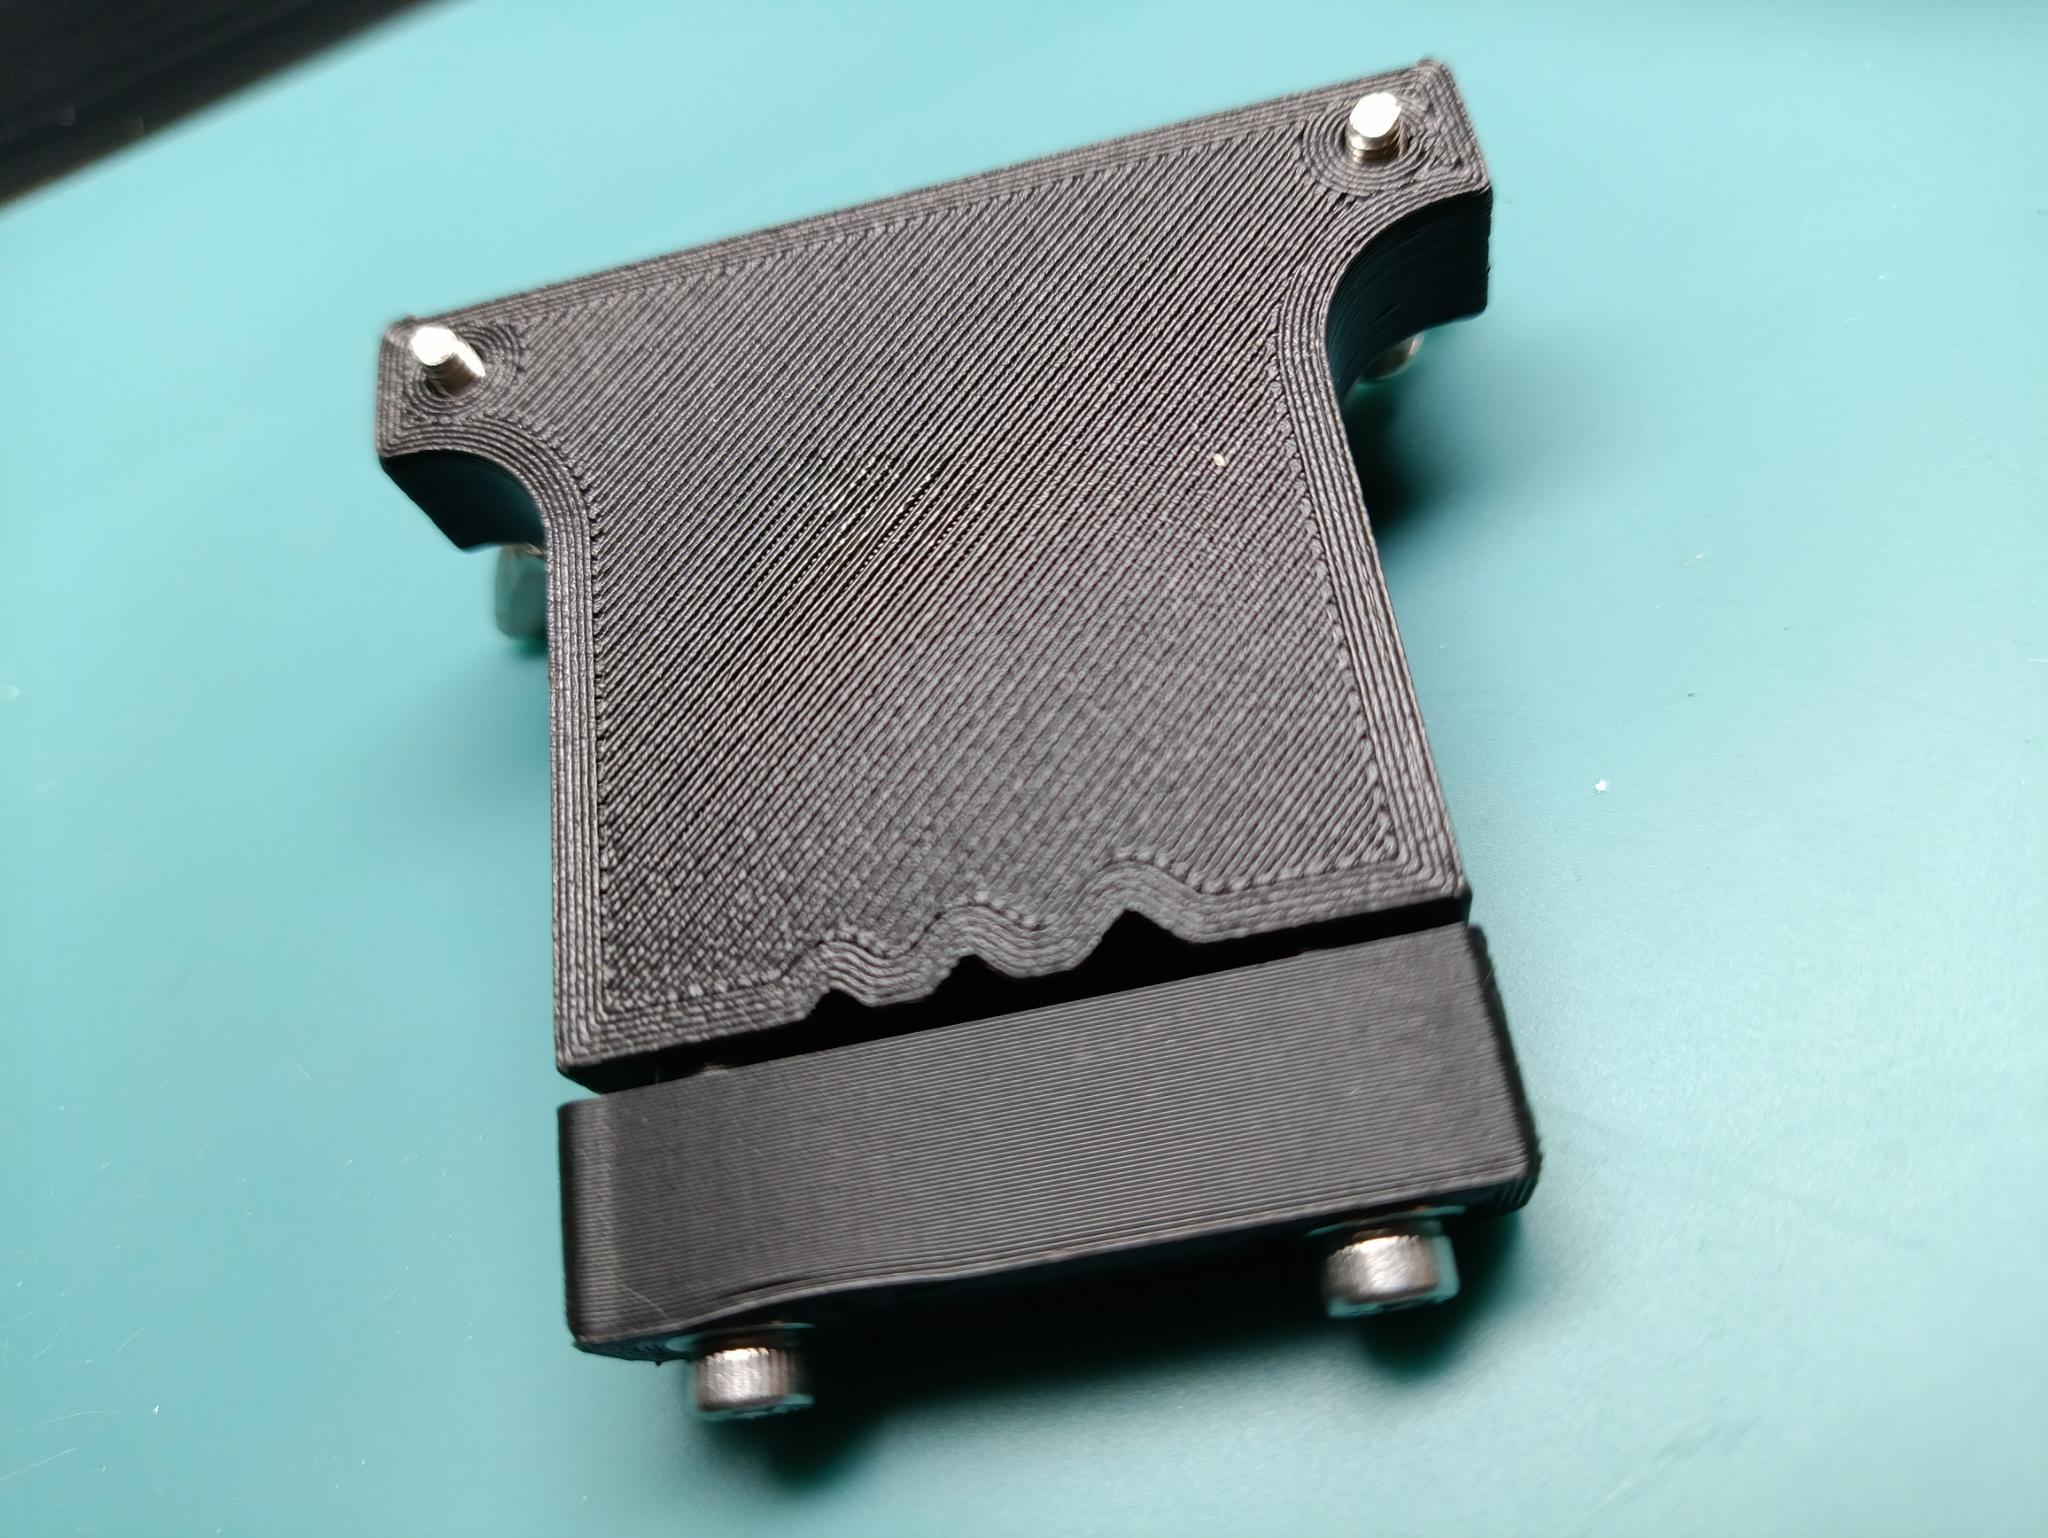
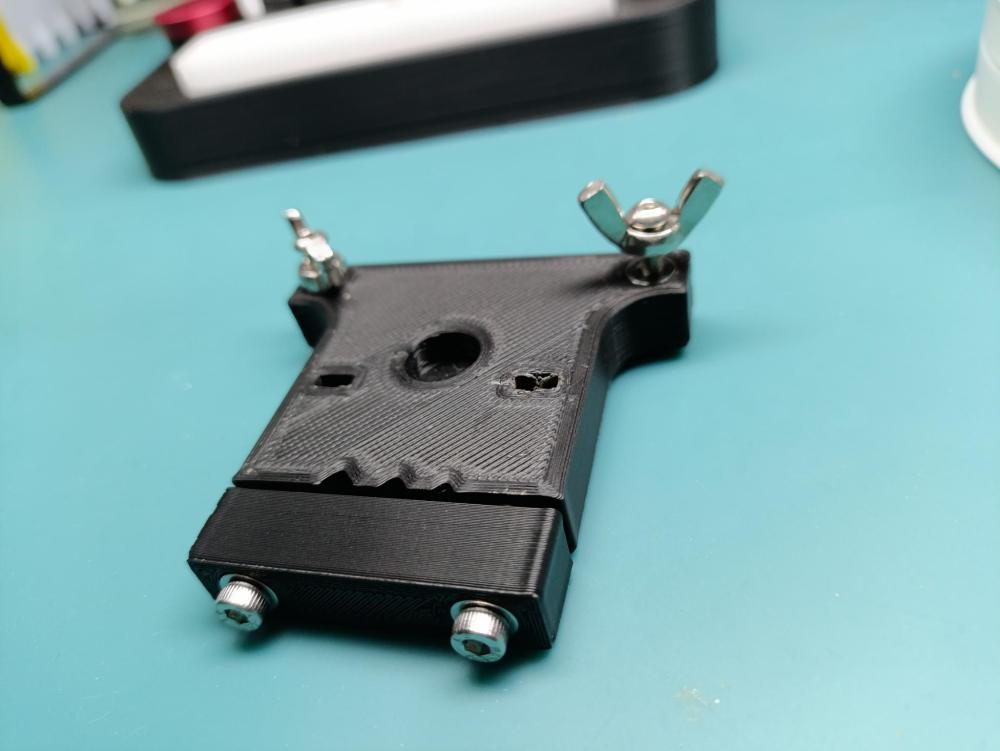
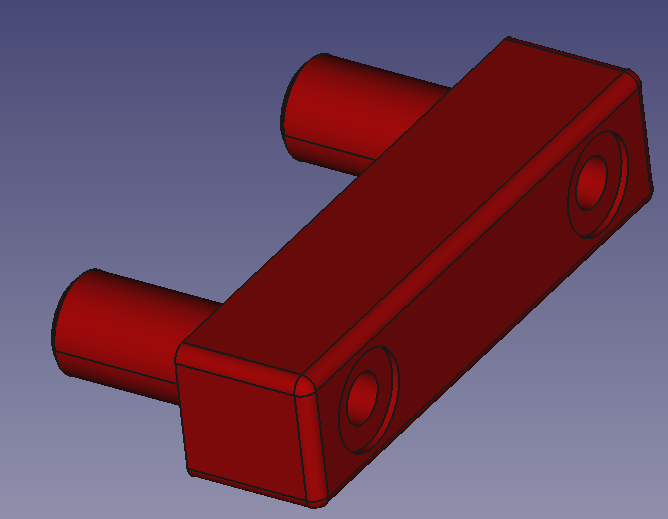
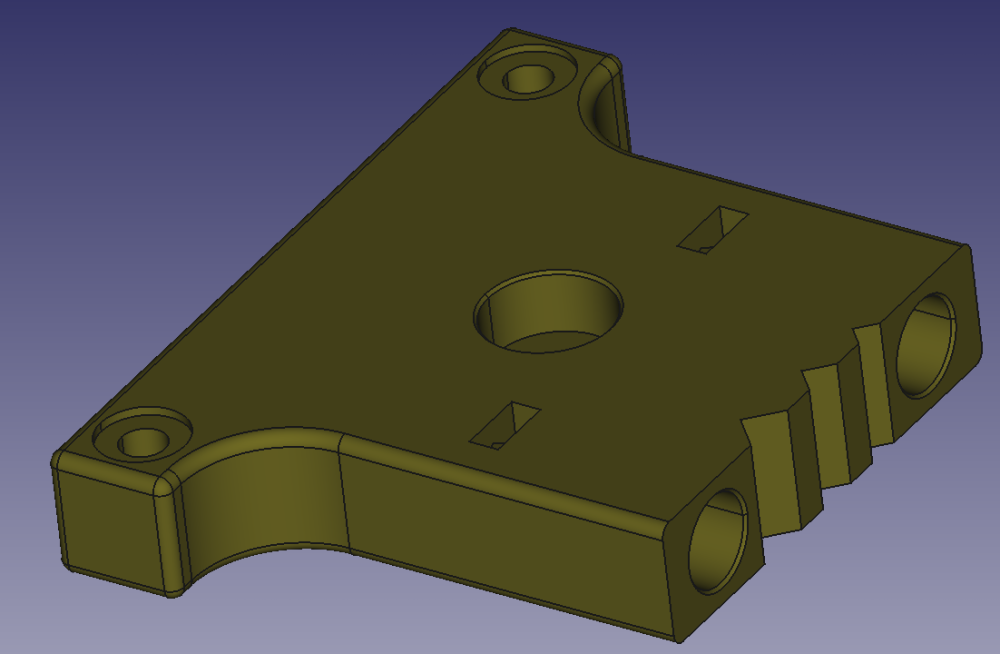
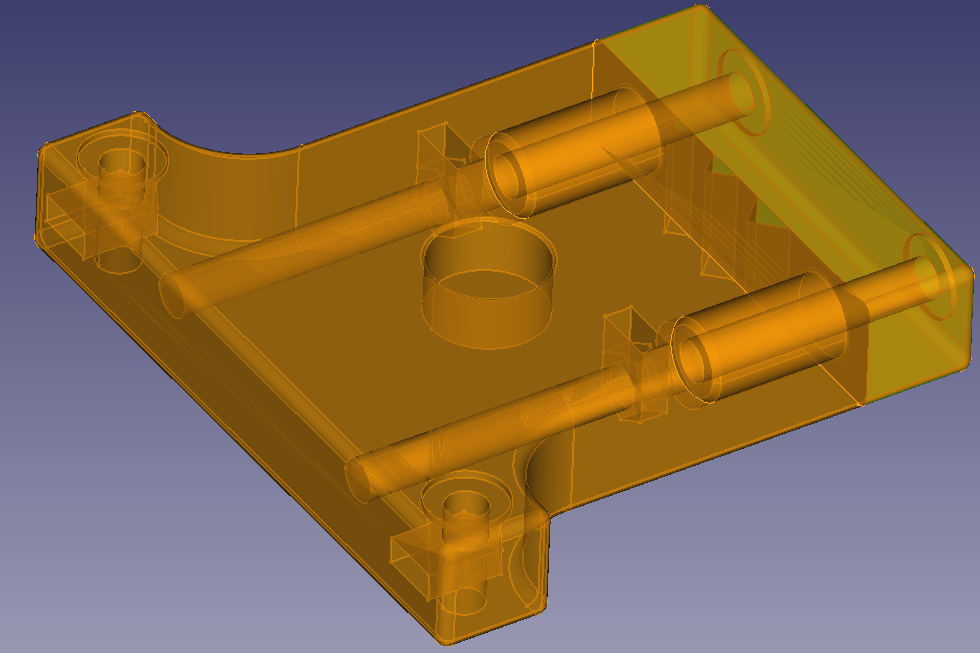
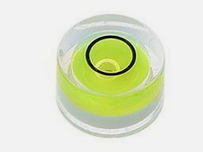
I recently watched a YouTube video (see below) on screw polishing and in the more information section there were instructions on how to build a screw polisher, I decided to make a 3D printed version of this tool based upon these instructions (pdf instructions of brass tool attached - credit or original author): Here is the version I created based upon the brass tool instructions and instruction from the video - I had to change some of the design aspects based upon the different requirements needed for 3D printing, but the essence of the design and key features are kept: Here is the top of the tool (prototype): Here is the underside: I have used M3 bolts throughout (see parts list below) and reinforced the areas under the bolt heads with a standard M3 washers, here is the FreeCAD view showing the complete assembly: Here is the "Bar" section: Here is the body "Frog", the slots in the top and back are to insert the 'trapped' M3 nuts (point down) Here is an x-ray view of the complete assembly: I used M3 wing nuts as locking nuts to prevent the bolts (legs?) backing off during use, I also included a cutout in the top to insert a bullseye level (10mm x 6mm) which hasn't arrived from Amazon yet, and so is absent from my pictures. Parts list: 2 x 40mm M3 Stainless Steel 304 Hex Socket Head Cap Screws Bolts 4 x M3 Stainless Steel 304 washers 1 x Mini Spirit Level Bullseye (10mm x 6mm) 2 x Wing Nuts M3 A2 Stainless Steel Butterfly DIN 315 4 x Hexagon flat nuts A2 Stainless Steel M3 2 x 30 mm Fully Threaded Allen Key Hex Socket Cap Screws Bolts M3 High Tensile I have uploaded the design to printibles (link here), but will include the file here also, I'll attach it as FrogV2.pdf so I can upload here, please download and replace .pdf with .zip to access. 3D printing settings: Material is PLA+, just what I had on the printer at the time, could also work with PETG etc. Fill is 75% gyroid, setting is high to ensure rigidity of the tool during use 1.6mm wall thickness, setting is high to reduce wear on faces which interact with metal parts. Here is the missing bullseye: Here is the link to the youtube: Enjoy! how-to-make-a-bolt-tool.pdf FrogV2.pdf


 1 point
 -
Looks like that gong has been repaired at the end by the brass block, you can see the heat marks.1 point
-
Oh no, @VWatchie, so sorry to have caused a lack of sleep. I have the exact same brass No7's from India/Cousins. They can be dressed to work just fine.1 point
-
unfortunately 37 size watches usually have parts larger than other watches and the ability to interchange with anything in the universe is nonexistent almost probably. Then parts catalogs in 1948 was scanned in some incredibly high resolution with the incredibly huge file size which is why no one in their right mind is going to attach it to anything as huge PDFs clutter up the message board. To get anything that was it resembling readable I had to increase the file size and it still isn't the best and it is a rather huge file for just four pages. I think my copy was purchased off of eBay somebody probably had a disk of stuff. Waltham Watch and Clock Material - 1948 Edition p40 43.pdf1 point
-
It's not native to the UK, but you could grow it. https://www.rhs.org.uk/plants/7793/gentiana-lutea/details1 point
-
Repivotting is an option but you'll need the tools and a lathe1 point
-
I have had a chance to use them now and can report that they are great. The arbors are all in good condition and seem relatively large compared to equivalent winders like Bergeon (or Chinese) so the springs fit snugly over them and grip well. The arbors are all marked as 'R' for right-hand in the box but they seem to be able to wind springs in both direction if the spring is a good tight fit over the arbor. Being able to detach the arbor from the winding handle allows easy removal once the mainspring is in the barrel (grip the arbor with a pair of pliers while straddling the mainspring with a pair of brass tweezers).1 point
-
Me too! Very much looking forward to that! I know I'm overthinking this.. but I'm going to write my question anyway (thinking that @VWatchieis an even greater perfectionist than me and that he'd forgive me for bringing in doubts at this point): Should we be concerned with the material of the tweezers? I have cheap brass No7's and expensive steel No6's (like @VWatchie's). I think that my grip would be more firm/secure with the No6, but I'm now worried that the steel may more likely scratch the balance (keyword: poise). The brass No7 are softer... But probably, it's a question of just the right gentleness of your touch, isn't it, @Jon?1 point
-
This parts are not completely replaceable. Well, depends on how old the movement is, but generally every movement was made for itself and nobody even thought that part from one would need to fit to another. No problem to cut new clock pinion. The problem actually is it is big and a lot of steel must be cut by the milling machine, so bigger one is needed than for watches. Here I have shown how I have done on my general purpose lathe with home made lathe attachments. http://forum.watch.ru/showpost.php?p=4423044&postcount=418 http://forum.watch.ru/showpost.php?p=4450639&postcount=419 http://forum.watch.ru/showpost.php?p=4590238&postcount=425 http://forum.watch.ru/showpost.php?p=5816394&postcount=529 Also possible to use another longer pinion with the same diam and leaf count and reshape it to fit1 point
-
Them stems are like a much denser stiffer pithwood. Really nice for final finishing when doing bevels. The root is distilled into a really aromatic liquor, which I love, but you smell like it for hours and hours (my wife hates it, haha). Used to be you'd have to trek out on the mountainside to get some, seems like the plants like to grow on slopes. There are special small pitchfork/lever looking tools for pulling up the root bulb for those who distill. Now you can get it from Horotec!1 point
-
Hi. As mentioned by Neven. It is pressed in, from the spring side and tapered, use pliers / cutters to pull out gently.1 point
-
This is tapered pin. One of the ways to get it out is to press it from behind. Another is to grasp it with cutting pliers and pry it.1 point
-
It's on the home screen of his Patreon page.
 1 point
 -
Thanks! Yes, it's an 11ANACB.1 point
-
...very nice. The US equivalent sat in my grandparents home when I was a kid. New York, Chicago, Cleveland, Boston...and... ...a reminder about leaving your radio on during the night: leave your radio on during the night.1 point
-
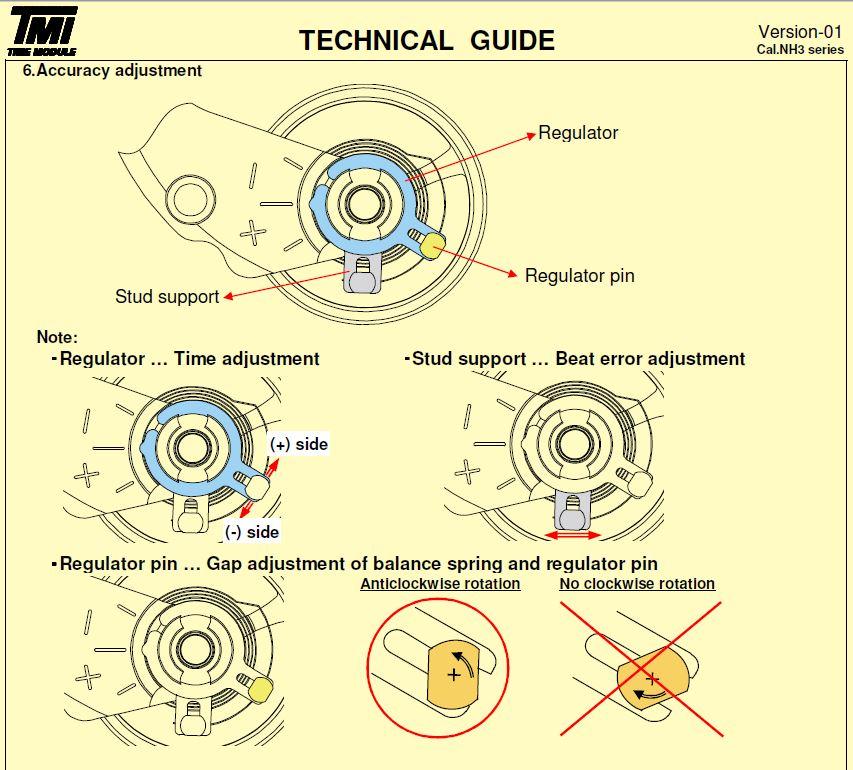
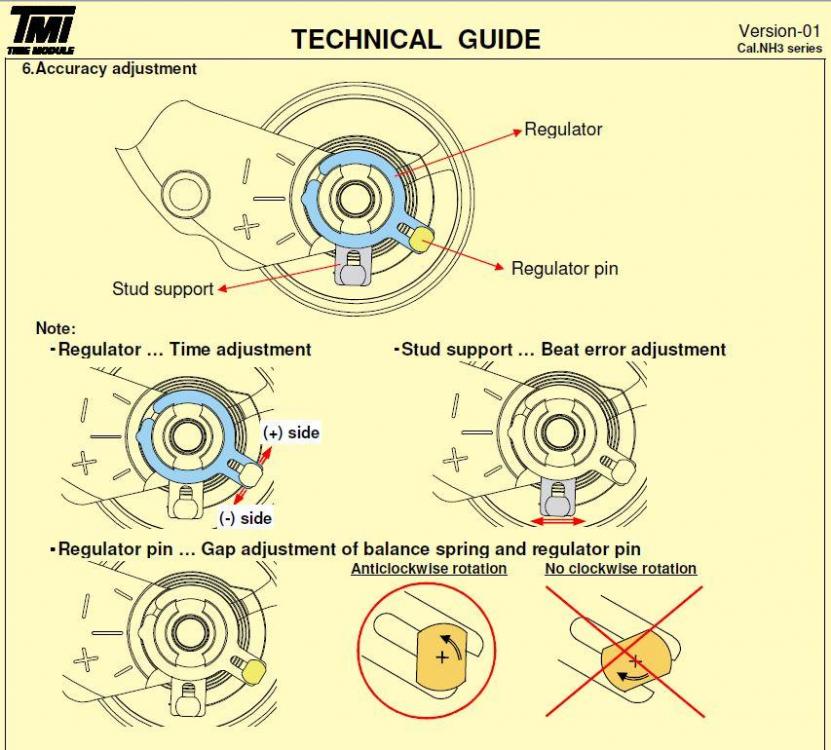
really should be better instructions out there and maybe they are I'm just not finding them. What makes the system interesting is there's lots of various adjustments more than a regular system. The regulator pins can be opened. Then you center with the stud so they hairspring is in the center. Then you close but not super tight need to be closed but not tight the needs to be a little breathing room. So that means you can open up the pins and have horrible isochronism because the pins are too far apart. Then don't worry about letting the power off just wait until watch runs down to around 200° hundred and 80 would be nice about their. Just had to expand the search in the computer found a PDF that will be helpful. seiko etachron.pdf
 1 point
 -
I thought you might enjoy this @luiazazrambo. I know I did.1 point
-
Are you talking about the wire that passes through the middle of the rotating penulum and is only there to hold it upright, or the spring that provides the force to return the pendulum back the other way? If it's the spring that has broken then this is a problem as it will be too short now to work correctly. If it is just the wire that goes through the middle of the pendulum rod that is easy although a little fiddley. Measure the wire to get the diameter and you will find that an the syperfime guitar strings will work well. I used the E string. It should just pass through the hole in the bolt in the bottom of the base, then tie a knot in it so it cant passed back through and then the other end is pulled tight and held in place by a screw.1 point