Leaderboard


Popular Content
Showing content with the highest reputation on 11/17/24 in Posts
-
Ok I wanted to publish my findings as I ended up making a "commercial" solution yesterday and used it to clean a movement. I measured using a scale to dial in the percentages accurately. My recipes are as follows: SwissSeiko's 111 Ammoniated Cleaning Solution 65% Mineral Spirits(Klean Strip) - Pretty standard 20% Light Naphtha(Klean Strip) - I think this is what we all have access to, but it has the same carbon atoms as the L&R 111. Dark Naphtha has more carbon, and has a much higher boiling point, which decreases its volatility at the temps and times we are using. 5% Store bought concentrated Ammonia(Ace Hardware). This is slightly less potent that pure ammonia, but it is essentially ammonium hydroxide(with slightly less ammonia per weight), which L&R calls for. 5% Kirkland Dish Soap - This one is interesting as its taking the place of Oleic Acids in L&R's formula. It has the amino acids were looking for, but with additional degreasers, and a scent that helps cover the ammonia smell. 5% IPA 99% - This takes the place of the amino alcohol in their solution, of which has propylene oxide, which i'm not sure citizens have access to, Its very toxic. It is used as a solubilizer. SwissSeiko's #3 Watch Rinse 80% Mineral Spirits(Klean Strip) 20% Light Naphtha(Klean Strip) This one is very simple and works very well And there you have it. A commercial quality cleaning solution that can all be purchased at your local hardware store, for relatively cheap. I think if you had to buy it all at once, it would be around $65, but you could make nearly 2 gallons of it. I did a lot of research on chemical properties to try and match the medical grade chemicals they are using, but with easy availability. Obviously you need to be careful when handling chemicals, and you need to have a vast understanding of chemical reactions before you jump into making your own solution. I pulled the MSDS of all of these chemicals to make sure I understood their makeup, and to eliminate any dangerous reactions. The results are very good. It has exceeded my expectations as a home brew concoction. Parts come out brighter than when I was using Liquinox, and that's due to the ammonia. I'm not quite ready to give up my Liquinox, but its handy to have an additional non-water based cleaning solution that works well, particularly for vintage movements, which I mostly service. Don't sue my L&R, this info is all public on your website.3 points
-
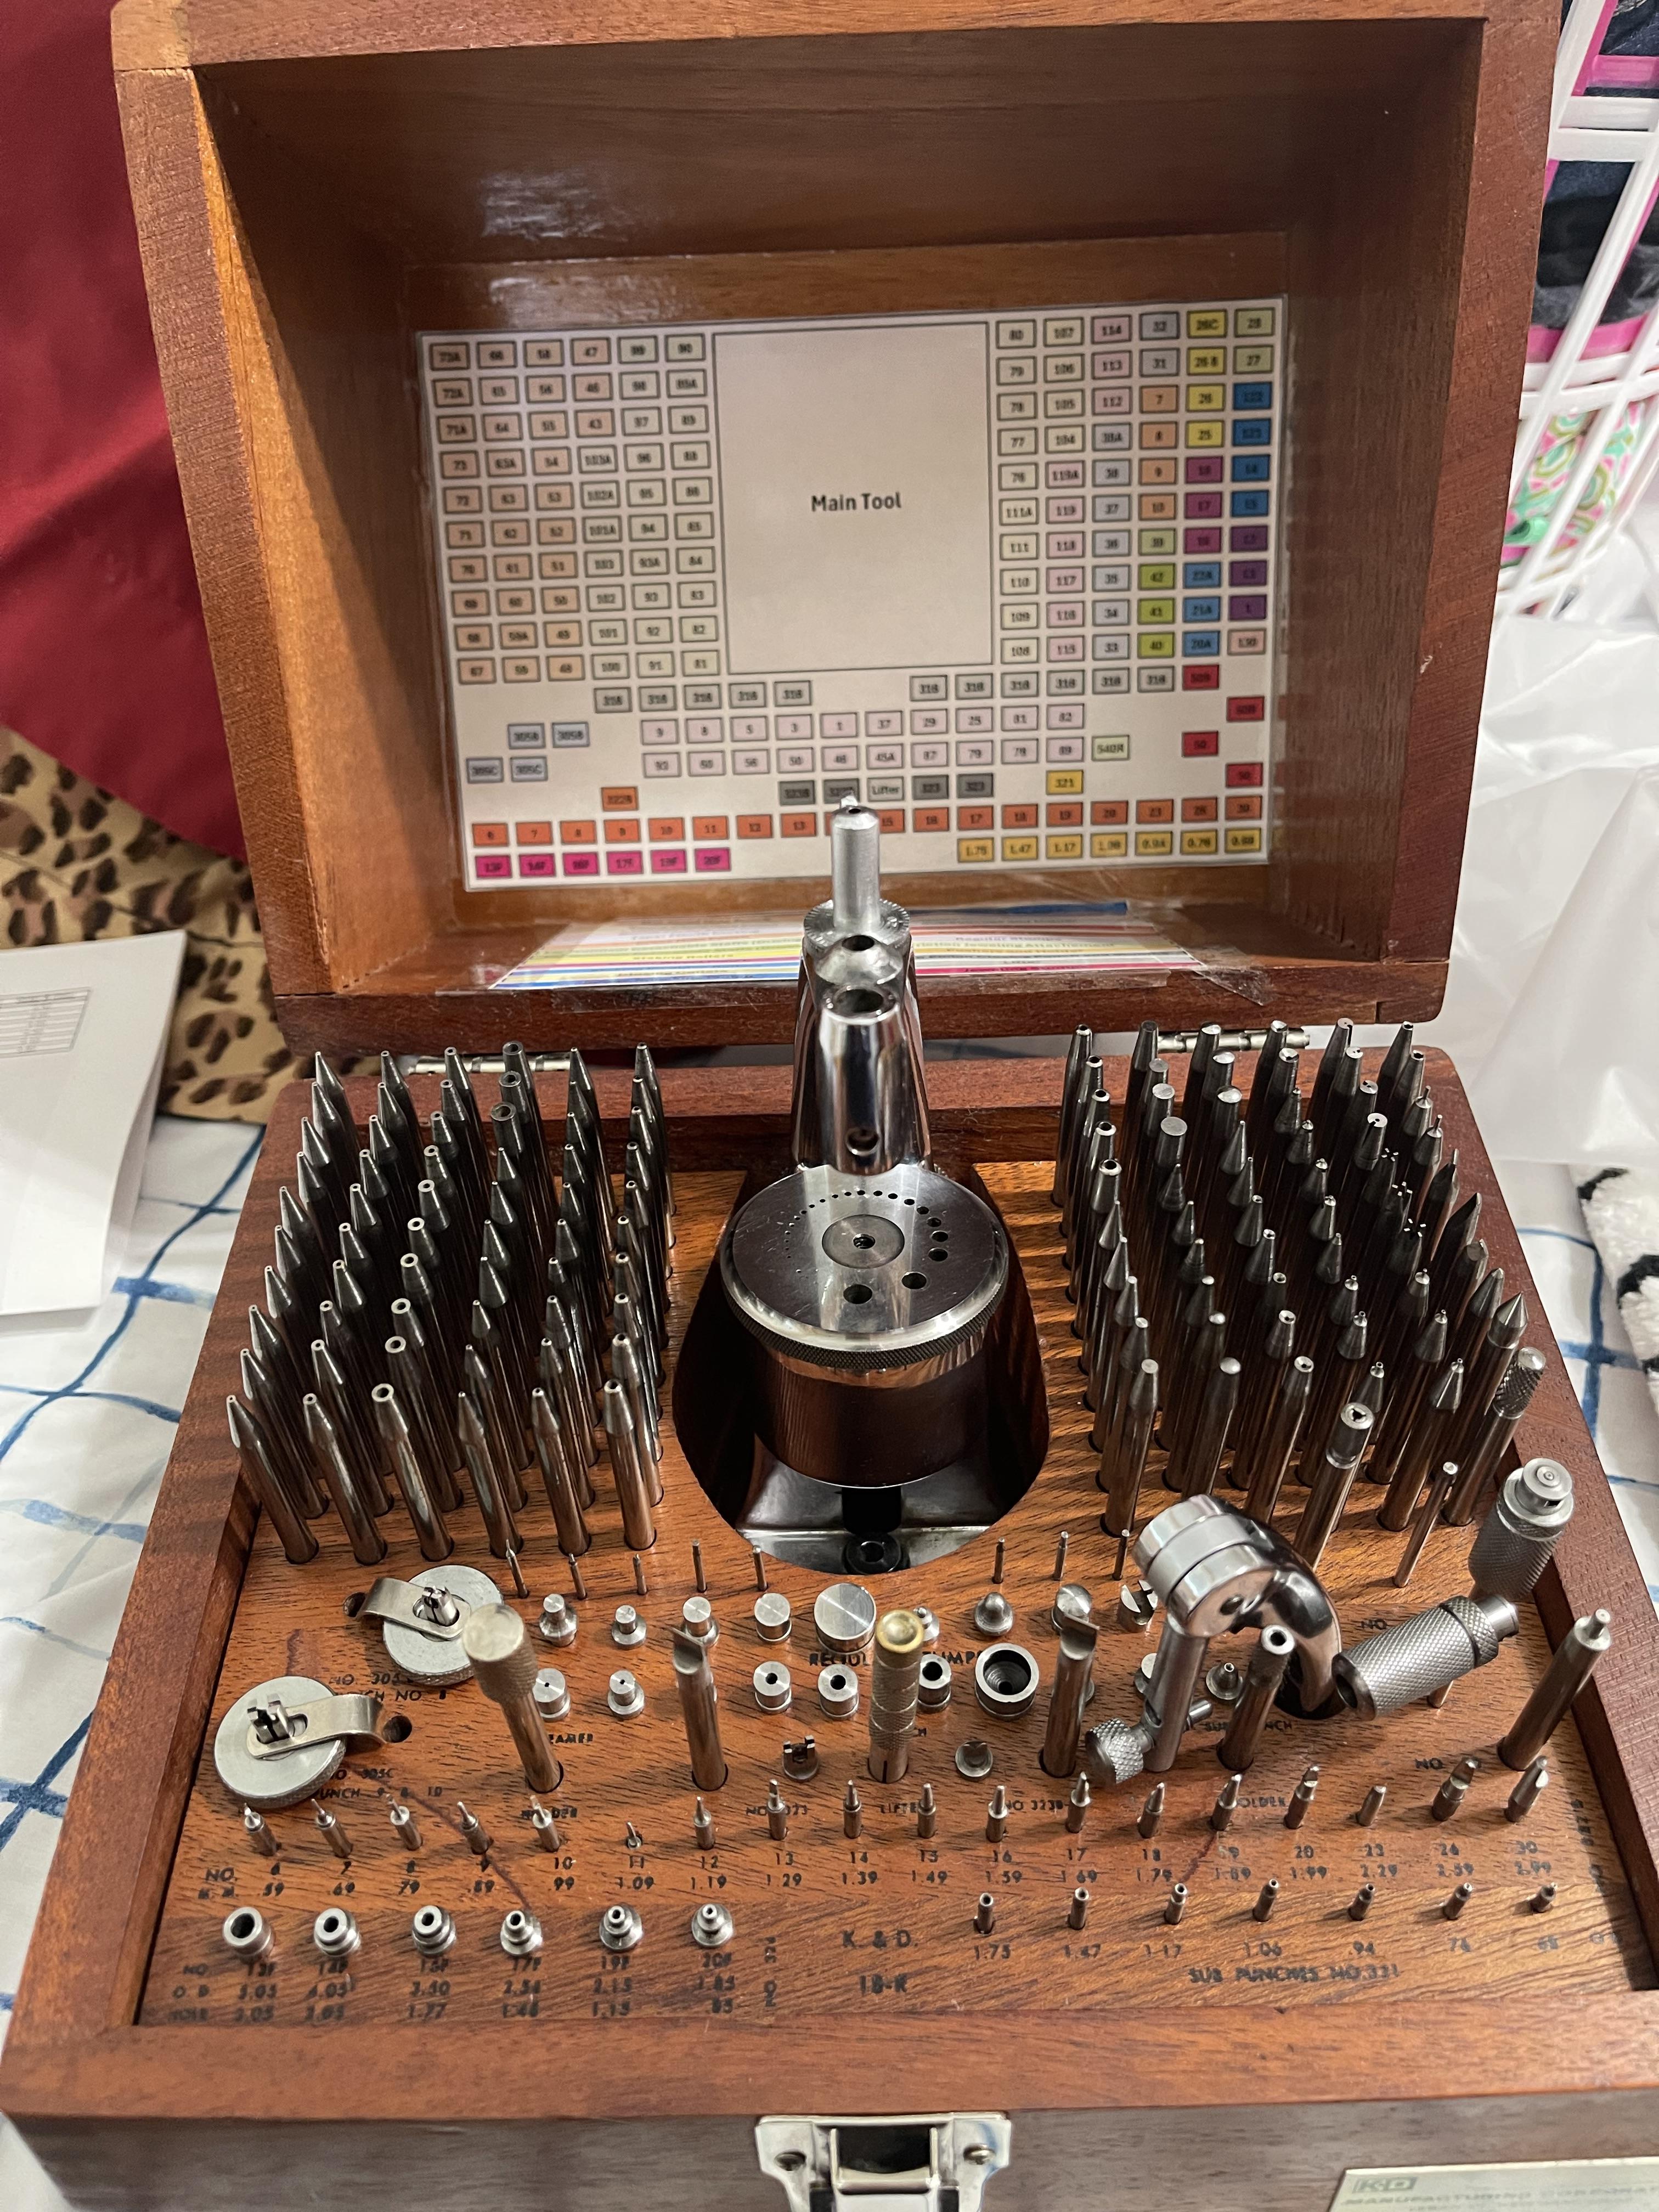
Not sure if this has been discussed before. I recently came in possession of a staking set, and I am vey satisfied with it. I noticed a couple of punches that had problems (one was not true and another has chips of the face and the seller immediately sent me replacements). Anyhow, I did an initial cleaning but later on I found out a few of the punches with holes had their holes plugged. To me it is really hard to determine if a hole is present or is plugged even under a microscope. Anyhow, after careful examination I determined that four punches were plugged (stakes 73A, 72A, 103A, 38A in the K&D catalog). They were otherwise pristine and I thought that asking for replacements would run the risk of getting punches with the same problem. It looked like there was dirt and perhaps rust inside the holes and I started to think on how to get it out. My smallest drill bit was humongous when compared to the holes and besides, I really did not want to use something that could cut in the walls of the hole. After a bit of thinking, I remembered that a while back I had bought a few pin gages to make sure my caliper and my micrometer were accurate. I took a look and unfortunately the smallest one was too big for the smallest hole (0.13mm). So I went ahead and ordered a 0.12mm pin gauge and last night I went to work under the microscope. After testing a few methods (like spinning the gauge in my fingers and keeping the punch stationary) I came up with the following solution: I placed the gauge in a set of tweezers and spun the punch in my other hand. It is a tedious job, but it works surprisingly well, not only to "drill" the hole, but to actually see if there is a hole at all. I actually tested all the punches with holes, and although all of them other than the four above had holes, a lot of them had crud inside that got dislodged by the gauge spinning inside the hole. After using the gauge in all of the punches holes, I place them in an ultrasonic cleaner for 40 minutes (20 with the holes facing up, and 20 with the holes facing down) in 99% isopropyl. I was surprised by the amount of crud that came out of those tiny holes!! Now the set is absolutely beautiful and lighly oiled to keep it from rusting. I attach an image of the completely restored set and of the video of the hole cleaning process. BTW Make sure that the punch does not go all the way to the tweezer. The gauge will break at some point. I was lucky that the first time it broke there was some space between the tweezer and the stake. There was enough gauge sticking out of the hole so that I could grab it and pull it out. If the gauge broke when there was no clearance, I do not think I would have been able to pull it out. claudio P.S. Let me know if video shows. Video
 3 points
 -
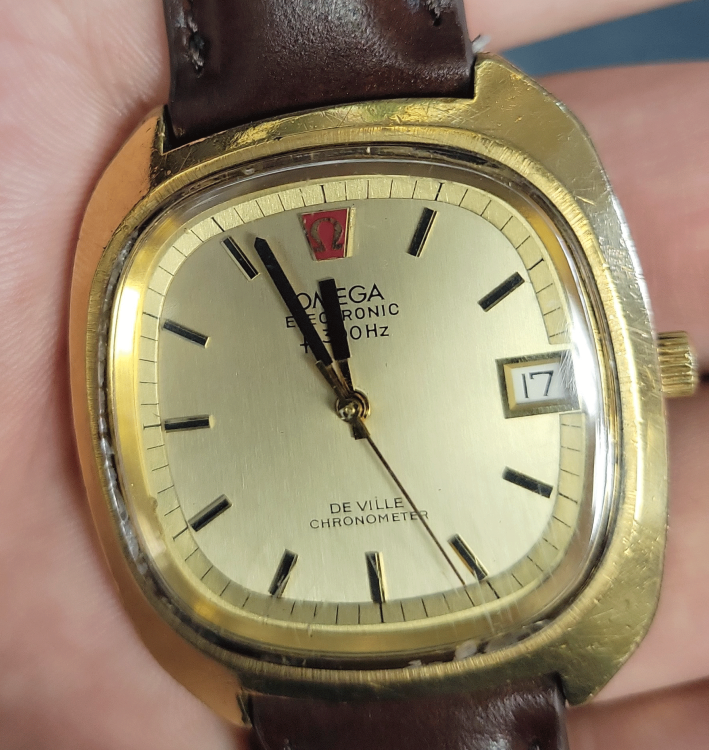
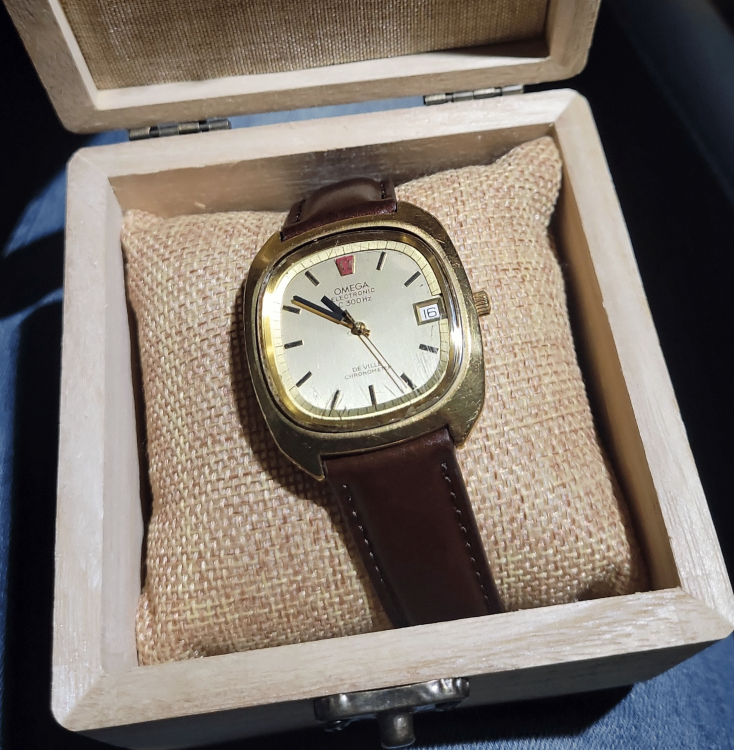
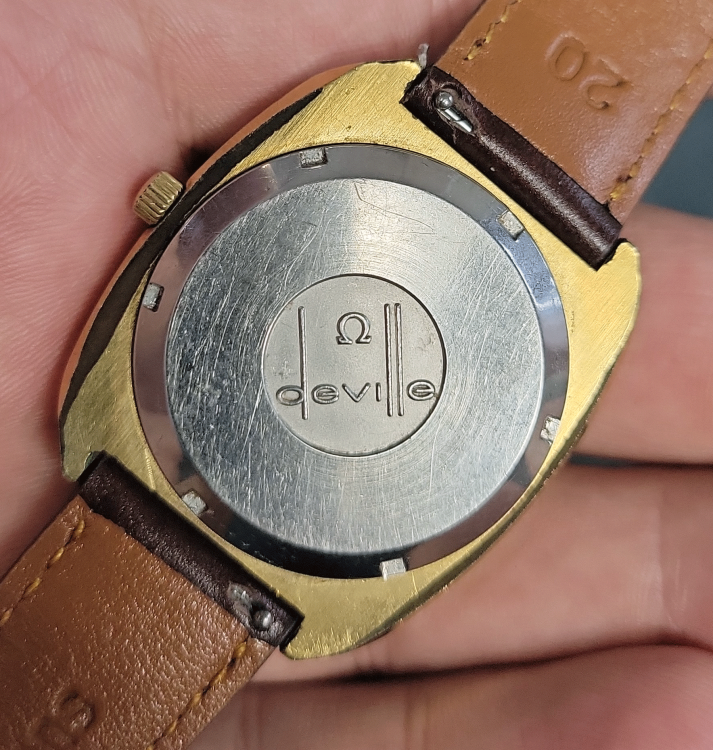
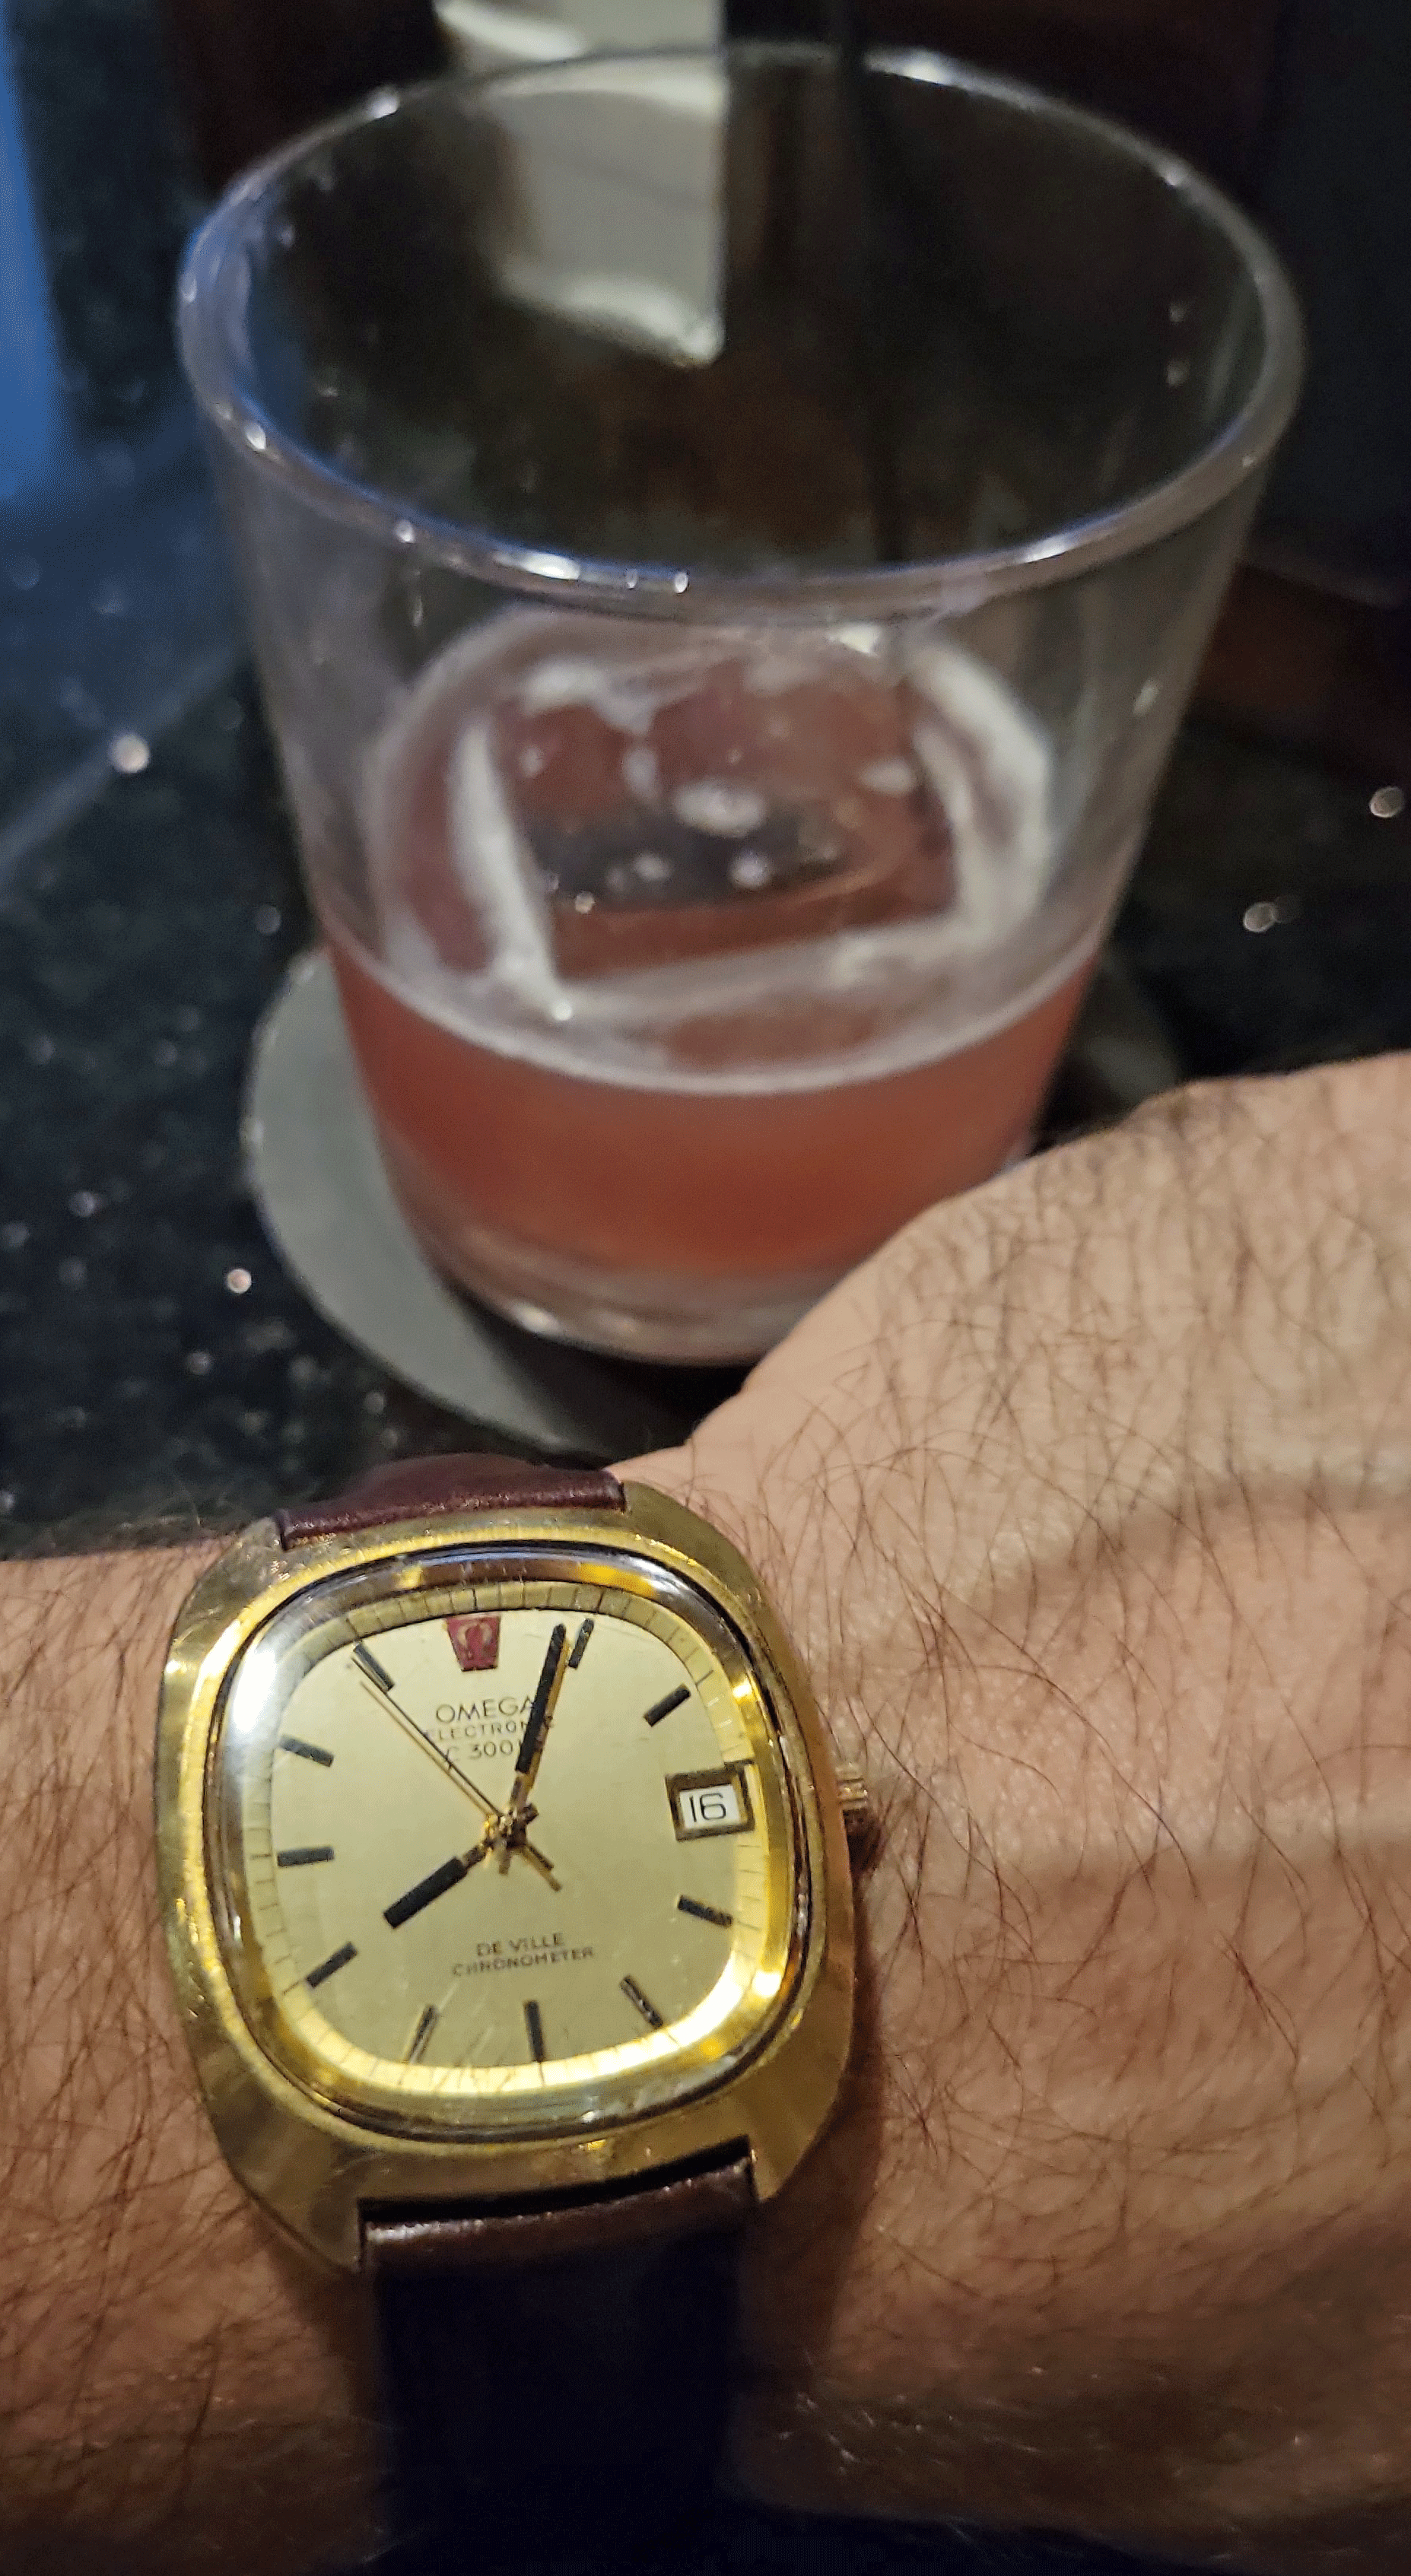
Post script to this story. The owner of this watch is a good friend of mine, and when I found out he'd inherited it from his dad and it never worked, I offered to take a stab at repairing it. While I was working on it, it inspired him to get into the hobby, and he's been tinkering away. I gave him the watch and he was ecstatic. He can't stop talking about how smoothly the date ring snaps over now. Last night he asked me out for a drink. He started talking about how much he loves the watch, how he knows he owes me money for the parts I laid out, and then he pulls out this box and says he hopes I'll accept it as thanks for all the work I did. He knows how much I love Bulova Accutrons, and we often talk technology about them and the f300. So behind the scenes he found this non-runner DeVille on eBay and fixed it himself (including texting me questions about it!) so he could gift it to me. I am blown away by the thoughtfulness and absolutely love the aesthetic of this watch. It is, however, weird to have a watch I don't have to take apart and repair first...
 3 points
 -
Hi. That movement was built before timegrapher came into use. As you say there are only two sources of noise the action on the outer ans inner walls of the cylinder. Put the dial and hands on and check its time keeping ability.3 points
-
OP, forget about the timegrapher. It is useless here. Put the hands on and check the watch after some time. Rate error in cylinders is several minutes/day and rate has fluctuations of several minutes/day. Did You lubricate the cylinder/cylinder wheel teeth? Lubrication is important and it can change significantly the rate. The hairspring usually is very thin and long ( has many coils) and that's why the regulator doesn't change the rate much. The amplitude can not be more than 180 (there is limiting pin on the balance rim) and 120 is very good amplitude, about 90 is the minimum acceptable. Observre the limiting pin, thus You will see what amplitude is.2 points
-
typically on a timing machine when the graphical display looks like snow globe affect in other words you cannot see anything resembling lines the numbers typically are not correct. In the case of a cylinder versus a lever escapement with the sounds are totally different it is impossible for the timing machine to do the amplitude. yes this would be the best way to time the watch the timing machine is going to be worthless for this watch. Then it's a cylinder watch I would not expect outstanding timekeeping.2 points
-
Old books i have read suggest no more than an angular tilt of 5° of the barrel from the axis of the arbor. Even that seems to much. Look for evidence of too much tilt.....removal of plating from the plate or bridge and the outside edges of the barrel and lid flats Seems too much to me as well, not loads but definitely too much. The torque from a wound mainspring pushes the barrel away from its axis ...more side pressure...when fully wound. Wear in the barrel and lid bearings is more likely to increase when some wear is already present.2 points
-
Is it possible that the timegrapher can’t lock on properly because it’s a cylinder escapement? It’s got to sound a lot different than a Swiss lever escapement. Tom2 points
-
For me that's way too much play.2 points
-
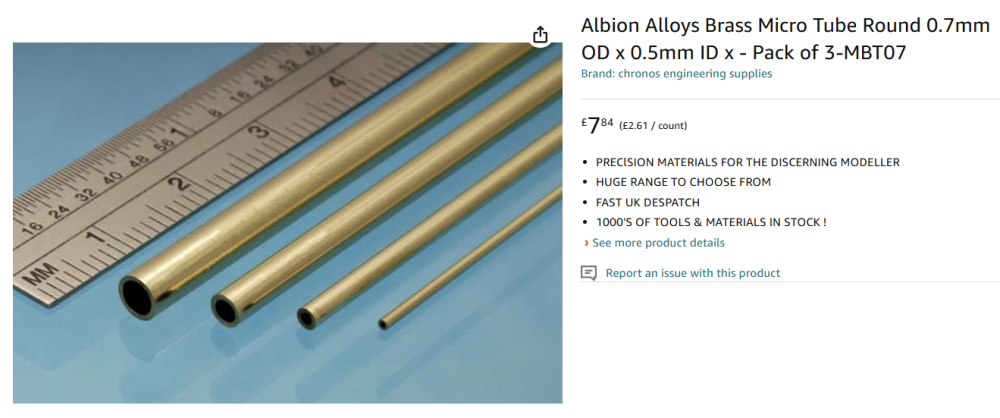
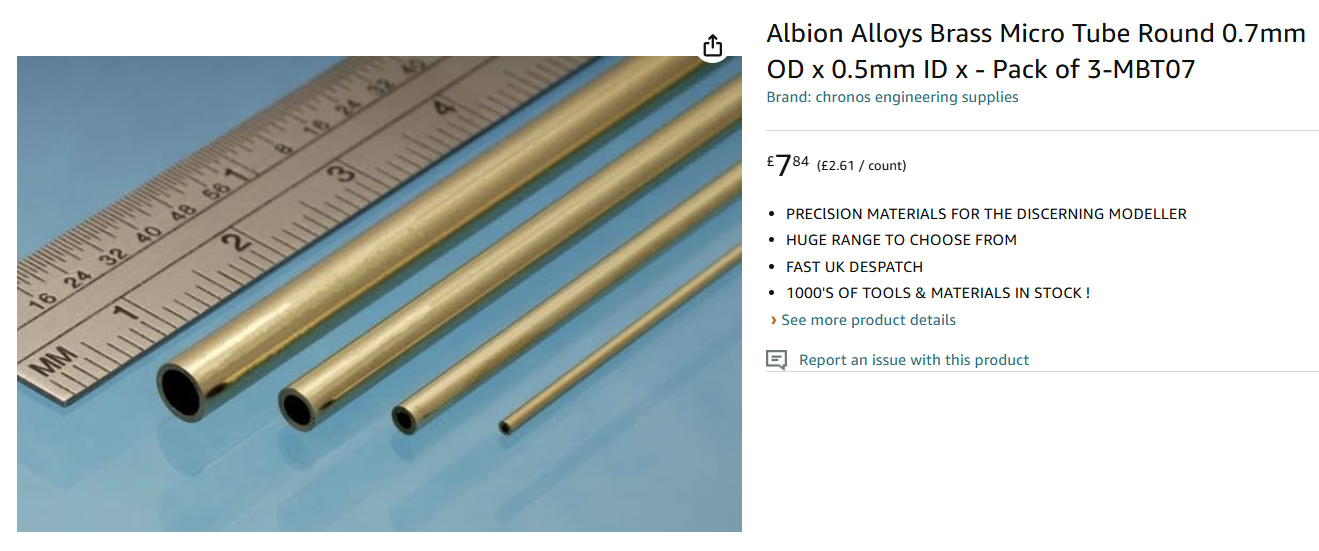
So would this 0.7mm O/D & 0.5mm I/D tube not work?
 1 point
 -
I had put it in benzine for the last 2 days and I was just able to move it. Still quite some force needed, but it's ok now. Thanks for the advice @Nucejoe!1 point
-
Thanks Tom , sounds like a good order to me. I think the smallest Seitz reamer is 0.69mm . I would drill the arbor hole to 0.4 then broach to fit. I'd really like to do this another way if possible. The recess in the drive wheel is 0.8mm.... so 0.7mm max for the bush /tube. The arbor shaft is only 0.46 at this end.1 point
-
Hey Takeitapart...... ...matey have you got a full charge into the spring ?1 point
-
You've got a point. I never thought to question if he'd got a full charge into the spring.1 point
-
We've got a big bag of the stuff and a scratch made mac & cheese is sounding excellent for lunch... I understood this to mean that the ammonia is to make up 5% of SwissSeiko's total volume, not that the ammonia purchased was a 5% concentration to begin with. I think the concentrated ammonia we can get in US hardware stores is 25%-30% so still plenty of water, but 5% of the total mixture consists of ~25% ammonia, so what, about 1%-2% of ammonia in the final mixture by volume? I think?1 point
-
Good quality olive oil! That's roughly 70 - 80% Oleic acid (= the beneficial omega-9 mono-unsaturated fat in it).1 point
-
The balance needs to be rotated slightly to match the position of the pallet fork, as you fit it. eg. Imagine you are looking at it with the fork above/behind the balance; if the fork, at the balance end, is to the right, you need to put the balance in with it rotated somewhat clockwise. Or vice versa, if the fork is to the left, rotate the balance anticlockwise. Whichever way around you assemble it, the as the balance turns through centre, it has to engage the fork and take it across. I usually set the fork so that it suits the position of the balance with the end of the balance cock (and balance wheel) rotated away from the movement, as I find that's the easiest way to lower the balance in while supporting it.1 point
-
Ammonia solution is aqueous while all the other components are oils. It will never mix.1 point
-
Great thread, looking to make a UK version of the above, the hard bit seems to be getting the correct naphtha and white spirit: From the L&R MSDS sheets the following are the ingredients for 111: Mineral spirits = CAS 8052-41-3 Naphtha light = CAS 647-89-8 Klean Strip MSDS sheets (Not available in UK ?): Klean-Strip Mineral Spirits = CAS 64742-47-8 Klean-Strip VM&P Naphtha = CAS 64742-49-0 (classified as light naphtha) Note: A better match for the L&R 111 mineral spirits is Klean-Strip paint thinner = CAS 8052-41-3 (the same CAS # as L&R mineral spirits) They are both known as Stoddard Solvent Now for the UK versions.... The closest I can get to Naphtha light is: U-Pol S2001/5 Fast Panel Wipe & Degreaser (Link) which is the same as Klean-Strip VM&P Naphtha (both CAS 64742-49-0) A little more detective work for the L&R Mineral spirits = CAS 8052-41-3, which according to Wikipedia is Stoddard solvent, and Stoddard solvent is a North American term corresponding to white spirit type 1. So white spirit type 1 is hydrodesulphurized heavy naphtha (petroleum) -> CAS 64742-82-1. If we believe Wikipedia then we can find CAS 64742-82-1 as most common white spirits in the UK eg Bartoline White Spirit (Link) which is EC 919-446-0 = CAS 64742-82-1 I also found 25% ammonia (Link) Drawing a blank on Oleic Acid... anyone out there have any ideas?1 point
-
OK, let me see what we have to do here. Rich, I need to see all the pieces. The main plate, the barrel with it's arbor and the ratchet wheel that I guess stays under the bridge. We need to know what is this thin shoulder needed for.1 point
-
I hadn't realised it was a cylinder movement and as others have mentioned you may not get a good reading on the timegrapher. Looking at the snowstorm you've got on the display I think you need to have another look through the movement before doing anything with the mainspring.1 point
-
I’m no expert as you know Rich but what little I do know is that the order of operations is the key to any machining. Here is what I have come up with during my extreme caffeinating regime this morning ️ 1) face off the end of your brass bar 2) dimple the centre of the faced end of the bar with the smallest and sharpest graver you have 3) drill the centre of the bar deeper than the thickness of the bearing and a good bit smaller than the required arbor hole 4) turn down an over length piece of the bar to the lip diameter 5) mark over length the unshouldered part of the bush and turn that to diameter 6) face off the end of the bush until the small end is the correct thickness 7) mark off the overall thickness of the bush to have the lip you require 8 ) part off the bush to that line 9) clean off and debur on an Arkansas stone 10) fit the bush to the main plate 11) using incremental sized reamers bring the bearing whole to size with you Seitz tool long winded, not like me at all hopefully one of the real experts like @nickelsilver or @nevenbekriev can give us a leg up telling me where I got it wrong. Tom1 point
-
After drawing on some inspiration provided by Caseback I will make another more solid attempt at making this tiny bush. Tbh i think I'm actually pushing my luck at bushing this area of the plate and at the thickness it is....but without it I dont think I can progress and would need another undamaged plate.1 point
-
The video shows.1 point
-
If you have a 3D printer you can print one out for each movement. That's what I do, takes about 10 minutes on my printer.1 point
-
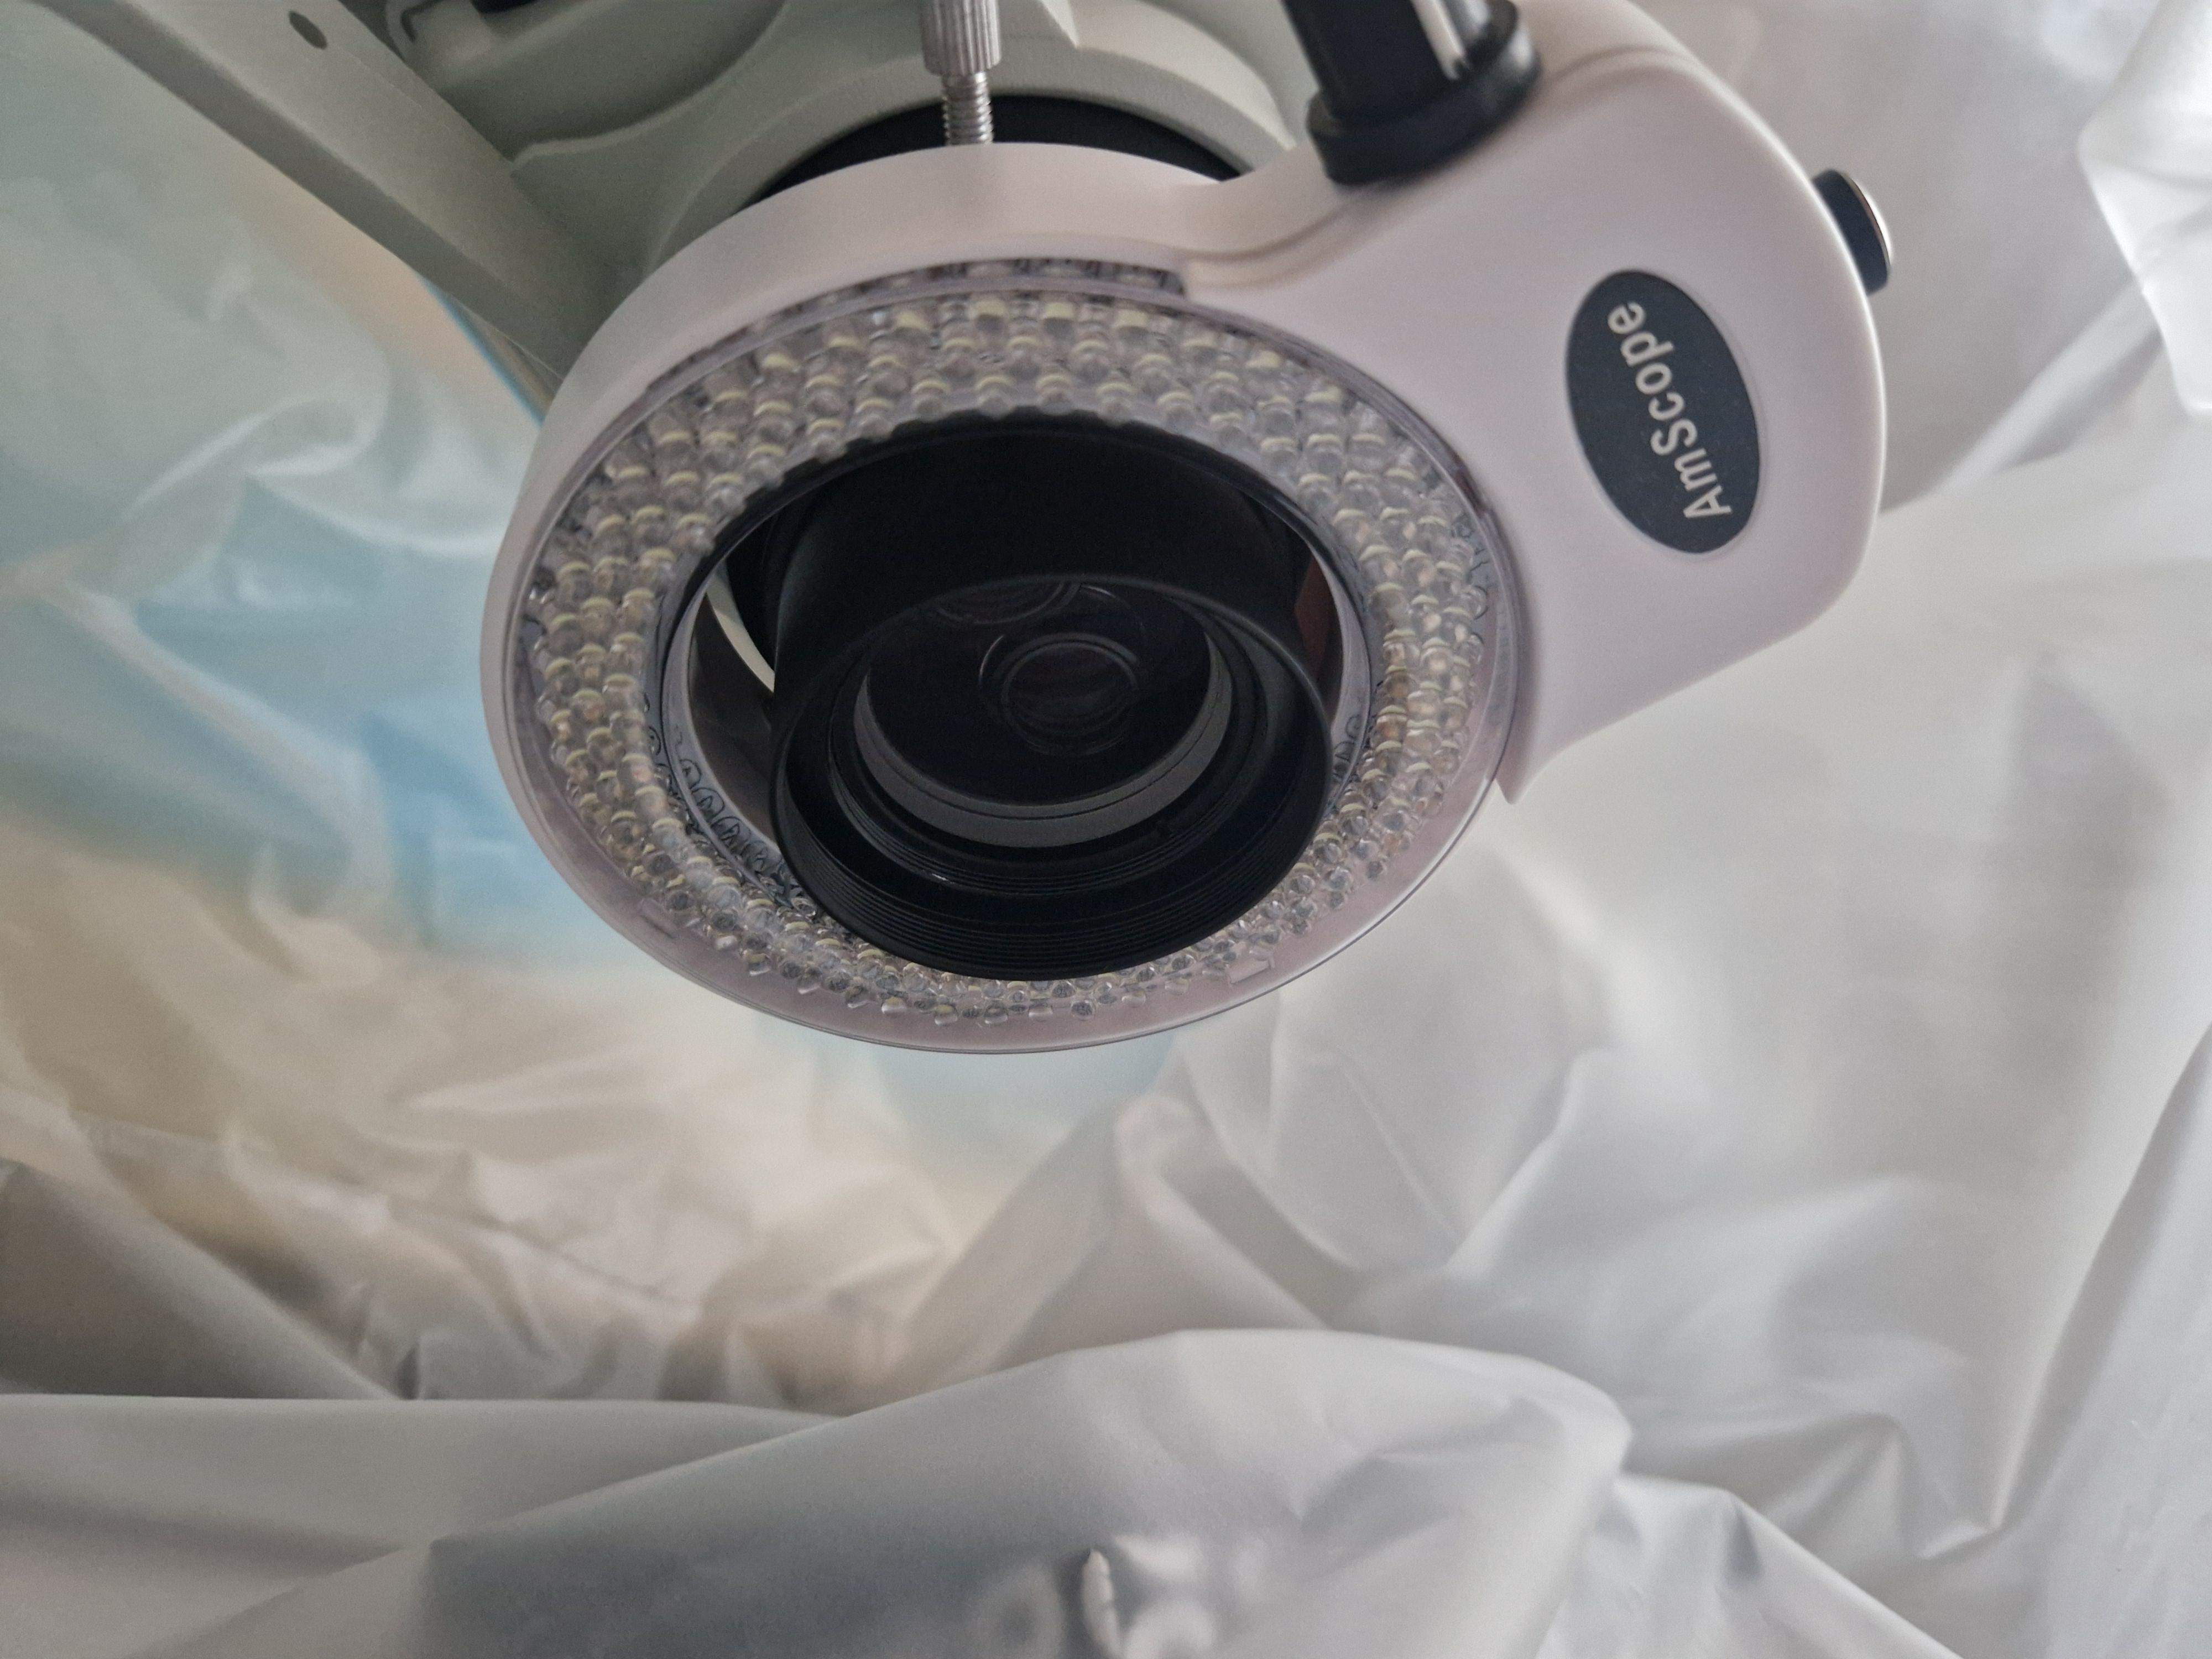
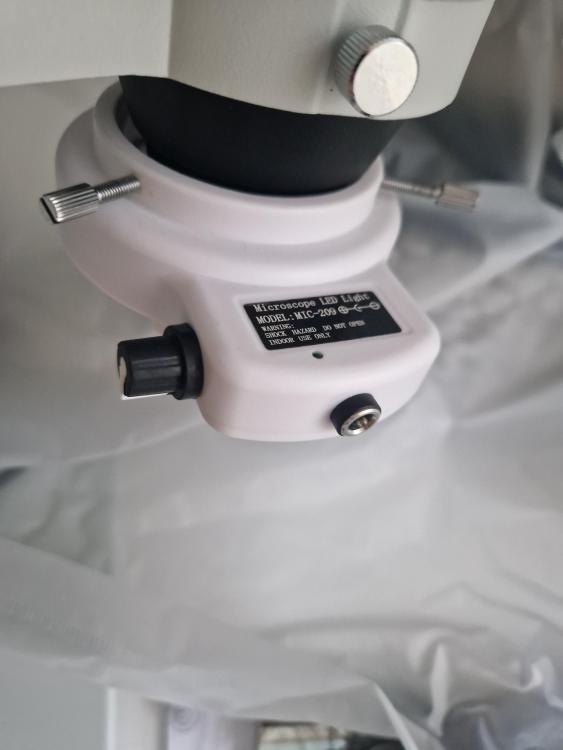
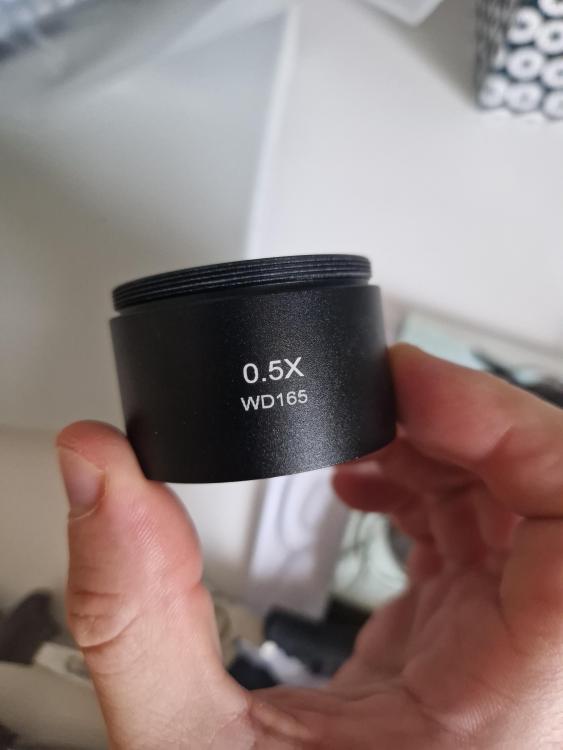
I use the same light ring and 0.5 Barlow lens as you, and find it an excellent combination. I have the same reservations on the pics - reflections, over/under exposure. For more 'artsy' pics I sometimes shine a more yellowish desk lamp or torch from the side. Still not great though.1 point
-
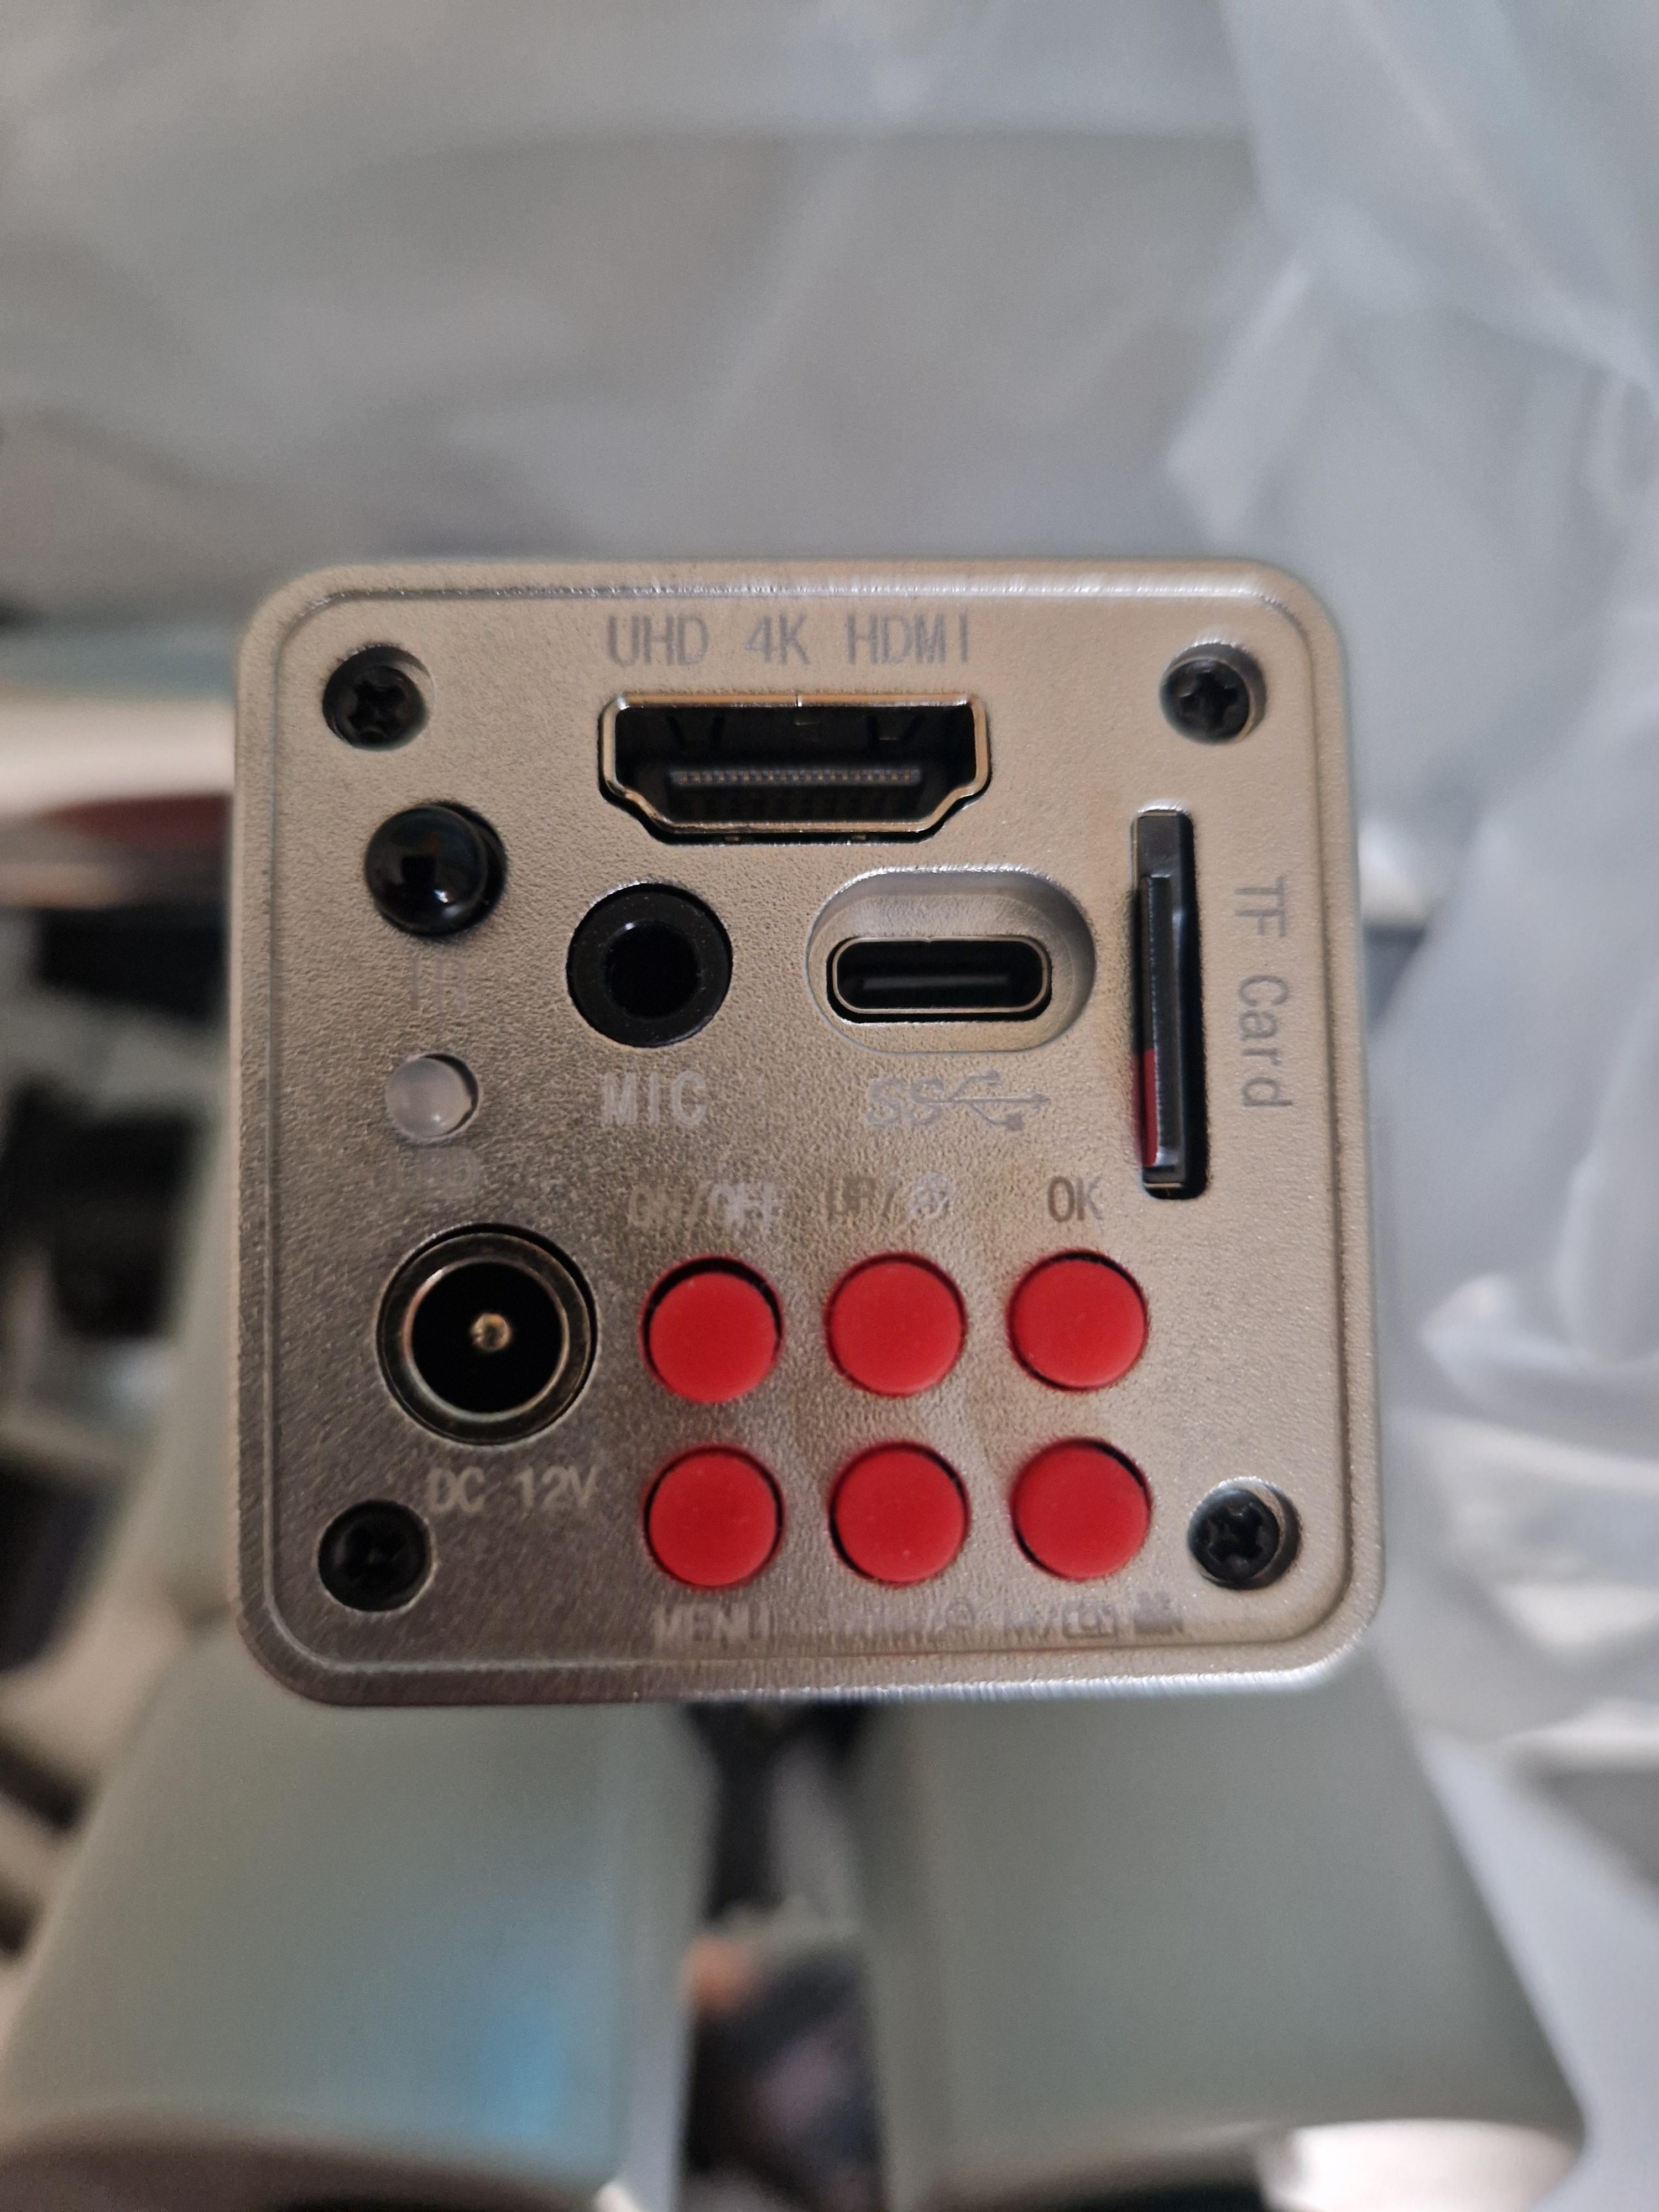
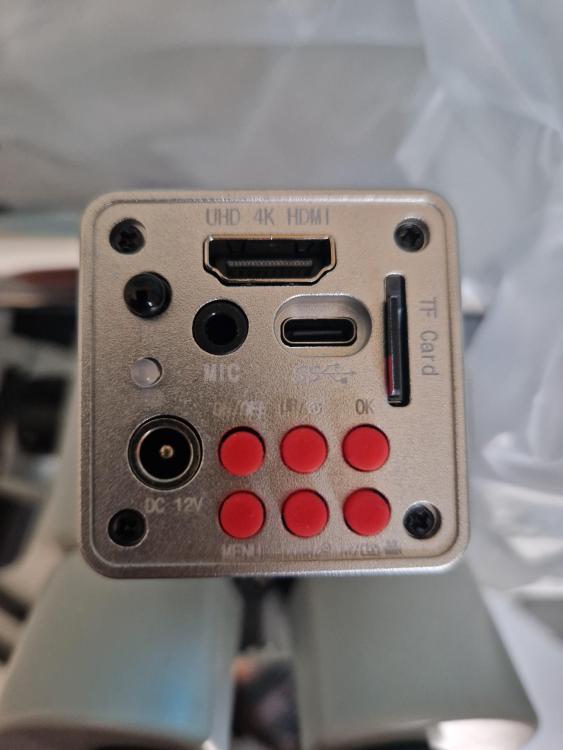
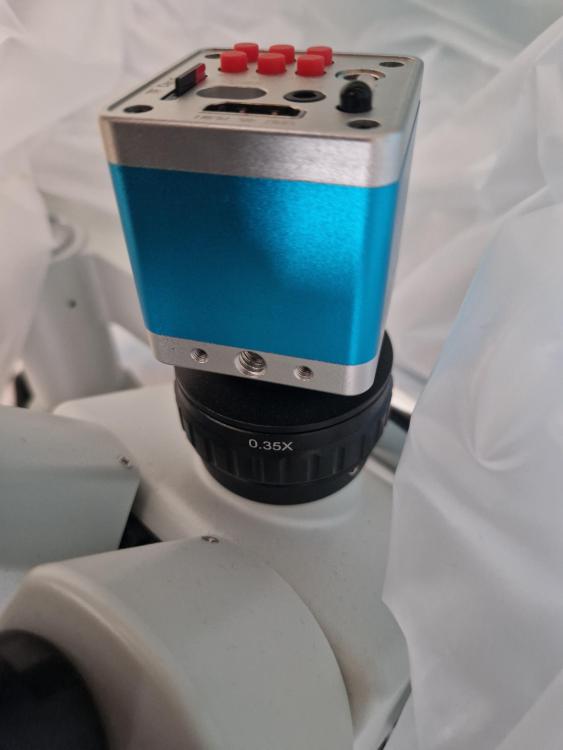
Hey @Rick See below the pictures of my ring light, Barlow lens and camera barlow lens. I found the 0.5 barlow lens ideal for the main eyesight. You also need a Barlow lens for the camera (I found 0.35 ideal as the field of view of the camera is then very similar to tye eye-view. But you have tiny black/blurry edges.) I think you may as well buy all the products on AliX. I think AmScope sources from the same factories. This is the camera I got: https://fr.aliexpress.com/item/1005004505495207.html It takes sharp pictures and videosm I use the HDMI connection with an SD card (that's the only way that the camera remote control works). The bandwidth of the USB seemed too low for the video (but maybe it's just the cable I use). I can't say that I'm overly happy with the overall image quality, but I think it may be primarily an issue of top-down lighting which causes reflection and over-exposure. Perfectly fine for taking pictures for technical/logging pictures, but not great for artsy ones.

 1 point


.thumb.jpg.cb17a66989f1e796fd4217db2e9ca9df.jpg)