Leaderboard


Popular Content
Showing content with the highest reputation on 12/18/24 in Posts
-
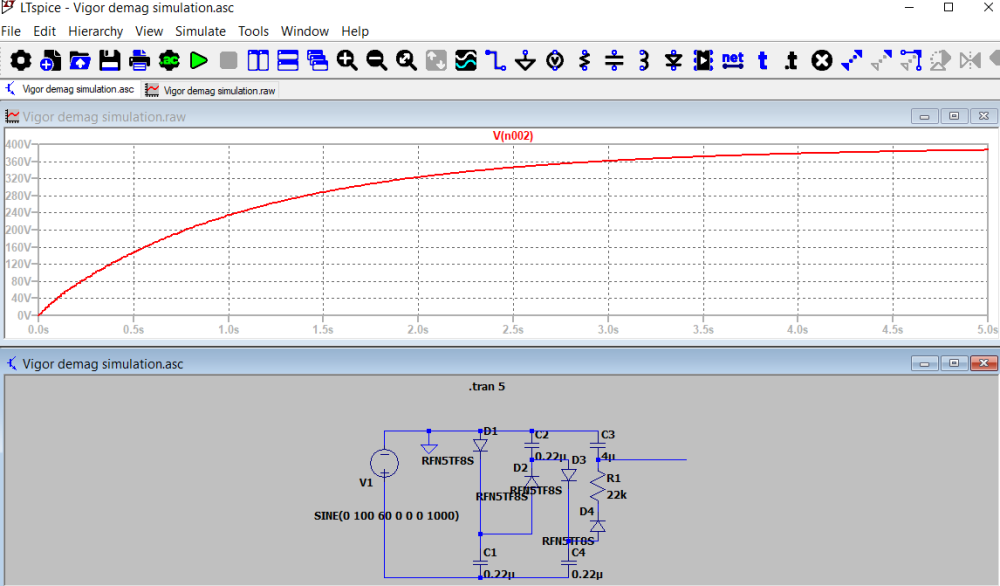
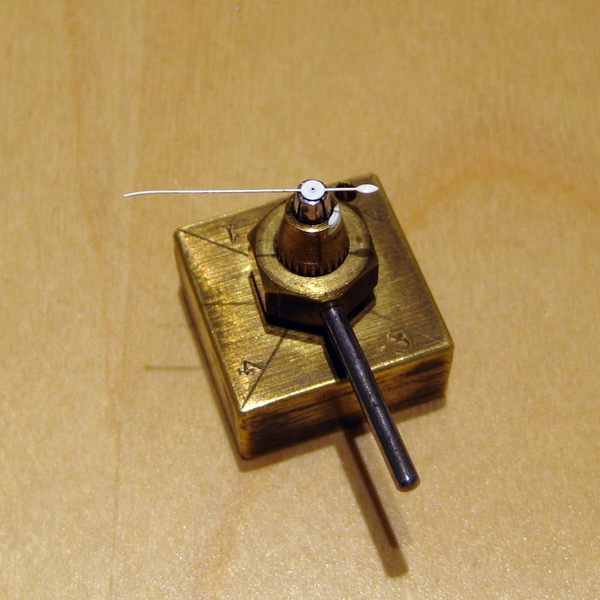
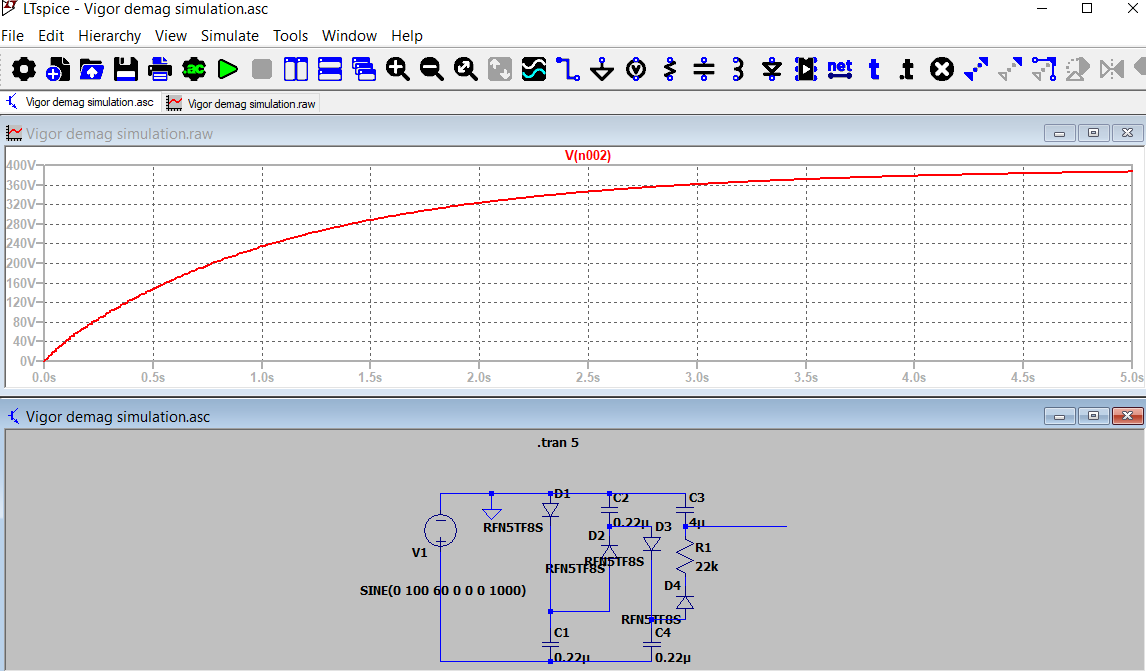
I read the whole thread. Here are some thoughts. Most (if not all) of the good demagnetizers operate on the same principle using the Villard cascade voltage multiplier. I have serviced three or four--all branded "Vigor." In every case the 4uF capacitor had died. Will explain later. Comments below are all based on the Vigor. - there is no low voltage anywhere in the circuit - the push button is plastic mounted in a metal housing but I believe the metal is isolated (I will check later). - the push button is connected to the highest voltage in the circuit. - the transformer is not wired as a transformer and is simply used as a BFI (big freaking inductor). - the Vigor is not powered using a three-wire cord with the third wire being earth ground. I have no expertise in the regulatory stuff associated with "double insulated" etc. (I am a semiconductor guy...most of my life has been spent at 10V and below!!). But, I don't think the Vigor meets the double-insulated requirements--my guess. The units I have serviced, were completely rebuilt except for the inductor, switch, and neon bulb. In all cases the 4uF cap had gone bad. The reason is that the unit is continuously plugged and and you have the full rated voltage across the cap for the entire time. Stress eventually wins the day. Therefore, for all my rebuilds, I put an inline switch on the power cord.

 5 points
 -
All modern domestic wiring installations in the last 20 years in the UK will have RCD protection. Still a lot of unprotected homes though mine included in some earlier circuits of my house. I run everything in my watchroom from 2 good quality plug-in RCD units, nice and close to all the devices and appliances I have in there. For the sake of 50 quid for these or replacing two sockets for two passive RCD sockets, reduces any potential electrical hazards . Good tipabout the in-line switch, I recently did just this with a permanently plugged in transformer for the power supply and speed adjuster for a dc motor that runs my rotary washer.3 points
-
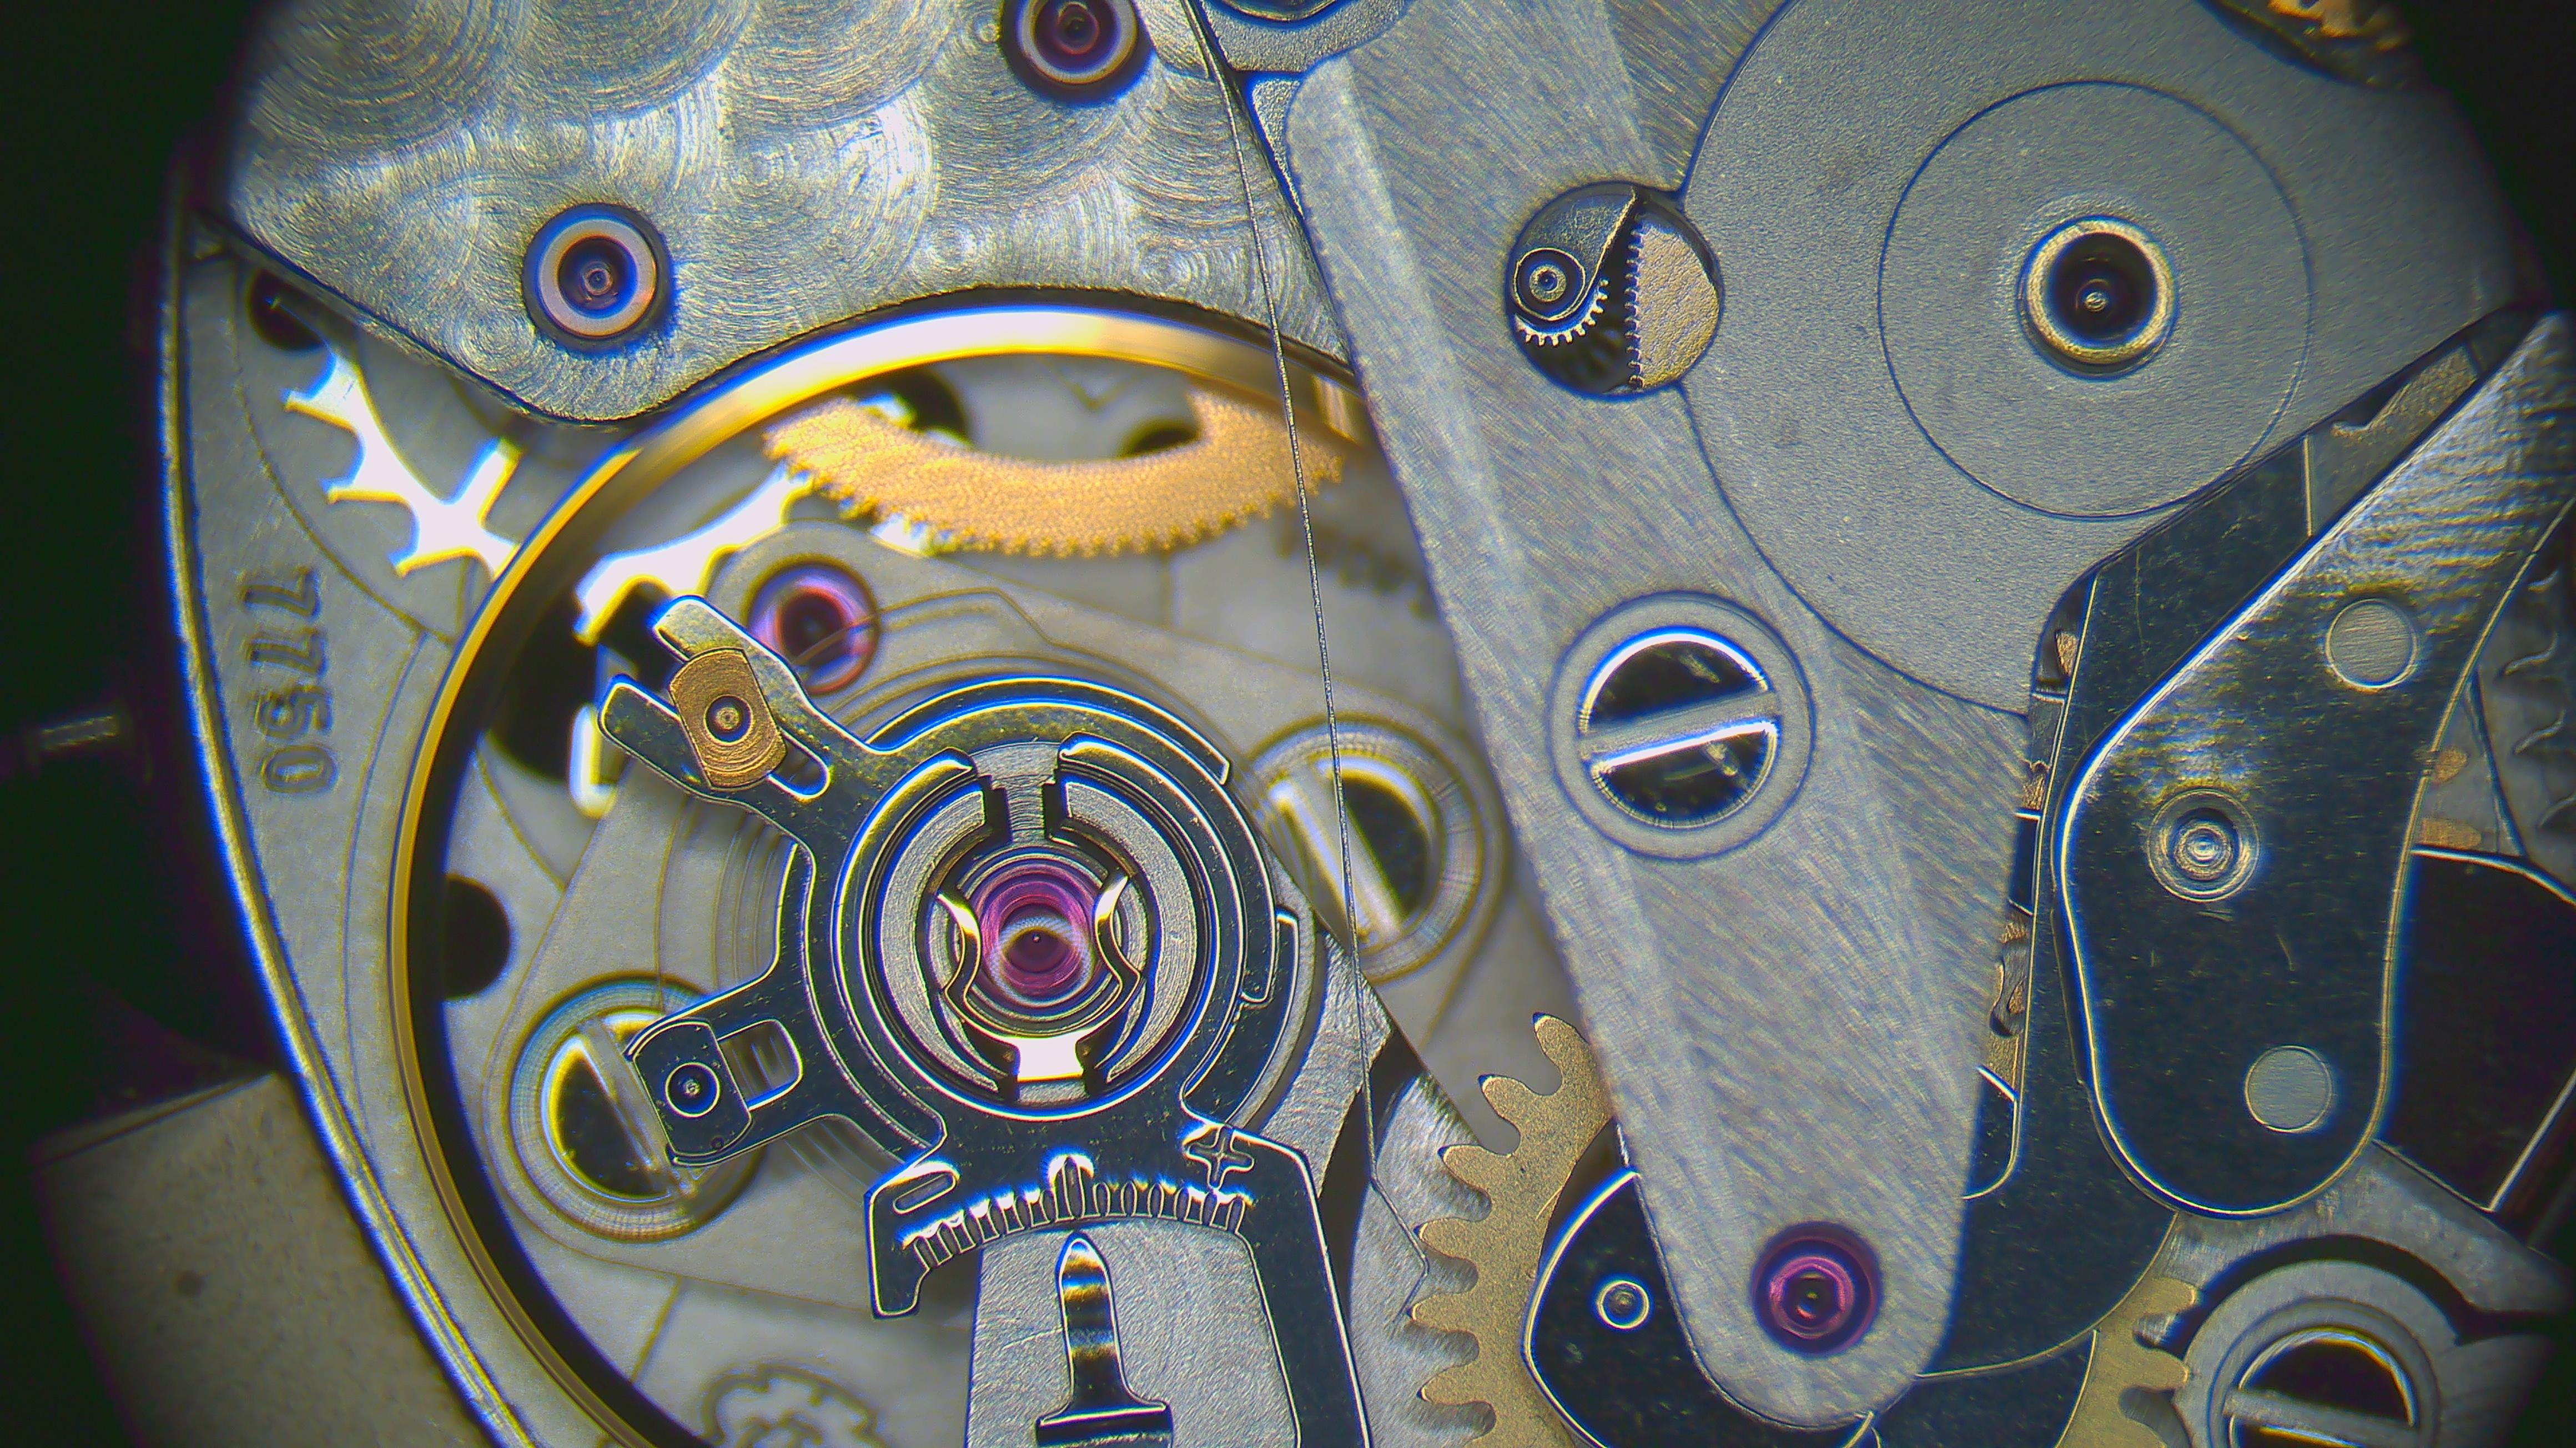
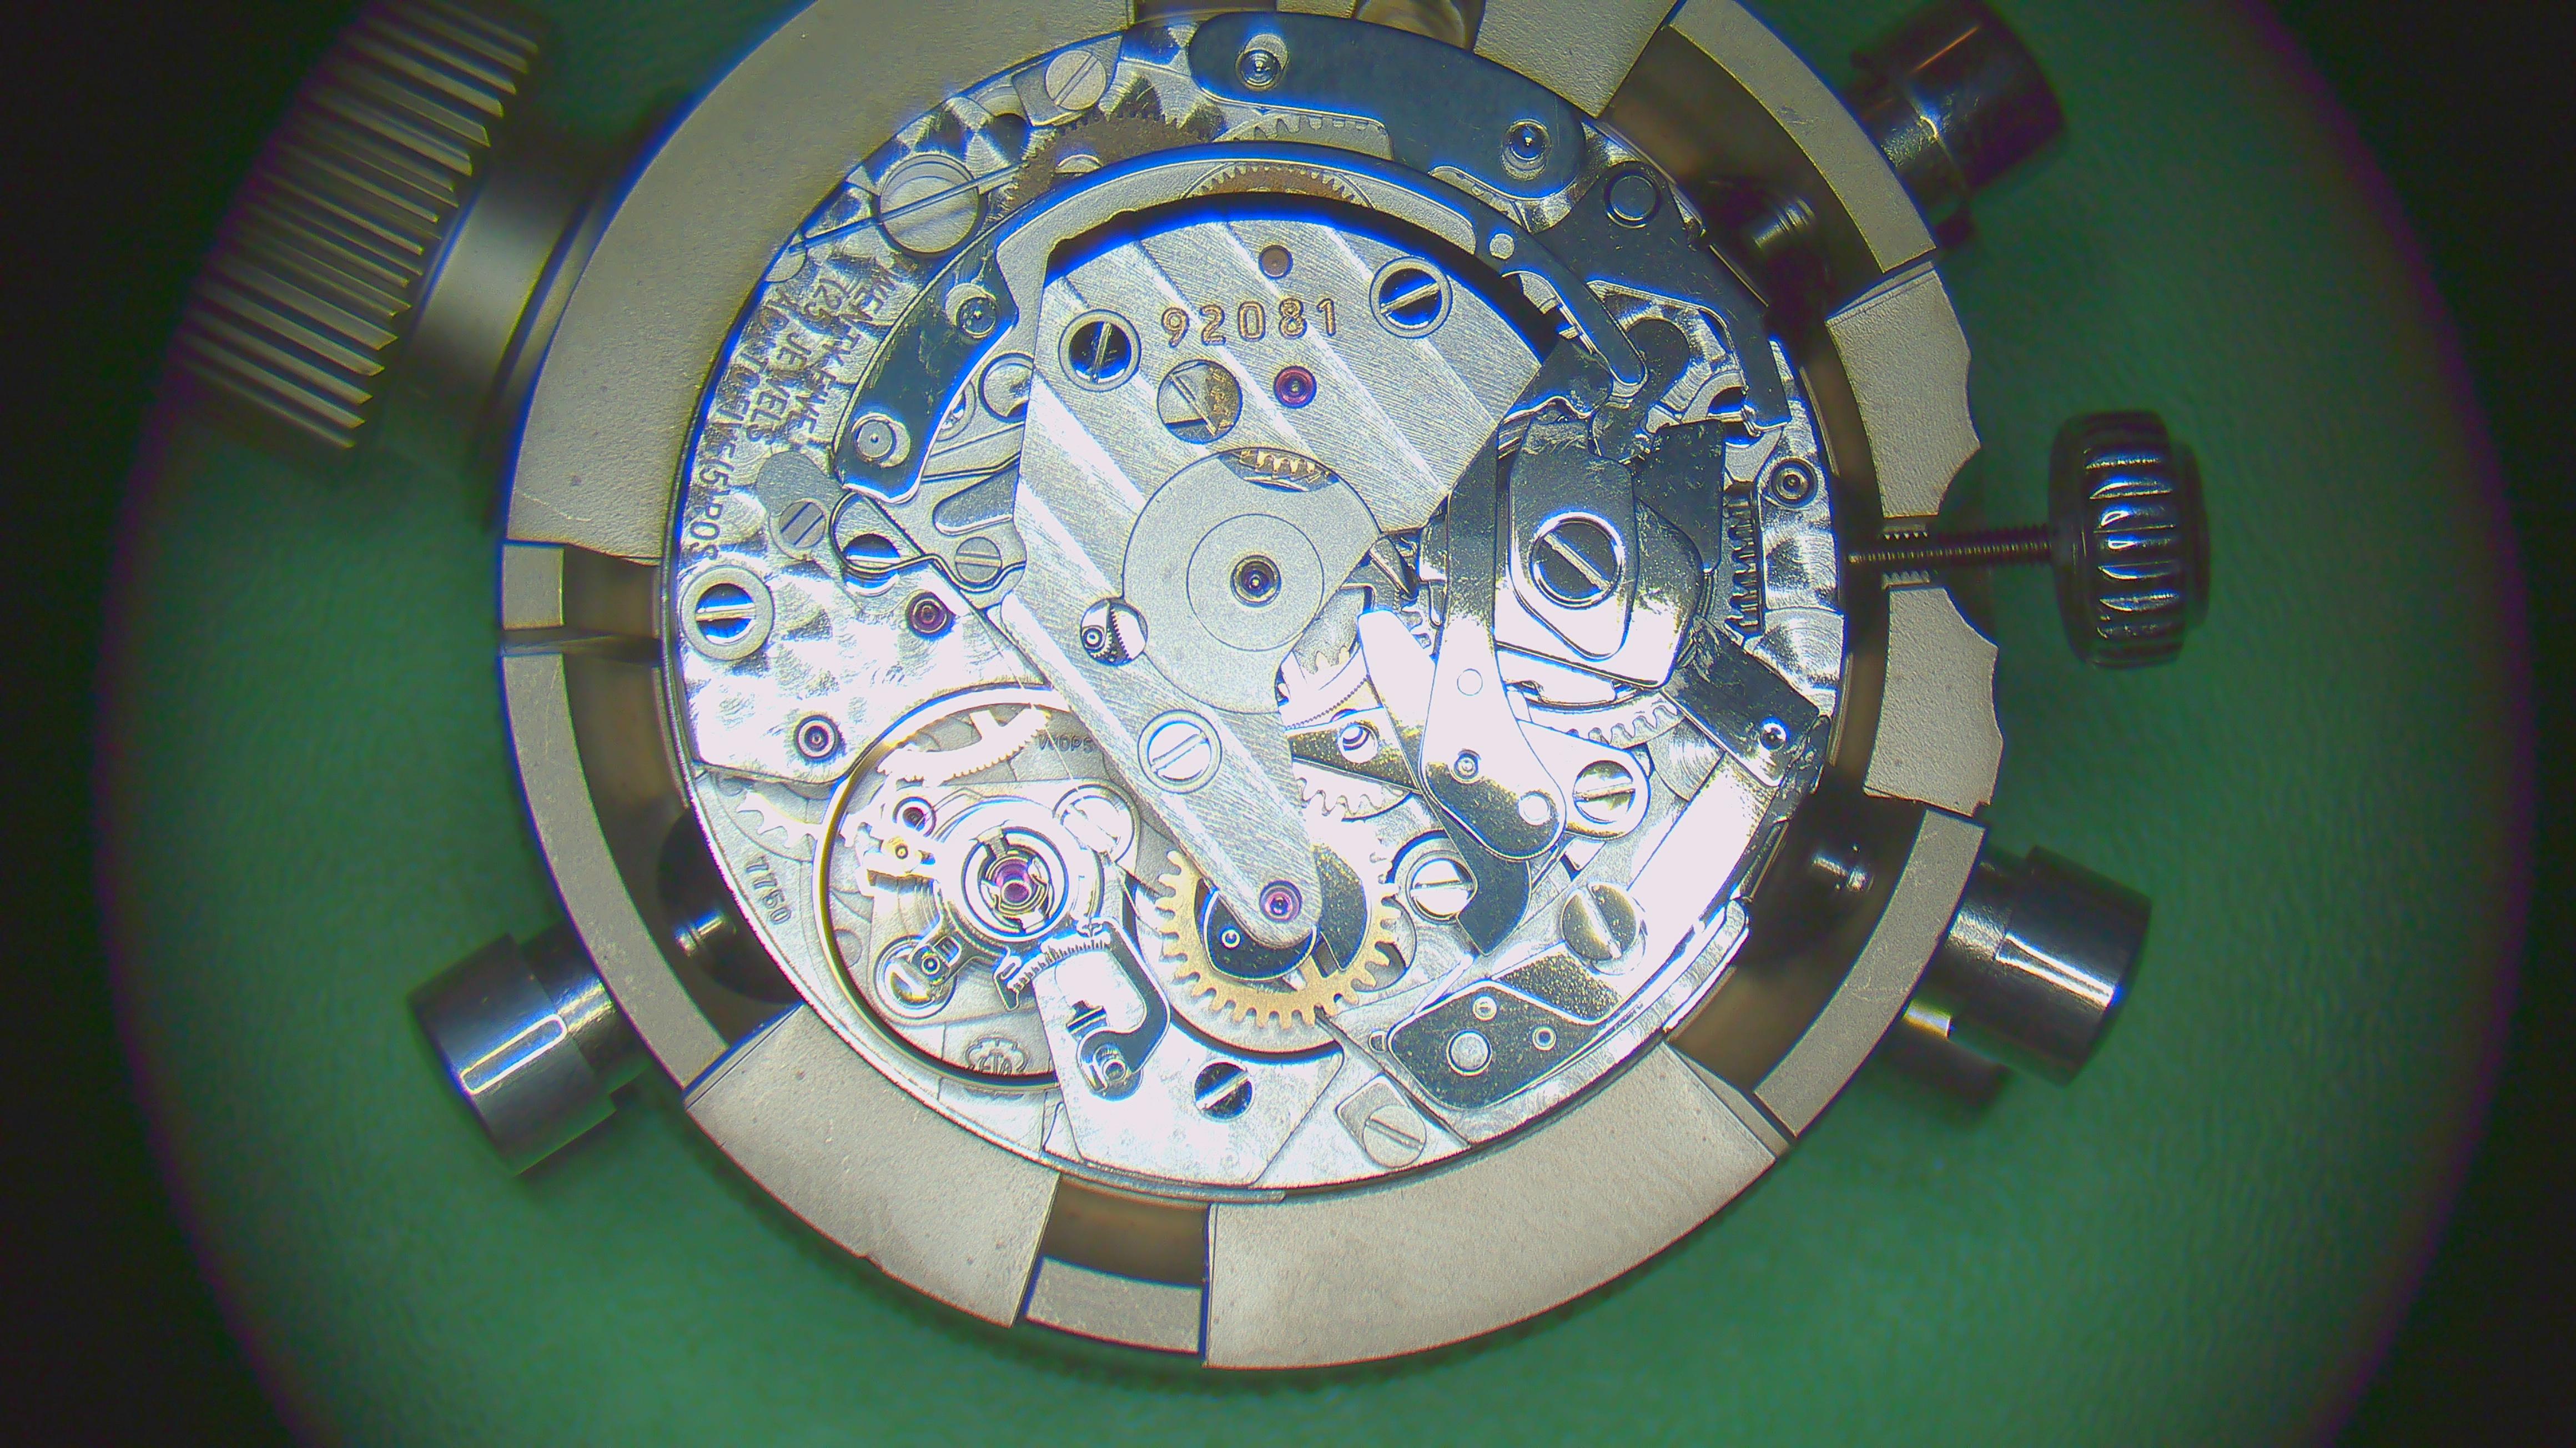
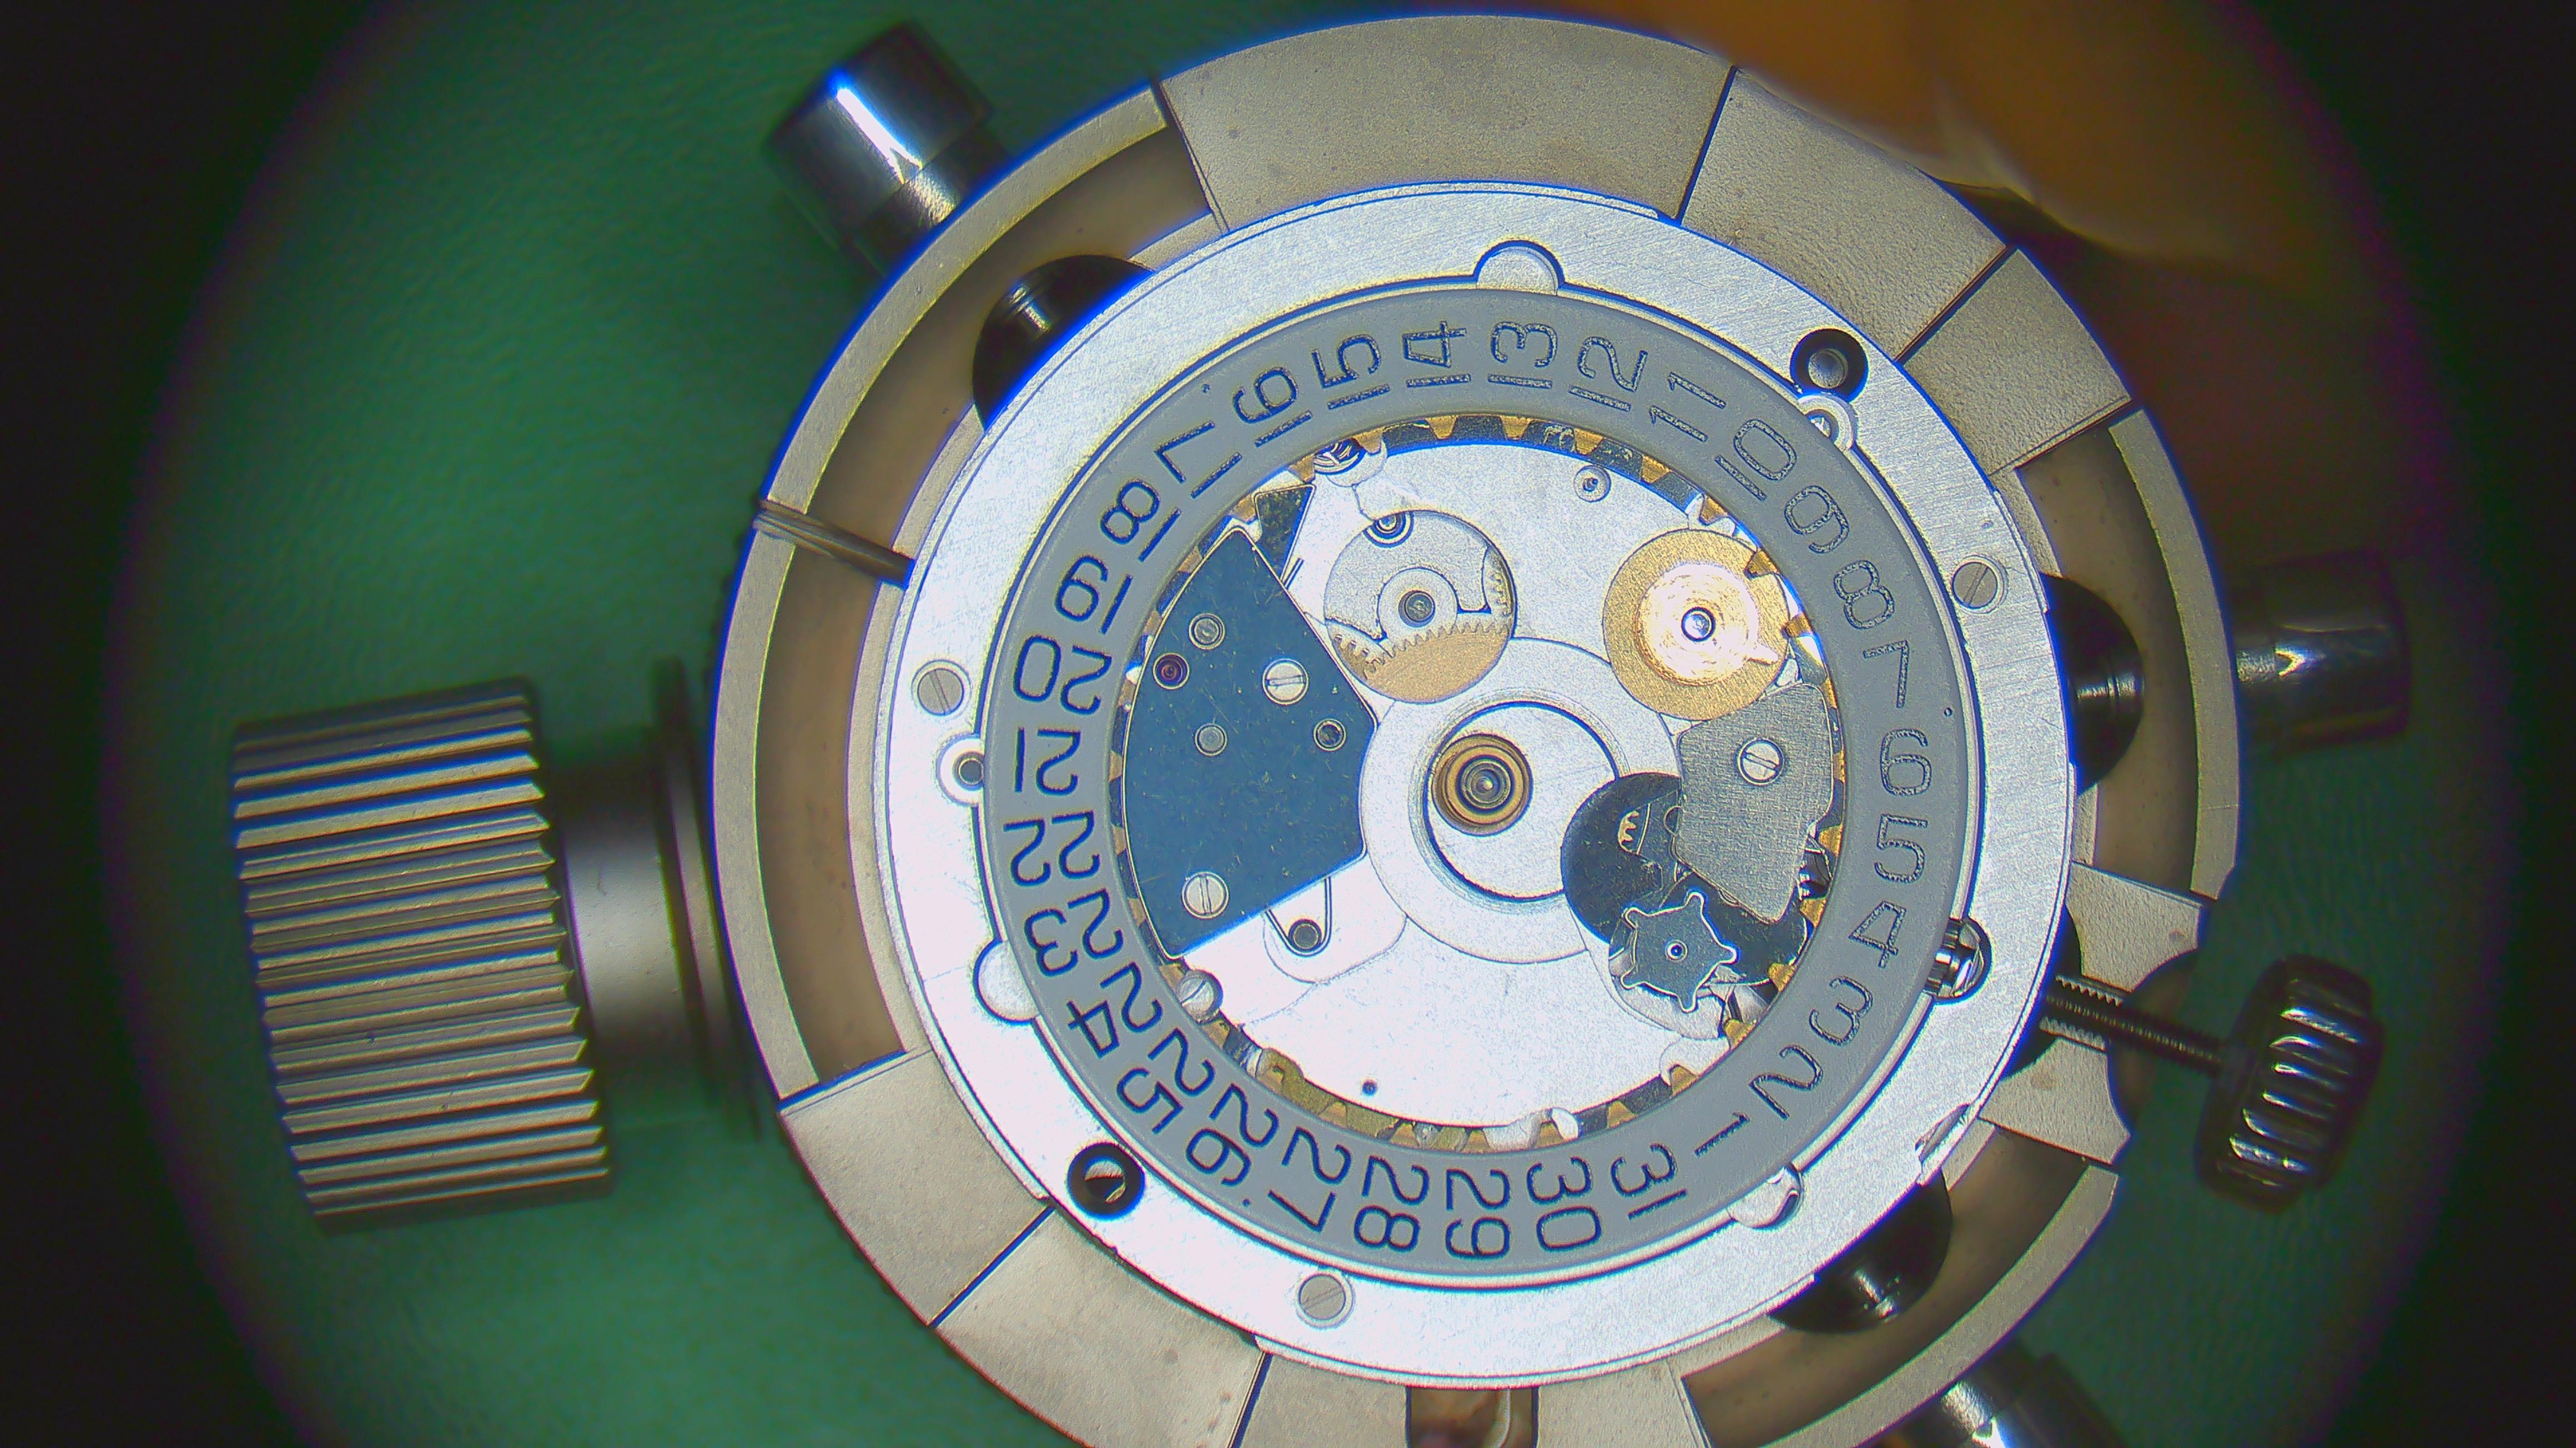
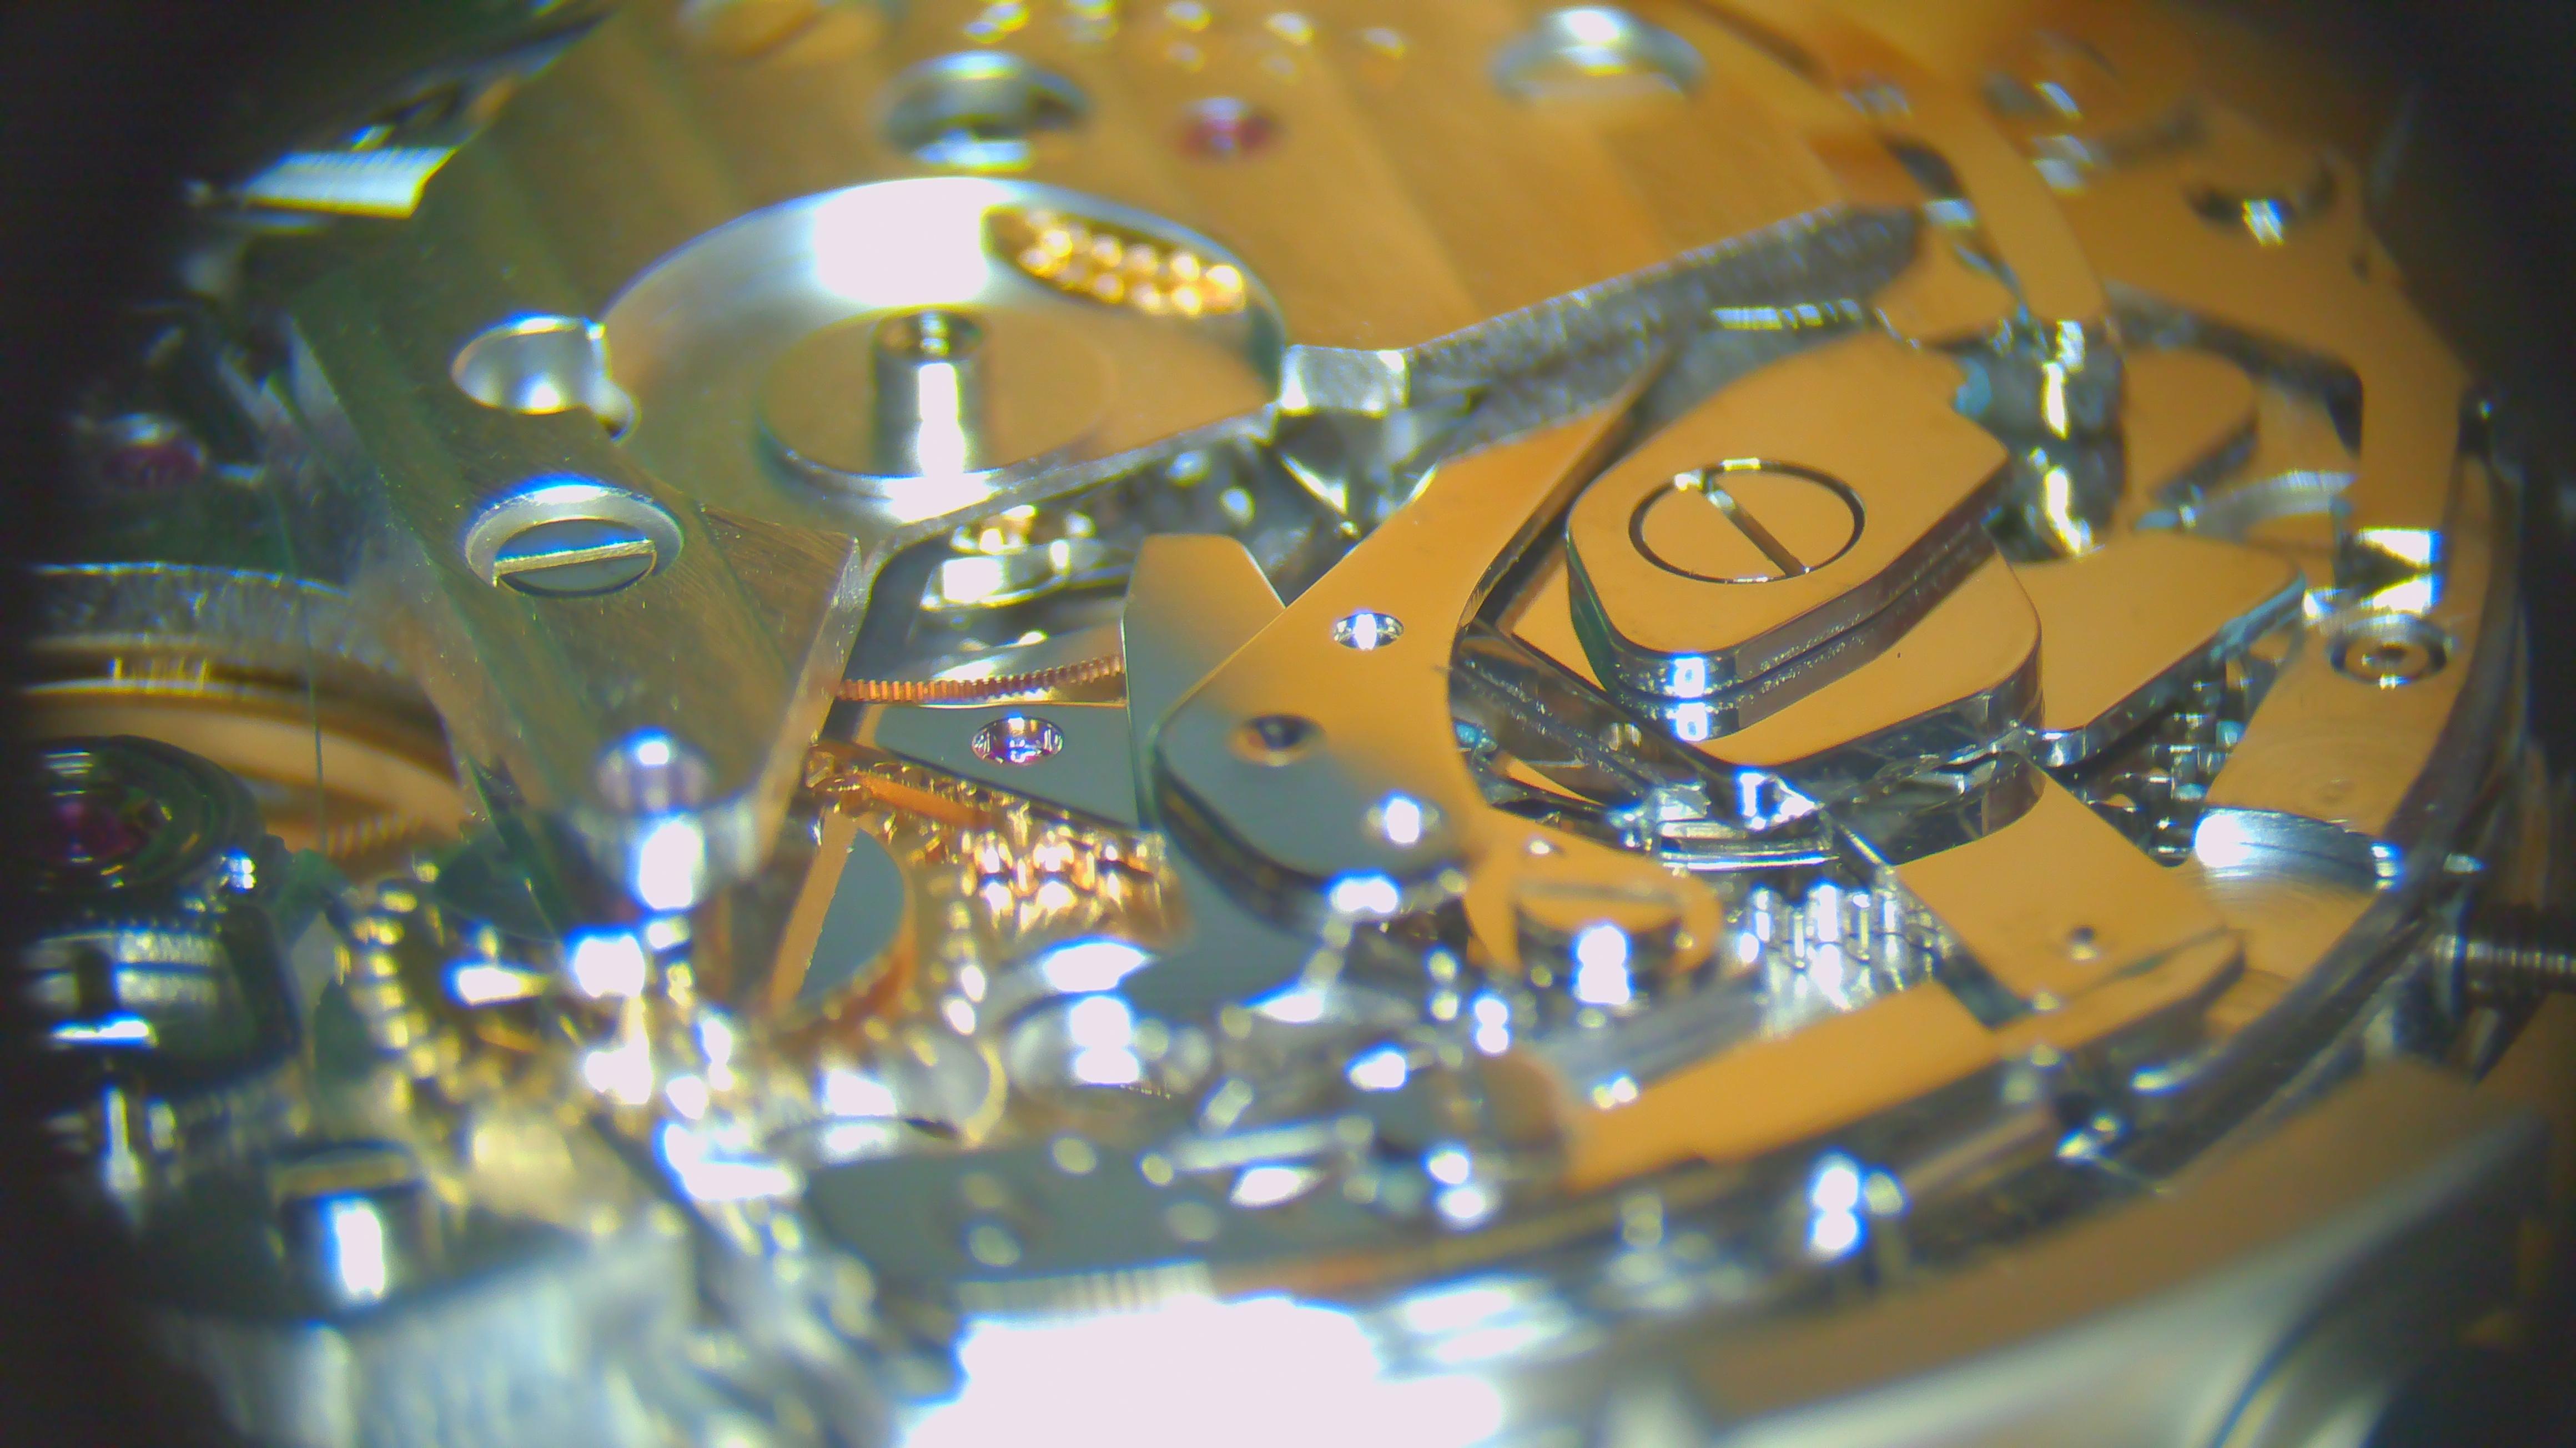
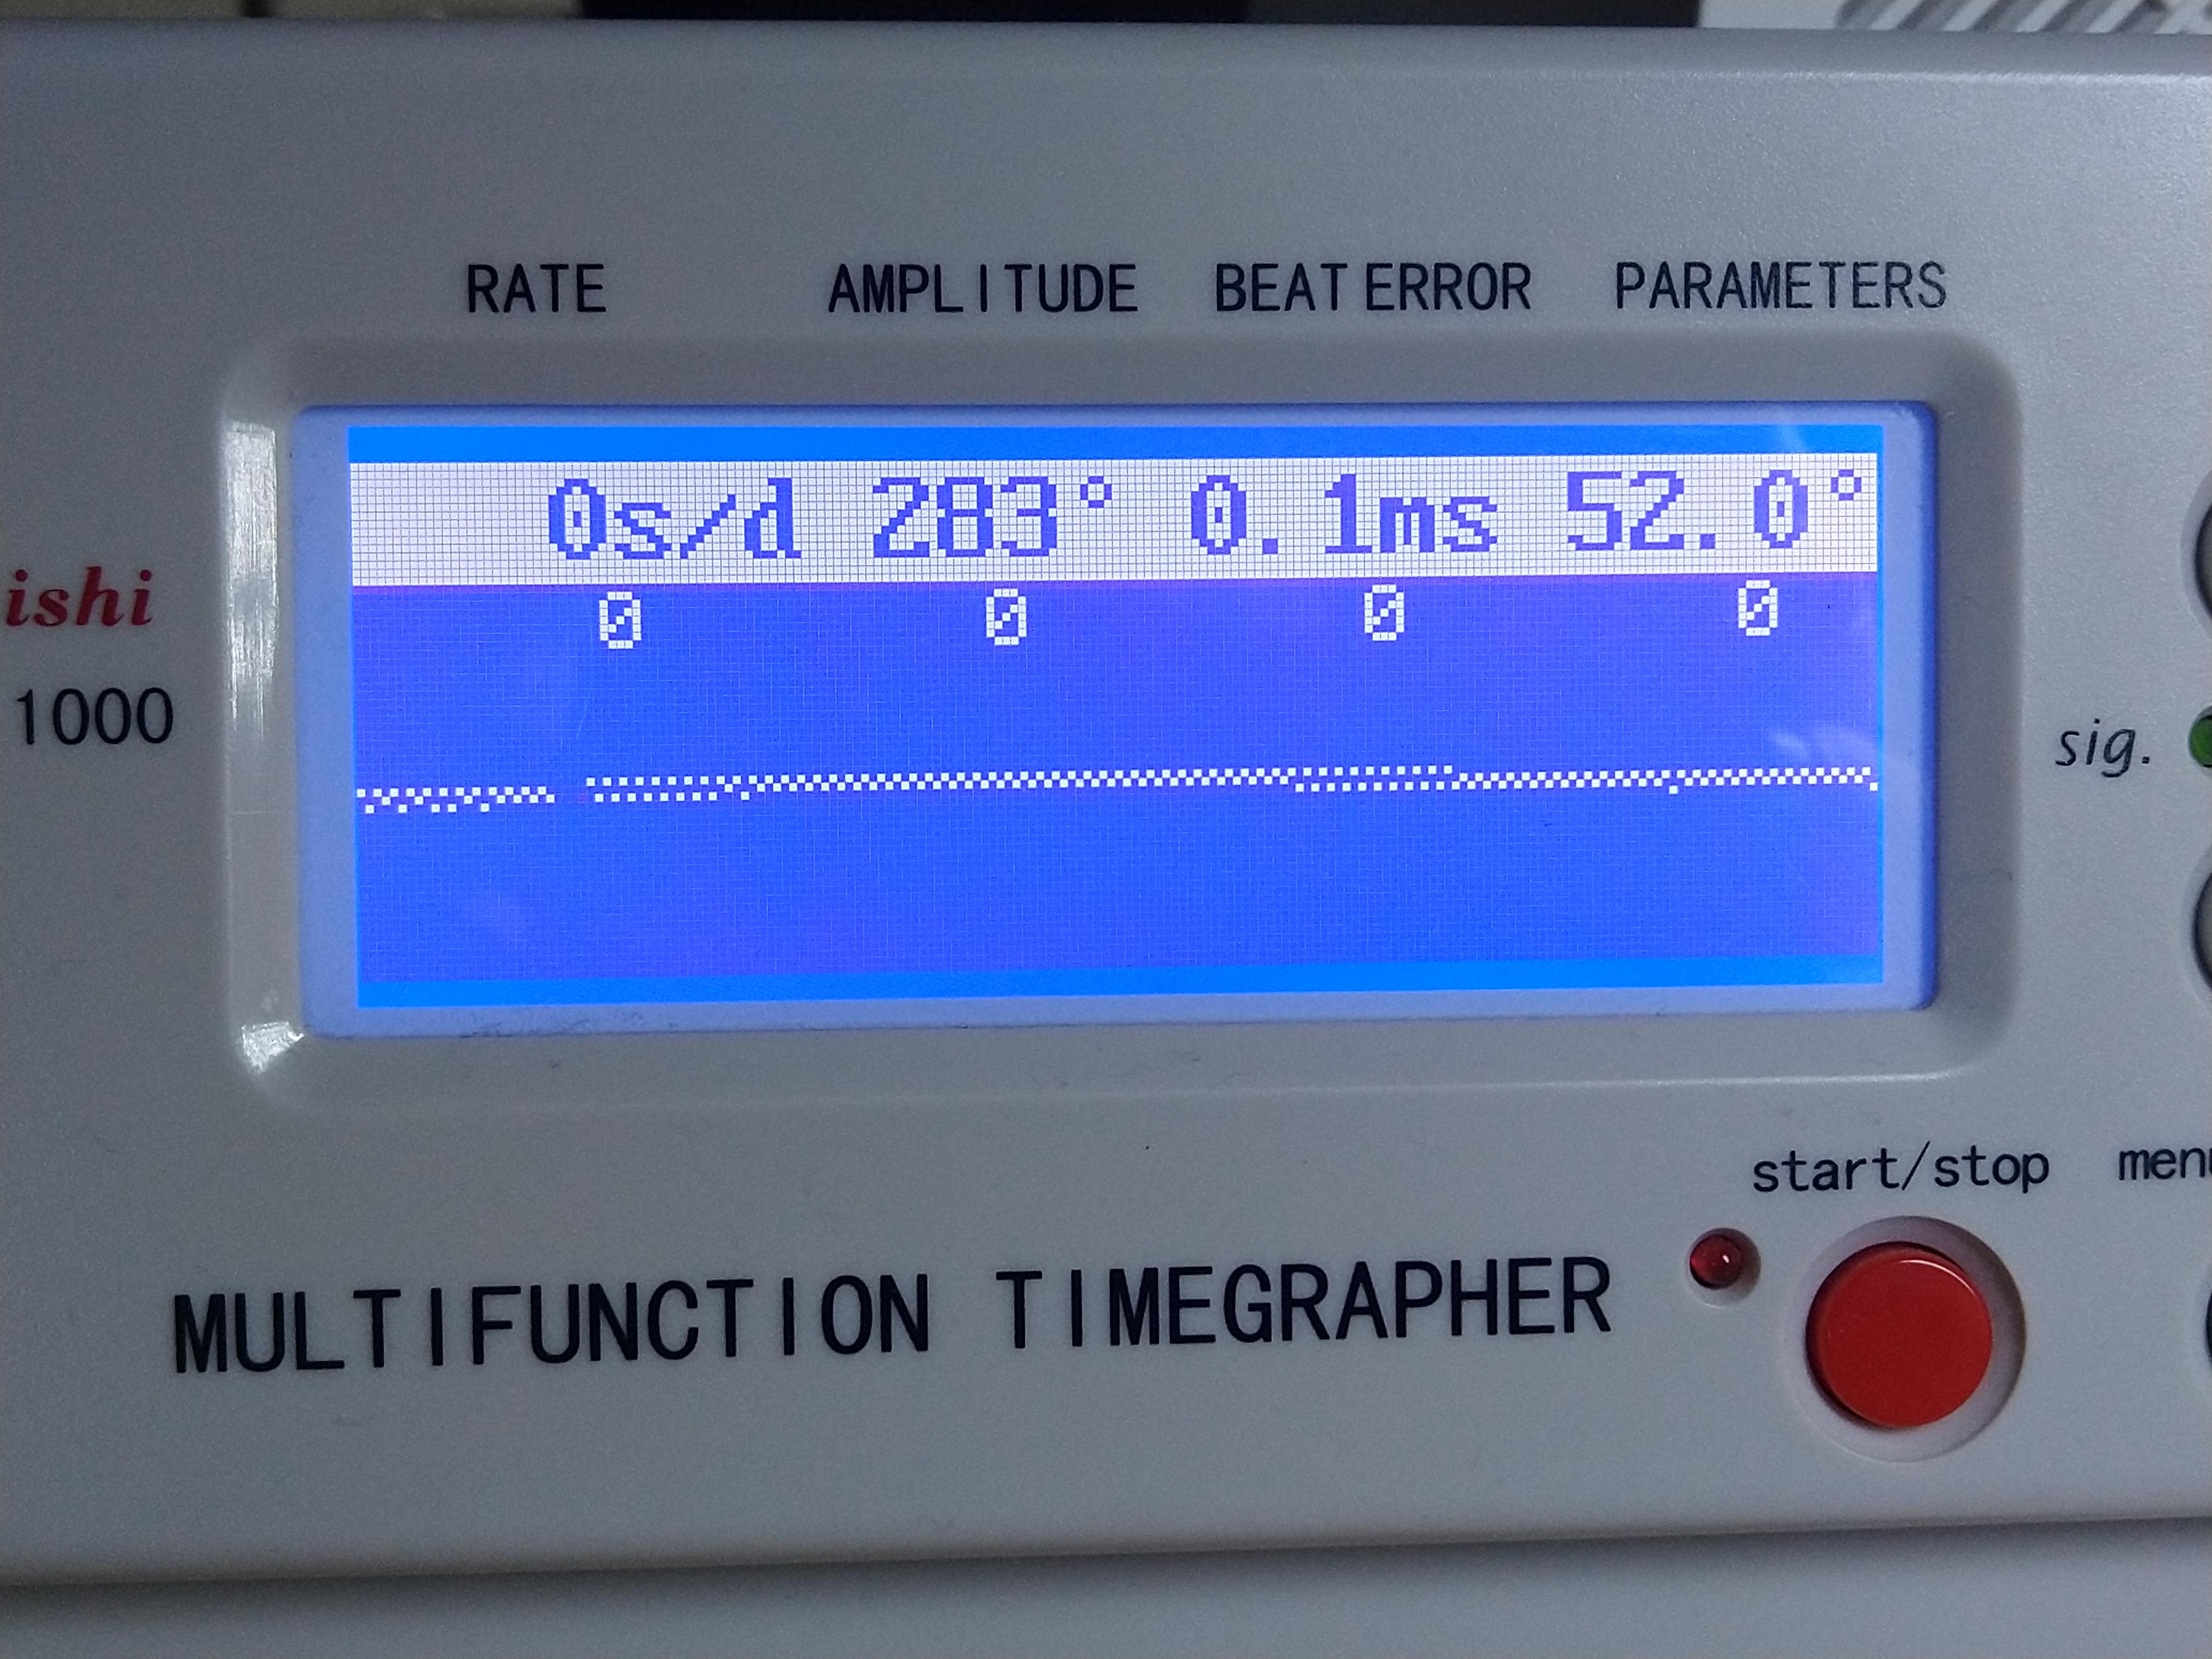
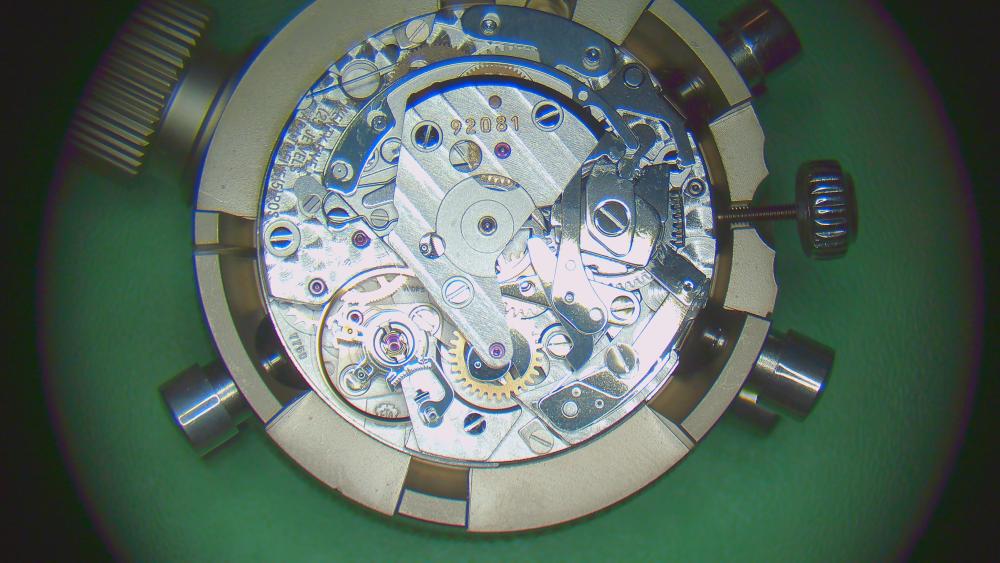
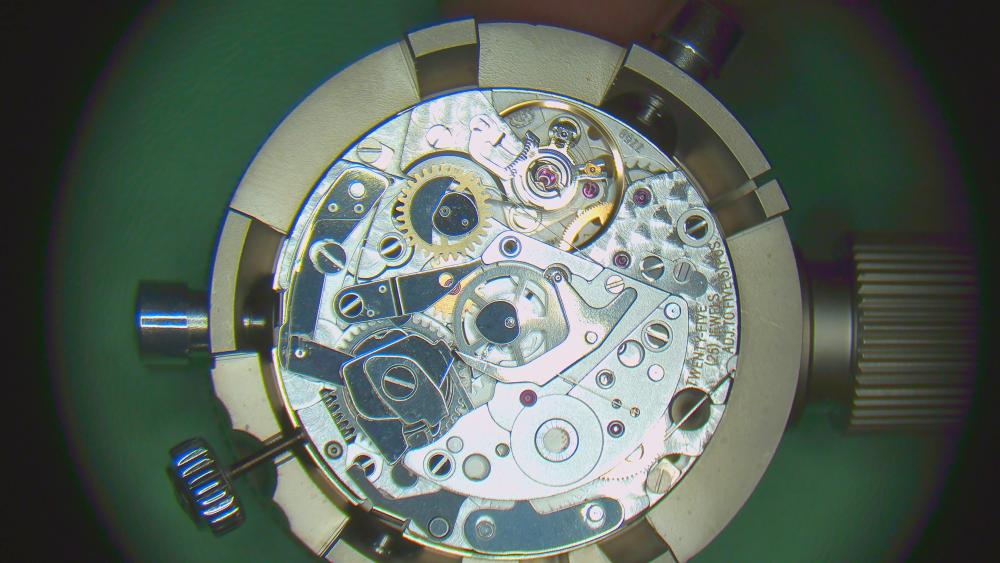
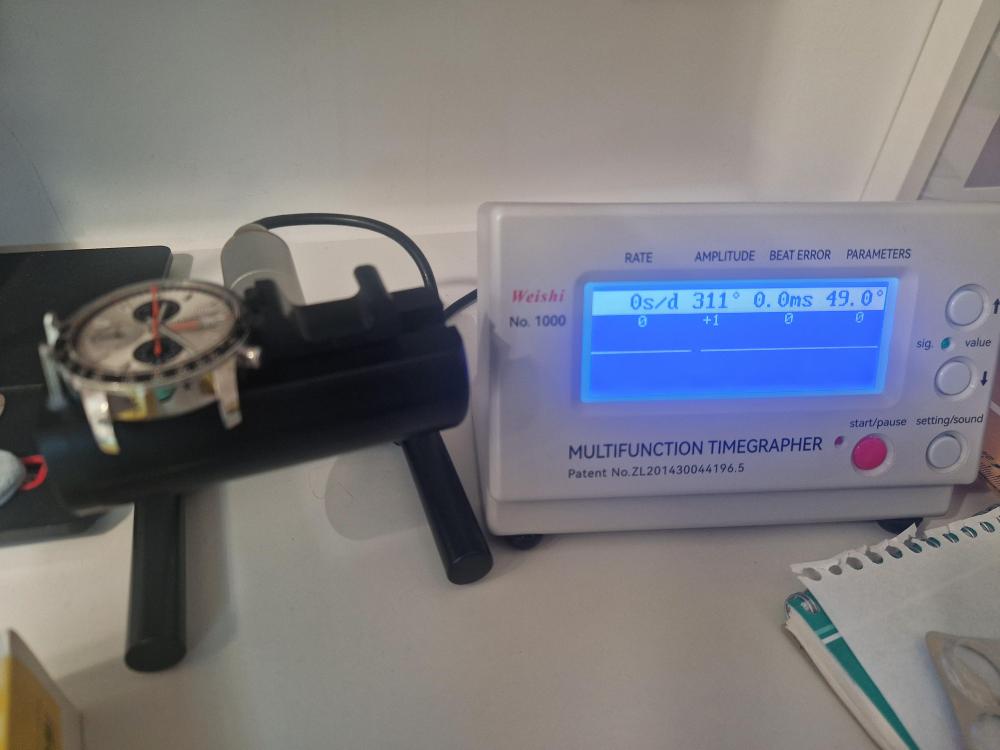
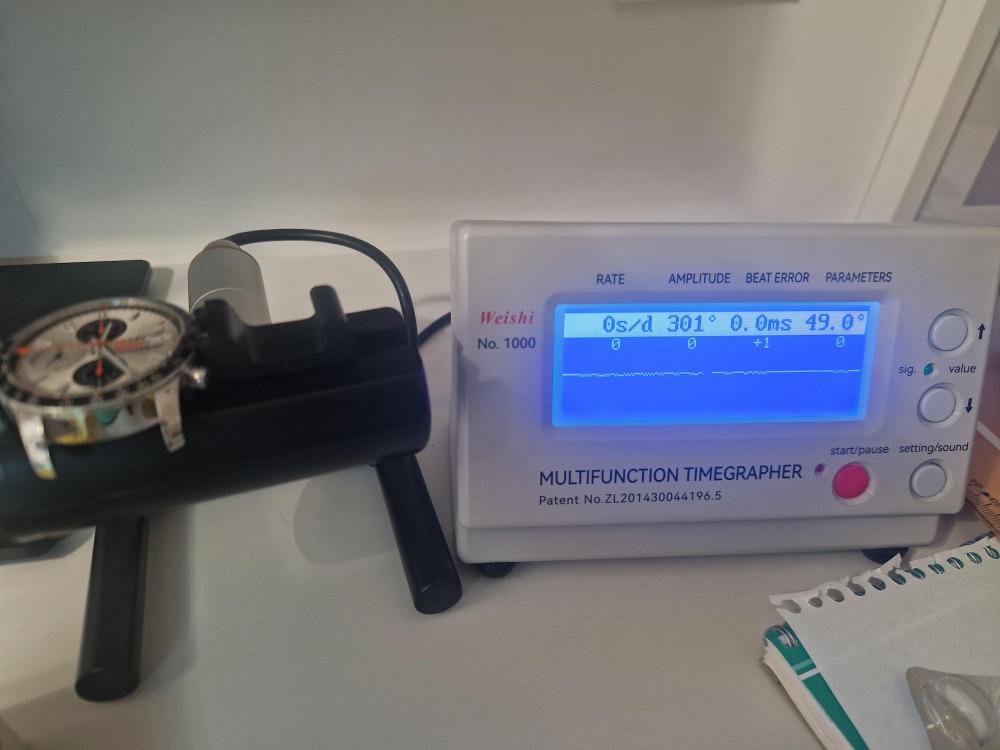
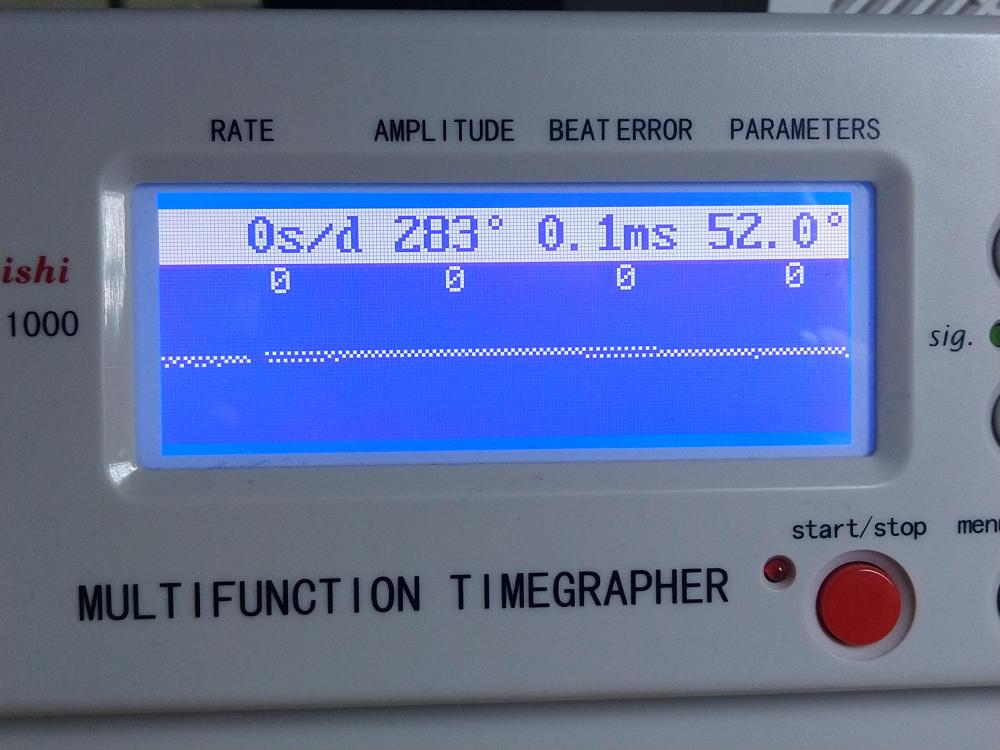
So, I finished my service for the 7750 I managed to borrow a proper movement holder with suitable jewel support from a local watchmaker/friend. Didn't want to take any risks on an expensive watch like this. Here are some random pics and the final timegrapher outputs : Dial up, full wind Dial up, full wind, chrono activated Crown down, full wind, chrono off I'm very happy with the final results of my first chronograph service


 3 points
 -
Could be overbanking or the hairspring touching something at higher amplitudes.3 points
-
3 points
-
Hey Fred, can you give us more details please. In particular why you want to make this modification, but also which movement you are working on and some pictures to help us visualise want you want to express. When starting to learn watch repair we often make decisions to do things that aren't necessary, that can be achieved in a different and less involved way, that are detrimental to the movement. It can take years of knowledge and experience to learn NOT to make these mistakes. If it seems like a major modification in your head then it probably needs re-thinking and another head to look at the decision in a different way. Not that what you're asking is a major modification, but a simpler answer and process for what you want to achieve might exist.2 points
-
I only see two options, spray it with oil on a regular basis, how often would depend on how quickly it rusts. Keep it in a sealed container with a bag or bags of silica gel.2 points
-
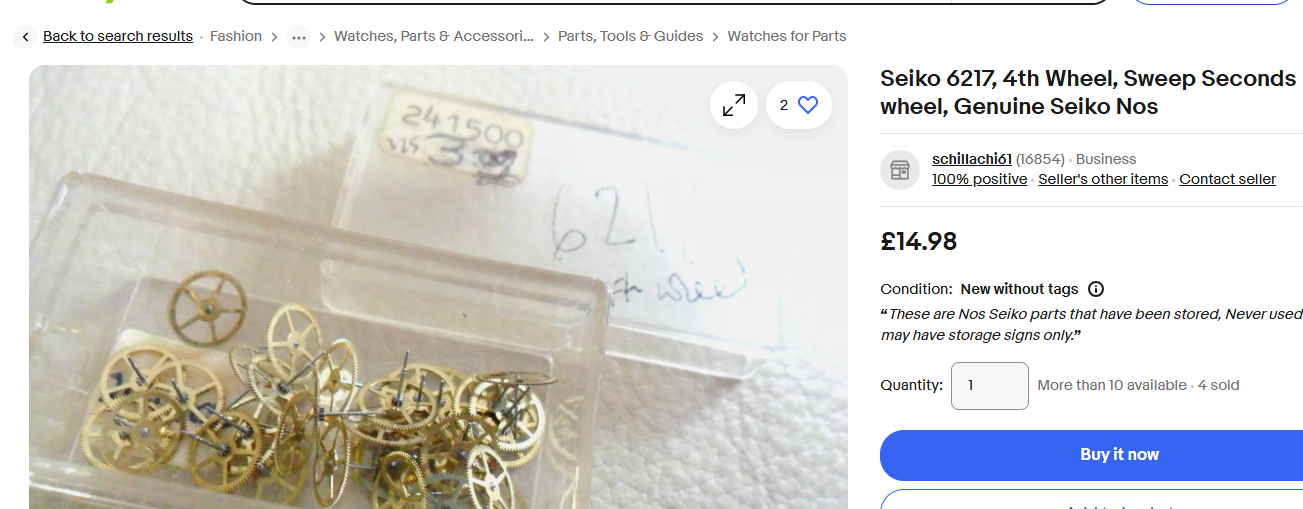
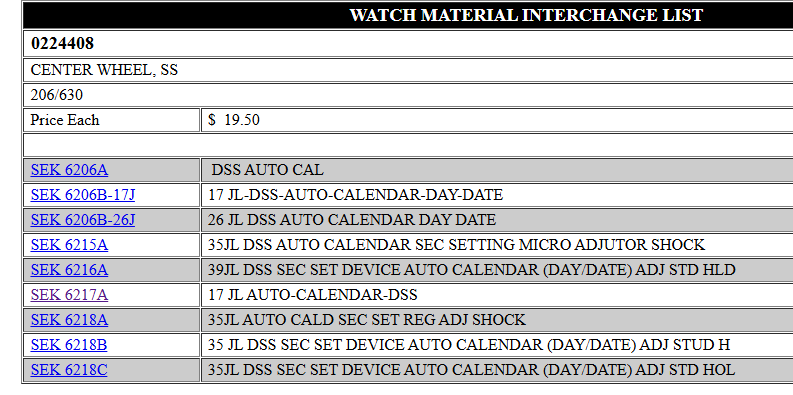
A useful source of service guides (apart from Cousins) is https://watchguy.co.uk/cgi-bin/files As you can see from the first pdf, the base calibre is 6205B. Most parts are shared but the centre seconds wheel (241500) is not. Check in the Jules Borel database to see which parts are common to other calibres. e.g. But it's often easy to find the correct parts, using the Jules Borel database and ebay. Just a quick search in ebay for "seiko seconds wheel" I found this in no time. Seiko 6217A-17j.pdf 6205B-17j-Seikomatic-Selfdater.pdf
 2 points
 -
I'm informing you all that at present my email address is old and not working. I have messaged Mark twice to change it for me to my new address but have had no reply. The reason I cannot sort it myself is I cannot remember my password. So if you need to get in touch with me please just use the messaging service on this forum.2 points
-
Haha. There is a reason why we use DU instead of FU, Joe.2 points
-
This dude Bartosz is amazing. Bit of a renaissance man judging from the breadth of topics on his blog... https://ciechanow.ski/mechanical-watch/1 point
-
Good afternoon I have an old Rotary wristwatch that has an AS 1950/51 movement. The watch was old and dirty when I got it at a car boot sale. It would run but roughly and due to time constraints I never had time to work on it and clean it up and service it. I have finally got around to stripping it down fully and have ultrasonically cleaned and have lubricated it all and it is all back together but it doesn't run. Well I say it doesn't run it does but not properly. When you wind the watch the escape wheel and pallets kick into life immediately and with the hands on the second hands sweeps around non stop until the mainspring is unwound but the minute and the hour hands do not move. The minute and hour hands move freely when you pull the crown out to set the watch and there is no binding whatsoever. I remember that when I stripped the watch down I noticed that the small cannon pinion that is part of the keyless works drive was friction fitted and took a good pull to remove it but the minute cannon pinion was not and it came away easily. I read that some watches have friction fit cannon pinions and some do not and rely purely on friction grease as used on automatic watch mainsprings to allow them to grip the barrel wall. I have cleaned the minute cannon pinion again and applied some friction grease to it and rebuild the lower end but alas same thing again. Does anyone know if the minute cannon pinion is a friction fit on this movement or if it is friction grease that drives it? I am at a loss as I am so near yet so far to having the movement back in it's case and being able to enjoy wearing it. Many thanks Andy1 point
-
Generally, rust and oxidation have a very negative effect on a movement. In my experience, even the slightest imperfection on wheel pivots (and jewel holes) increases friction, thereby reducing amplitude. How much it affects, of course, varies. Then again, it’s naturally a matter of what demands and expectations one has. A movement can keep time very well even if everything isn’t entirely perfect. I’m not sure how experienced you are, but if you’re relatively new, my best advice is to lower your expectations a bit and try to enjoy the small progress you make step by step as you learn more. Good luck!1 point
-
So You actually need to use 'normal' type pivots escape wheel in movement with cap jewels. You can use grit 1000 or 2000 sanding paper glued on something flat to gently grind the pivot tips (of course, diamond disks, Arcanzas stone... can be used), BUT the best way is to shift alittle the jewel setting(s) in order to increase the axial free play.1 point
-
Rust at contact areas are the ones that pull on the amplitude, and grind up steel and ruby. Pivots typically seem to be rust magnets, suffer more than the rest of the wheel and do the most after damage. Often additions were logically applied by someone with some knowledge. Missing items and reductions are often made by breakers1 point
-
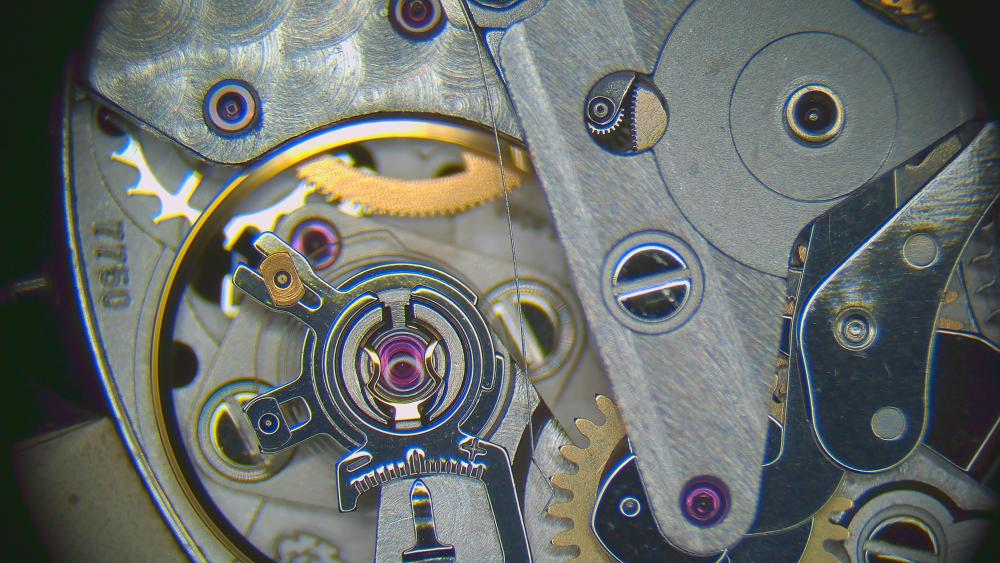
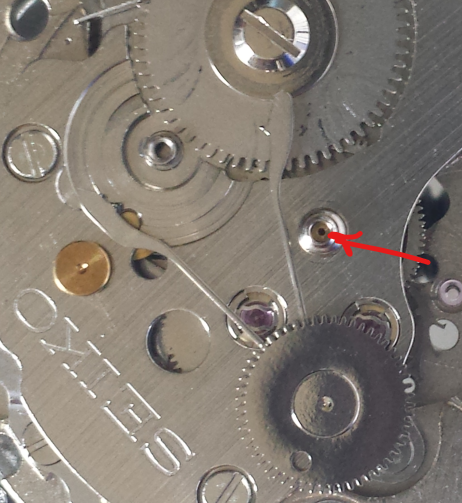
On many Seiko's there is a tiny brass bush for the top of the 4th wheel in the centre of the pivot for the balance weight. You can see it in the pic. Until I needed to reduce the end-shake of the 4th wheel in the 7019 I was working on, I hadn't realised this was a separate part. It's smaller (0.5mm) than the smallest pusher in my jewelling tool. To push it down I used a bit of guitar string in the pivot hole, then pushed it down using the jewelling tool.
 1 point
 -
It might also be worth trying renaissance wax, it’s a micro crystalline wax designed to conserve amongst other things metal objects in a museum. I’ve found it useful for old tools that I have de rusted and polished. Tom1 point
-
1 point
-
Often I find that with previously serviced watches, the little things the previous watchmaker did that don't make obvious sense to me, were necessary for repair.1 point
-
Thanks, that's very helpful. I have three wheels on which I have seen a little rust: the third and escape wheels aren't as obvious as the sweep seconds but both have a few small dots of rust that cleaned up pretty well. The centre wheel looks good, although I can't get a good visual on the inside of the tube. I'm going to try it with the parts I have and if it runs well I'll let it go at that, otherwise I'll buy one or more parts. It looks like someone has been creative with adding washers to the movement at some time in the past. There is also a washer that was sitting between the ratchet wheel and its screw. I think I'll see what happens if I remove them.1 point
-
https://hackaday.com/2024/12/17/pcb-motor-holds-fast-even-after-1-6-billion-spins/ https://microbots.io/products/motorcell Looking at the specs, there's feedback of 4 pulses per revolution. It's a low torque motor, and clocks are about as low torque as it gets. My brain started humming with ideas. Actual regulation requires something separate...1 point
-
Go to ebay and watch over time. Staking sets go from $150 to $500 depending on brand, configuration, and condition. I have maybe eight staking sets and never paid these prices. All bought locally at nawcc chapter meetings, or word of mouth, and generally bought as part of a lot. AND I have always gotten some broken stakes1 point
-
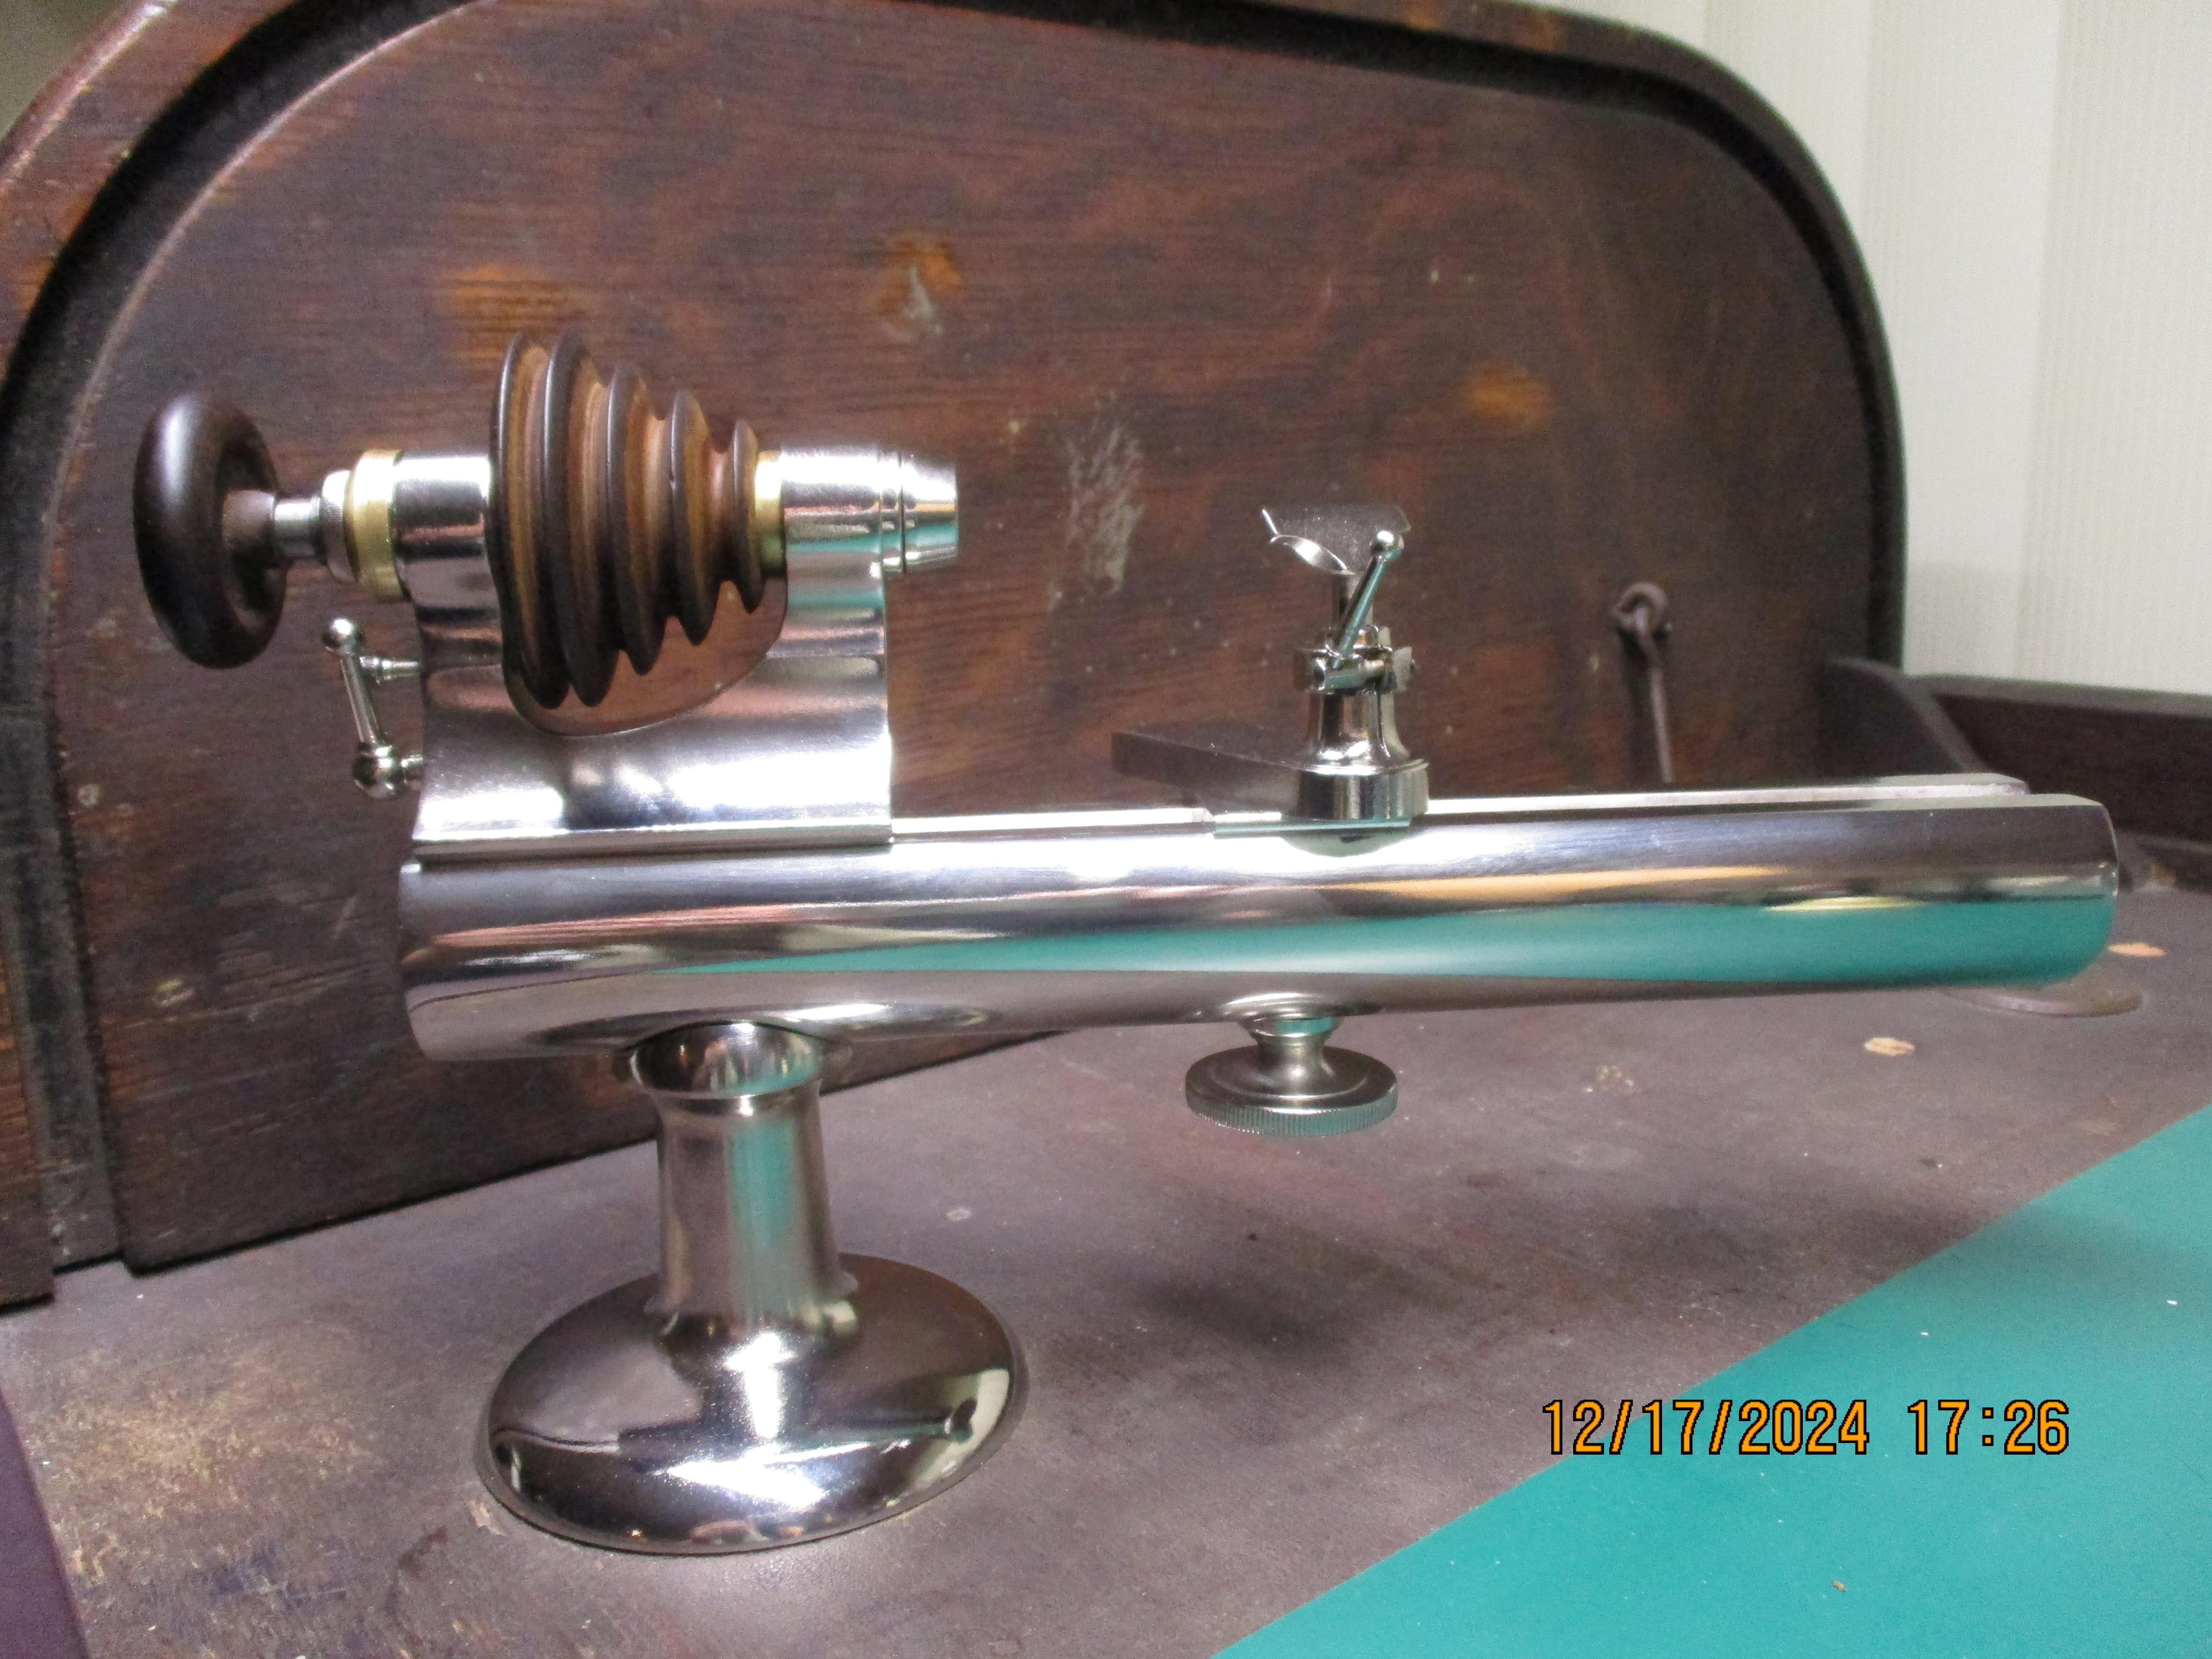
Anyone concerned about the electrical safety of this or any other tool might prefer to operate it via an RCD (Residual Current Device) safety switch. These will detect any leakage to ground from the active wire of 30 mA or more, and immediately shut off the voltage. In fact, since everything on my bench runs from a single outlet, I plan to buy one myself. There are many kinds but here is a link to one example. https://www.bunnings.com.au/arlec-single-outlet-safety-switch_p7050029 Obligatory disclaimer: I am not an electrical engineer and this is not professional advice.1 point
-
Thank you for your introduction and welcome to this friendly forum. We all look forward to your contributions and continued involvement. If there is anything we can help you with don’t be afraid to ask. Nice clear photos can help a lot.1 point
-
Hello and welcome from Leeds, England.1 point
-
The button should energise the relay and led which means there must be some sort of resistive or capacitive dropper.1 point
-
The photos ARE great. Some of the best I've seen.1 point
-
It will help others to help you if you can define what you mean by 'strange behaviour'. Before/after photos from your timegrapher will help. In the absence of that, I have a couple of thoughts that may be way off (and that you may have already considered). 1. Have you checked end shake and side shake of the arbor in the barrel? If these are excessive, the force of the fully wound mainspring might be moving the barrel sufficiently out of centre that it rubs the bridge or mainplate, or affects the way it interacts with the centre wheel. It could also be an issue with side/end shake anywhere in the train as the increased force of a full wind is transferred down the line. 2. Try winding the mainspring click by click from, say, 90% wind and running well until you see the strange behaviour begin to exhibit and look (and listen) for what changes. Does the errant behaviour kick in suddenly or gradually?1 point
-
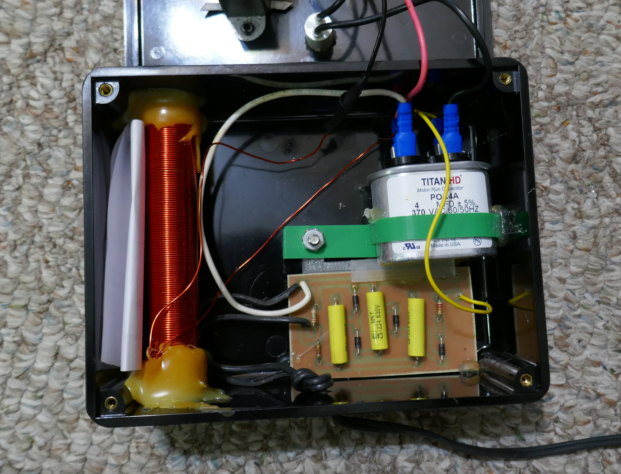
All this debate about the switch, and I'm wondering about the bolts that hold the coil in place. I think it's a stretch to declare it unsafe on the basis of a single photograph, but equally it's unclear from a single photo whether it meets the European/Australian requirements for a Class II or Double-Insulated appliance. I don't think the switch is a problem if it's switching low voltage. It doesn't look like the mains wires are long enough to touch the body of the switch even if they were to come adrift, and if they touch somewhere else they shouldn't the insulation of the switch will still protect the metal push-button so a single failure would not lead to dangerous voltages being exposed. The bolts holding the coil should be insulated from the body of the coil and its not clear from the photo whether they are. All up, though, you're far more likely to get a shock from your washing machine or dish washer than from this device. More importantly, did you demagnetise your balance? How does it look now? I recently had a balance where the two outer coils were touching. I demagnetised and they immediately sprang apart to perfect concentricity.1 point
-
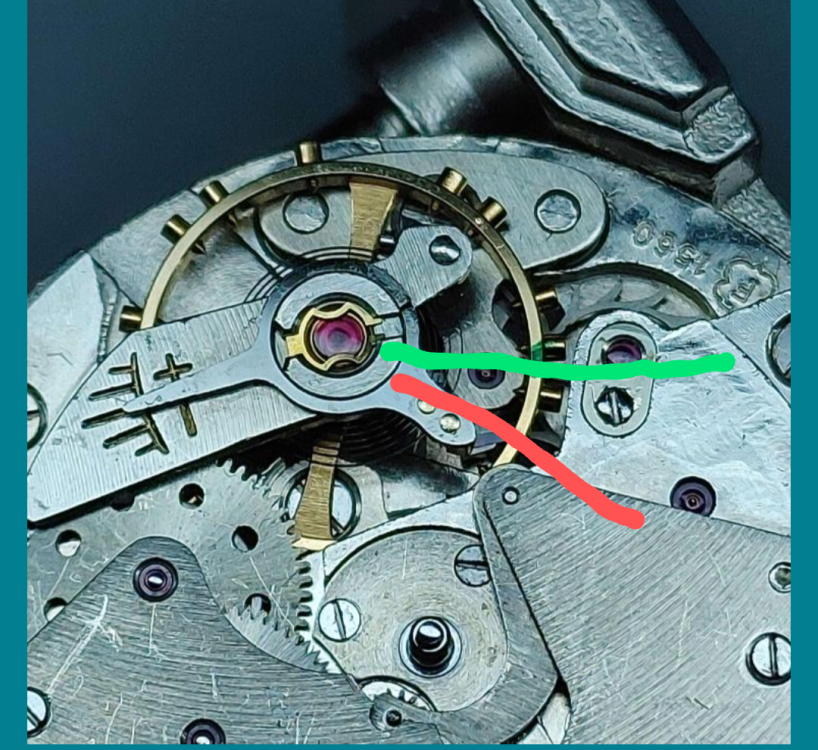
Oh wait a minute. In your photo from the underside of the balance, the impulse jewel is aligned with the regulator, roughly. But in the assembled photos it looks like the regulator is far to the right of the pallet arbor jewels and escape jewels. Unless this is photo parallax lying to me, it would put your impulse jewel miles out of alignment and out of beat. In that state it might run a little bit the timegrapher will not make any sense until it is closer to in beat. Can you move the stud carrier arm back toward the outside? I can't tell for sure that this is a movable stud carrier, you might have to turn the hairspring collet a good distance. Clockwise, at least 15° unless the photo plays geometry tricks. If you install the balance without the pallet fork, can you see the ruby impulse jewel between the banking pins? It needs to be dead center between them. The green line is where your impulse jewel should align, the red is where I think it actually lands right now. If you can turn the collet clockwise, it will move the impulse jewel's resting position counter clockwise
 1 point
 -
Well done dnhb. You can add that to your list of developing skills! Glad the owner was so pleased with it.1 point
-
Thanks so much, Rixy. Took the movement out & followed your guidance: only needed to move the barrel through one set of pins. Was consequently able to take clock back to owner & set it up for her. She's texted to say she's so pleased to hear the Clock going again: the sound takes her back to her childhood when she last heard it! Very satisfying....Thanks again. Thanks, Michael: You have a good teacher!1 point
-
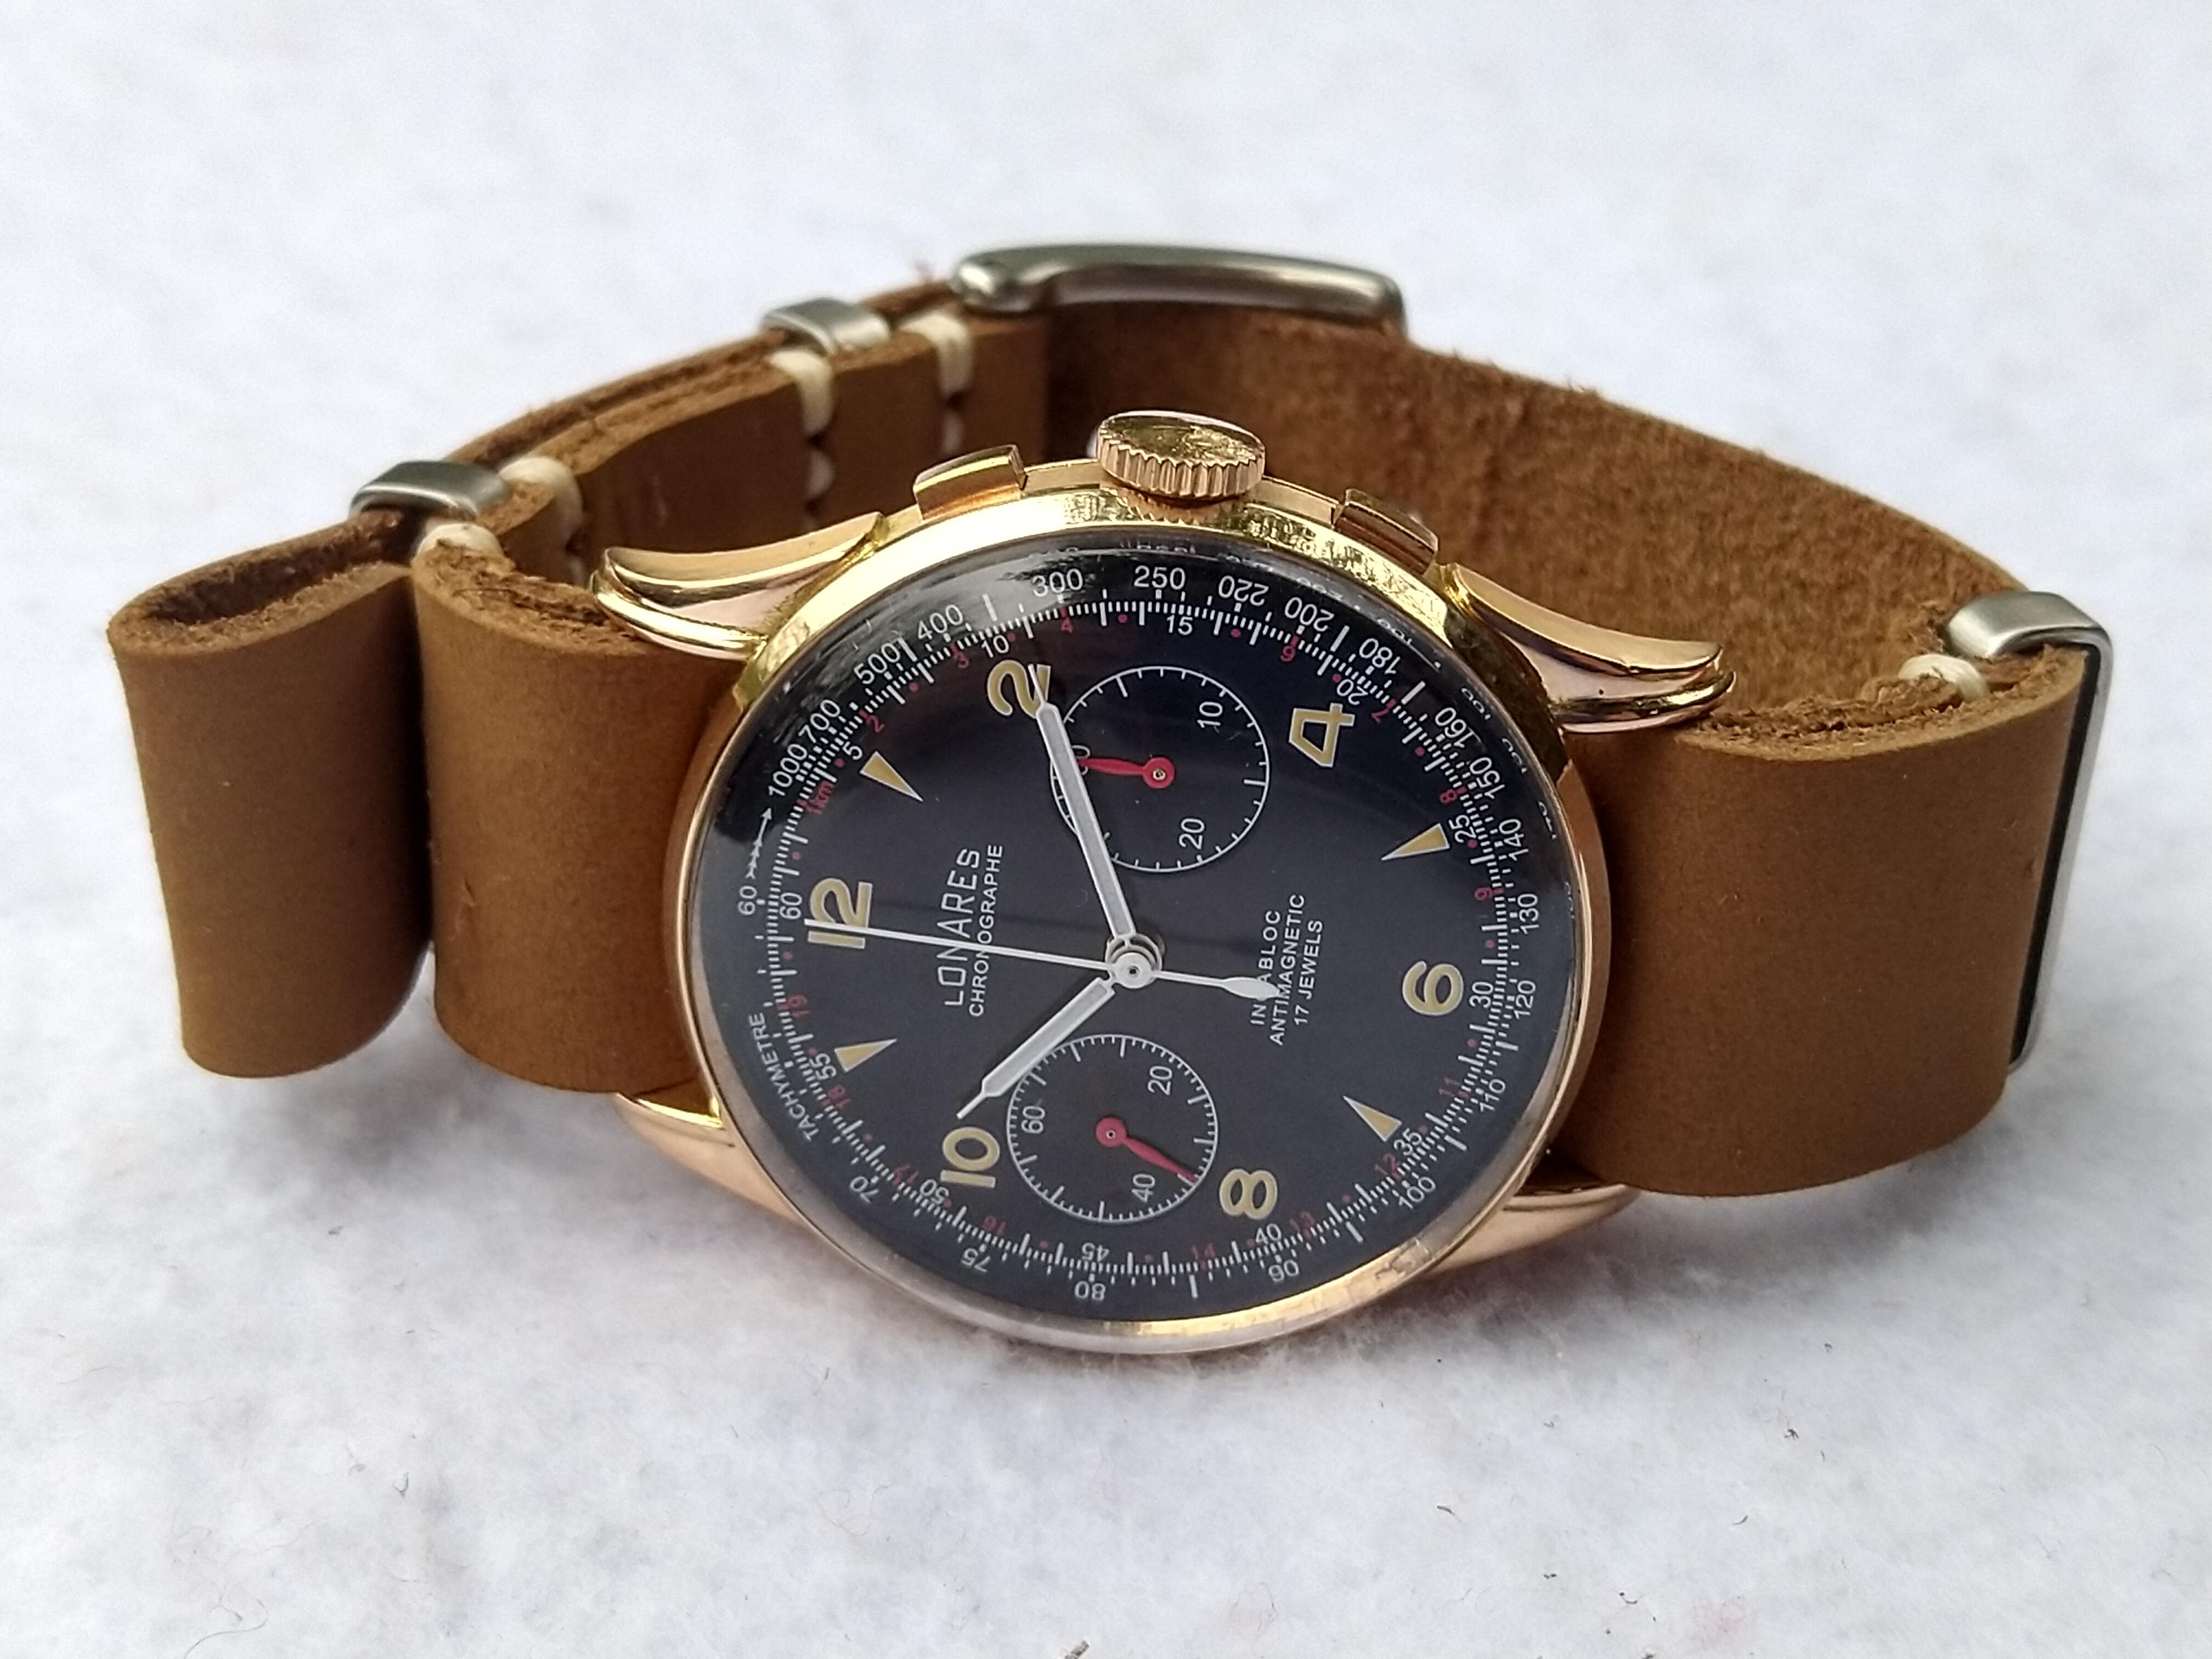
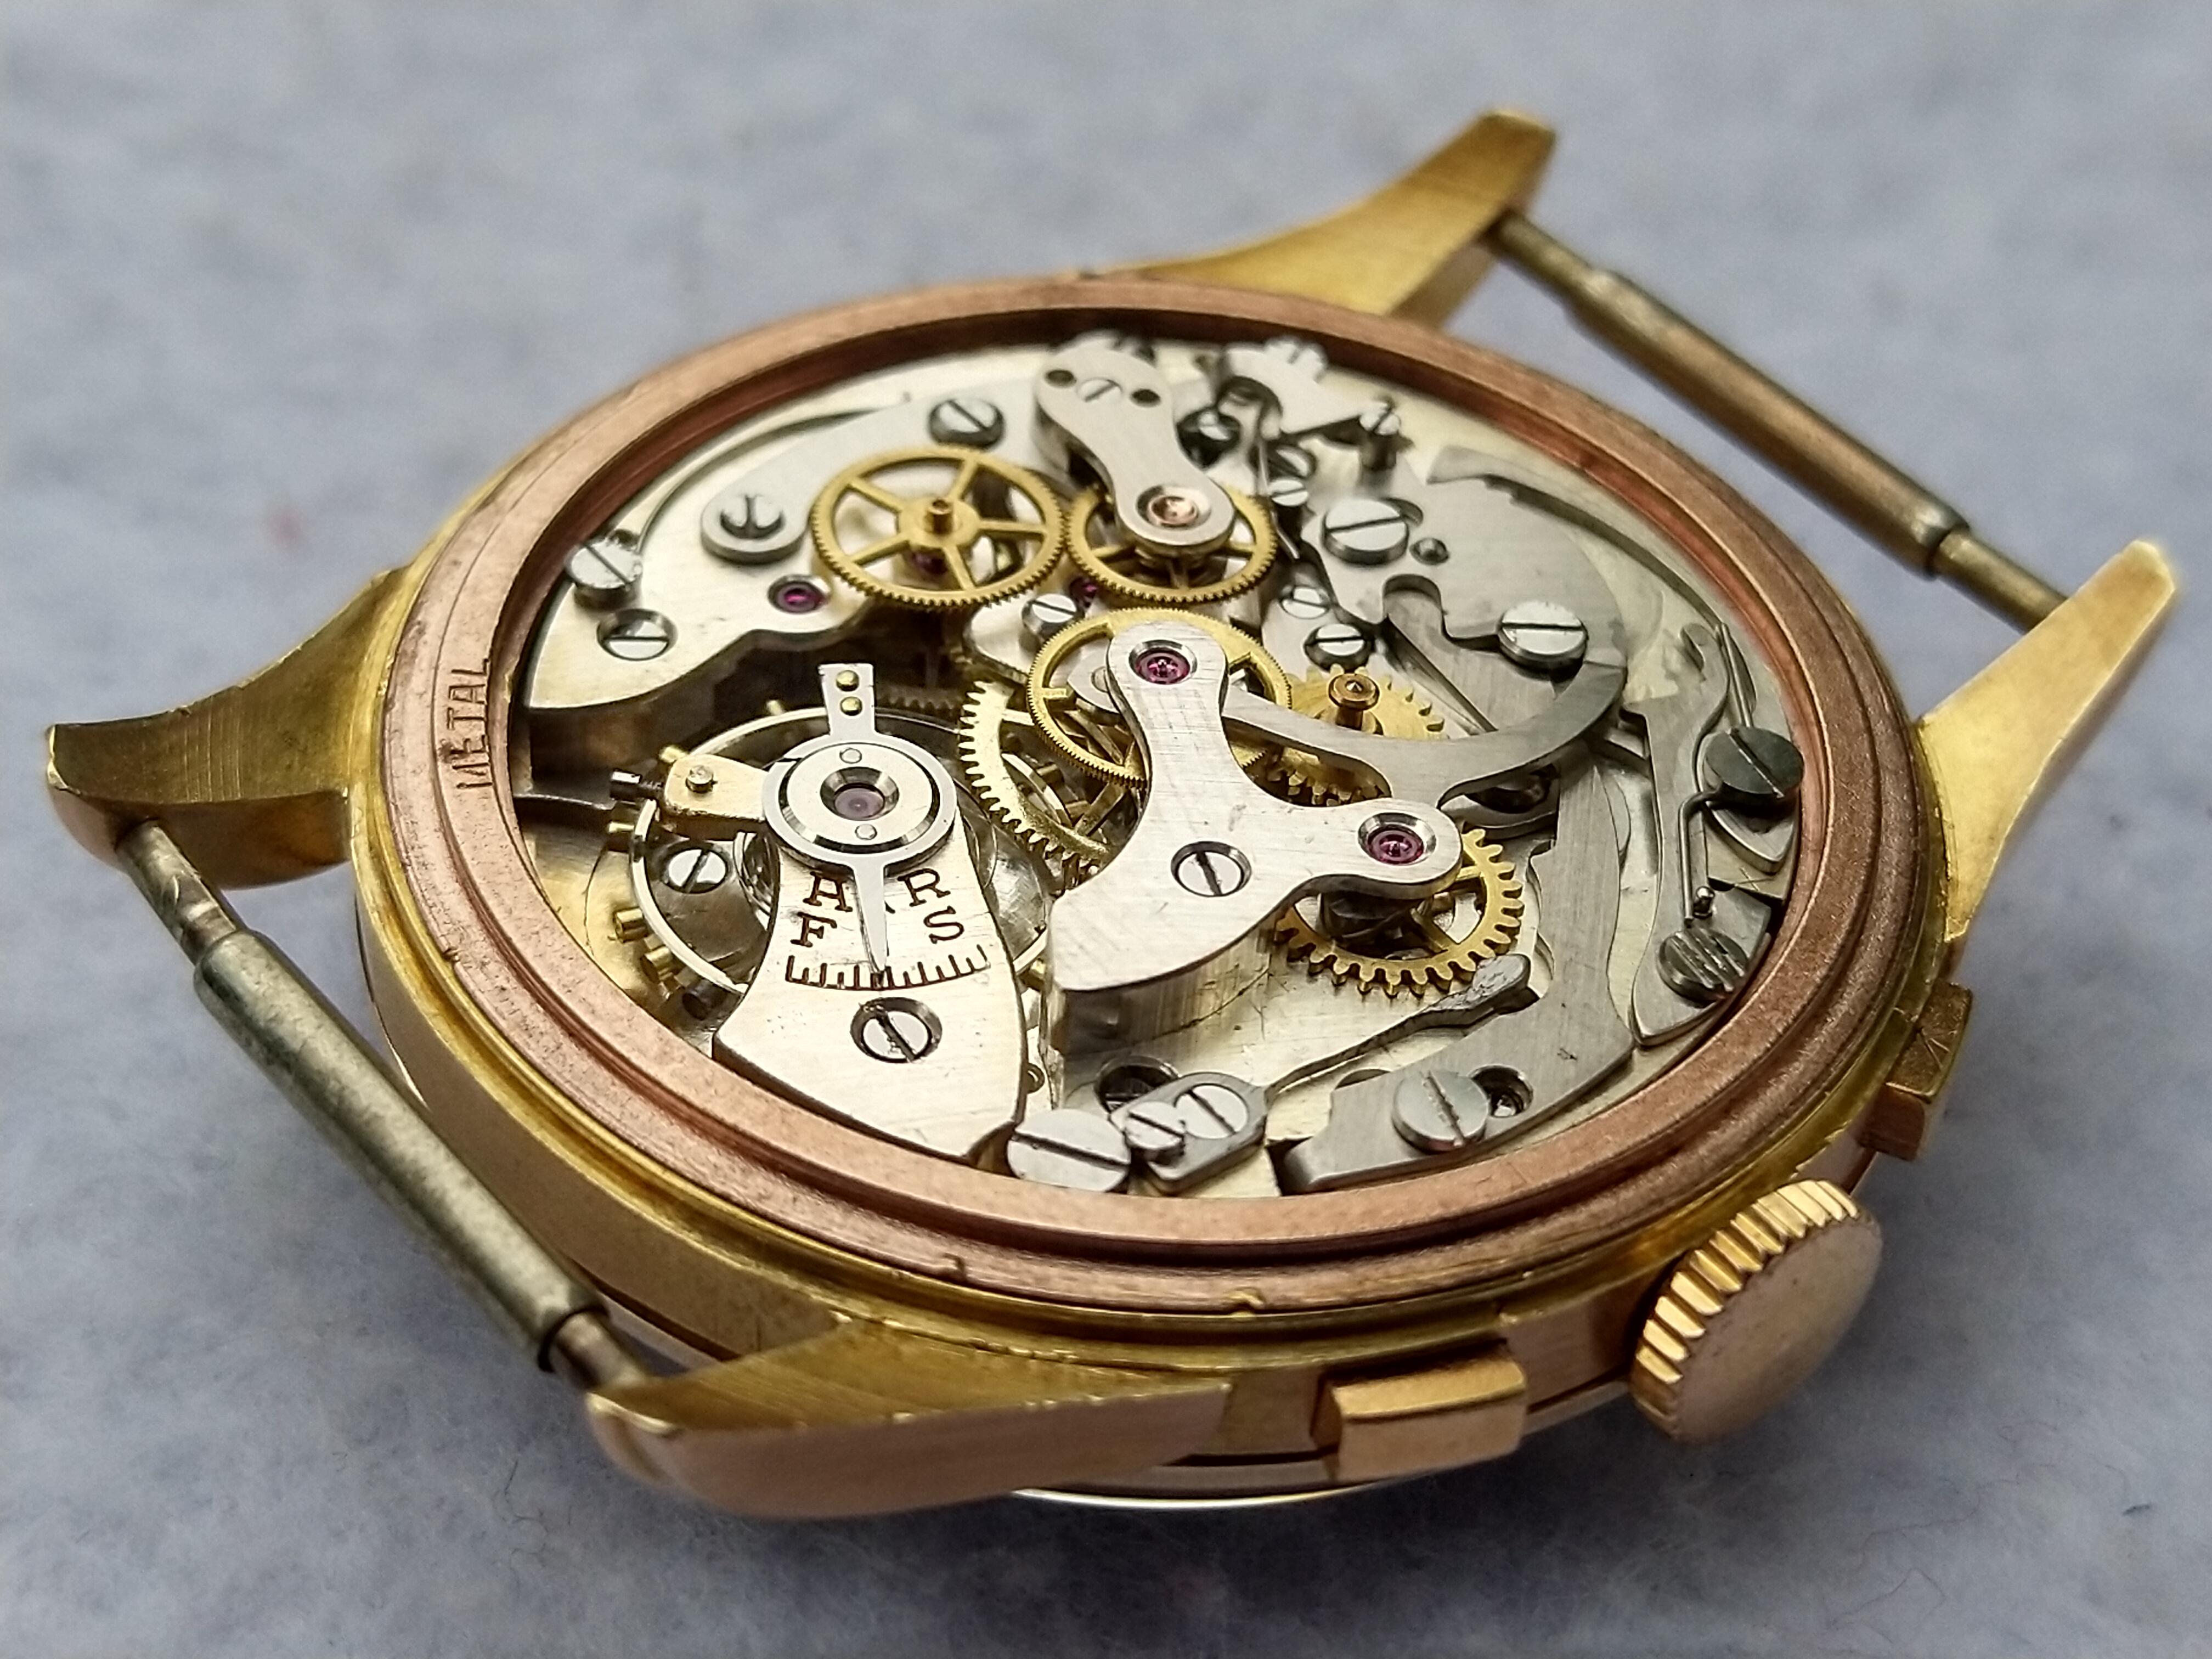
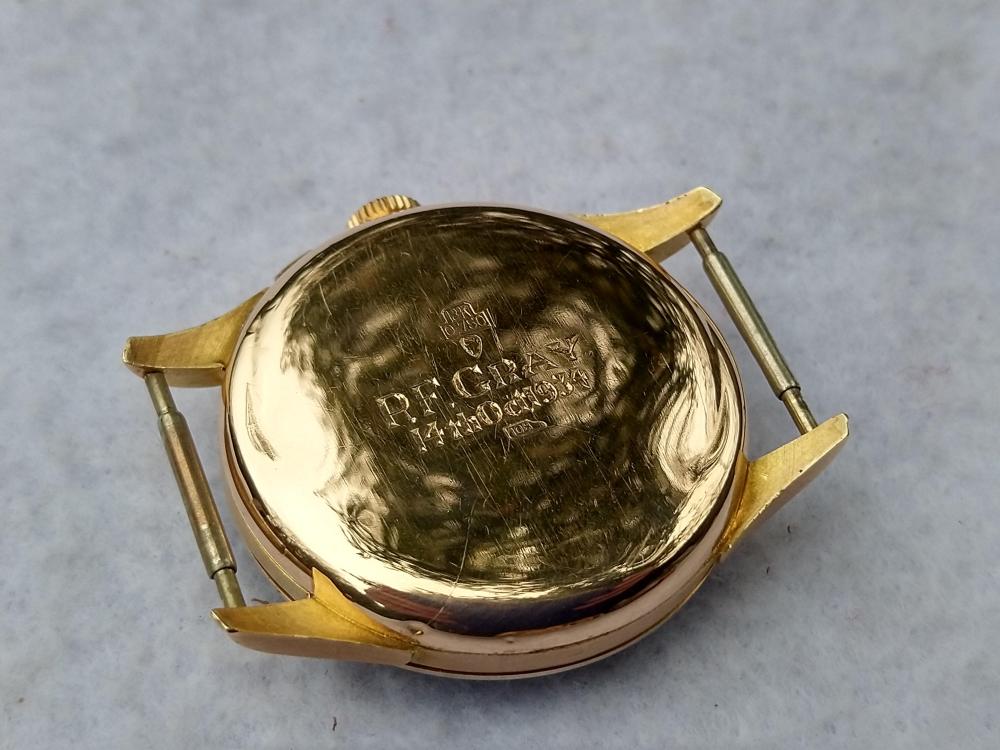
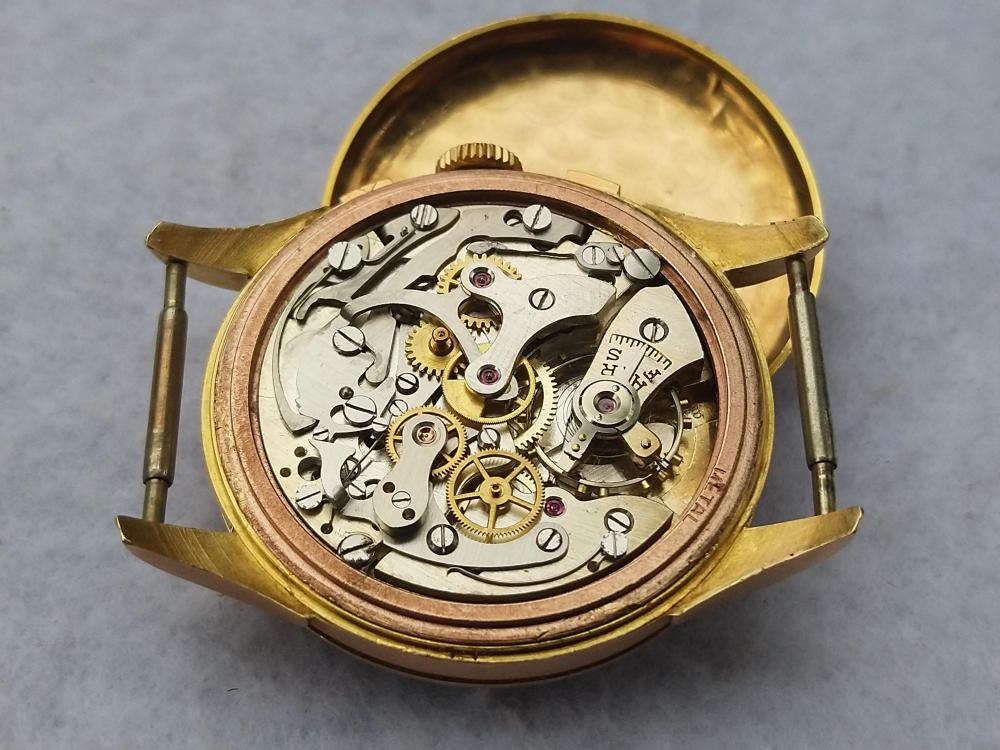
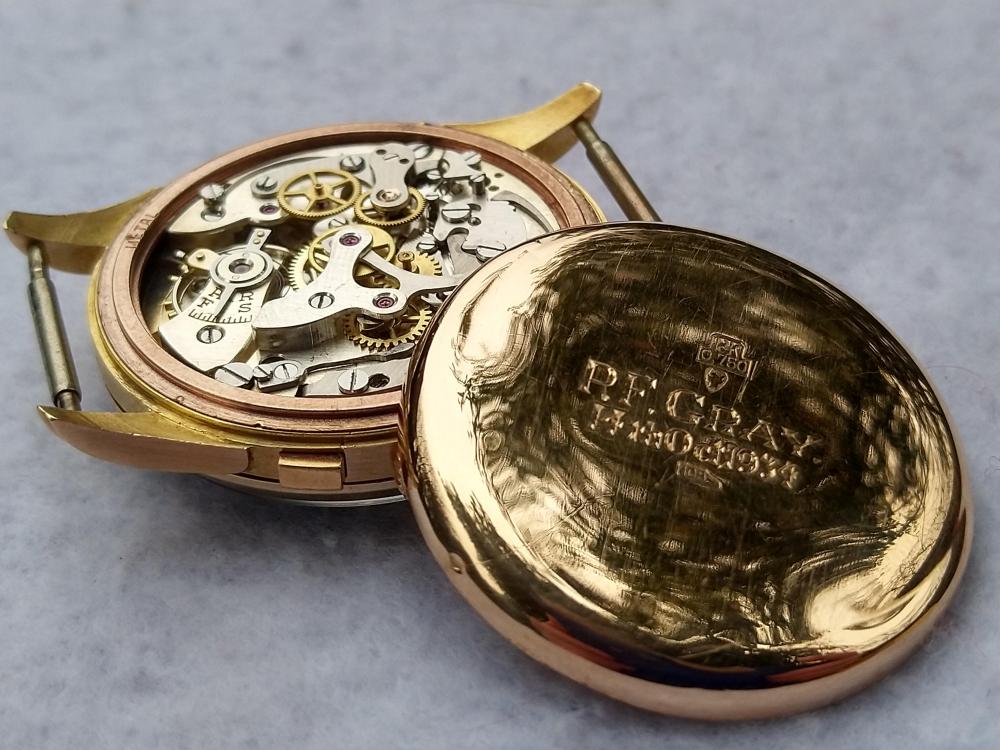
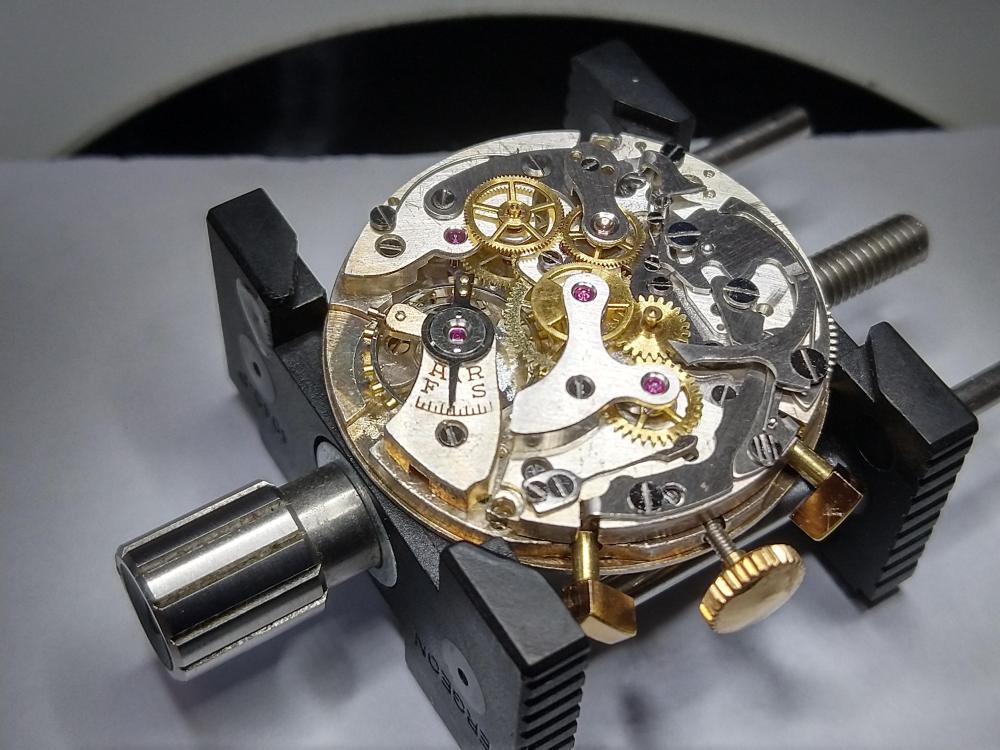
HWGIKE#31 Landeron 48. Full service, nice performance (not the correct lift angle though). Dial and hands are new the old ones were battered and not complete. Ps.: Stephen, I got your watches. I have two more in my queue and then I plan to put one of yours into the 100. I just thought that it would be funny to send you a message here.


 1 point
 -
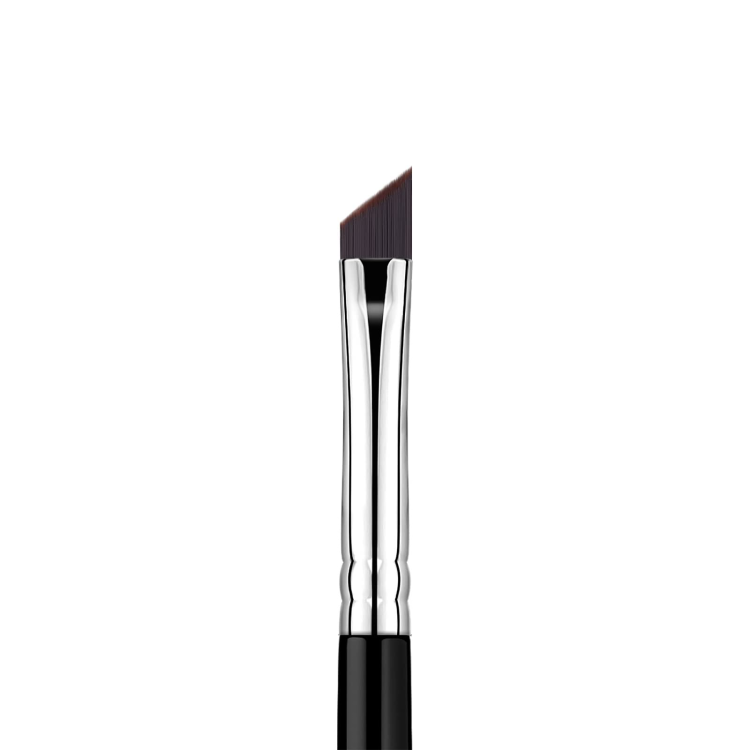
I tried a bunch of "arts and crafts" brushes but found them to be too soft or too coarse for my liking. Then one day I stubled across what are called "eyeliner brushes" in a random cosmetics store. They seem to be mostly fashioned out of black and very fine but stiff nylon hairs and are often angled. The angle is perfect for getting into nooks and crannies. As far as I remember, the cheapest ones only cost a few € a piece. They seem to stand up to naphtha and IPA just fine and don't shed.
 1 point
 -
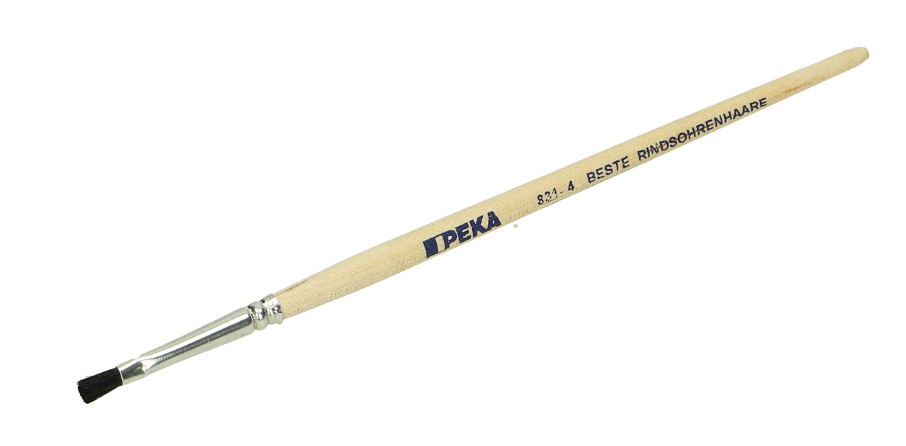
I use brushes from Peka, the 831-4 and 831-6 (the 4 and 6 are width in mm). Not sure how available they are worldwide, but these have held up well for me. About 2 bucks a piece.
 1 point
 -
Always a good idea to take a baseline set of readings before starting on a running watch. Then you know for sure if you made a mistake somewhere. Tom1 point
-
It's a common problem and usually created by someone setting the finger and not really knowing what to aim for and it gets bent out of shape. There are two bends on the finger. The first bend is adjusted to suit that 0.02 mm gap at the 'start' when the hammers come away from the hearts. The end bend can be manipulated to turn the sliding gear tooth properly. I'm guessing by what you have said that the finger is too deep with the tooth of the sliding gear and gets jammed when trying to turn it. Also check that the sliding gear is free to turn by blowing it with a blower and you'll see how free it is and make sure the minute runner turns freely inside the bush. Again fit the runner on its own and give it a blow to see it turn freely. You may find that the runner doesn't turn because of what I have said and it may not have to do with the finger. The drawing from the tech sheet is all you need to adjust the finger properly, but as @nevenbekrievhas said, it's important you understand the theory and marry that with the practical adjustments of the chrono mechanism.1 point
-
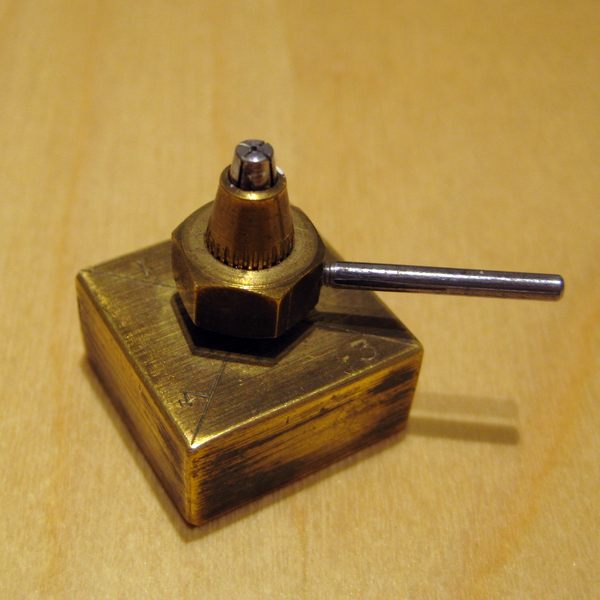
I use this for chronograph hands: Made from a small pinvice, it works sensitive, fast, repeatable and takes least room in the drawer ? With the Bergeon tool I am concerned if the procedure will be durable. It makes a small constriction on the tube and does not narrow the whole tube - what I learn from its description and drawing. Frank
 1 point
.thumb.jpg.cb17a66989f1e796fd4217db2e9ca9df.jpg)