Leaderboard


Popular Content
Showing content with the highest reputation on 12/22/24 in Posts
-
I read...a lot...and spend a fair amount of time visiting the forum...again reading a lot. Youtube ...not so much, in fact one of my biggest mistakes was made because of following a Youtubers cleaning process. So be careful who you watch and advice you follow...Chronoglide, nekkid watchmaker and saving time are about the only ones I watch now. Researching brand history has helped seek out particular movement calibers. All of this is pointless though unless you dive into a movement, the theory you are learning from books etc must be put into practise, lots and lots of practice. I would start by just learning to handle tweezers and screwdrivers. Even when I wasn't repairing anything I would spend half an hour a day just using the two main tools on scrap parts and movements.3 points
-
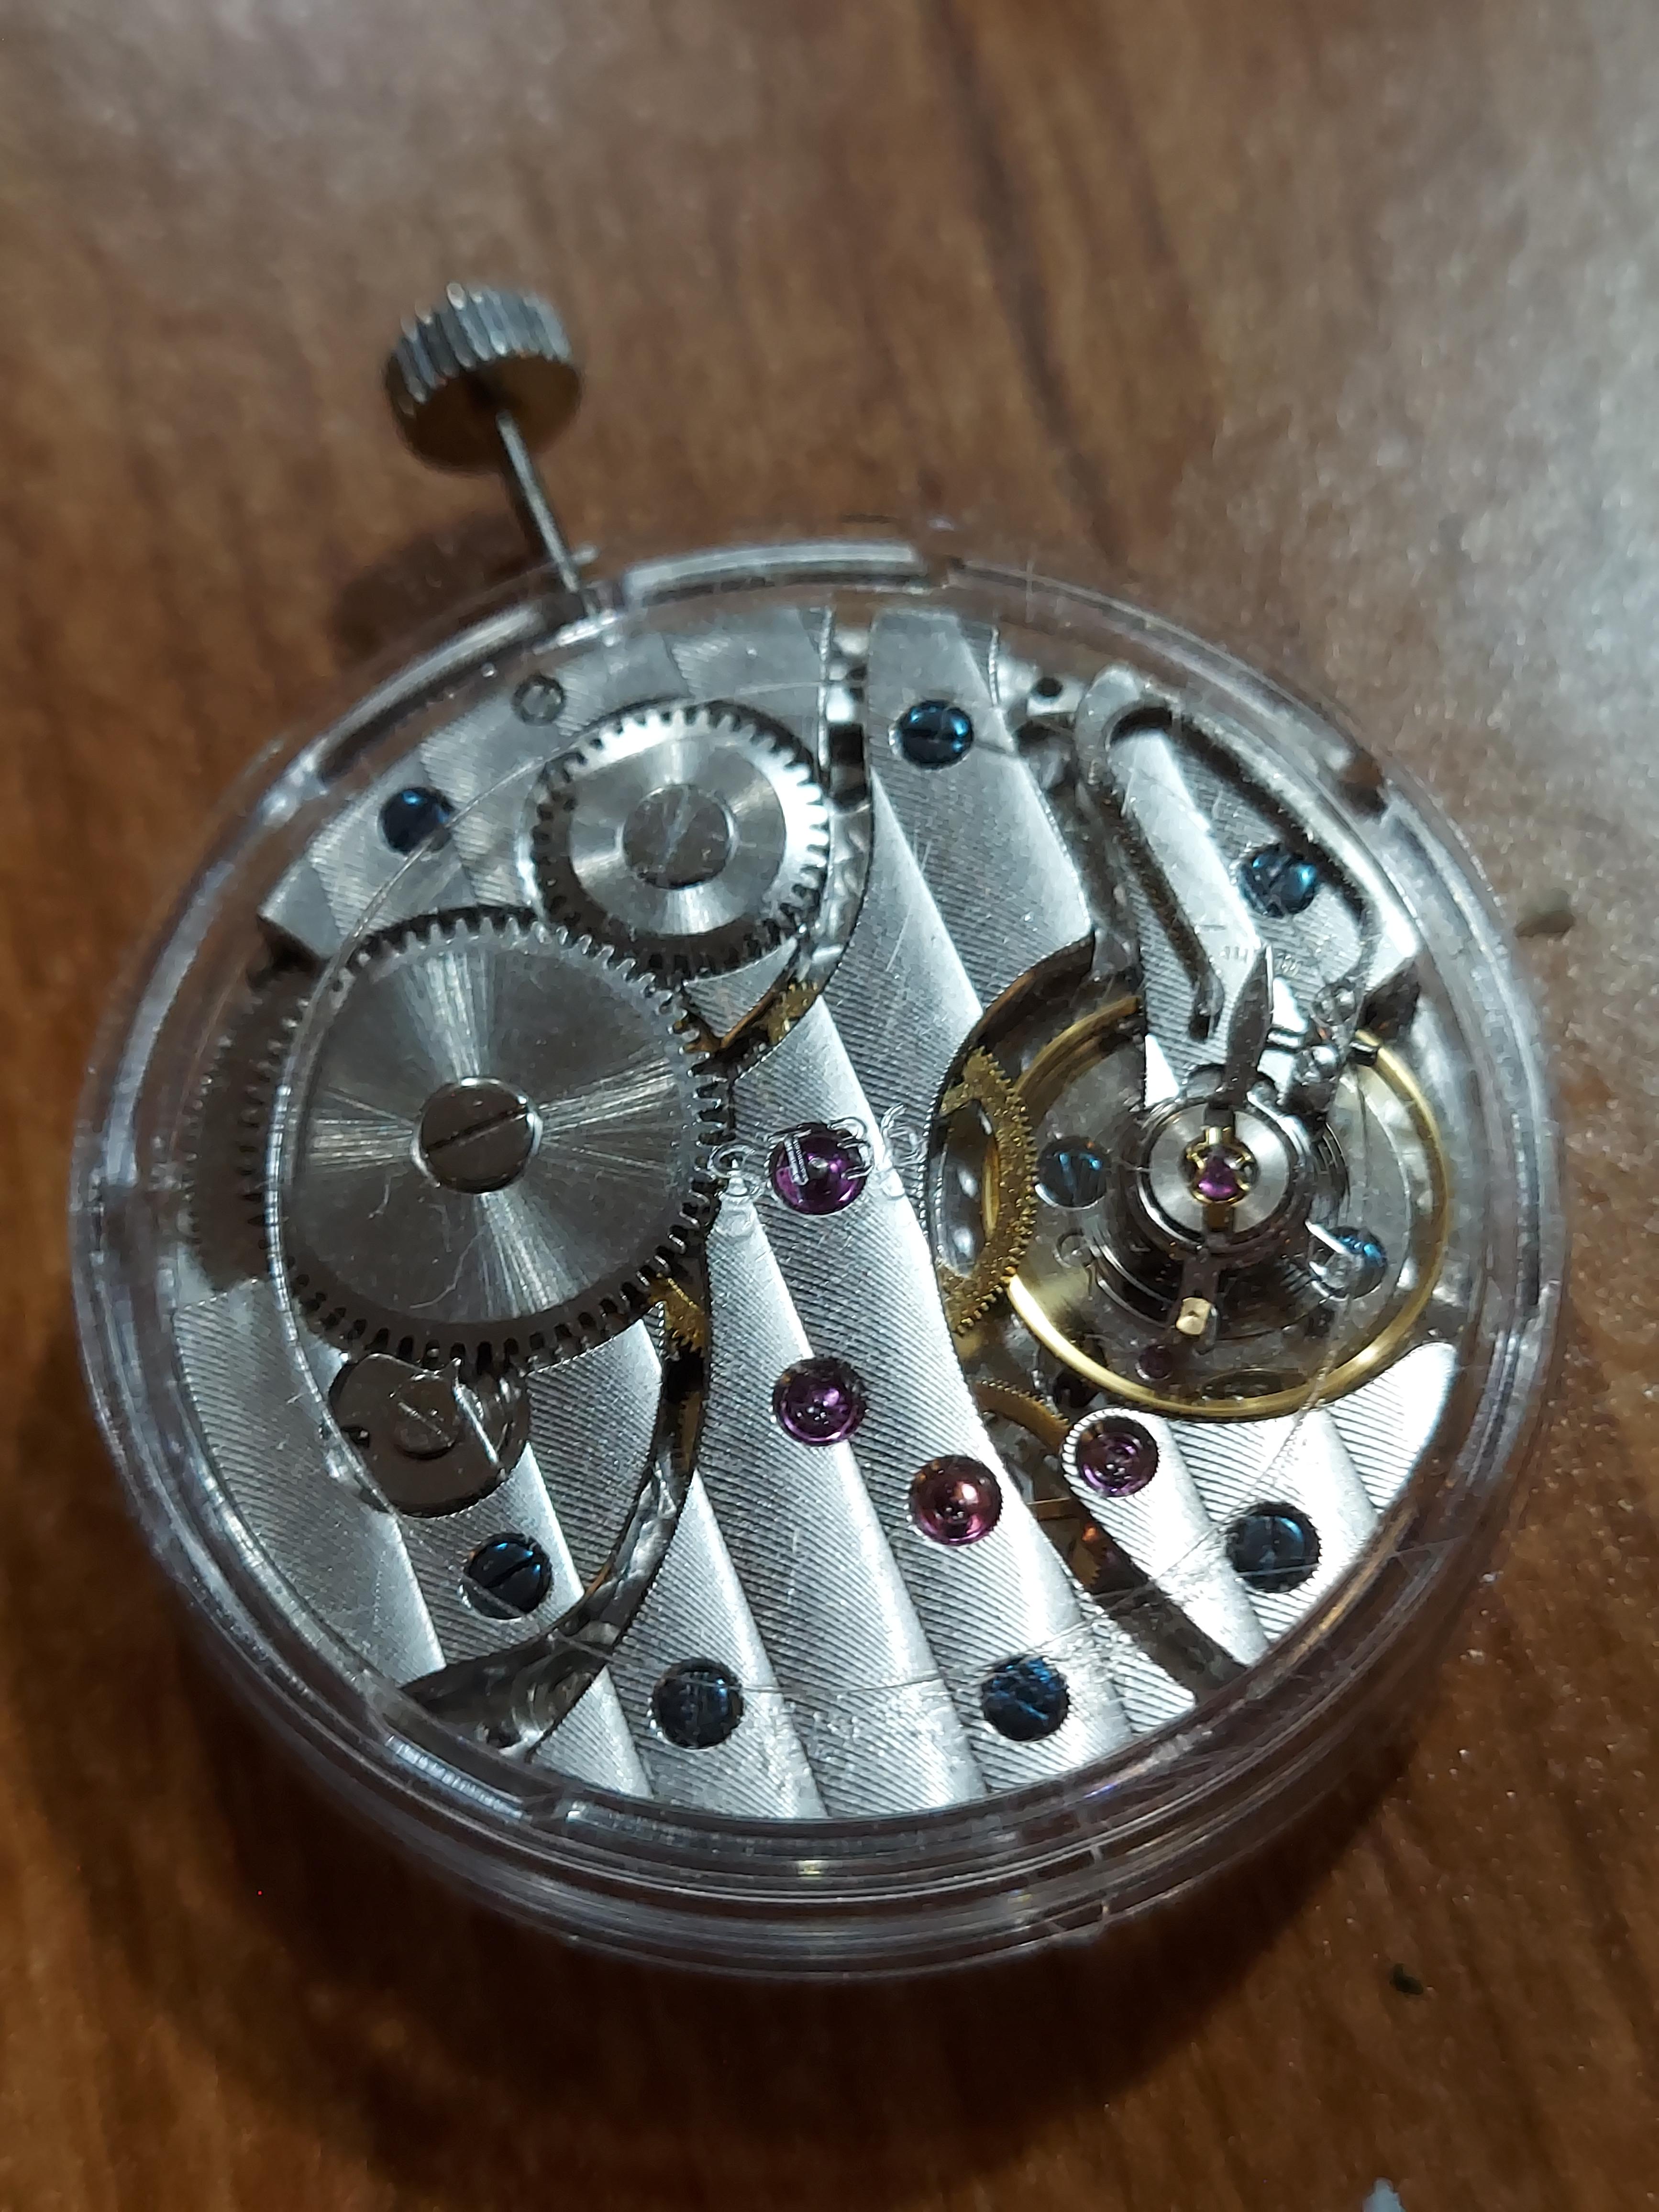
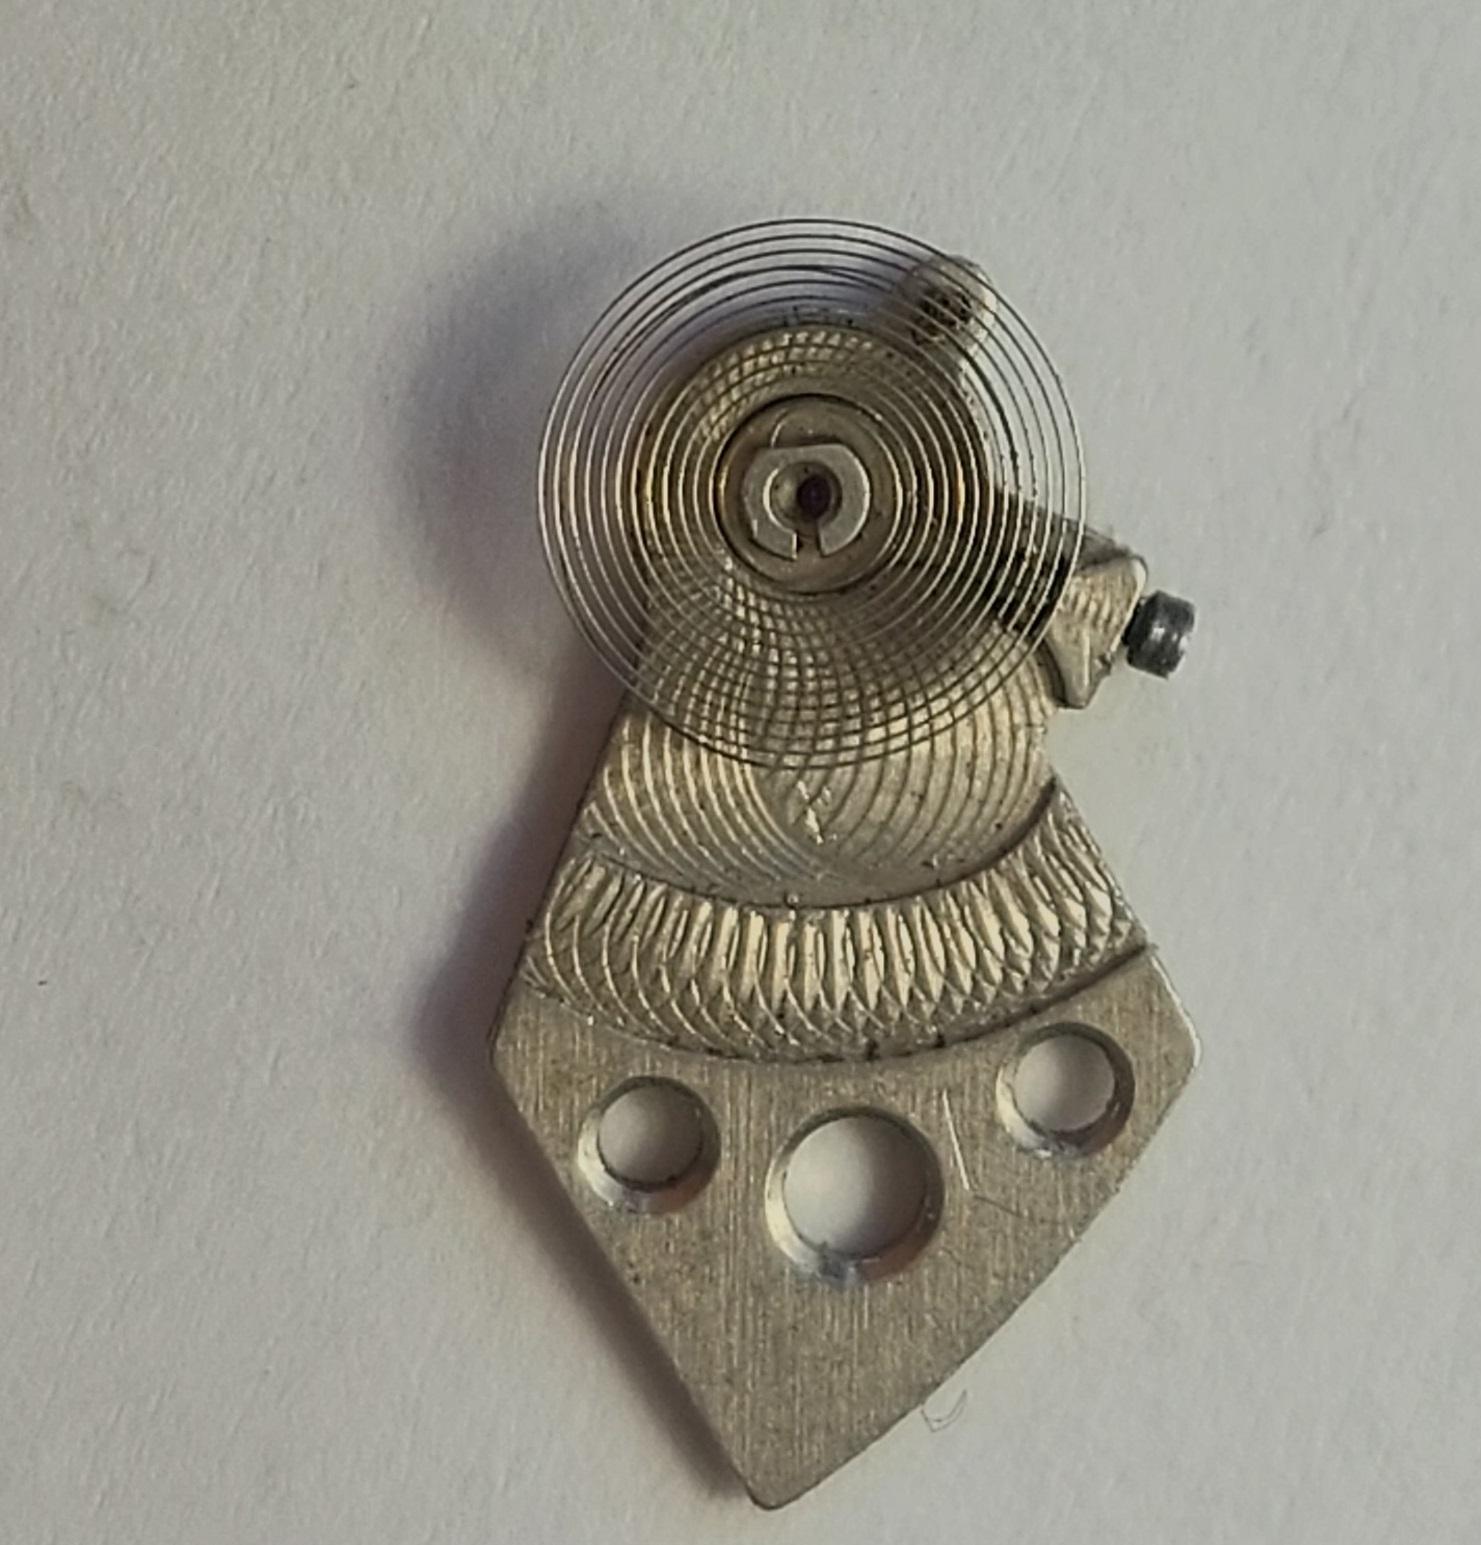
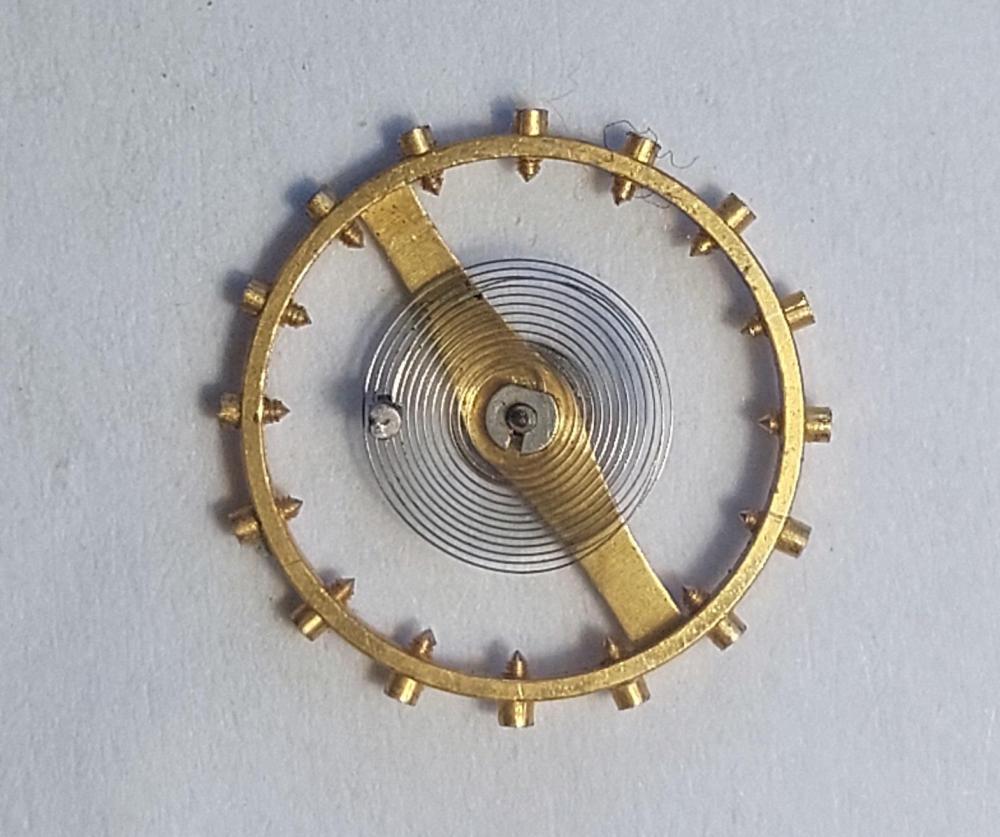
I expected to see something of that nature on the balance, although there is an interesting screw on the stud holder , like another position for the stud set further in ? Sometimes, quite often even , a product only needs an exclusive brand name attached to it to command a high price tag.2 points
-
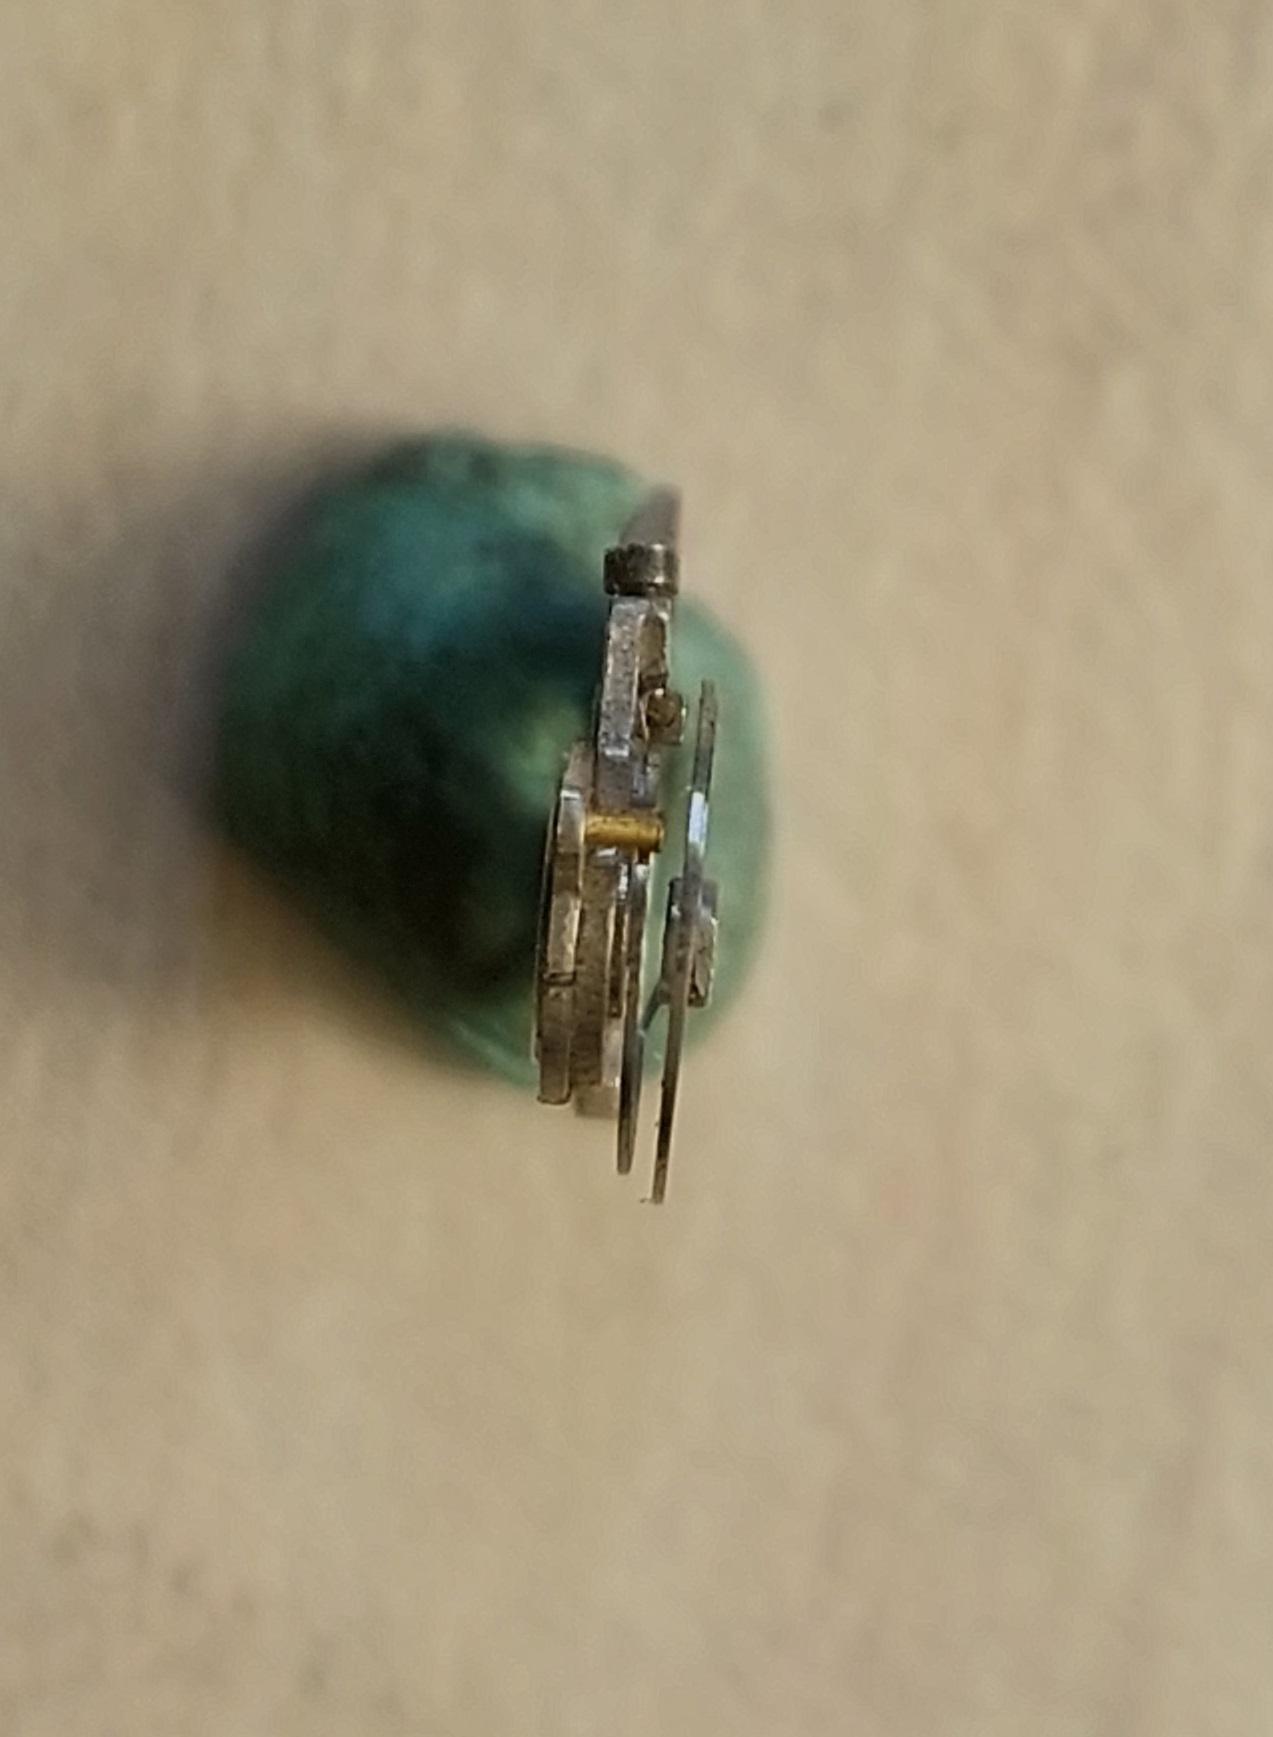
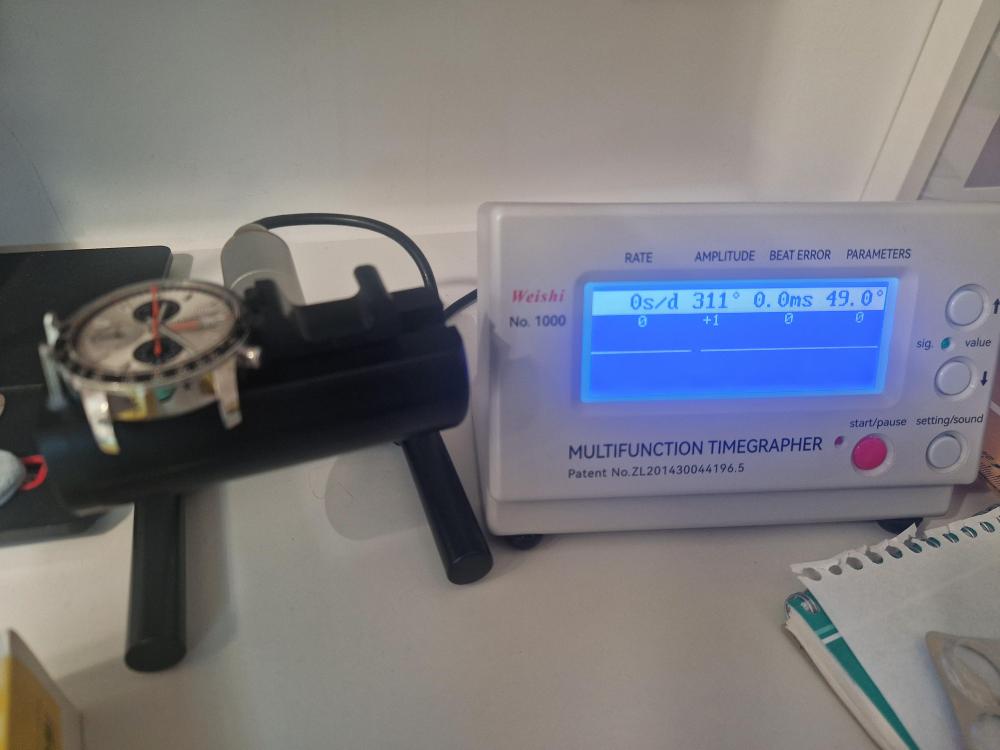
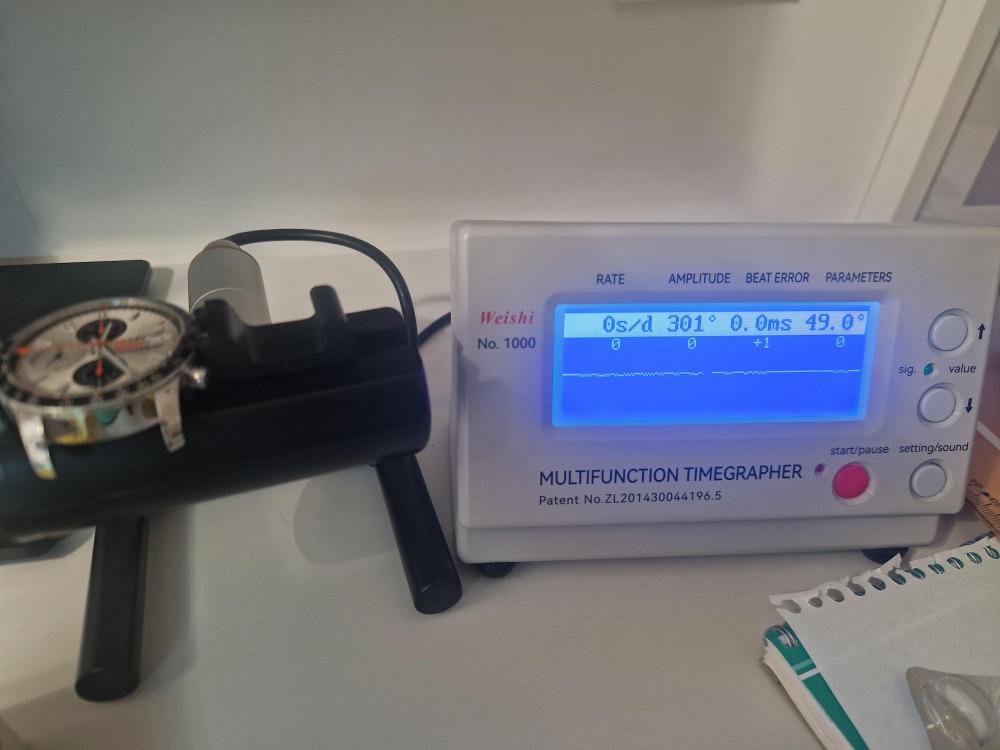
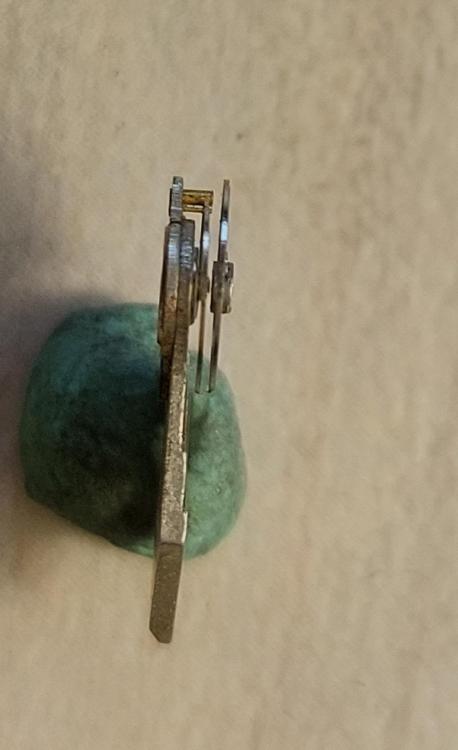
Yeah the lightning can be confusing too, but i didn't want to get the movement out, i'm happy with the rate i got , i just dont want to run in other troubles , exactly for the fact that changing a balance staff is not an easy task, in other words i just dont the watch to break on me as i want to wear it everyday for a while, and i'm not the richest man I'm not a professional this watch is for my personal use , my concern is more : can i wear the watch as it is ? I post the exact rate So we have 0 sec a day vertical position About 10sec a day dial up and down , these numbers don't bother me and i find them pretty good , but i just dont want the watch to let me down mechanically speaking1 point
-
Thank you , quite rassured, i'm New in watch servicing /restoration, and having managed to regulate it to 270 amp 0 beat error and 0sec a day in main position i was kinda happy and i think with a warped balance pivot , i could not have managed this kind of regulation1 point
-
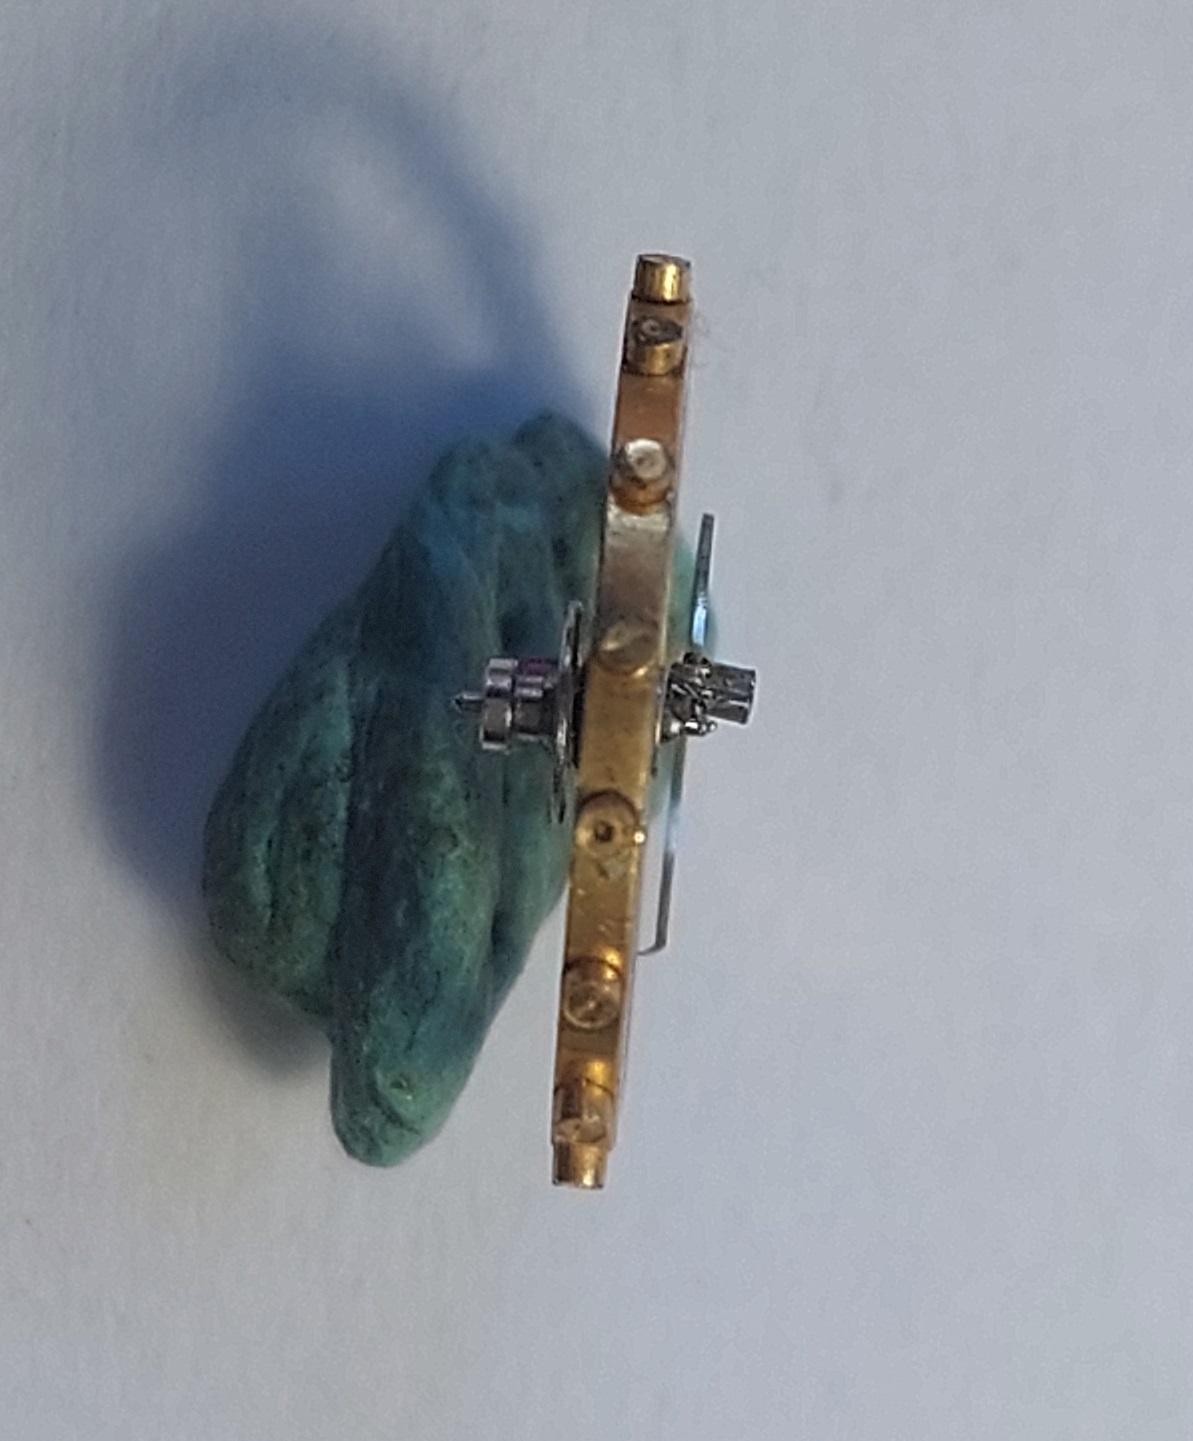
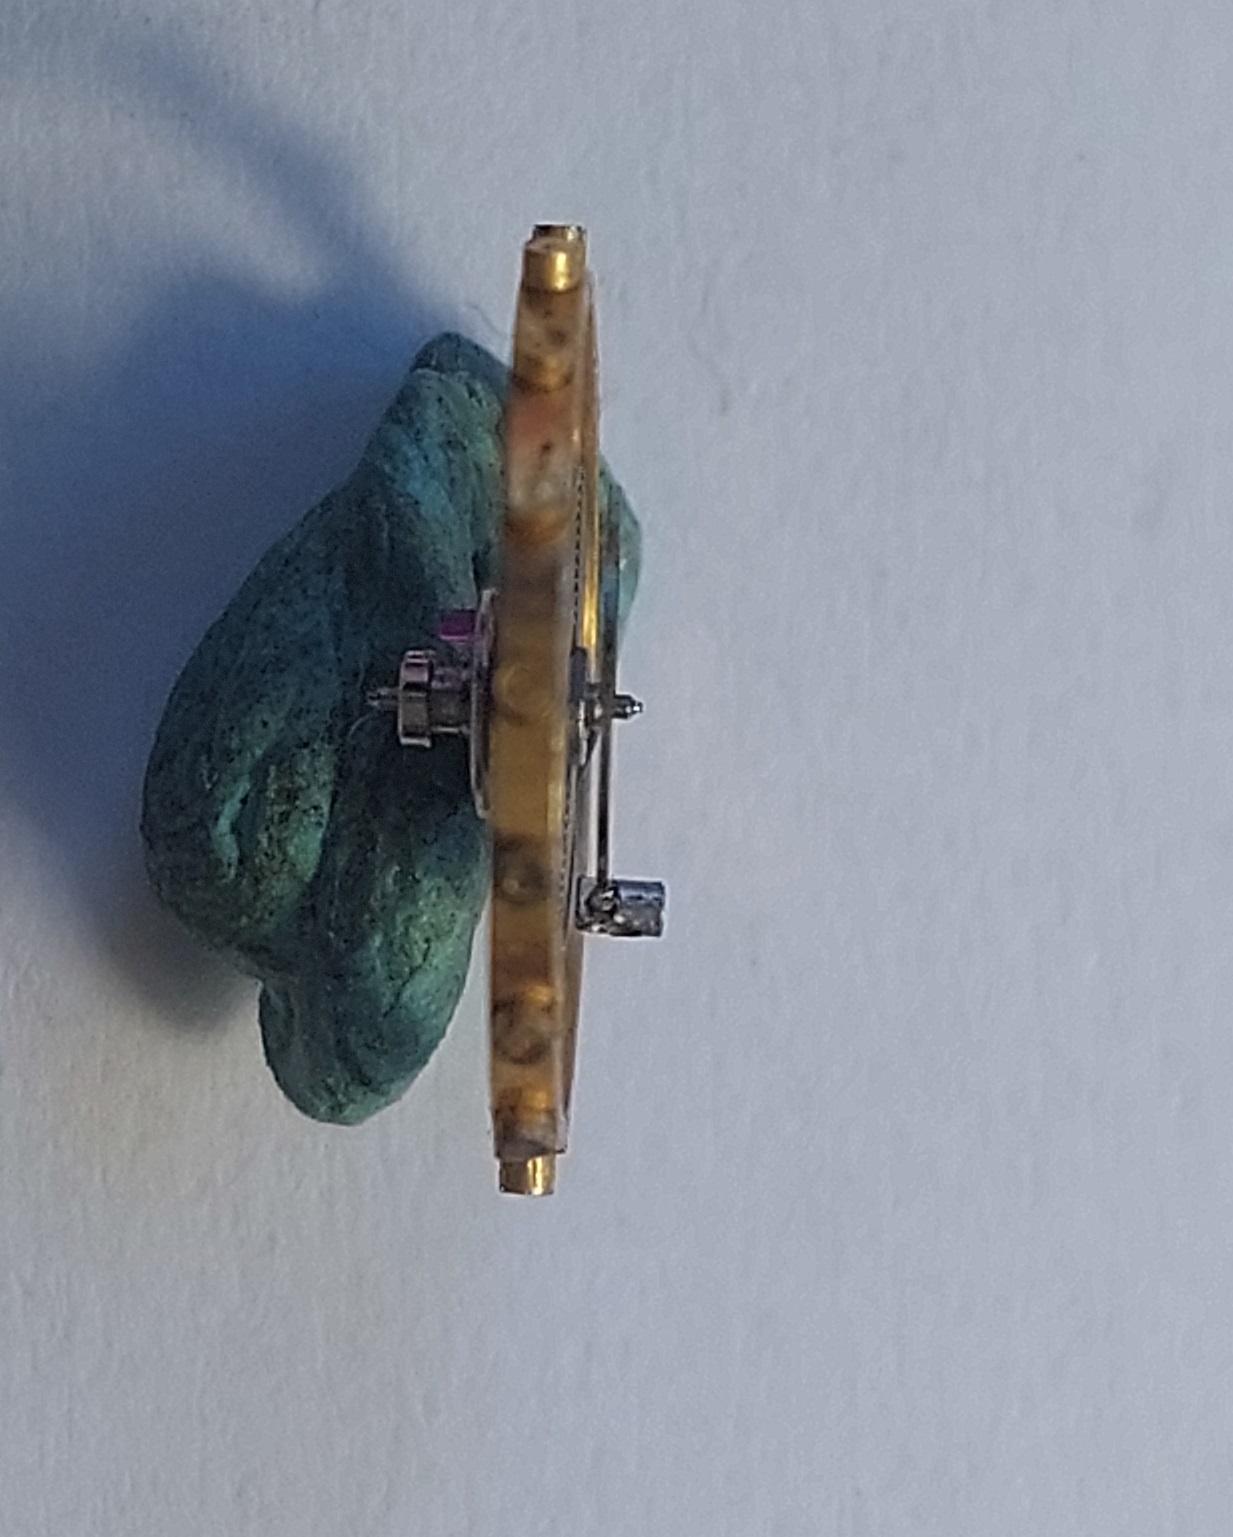
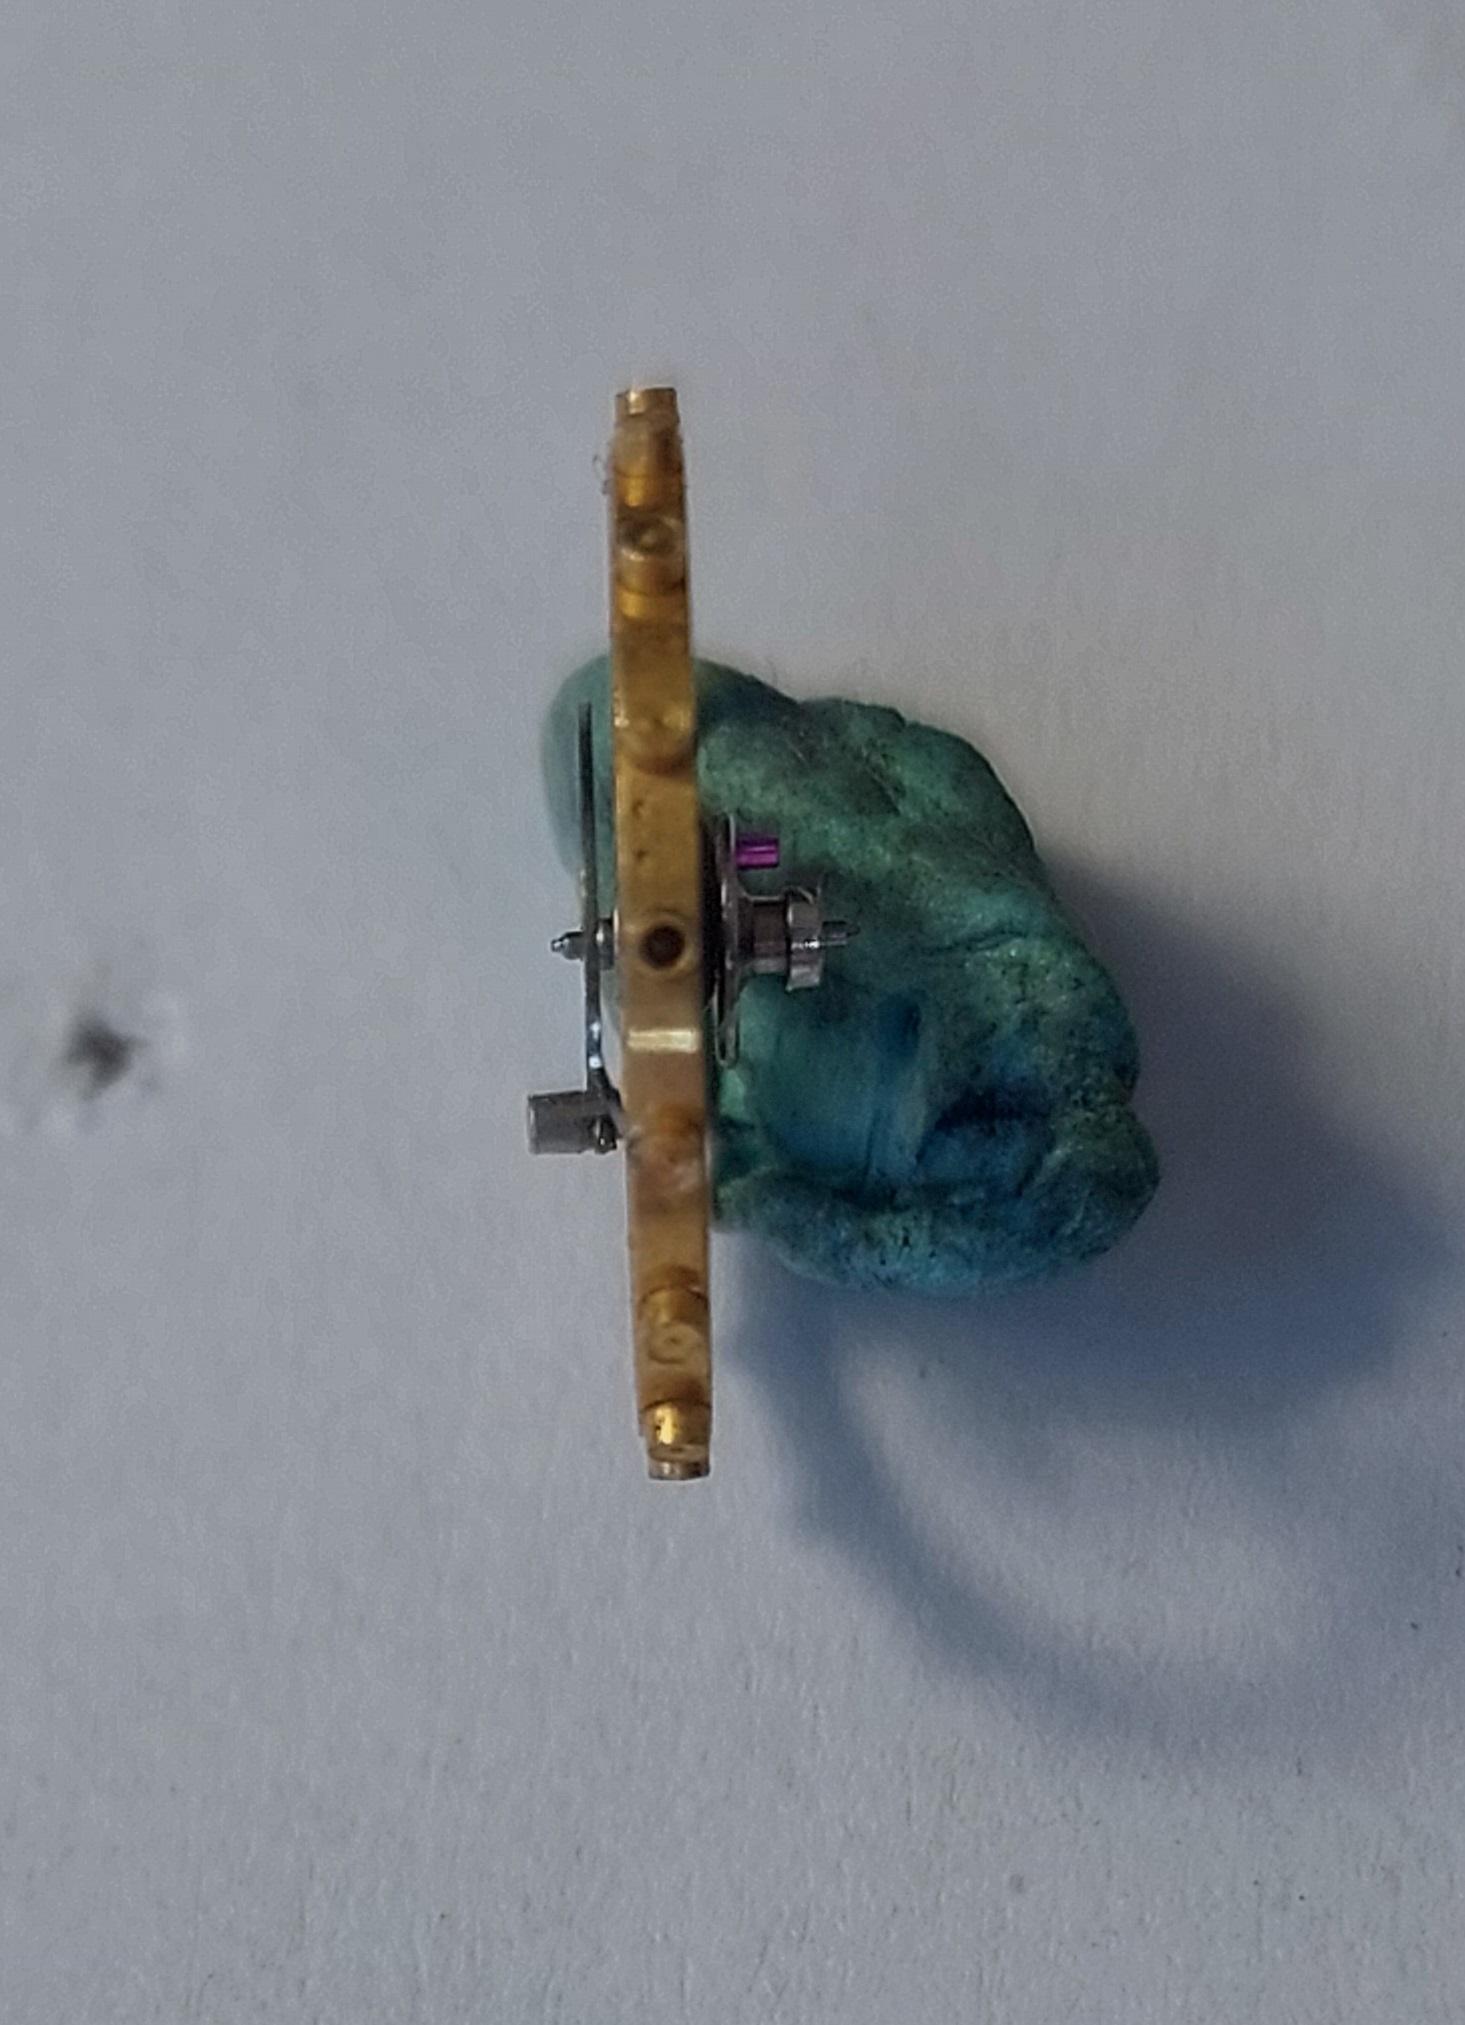
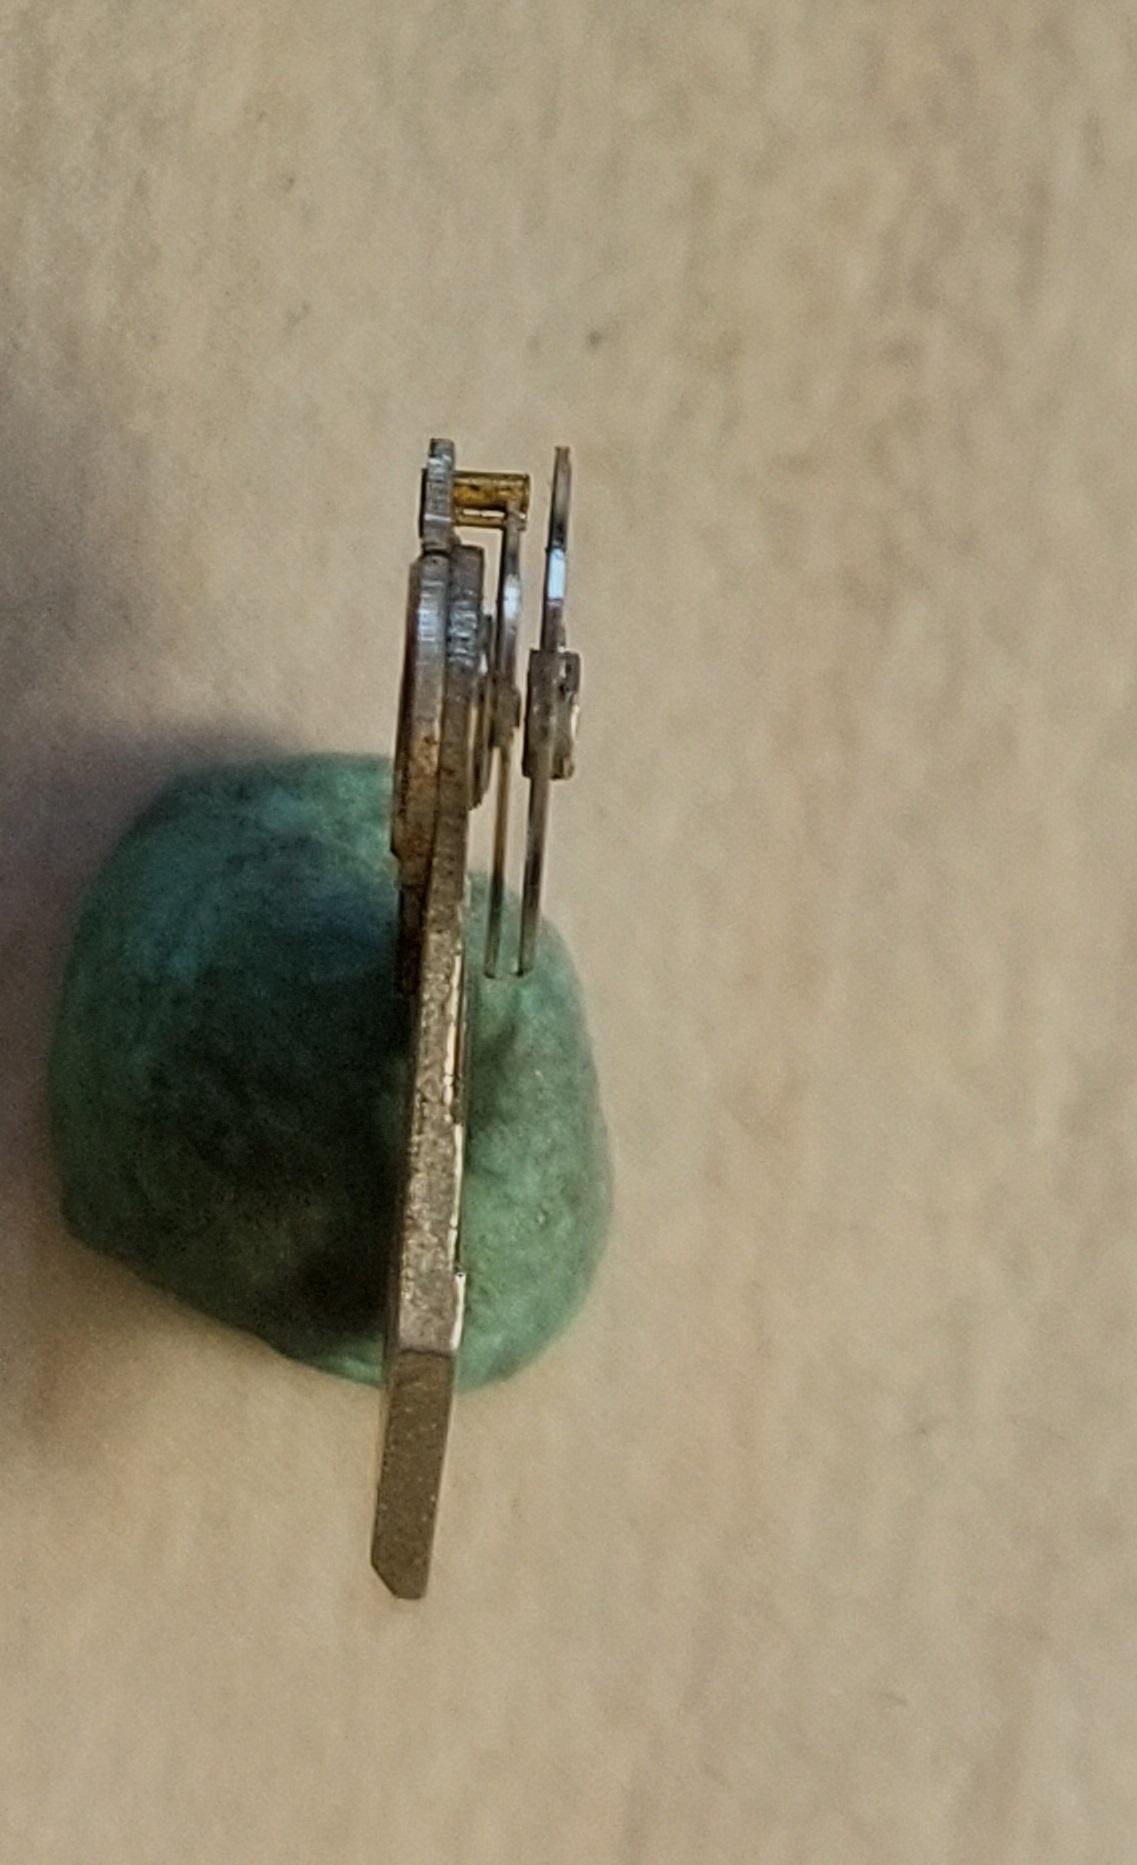
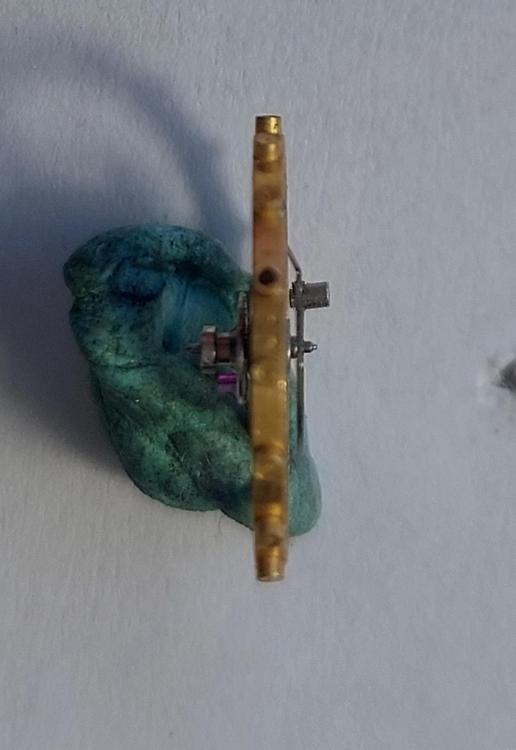
Hard to tell without seeing it side on but looks good to me.1 point
-
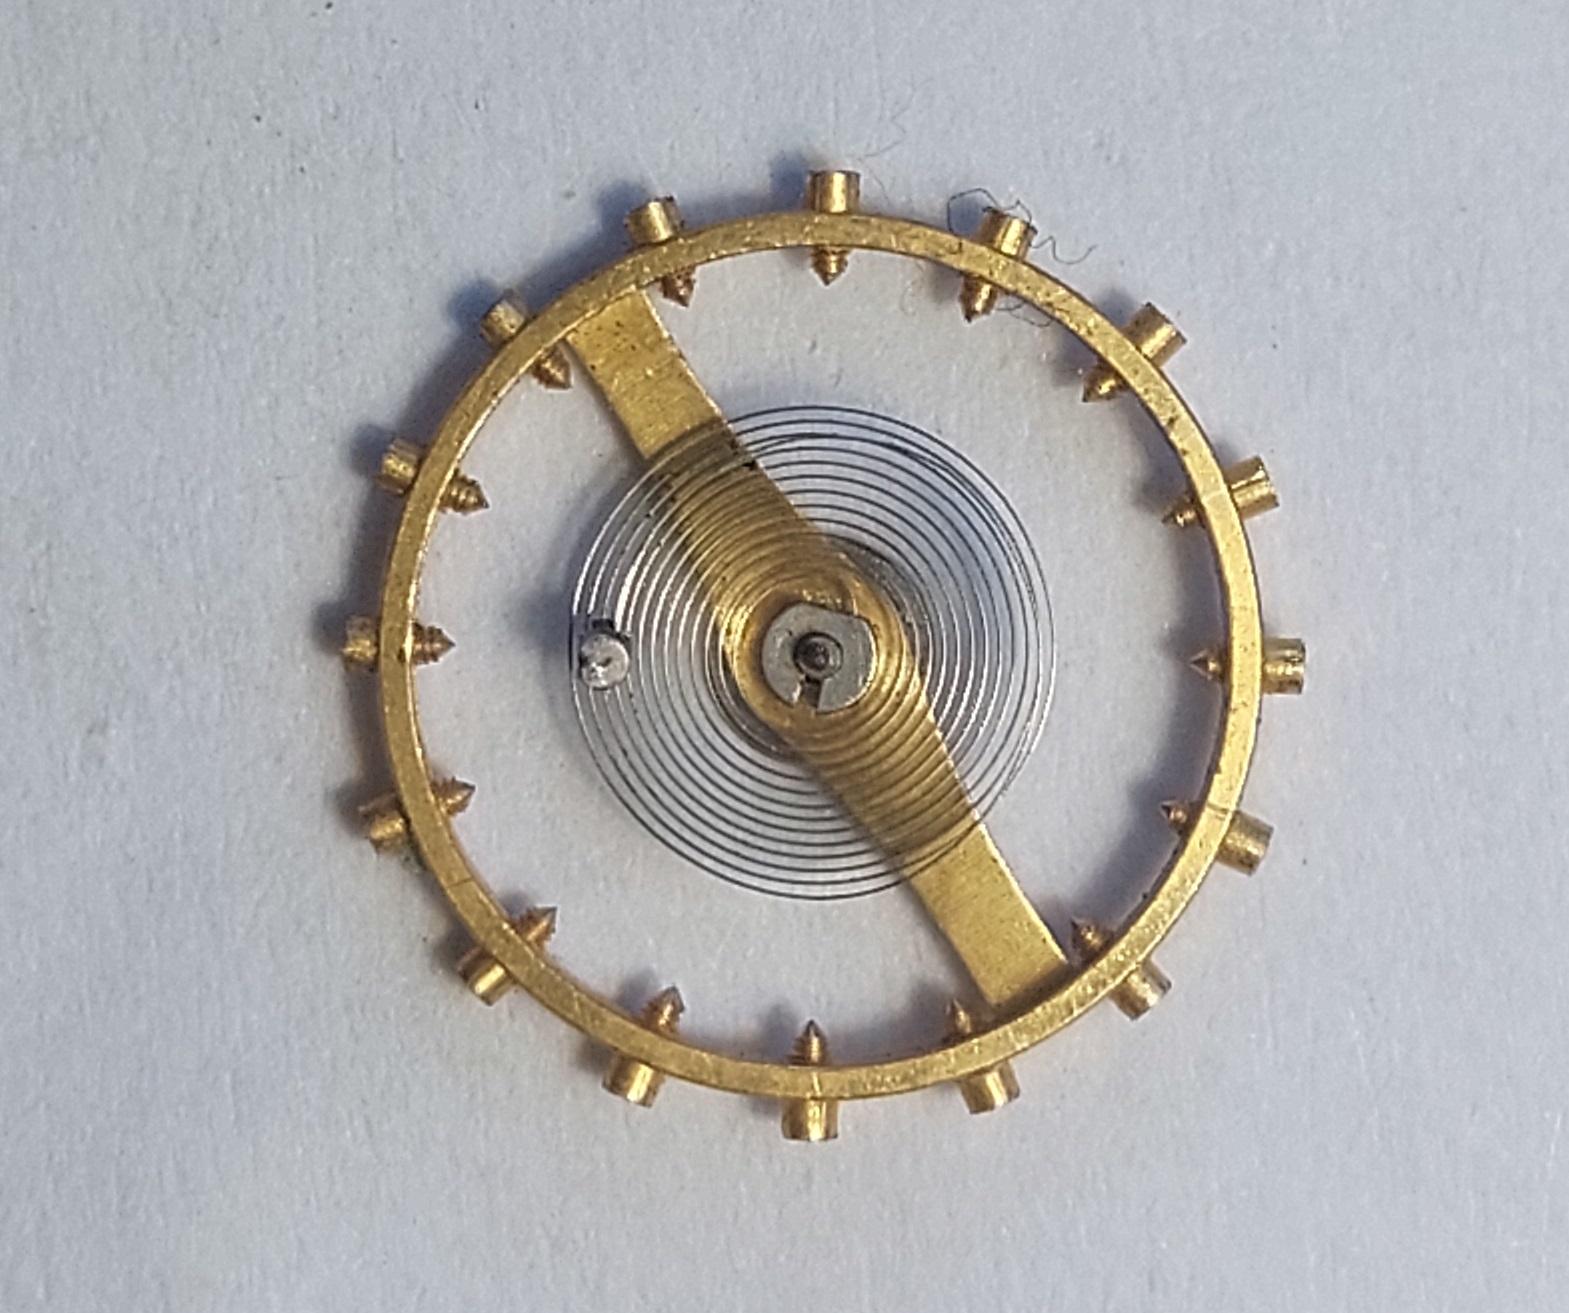
Sorry , i'm not a native speaker, i mean warped, as if the pivots are not turning round , but rather being wobbly1 point
-
The problem is they're just not designed for that type of case with those lugs.1 point
-
Thank you so much - I hadn’t worked out that there was the ability for both coarse and fine adjustment of the rate I’ll take a look.1 point
-
Yes that's to be expected. The eccentric screw is only for fine regulation. Maybe +/- 10 seconds or so. For bigger margins, you carefully need to move the regulator arm. So first, move the fine regulation screw to the neutral position. The use the regulator arm until you you're within, let's say, +/- 5sec.. Then use the fine regulation screw again. It looks, however, as if your regulator arm is hidden under the automatic bridge...1 point
-
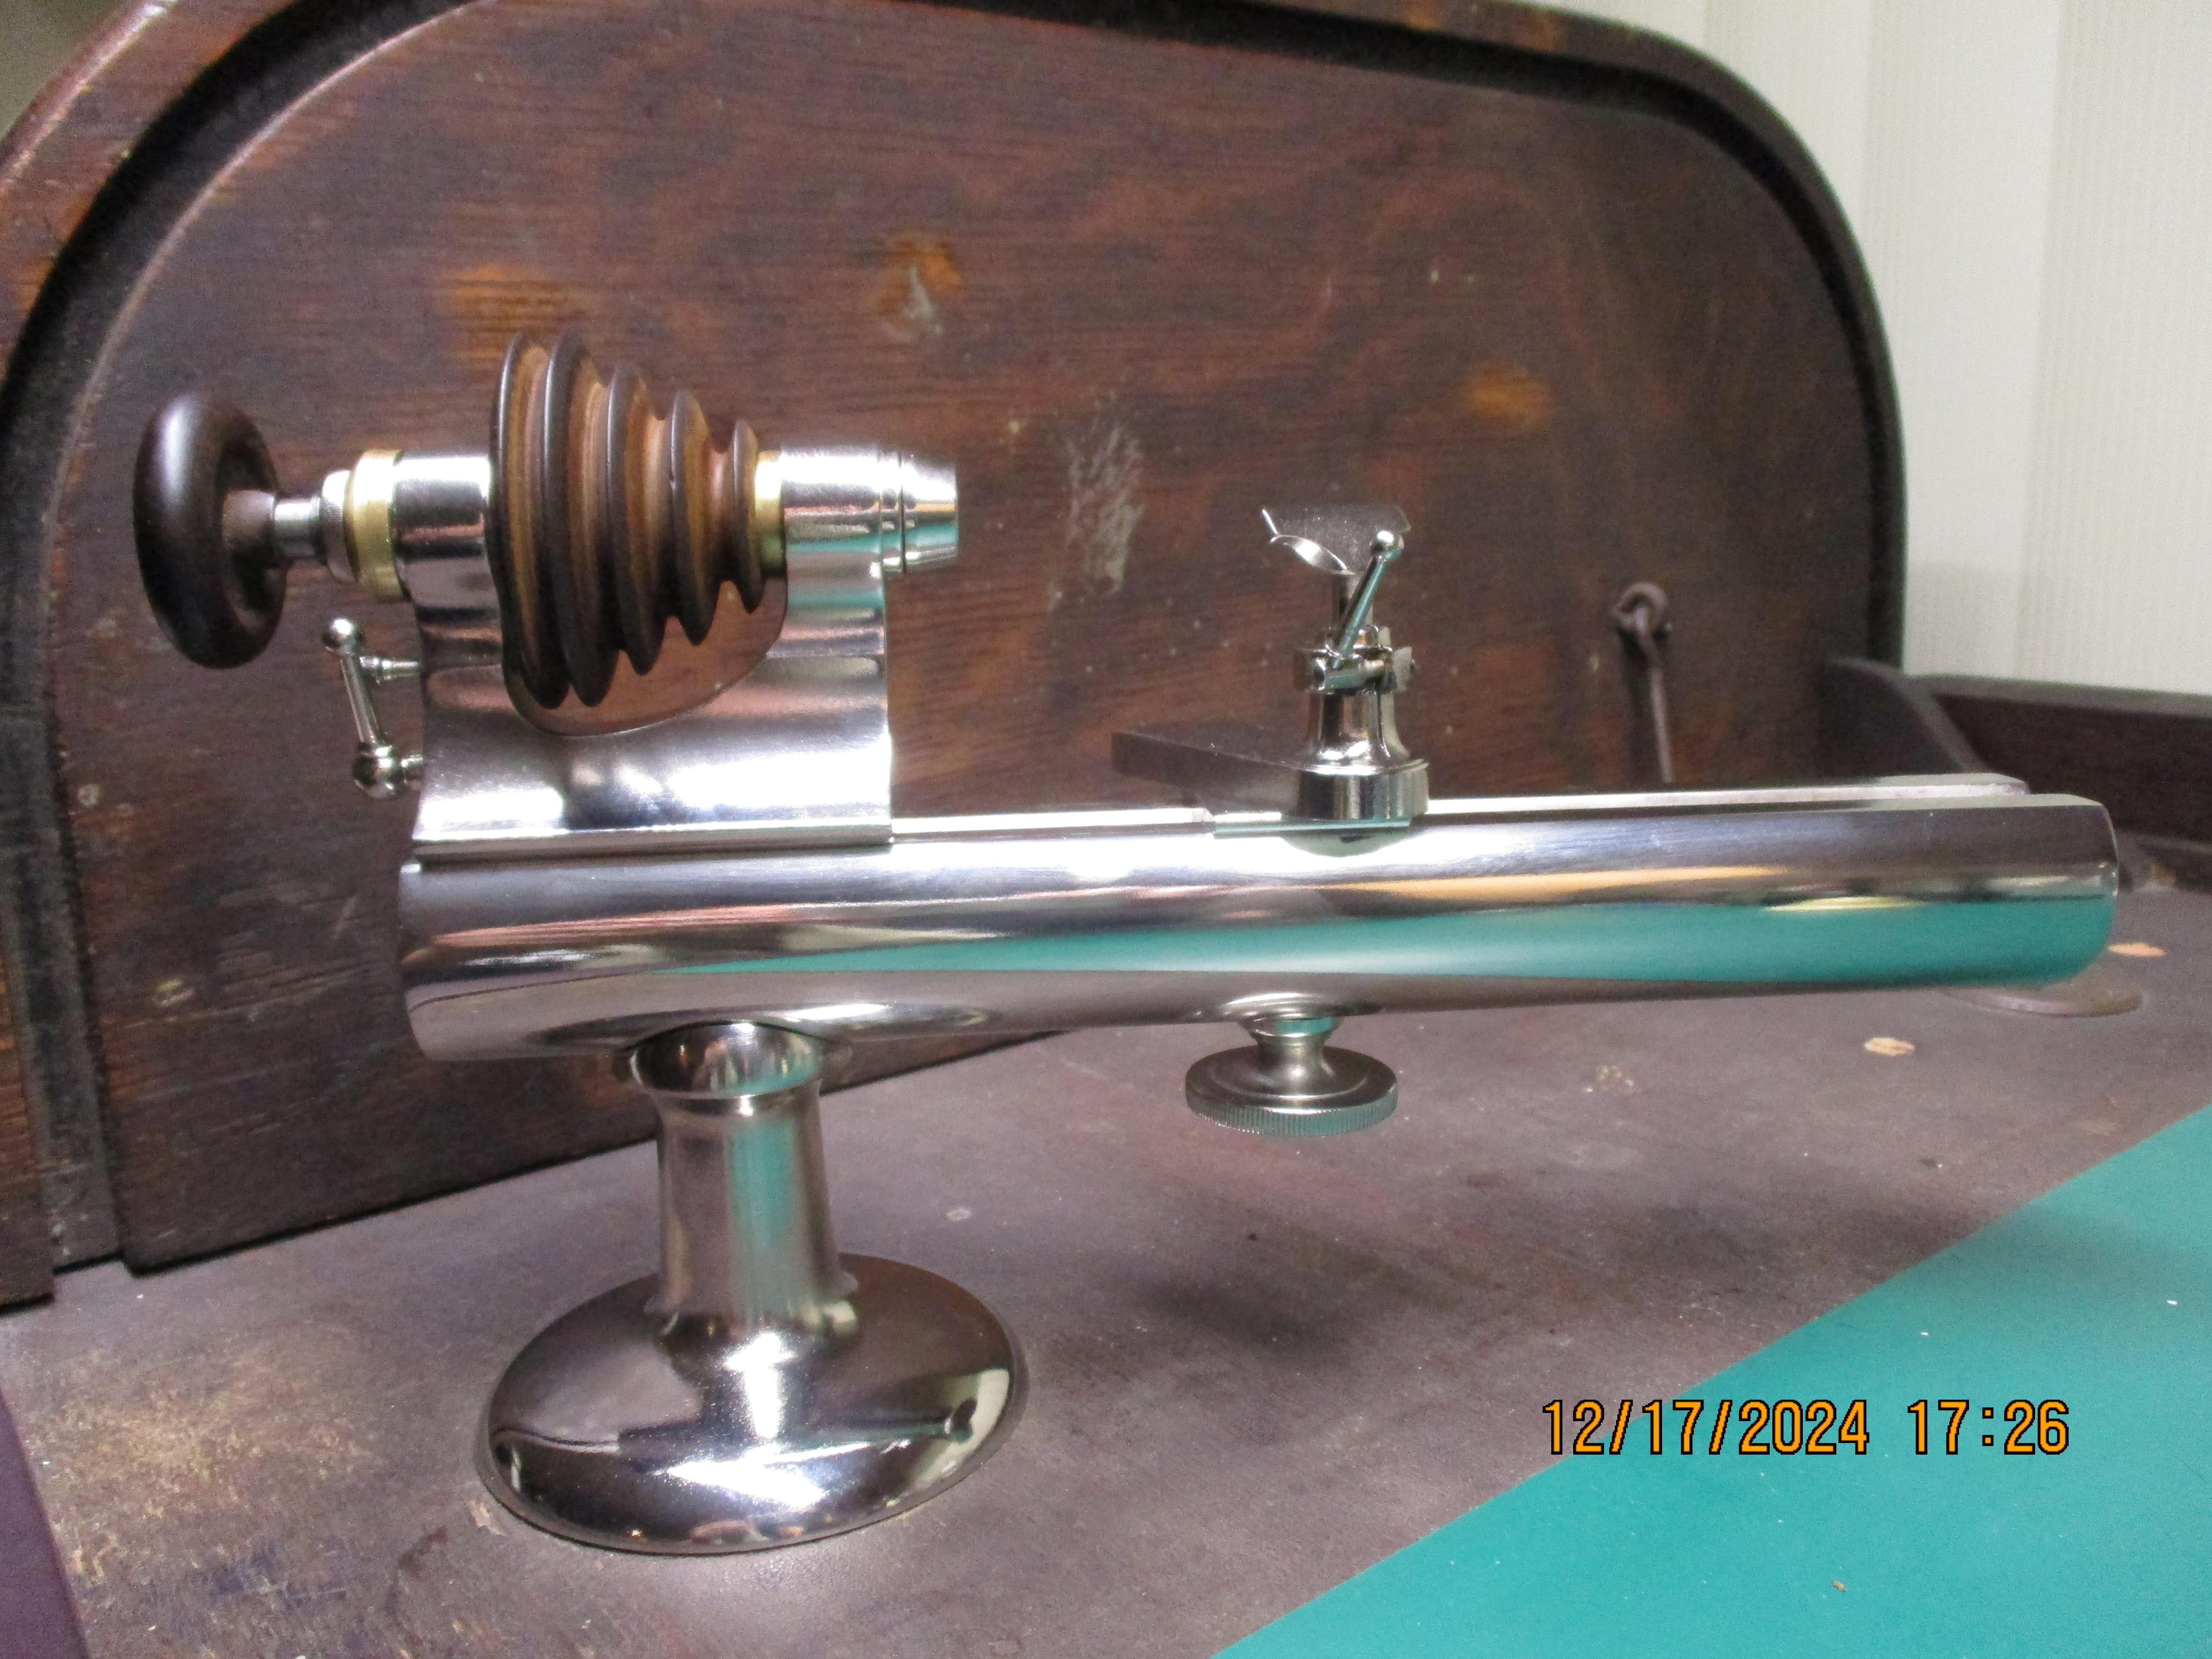
You should start with a pocket watch. They are very much like a bog standard watch movement but much bigger, take it all apart and put it all back. You don't need to bother getting it to work. By doing this you will learn how to use your eyeglass, tweezers and your watchmakers screwdrivers. Keep doing this as they say practice makes perfect. Do not touch fusee pocket watch movements as they are completely different.1 point
-
If you mean for repair, then you can't beat getting your hands dirty, follow @AndyGSi advice. If you mean in general, then reading, videos and getting your hands dirty.1 point
-
A good place to start would be to get a watch that's running, take it apart then put it back together and see if it still runs the same. A lot will come down to what tools you've got and what you're hoping to achieve?1 point
-
Sounds like the hairspring is pressed on the balance spokes. Take good look from aside, and under the cock too.1 point
-
Only just seen this, don't know why. Not sure about the answer but I wondered the same for gunged up movements. Can't see the harm if it's going to be fully dissembled anyway.1 point
-
Pin vice seems to have done the trick - no glue required thanks for the tips.1 point
-
The simple answer is you are supposed to remove the watch when you want or need to get your hands wet.1 point
-
Those blobs are usually some sort of epoxy. You don't have to test it directly at the solder joint. You can go up the copper tracks and remove some of the varnish coating and test it there.1 point
-
Yep, you're right. My bad on that one. Sorry, my mistake. F. Piguet... During my initial venture into horology, I wanted to study mechanicals. I started moving away from it only because of time and expenses. I'm actually more proficient in polishing and refinishing on jewellery and watches now. I do the odd quartz service too and this is a nice balance between watches and jewellery. I'm happy where I am at the moment as my two passions are monetising and I'm quite content. My daughter seems interested. She's got a couple of years before deciding a direction. Perhaps BHI or WOSTEP may be her calling?1 point
-
I took for granted that the information we received was correct—typical Swedish behaviour But I remember thinking that Rolex movements must be very affordable in comparison. (Free-sprung, overcoil, microstella screws, etc.).1 point
-
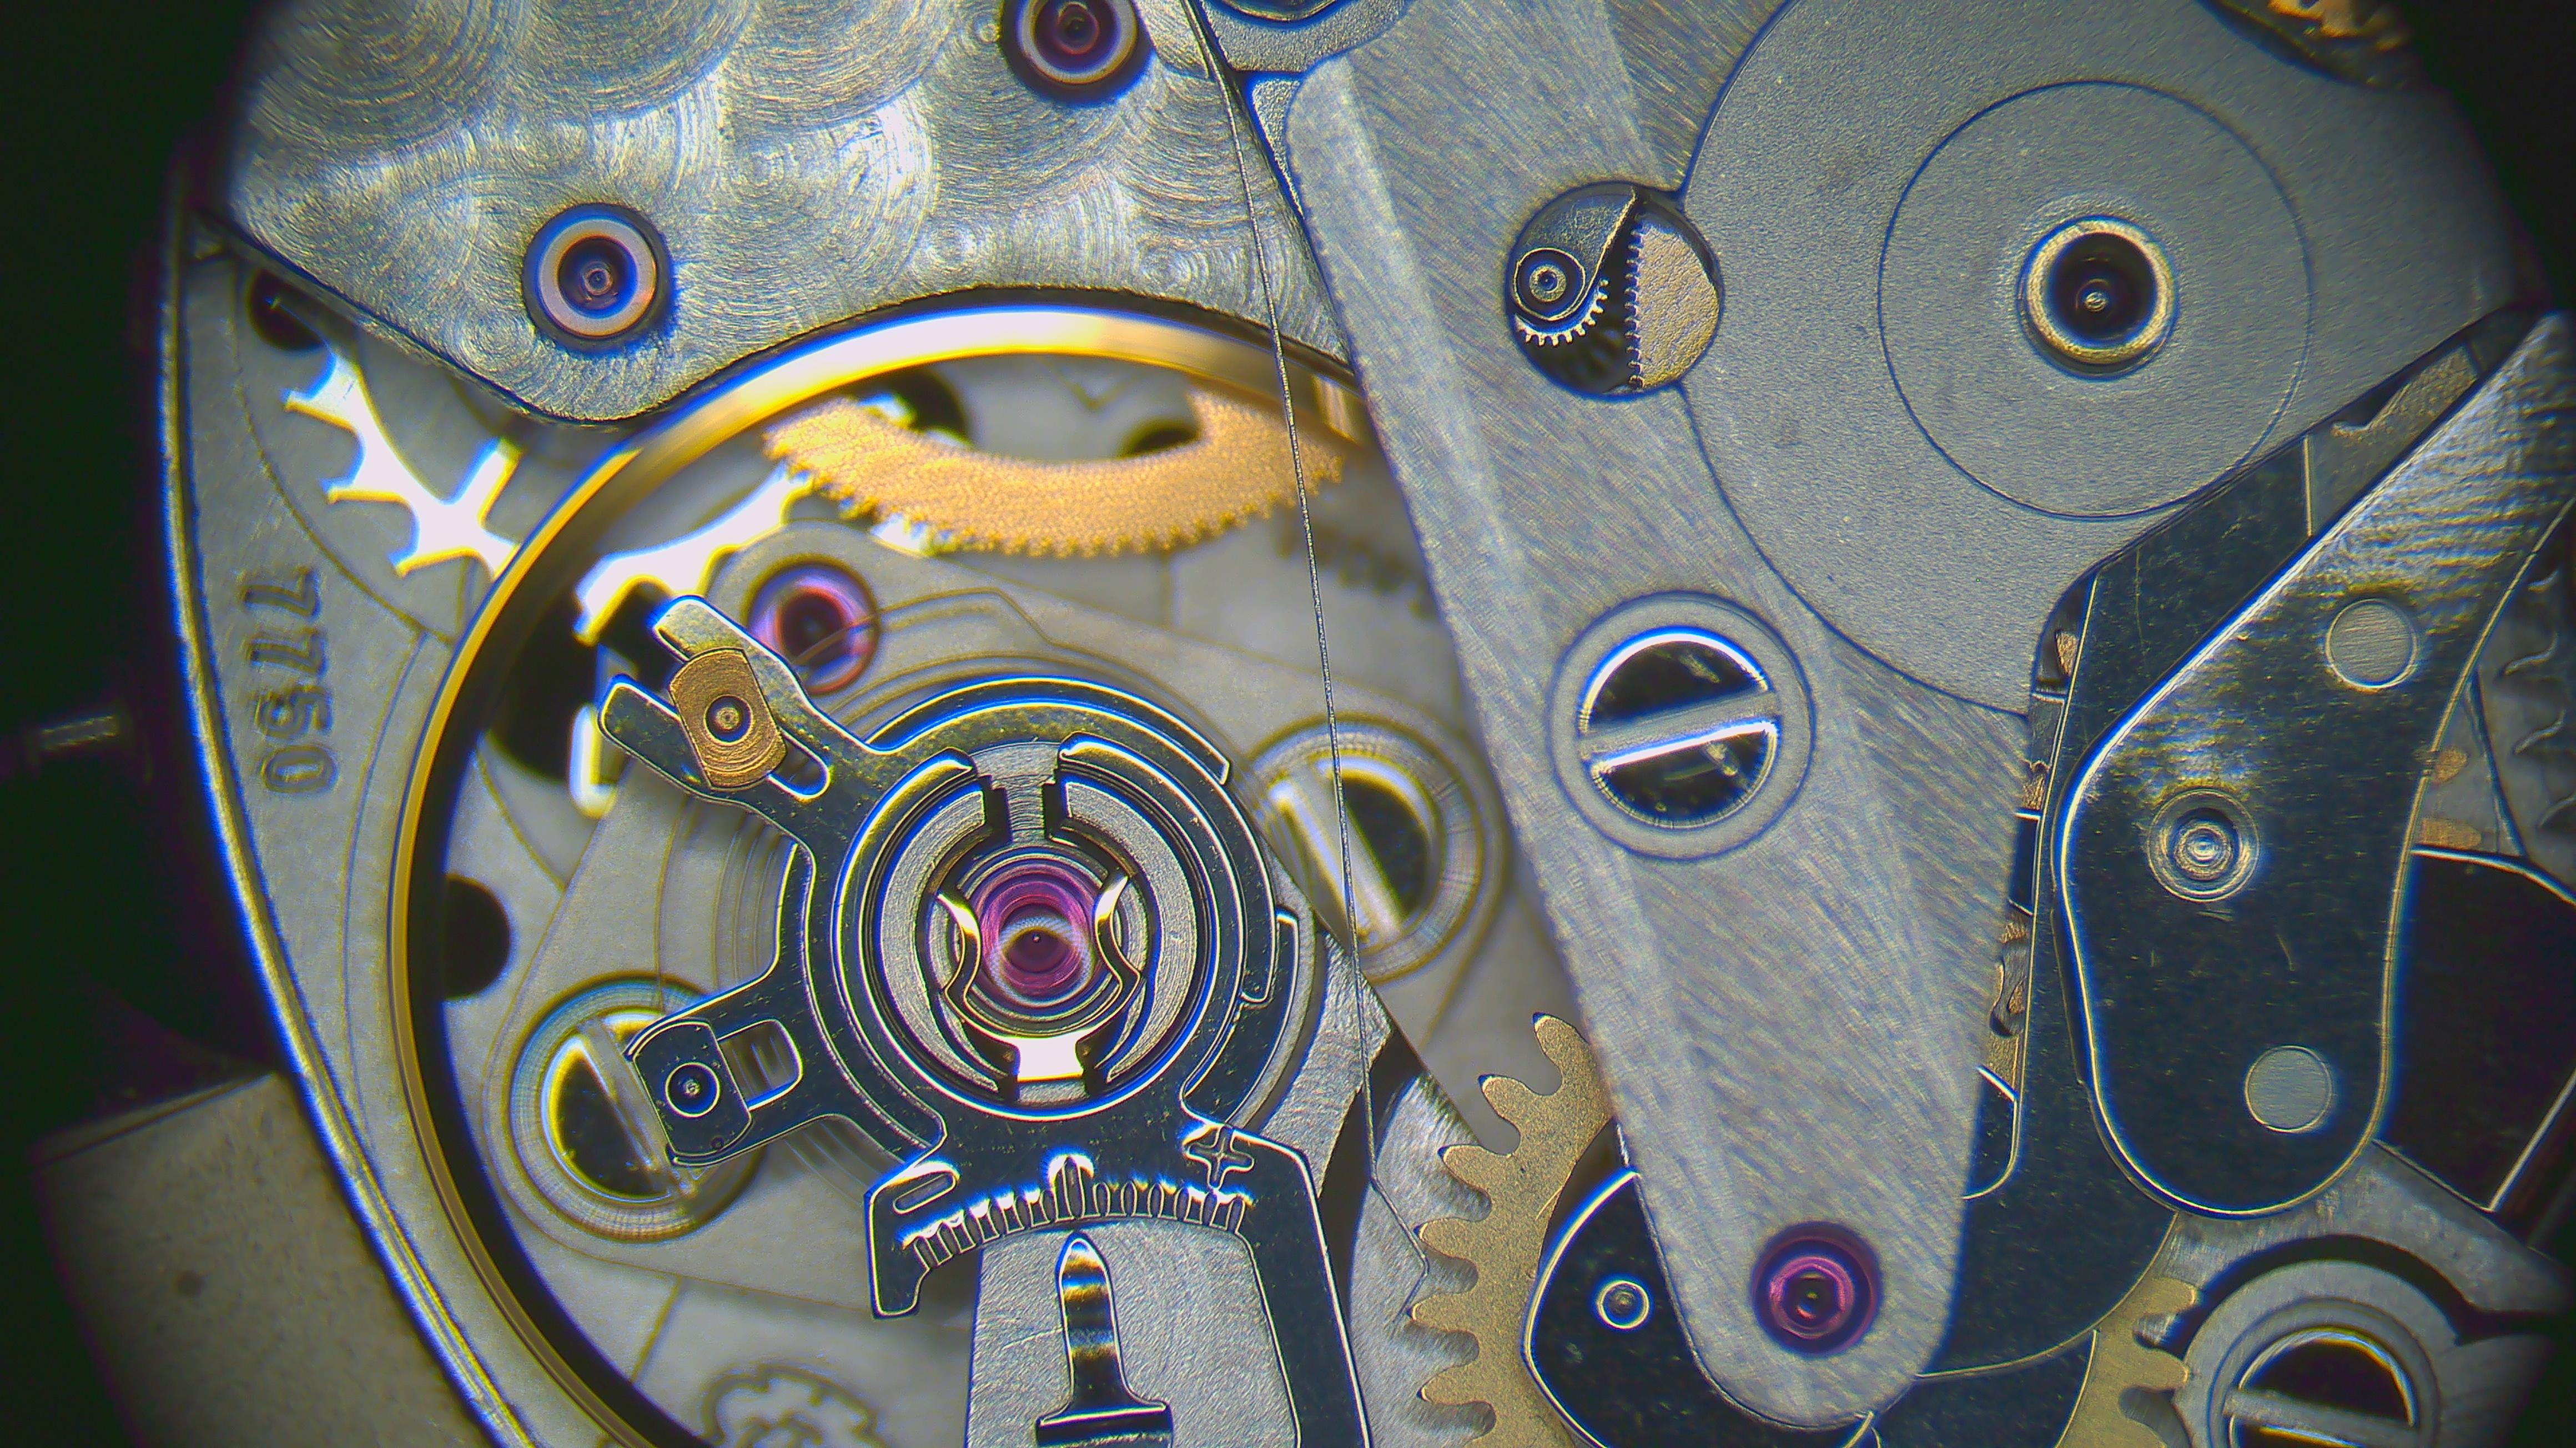
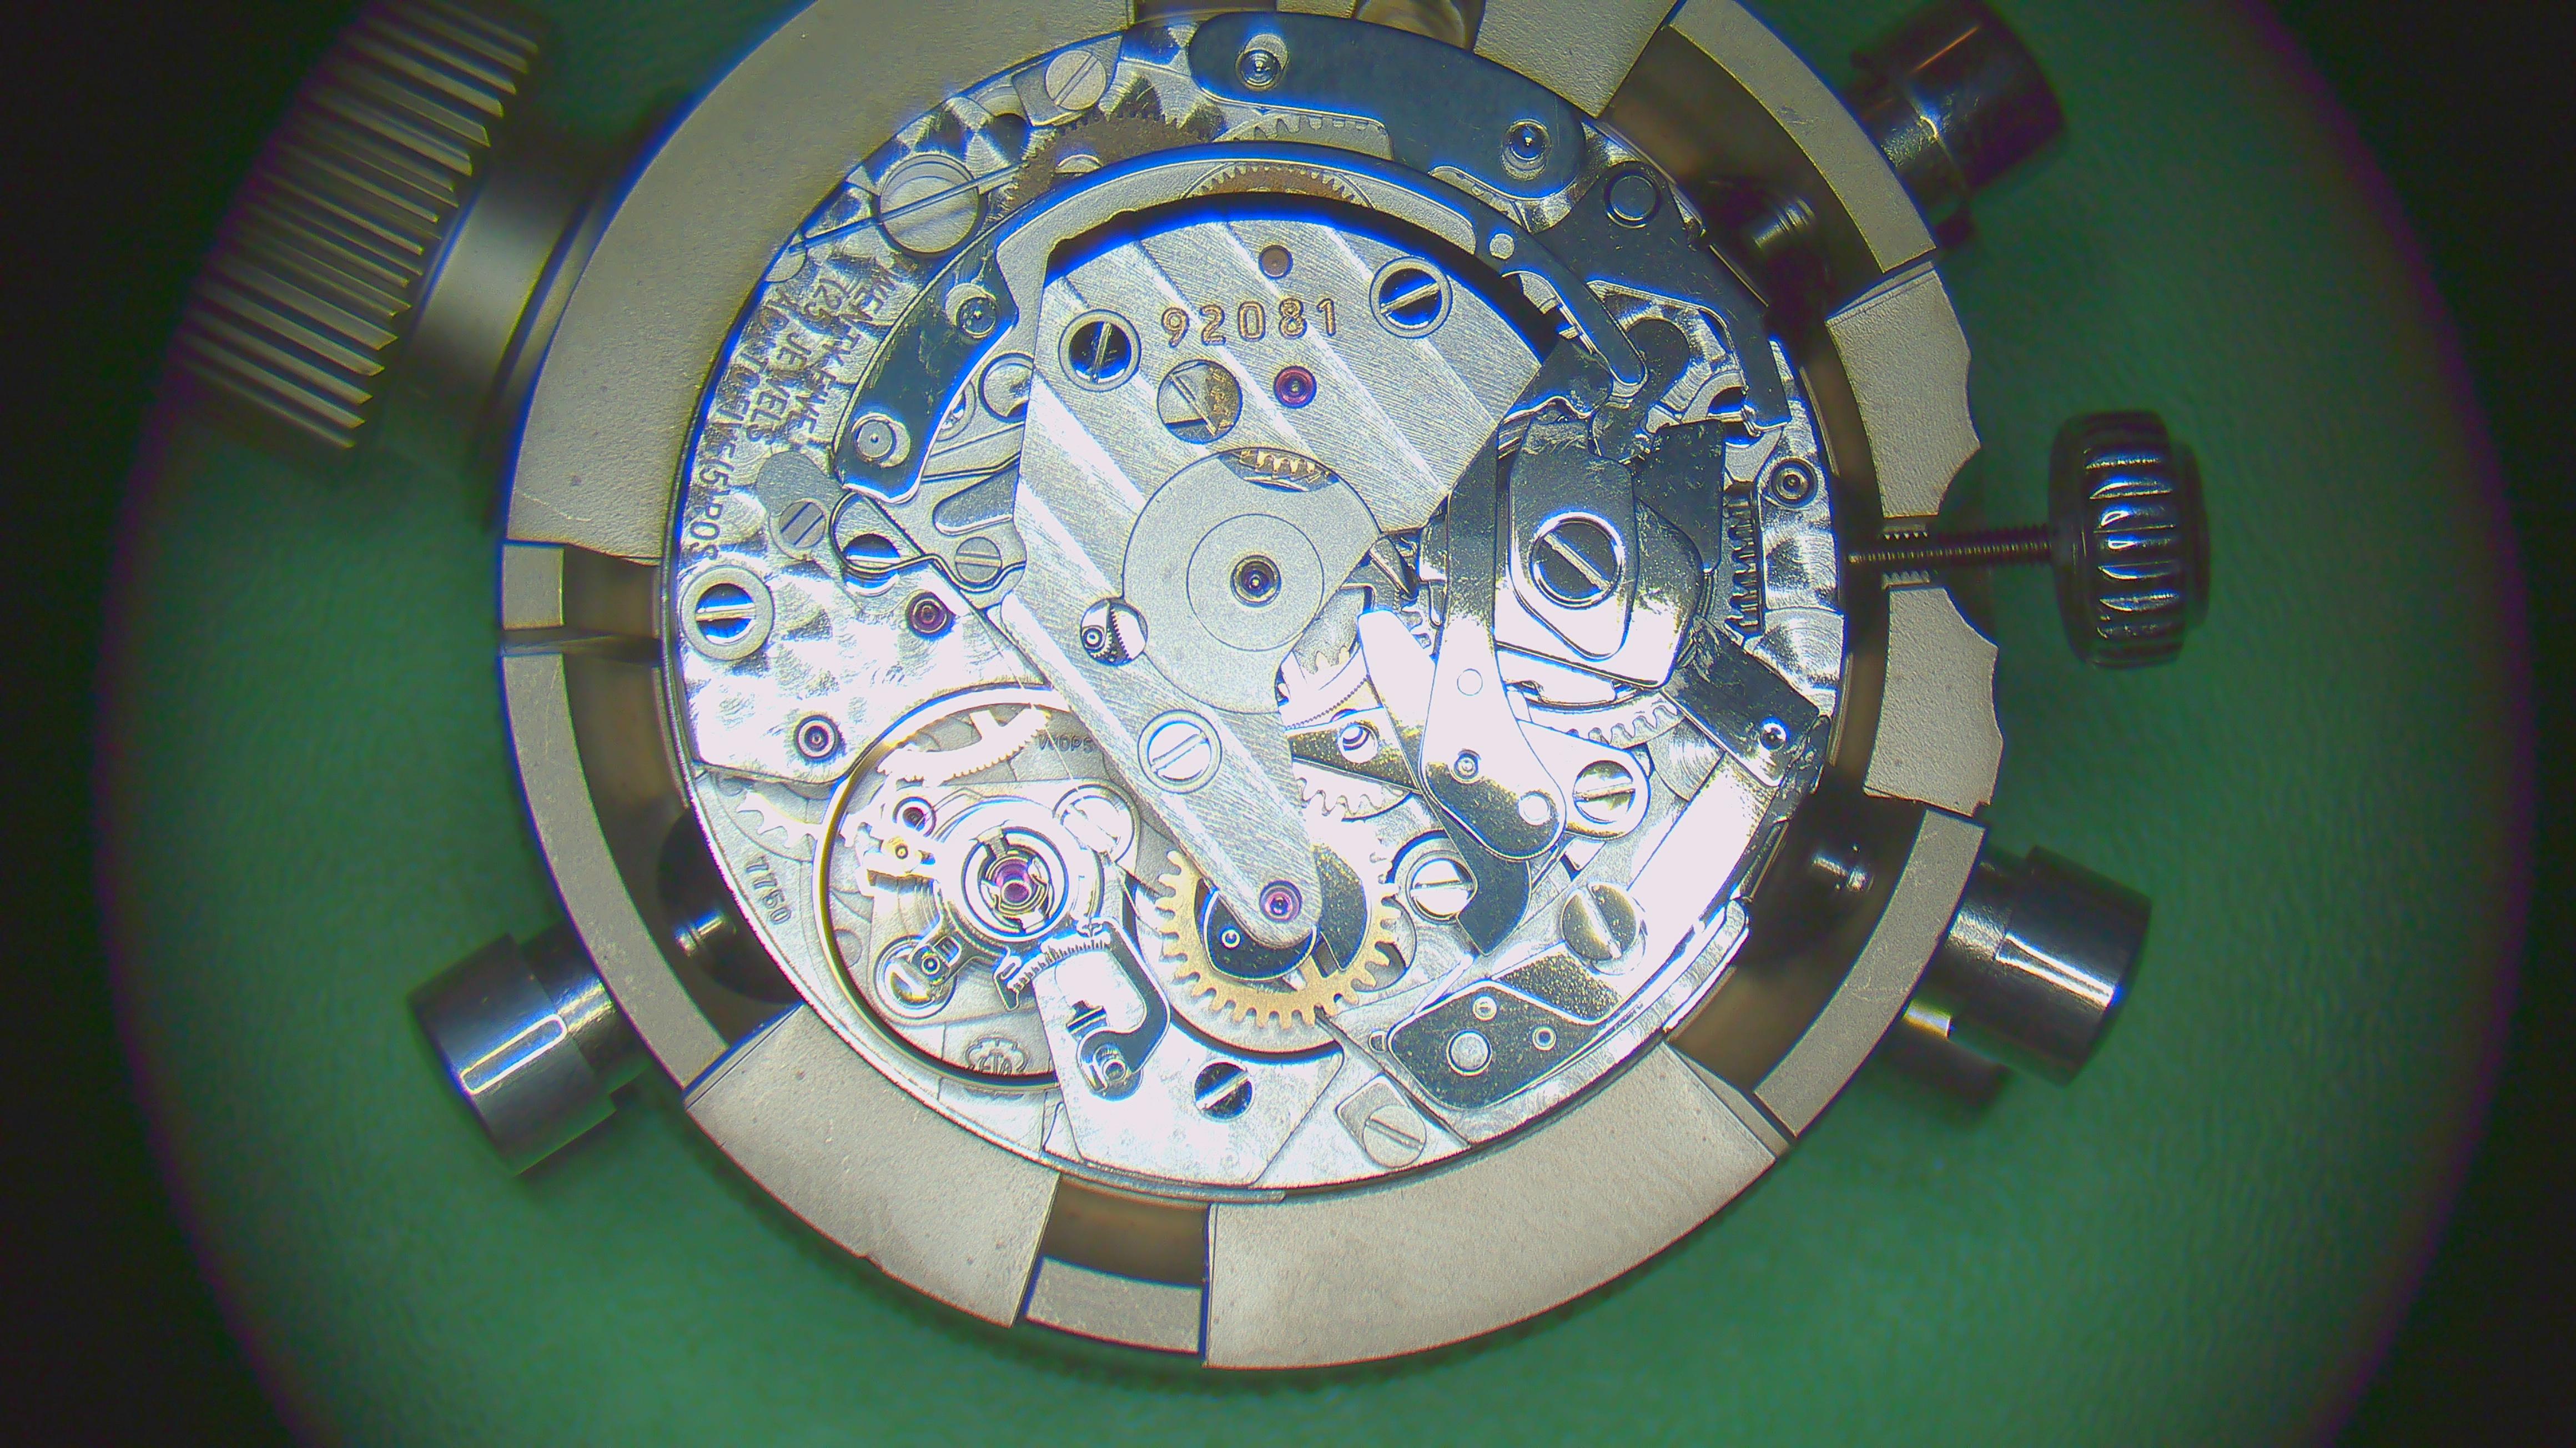
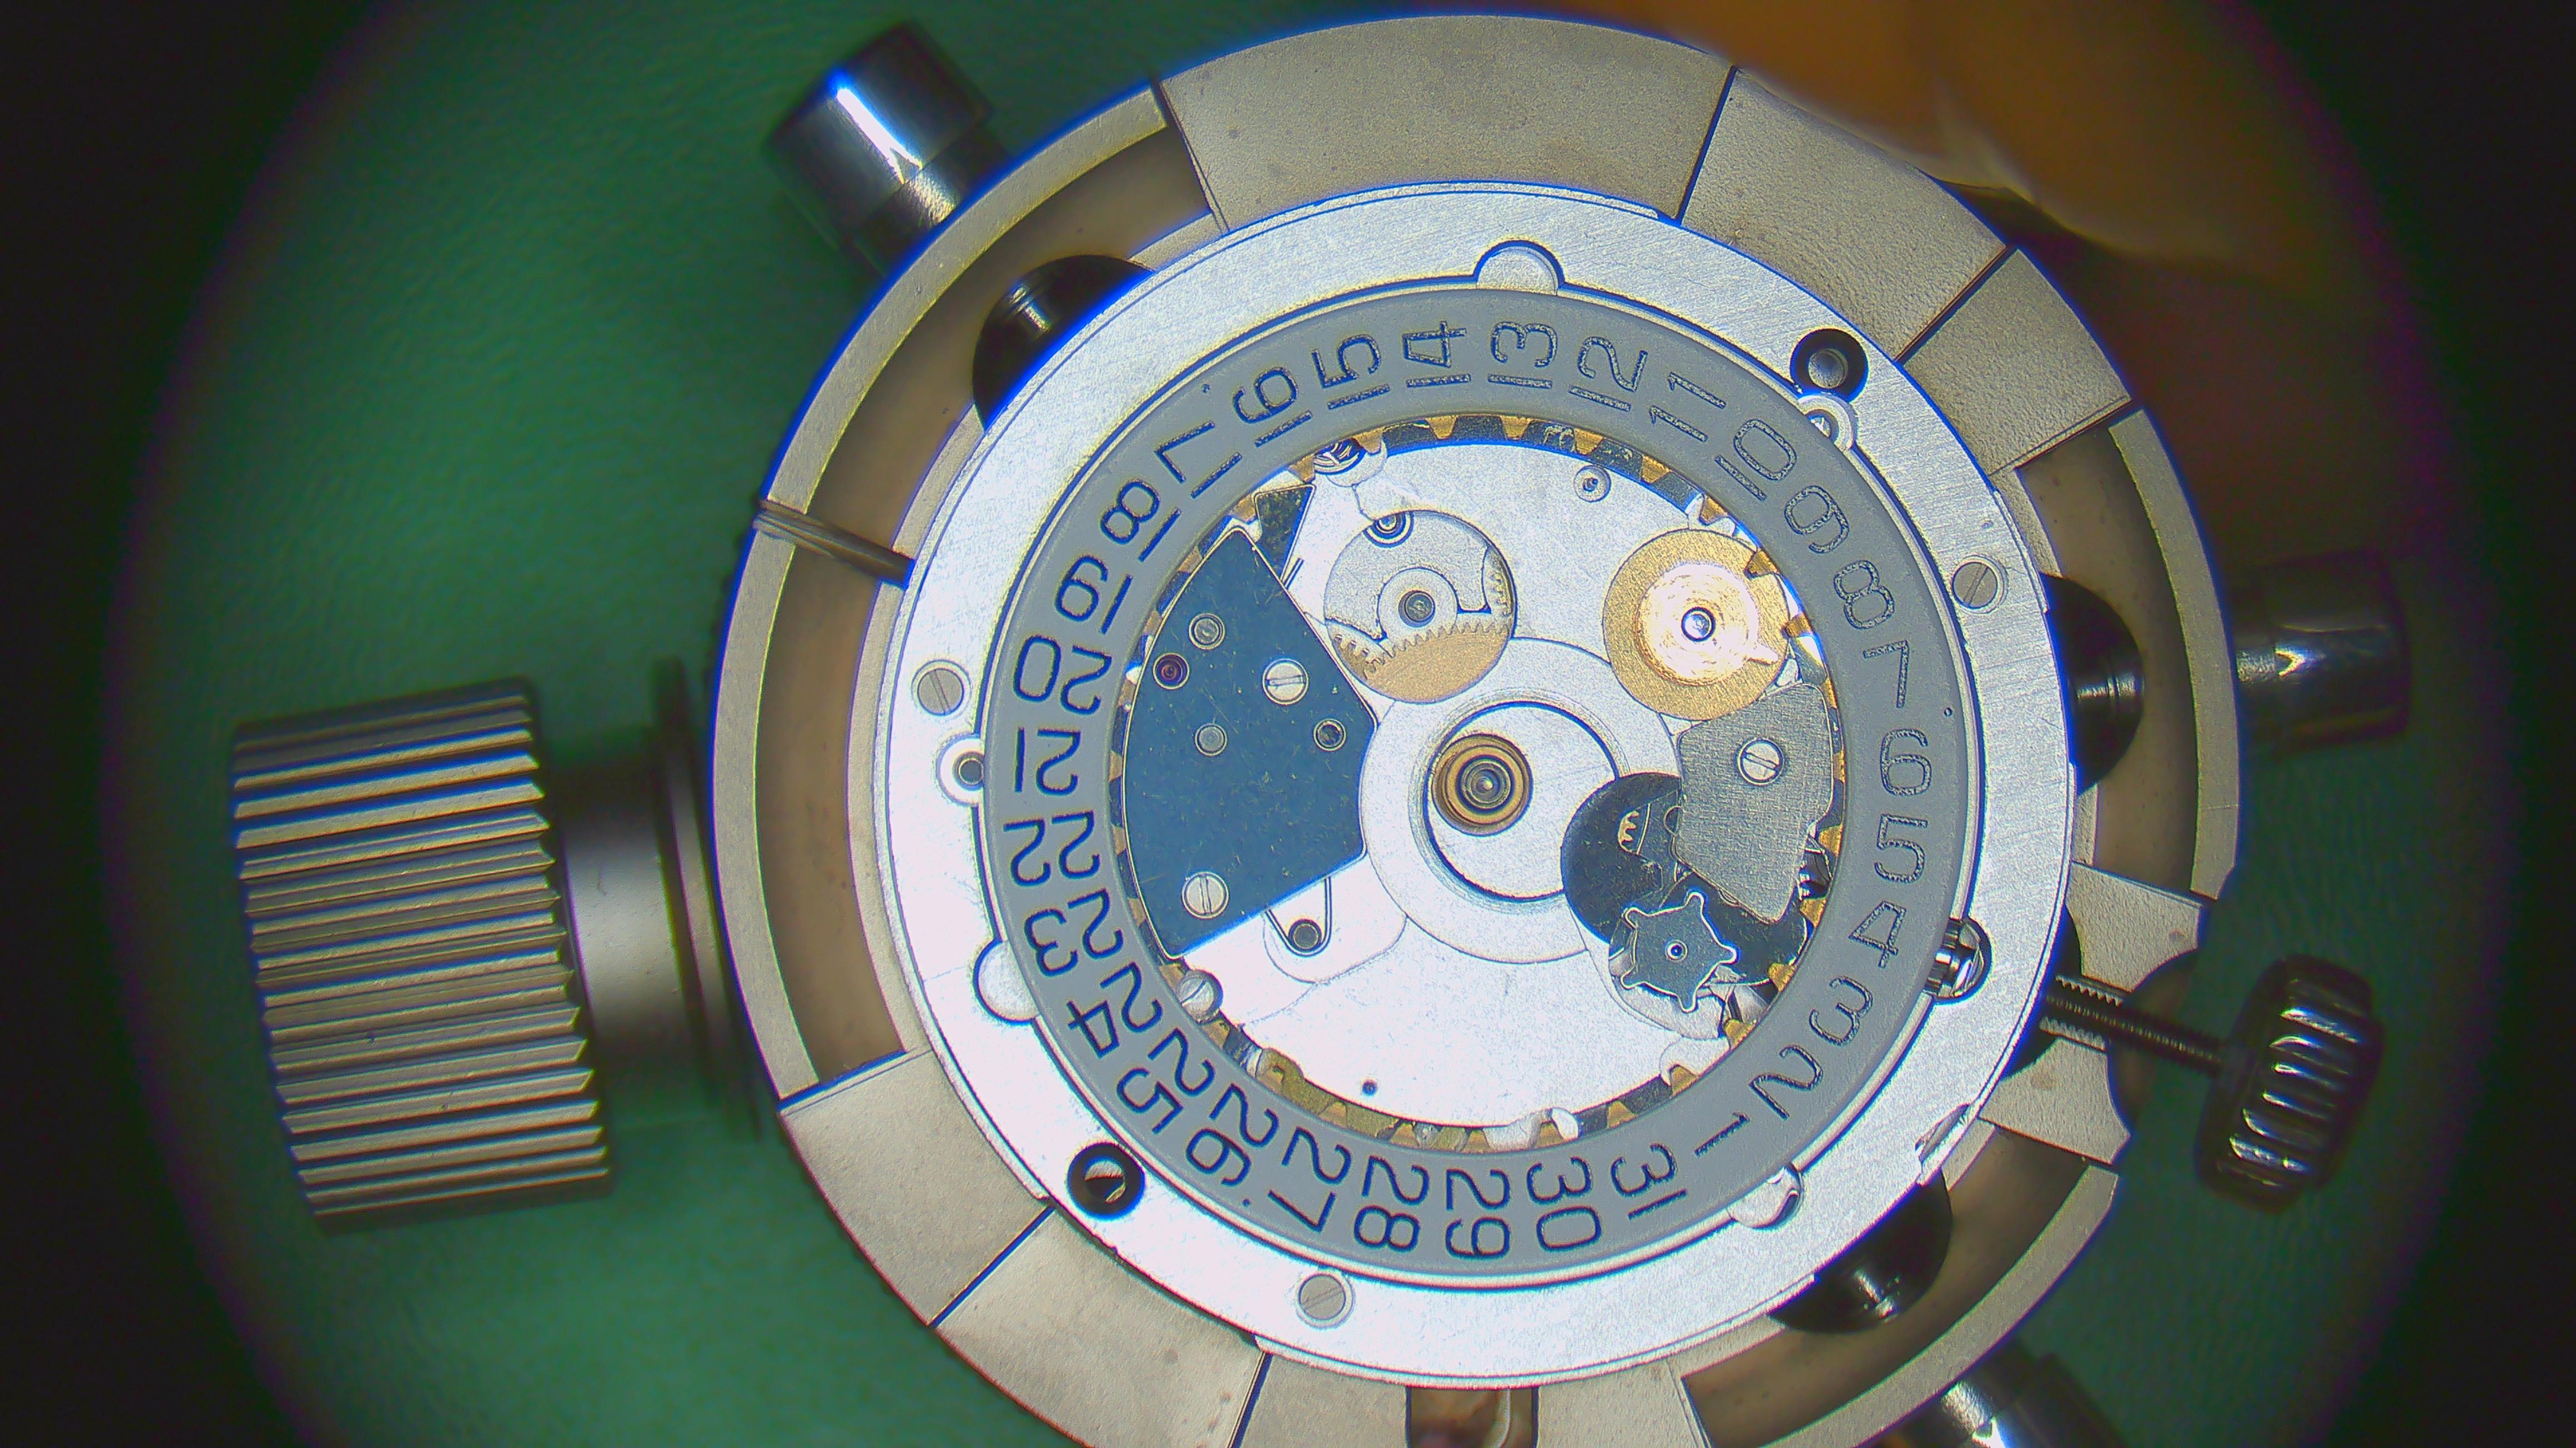
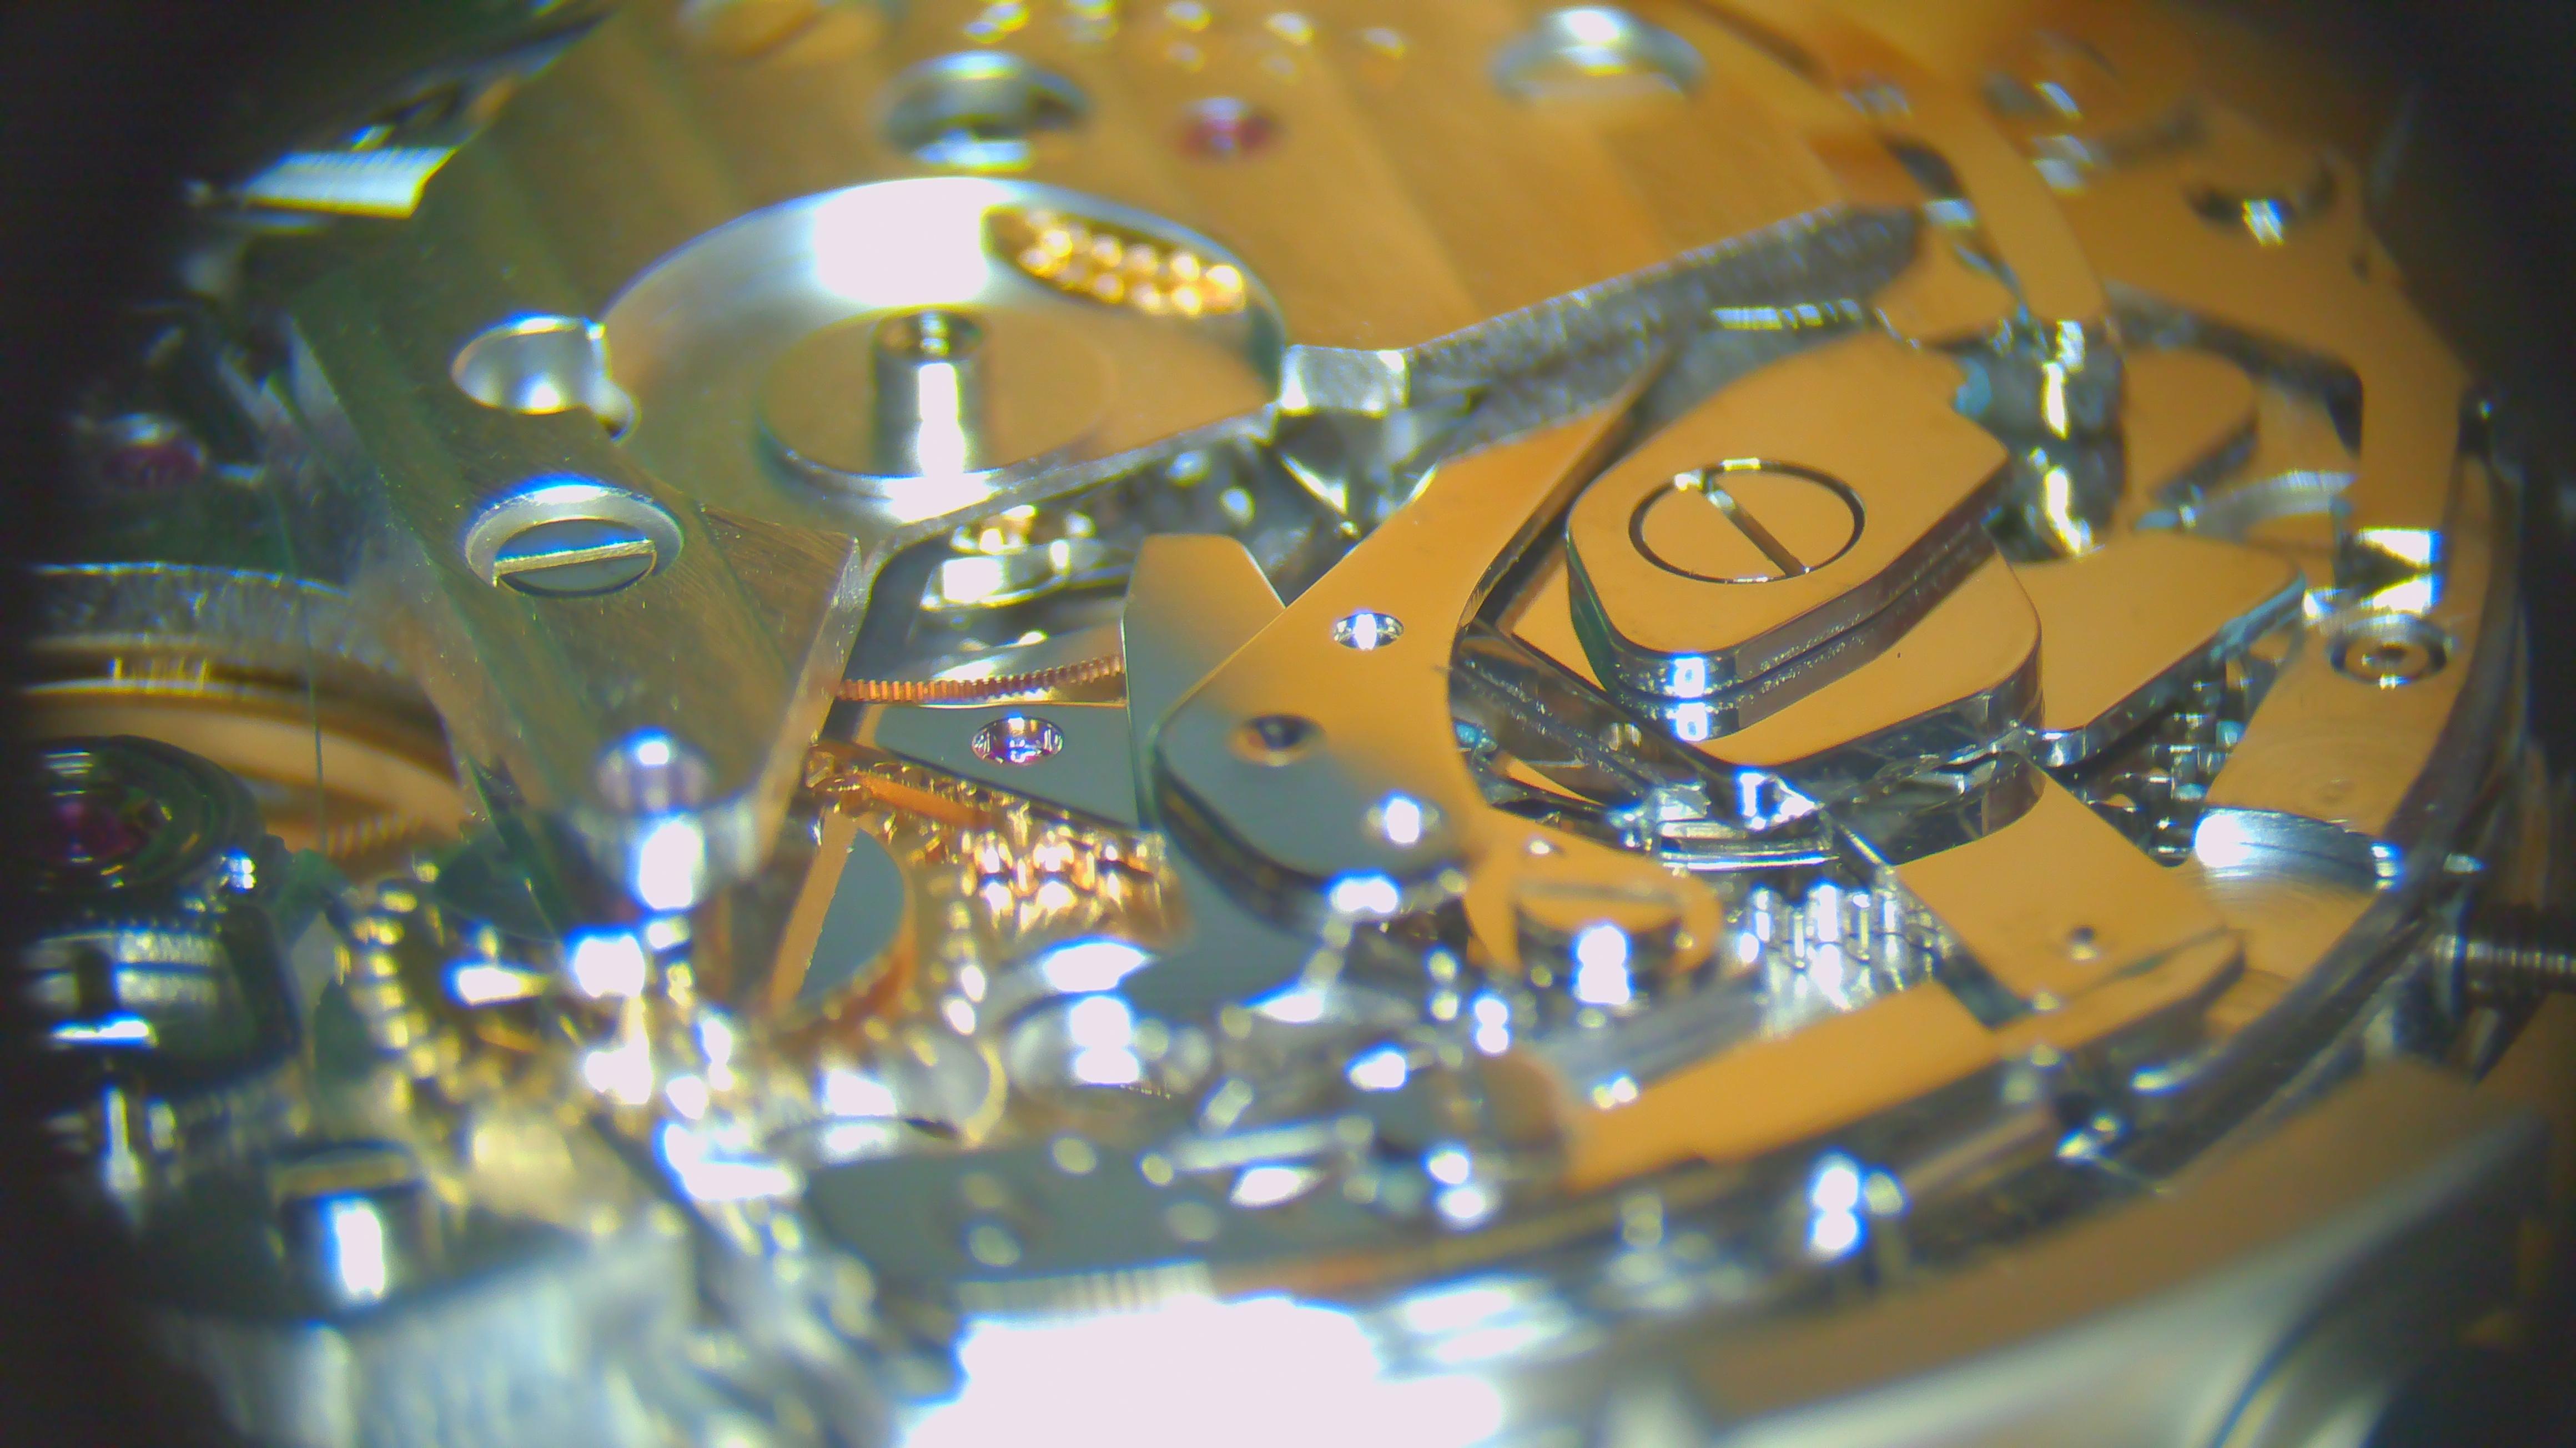
So, I finished my service for the 7750 I managed to borrow a proper movement holder with suitable jewel support from a local watchmaker/friend. Didn't want to take any risks on an expensive watch like this. Here are some random pics and the final timegrapher outputs : Dial up, full wind Dial up, full wind, chrono activated Crown down, full wind, chrono off I'm very happy with the final results of my first chronograph service
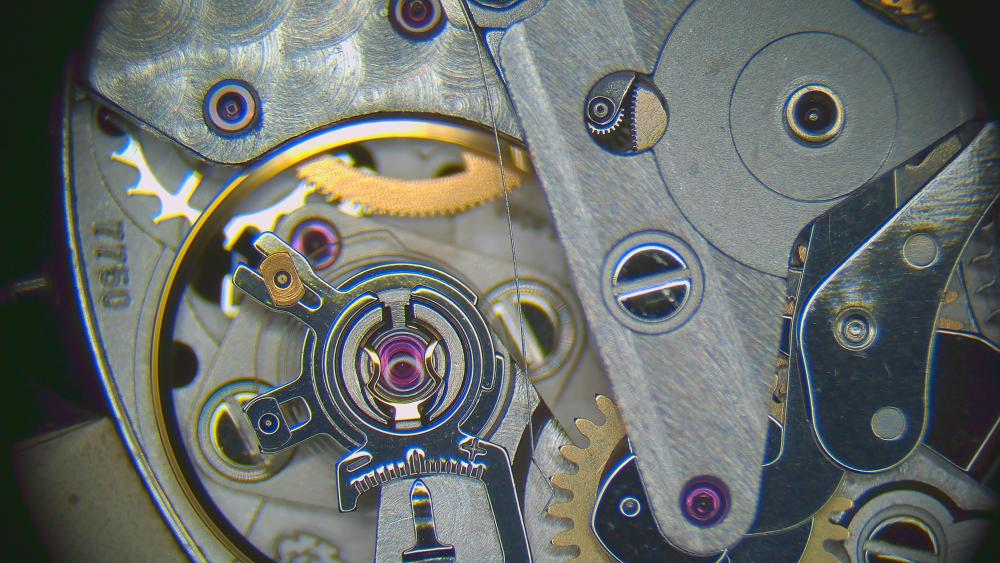
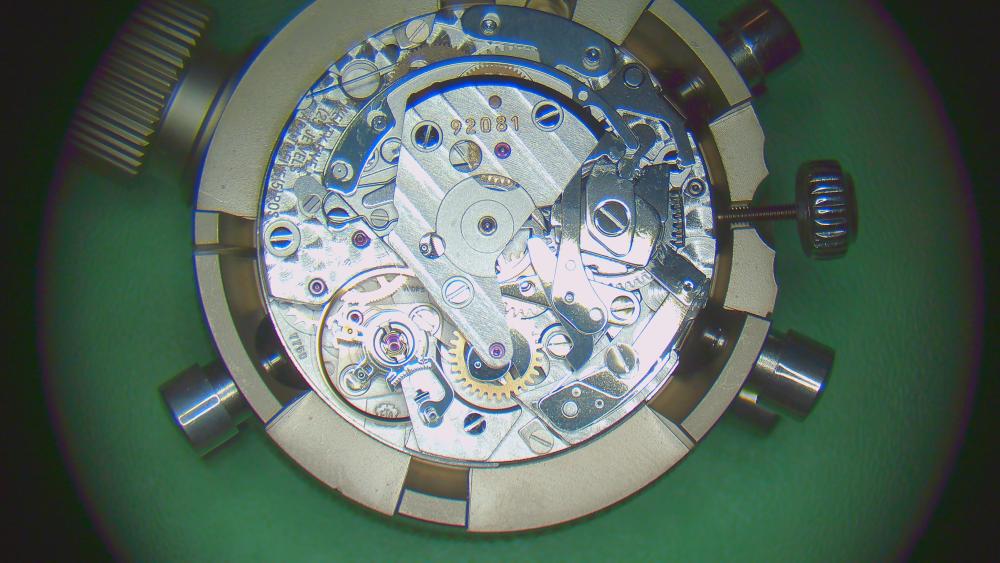


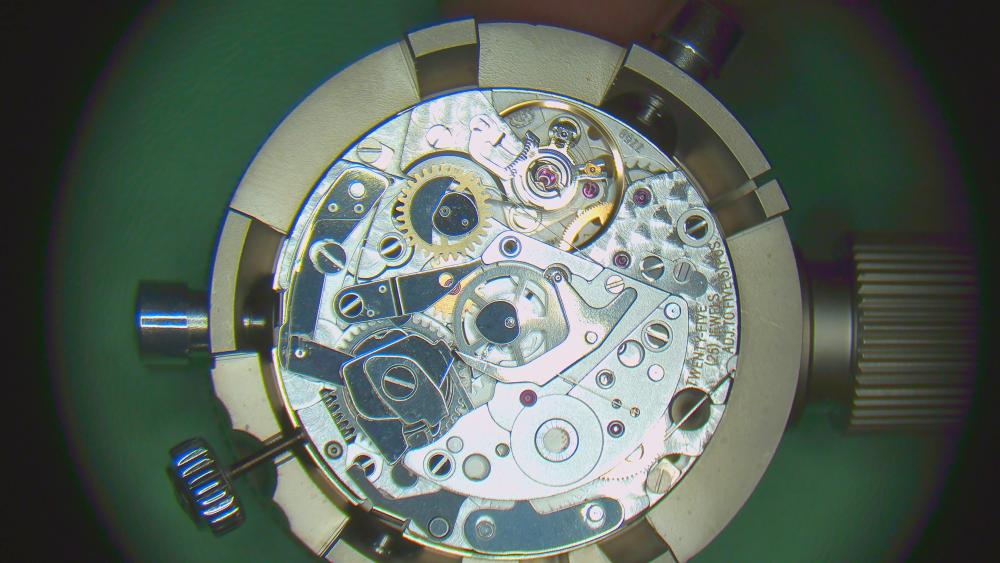

 1 point
 -
Okay I have a few GB’s and every one has to have a thinned 0.0045” torsion spring as they are all somewhere between 0.004” & 0.0045” , the book states 0.004” but I have never found one to take that , As your clock is running slow that points to the same wrong torsion spring, I have done a video how I thin a torsion spring along with lots of other torsion clock videos, here is the thinning video. Dell1 point
-
It does look tangled, but if you haven't already, demagnetise it before doing any manipulations. If your experience as a newbie is anything like mine, you've probably used tools that are magnetised and some of that may have transferred to the balance spring. It's not likely that is the only problem, but any magnetism in the spring is going to make sorting it out frustrating.1 point
-
1 point
-
All the other watches I have so far are broken in one way or another- which is why I got them for free- so I haven't been able to get them working yet (need a staking set, etc). However, I did get a practice movement that I just took apart completely and reassembled. And if runs. I feel like it's a milestone.
 1 point
 -
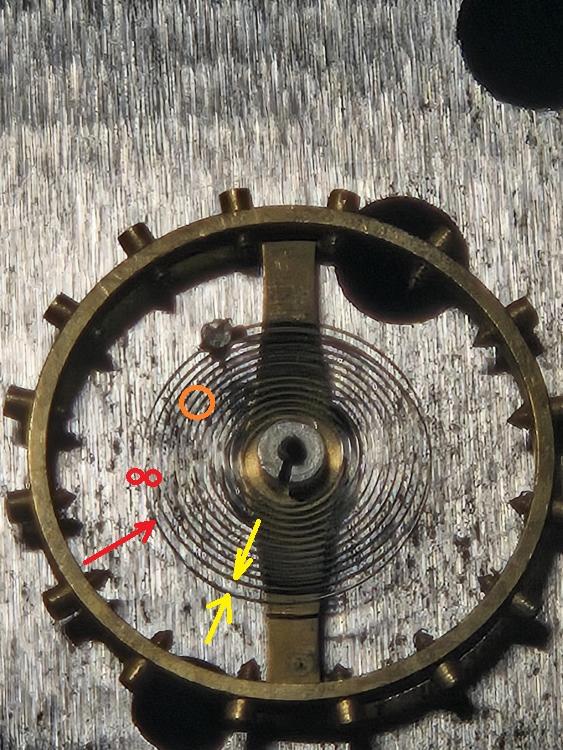
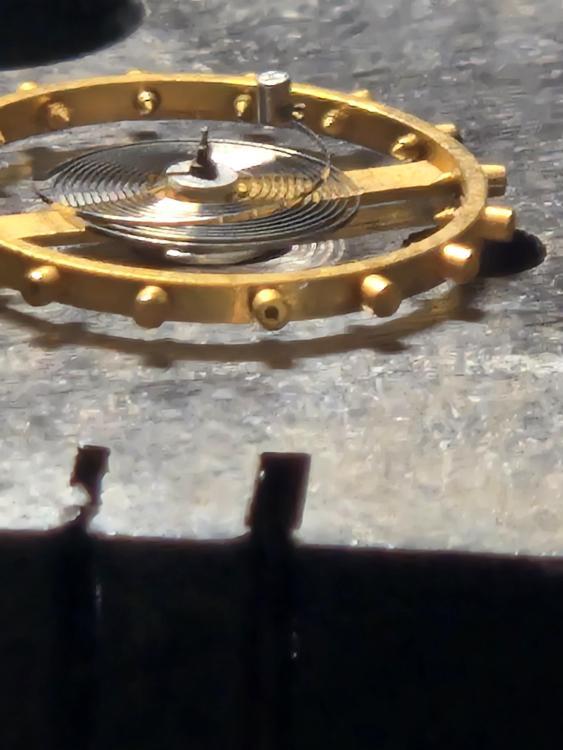
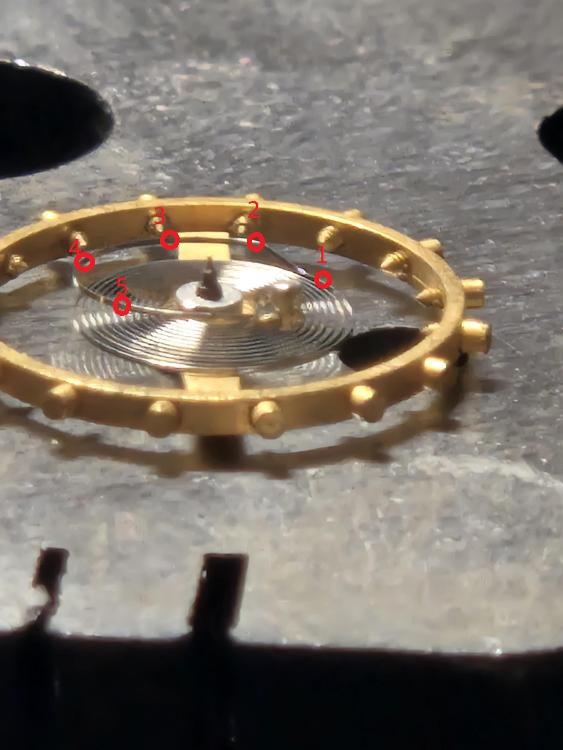
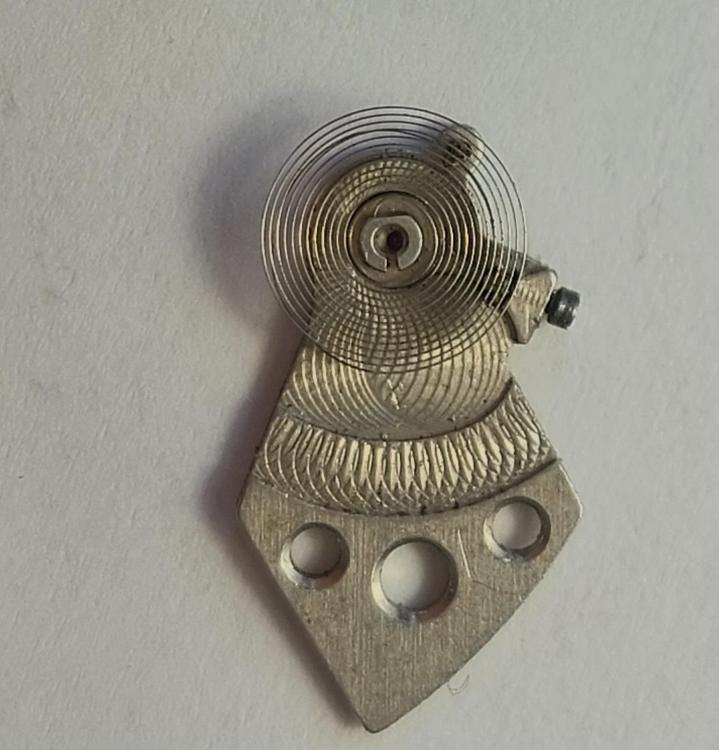
OK, I will start with some pictures of the spring as it should be. As You see, most of the picture are from aside and the aim is to show that the overcoil must be in a plain that is parallel to the spring body. The distance from every point of the overcoil to the spring body is equal. This distance is determined by the 'Z'-curve, which is actually the place where the overcoil lifts above the spring body. Then I have shown a picture from above - this is to show how the overcoil must look and where is the place of the stud relative to spring body - this is above the 4th coil from the periphery to center. Now here is You spring: It is obvious that the overcoil is twisted up. This is the main problem, as the spring with such overcoil will be pressed towards the balance arm. What to do? You need to untwist it. You see points from 1 to 5. The idea is to untwist portion by portion. You must use 2 tweezers. One will grasp the spring in point 1, the other in point 2 and You will twist by rotating tweezers 2 relatively to 1 in untwisting direction. Actually, tweezers at 1 will stay still, the tips of tweezers 2 will be guided in place and the tweezers tilted a little in a manner that grasping the spring will cause twisting. You look at the height of point 3 and when it gets equal to the height of point 2 (looking from aside), then this is done and You move one point ahead - grasp in points 2 and 3 and observe at 4, and so on to the end. This will need some practice, but what is needed is patience and good sharp tweezers. The good thing is that the overcoil is above the spring body and grasping with tweezers is easy. In the end, the overcoil must be in plain and parallel to the spring body. The distance between the stud bottom and the spring should be about the 1.5 height of the spring (width of the band of which the spring is made). Next is the overcoil shape. You must bend the overcoil inwards in several places, beginning where I have shown. Use one tweezers and needle (or the other tweezers, but hold them closed and use as a needle). The tweezers must grasp where shown with two small red circles, the needle will press in place and with direction shown with red arrow, the aim is to bring the distance which is shown with yellow arrows the same as the spacing of the coils in the untouched places. Then continue shaping the overcoil moving ahead and to the end, when the stud will come where shown with orange circle. and the overcoil will start looking as needed. Then, check again the height of the overcoil and if needed, make small corrections. The lat thing is the portion where the spring is fixed to the stud. The interest thing is that the hole in the cock not always holds the stud upright and fixing the stud when replacing the balance assembly is always connected with spring adjustment near the stud. If the spring is OK, then it can be done without removing the spring from the balance, but for a newbie it will be easier to see what He does if the spring is removed. The last pictures show how the spring must look when fixed on the cock. To achieve this, the spring can be twisted and bent up/down near the stud in order to bring it parallel and bent left/right in order to make it stay without pressure between regulator pins. The collet should stay right above the stones, thus guarantee the spring is centered. I realize that it all sounds simple, but it is not so easy to do if one has not practice. And it is easier to start with alarm clocks first, then big pocket watches and then wrist ones. The idea is to understand what needs the result to be in the end and what is the way to do it step by step. In the end the spring should not touch anything, which means there should be safe distance between it and all the other things, no matter what the position of the movement and the position of the balance in the movement is.


 1 point
 -
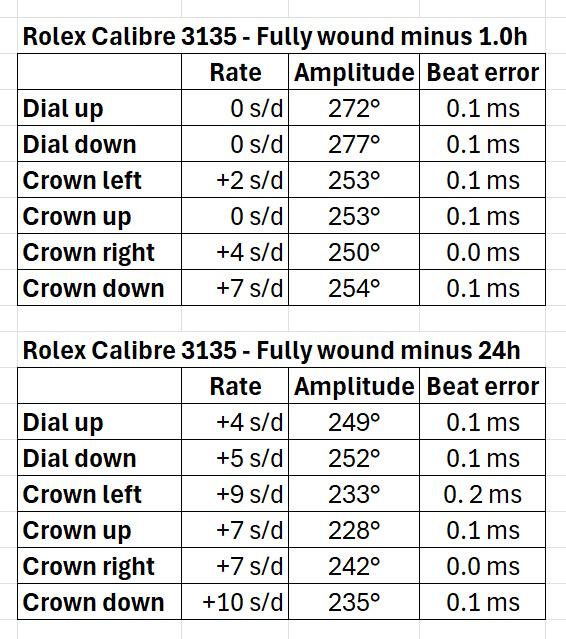
Tomorrow it is finally time to hand over the watch to the owner so this may be my last post in the thread. It feels a bit solemn. It has been an educational and fun time to have had the privilege of servicing and repairing this beautiful Rolex Oyster Perpetual Date with its fantastic movement calibre 3135. All the help and information you have so generously shared has been crucial, so again a big, big thank you. Special thanks to @Jon for sharing his professional and in-depth experience and to @Knebo for the encouragement (and facts) between us enthusiasts. I am sure many others will appreciate and benefit from this thread in the future. The final challenge was to regulate the rate with the Microstella tool as described in my previous post, which I did in two rounds, most recently yesterday. Here are the final results measured with PCTM. Each measurement is averaged over three minutes. It is very satisfying to see that all values and performance tests, including the rate, are now well within Rolex's specified limits.
 1 point

.thumb.jpg.cb17a66989f1e796fd4217db2e9ca9df.jpg)