Leaderboard


Popular Content
Showing content with the highest reputation on 03/10/25 in Posts
-
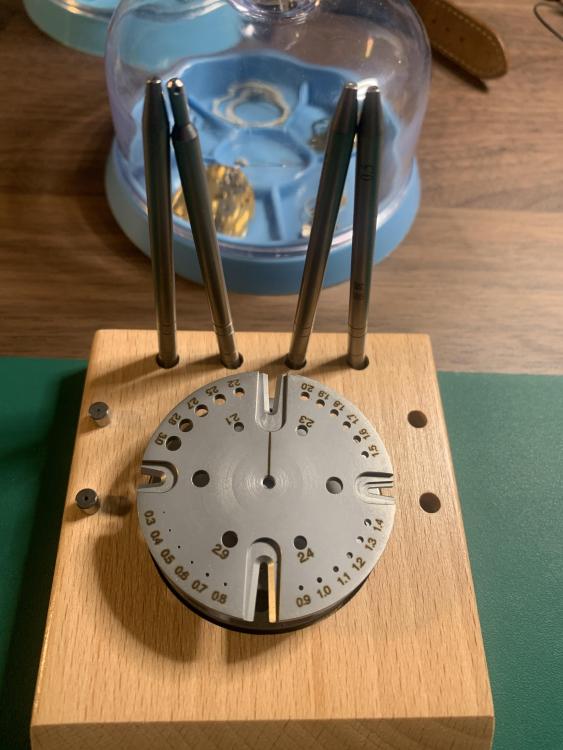
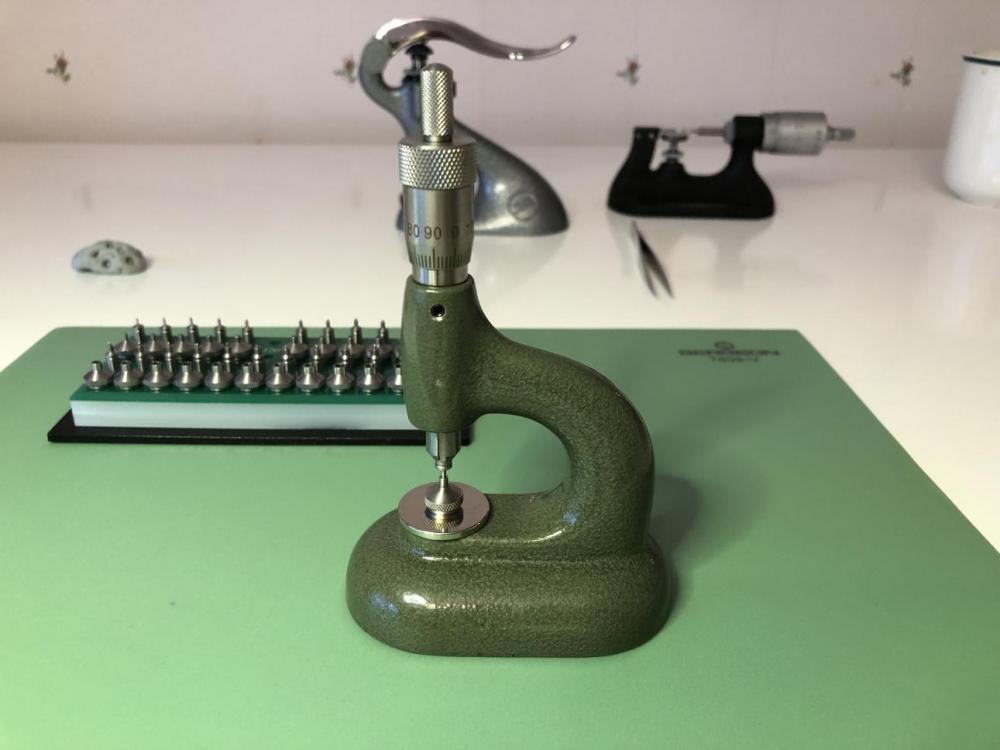
Here's an update to some tools. I have printed the index plate, but I haven't mounted it yet. It turned out well and I think it'll work just fine. I also uploaded a video to my YouTube channel showing my lapping setup
 6 points
 -
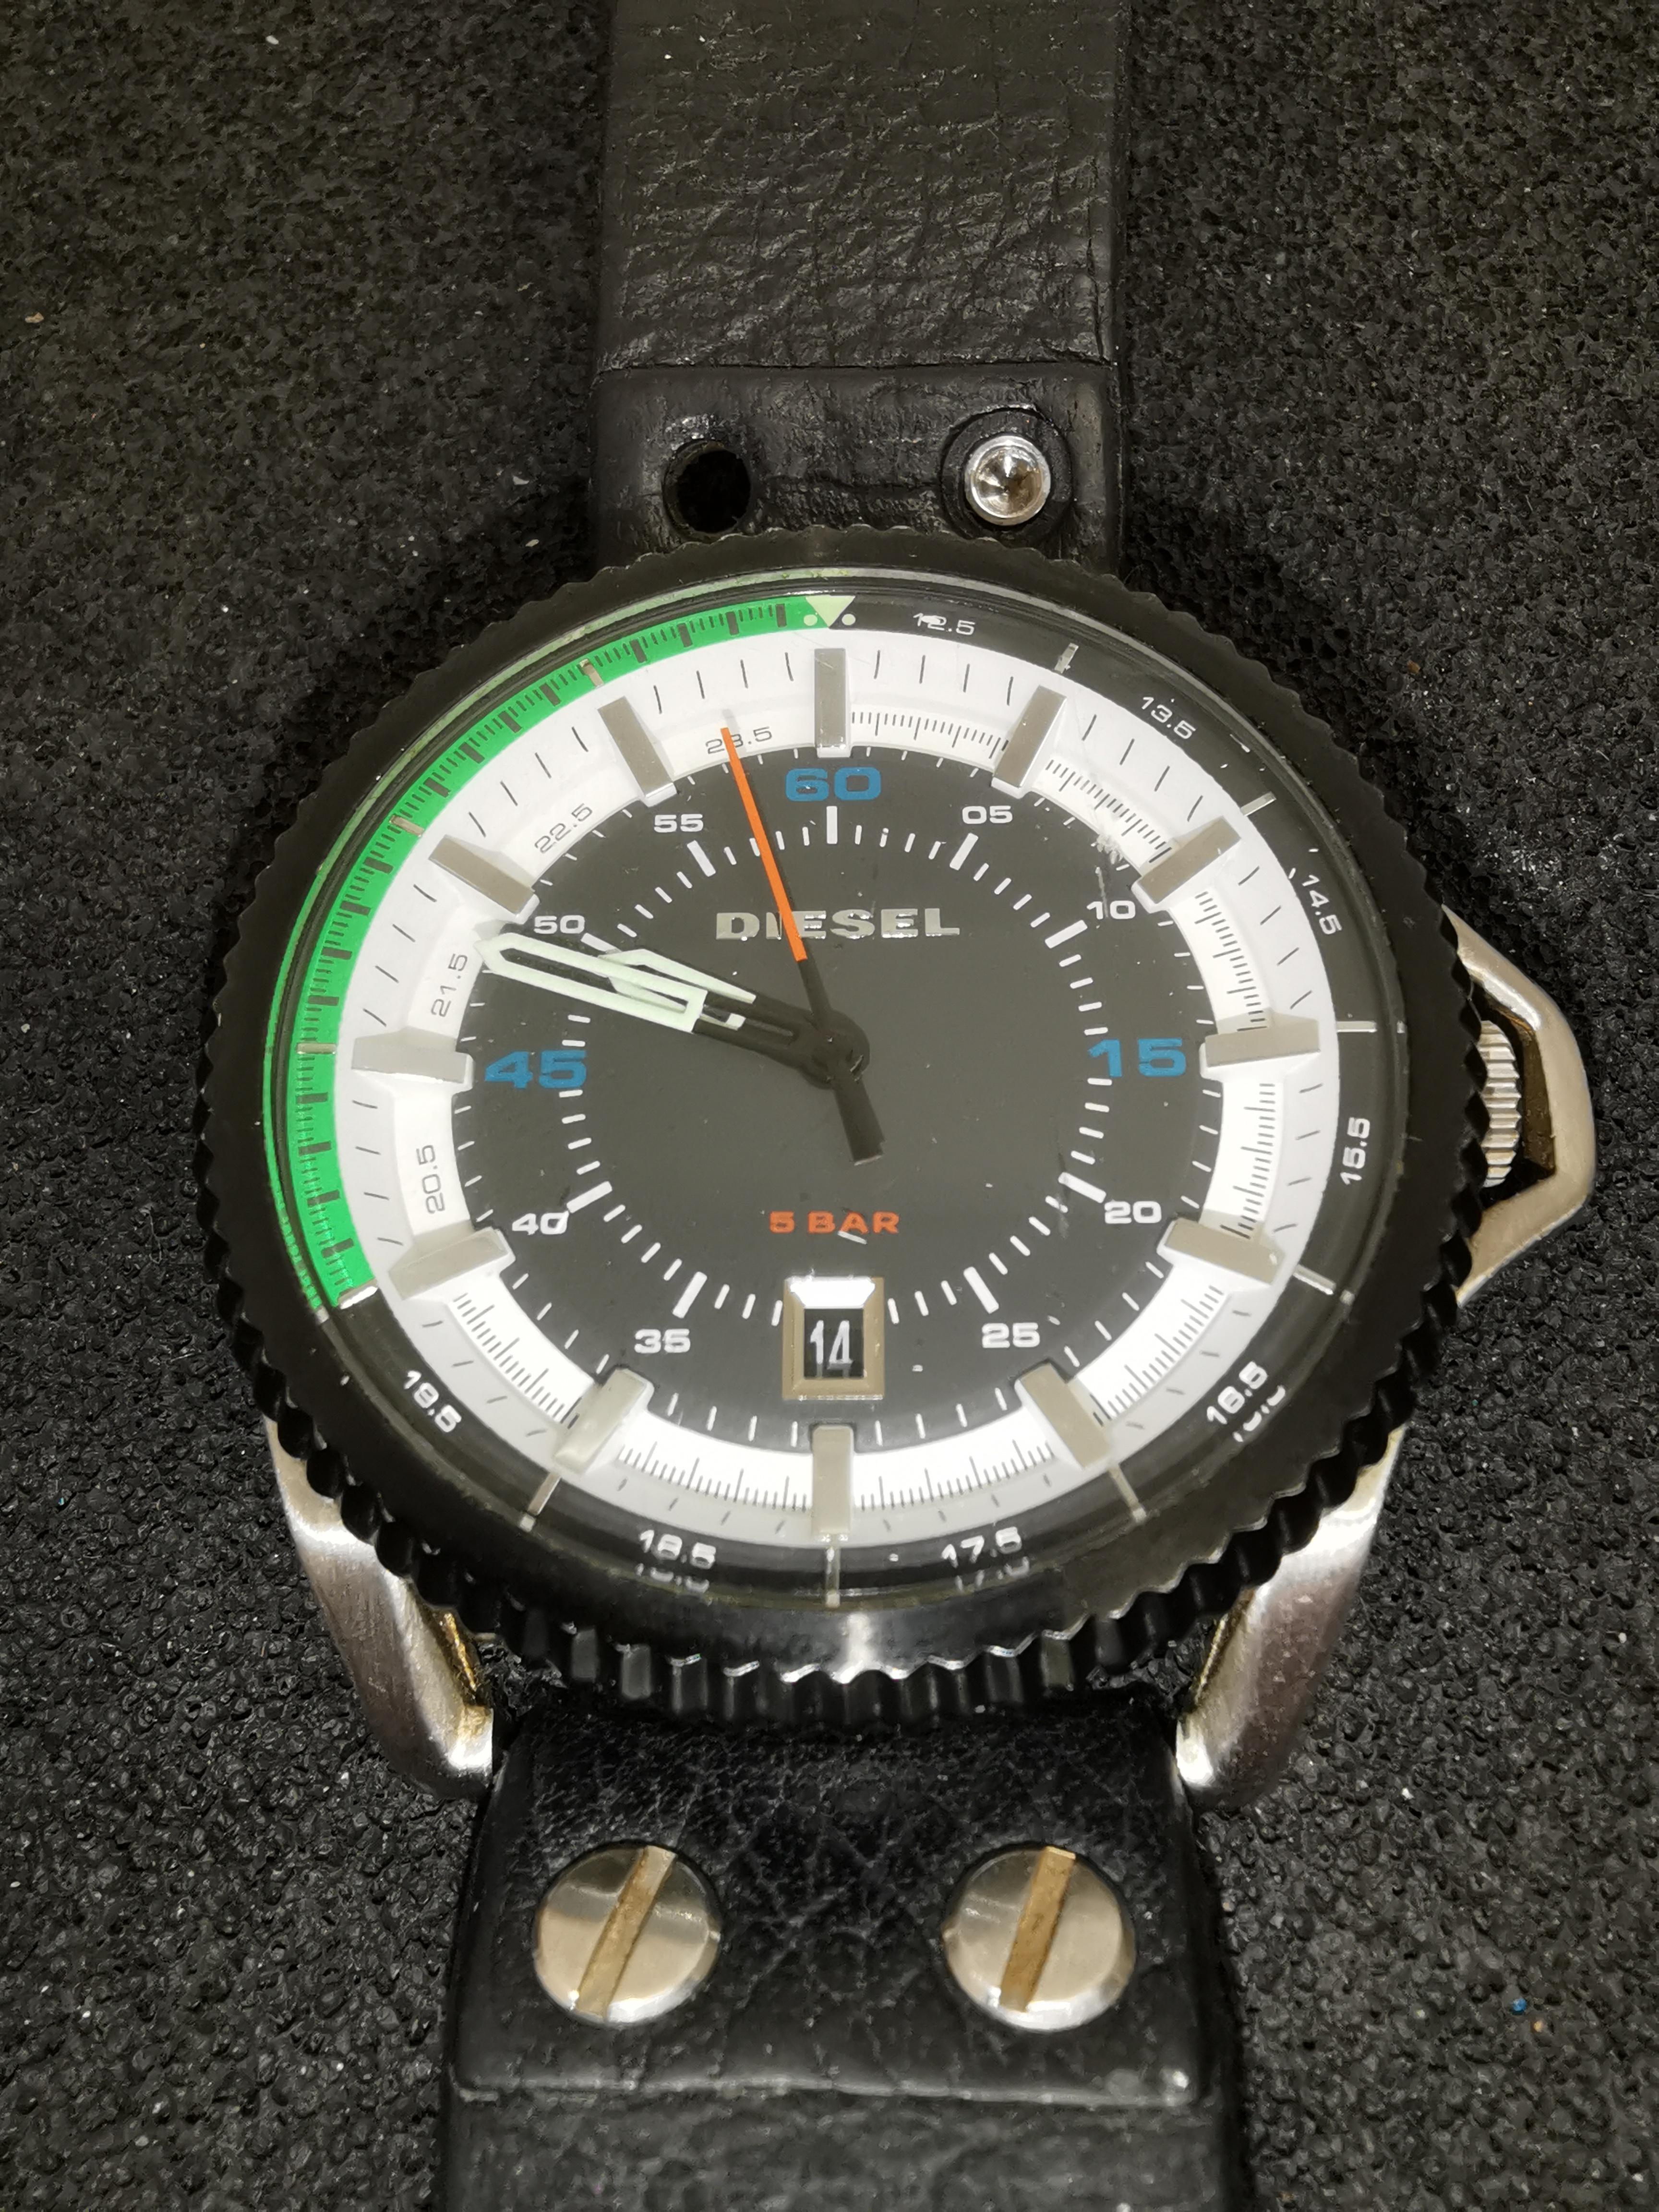
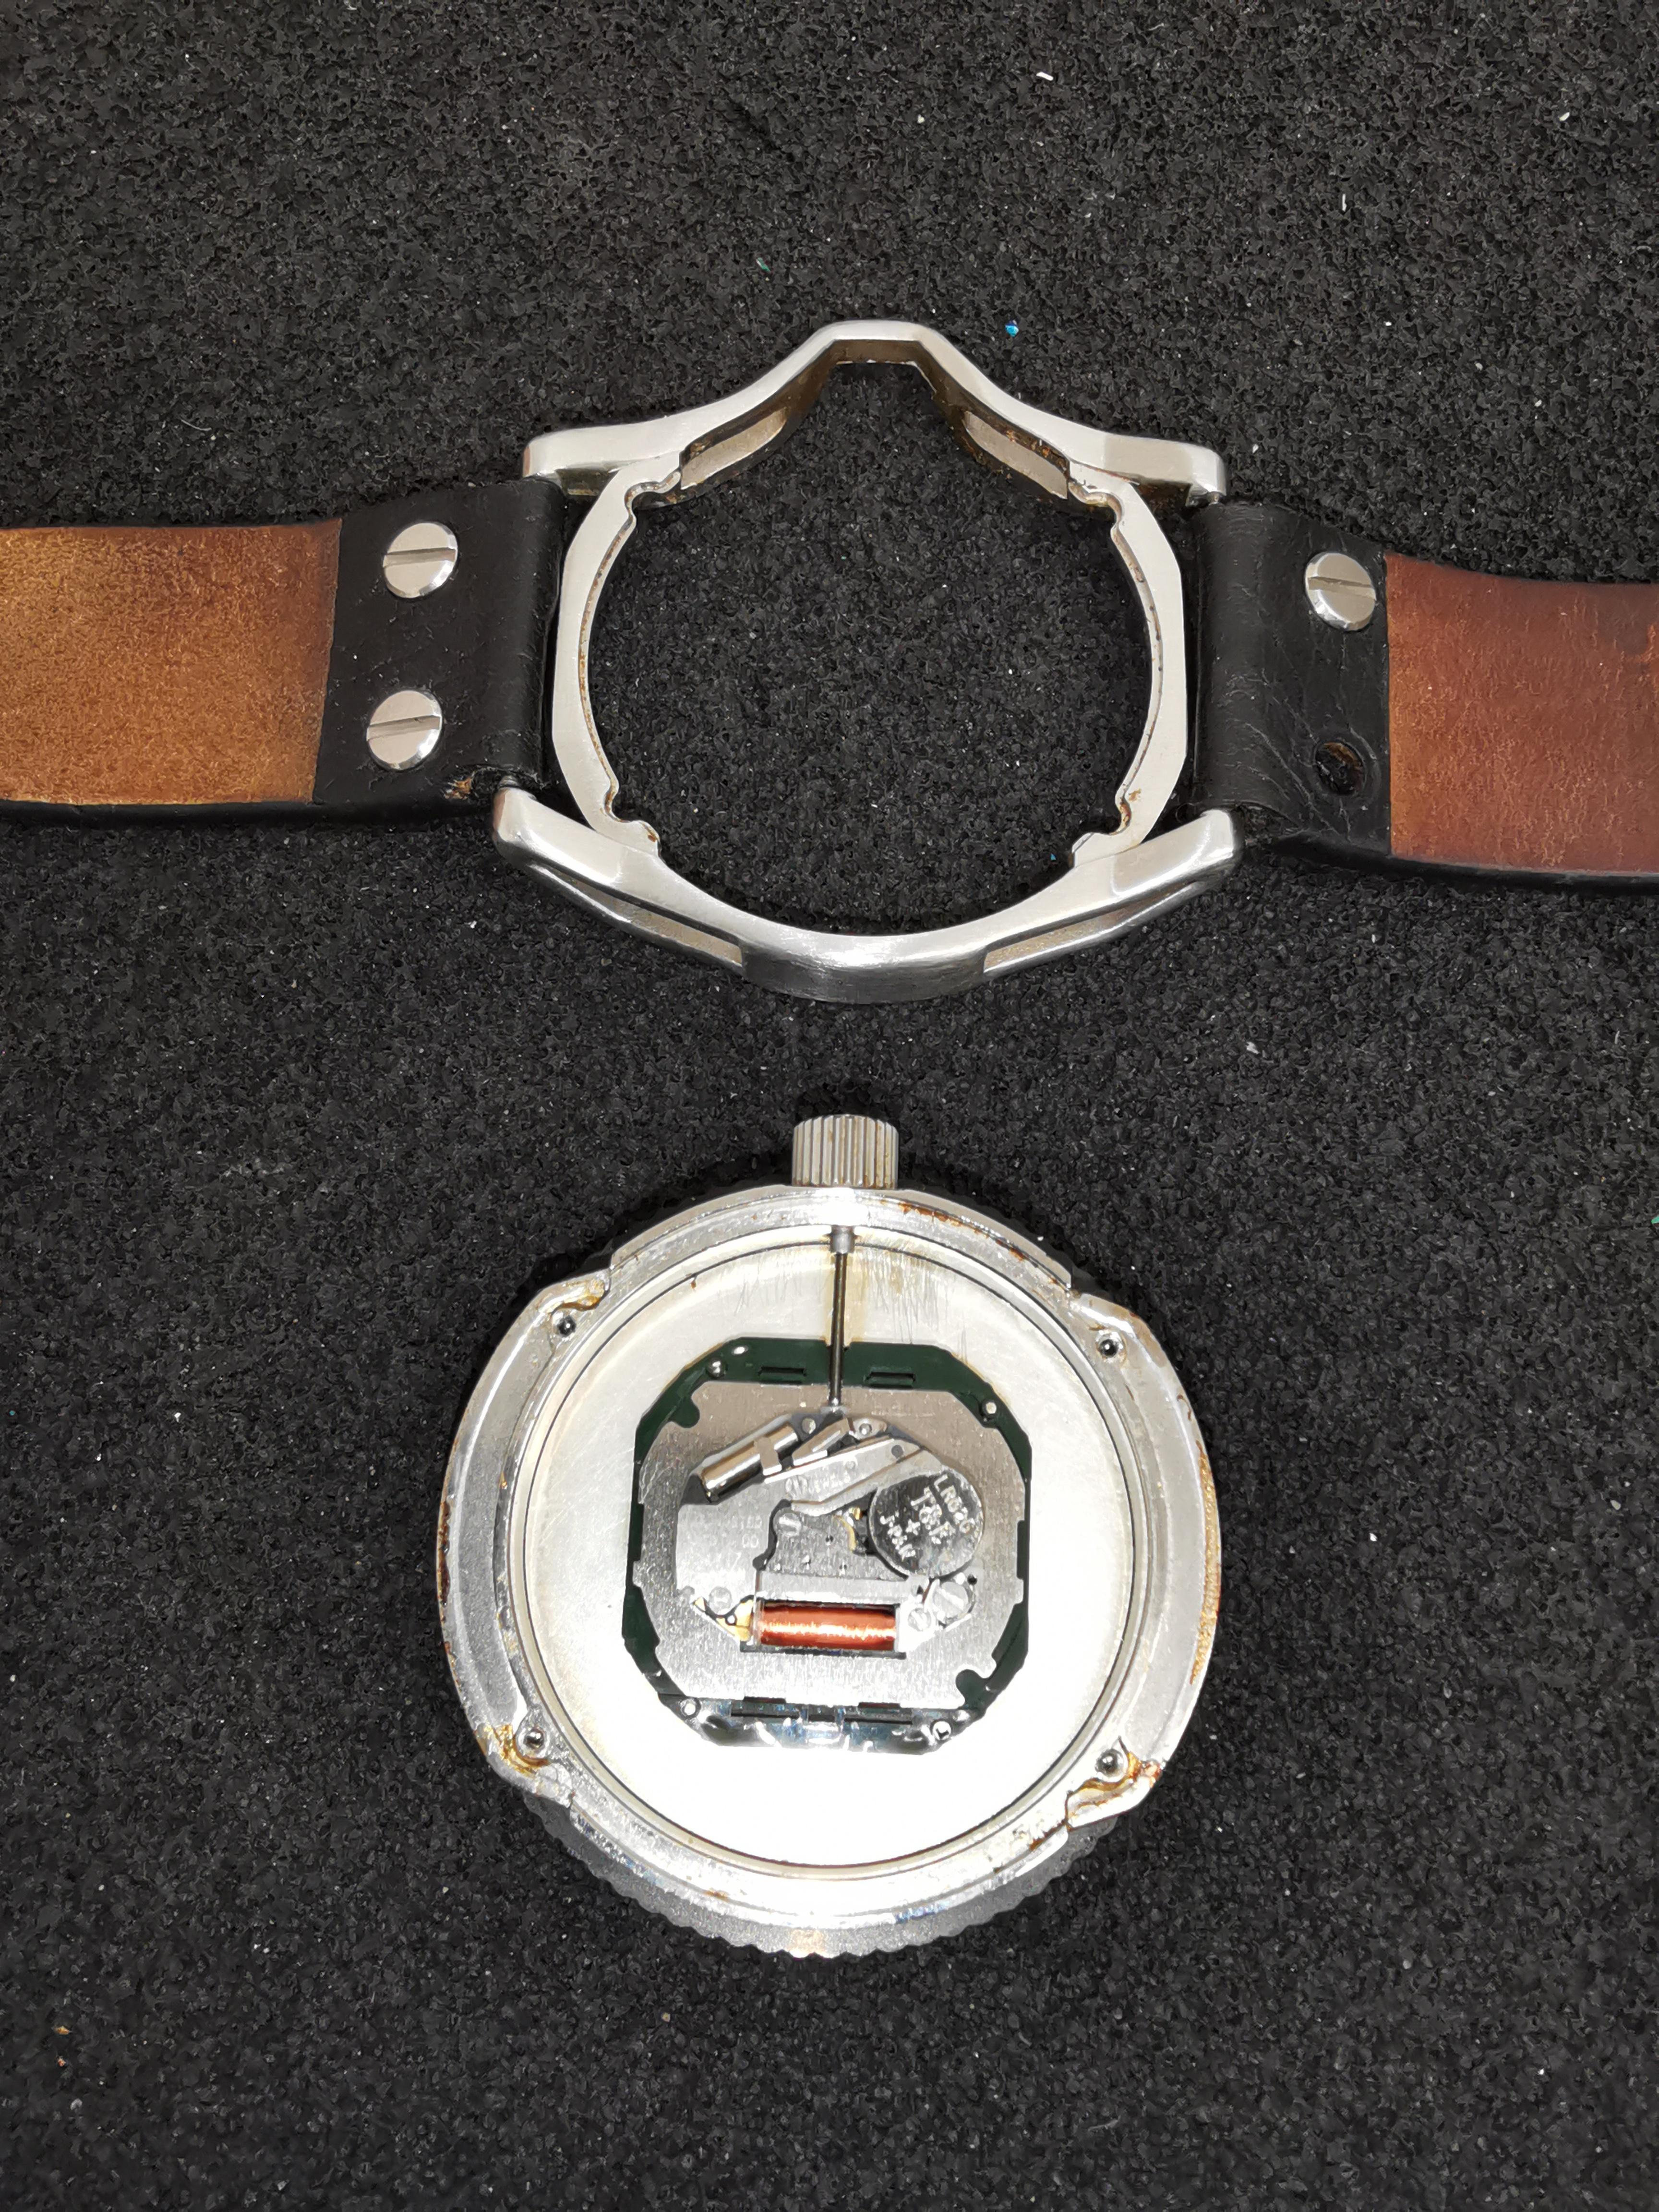
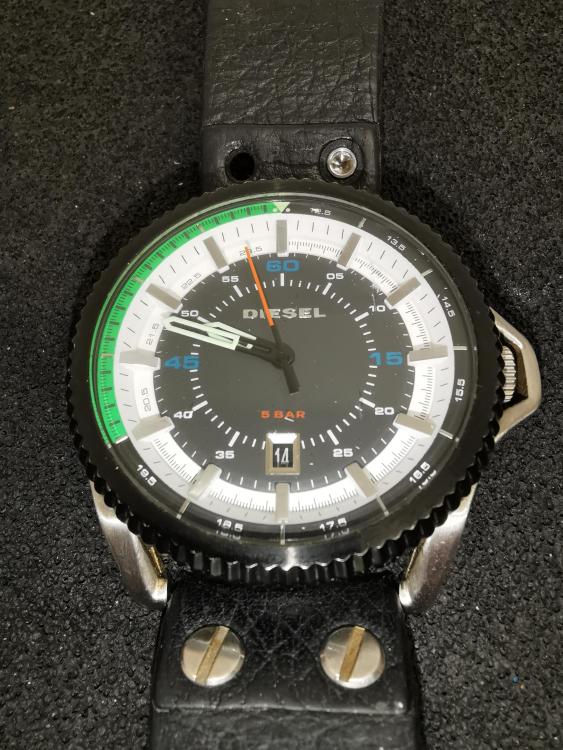
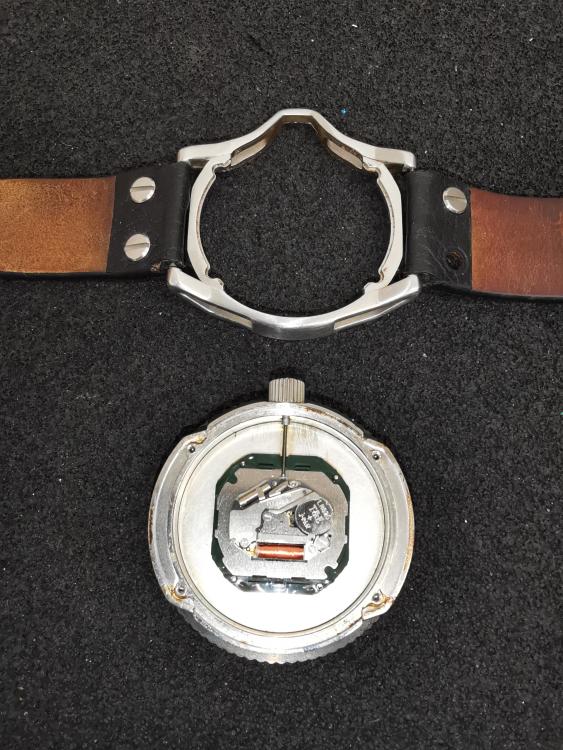
Welcome to the forum. Family heirlooms are not really the watches to be learning on. With the quartz were there any signs of the old battery leaking and are there any signs of life with the new battery? Are the insulators still in place under the battery?4 points
-
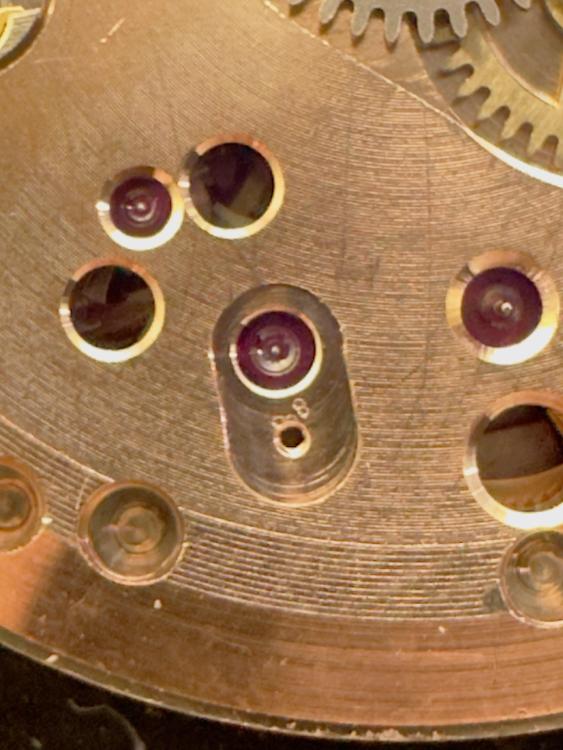
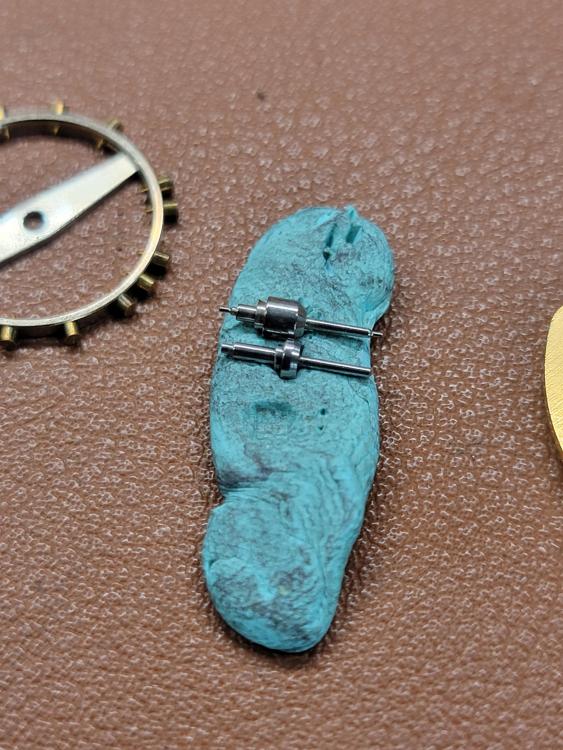
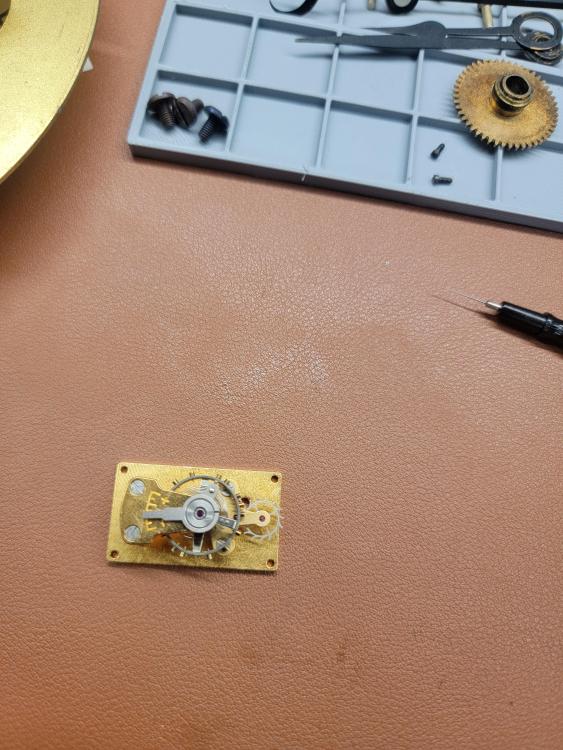
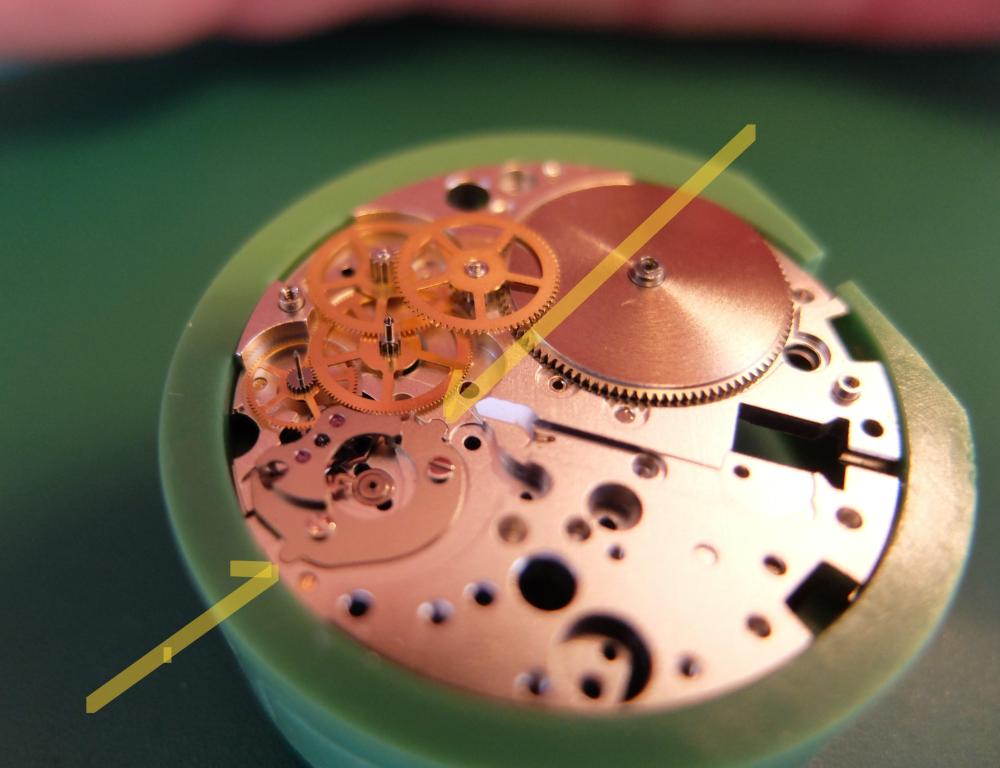
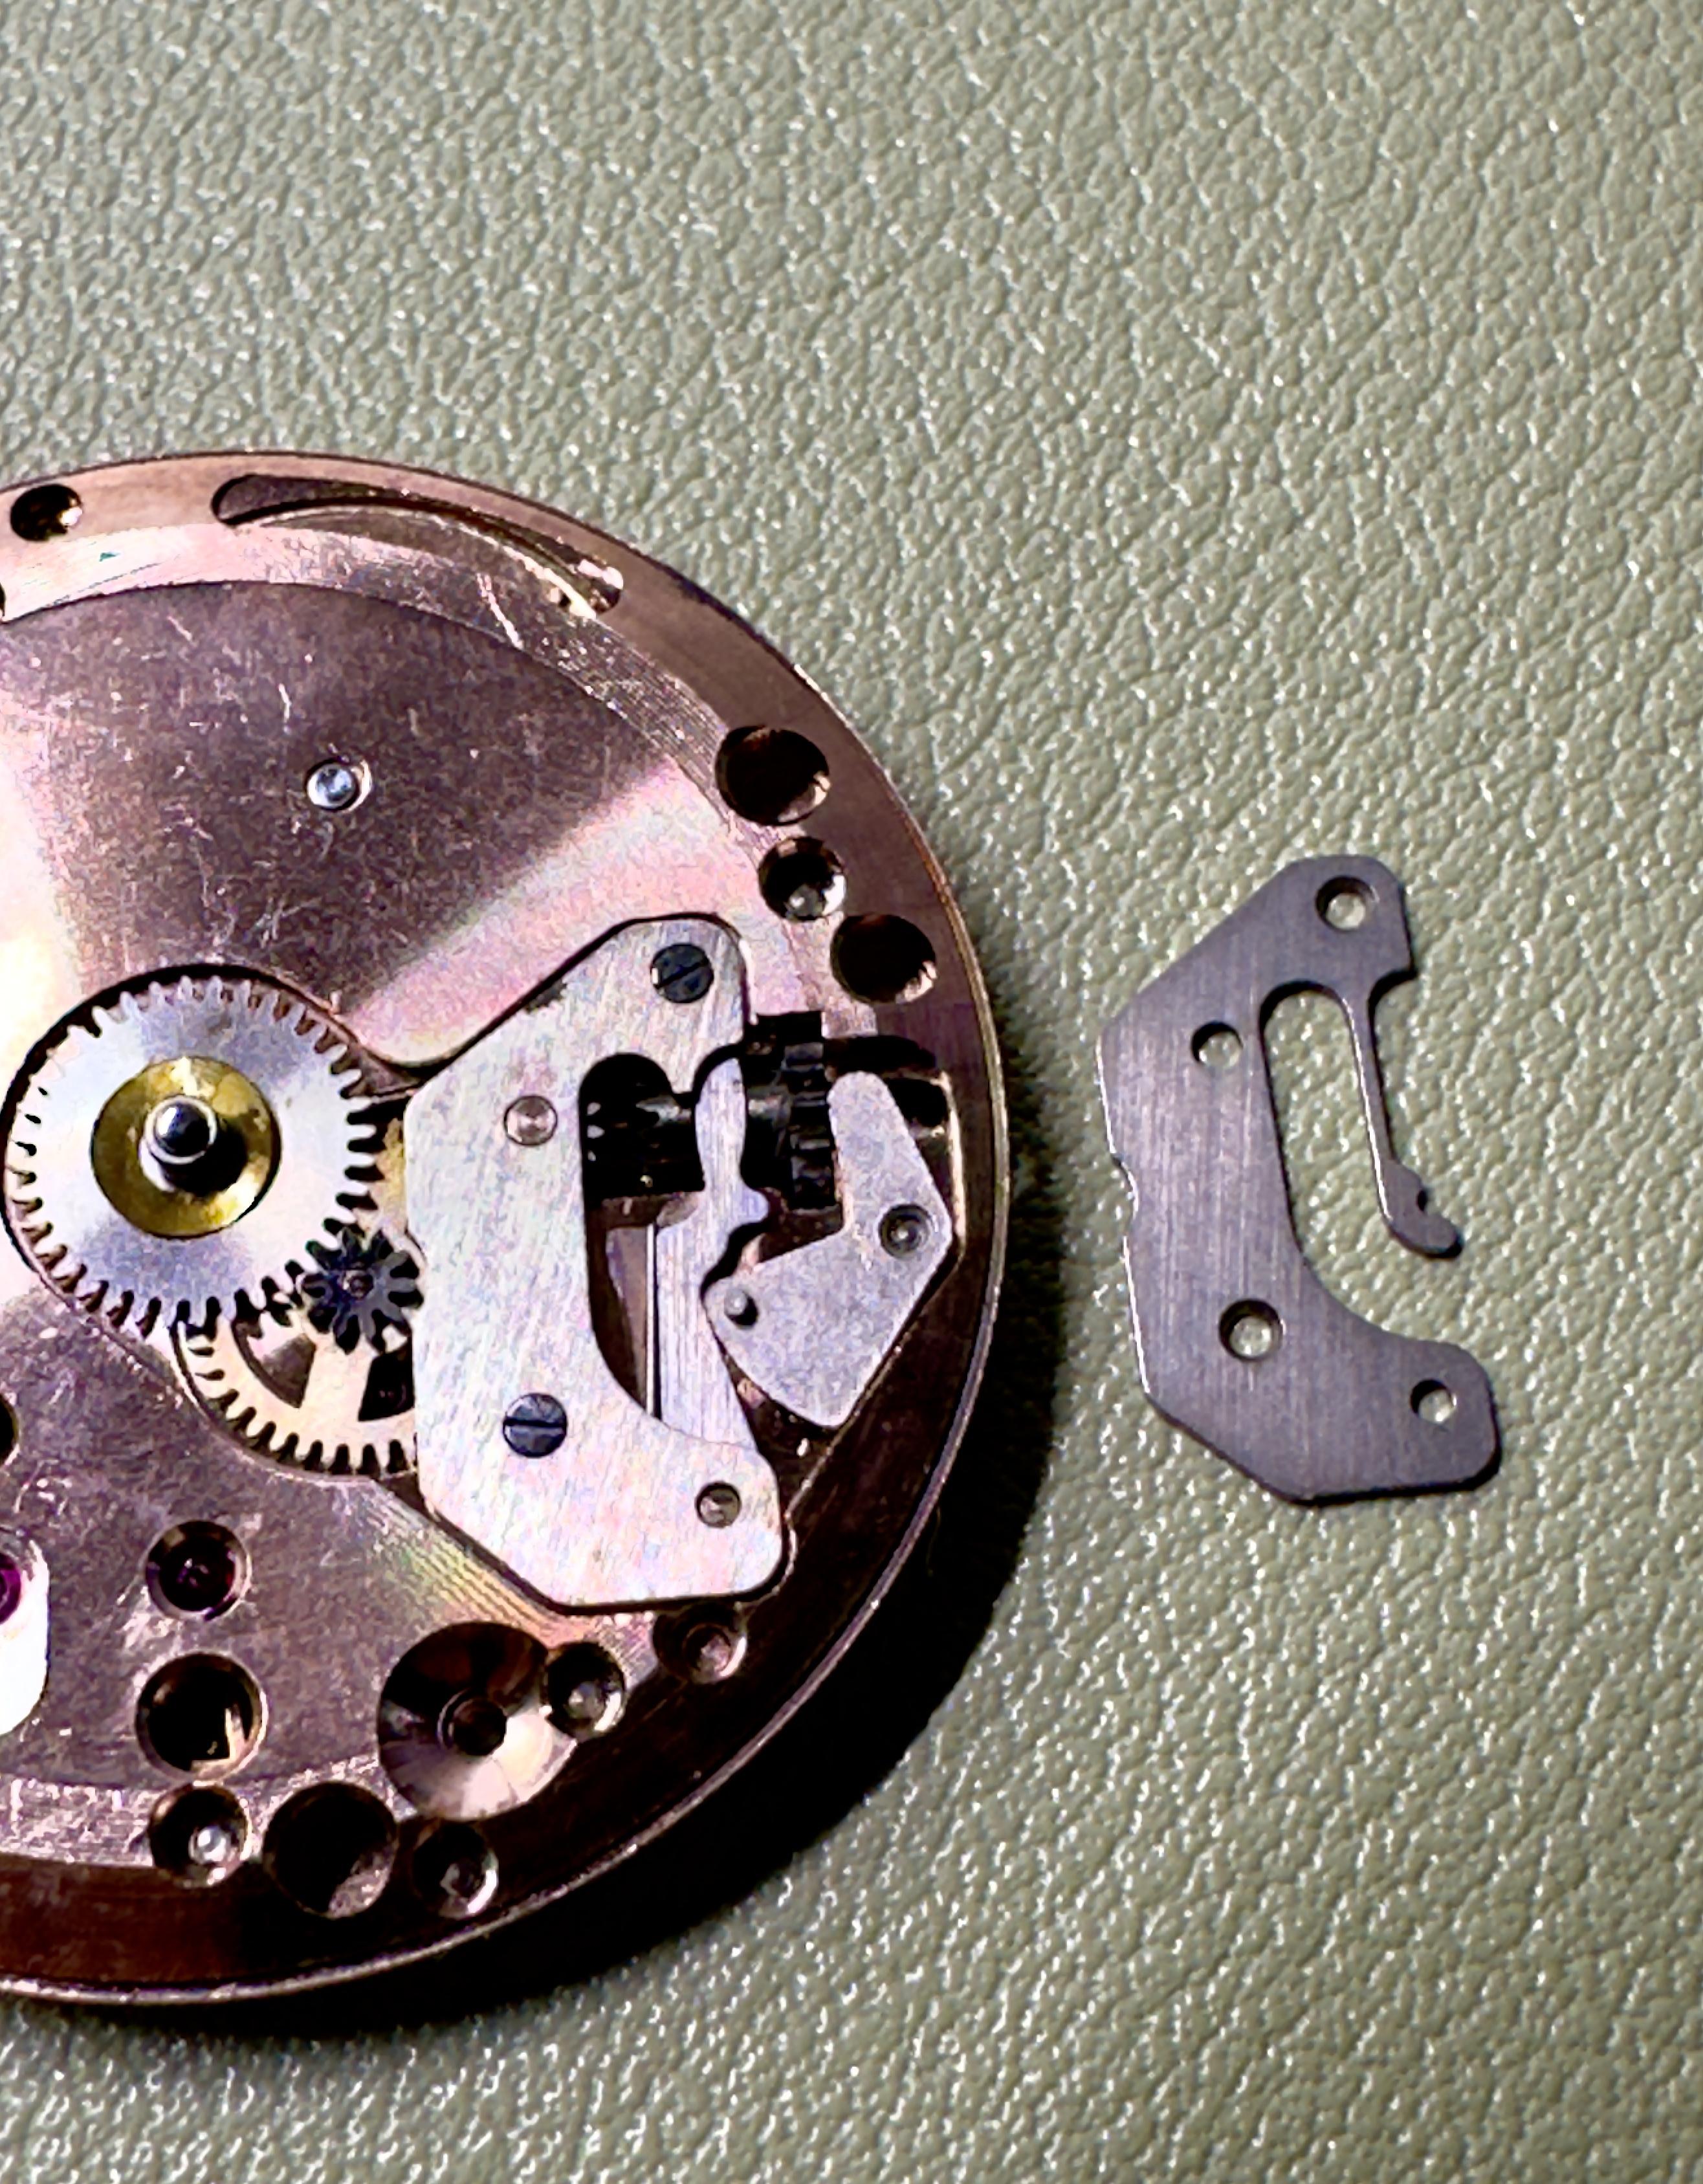
Quick update: The setting lever spring from Italy arrived today, and I’ve already installed it. I also took some close-up photos of the lower jewel on the escape wheel—it looks just as it should, ready for oiling.
 3 points
 -
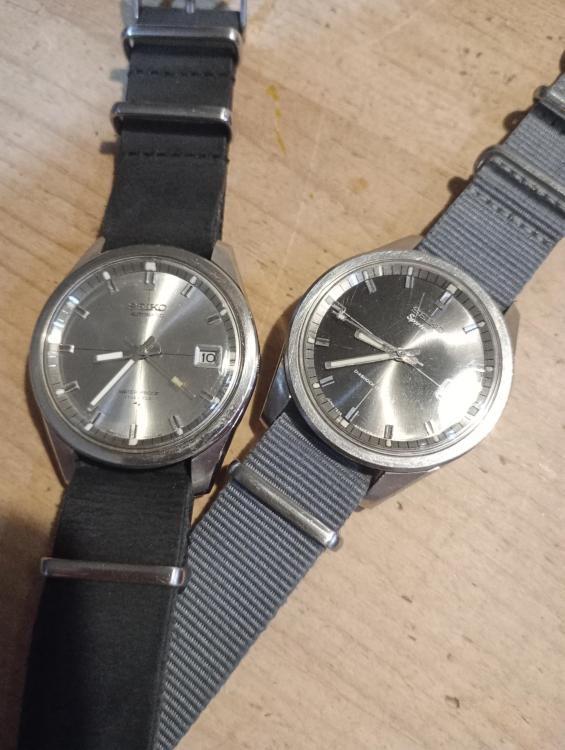
Somewhat incredibly after months of looking two turn up on the same day from opposite sides of the planet!
 3 points
 -
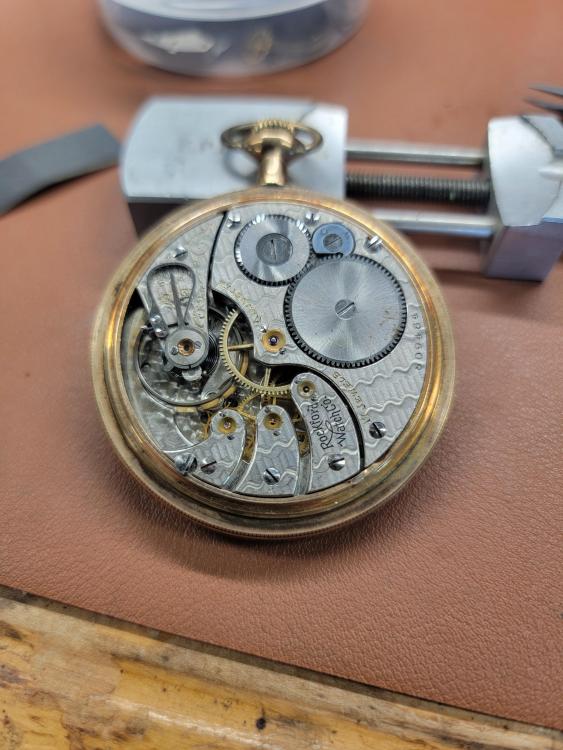
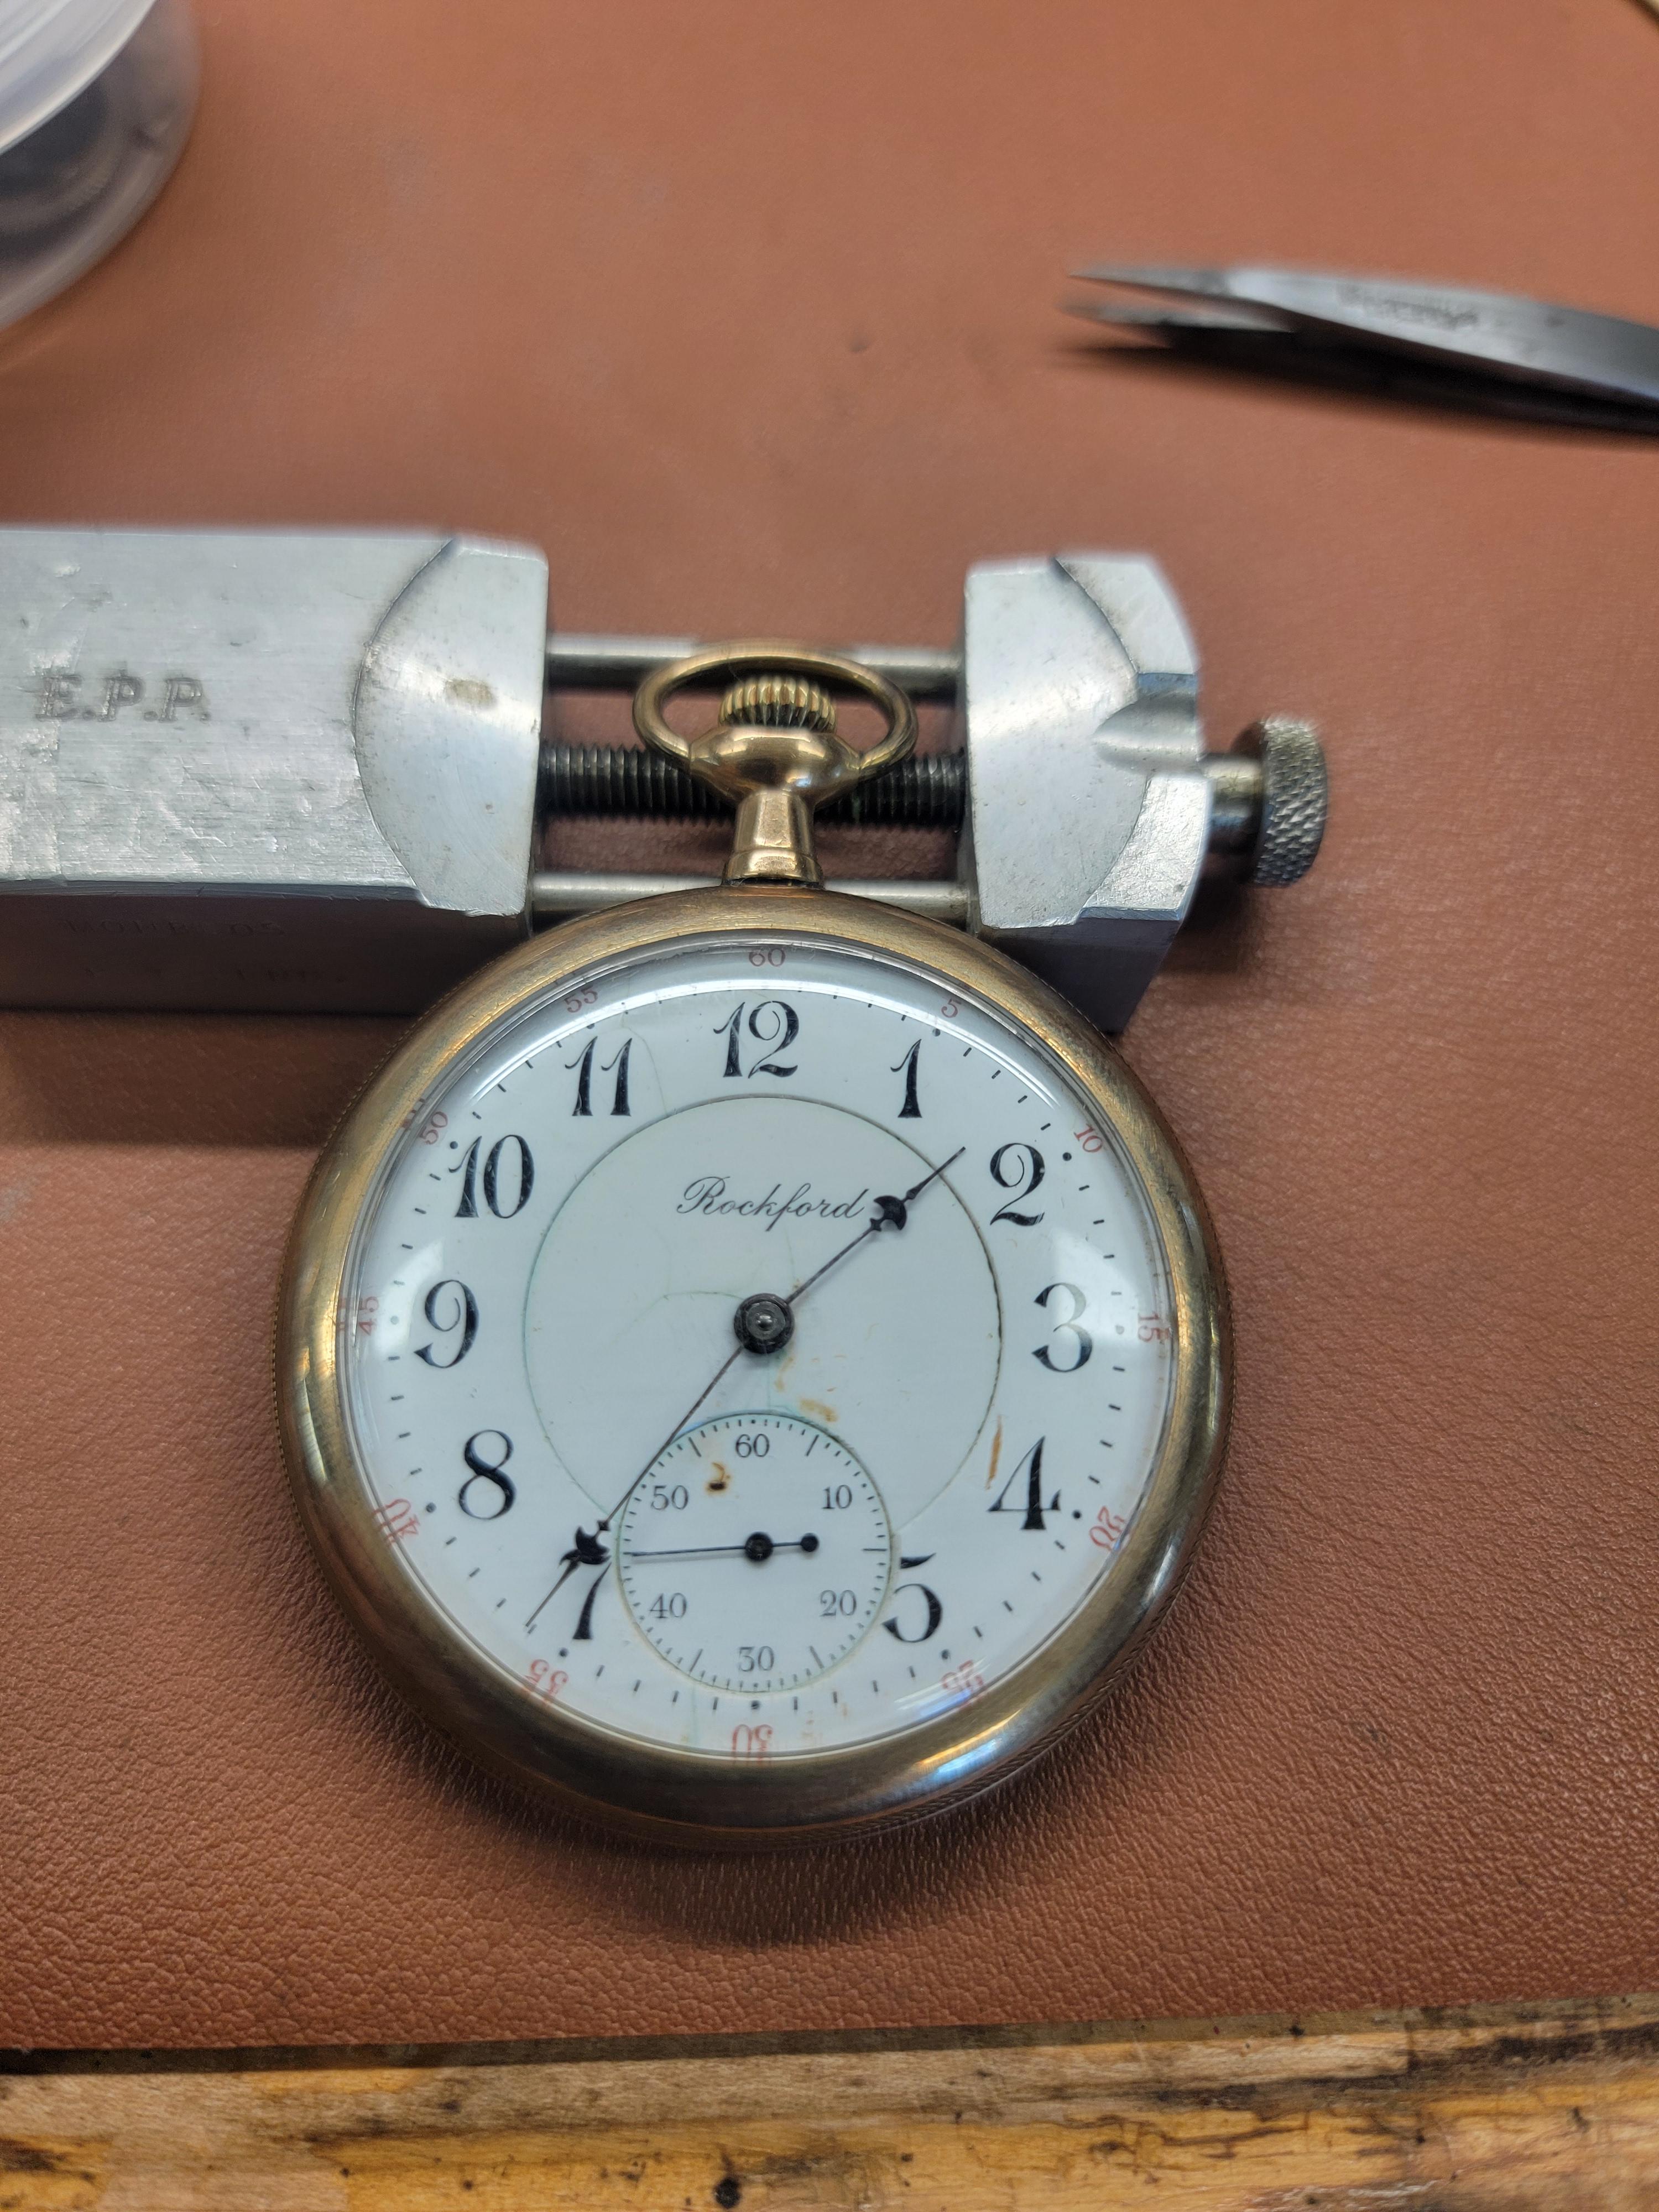
Part of the recent estate purchase...came in pieces--movement only. Appeared that the previous guy sprayed it with WD40 and then gave up. I could not get the ratchet wheel screw out, so I soaked it overnight in Kroil--amazing stuff. This morning, the screw came out. I cleaned it, assembledand timed it. Had to remove one pair of timing washers to speed it up. Now it is dead on in dial up position. In this estate buy, there were some empty cases. I rummaged through them and found one that is perfect. Somewhat of a miracle. This is my first Rockford. I know nothing about the brand. I have a bunch more!!

 3 points
 -
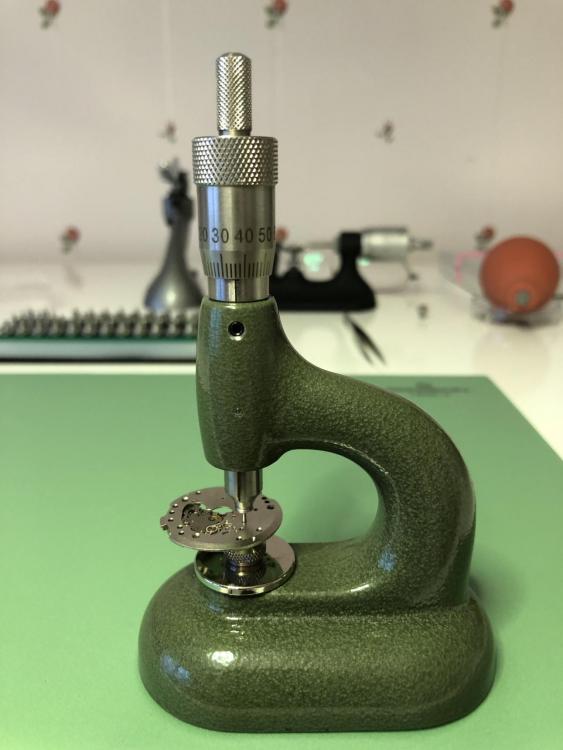
Here are the preliminary results of the first lap and polish I did. I'll need to hit a few parts with the laser again.

 3 points
 -
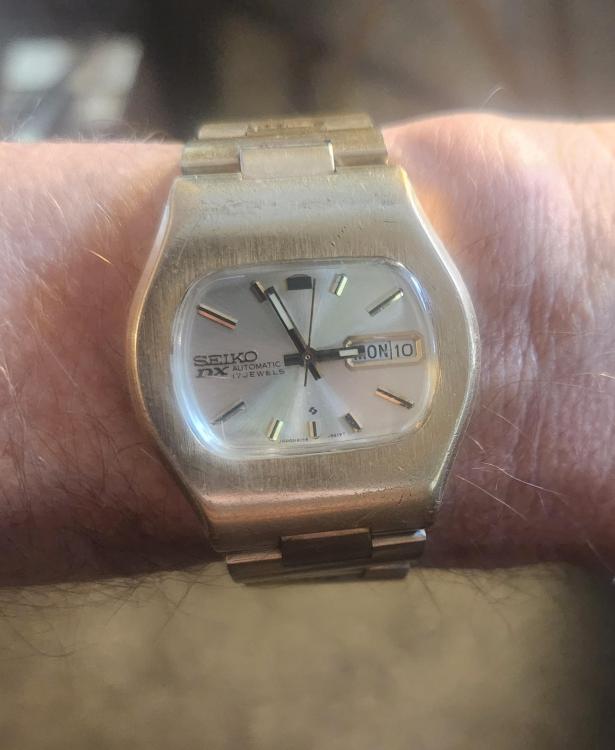
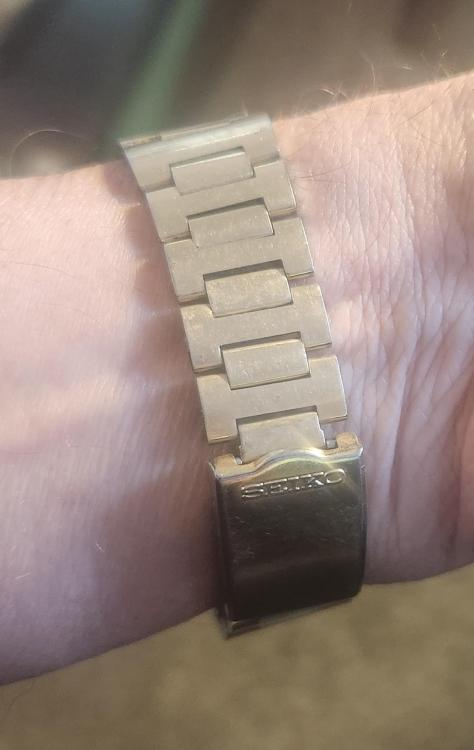
No it's Chrome plated brass, but absolutely no wear. The caseback has some plate wear. Another one from this $10 bag. This is probably the best of the bunch. A 6106c auto that hacks. Plating wear but original H link bracelet and buckle.
 2 points
 -
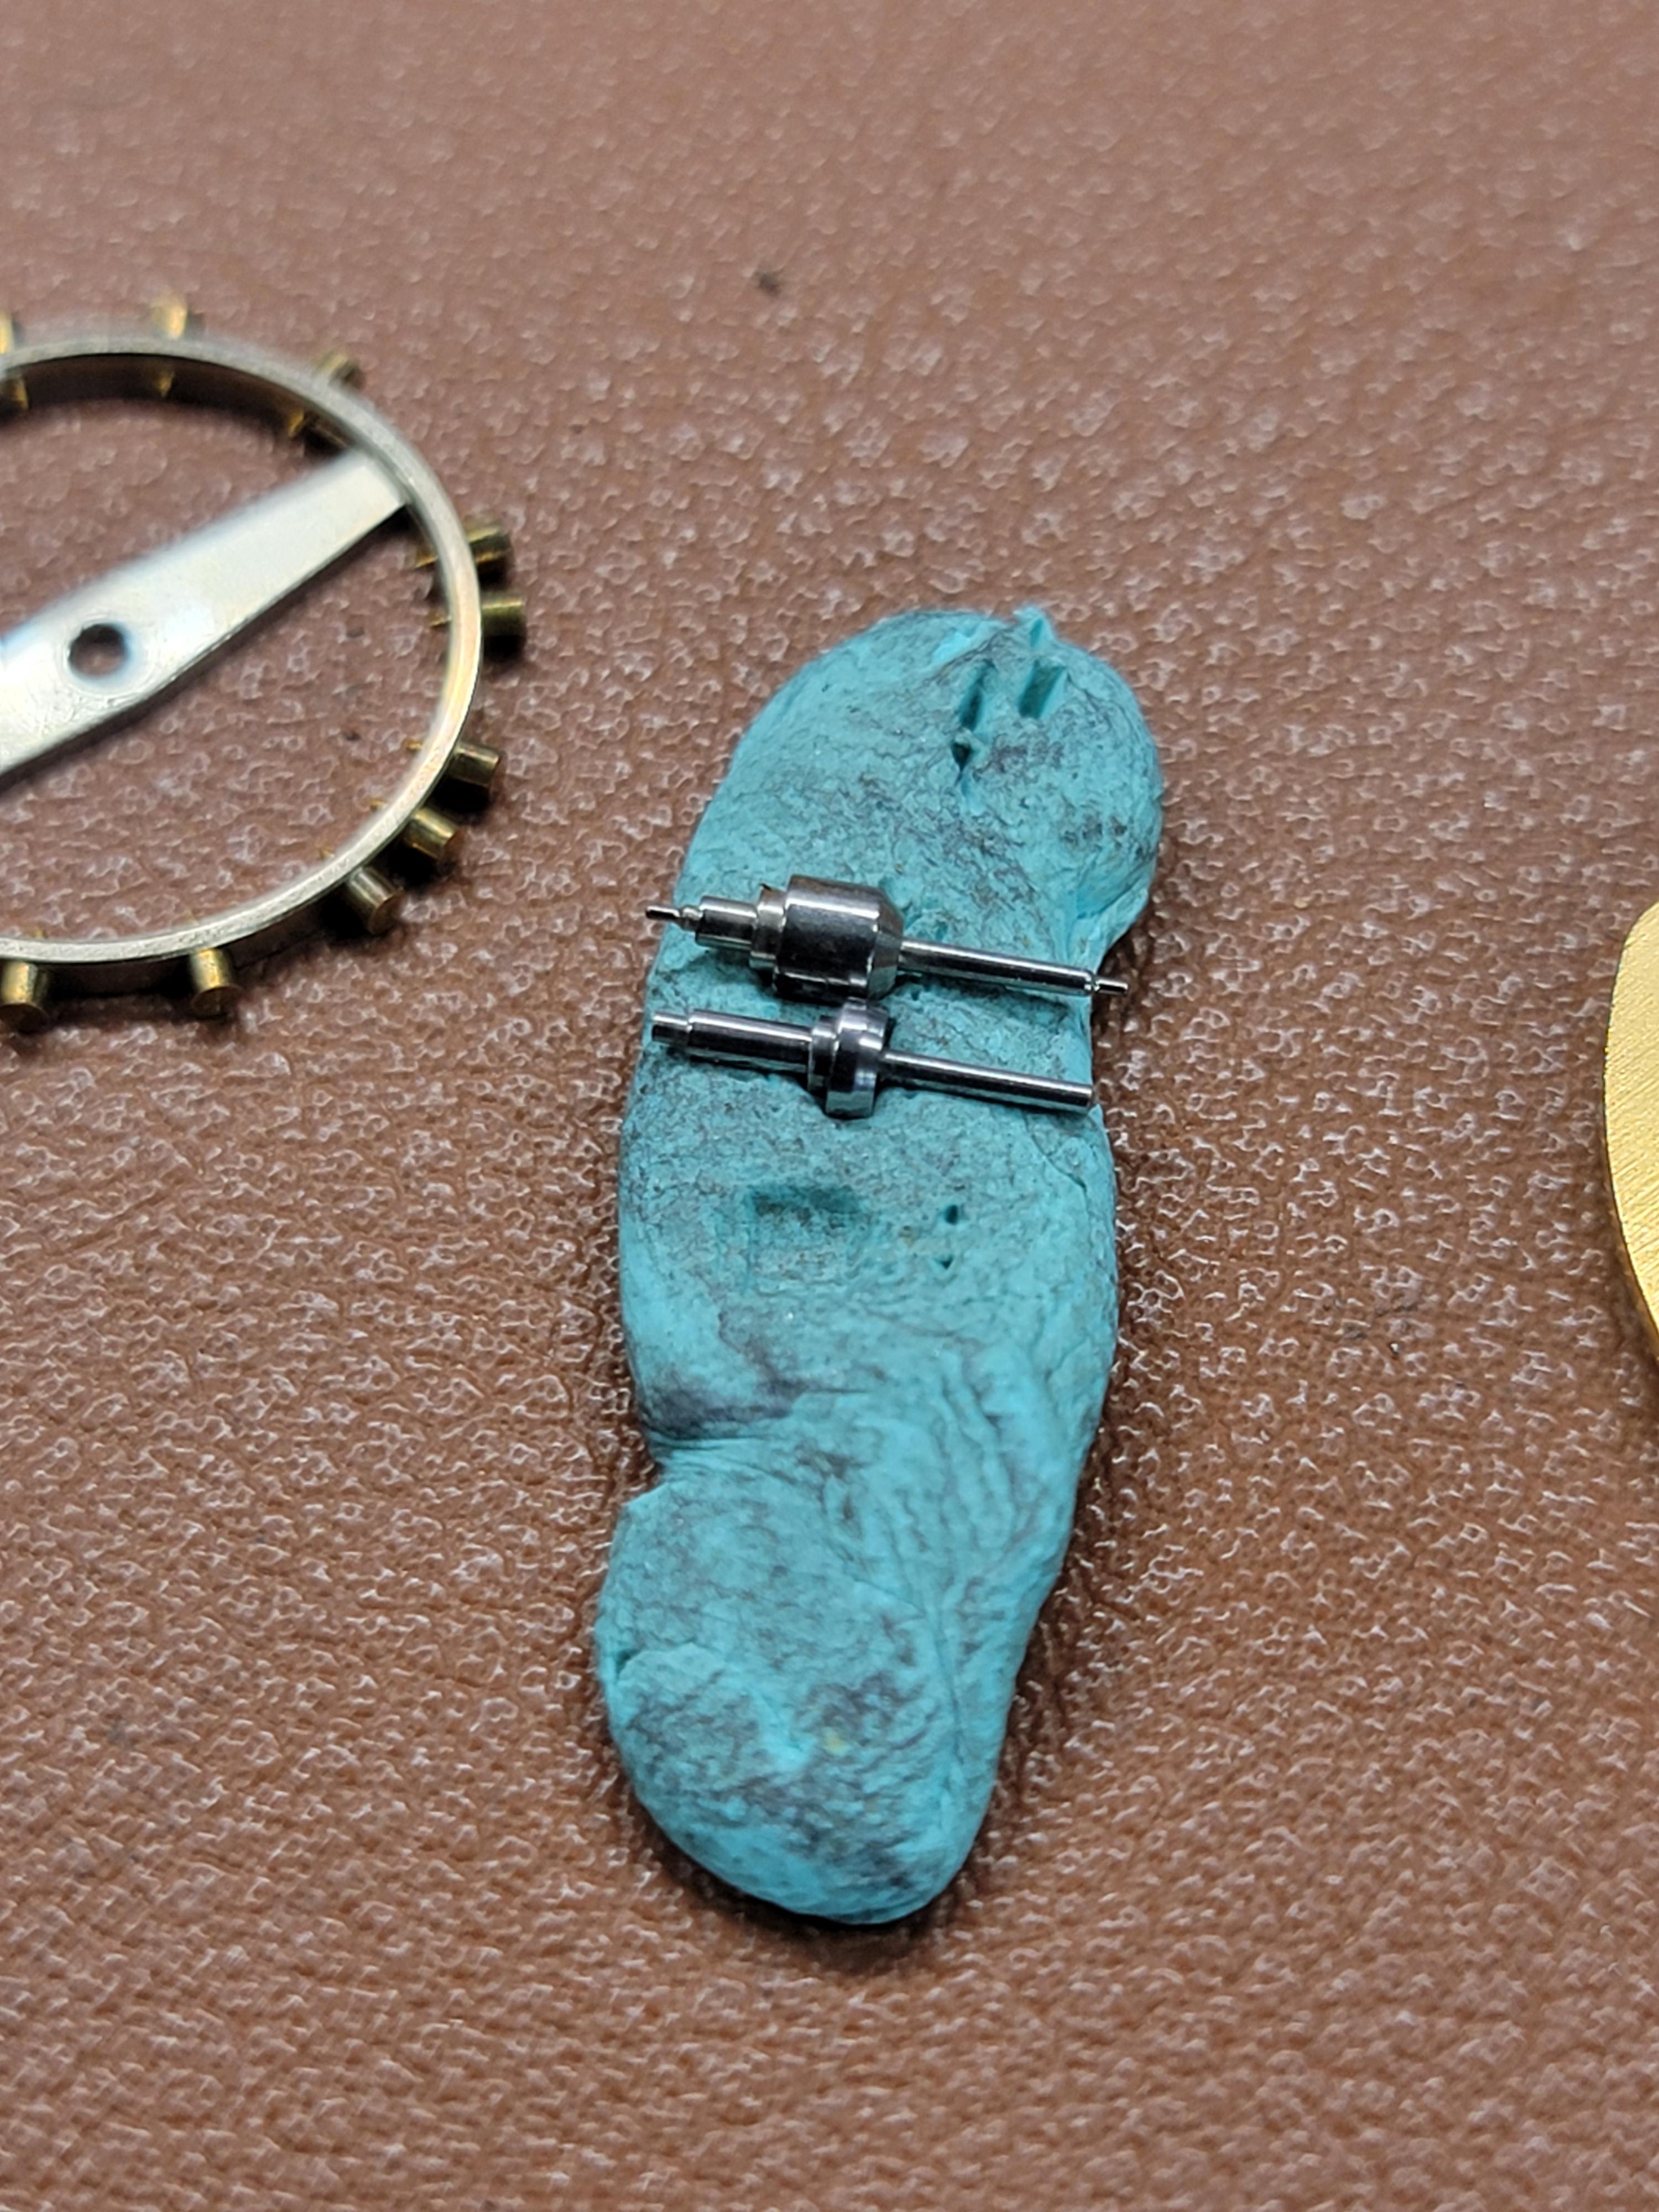
Thank all for your advice. I bought this Chinese tool which I used with great success. The cog was crudded up with about 50 year old grease, it now moves beautifully. This is the tool I got for AliExpress to split the cog and I used my staking set to push it back on with a satisfying click!
 2 points
 -
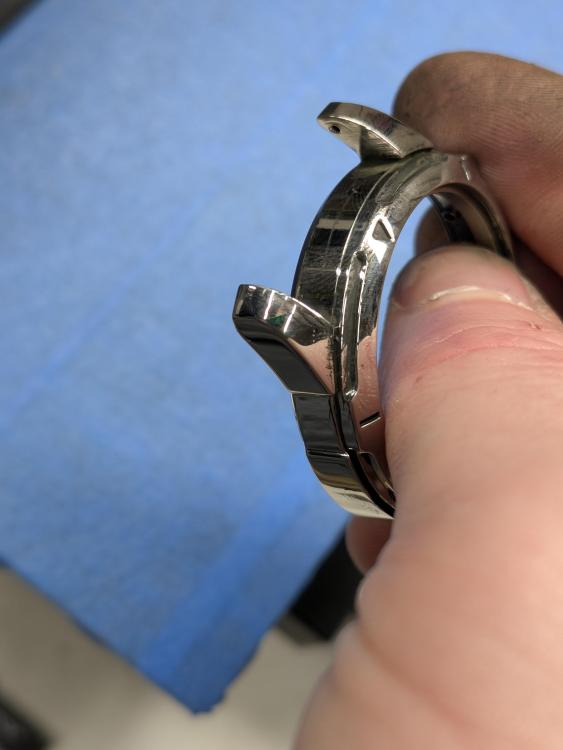
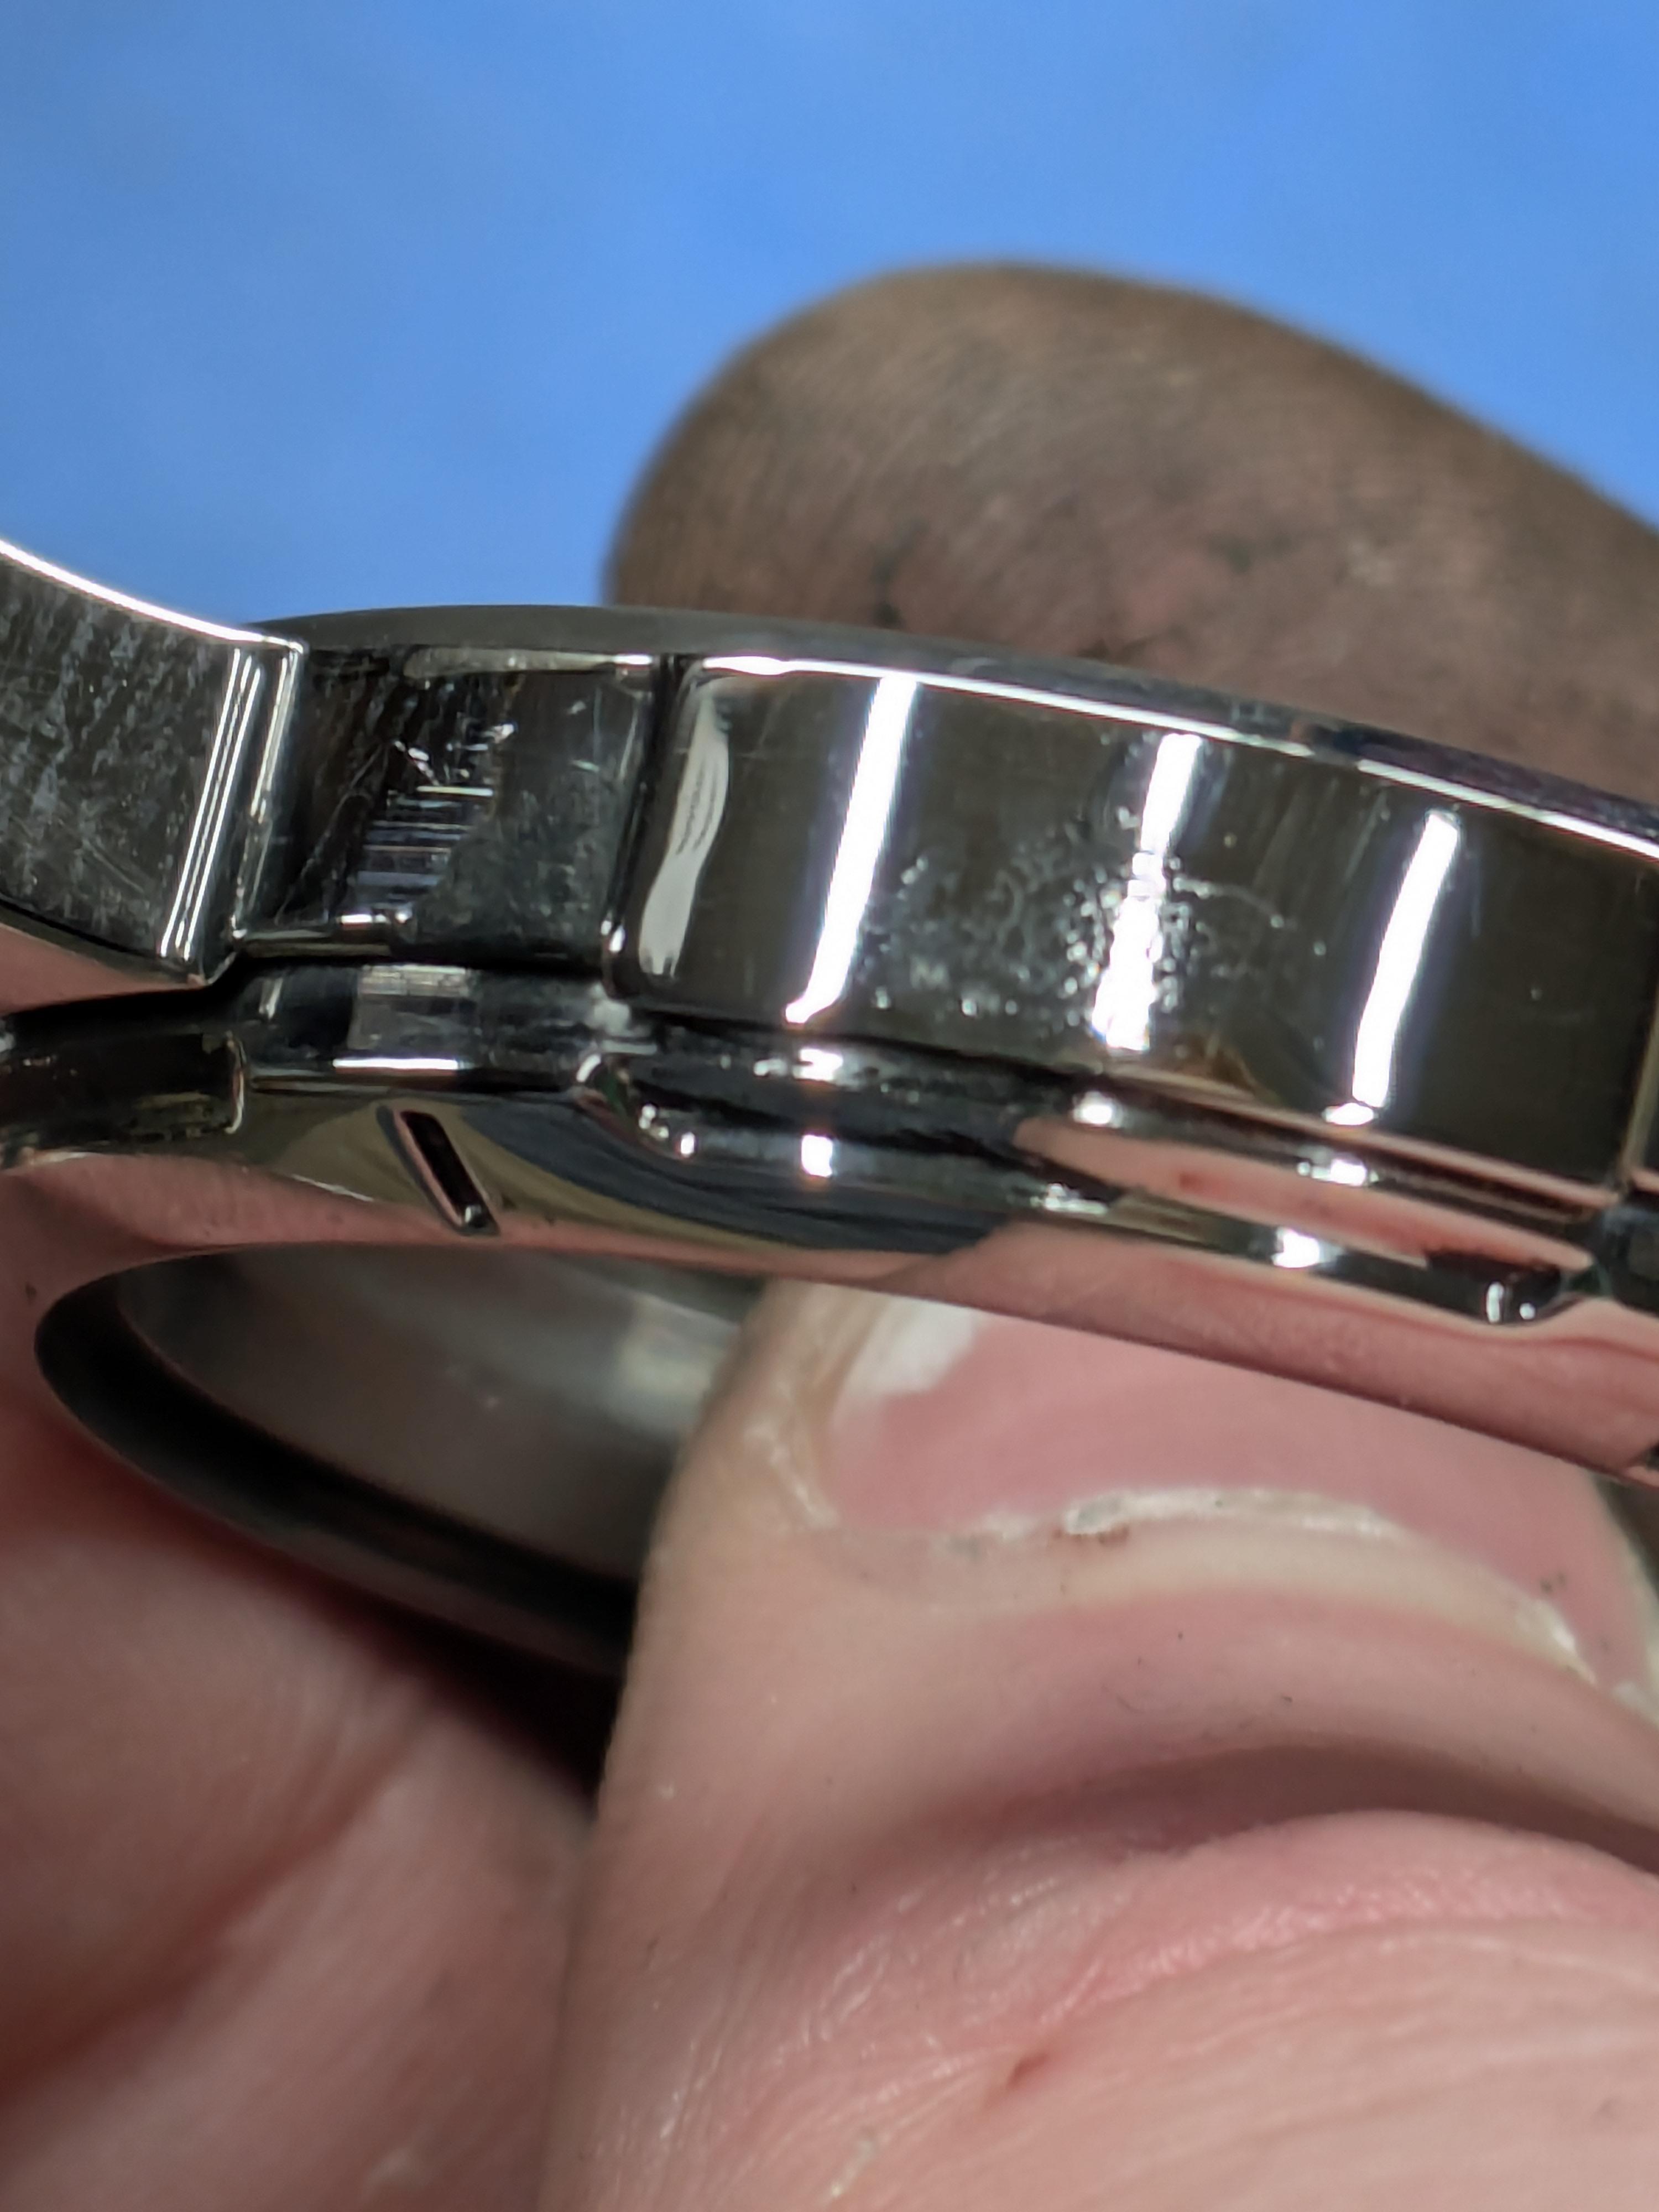
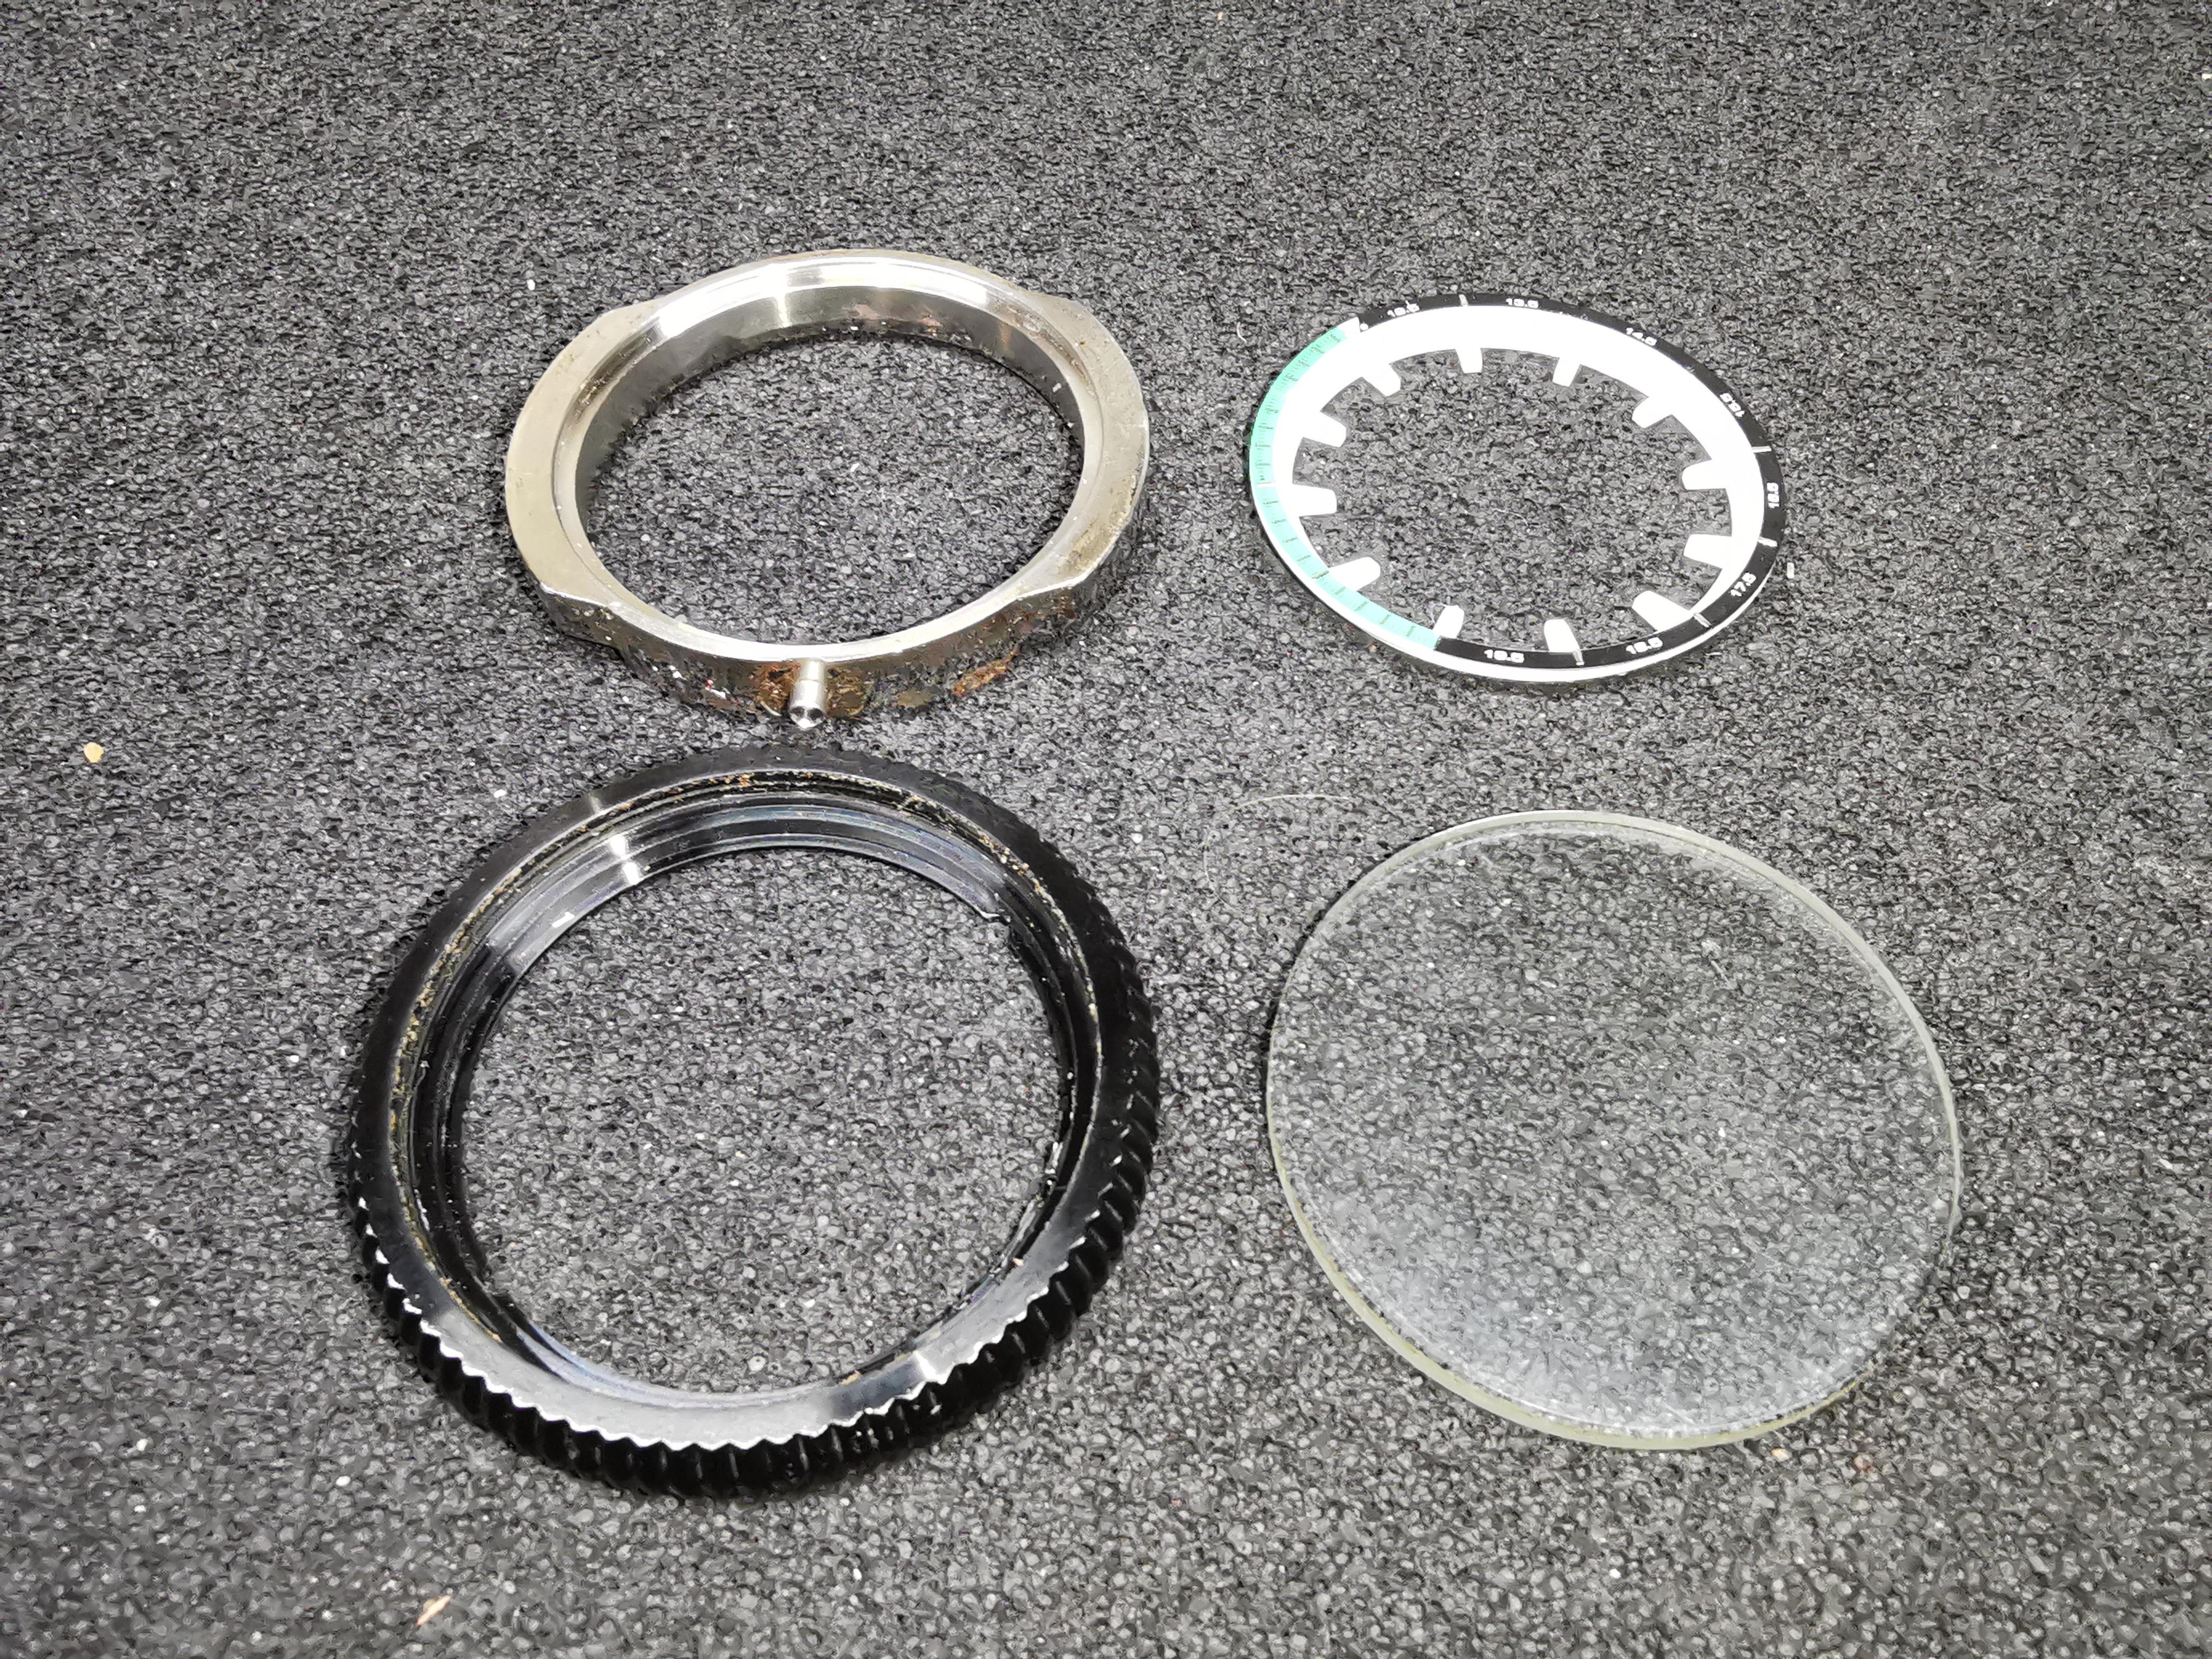
So after being one of the hardest bezels to split and then one of the hardest crystals to remove the answer is it's a 39mm x 2.5mm crystal as advise by Fossil. The good news for @Nickpan is you just need to press the crystal you've got into place.
 2 points
 -
Mikrolisk https://www.mikrolisk.de/show.php2 points
-
…or a time saver if staff replacement is where you’re headed next. You know- one less thing2 points
-
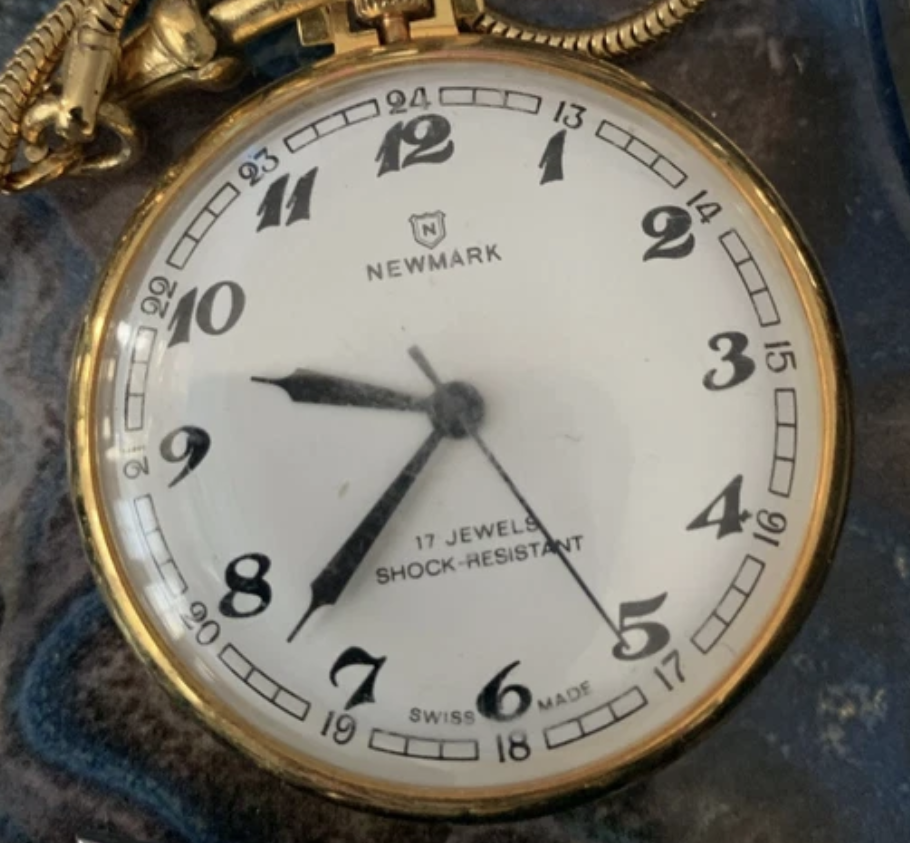
In the 50s and 60s everybody jumped on the theme of space. This was either a microbrand that wanted a piece of the action or possibly a sub brand of a bigger company. Either way the movement is unsigned. One day some info might turn up that points towards a bigger brand, but for now it's just a "Space Liner" watch that ETA made the movement for.2 points
-
As has already been mentioned these two watches are of too much importance to mess around with. Valuable both monetary and sentimental. Almost all newbies trash the first watch they try to repair, so frstly you need some good practice under your belt and some badic tools. Working on watches is at a scale that only a fraction of the population have ever tried, let alone become proficient at. If you are in a rush to get them fixed then find a reputable professional to have a look. If time is unimportant then buy a few cheap quartz watches to develop your handling of small parts, quartz movements generally have smaller parts than mechanical ones. The coil if it's unprotected, not lacquered will be the most delicate piece there. Good luck and dont rush .2 points
-
Hi. My advice would be to take them to a watchmaker/repair agent who can test and assess what the problem is. As you are new to the art of watch repair and as such will have no test equipment to Cary out any meaningful diagnosis. Then based on the outcome you can make a decision a as to what to do . If it is your intention to have a go at repairing these watches, it would be at the present time best to side line these two and learn a few skills and how a quartz watch works. By all means find a few cheap watches on eBay, that way you . That way you can learn without fear as the cheap watches are disposable. I would suggest that when starting out in watch repair start with working movements that way if it does not work after your administrations it’s probably you’re fault. witschi_training_course.pdf 228_Omega1430.pdf 346_omega 1430, 1431.pdf2 points
-
I expect Space Liner is the brand.
 2 points
 -
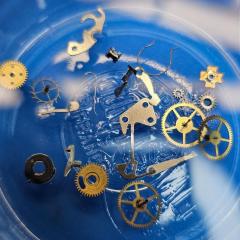
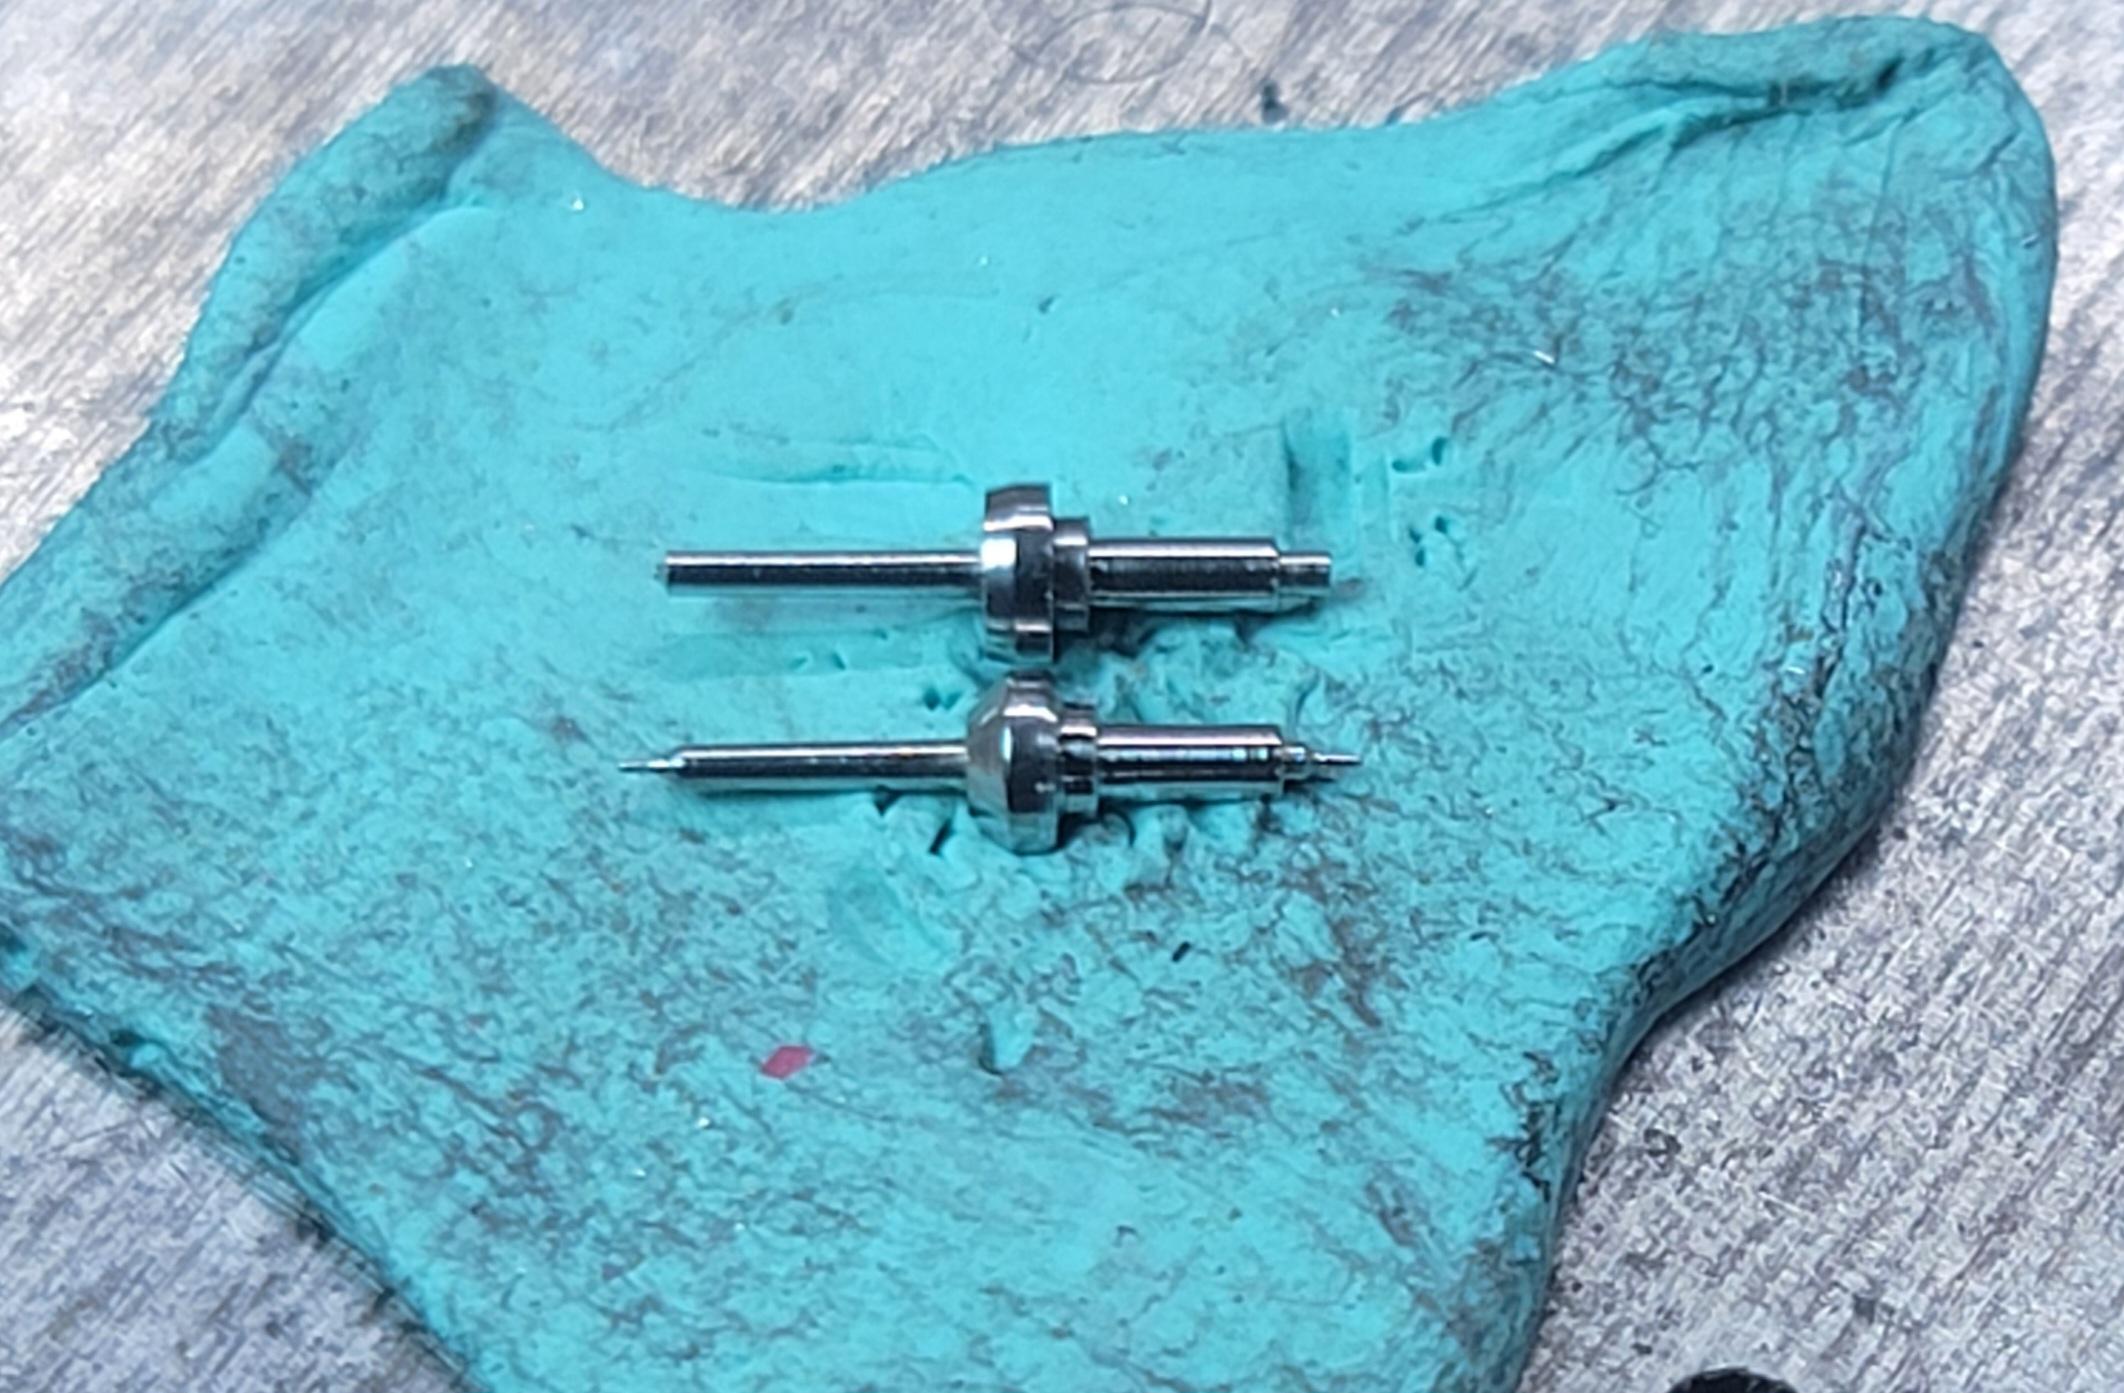
Picked this up for $80 at a little antique shop. Said it was running--not! Broken balance staff and bodged mainspring. I looked around for a staff and could only find staffs that were about 6mm long. This one is about 8mm. Both pivots were broken yet there is no indication the clock was dropped. We'll, I could see deep pot marks around the edge of the balance jewels on the plate. Some numb nutz was just forcing the balance until it broke. With little hope of finding a staff, I made one. I started with a larger PW staff. The escapement platform is assembled and my free spin test was excellent. I am repairing the MS arbor, so until that is done, I cannot test operation.


 2 points
 -
Currently, I use a 3.5x loupe on my right eye. It's perfectly natural and comfortable, but there are times where I would prefer to have binocular vision. I have a 3.5x OptiVisor (obligatory: "the real one with glass lenses, not the fake Chinese ones"), and while it is nice, I find myself having to consciously try to focus, and go nearly cross eyed to get the image from each eye to converge, so it is not a good long term solution. I've considered a dental loupe, but those appear to come in two forms, either professionally made and fitted for thousands of dollars, or $30 three-star junk from Amazon (though this one is $50 and appears to have mostly positive reviews: https://a.co/d/bRqrItD). I've never used one, so I have no idea what to expect in terms of image quality, field of view, eye strain, etc. Another option is those clip on magnifier lenses that you attach to your glasses. Some are rated highly, but again, that just feels like another OptiVisor. Option #3, buy a cheap pair of safety glasses, and hot glue a 3.5x loupe on each side. Does anyone have any other suggestions that are cost effective, and don't introduce any eye strain?1 point
-
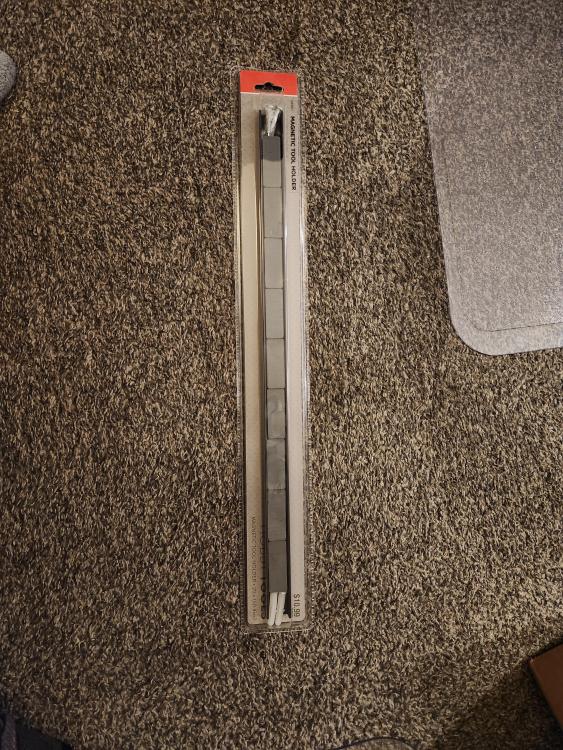
I suggest a magnetic auto tool holder. Leave it in the hard plastic. Easy to clean and to retrieve the parts from the pastic. This has saved me hundreds as we as heart ache. The agony of defeat turns to joy of discovery when you find the part you pinged!
 1 point
 -
One of the problems with testing watches with coils is extreme caution is required whenever the coil wire To anything else. Basically that wires super tiny and if you're not careful with the test probe in the process of testing things can get damaged. You know that it's on eBay and it has a cost just think what would happen if I sold all of my documentation I would be rich? I have attached two separate manuals that particular one and another one with way more pages as it's actually a combination of a whole bunch of manuals plus at least one page that does not even belong to that watch a you also notice as references to an Omega watch because that is the same watch. ESA 9162 Repair Manual 52 pages.pdf ESA_9162 repair manual Longines.pdf1 point
-
I had an Optivisor but don't use them anymore for the same reasons you cited. I think the eyestrain is caused by off-centred optical axes. That is the same problem with dental loupes. If the optical axes are not lined up correctly with your eyes optical axes, you will feel the eyestrain. But adjusting the toe-in angle and optical heights of the loupes would void the warranty, that's why I waited 3 years until the warranty ran out before I started fiddling with them. I think some of us are just built differently. Some people can pick up someone else's loupes and use them with no problem. Some people can sit in a room with the speakers of the sound system out-of-phase and not get irritated. Some people can walk with sand in their sandals and are not bothered. Maybe it's some form of autism that hasn't been diagnosed yet. But for some of us, and I suspect many of us on this forum, cannot tolerate such things.1 point
-
Hello and welcome from Leeds, England.1 point
-
Thanks!1 point
-
Exactly, that's what I thought. Which database is this, @AndyGSi?1 point
-
True. The problem with Aliexpress, is shipping time from China. The bridge I ordered on 3rd of Feb. is still in transit ?! Meanwhile I fixed the watch but the part is still....somewhere on Earth.
 1 point
 -
Aliexpress have bridge plates for the 46943 and some of them appear to include the diafix springs, only cheap in the region of £3.50 each. Search for 46943 upper clamp plate.1 point
-
The unfortunate reality and watch repair is as you're learning things will get broken. The problem with working on family heirlooms is you may have to Explain to the family why there heirloom is no more. Or in this particular case because both of these are Omega watches they will be extremely expensive depending upon how much damage is done while you're learning. In watch repair it's usually best to determine what the problem is and then work out a solution to the problem. So for instance when was the last time either of these watches were serviced? Analog quartz watches like any mechanical watch would need to be serviced from time to time. Then the definition of servicing is complete disassembly proper cleaning proper lubrication and of course reassembly with ideally having proper quartz test equipment. Because the unfortunate reality with electric watches is you need to test equipment to make sure things are functioning properly. Then you hear a case reference number has been upgraded it is really 145.0016. It's found at the link below and you will notice that the parts are listed as both yellow and white as one case number could be a variety of materials. But as yours is stainless steel it would be white and looks like the pushbutton is 086ST0011. http://cgi.julesborel.com/cgi-bin/matcgi2?ref=OME_CS^145.0016A Then here's one on eBay although I would verify with the seller that it actually does fit your case. Or for that matter whether the seller would take it back if it doesn't fit. So you have to work out some way to unscrew the old one which is typically lock tied it in the mobile will definitely have to be removed from the case the new one put in and in the moment put back in and hopefully no other damage was done like a water getting in for instance. Oh and in case you're curious about how easy it would be to service that movement I'm attaching some servicing information. Definitely not your best interest to start watch repair with a chronograph. https://www.ebay.com/itm/265273876522 205_Copy of oRIGINAL_Omega 861 cousins.pdf1 point
-
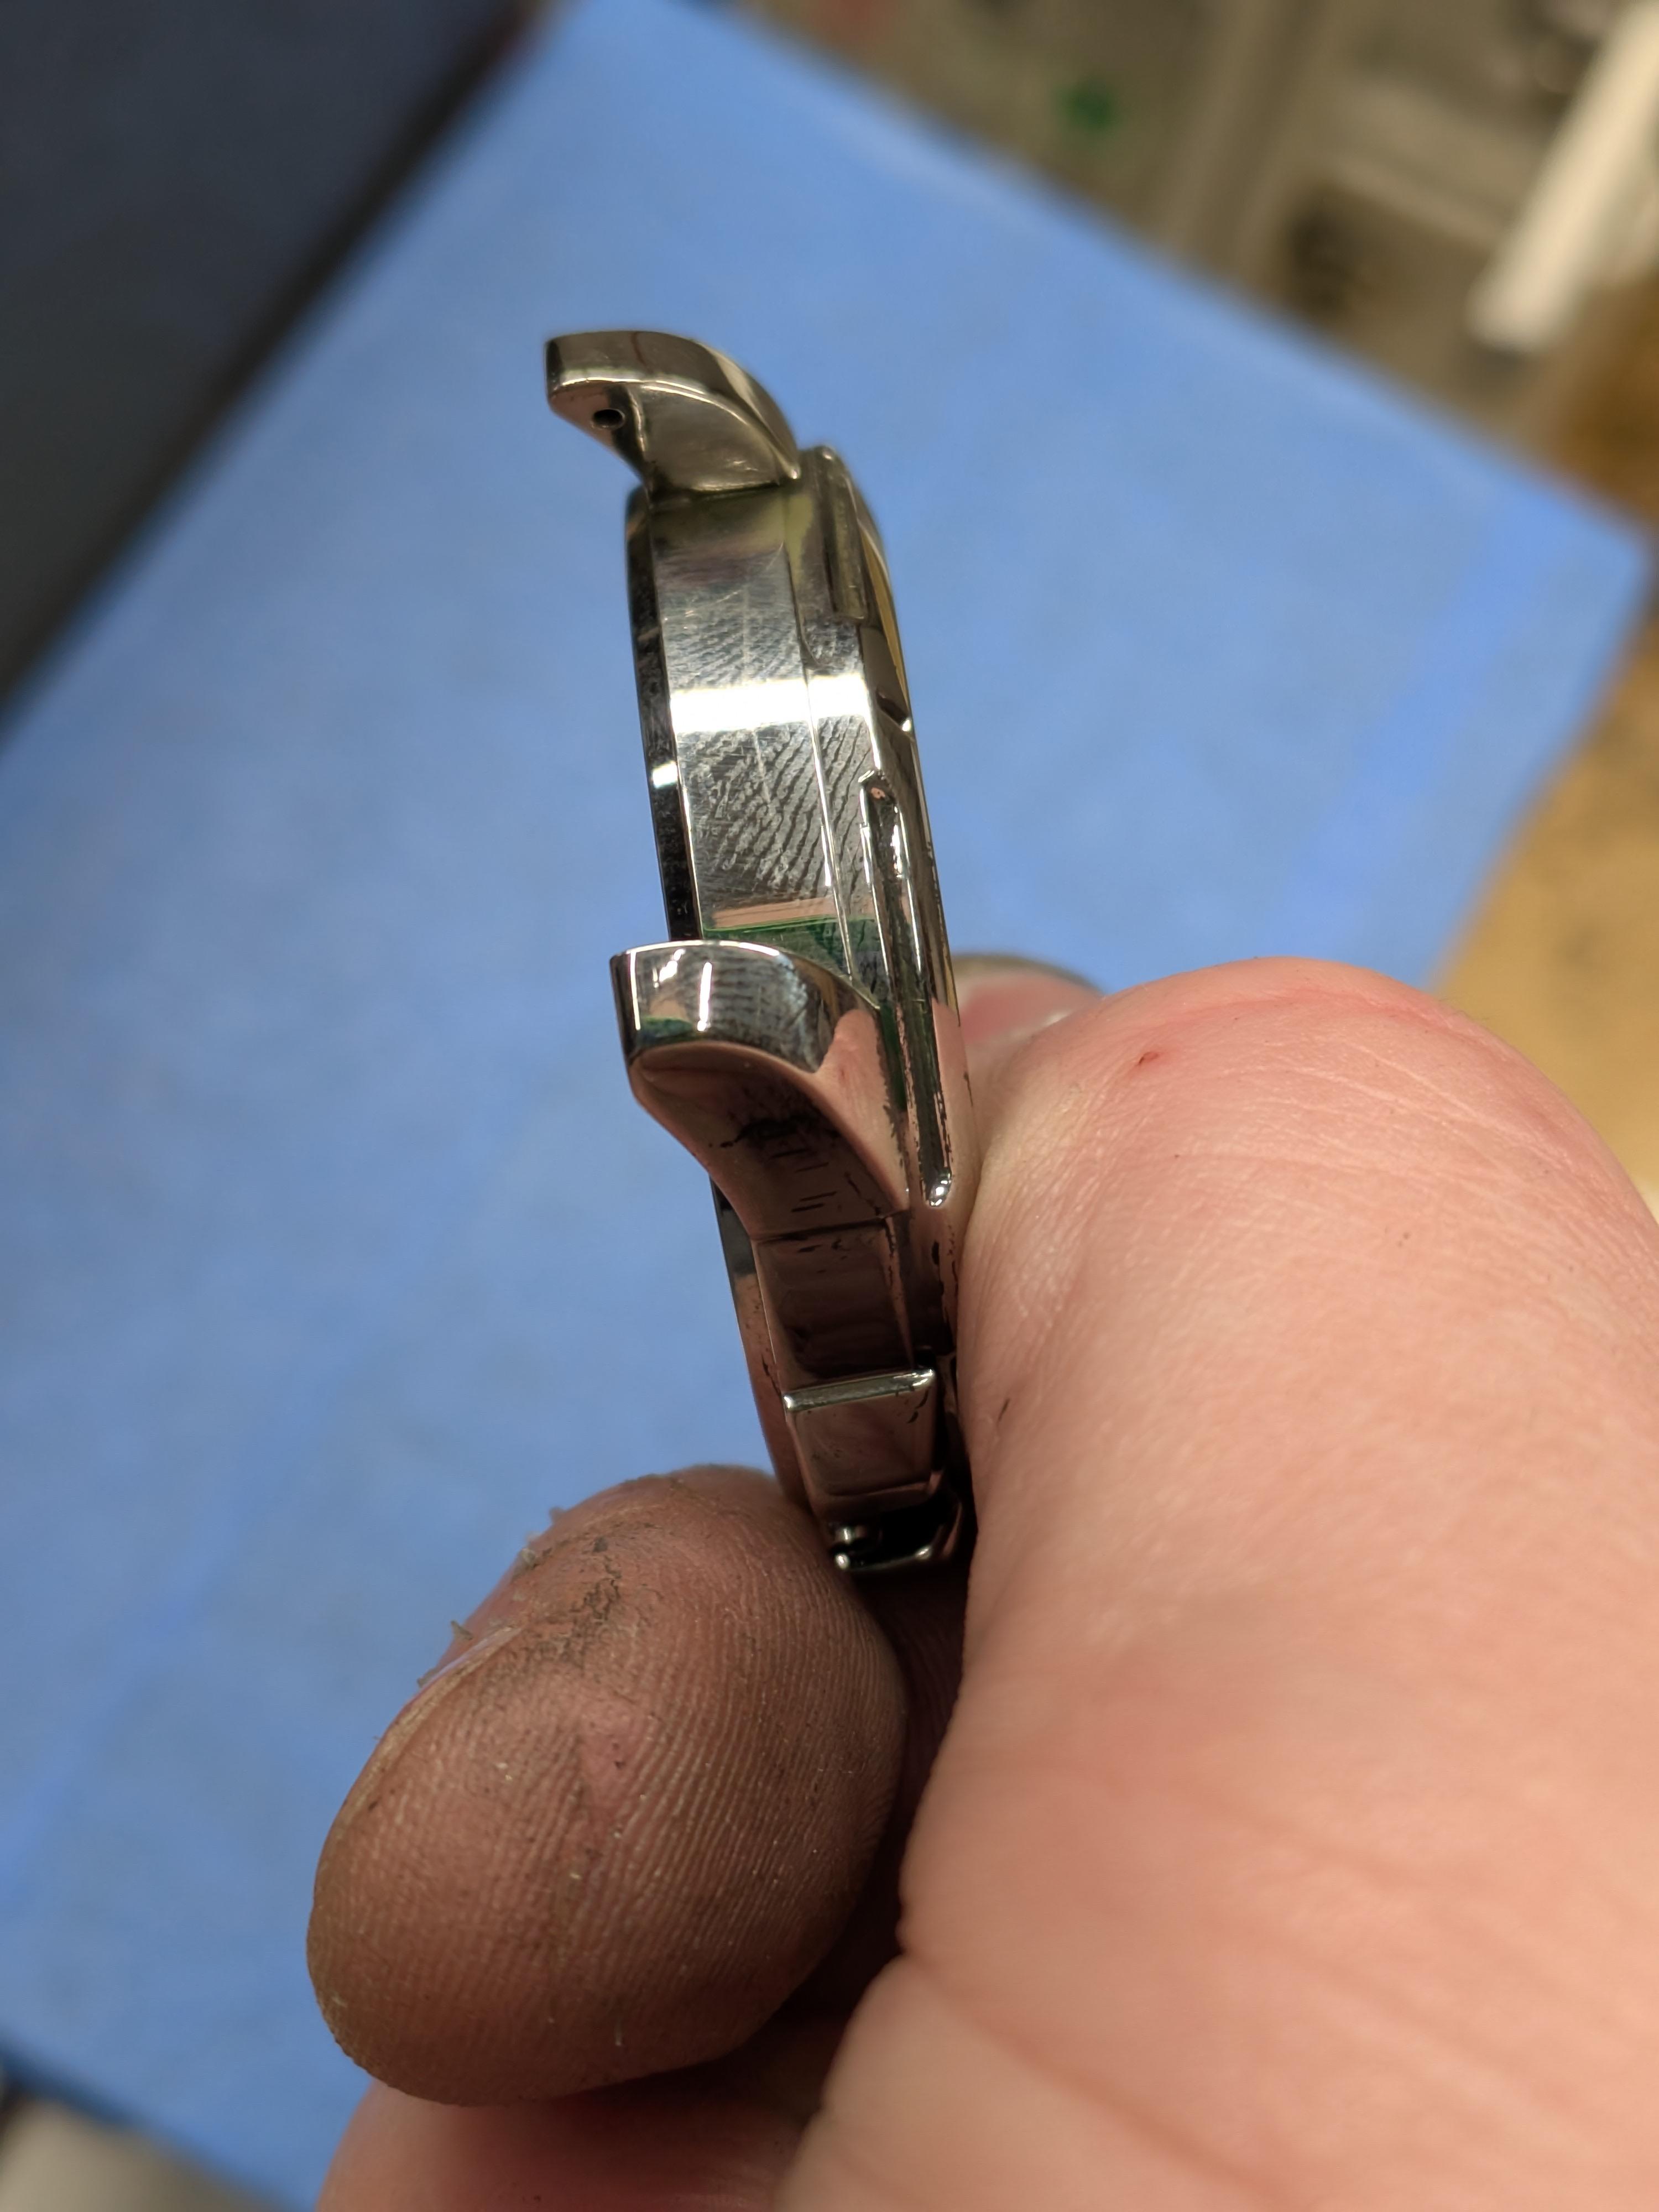
Not sure if you're still working on this but mine arrived this morning and to me it's just a 1mm that's glued. I'll have a look at it further tonight. Edit Had nothing else to do so decided to have a quick look and the complete assembly comes out of the cage giving you access to remove the stem.

 1 point
 -
Lovely patina? Reminds me of a sellers description of his watch on sale. "Lovely cracked crystal "1 point
-
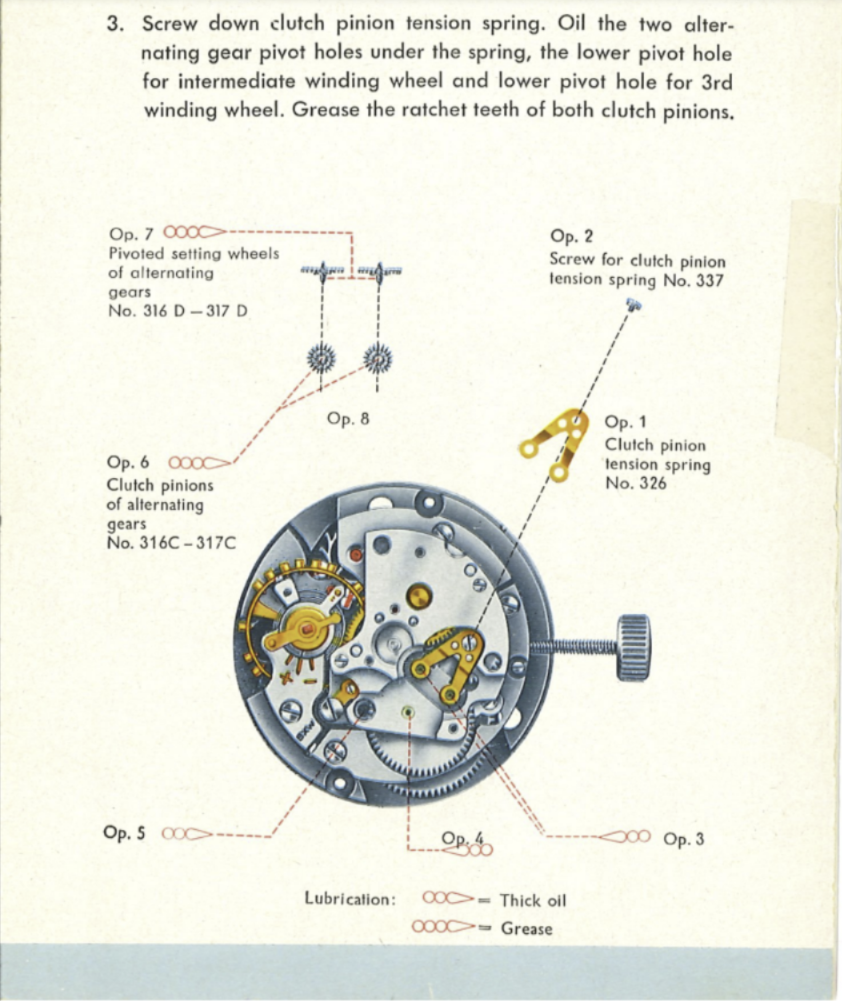
I found the lubrication guide for an older but similar model:
 1 point
 -
The Bradux, it pushes the roller from the hub, the tool does not get near the balance arms, it pushes against the staff not pulls on it Only caution is to ease the pressure when squeezing and keep index finger inbetween the Bradux arms to limit their travel.1 point
-
Not sure what you mean as there's a spacer on the back of the dial to set the gap? Edit Can you post photos with the dial removed and then with the day disc removed.1 point
-
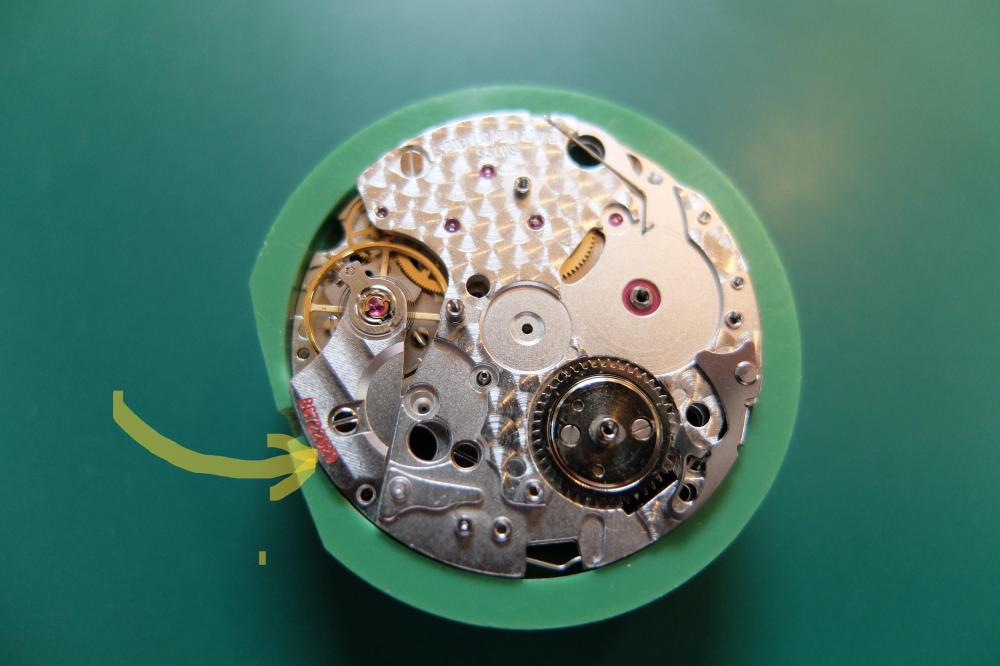
Is there a reason you want to remove the stem? Look where the little arrow is pointing and you should see a dimple to press with either the crown in or out.1 point
-
But to prove it you'd either have to clean the spring on its own, leaving everything else as is, or clean everything but the spring, test, then clean the spring and test again.1 point
-
The control coil supplies the feedback signal to the transistor circuit. Open coil = no feedback = fork cannot vibrate.1 point
-
I don‘t see that. Dangerous are all methods that rely on a tight enough rivet of the staff as with 4852. But watches are too different, from lady‘s to big pocket or B-Uhr watches, there cannot be one for all. The Bradux is fine with most wrist watches. There is a reason why I use the lathe. It is a safe method and also works with big PWs. Frank1 point
-
In this ebay offer it is part of an assortment of Junghans tools
 1 point
 -
Yes, Kalle With just a little bit of bad luck you will turn/remove the staff, not the roller … Frank1 point
-
@dancad should be able to confirm which was the correct one.1 point
-
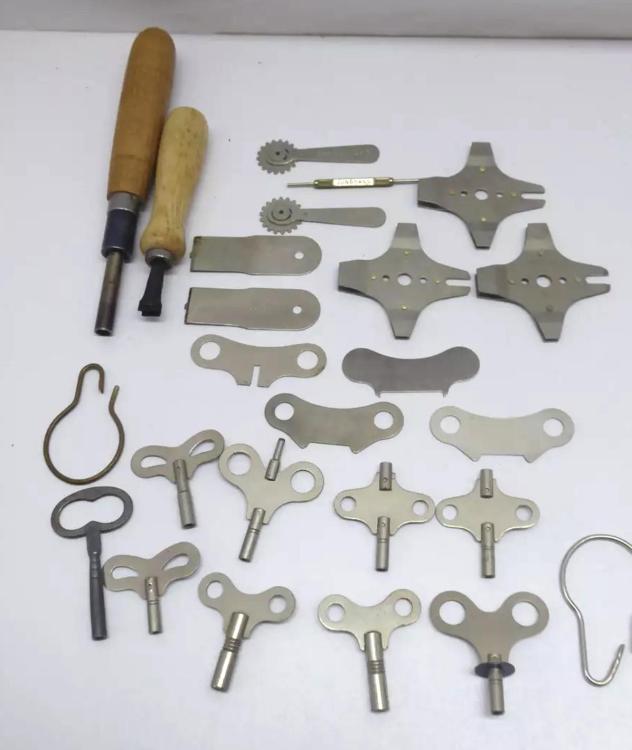
So I need more watches like a hole in the head but as part of a job lot for £10.70 including delivery I couldn't resist.

 1 point
 -
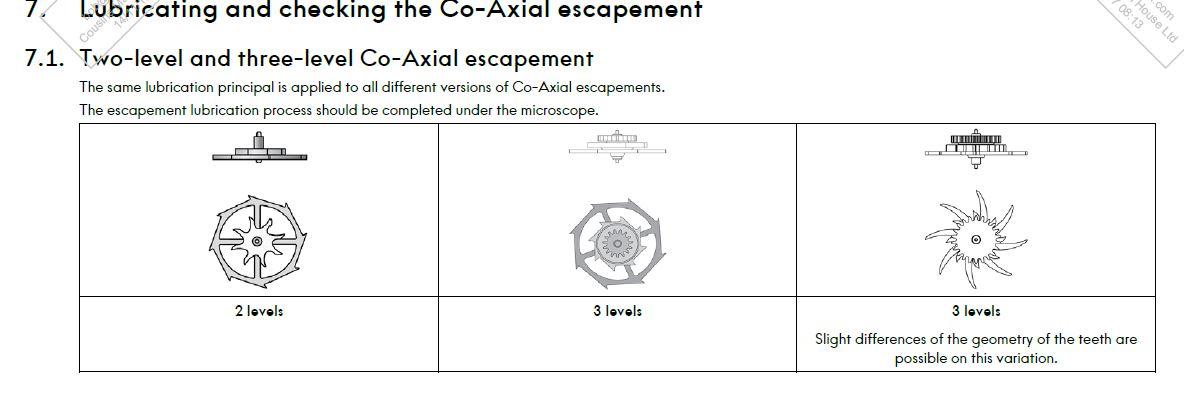
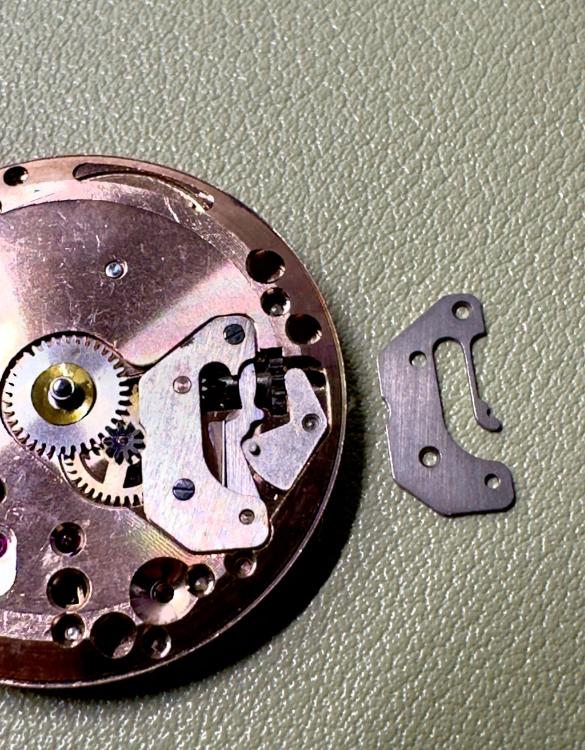
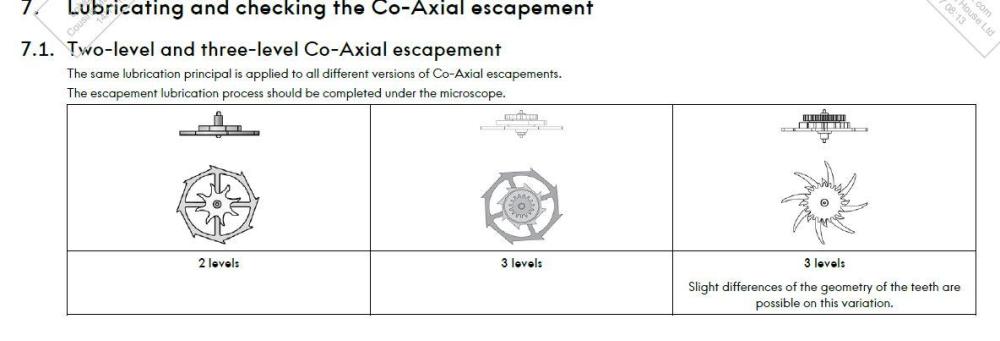
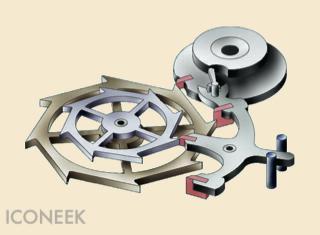
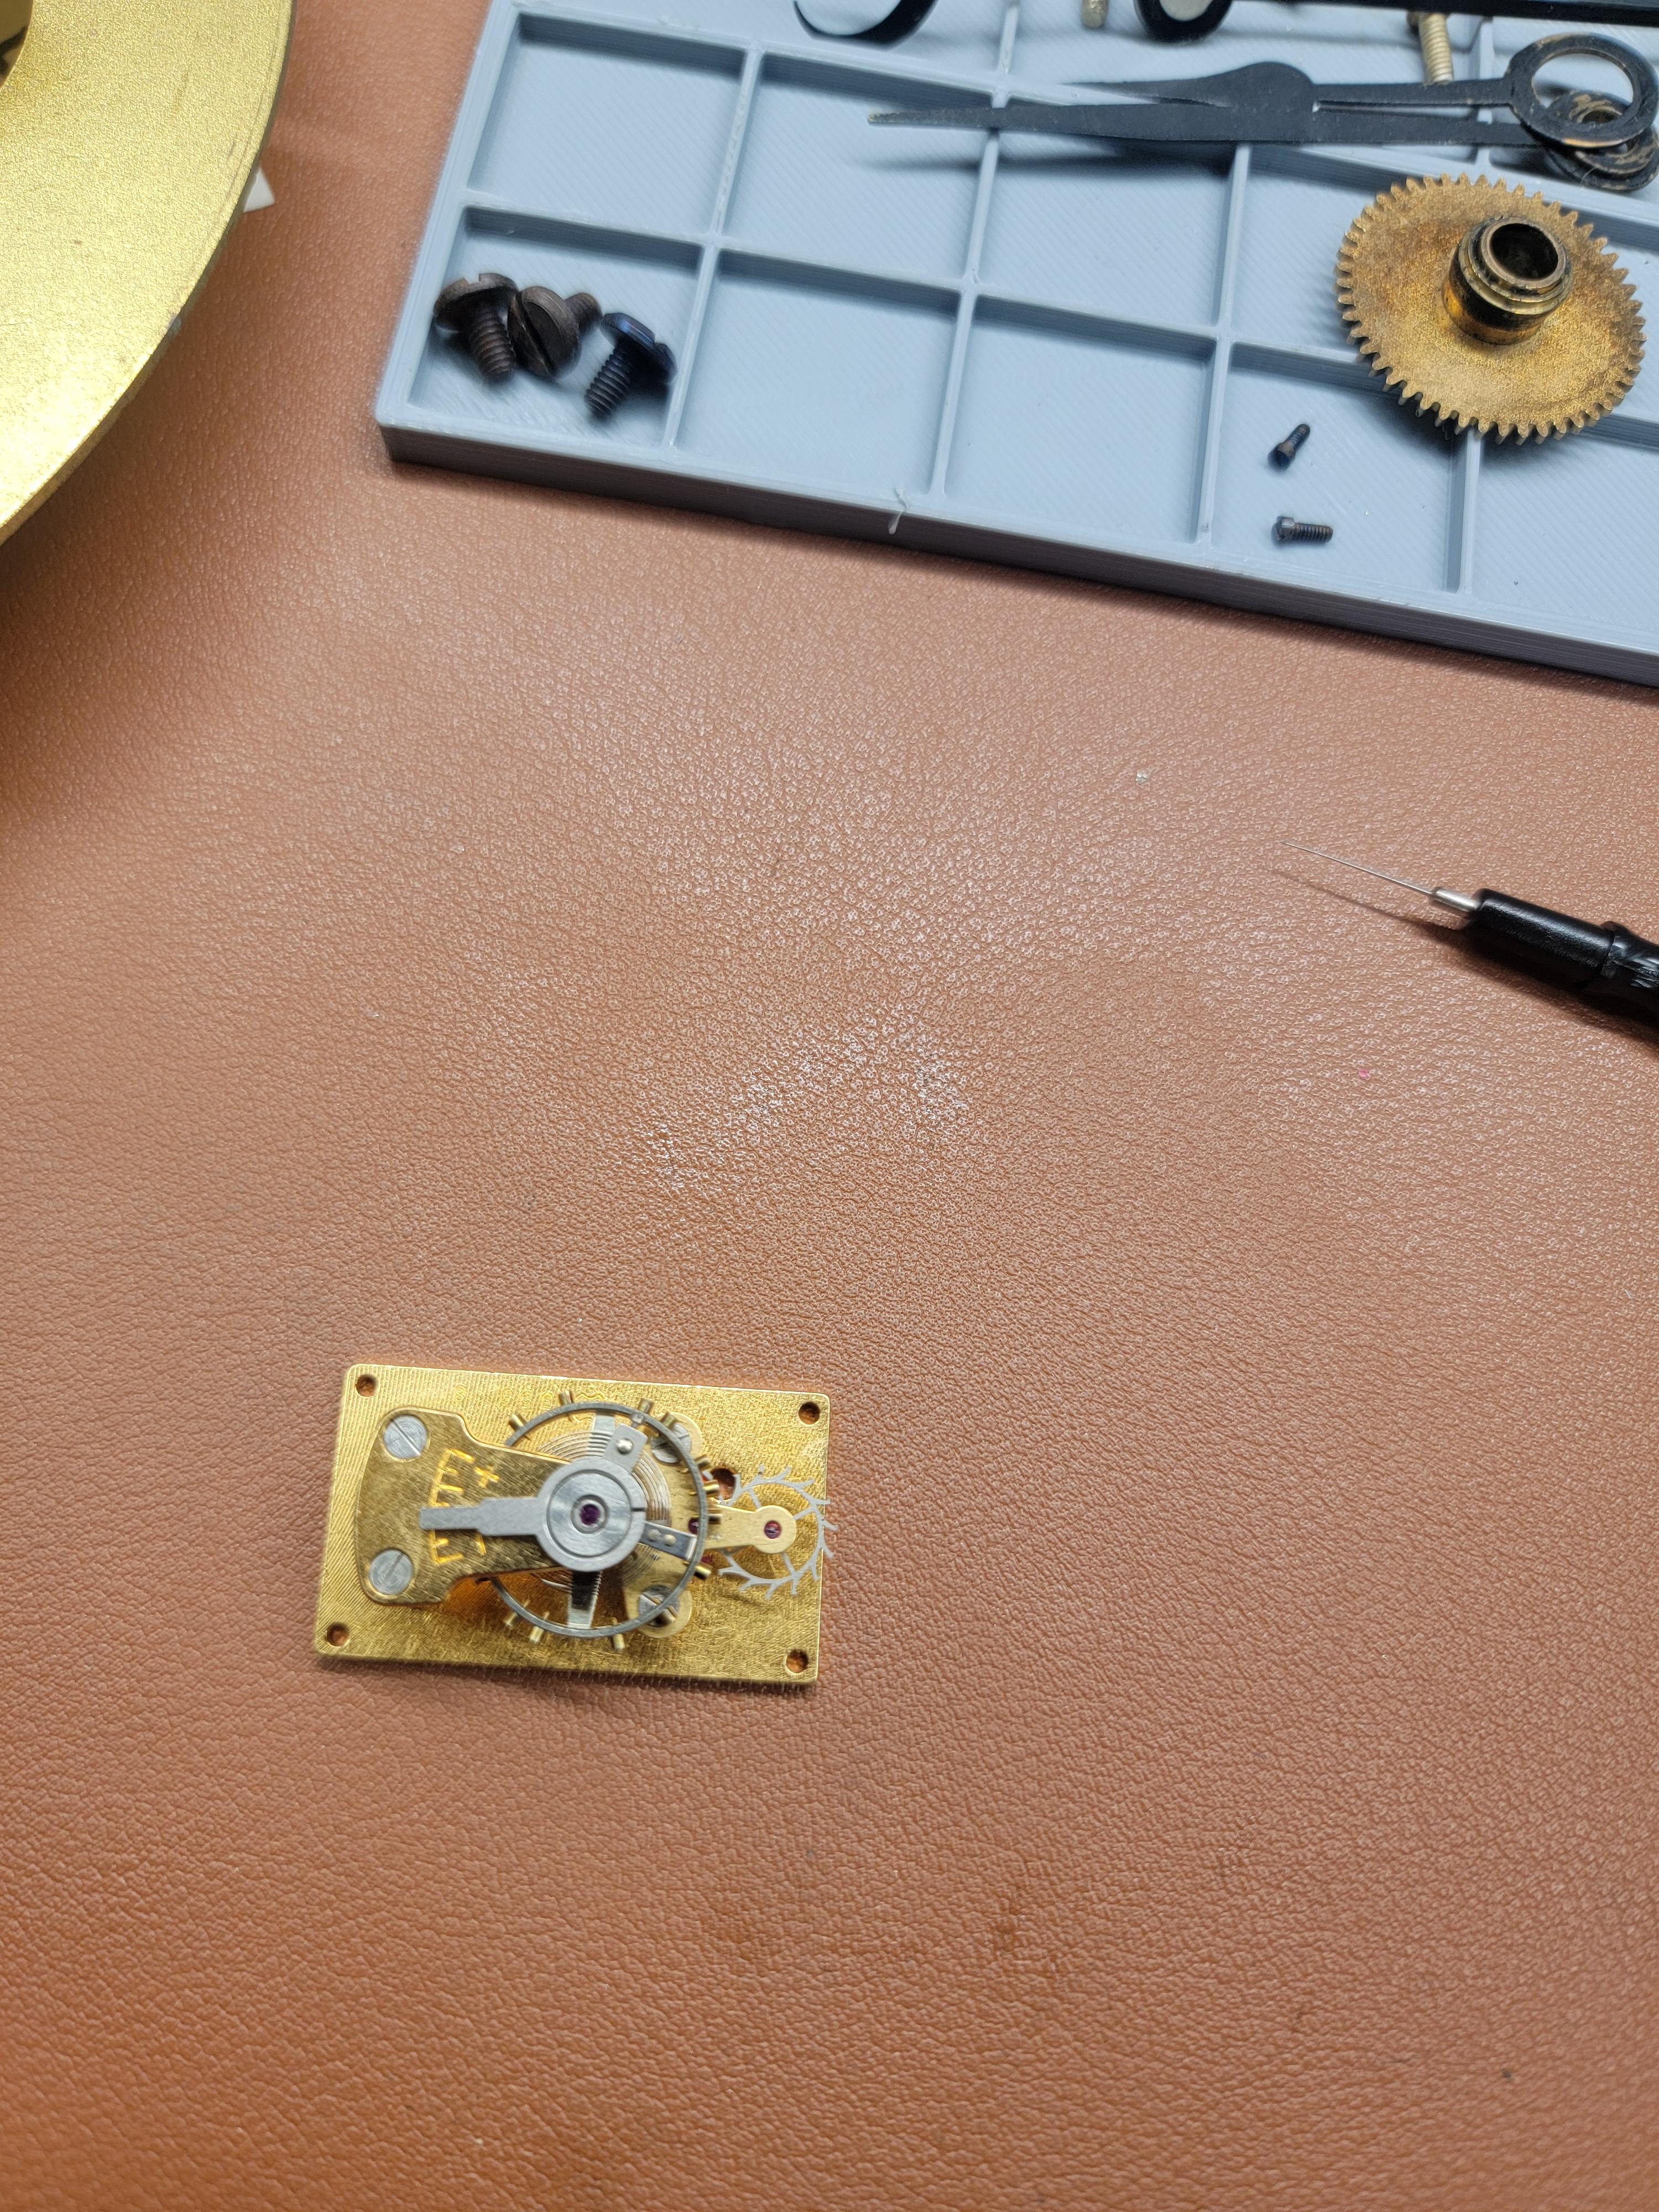
A couple of things here which cost me most of yesterday to learn and may help others as more of these movements age and start to need servicing. There is a lot of Valjoux 7750 here so some parts will be obtainable but please be aware that any damage could be a real headache. Worst case you may have to resort to buying a used replacement movement which are available at around £1000. If you are doing the job for a friend - are you happy to give them back a good looking paperweight ? The CoAxial Escapement parts are Omega only and thus unobtainable to watchmakers outside their AD network. Still willing to take the risk ? I did and got away with it but the stress levels took the fun away so I will hesitate to do another. The main challenge is assembling the balance safely and doing a professional job of the precise lubrication required. Have a read of Omega's Working Instructions No 40 - it's on Cousins site but and Omega search will not find it. Search under "Working". You will need a good Stereo Microscope and a very experienced oiling technique. Mr Daniels and Omega had a struggle over many years to get this escapement developed enough to suit mass production. It's more complicated and less tolerant to imprecise clearances and wear rates when running at 28,800 were an issue. Hopefully all resolved on the latest variations but only time will tell. The main advantage of not needing oil was certainly lost early on in the expensive battle. So still feeling lucky punk ? The struggle to get things reliable has left a development trail of three main types : The far right Starfish style is the latest. Mark has an excellent video assembling a 2500 Omega which has that variation. The 3330 has the middle one - early 3 level and seems to need a different installation approach. Whereas Mark comes in from the left and then turns clockwise - the 3330 seems to favour the opposite : Comme ca : You have to understand with this design the roller assembly is upside down and also has its own vulnerable pallet jewel: Winding the balance cock in anticlockwise keeps that tiny jewel out of harms way whilst you fiddle the roller jewel into the fork. You have to get the balance arbor sat in the baselate pivot jewel and the fork around the roller jewel before you swing the cock into place otherwise it is very easy to get things in a jam. Easing up the wheel in order to get a fit often works with a conventional escapement but this is upside down. Check things are in place under the microscope before applying any power. Now this is hard enough but when tried with any power wound on it proved impossible. With this version of the CoAxial the fork will sit stubbornly in one set position - it will not flick obligingly between the banking stops. At this point you will start to imagine you have broken the movement. Did I mention stressful ? Do not despair - this appears to be normal. LET DOWN THE POWER before assembly. The fork now swings freely and it will go together. Check things are in place and apply some power. The design seems to rely on inertia to get things pulsing both ways. And another possible snafu : The pallet fork bridge is retained in precise position by the two ears shown above. Mine were so tight that they needed a crow bar to release. When trying to assemble this meant the bridge was sitting with one ear in and one ear out which was sufficient to prevent the two pivots from dropping into place. I had to just stone away a tiny amount of metal to get a good push fit without any slop. Dangerous work. Neither was I impressed with the amount of play on the pallet fork pivots once assembled - nothing worn just not as tight as it should be. To be fair to the the good people at Omega it runs very consistently - almost no positional variation - just like a decent Rolex. Hope this diatribe will amuse the experienced and alert the nervous. Neil.
 1 point
 -
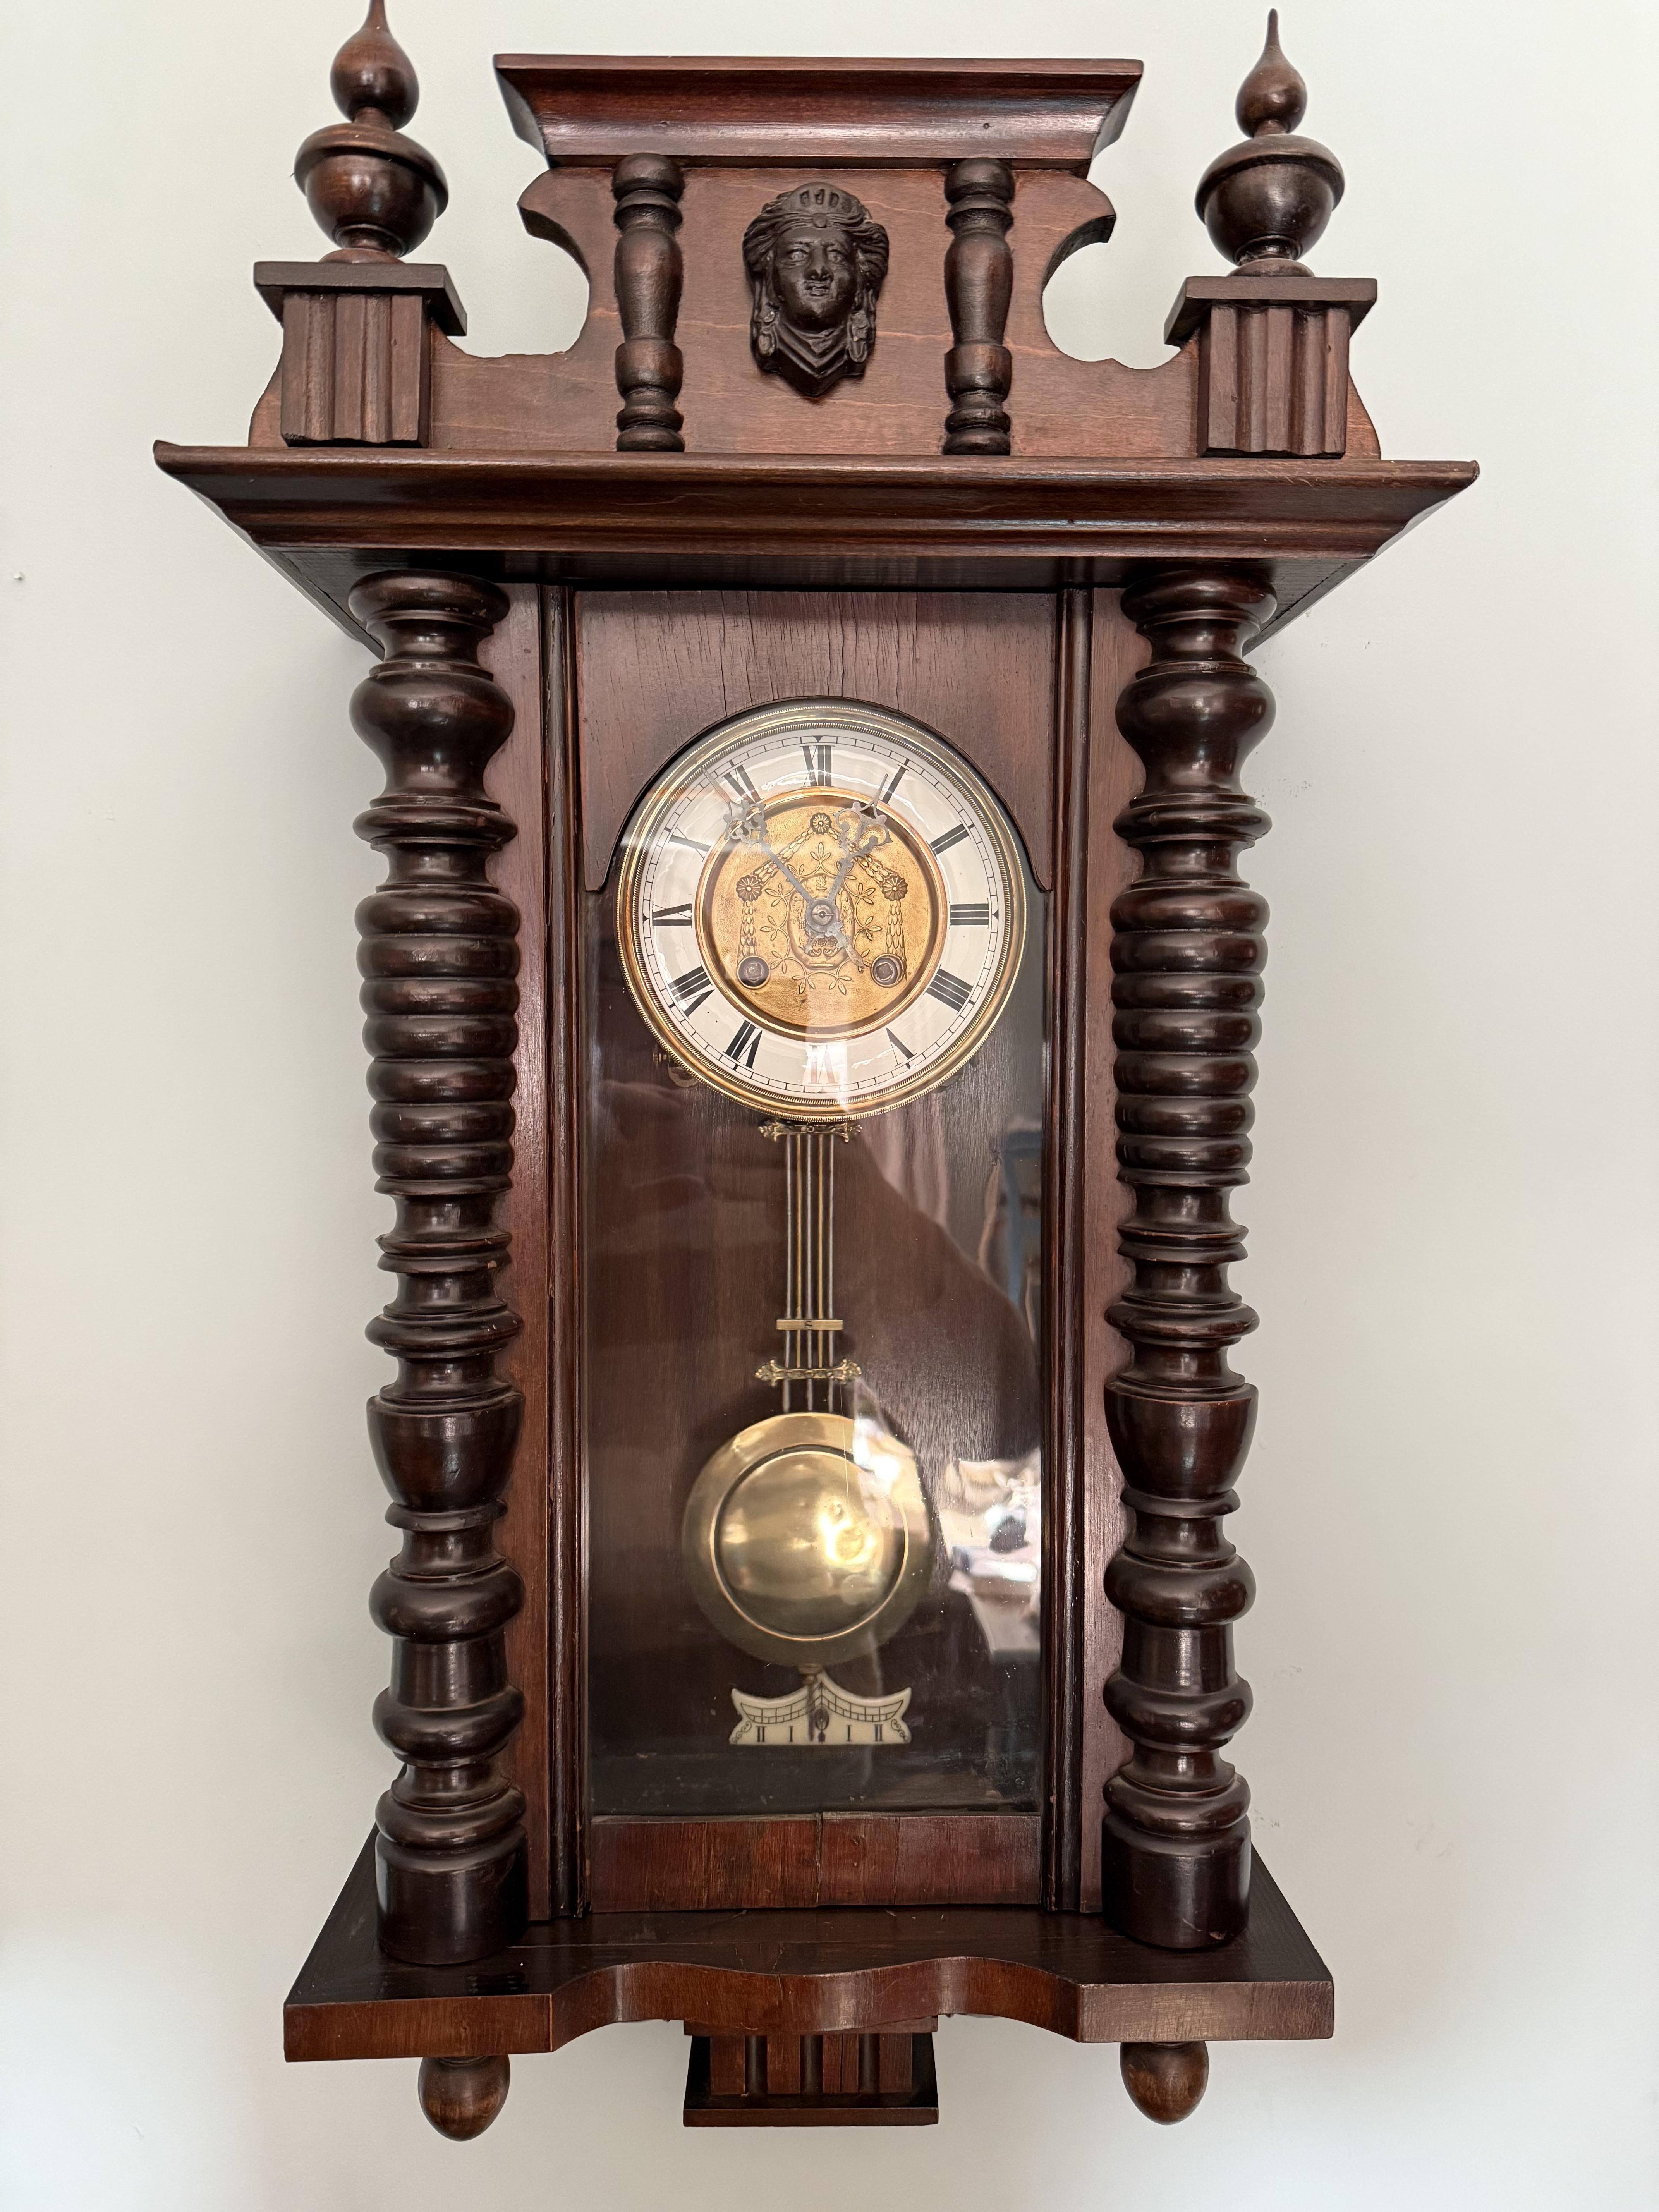
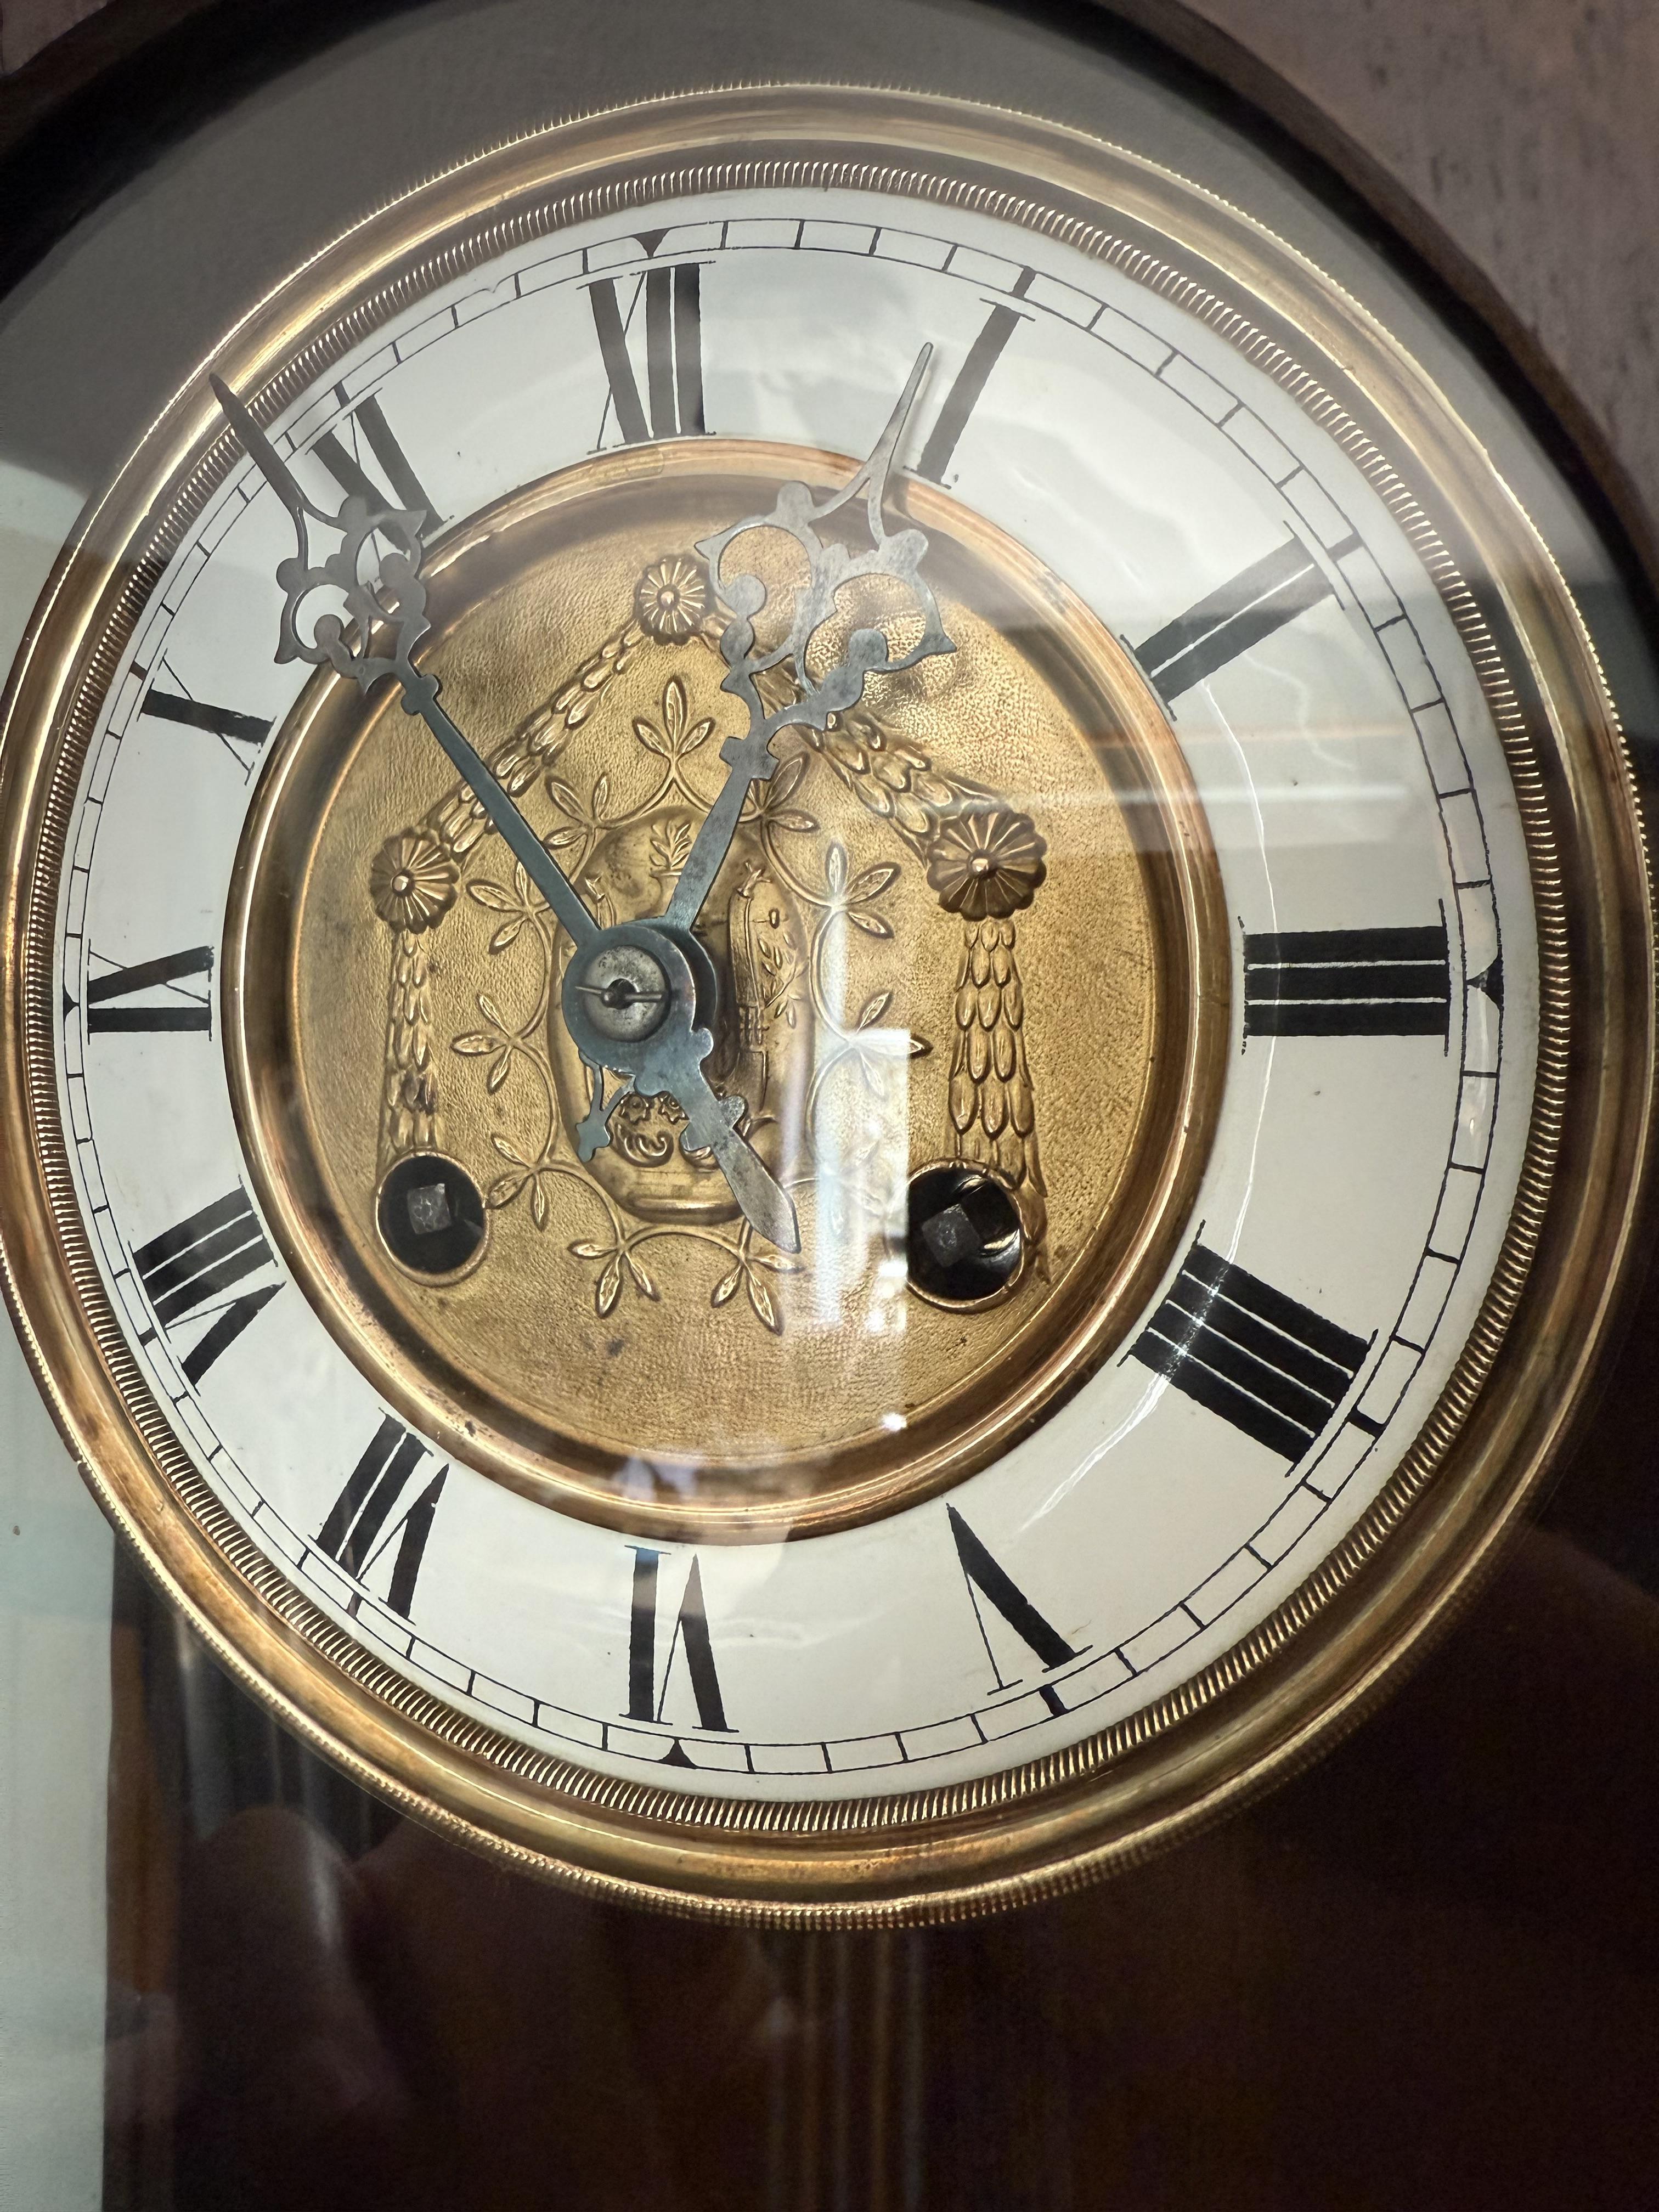
Hi there are organisations in America such as the AWCI and the NAWCC who like the British BHI will be able to point you in the right direction as regards finding the right people in your area who can restore your clock which will look superb once restored. If you contact either or both of these organisations I'm am sure they would be able to help.. Good luck in your endeavors and keep us posted on any progress as to how you get on. We remain interested. Cheers1 point
-
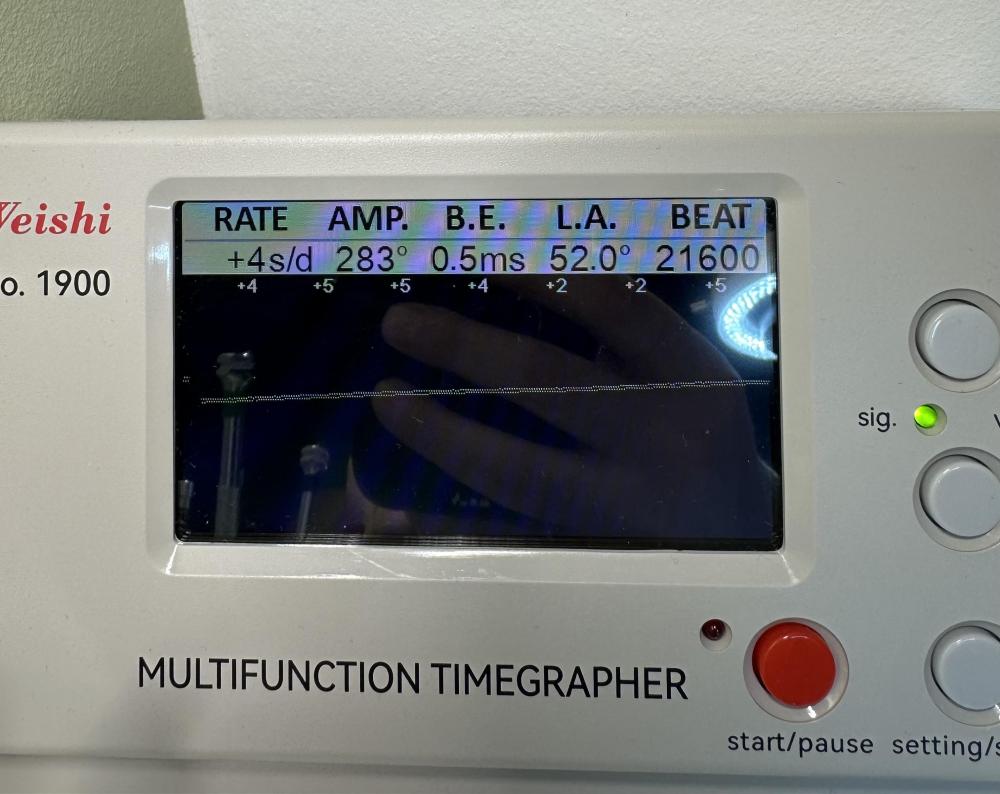
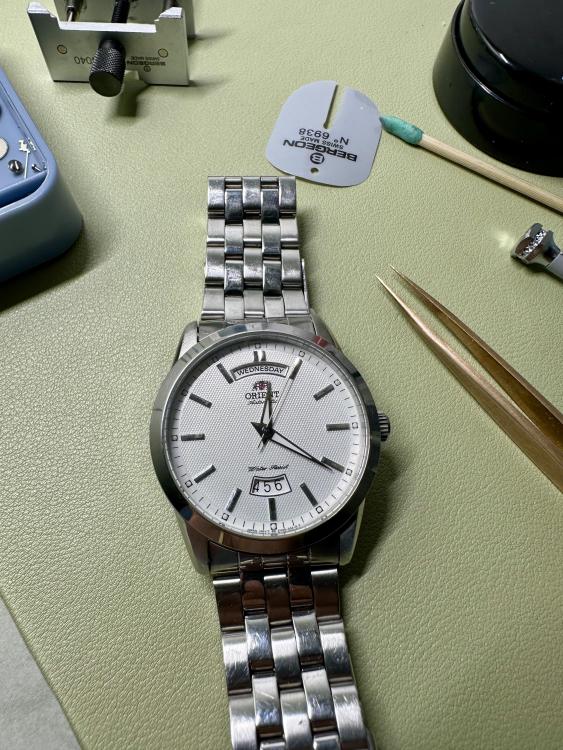
I am absolutely thrilled to announce that I finally fixed it !!!! Only took around 2 months and several parts ordered that either didn’t fit or had other faults, a lot of trial and error, somewhere around 150€ spent on parts. The good thing is that I have a bunch of spare parts for this watch now I regulated the watch with dial up and dial down for now since it’s very late, but I believe there should not be major differences in other positions. Dial down: Dial up: The aftermath


 1 point
 -
Thank you for taking the time to help. This place is special.1 point
-
I have been replying to this for LadyLost by message. It certainly is a Tavern clock early 1800's that you can be sure of by the size of the dial. The clock tax ended in 1798, but the design carried on but the size became smaller. The very early ones had very large dials. The name on the dial is the maker.1 point
-
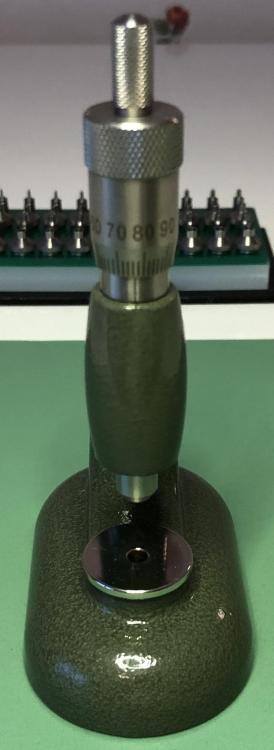
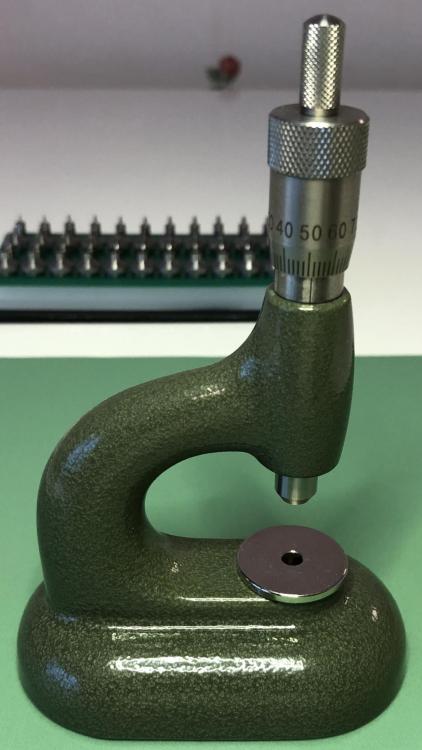
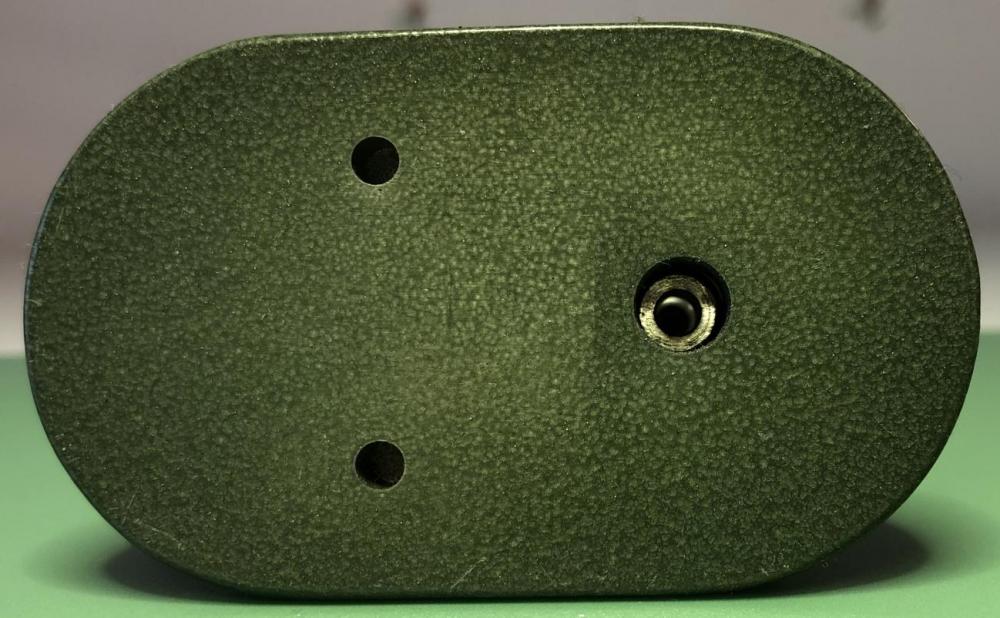
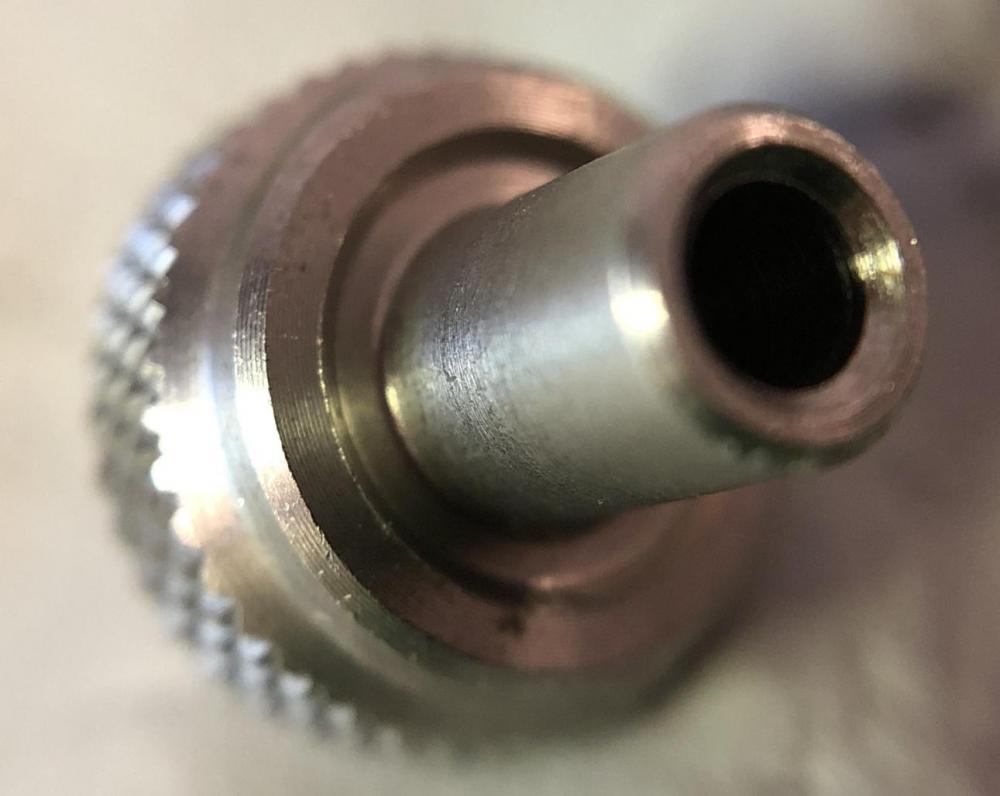
Looks a bit like some sort of home made hight marking gauge1 point
-
I've been reading Ward Goodrich's 1902 book The Watchmaker's Lathe: Its use and abuse and he can't get through a chapter without commenting how European watchmakers had fine trade mastery but crappy tooling and so the less trained Americans ran circles around them with superior tools. And American shop foremen had to put up with skilled but slow Europeans until they could be convinced to give up their old school ways and adopt American tools. Over and over he describes this.1 point
-
All done, keeps time within 5 seconds per day on average.


 1 point
 -
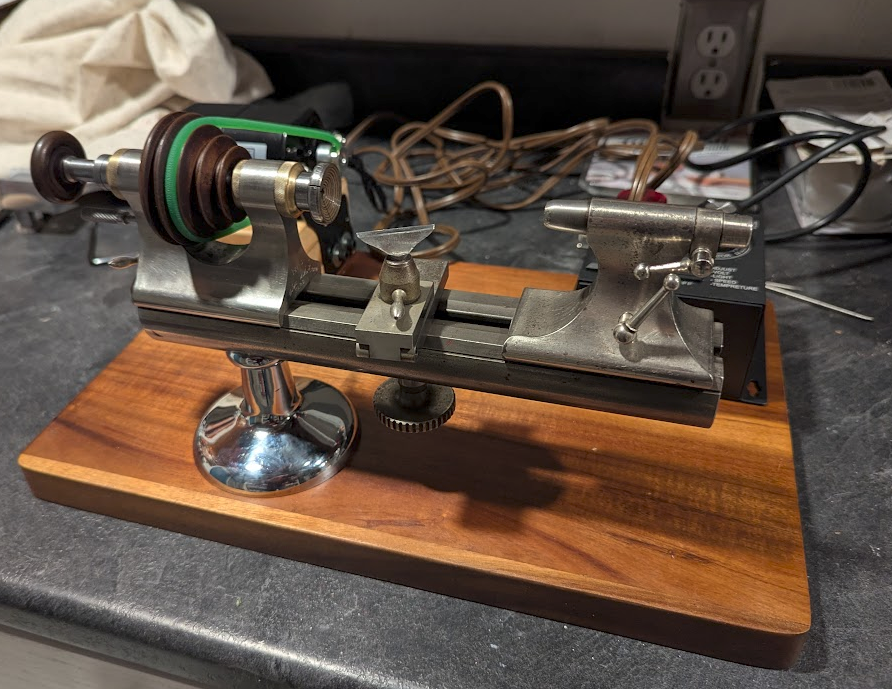
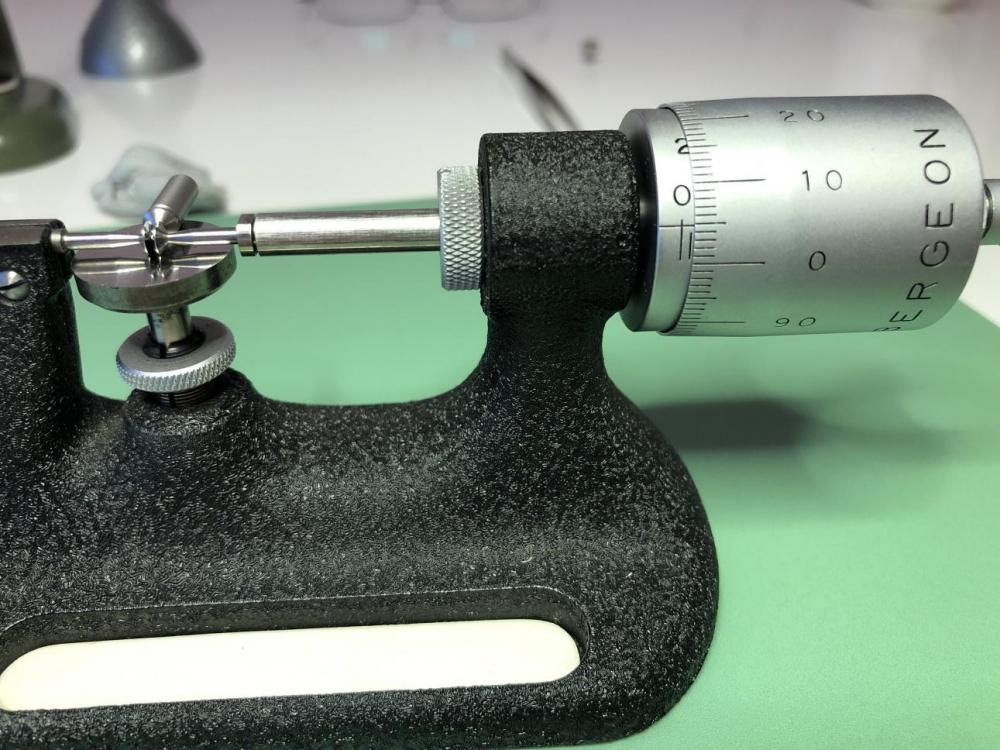
I have finished setting up my lathe! It took a lot more effort than I hand planned to get it running. It turned out that the rear bearing was seized together, and the bearing part that was supposed to be attached to the headstock frame was spinning freely (and surprisingly smoothly). Once everything was cleaned up, I refit the bearing to the headstock with Loctite sleeve retainer (nickelsilver's suggestion) and then found that the rear bearing was still capable of locking up completely on rotation, needing to be tapped on the outside with a brass hammer to jolt it free (caseback's suggestion). To make the bearings run smoothly, I lapped them with green Timesaver Lapping Compound, hand turning until both bearings were nicely refinished and turn without obstruction (again, nickelsilver's suggestion). This was all a lot more information about machining than I expected to be confronted with so soon. I didn't like the aluminum Borel base it arrived with since it was a poor fit to the short 10in bed, and so I mounted everything to a hardwood cutting board. For that, I had to wait a few weeks until a pedestal base turned up in a random lot of clockmaker tools on ebay. It is harder than it should be to procure a long M8x1.0 bolt in the USA where we still like our inches but that just arrived today so I could finally finish assembly. The cheap sewing machine motor is fixed to wood blocks and damped with a soft rubber pad. It came with a foot pedal that was janky as hell and I didn't want to use, so I am instead running it with a voltage regulator. I know at some point I will probably need a solution for more torque but this is a start. I just got the belt in place and spun it up for the first time tonight. It works great and I am very happy with the results. Much gratitude for the patient help I received from @nickelsilver, @caseback, and @Dell over in my other headstock setup thread. They all worked through explaining to me how things should work and discovering what was out of sorts as I got the headstock to turn. So thanks again everyone - now I'll have to start turning some stock and you can look forward to more silly novice questions as I do. I'm beginning to collect collets. And I am bothered by how shiny the pedestal is compared to the underside of the bed, so I may eventually give in and take a buff to that. The circle of space where the bed has always been in contact with a base is still shiny so I can assume the whole thing had a polish in the past. Finished job photos:
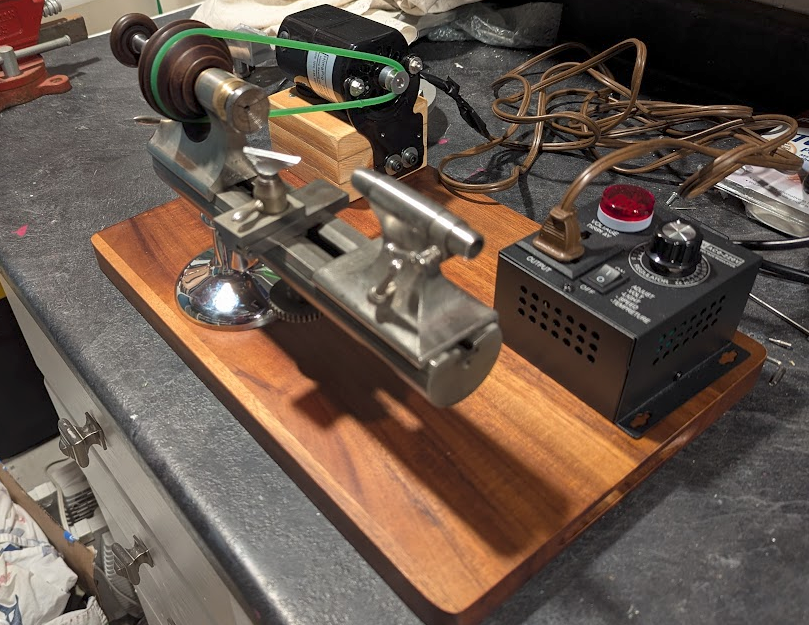
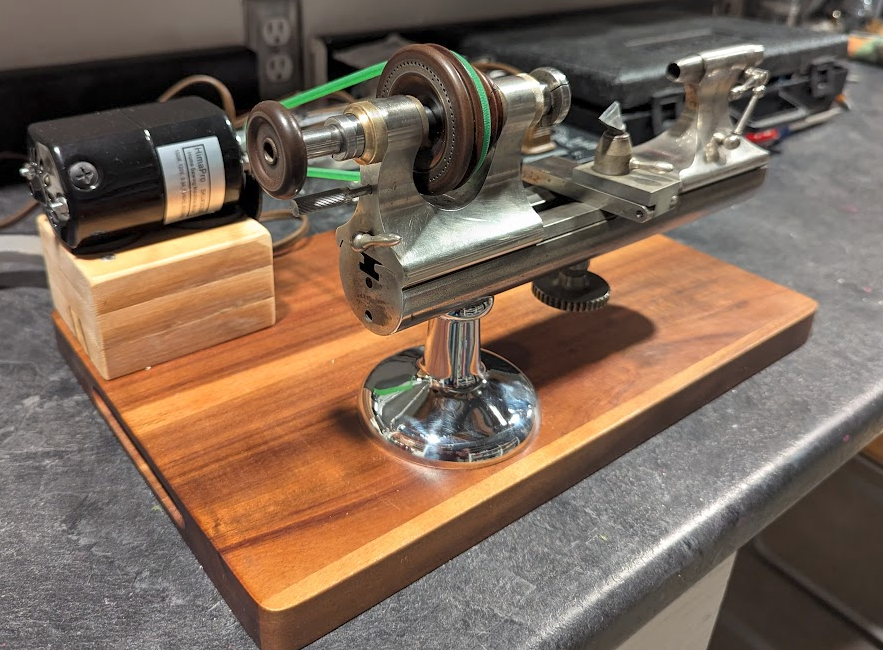 1 point
 -
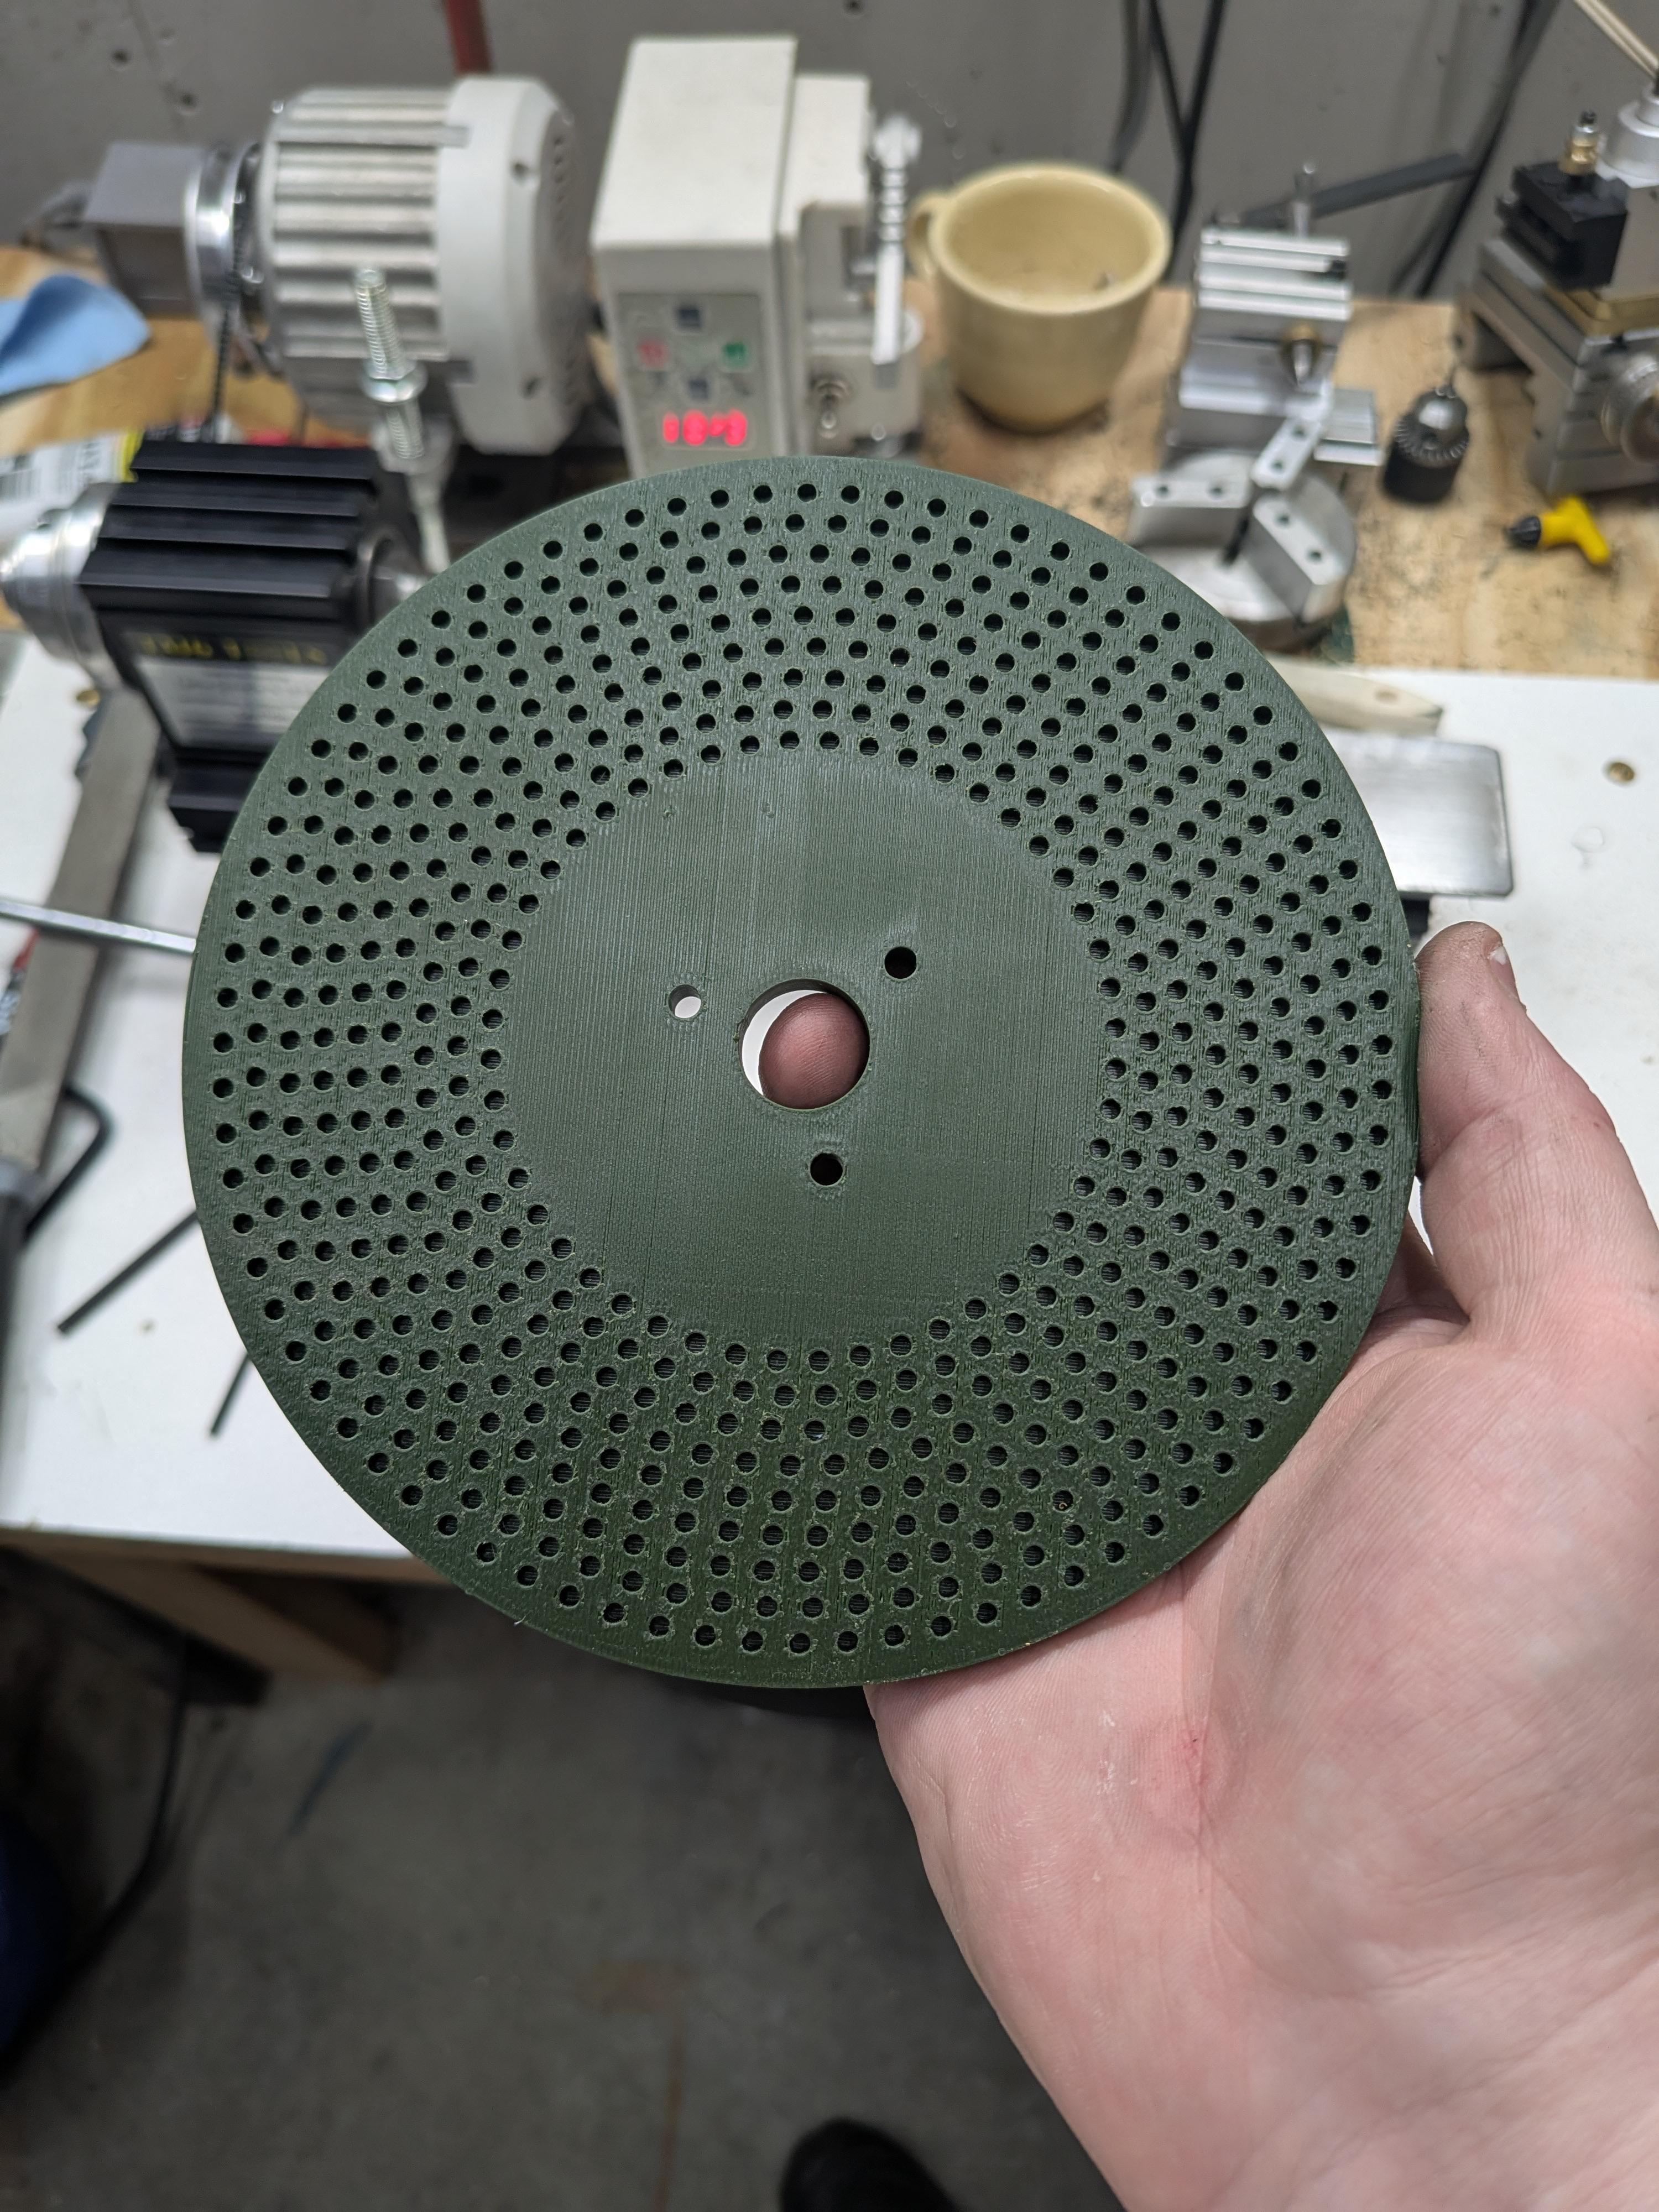
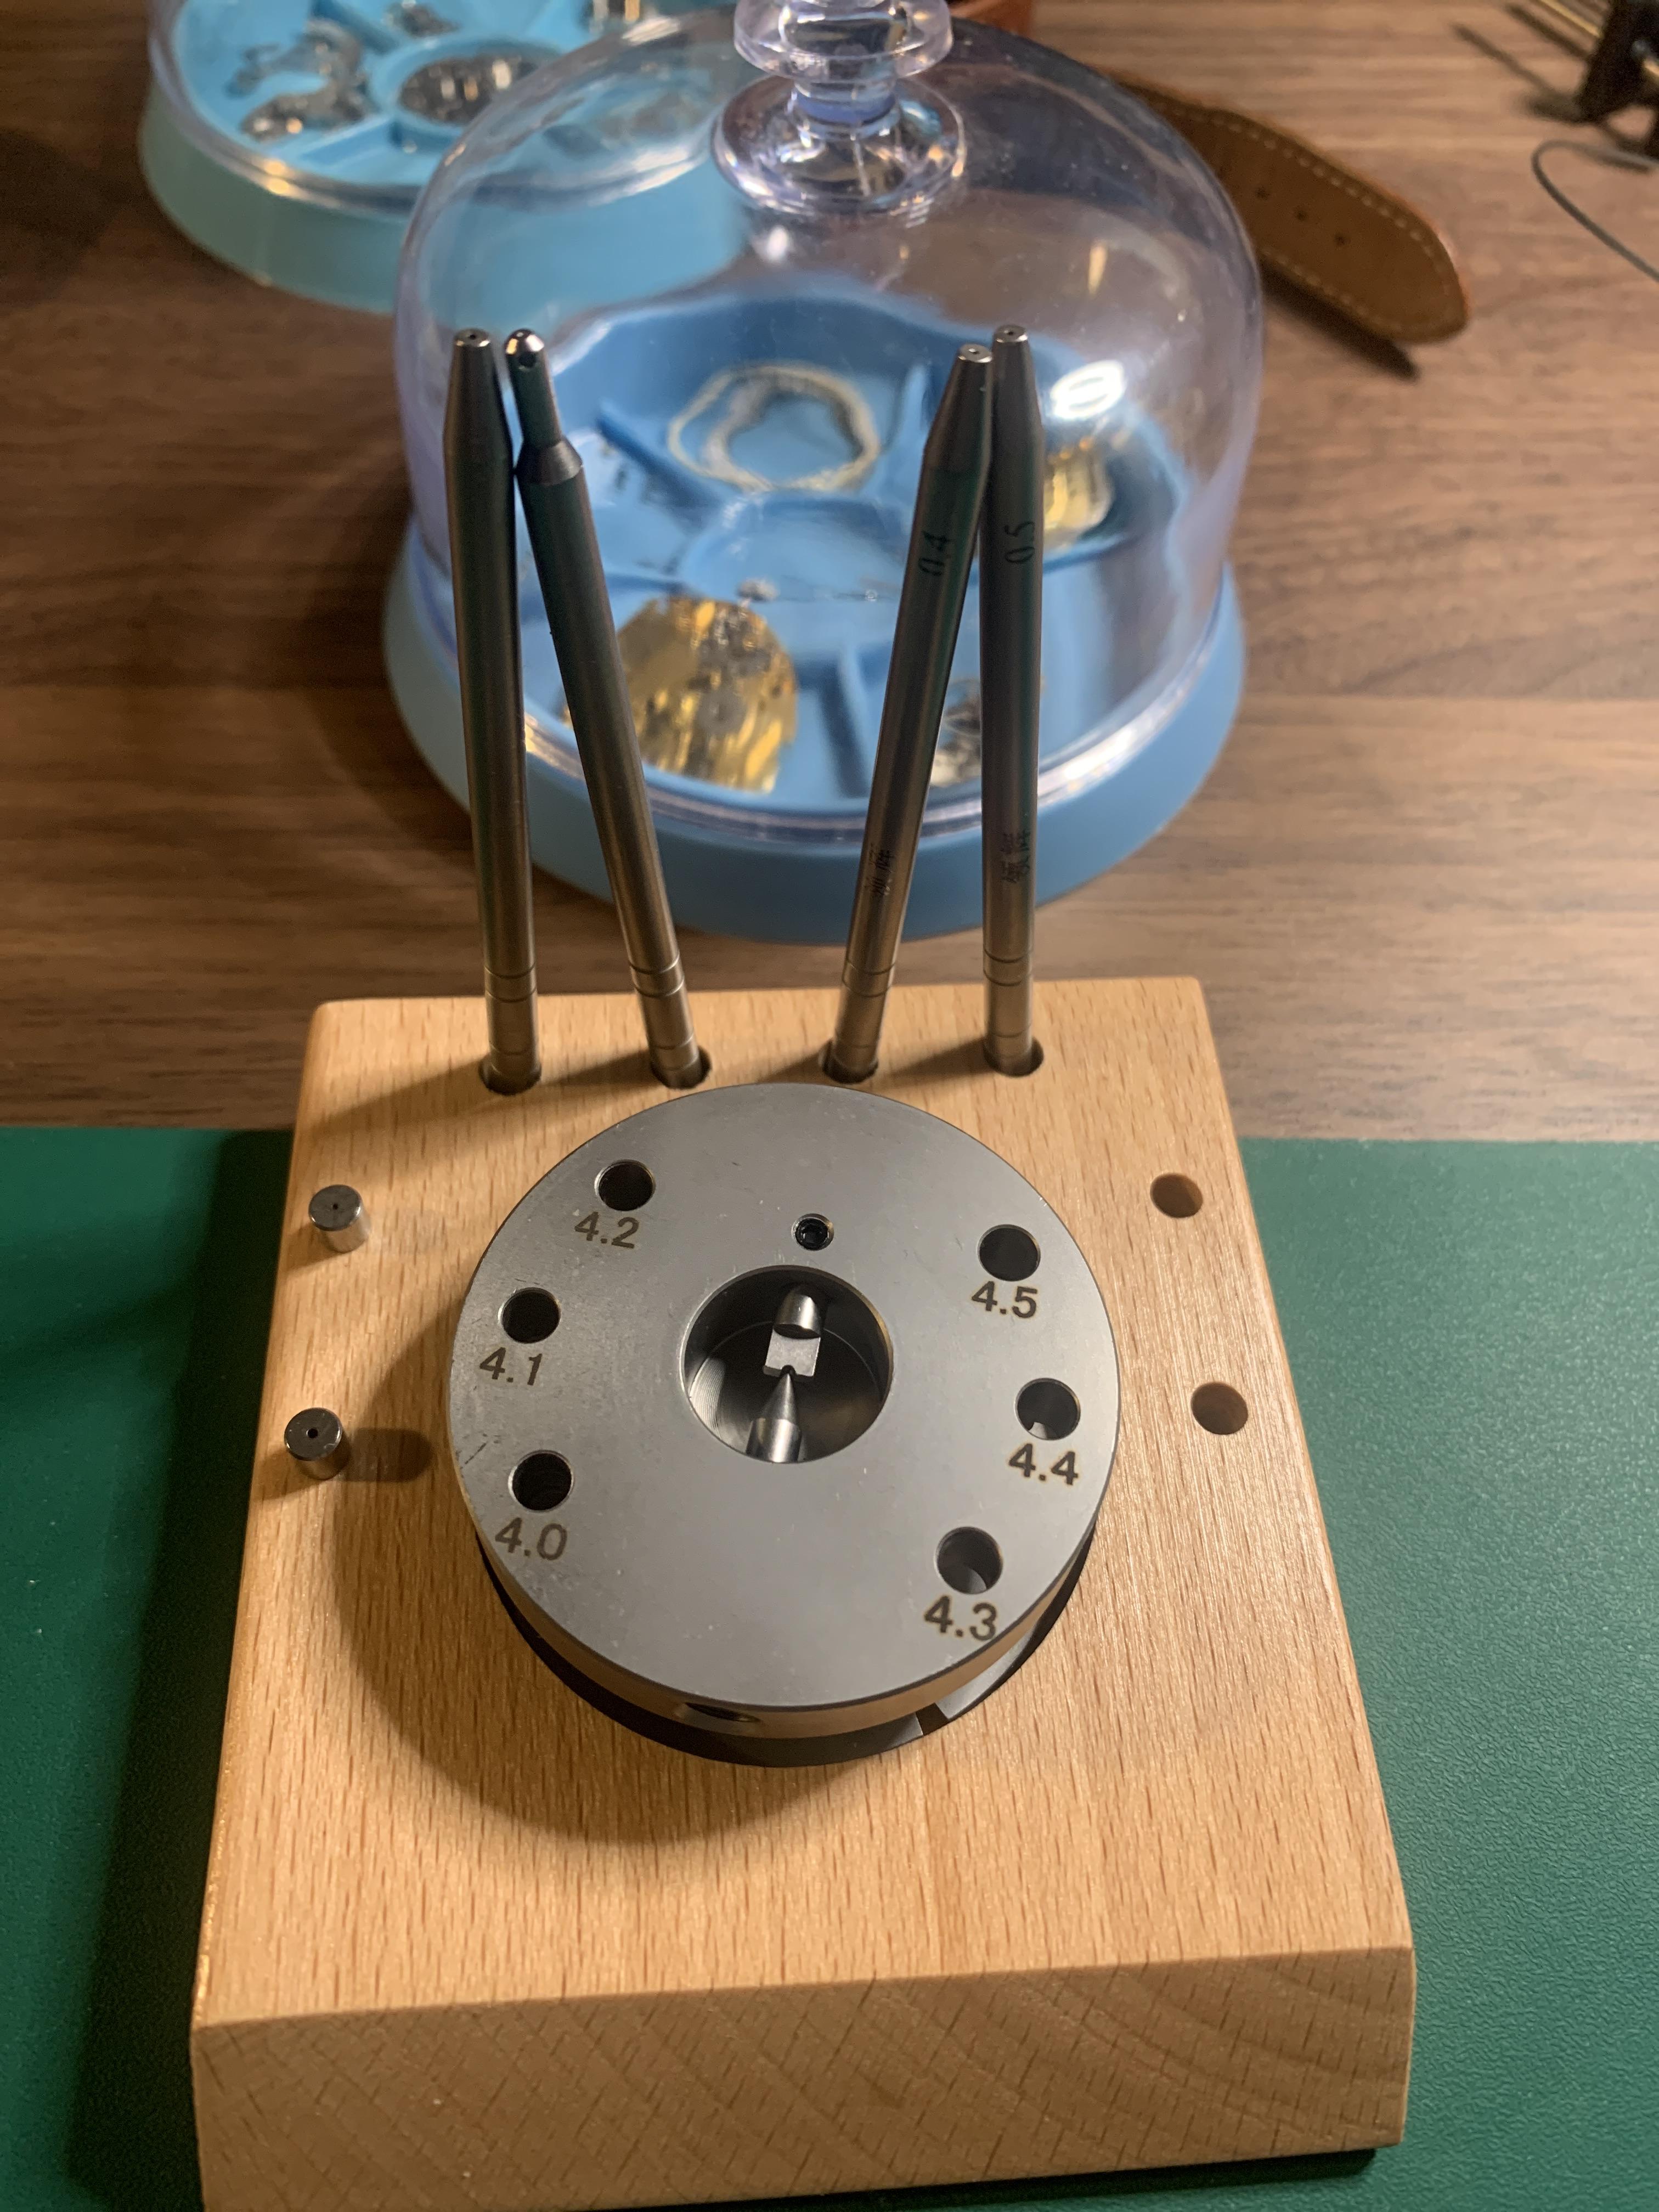
Wow my formatting was no good on the last post. Anyways, here is the latest build. A dividing plate for my lathe. I will print this part shortly, but I need to verify some measurements on my lathe before I do. My CAD software did not love me when I was doing this. Its a fairly easy part to design, just using polar patterns. So far I have settled on the following indexes: 80, 78, 75, 70, 65, 60, 56, 54, & 48. Trying to capture the largest amount of divisions I could. But I can always print another one.
 1 point
 -
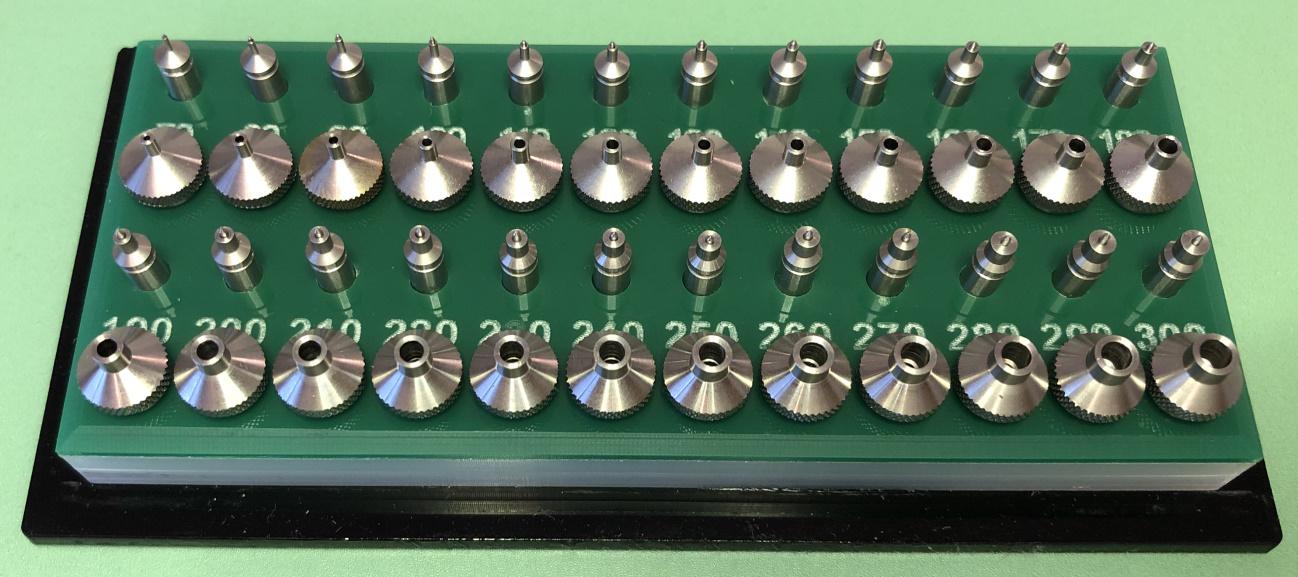
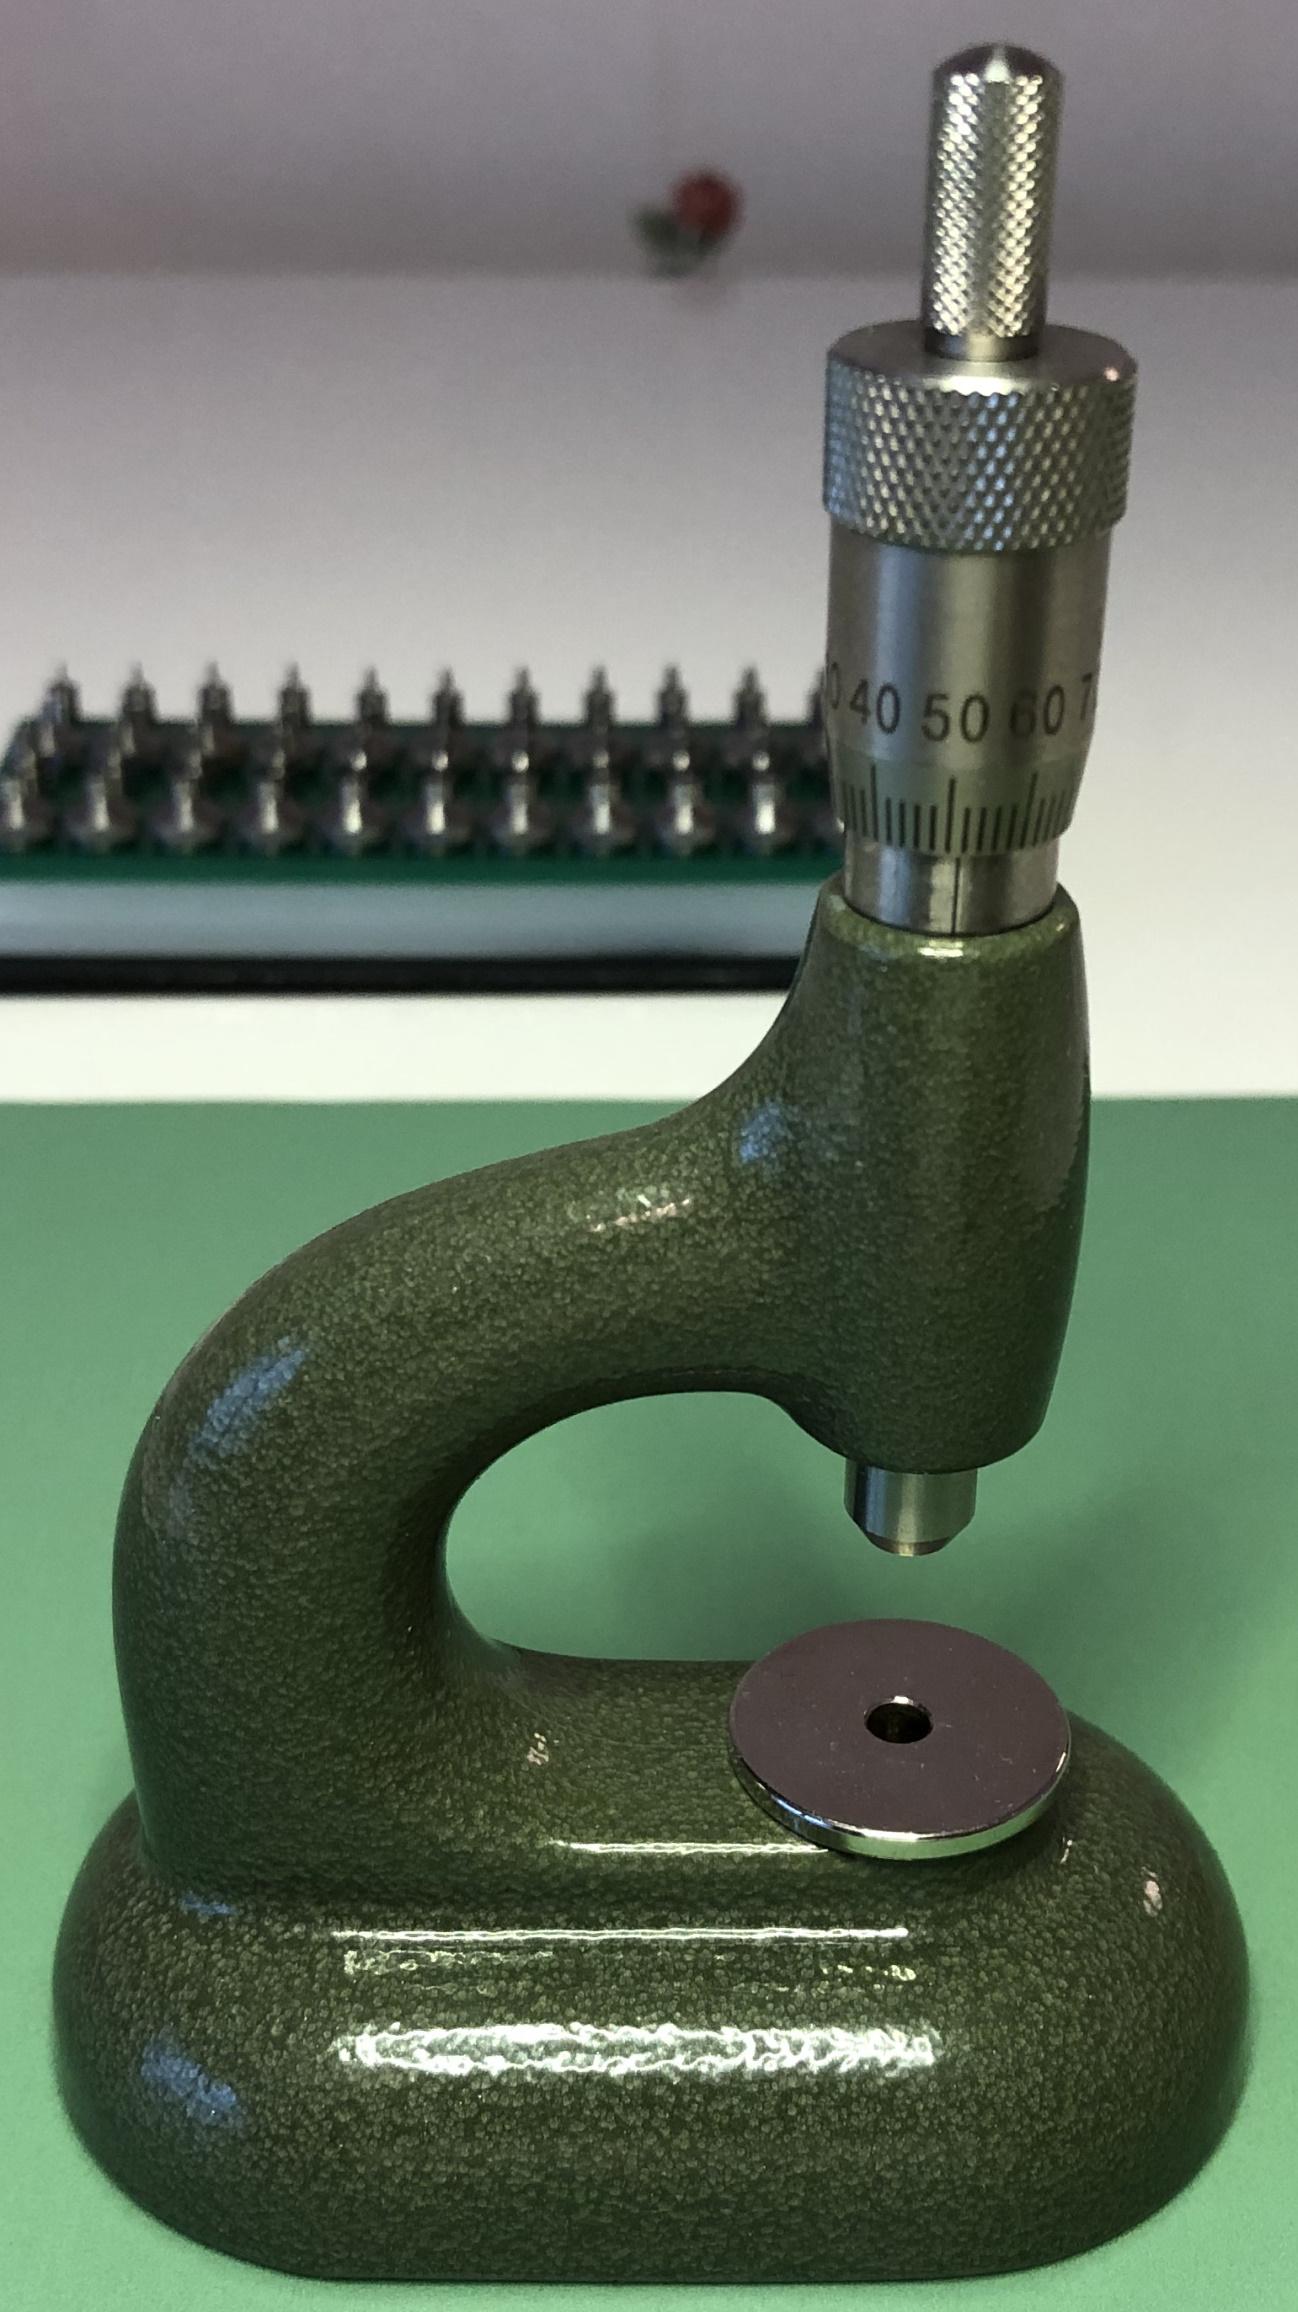
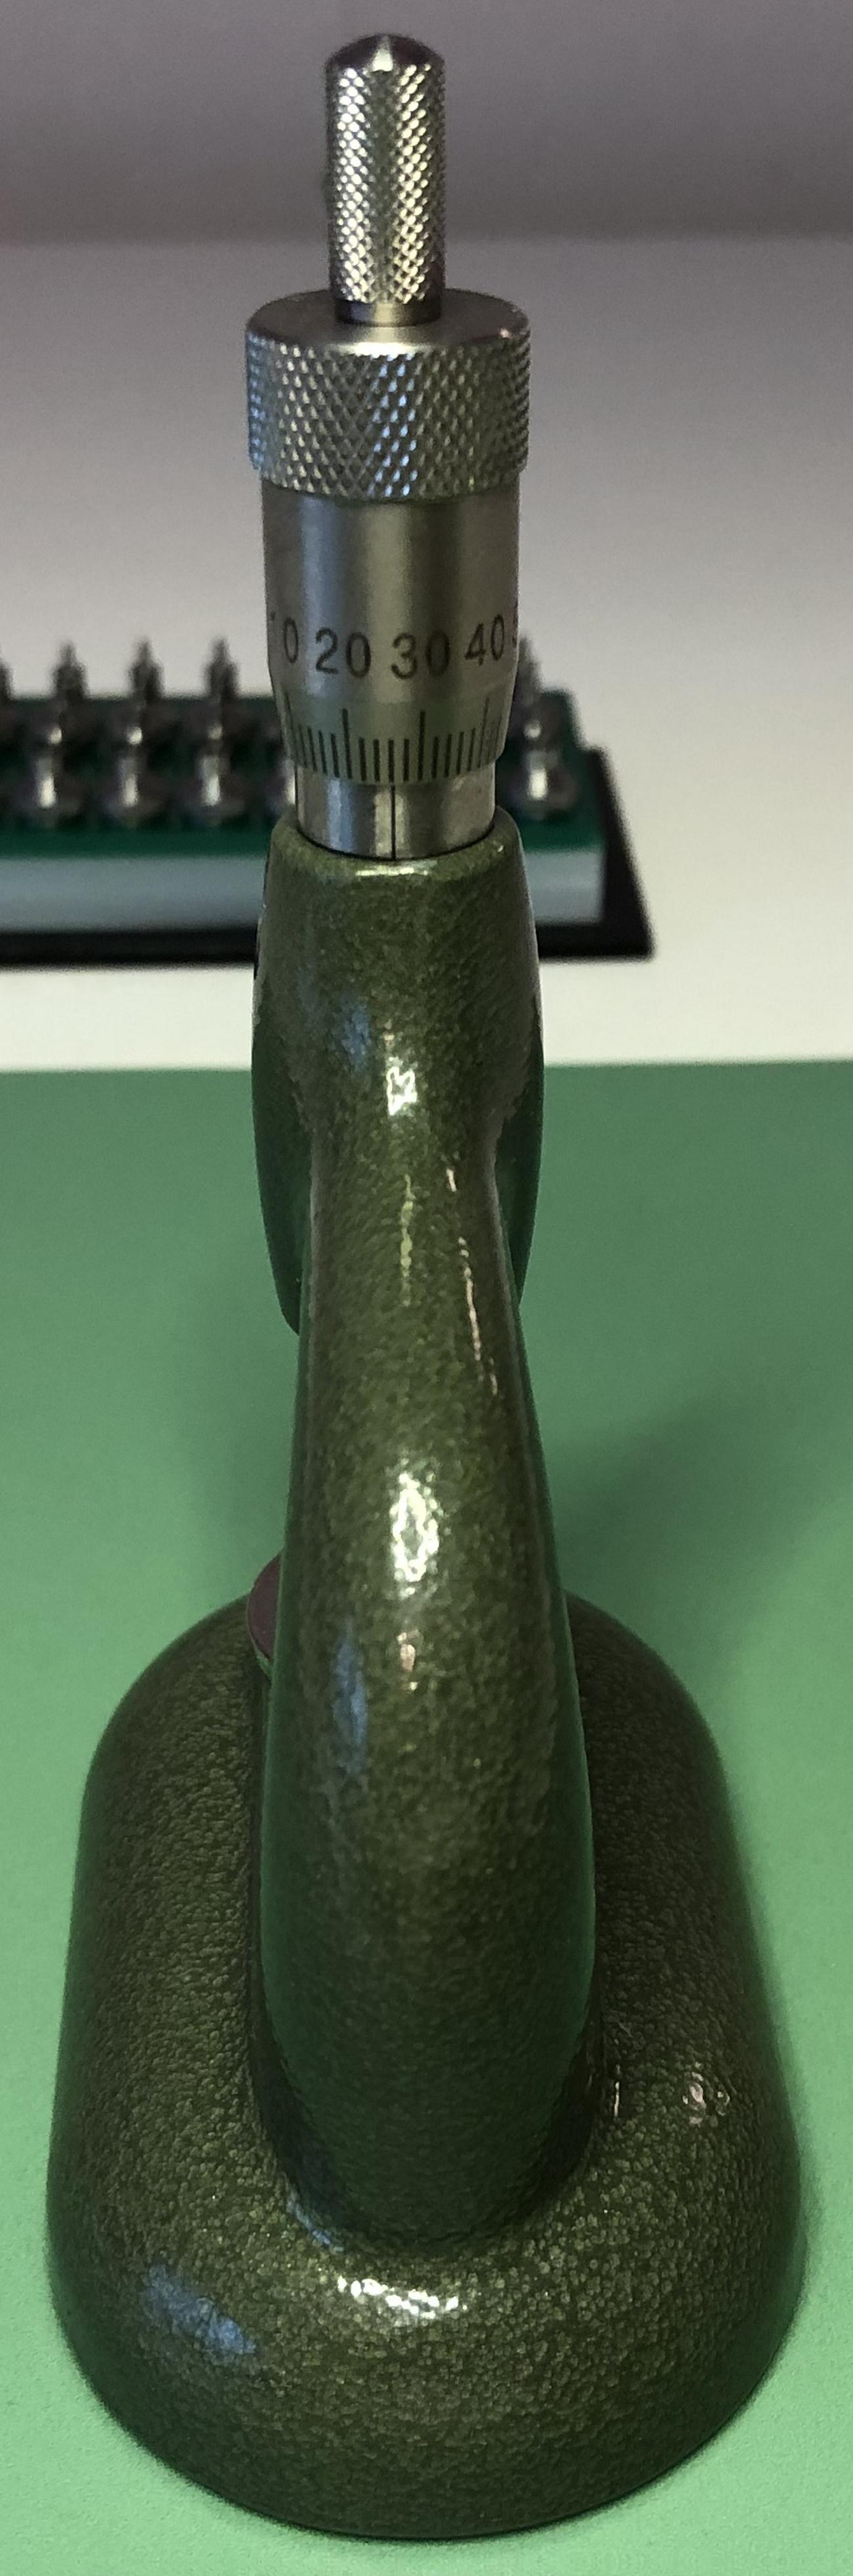
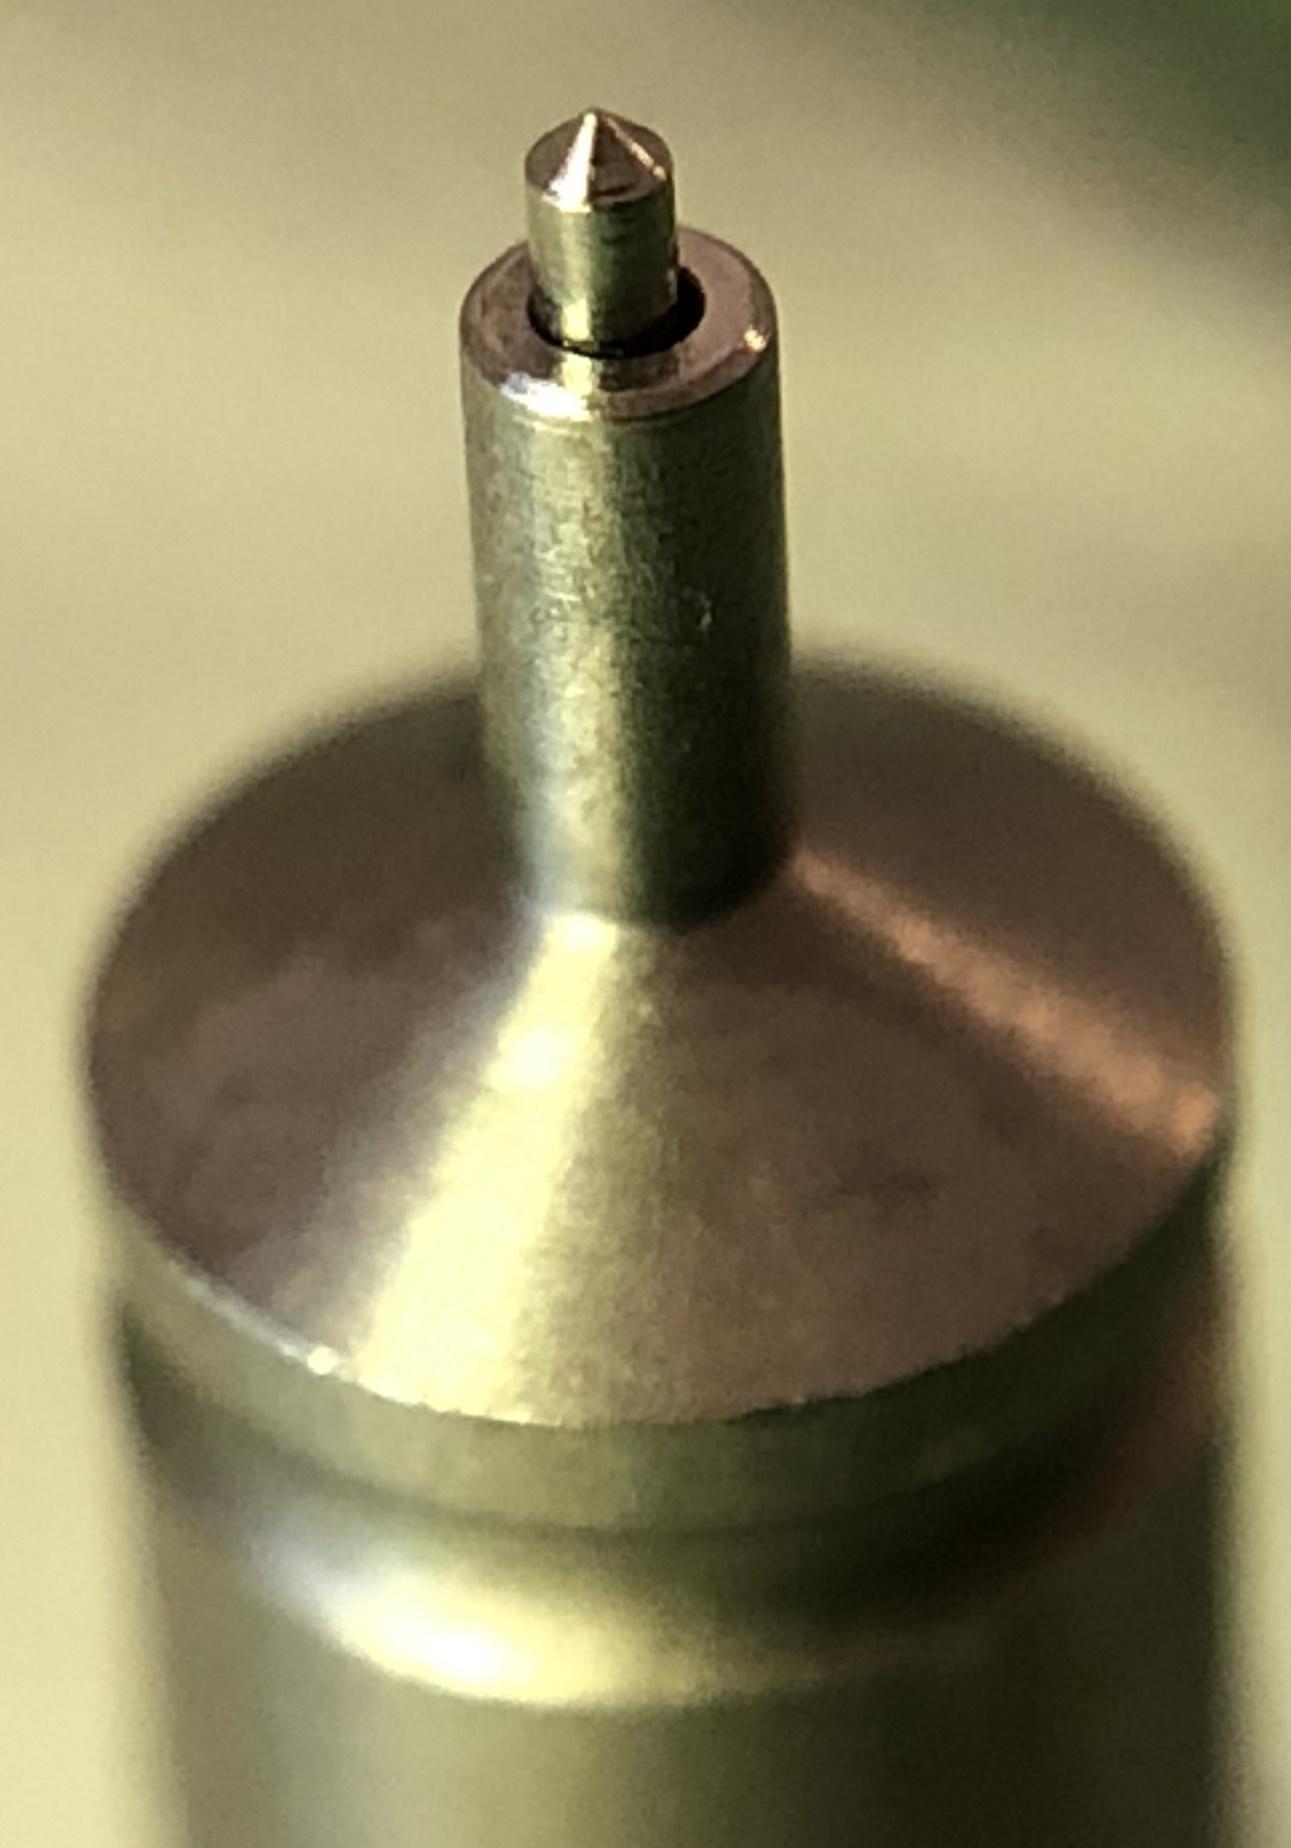
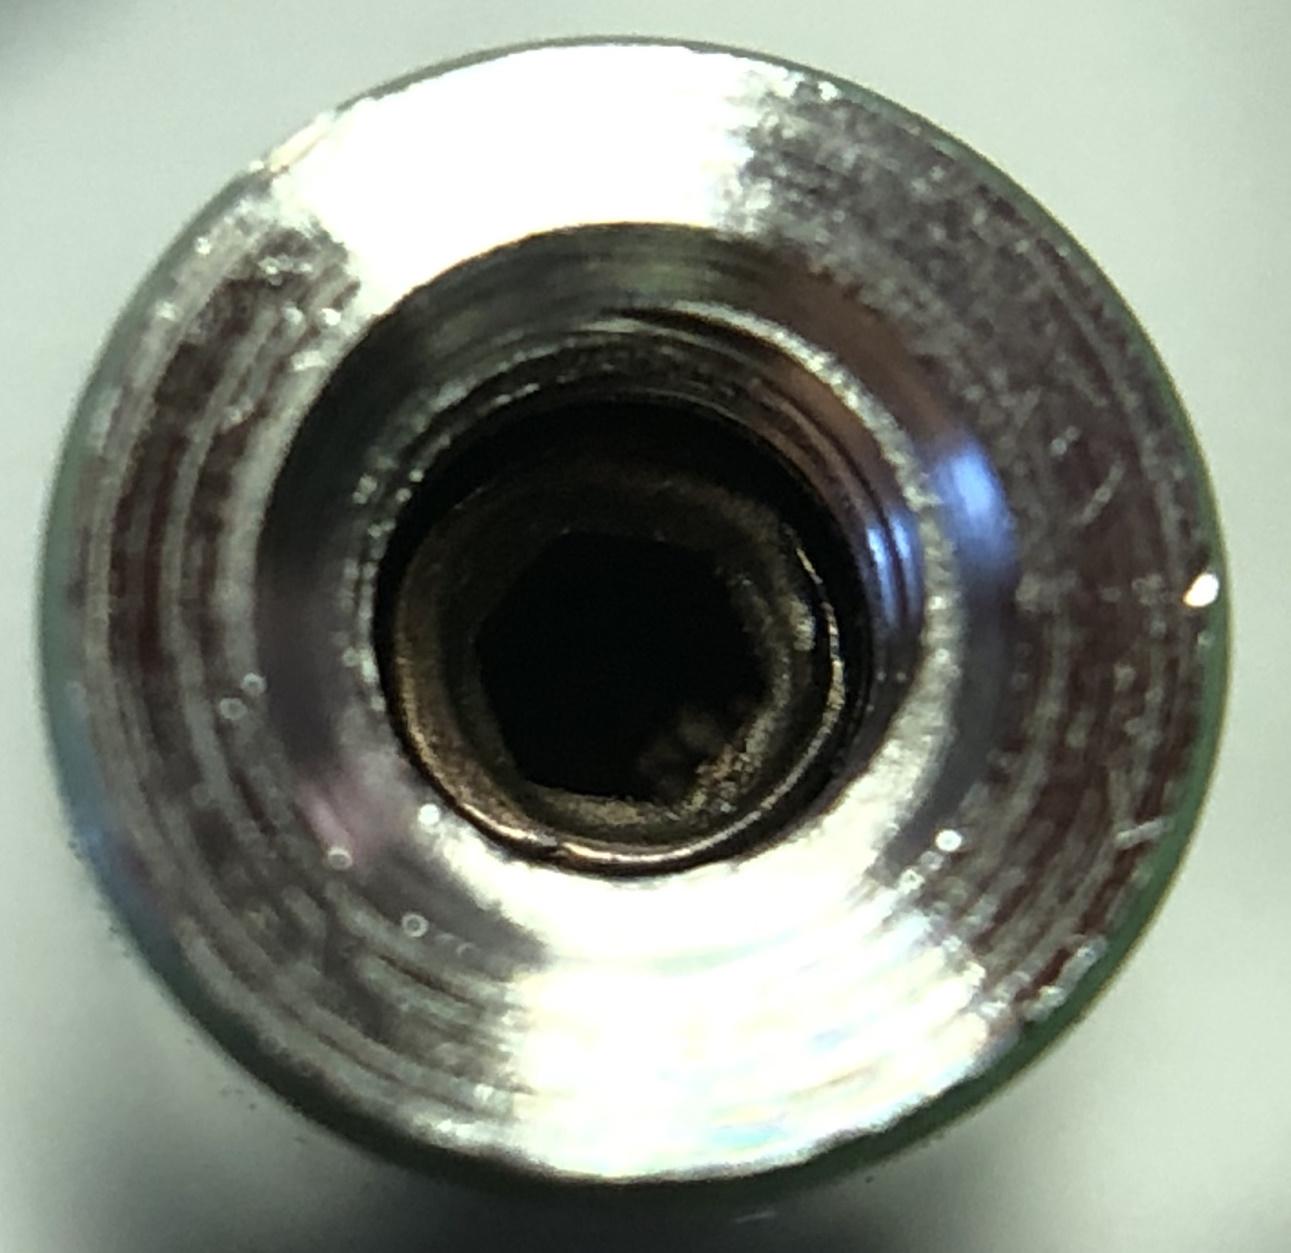
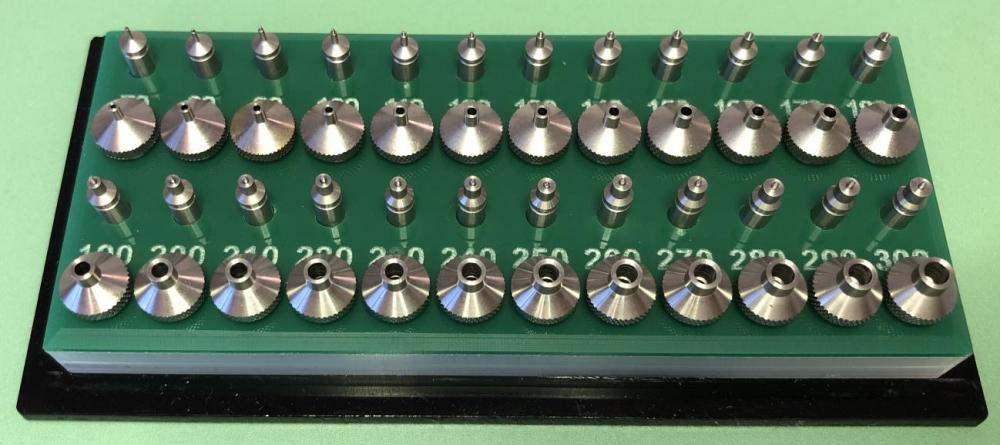
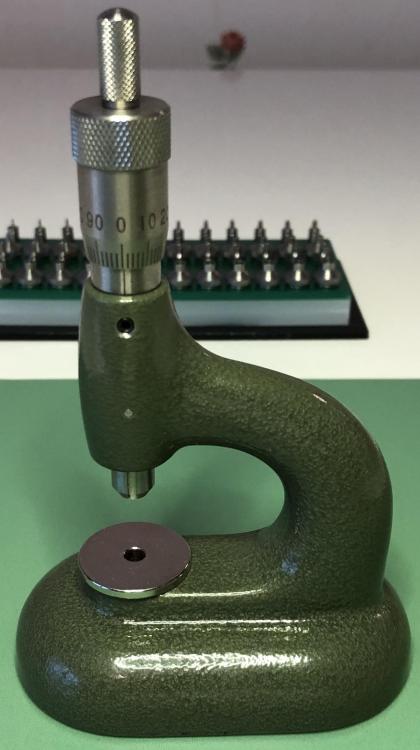
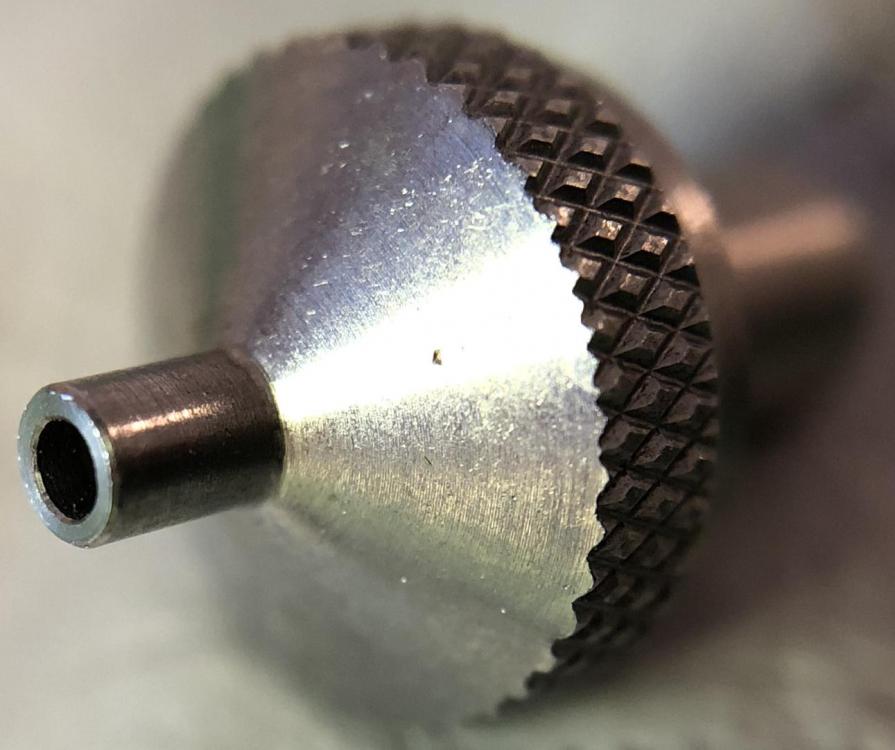
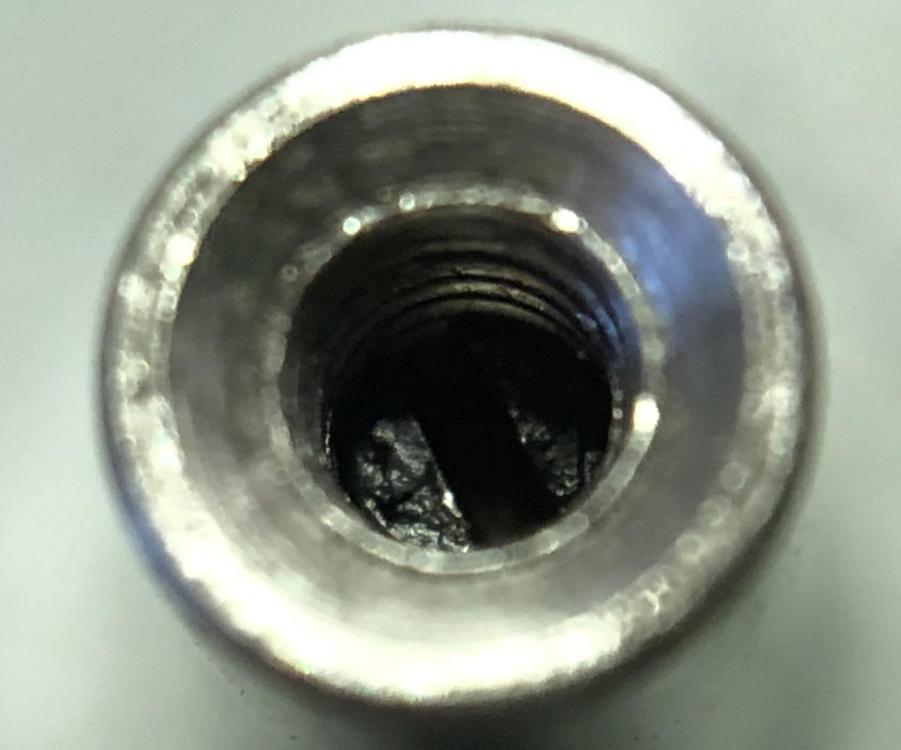
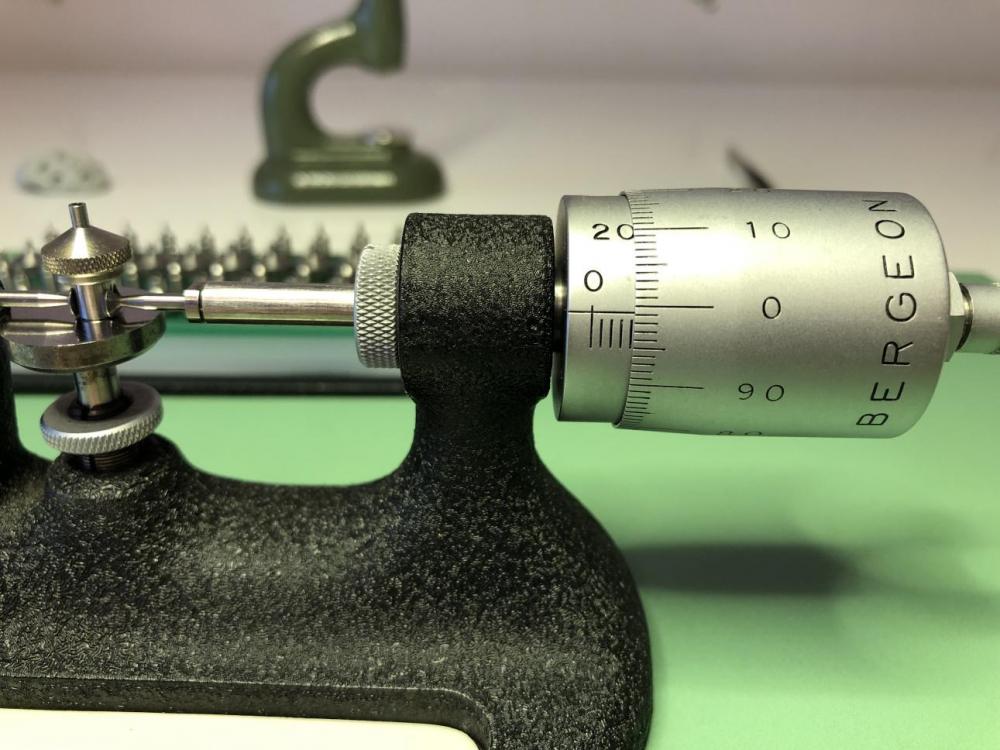
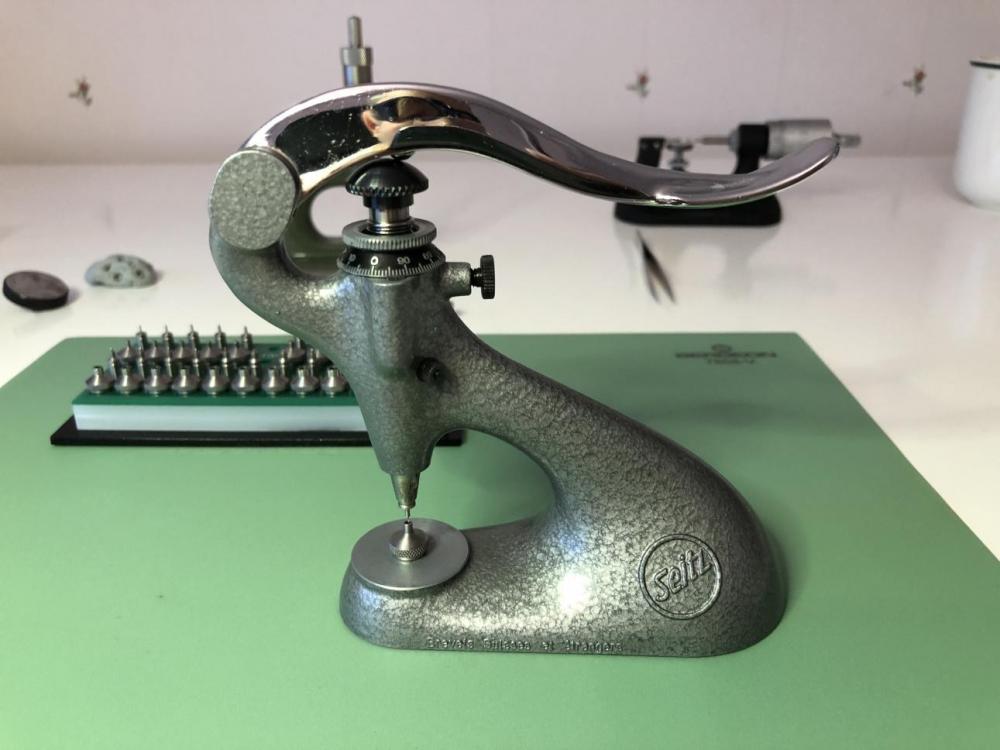
A couple of weeks ago, or so, I got my AliExpress Chinese Horia jeweling tool clone having 24 pushers and 24 anvils. So, it took approx. a month for the package to arrive. That's a lot less than I had expected. Another pleasant surprise was that it wasn't delivered from China but from the Netherlands (another EU state), so no additional fees had to be paid. Yippee! Anyway, it wasn't until today I had a chance to take a really close look and give it a try. Here're some pictures... (Click to zoom in!) Unlike the Seitz jeweling tool this tool does not have a "threaded cup" to catch the jewels pressed out all the way Anvil bottom-side Anvil top-side Pump pusher Pump pusher bottom-side (spring held in by screw having a slot) Pump pusher bottom side (spring held in by a hexagonal screw) Overall, I must say everything feels very well made and exceeded my expectations by a margin. Why some pump pushers uses a normal screw and some a hexagonal screw I have no idea, and I didn't try to remove any of them. The screws look like they could be made of plastic and they don't look all that nice. I don't know what the original Horia pump pushers look like, but the Seitz pump pushers are, is this respect, of a much better design. I measured the diameter of five randomly selected pump pushers and they all had the given diameter minus approx. 5/100 mm, which of course is necessary to make them pass through the holes for the jewels in the plates and bridges. I also measure the foot of a few randomly selected anvils and they all came in at 3.99 mm. So, as an added bonus the anvils and the pump pushers fit perfectly (near zero shake) in my Seitz jeweling tool (and in the clone tool) as well. Nevertheless, after having adjusted just a few jewels I already prefer this type of jeweling tool. With the Seitz tool you must always assert pressure on the handle, but since the Horia type uses a screw it frees up one hand and makes the operation feel both more precise and safe. The only drawback, of course, is that the Horia jeweling tool can't be used for reaming, so for that reason I'll be keeping my Seitz. Using my caliper I also measured the distance between the anvil and the pump pusher, then rotated the screw 360 degrees (1.00 mm) and measured again. The difference between the first and second measurement was just a few hundreds of a millimetre (minus the added millimetre of course) and my caliper is naturally not as exact as my Bergeon micrometre. So, it would seem the Chinese got the threading on the screw just right as well! Conclusively I must say that my very first AliExpress buy of a watch tool was a (somewhat unexpected) success and I wouldn't hesitate one bit to recommend this tool. The finish is not up there with the Swiss (Seitz and I would expect Horia), but it does what it's supposed to and it does it well. And, considering the price difference between the original tool and this clone, I'd say this is a no brainer, especially if you're a hobbyist.


 1 point


.thumb.jpg.19a9c4ff164d78d516aa9f05a063752b.jpg)


.thumb.jpg.cb17a66989f1e796fd4217db2e9ca9df.jpg)