Leaderboard


Popular Content
Showing content with the highest reputation on 03/20/25 in all areas
-
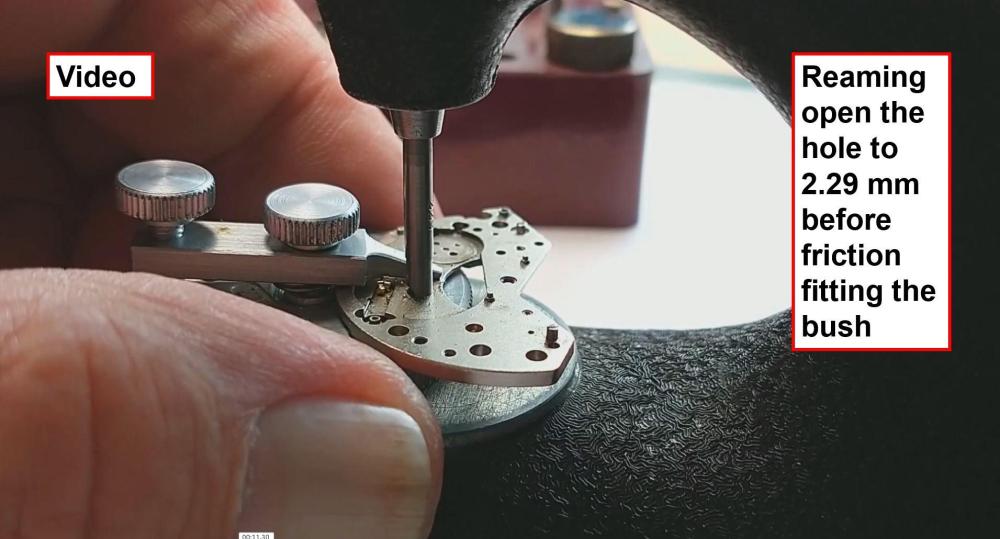
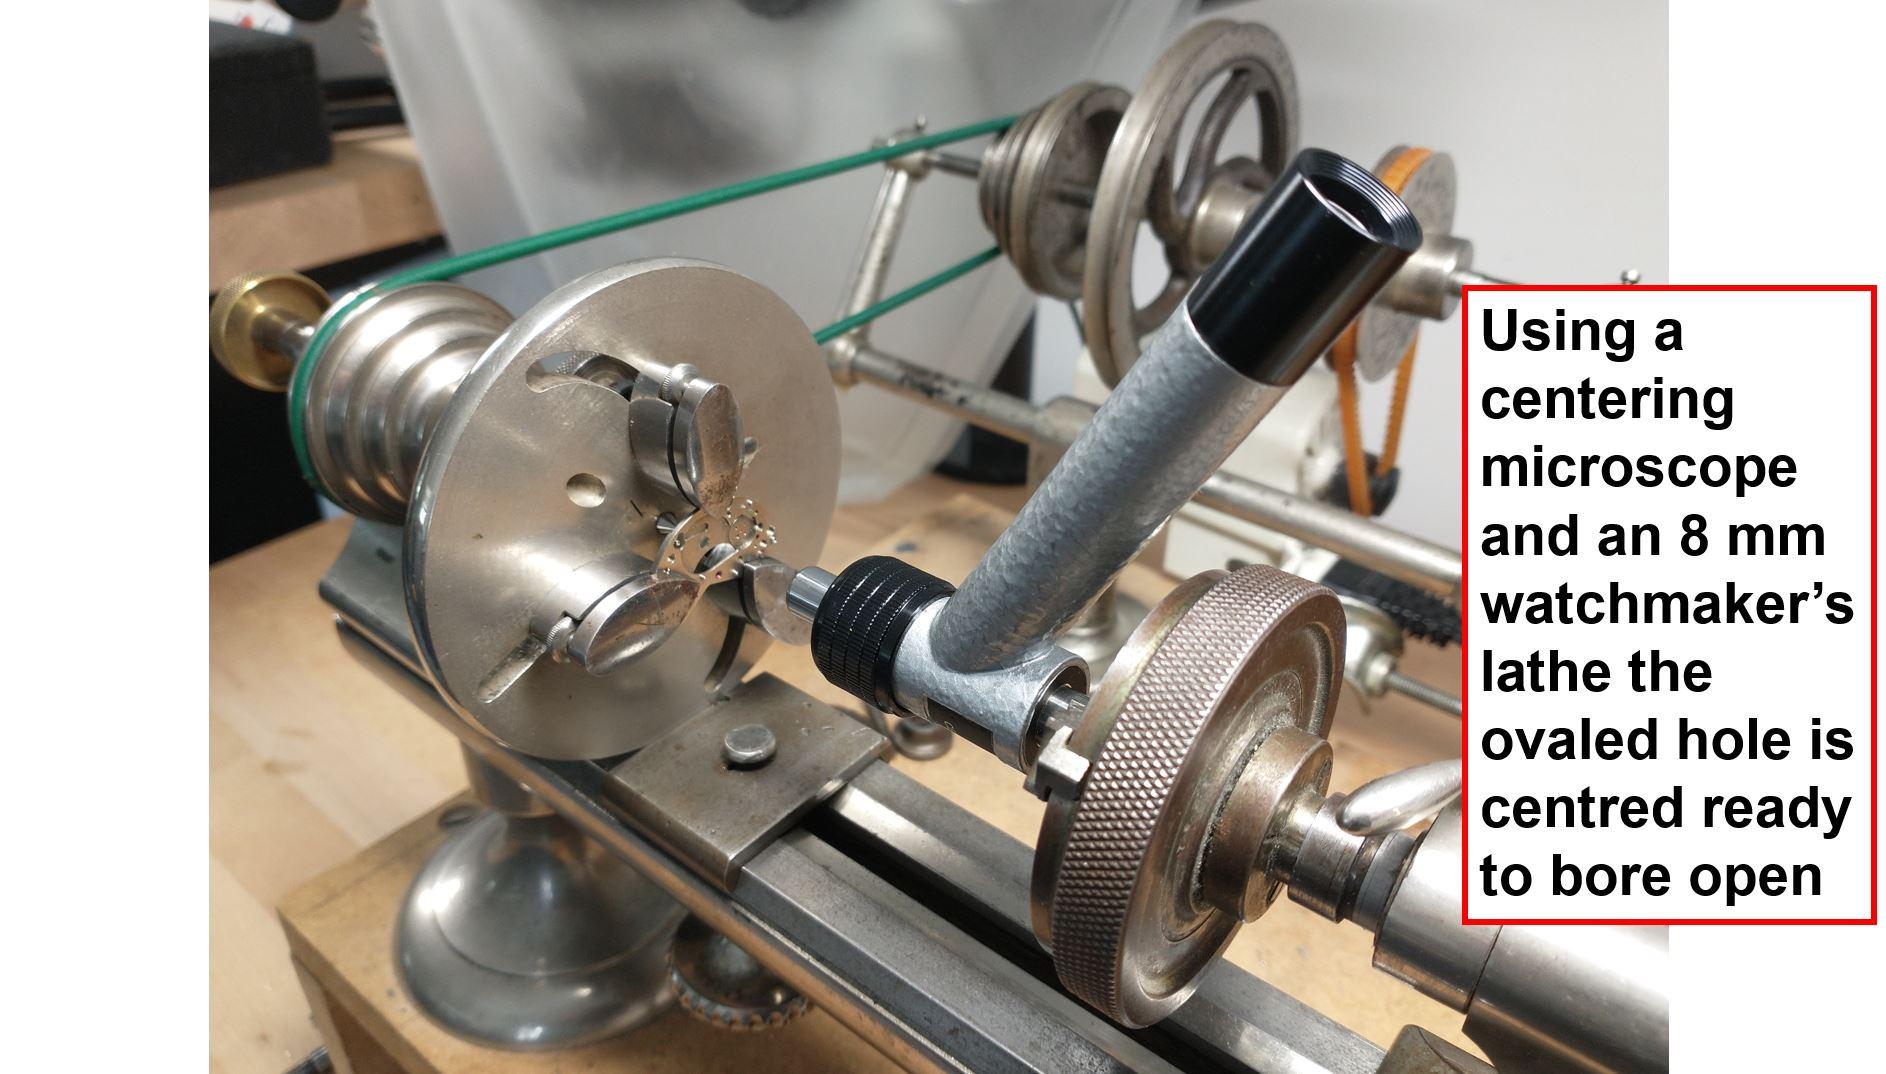
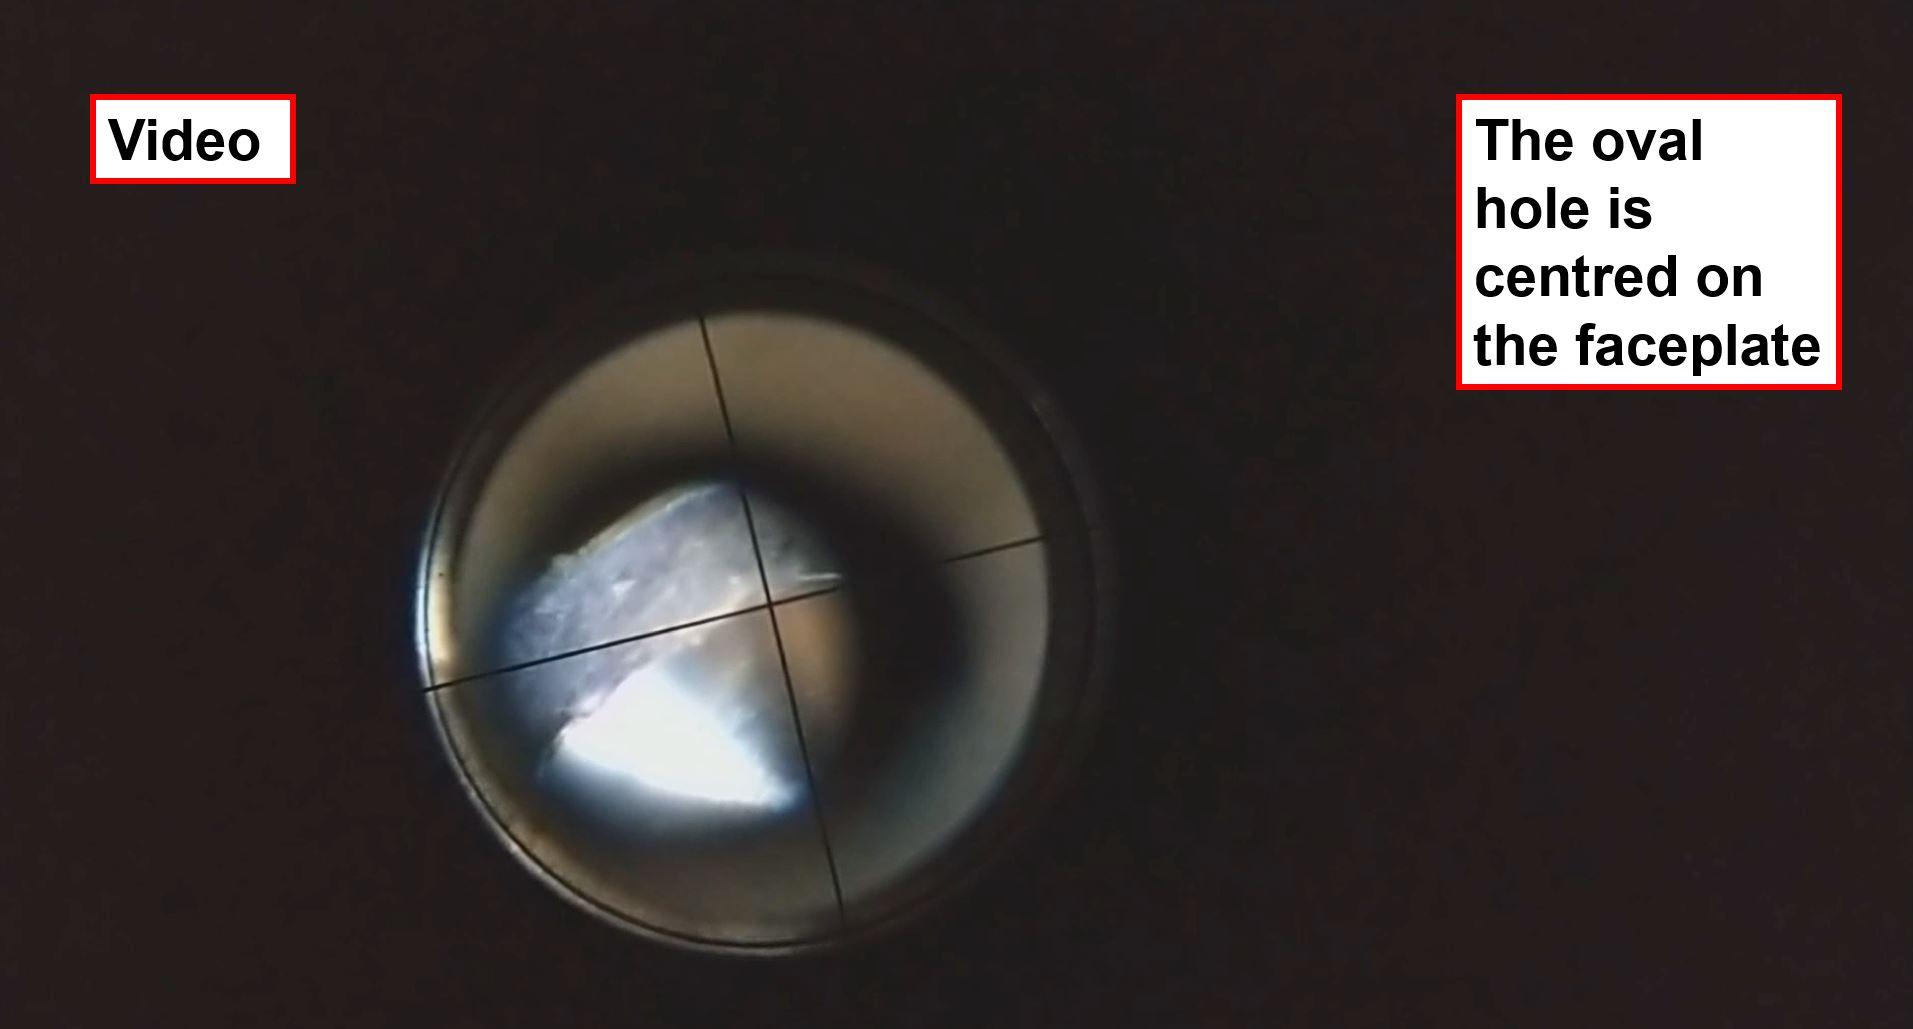
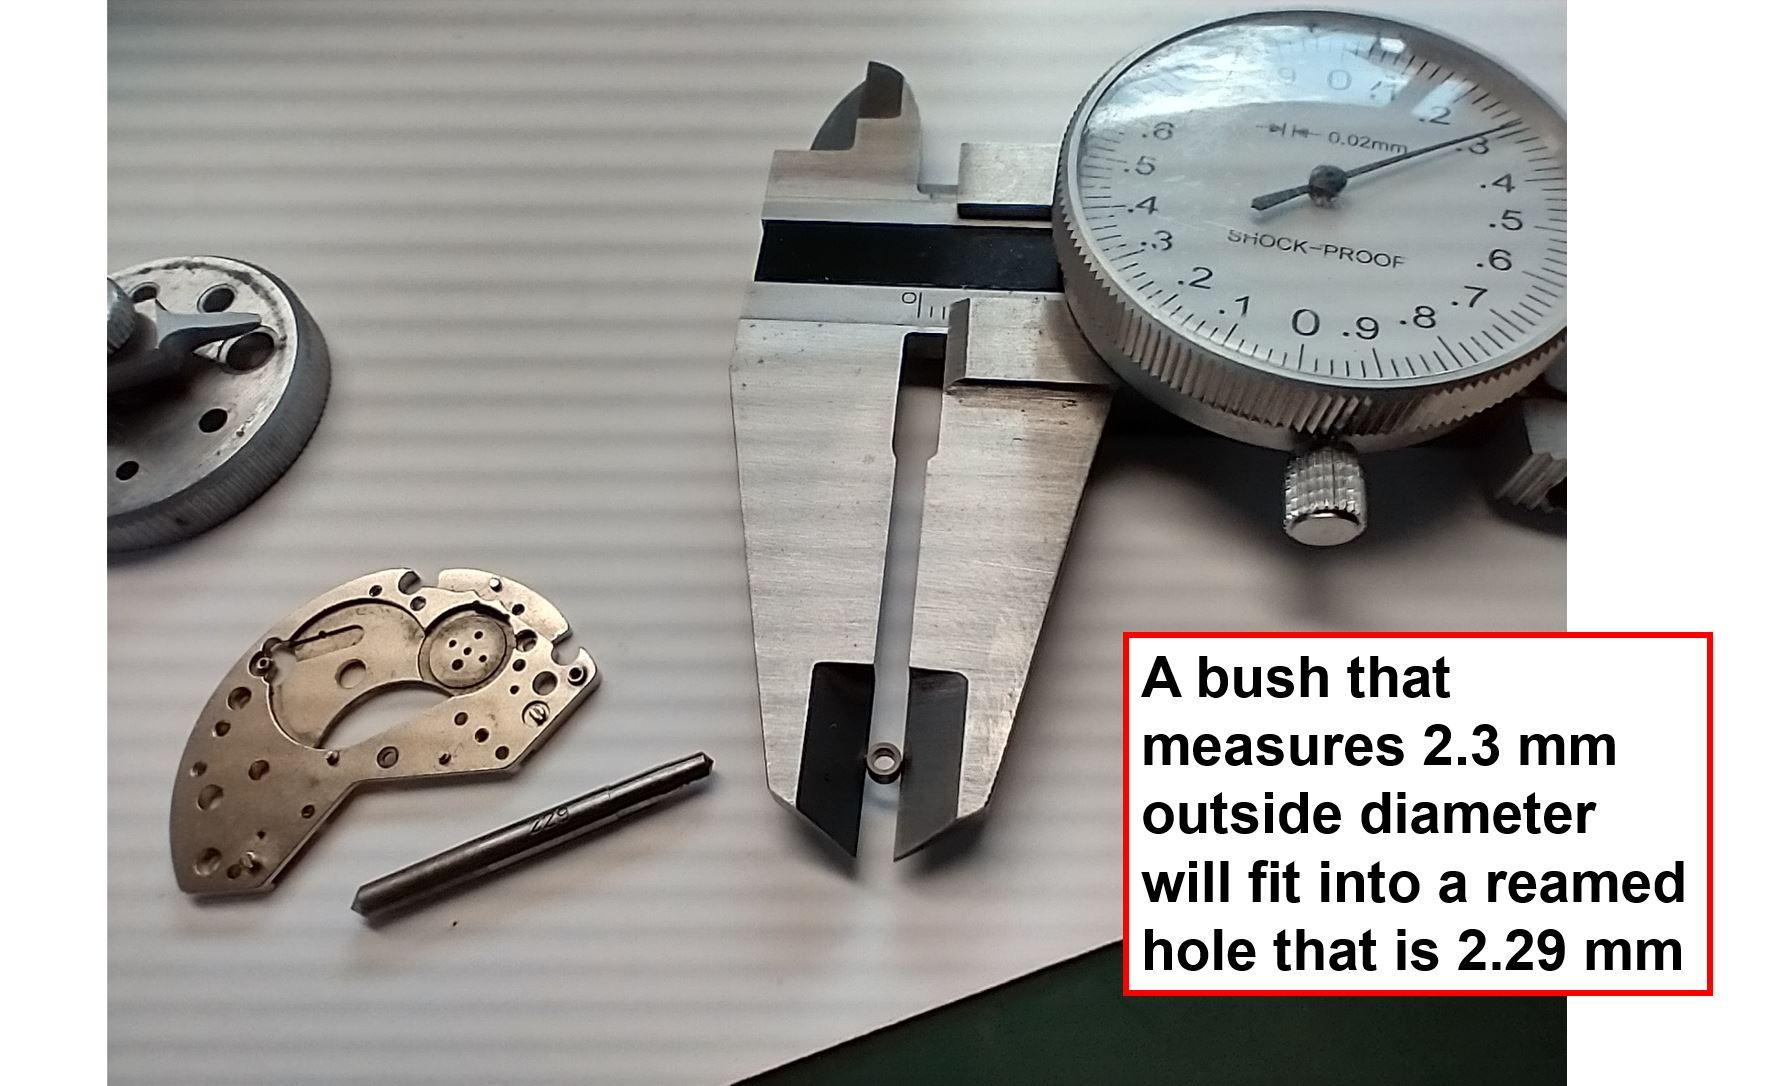
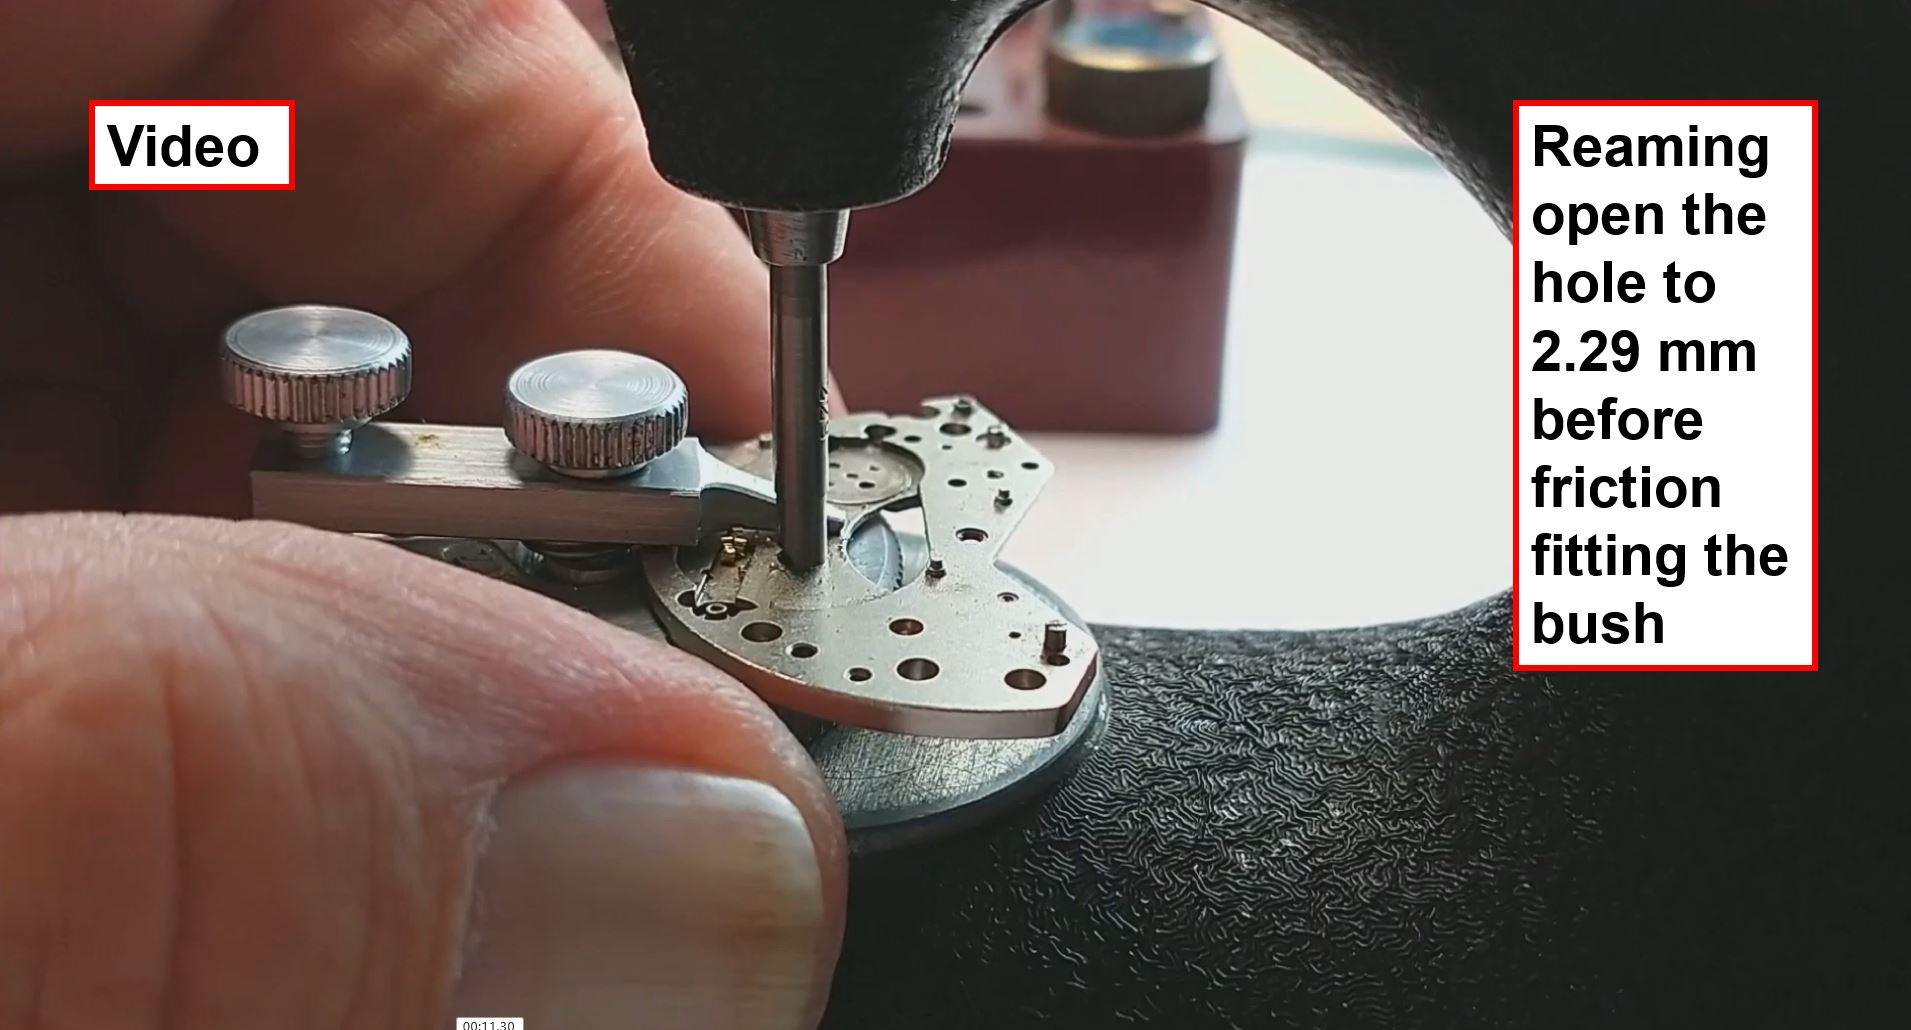
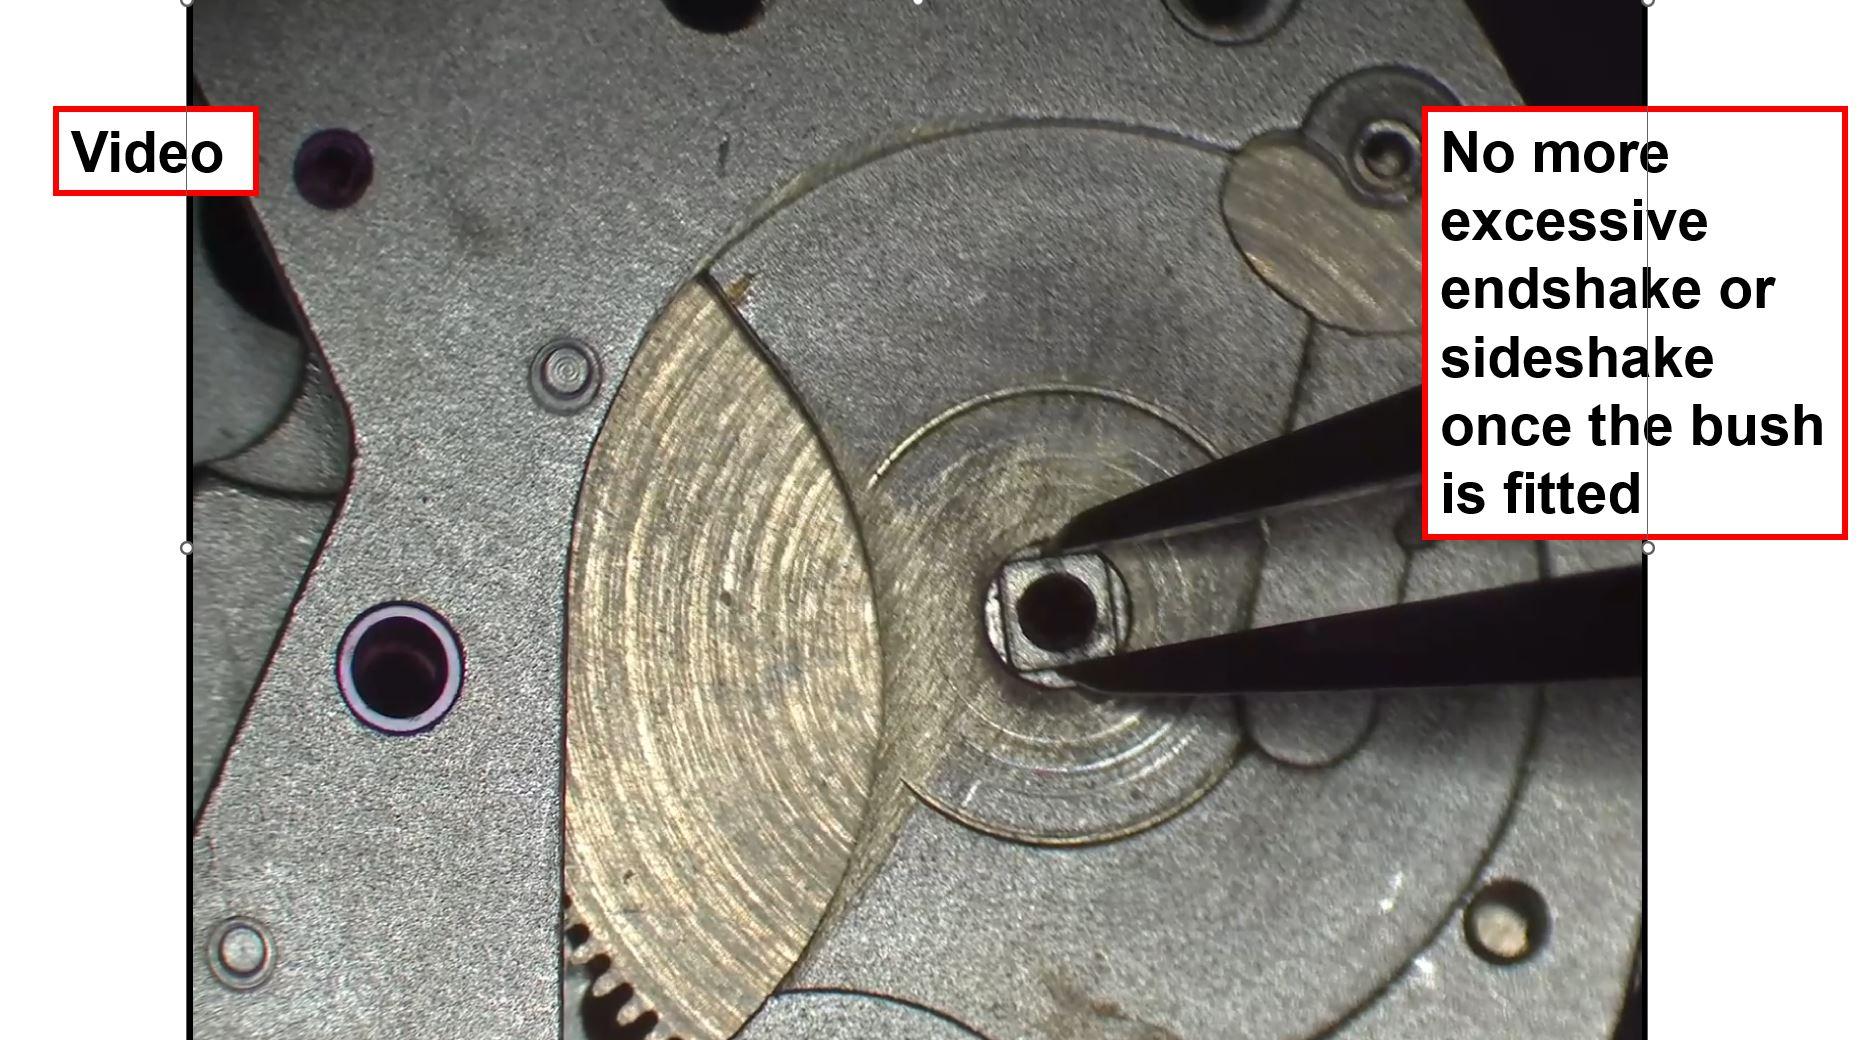
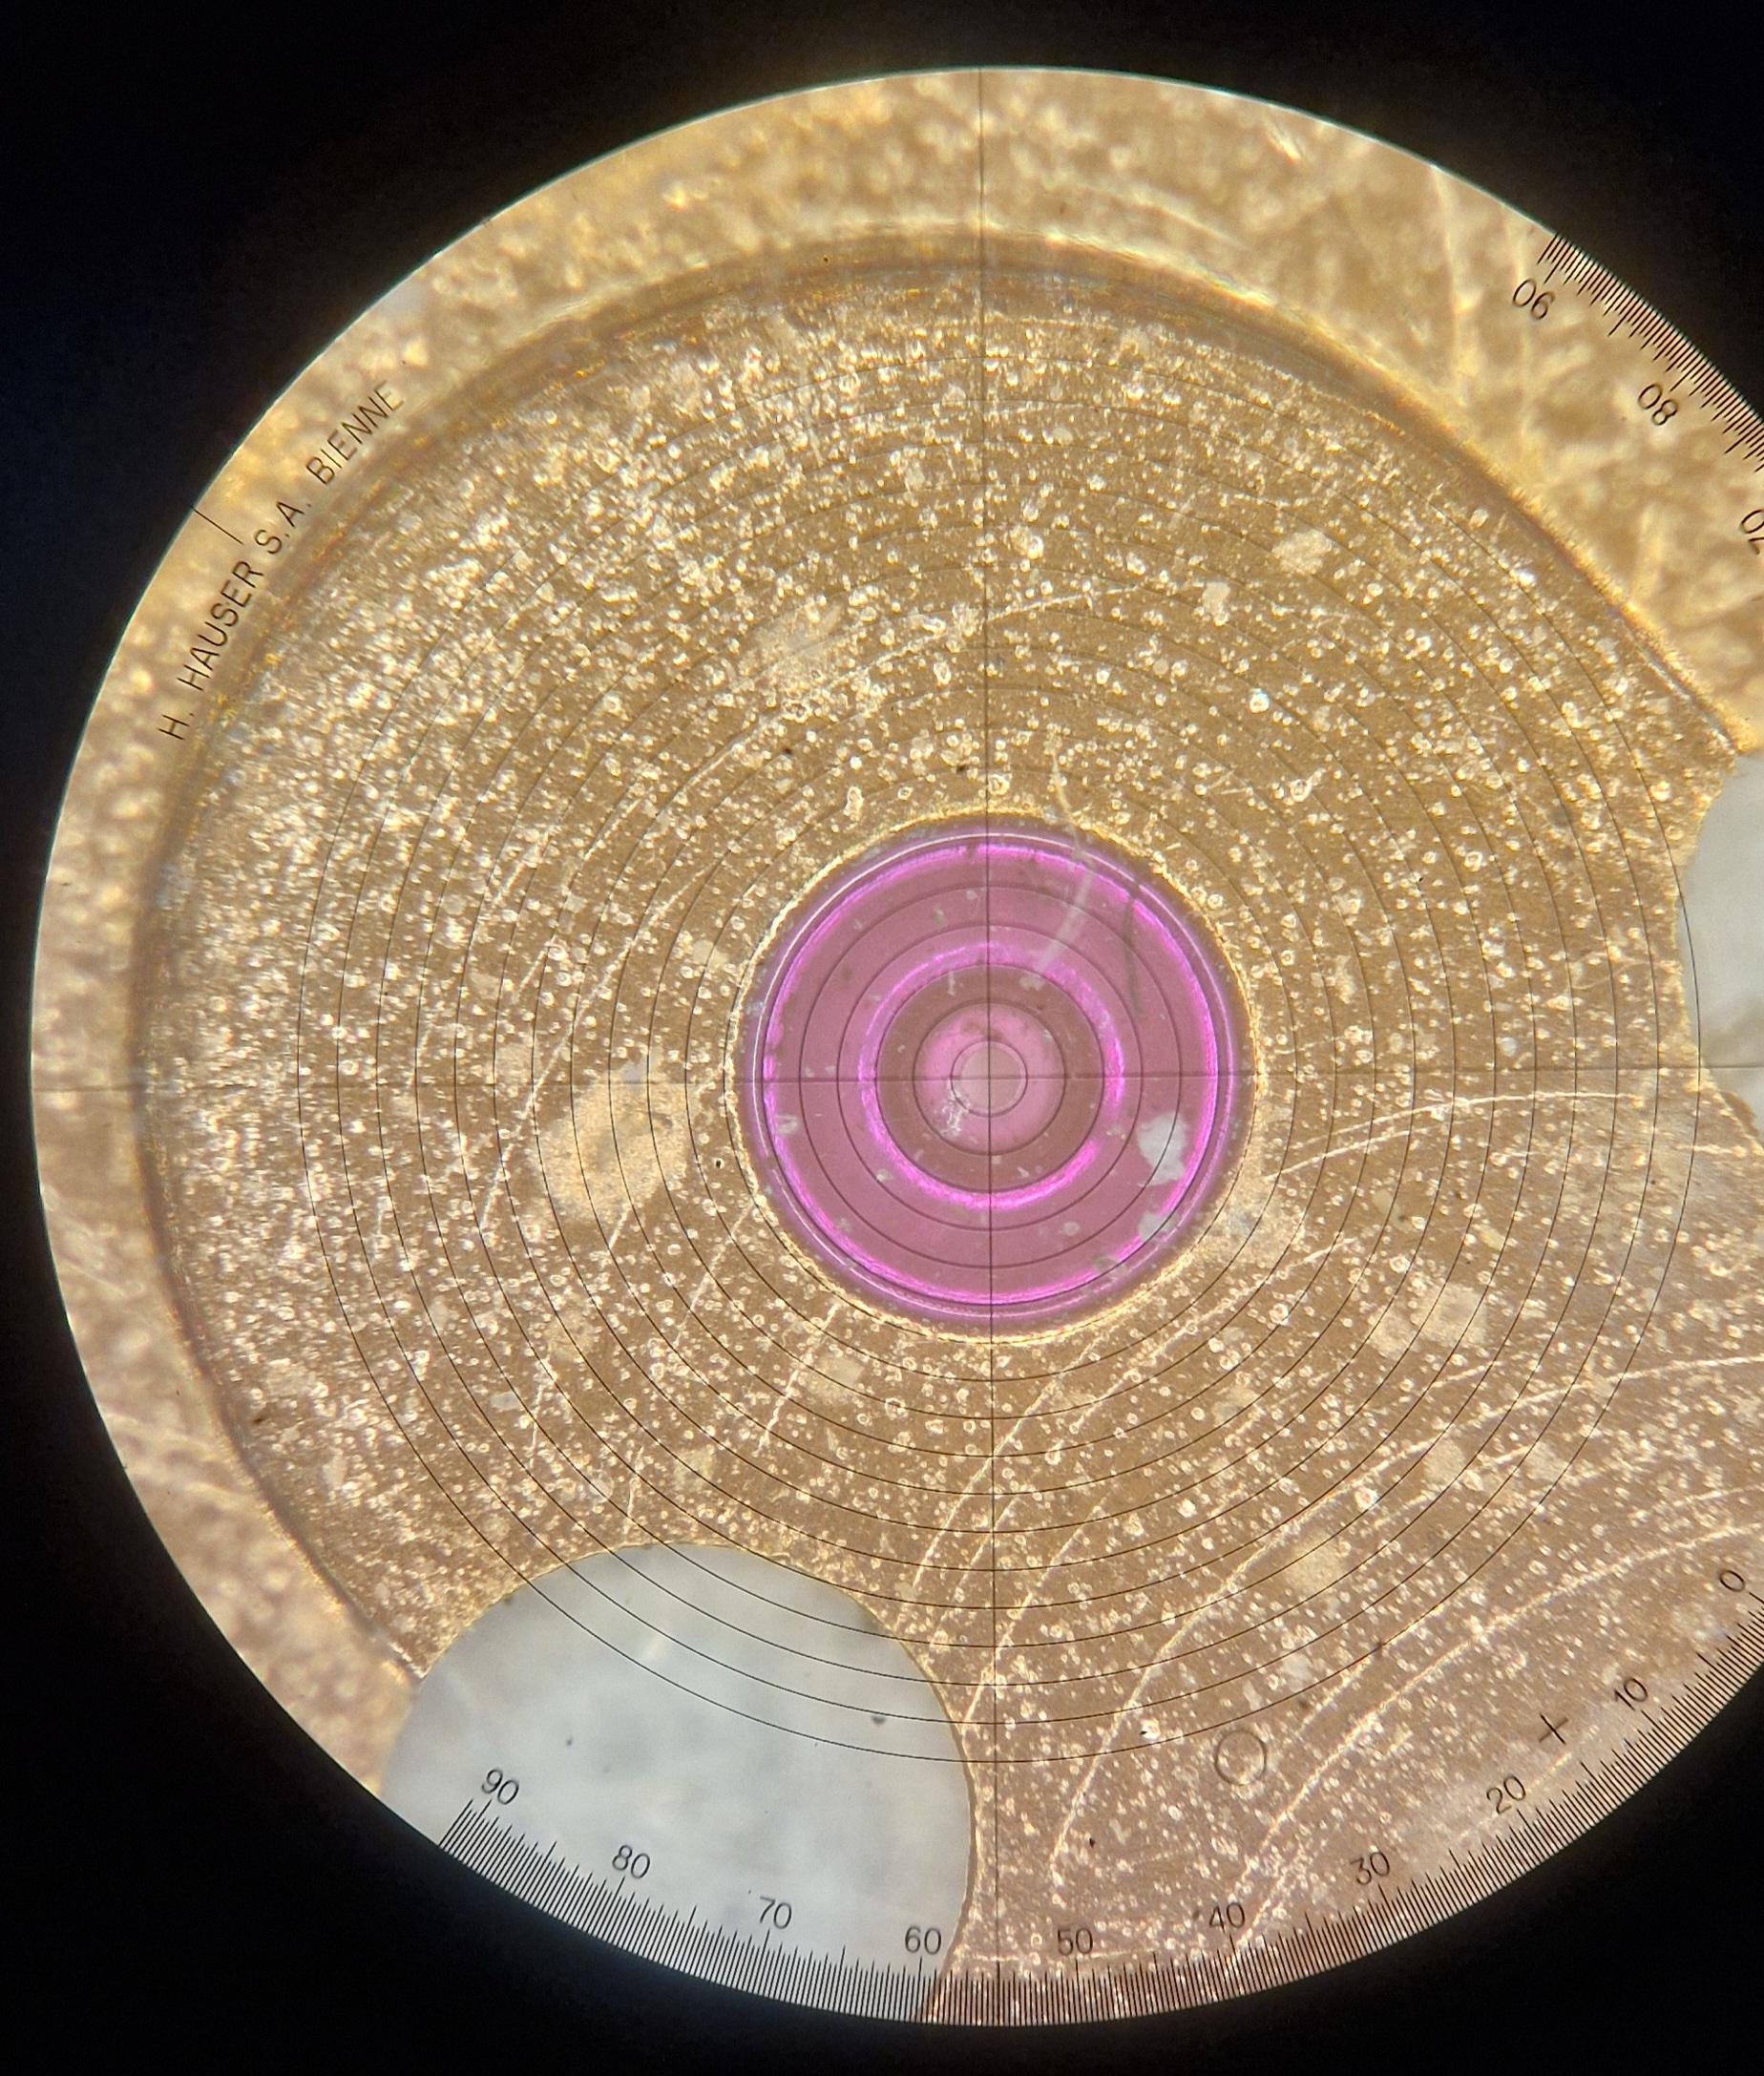
Funnily enough, I made a lesson on this subject for my third year students. As @nickelsilverhas already pointed out, that there is no magical fix just using a reamer in a jewelling tool, especially if you have to use several to open up the hole to the correct diameter for the bush. The hole will wander on a badly ovaled hole, no matter how good you think you are! Btw, what a lovely set-up you've made for your faceplate @nickelsilver. It's a pity you can't post videos on here, as a couple of slides have them. The slide with the crosshair on the centering microscope picks up the outside of the hole as it is turned whilst centering the work with light taps on the side of the bridge or mainplate. That's the hardest part of the job, really. Once the hole is centred, or what is left of it, the hole is bored open just a tad smaller than the reamer which is 0.01 smaller than the bush you make. You can bore it to 0.01 undersize by measuring the hole with a plug gauge then fit the bush that is 0.01 mm bigger than the bored/reamed hole. I do like this kind of work, as it's so satisfying when it all comes together


 7 points
 -
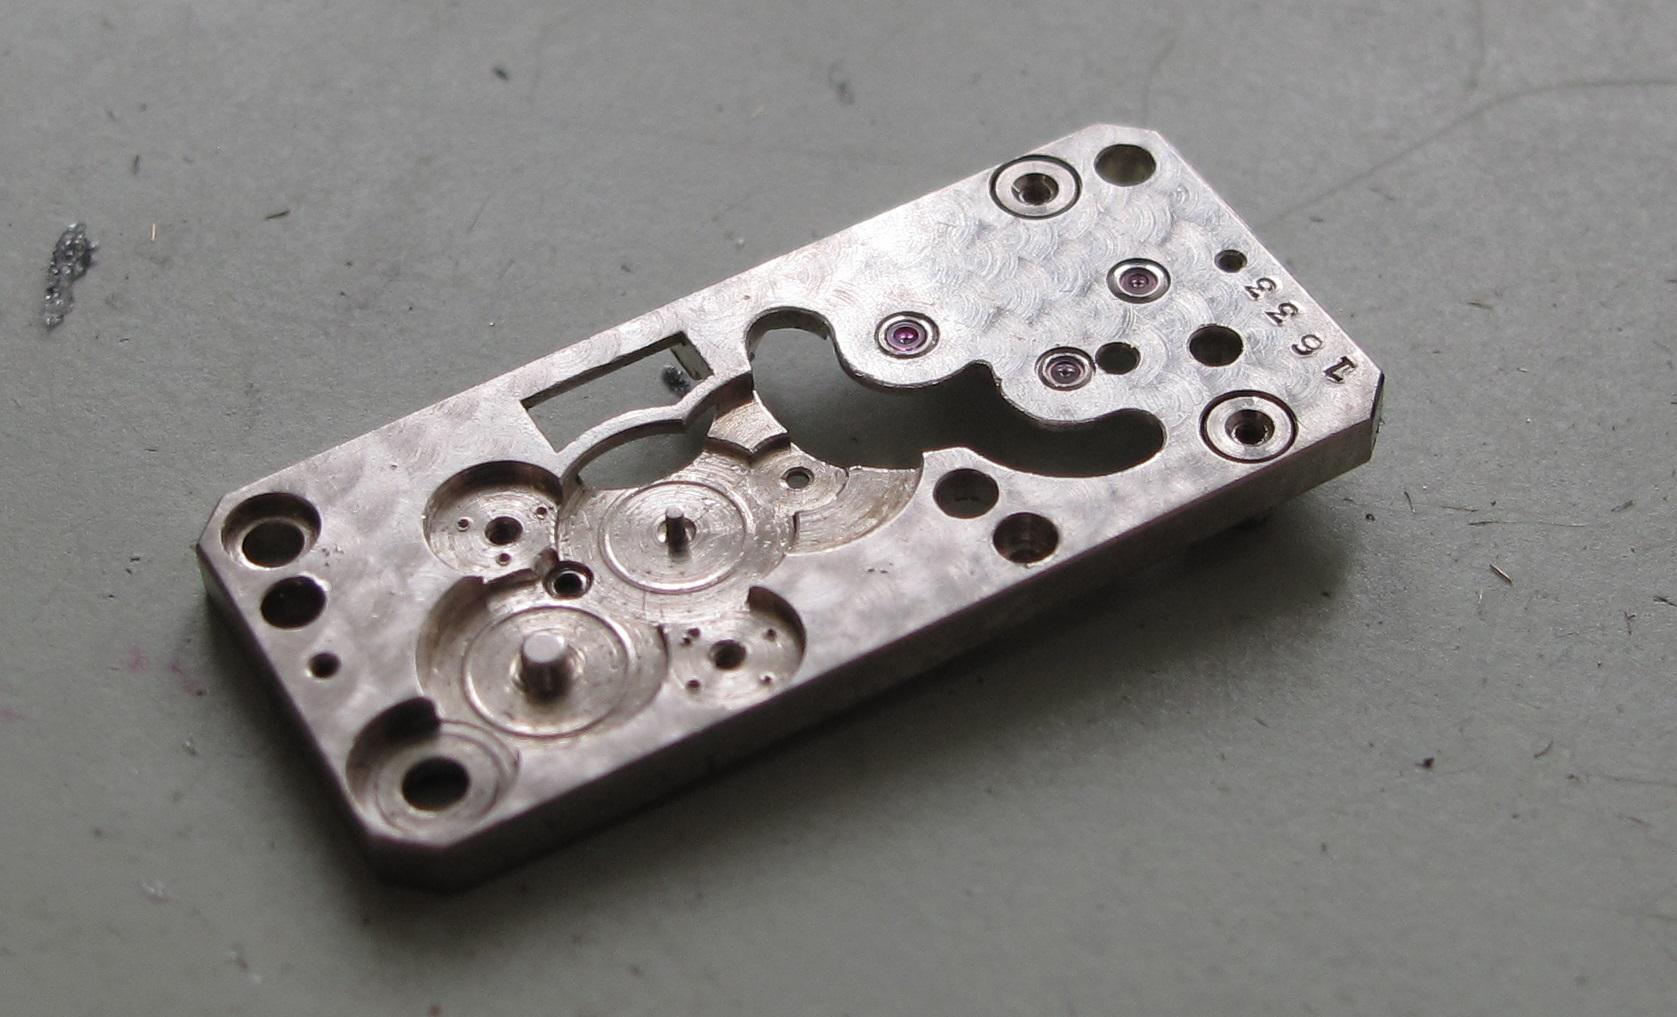
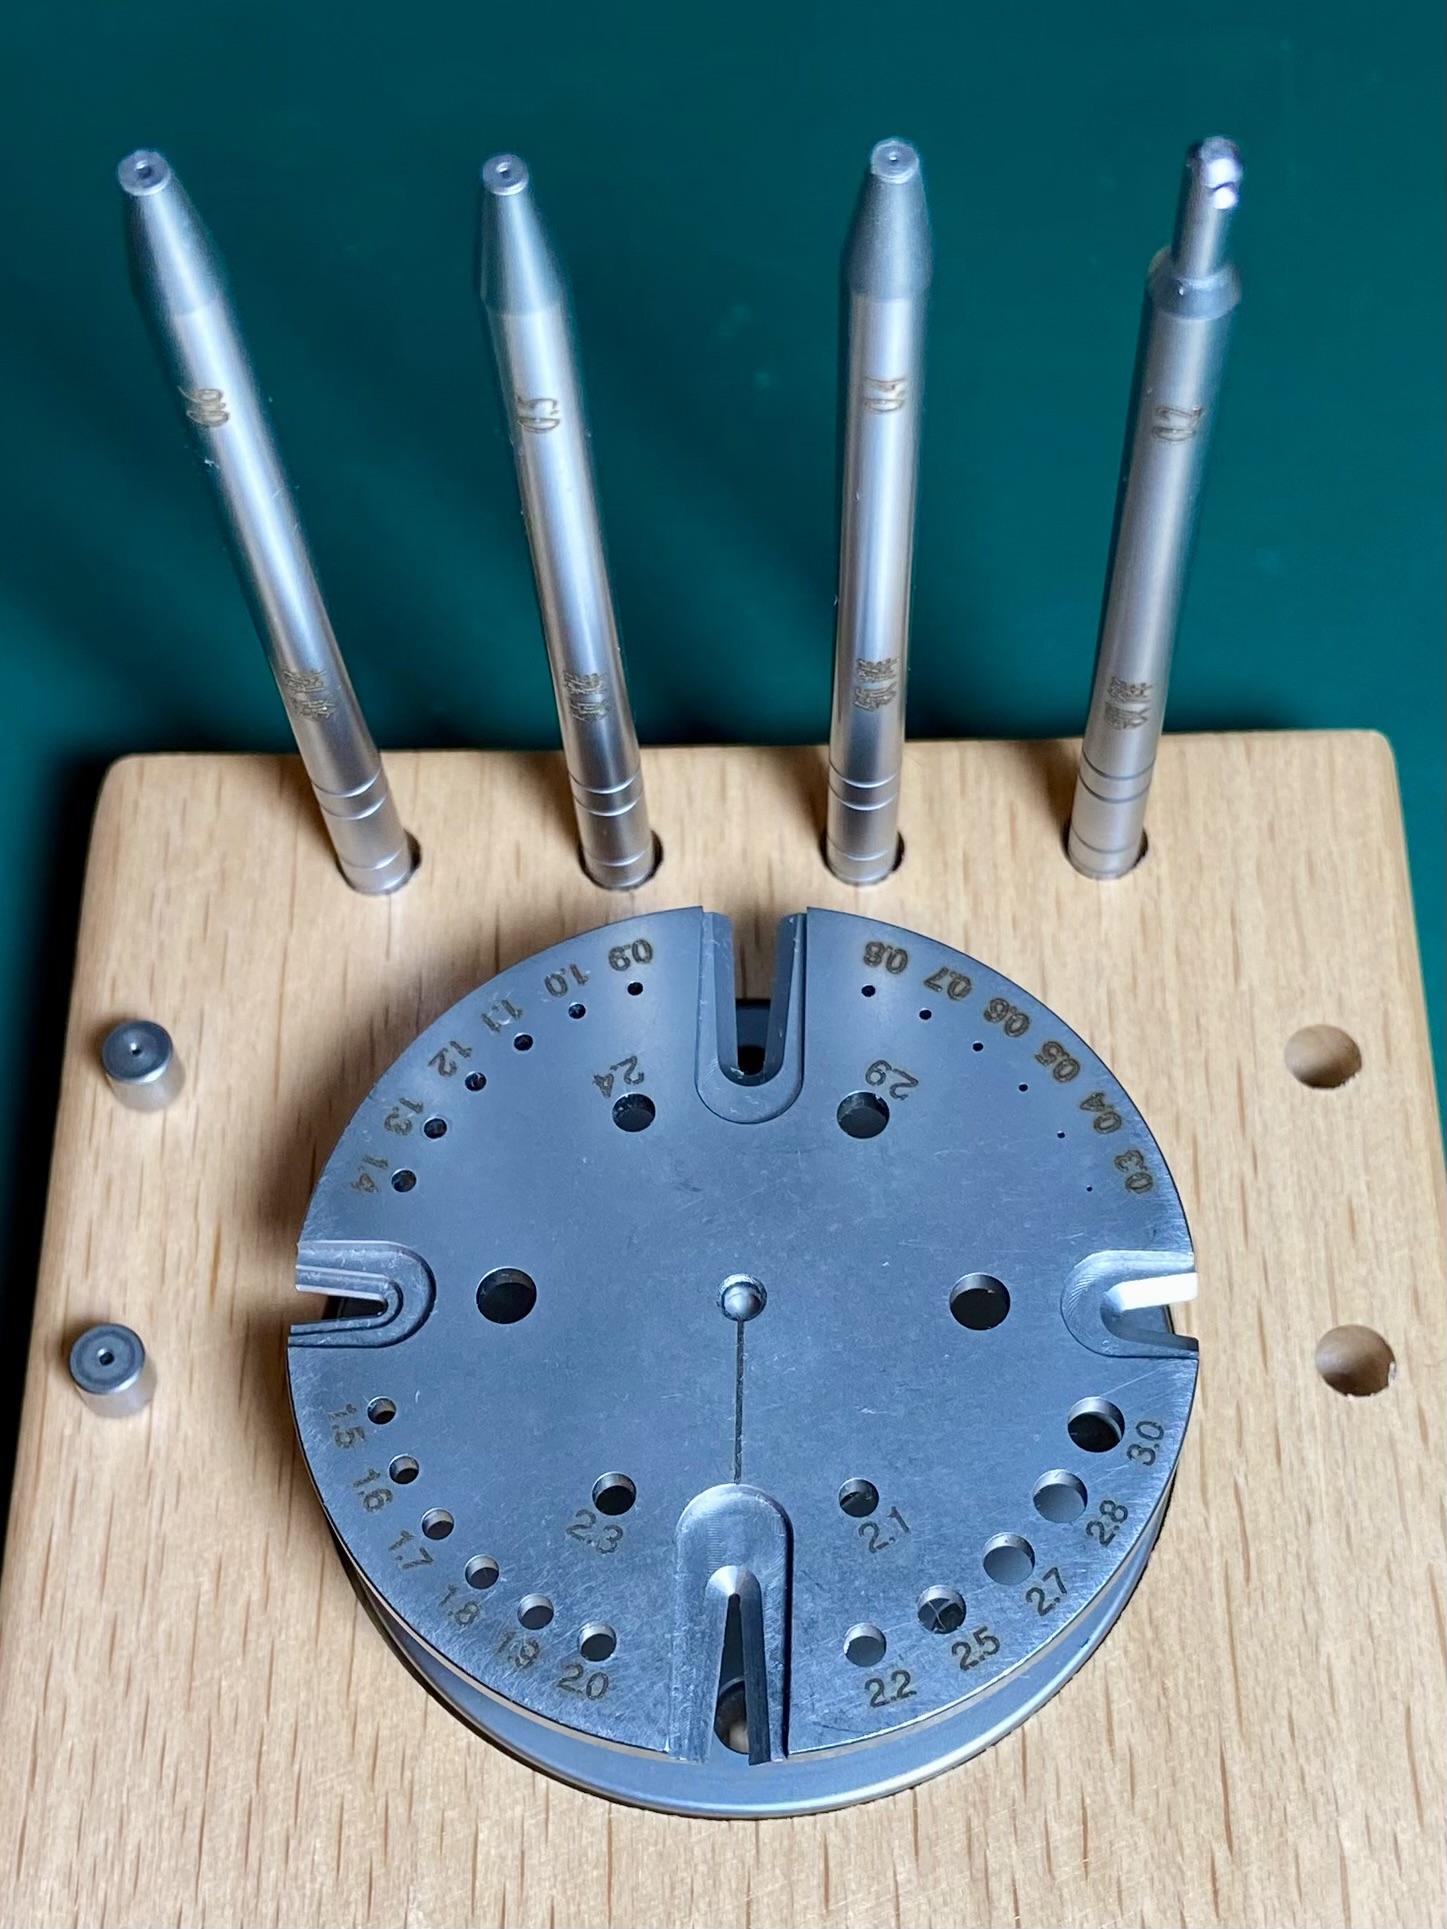
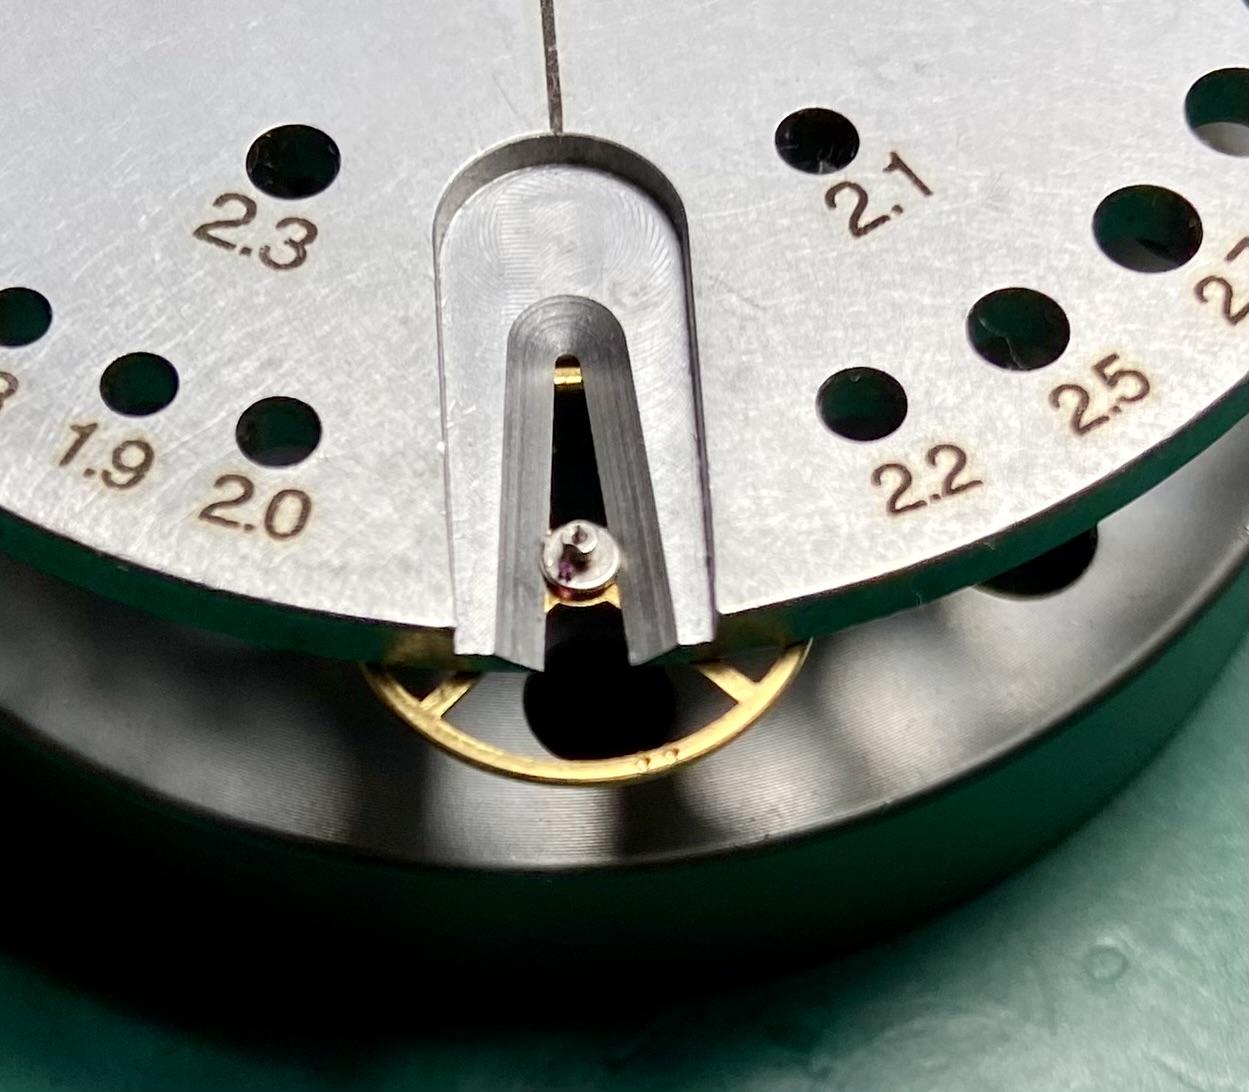
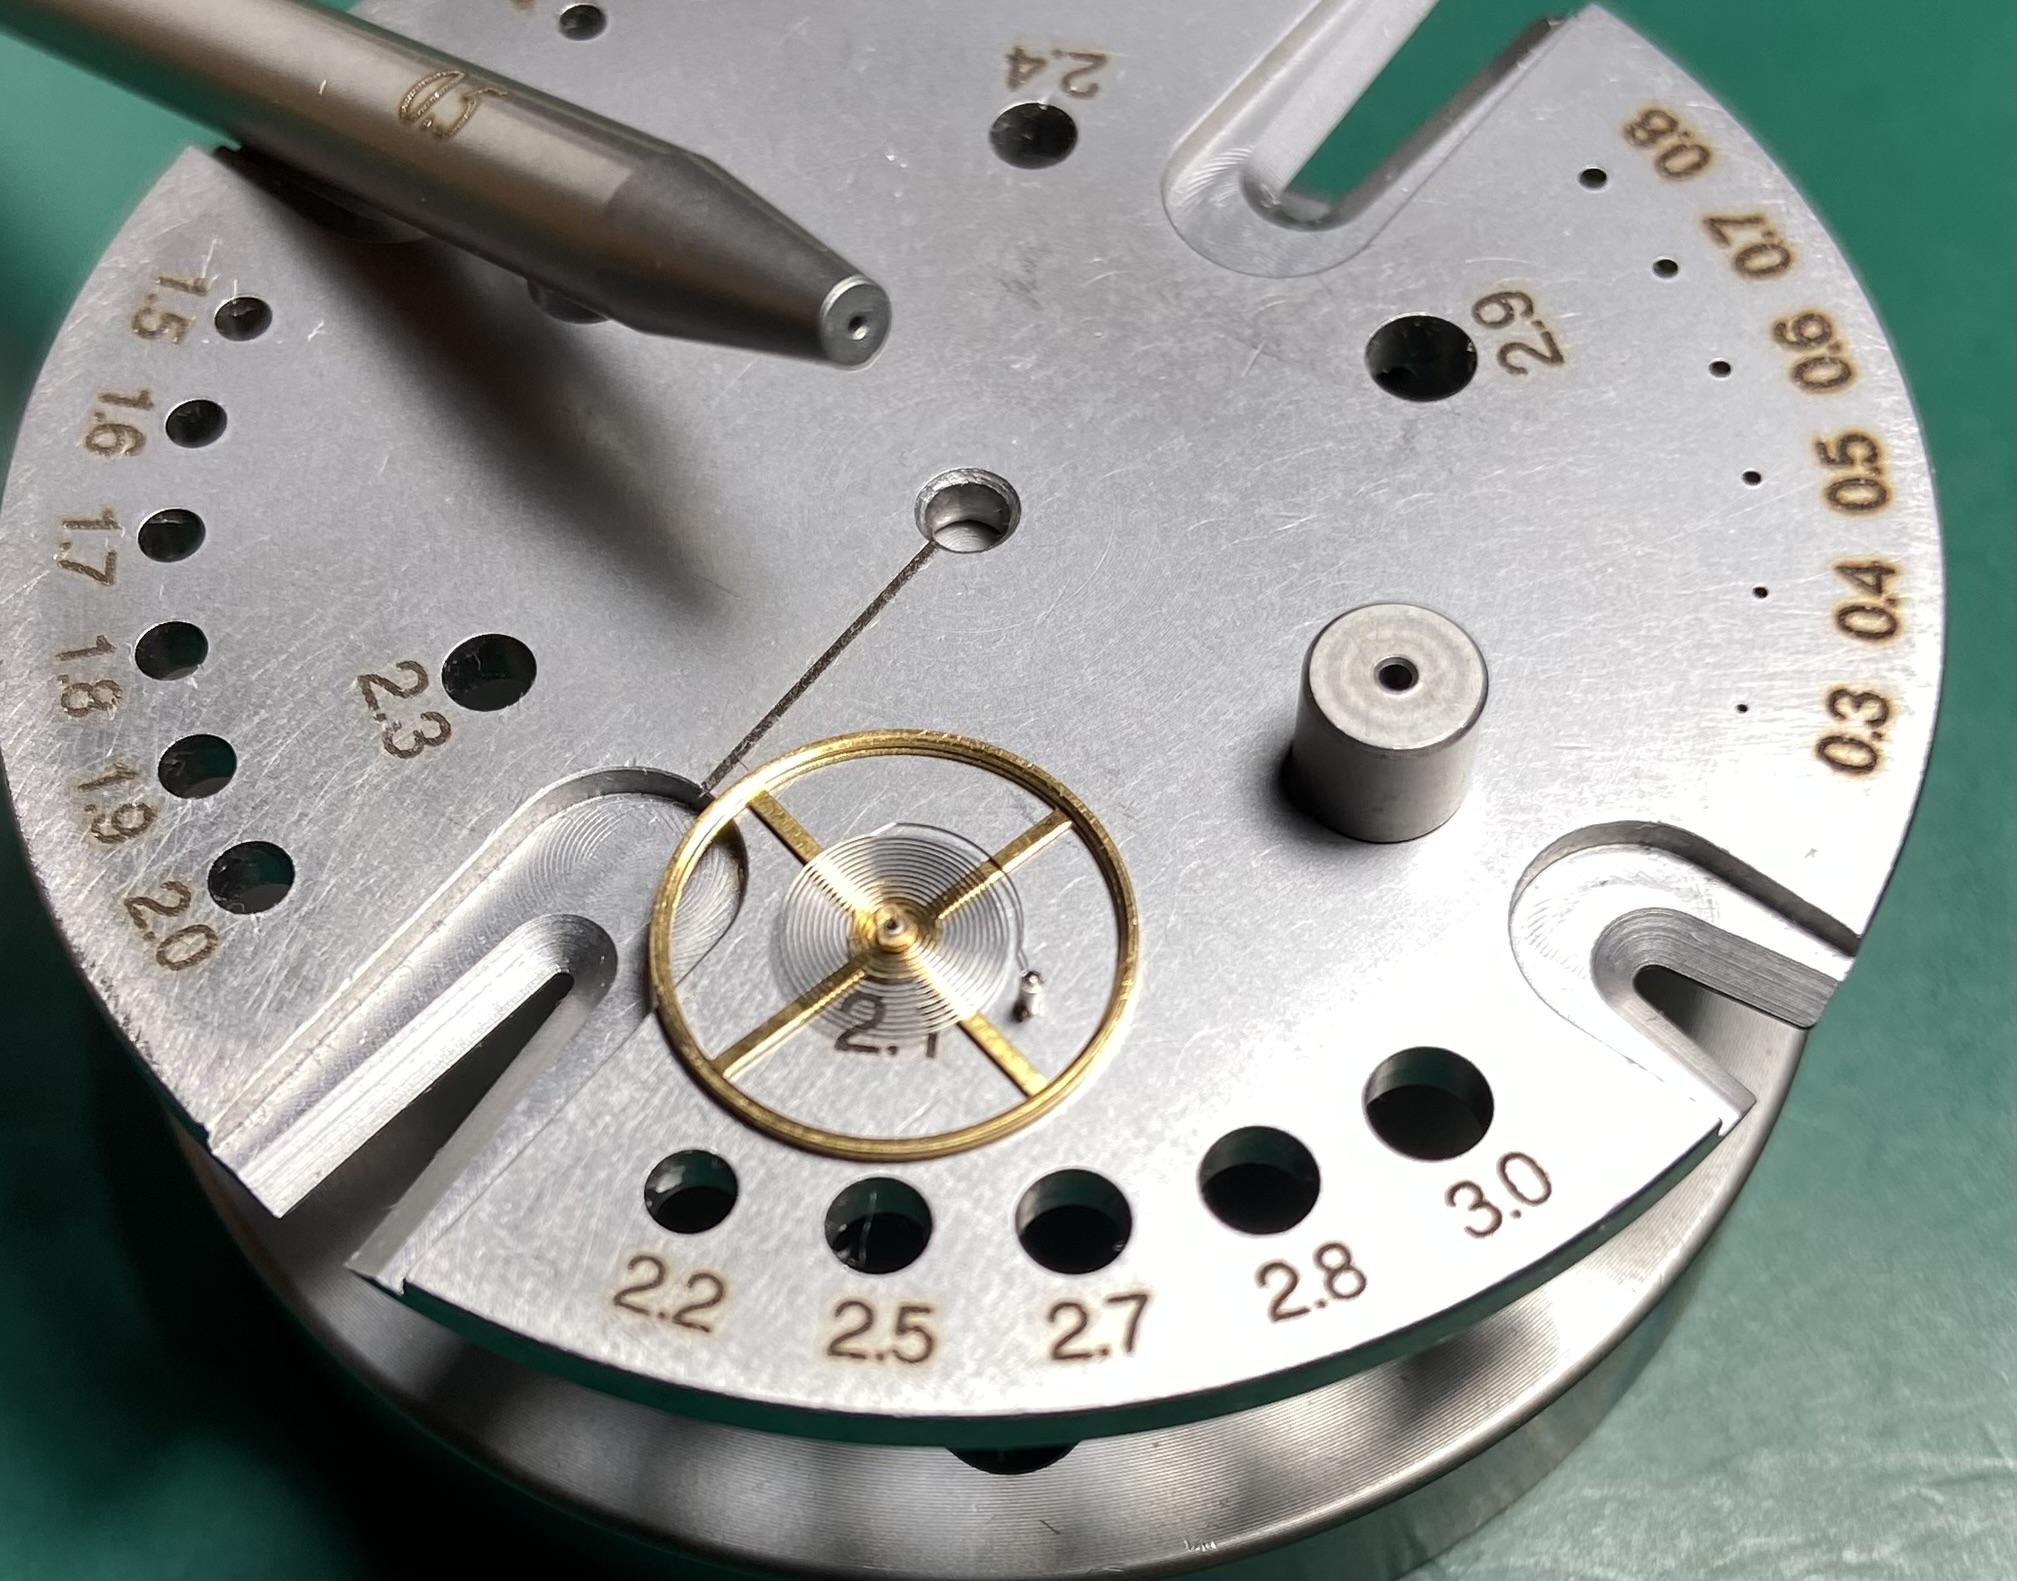
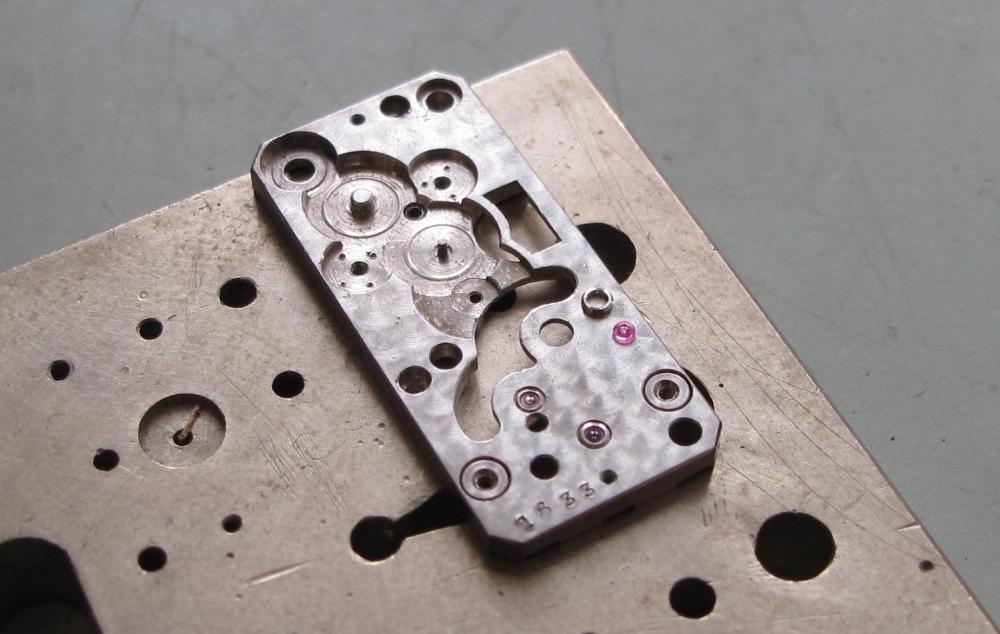
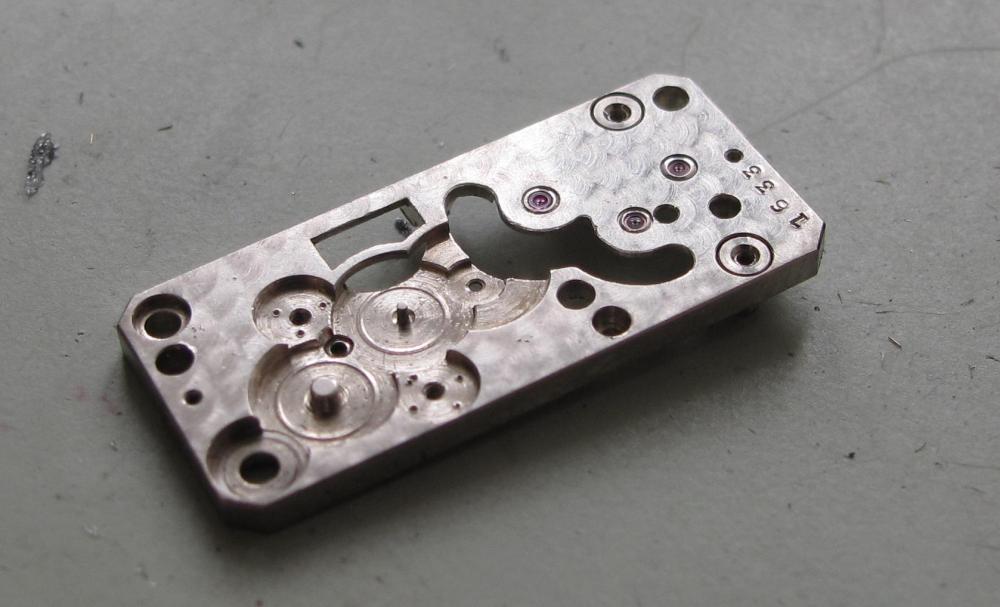
Yes, my scopes have cross hairs and concentric circles. There are some dedicated centering scopes with one hair, which is all that's needed. You move around until it's near the border of the hole and it just serves as a reference. I do lots and lots of faceplate work, so I have a dedicated setup that's a bit extravagant but for all the use it sees worth it. The faceplate is on a 35mm quill, which can switch out between a measuring microscope (a Hauser M1 jig borer, but it only gets used as a scope) and a short Schaublin 102 lathe bed. Parts get glued to a little base, then that goes in the faceplate and gets centered on the scope (the base gets tapped with a brass bar, having the part glued like this avoids any damage), then over to the lathe. Centering to a couple microns takes about 30 seconds. This was a LeCoultre 409 that needed a new jewel. I bored out the rub-in setting, and put the new jewel in a bushing that mimics the look of the setting.

.thumb.JPG.04ad8491e6c582ec93b358717a58e30e.JPG)
.thumb.JPG.2c9e2f422b1d041a33759b1c1ad23775.JPG)
.thumb.JPG.362e5a54864b4592f9341037e5113f9f.JPG)
.thumb.JPG.1af1b6d21ca3bcbd3cdd53b54913958d.JPG)
.thumb.JPG.608fb38f2aba1413bb84f735aa0b2a1b.JPG)
 6 points
 -
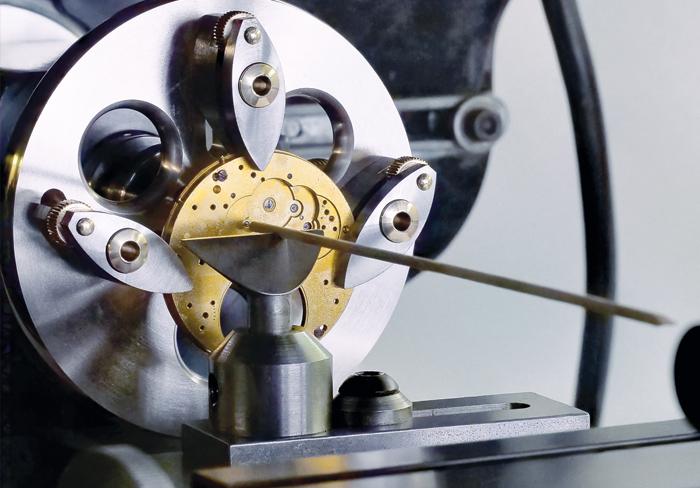
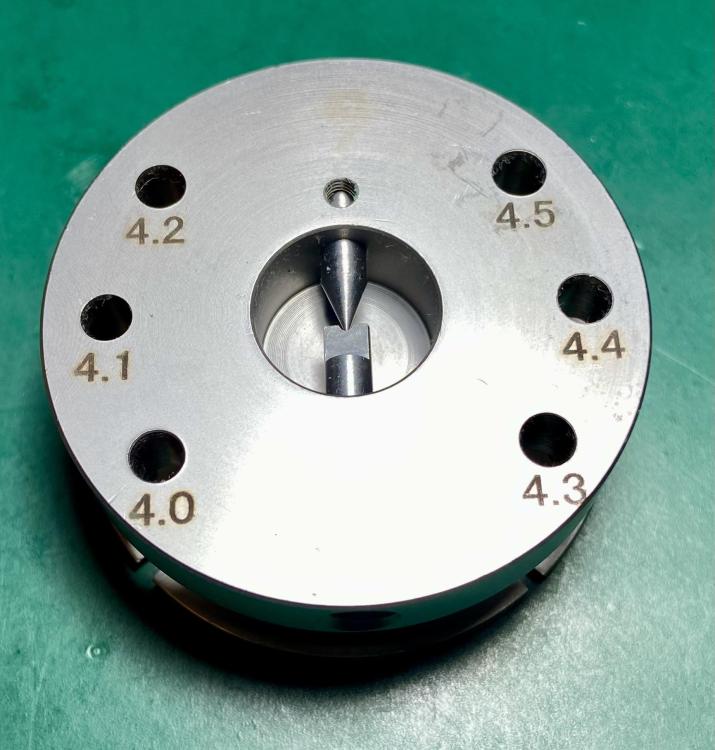
These other features can be concentric, but aren't necessarily and often simply aren't. My preferred method is like Hector says, faceplate with optical centering. You can see quite easily the unworn portion of the hole and center on it. But- many watchmakers simply ream out the hole with the jeweling tool, press in a bushing and off it goes. There's the false belief that the reamer somehow (magically?) follows the original hole, but what's really happening is the hole center becomes the average of the original center and worn center- and this is usually good enough that all's well. However, when opening a hole like this to take a bushing one would have to go through several sizes of reamer to get the hole large enough for a reasonable bushing, and each reaming operation risks drifting the hole a little more (even in a jeweling tool with everything just so they can drift). This is a faceplate. In the image a "wobble stick" is being used to find the center. The pointed end goes in the hole, the body rests on the T-rest, and the extended end nutates as the faceplate is slowly turned, indicating the out of center direction. You can get very well centered with this method, but it takes more time than optical centering. It doesn't account for a worn hole though- it will average the location of the original and worn locations.
 5 points
 -
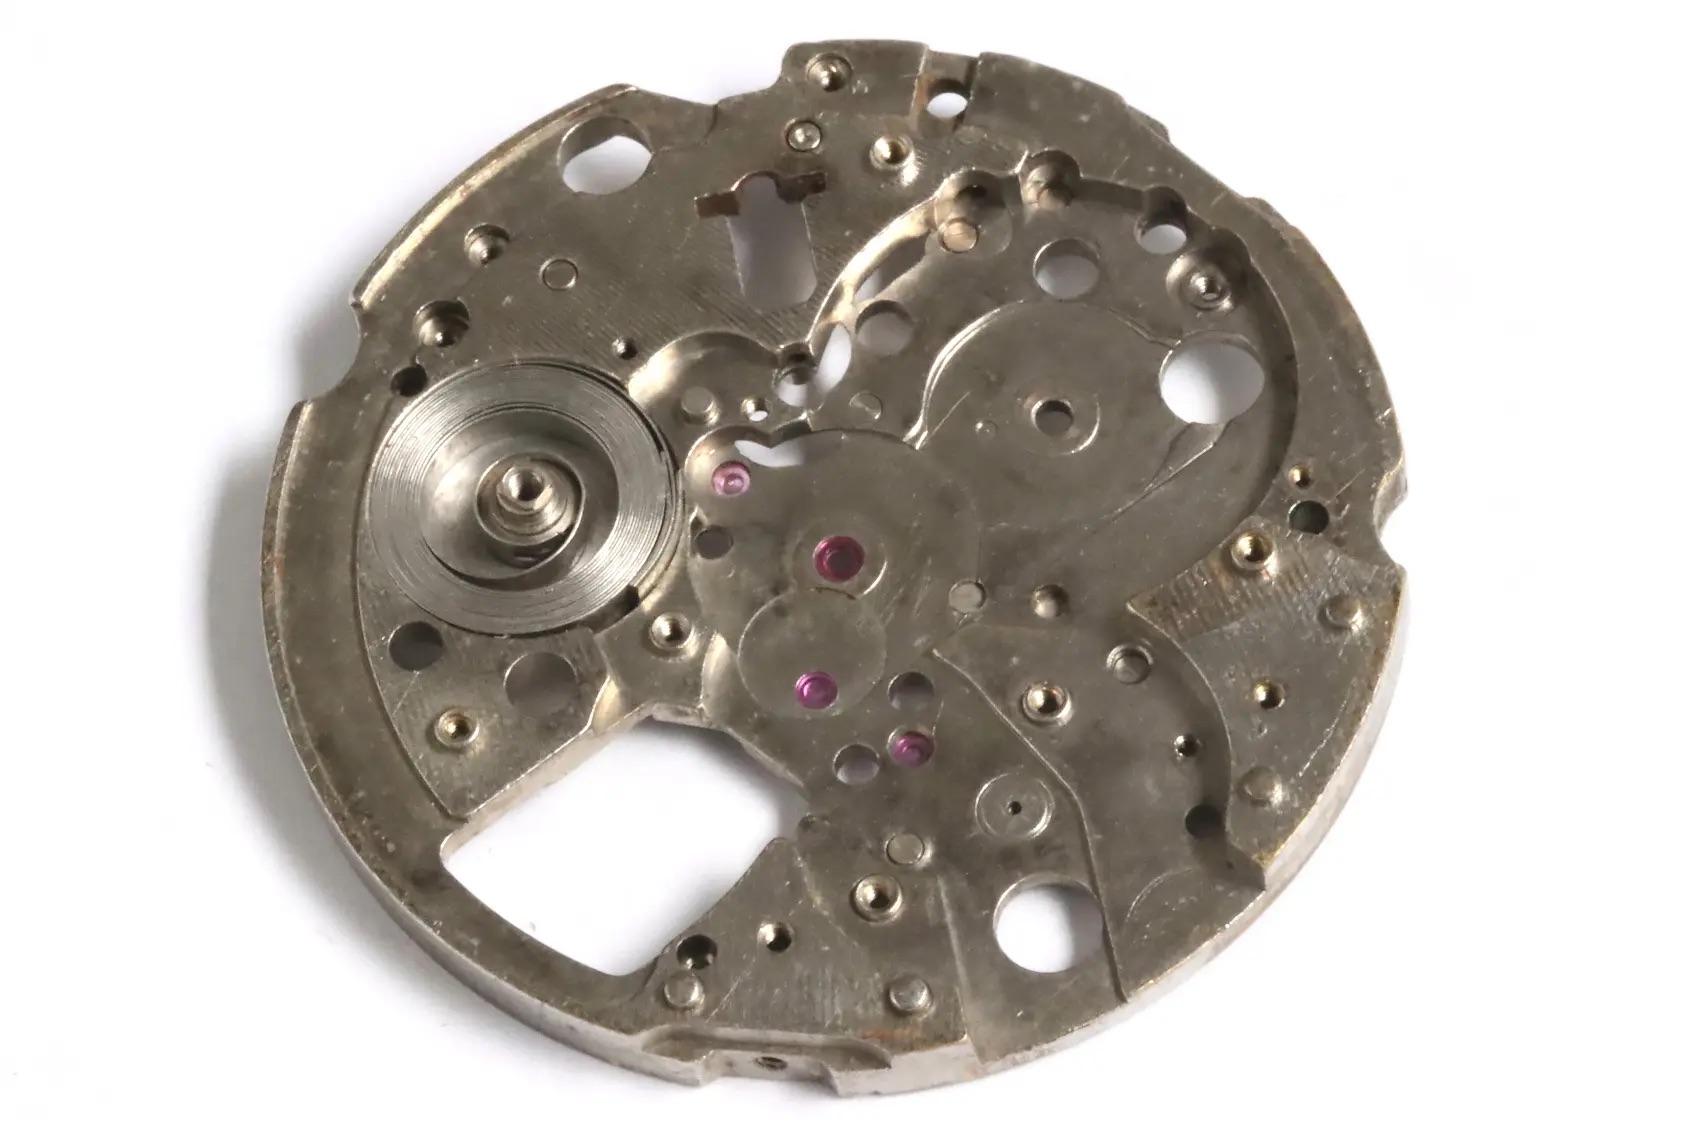
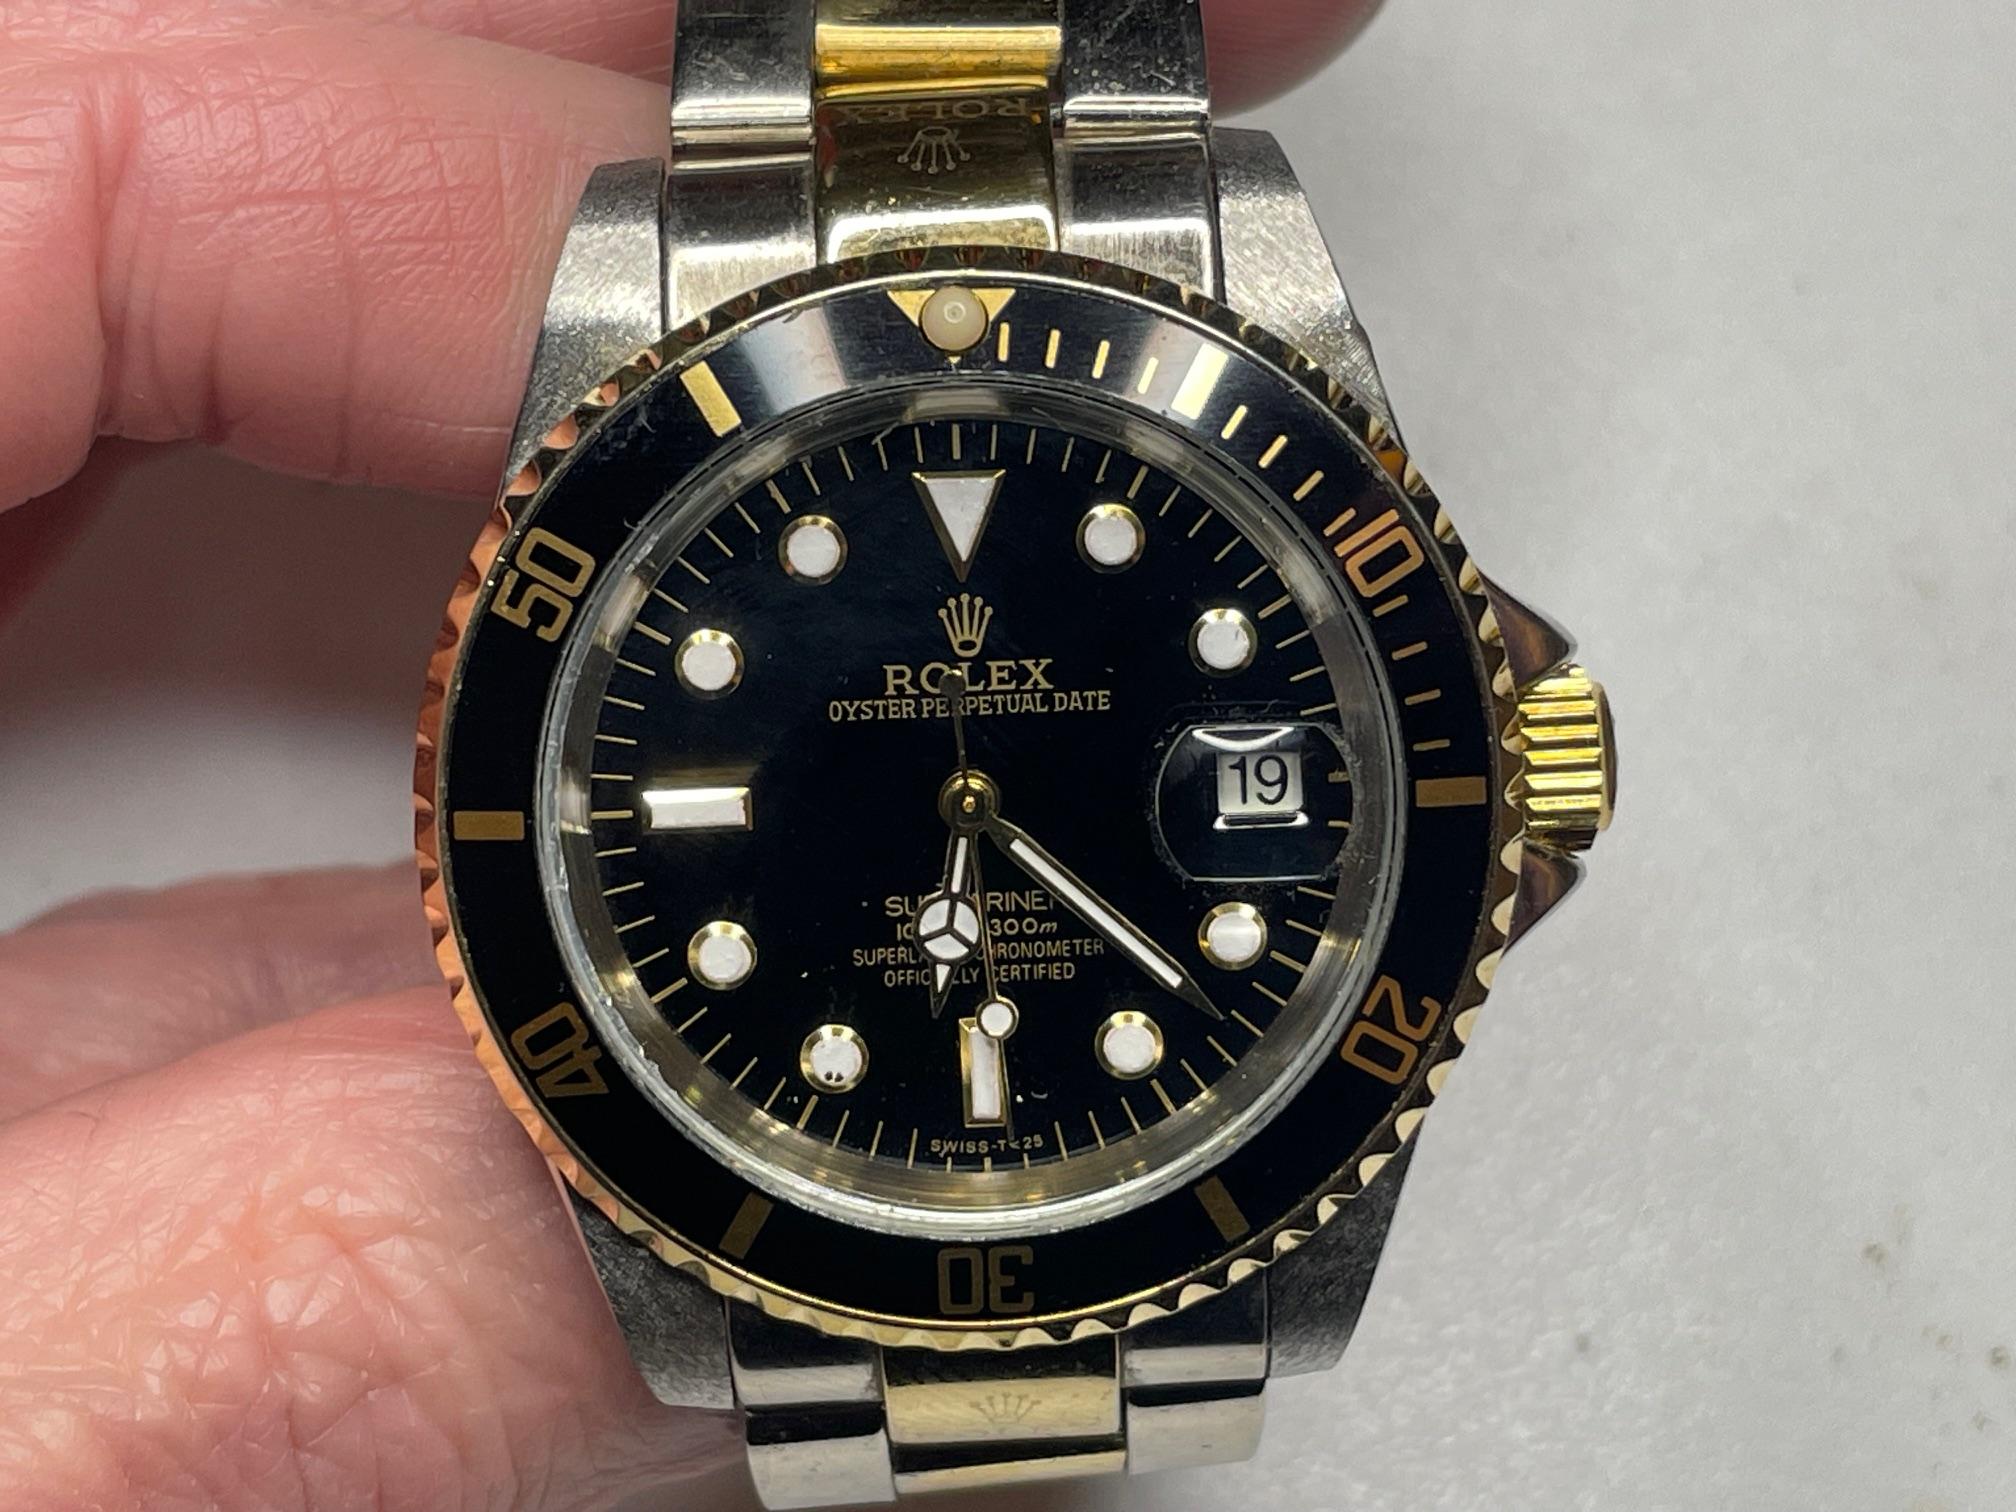
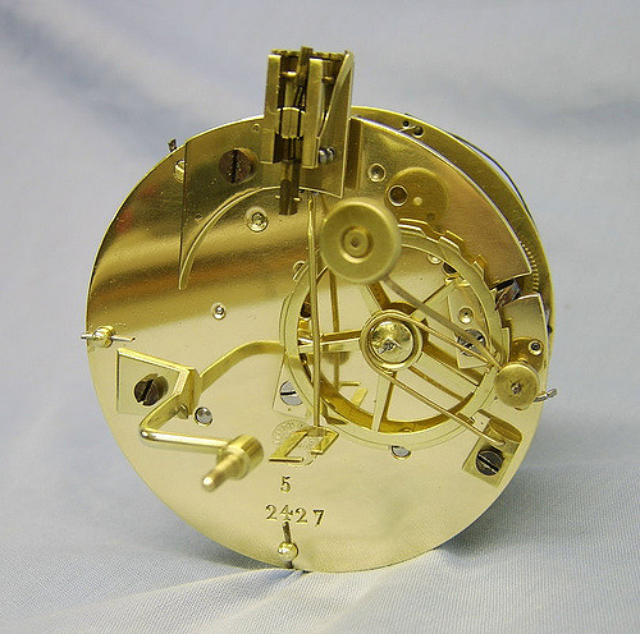
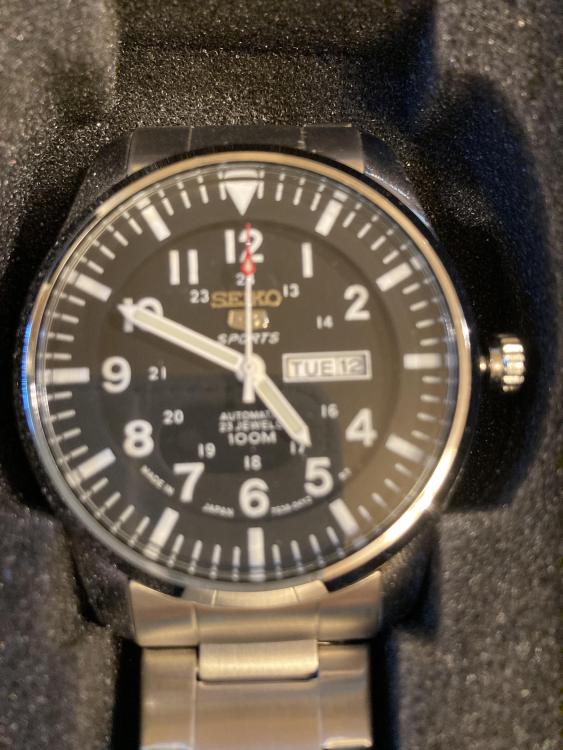
I would take it back and ask for a refund. That is disgusting work. This is how the movement should look after polishing, cleaning and having the screws blued.
 4 points
 -
I guess there is no bushing, I guess OP just used this word instead of 'bearing hole'. To press a bushing there the hole first needs to be enlarged or bored and yes, face plate on lathe is the normal choice for the way to do this. But, on the flat face of a brass piece may be turned small step in the center, with the diam of the arbor pivot, it can be used to center the bridge when gluing it on the face with shellac.4 points
-
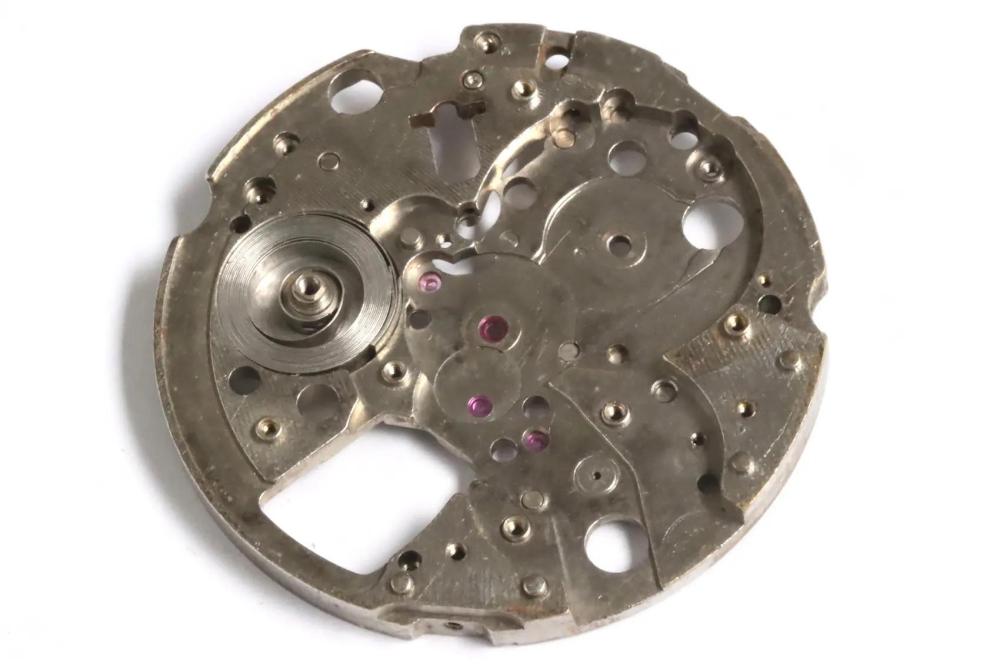
My (not particularly expert) thoughts would be: The outer bore for the ratchet wheel should be concentric with the original hole position. And possibly simpler but a bit crude - The arbour only turns while the watch is being wound, so look which way the arbour is pushed by the action of the crown wheel while winding it? It looks like to the right by torque and down by the angle of the wheel teeth? From that I'd guess that the lower right in the photo is the badly worn area and the upper left is the nearest untouched area, that could be used as a reference for a close fitting stake or drill to locate the plate before opening the hole for the bush. That's what I'd try - though on a junk movement first to be sure it worked!4 points
-
Normal WD40 is not a good penetrating oil; it's solvent based and thickens as that evaporates. (There is a WD40 branded penetrating oil, but that is very different to the original stuff). You need something to break down the rust. Evaporust or EDTA solution should do that - if you can remove enough WD40 residue with a solvent for it to get to the actual metal surface. Try and work with the watch on edge & angled towards the back, so any excess liquids run out rather than getting to the dial. dd small drops of whichever liquid to the setting lever hole at regular intervals until the rust has visibly reduced? (The EDTA based rust remover is five grams of EDTA powder per 100ml deionised water, then a trace of citric acid to bring it nearer neutral ph, and a few drops of washing up liquid/dish soap to help it get through any traces of oil. It works extremely well, with next to no effect on good metal).3 points
-
Yes good end shake but while I was waiting for the new barrel to turn up I had another close look & decided to fit a bush in the back plate for the chime drive arbor & Sod’s Law the chime train seems to run lovely now with original barrel we live & learn ( hopefully ) also decided to bush the gathering pallet arbor on strike side front & back as there seemed to be similar play there as well because the clock belonges to my handicapped son & he gets very agitated when things go wrong, will put it back together tomorrow fingers crossed we will be good to go. Thanks Dell3 points
-
This is what I tried to say in my post3 points
-
As a alternative optical centering microscope, I've ordered something that is called an "usb otoscope". Apparantly it is a tiny camera meant for looking in one's ears.. but it looks slim enough to fit in the tailstock. Worth a shot imo. I'll let you know if it works or not..
 3 points
 -
If you have the means to finish carbide to the level necessary for the locking stone then you can make it from ruby/sapphire. Boules and other ruby blanks can be found (Ebay Ali etc.), but if color isn't a concern a good source is a sapphire watch crystal. This works well for hole jewels too, which are impossible to find in sizes to suit marine chronometers. A really quick search on Ali turned up these ruby rods, I'm sure there are other sizes available but for 8 bucks you can't go wrong. Ali is also a great source for diamond paste and powders for shaping jewels. I was struggling along making a jewel a few years ago and a friend handed me an assortment of cheap Ali diamond paste and it worked great. I think it was mainly just having more options of grit, I had fancy Swiss sourced powder and paste that was just a bit too fine for the roughing operations.3 points
-
I don't think there was a bush originally. If there was an old bushing, just ream it out.3 points
-
Ah. It will stick 2 things together in a couple of minutes but will not become uniformly hard and resist shearing until the next day.3 points
-
Idealy for this job, the barrel bridge should be mounted on a faceplate, roughly centred with the faceplate's centering pin. Then confirmed with an optical centering microscope.3 points
-
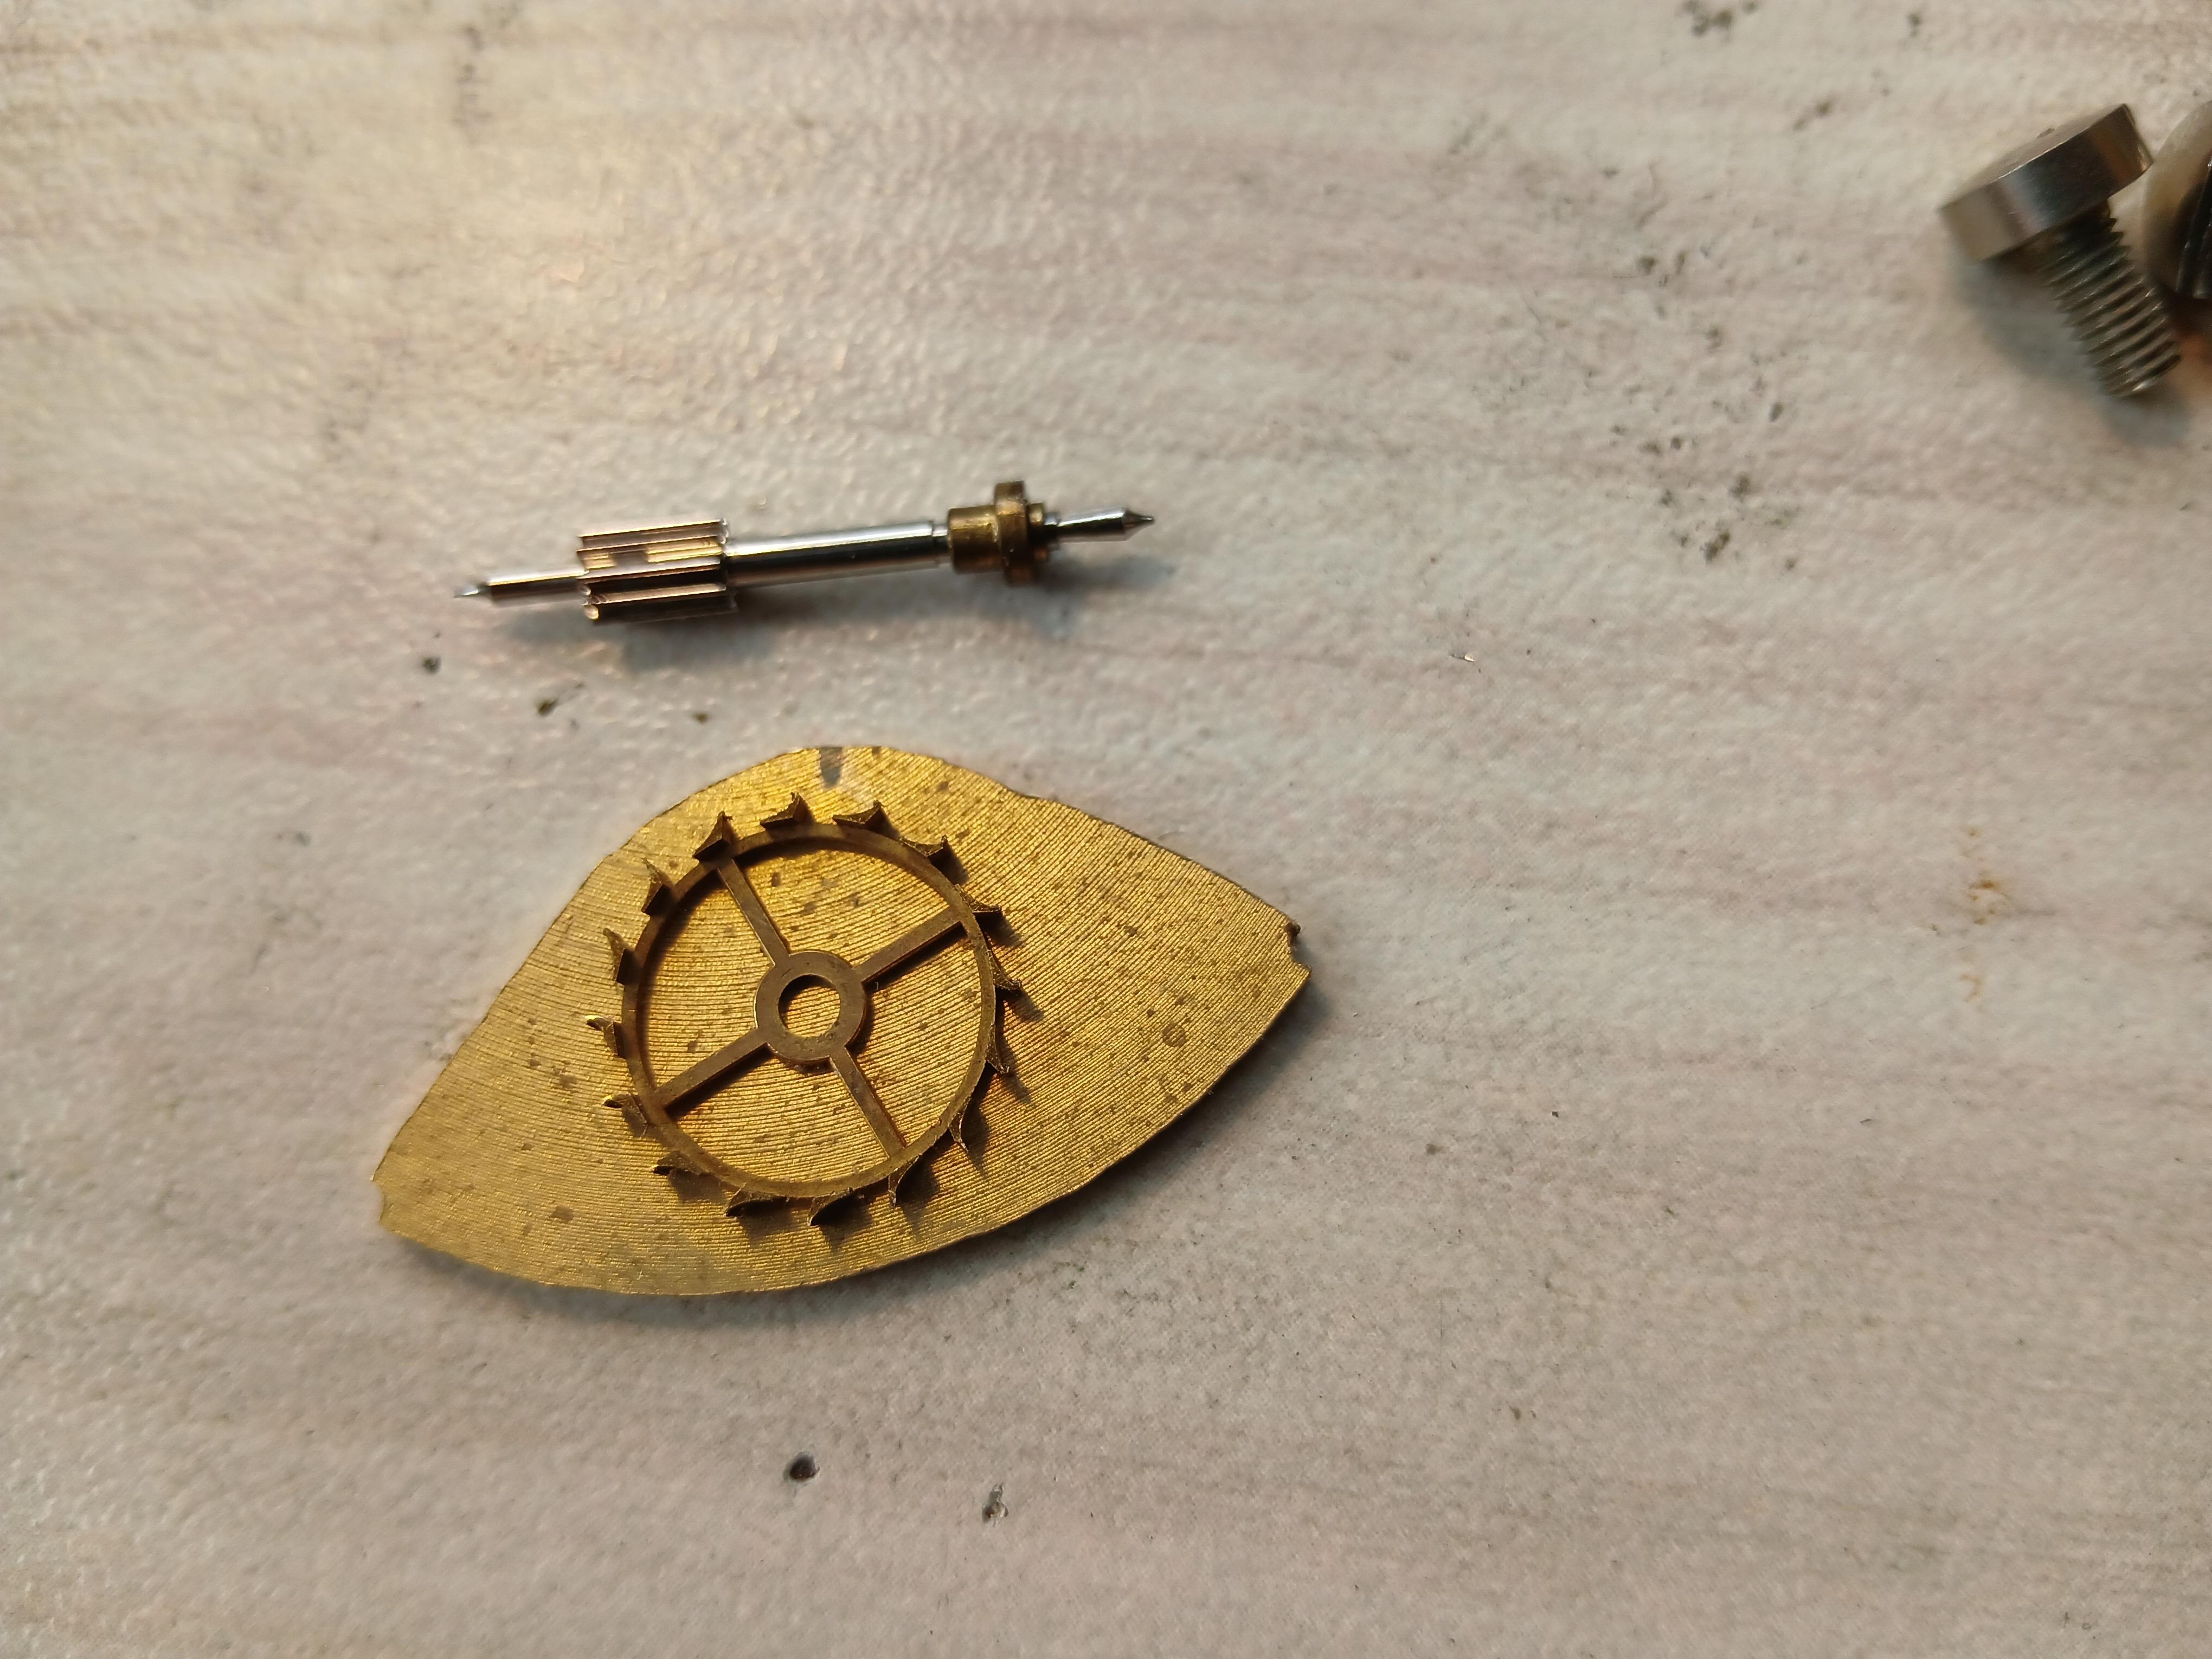
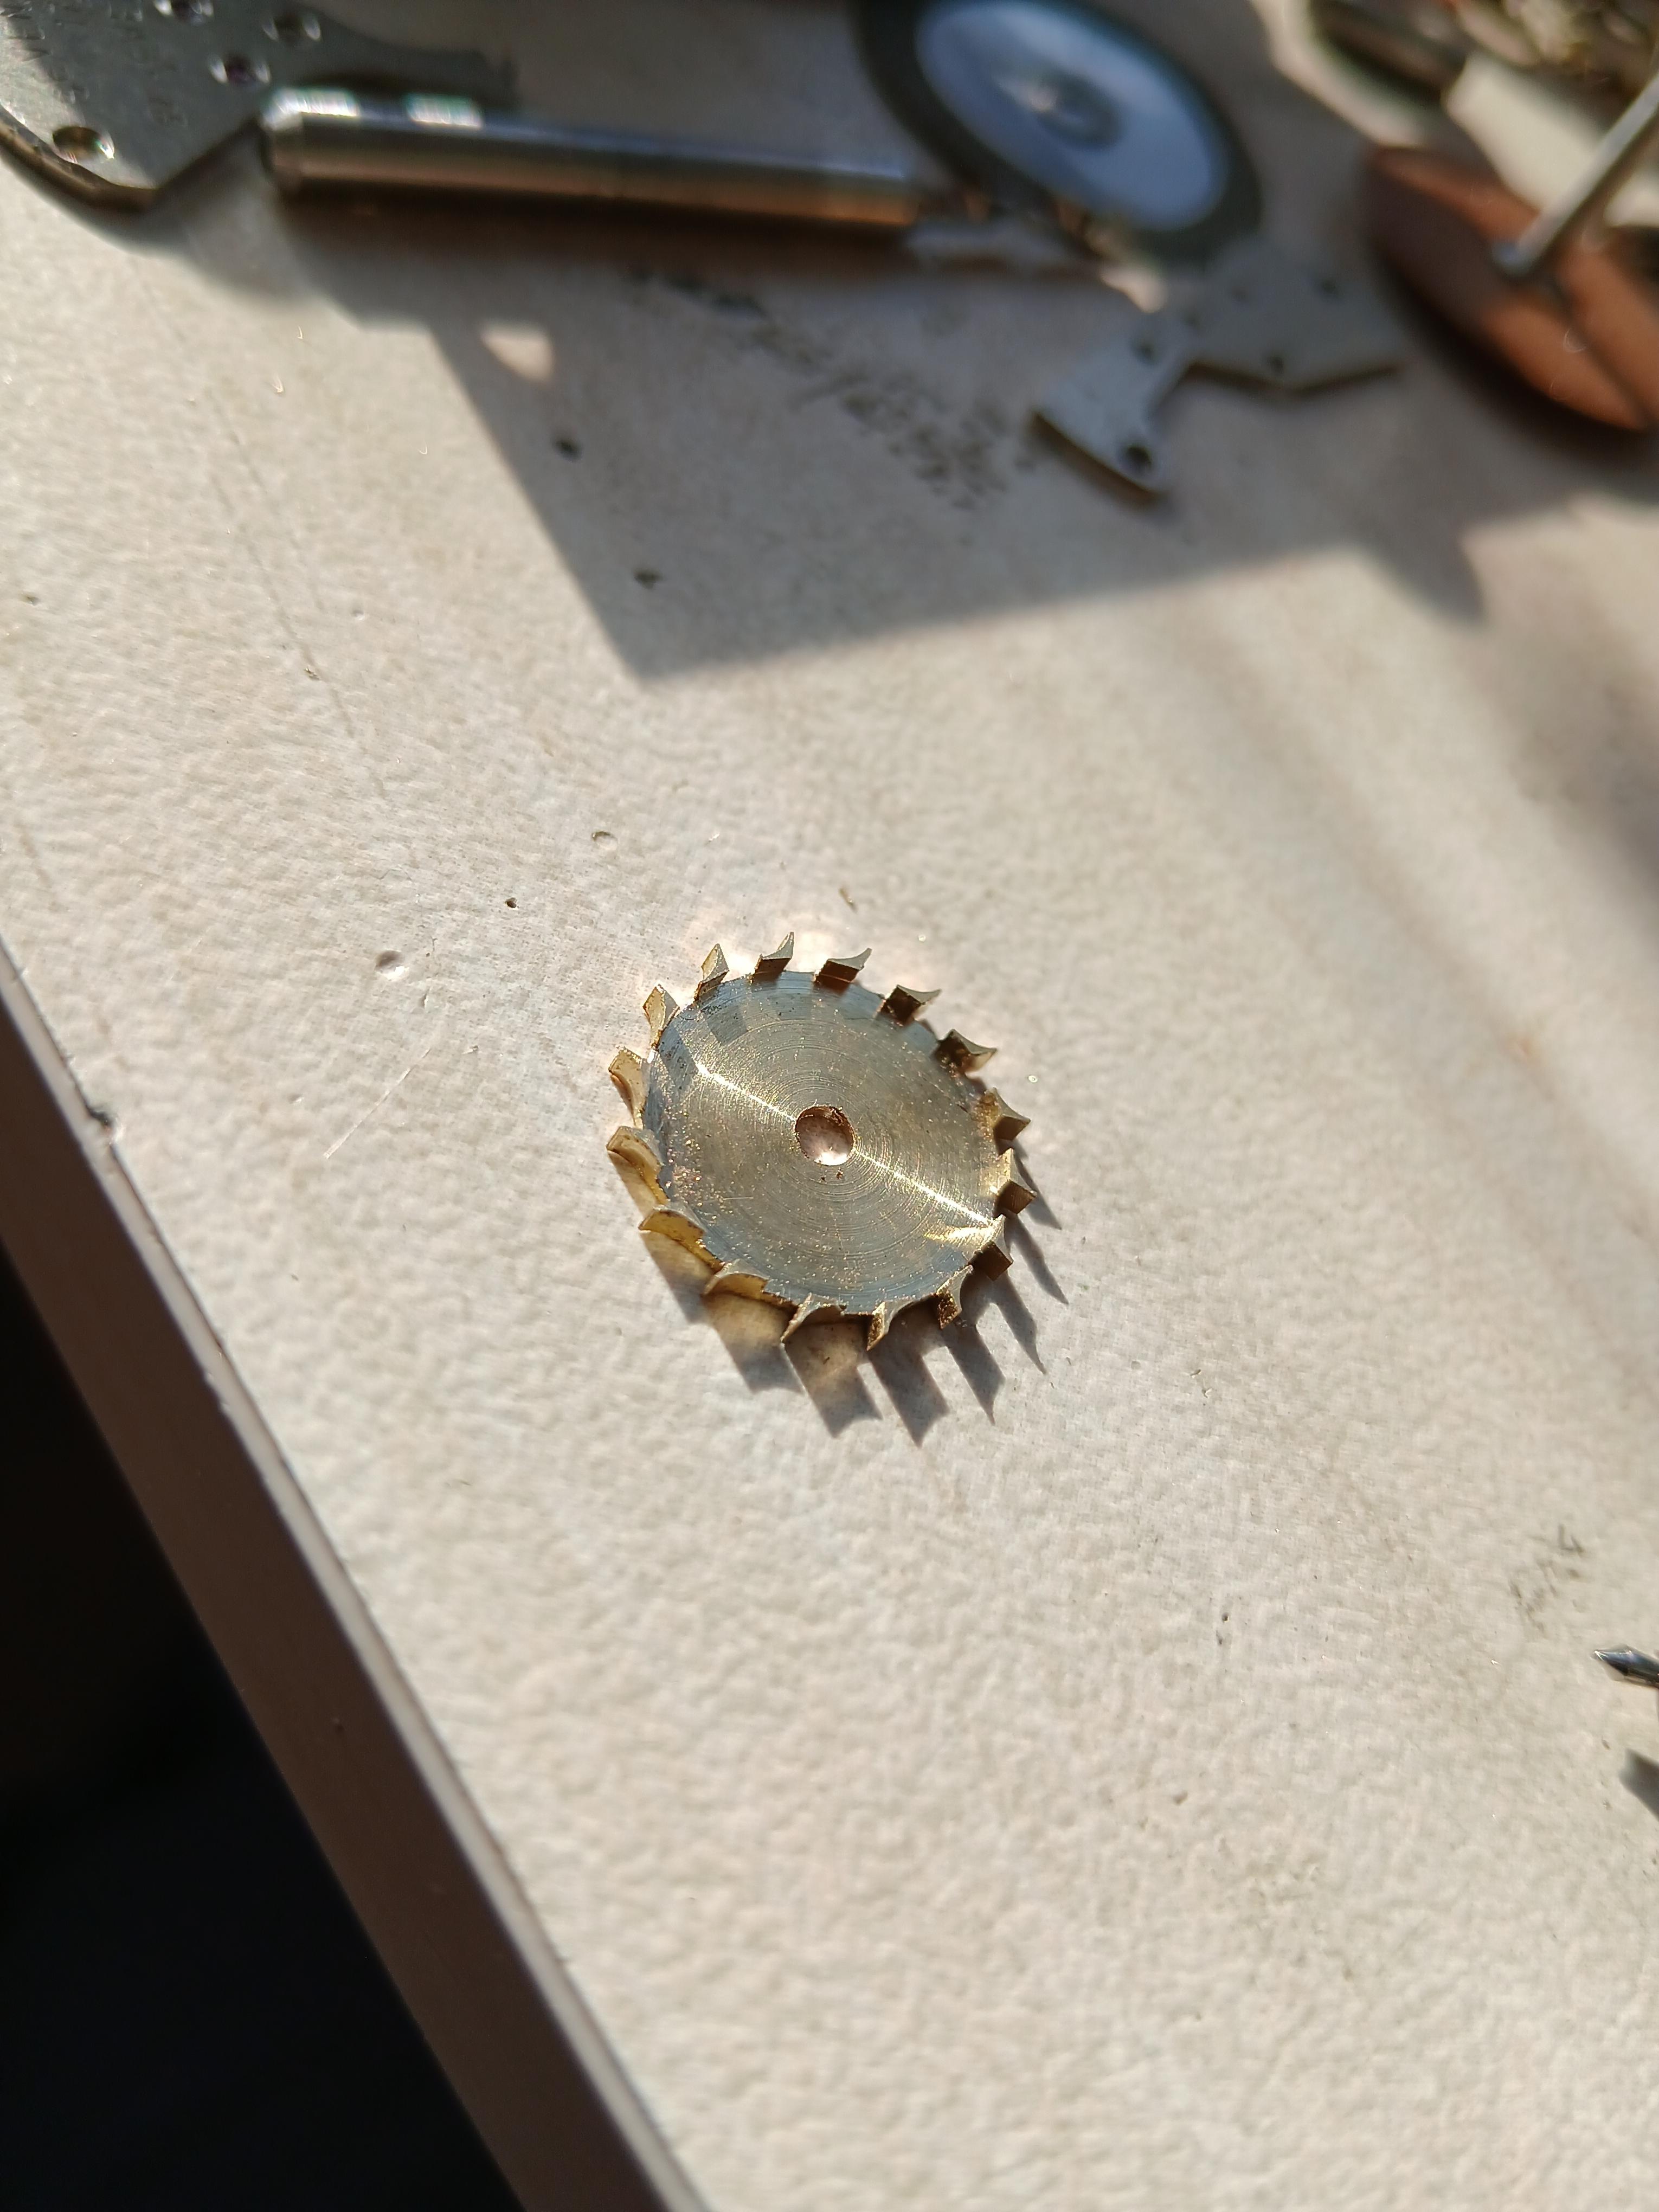
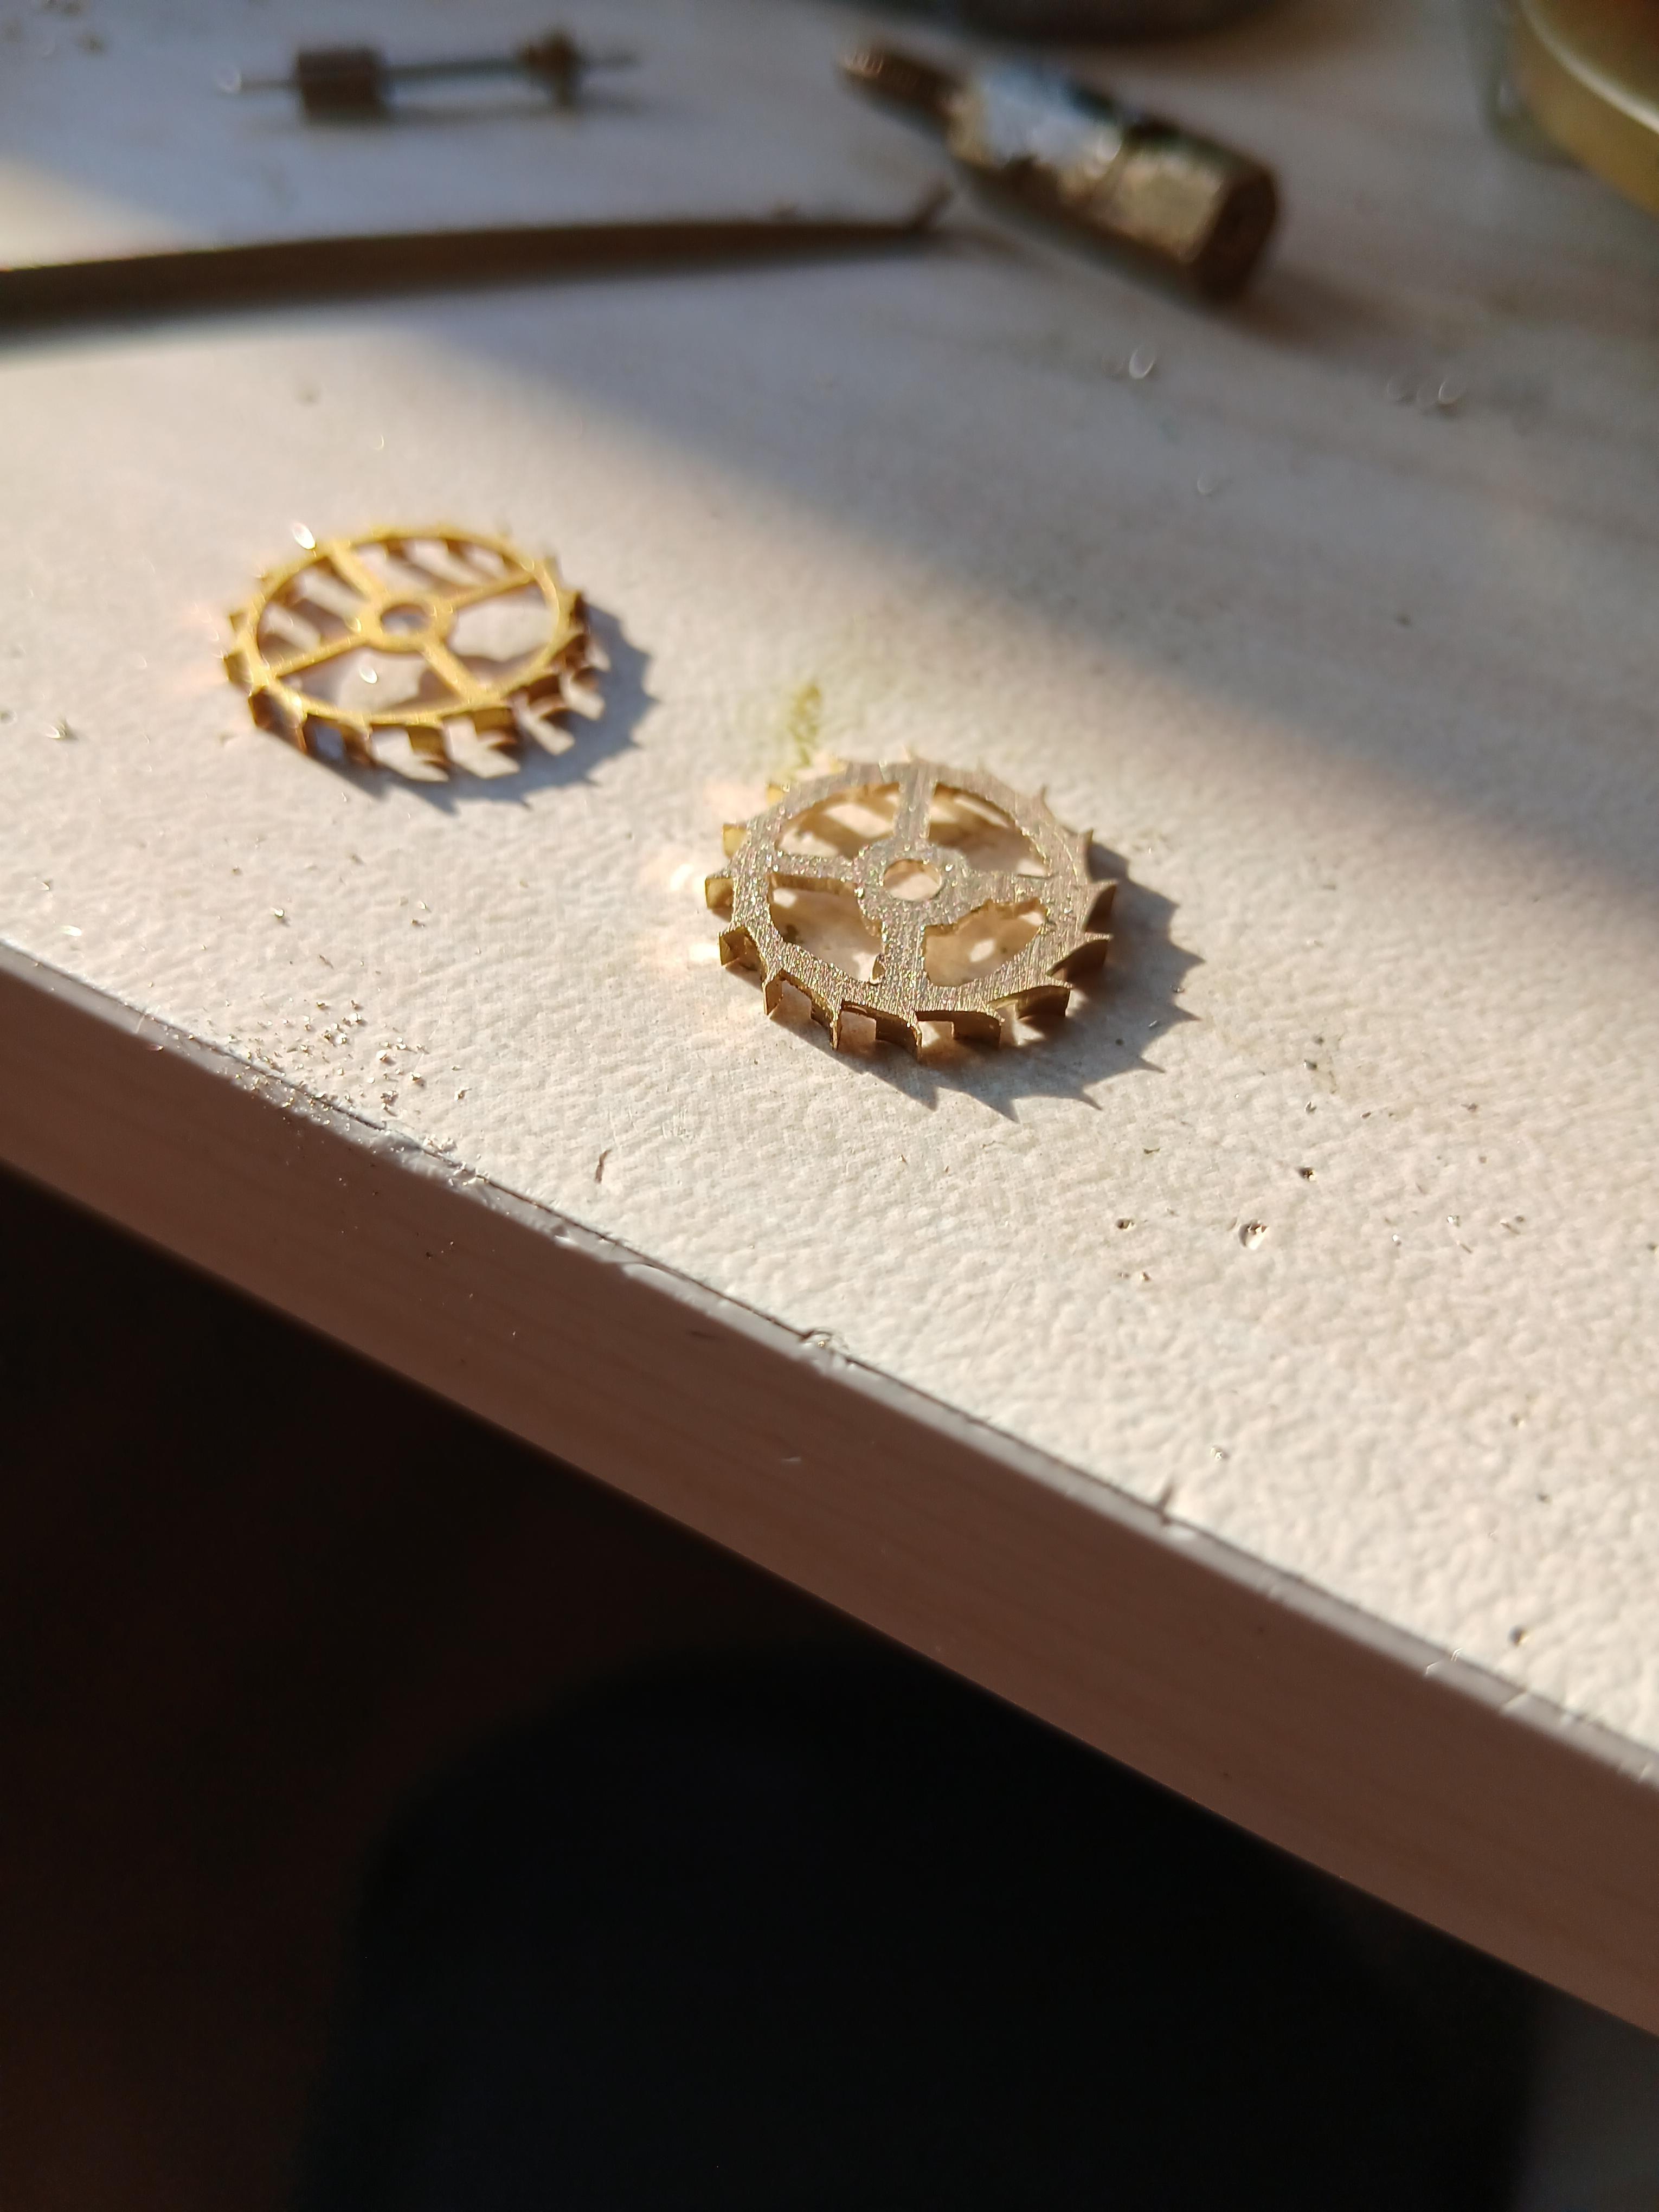
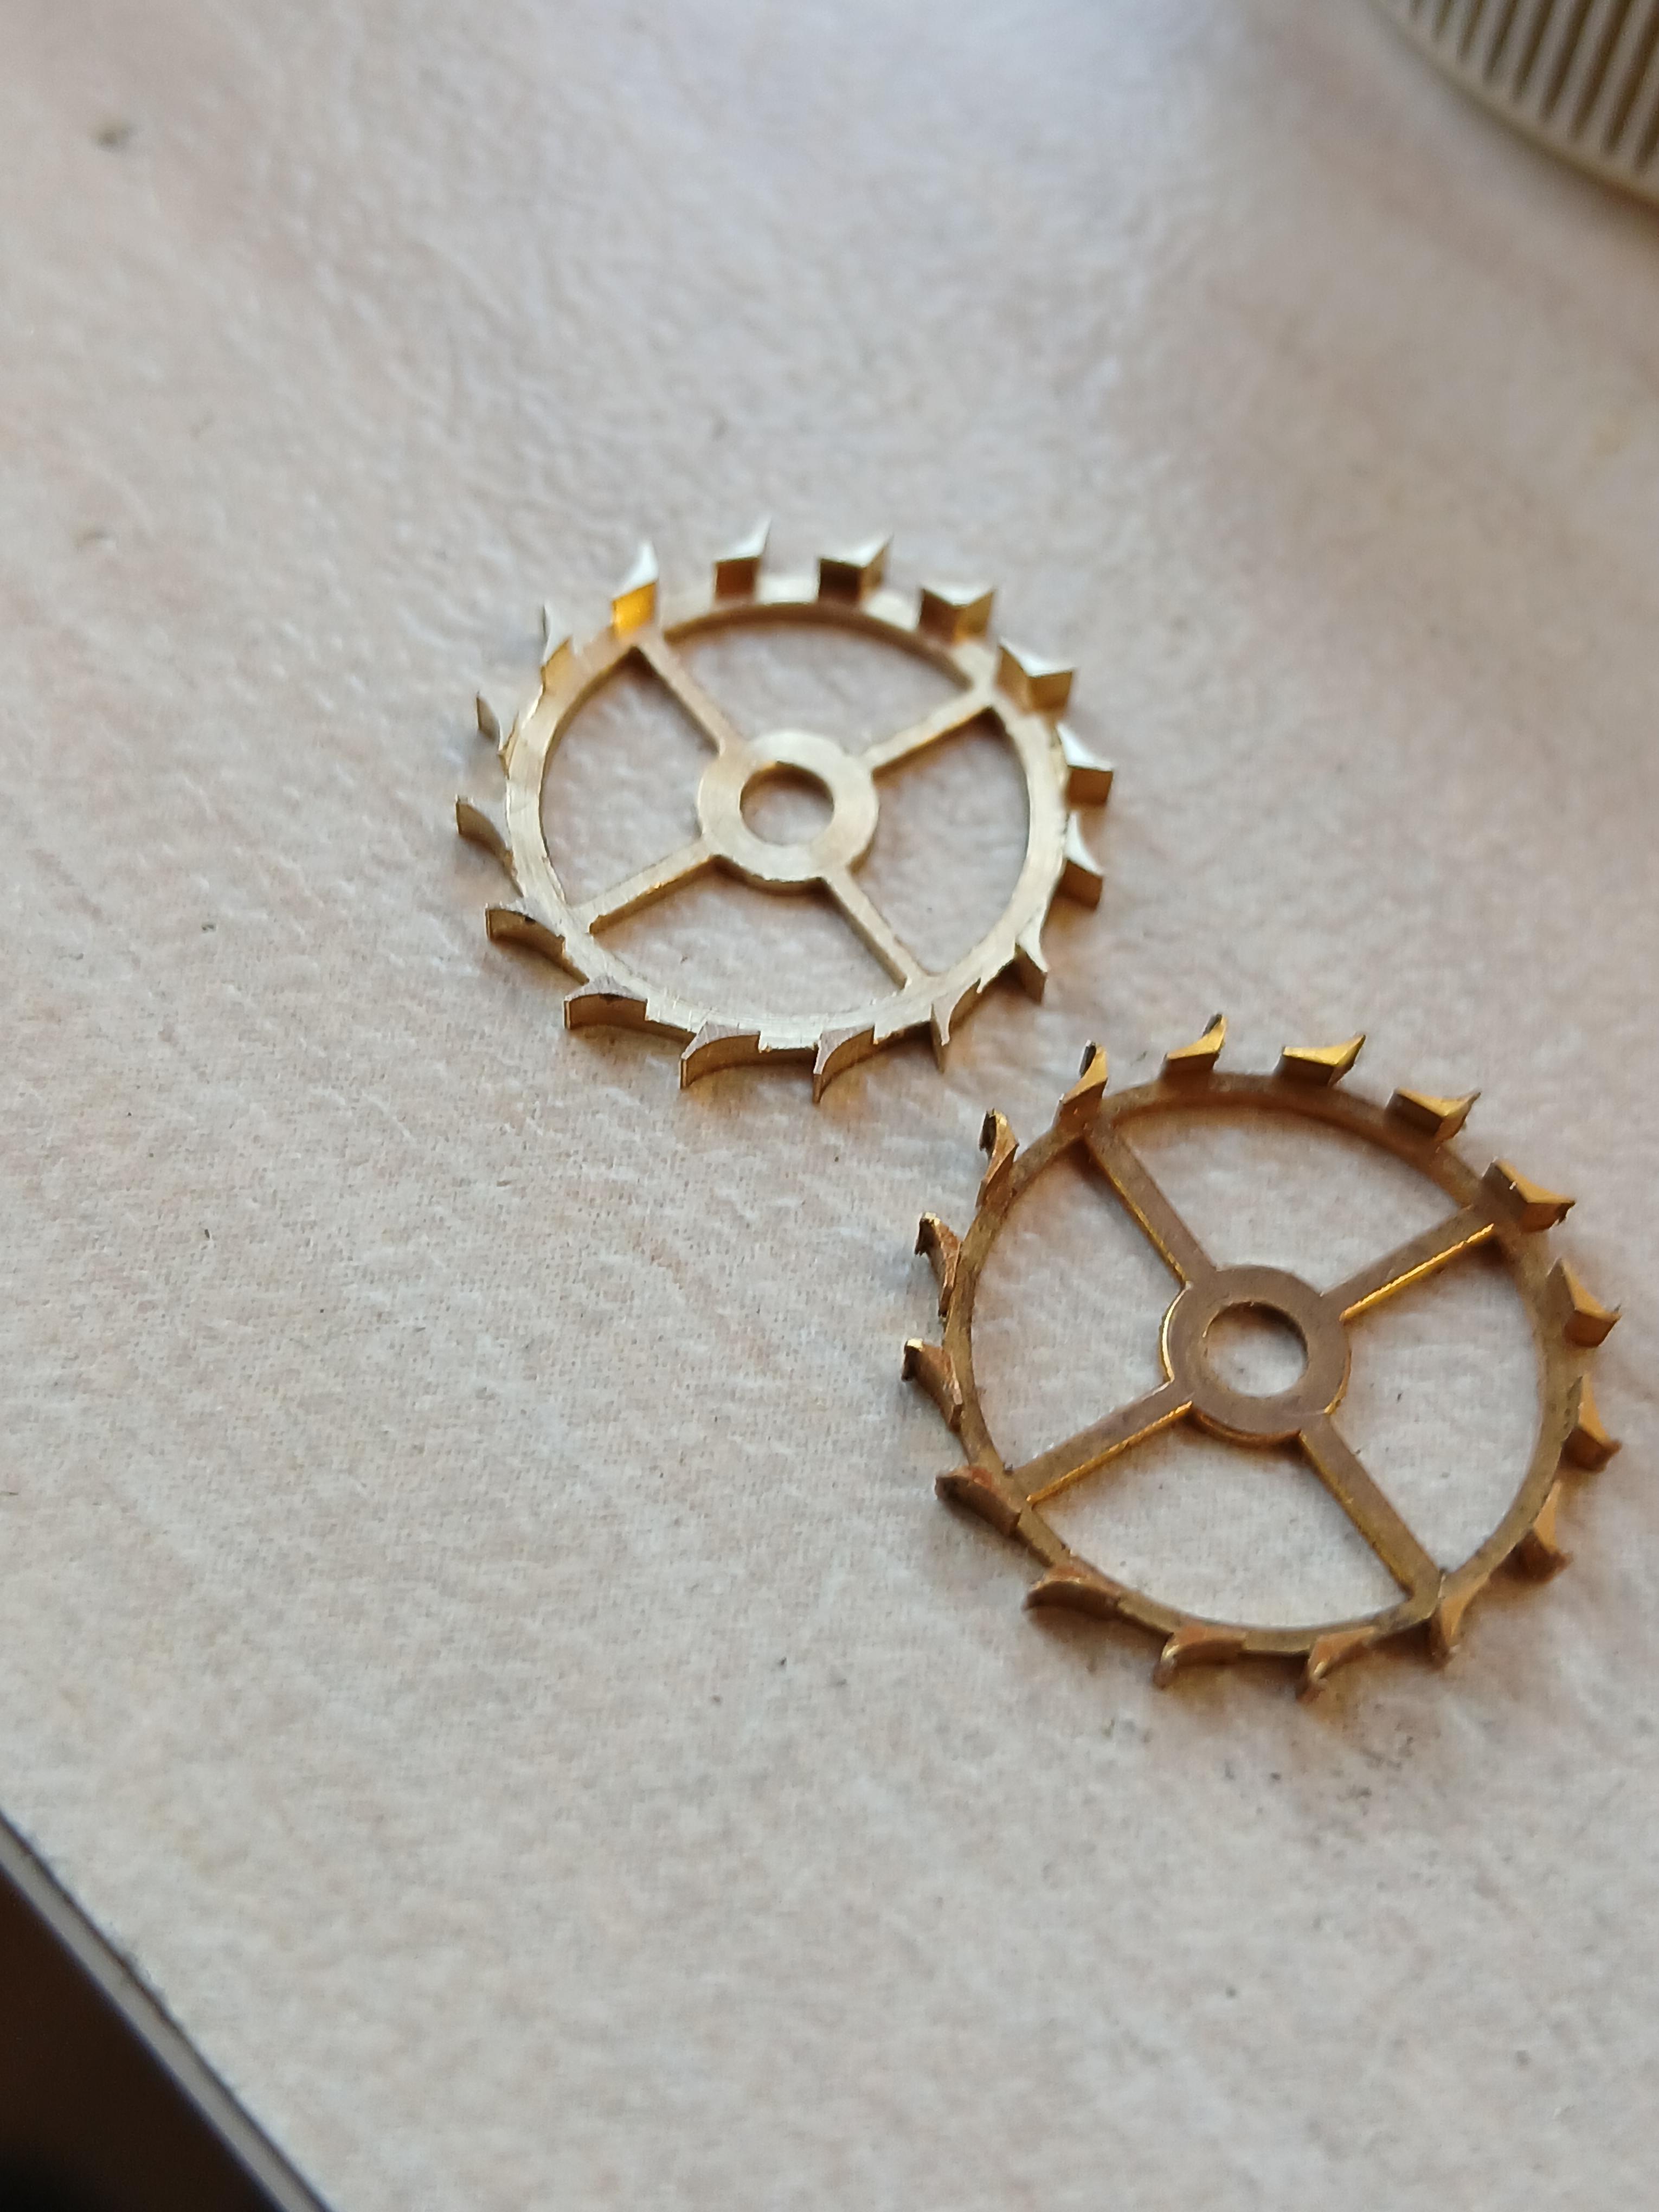
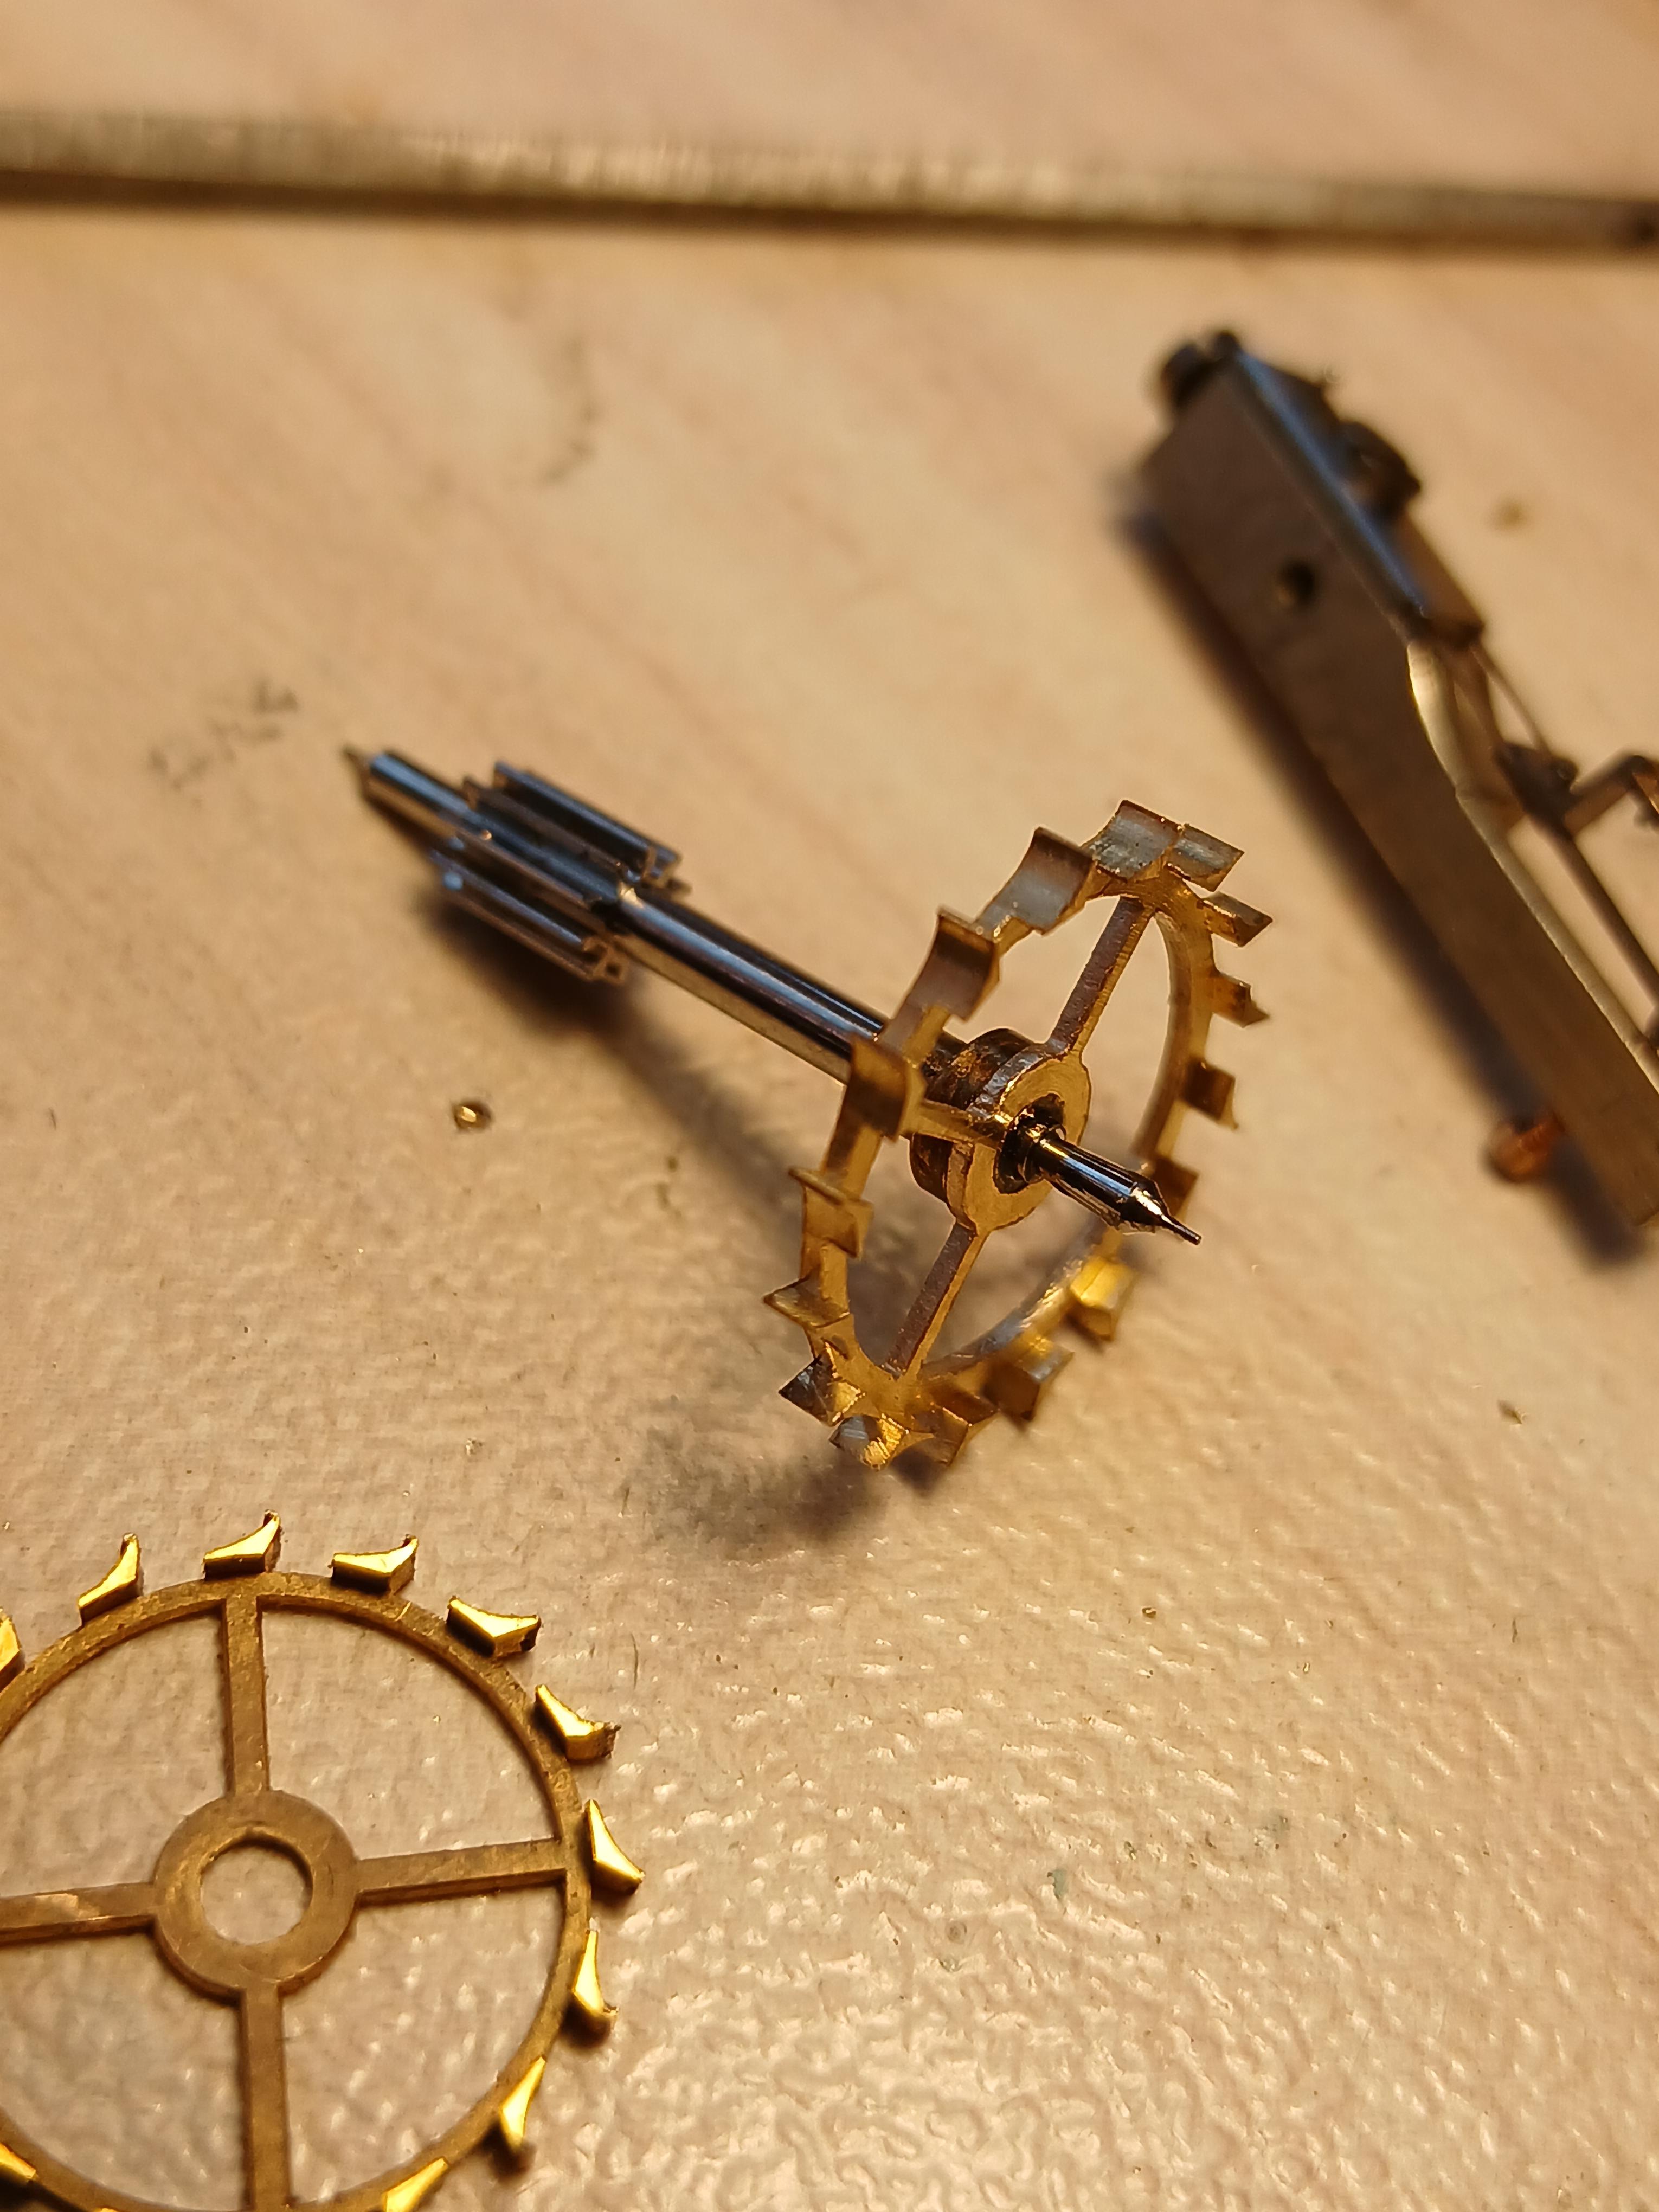
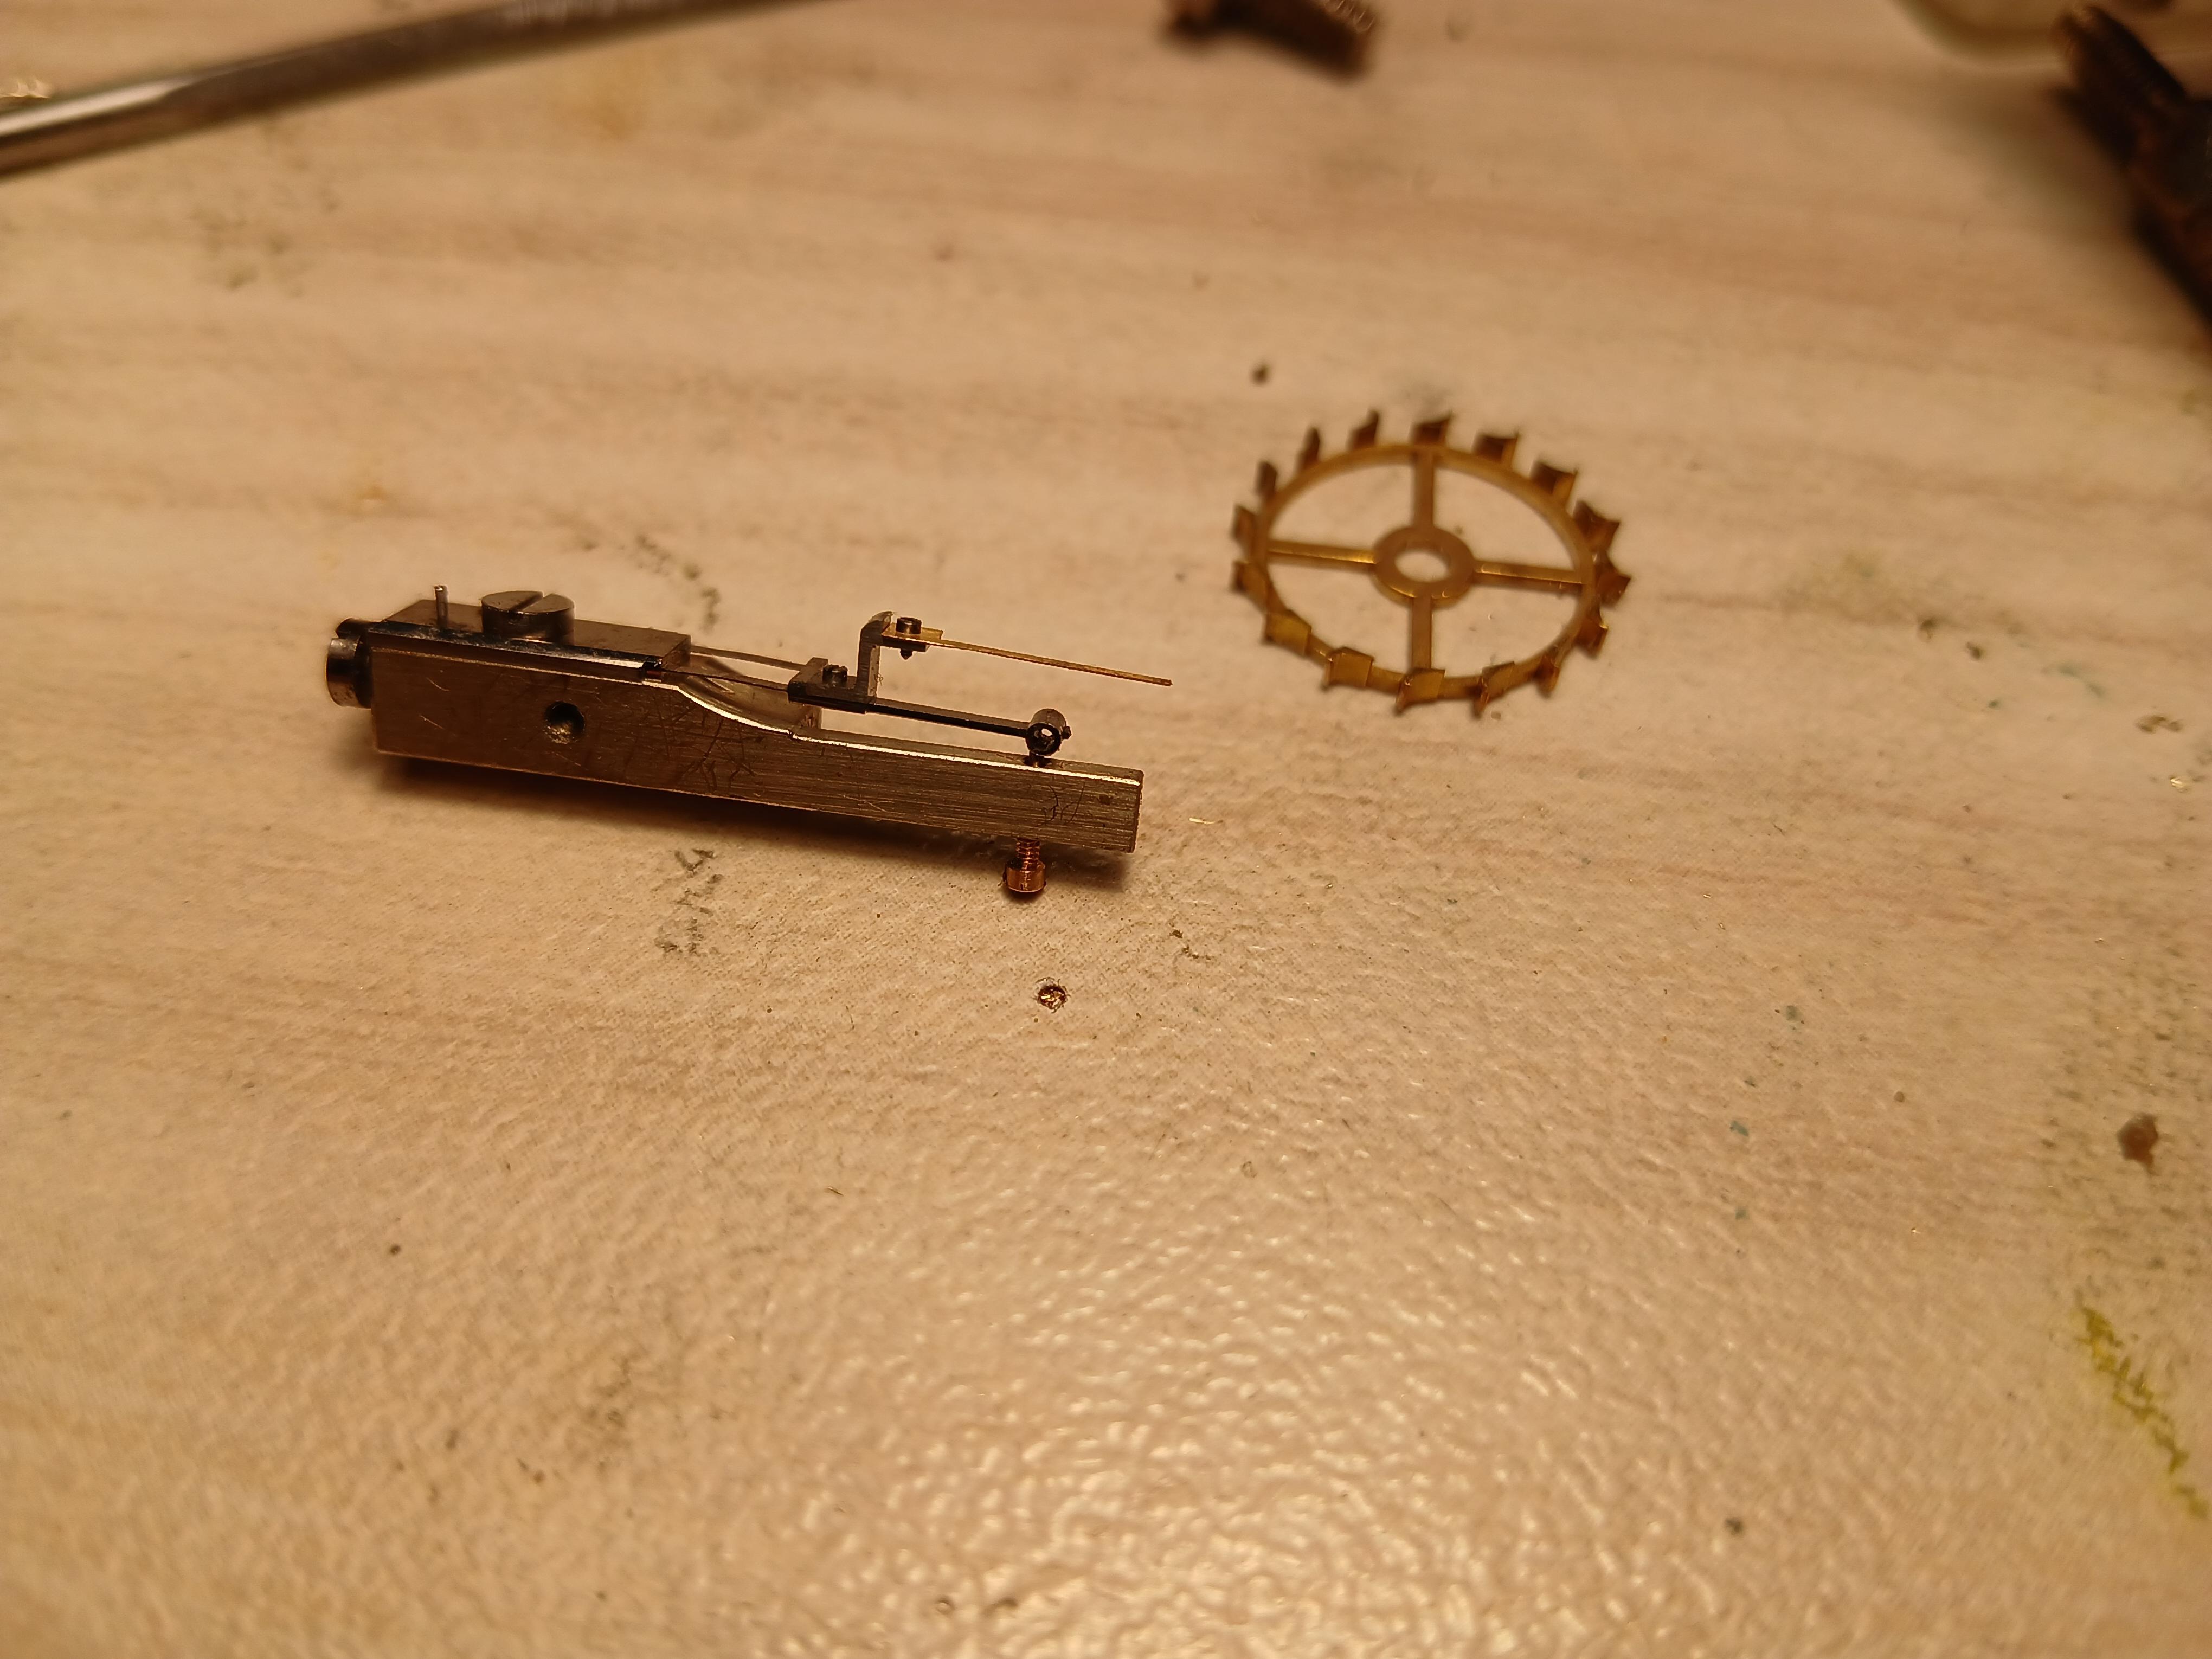
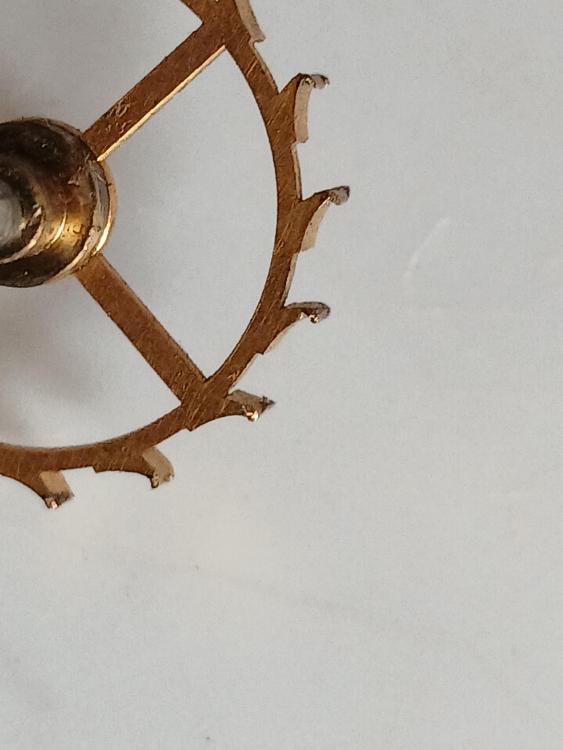
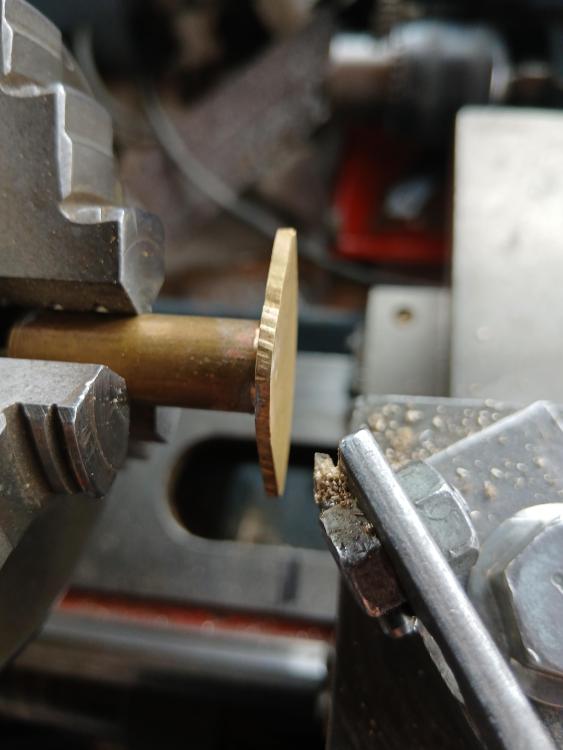
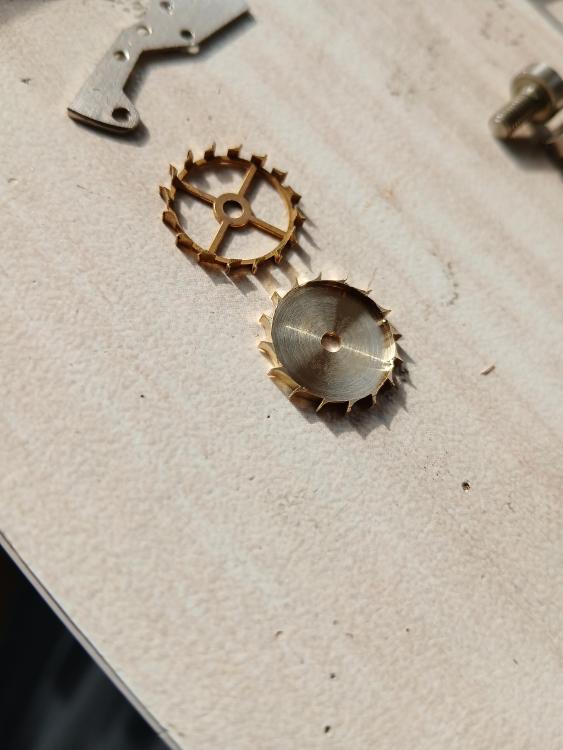
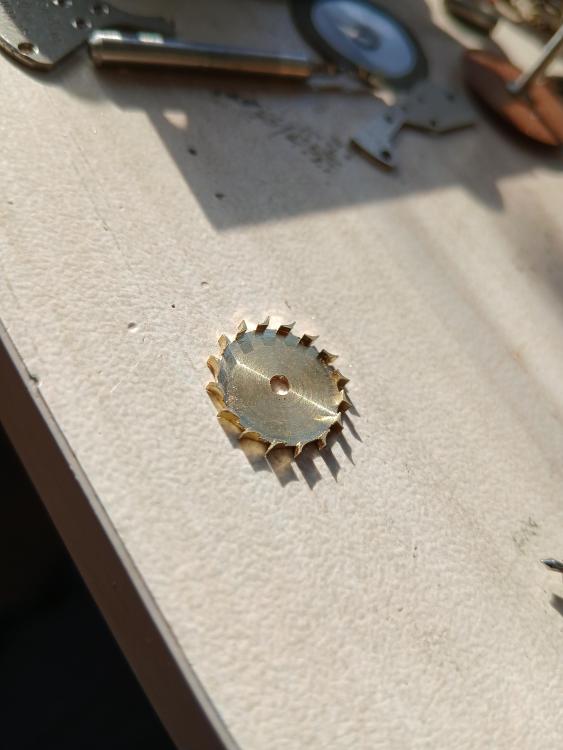
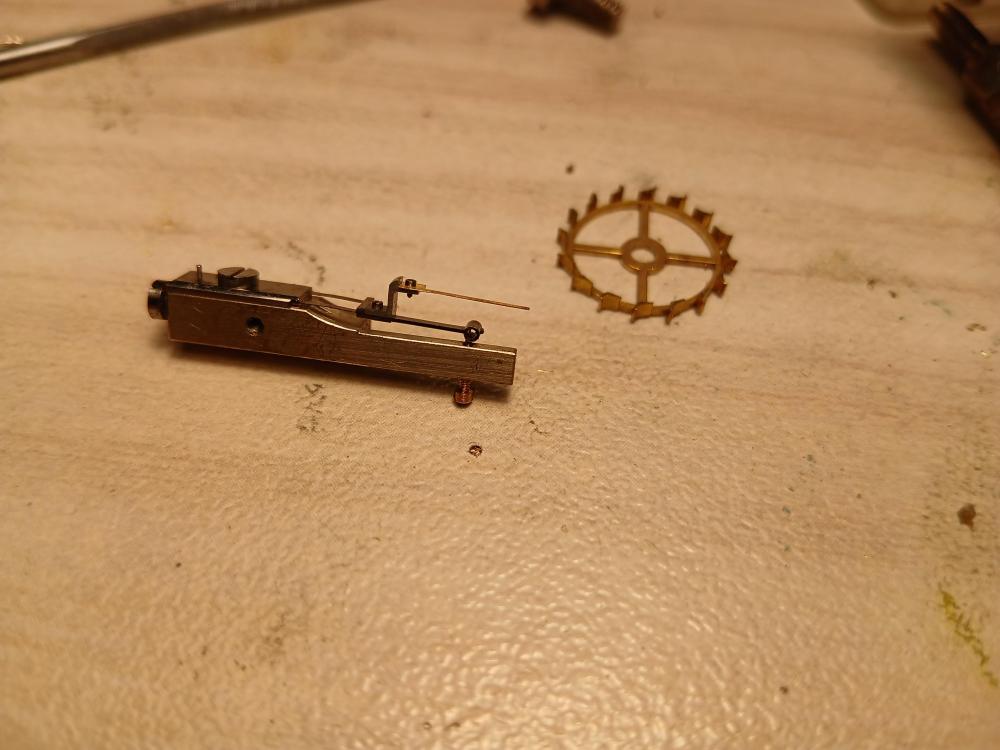
Today I had to make new table for the badly damaged escape wheel. Here are some photos


 2 points
 -
I would be perfectly happy with +/- 20 seconds a day2 points
-
The wobble stick is more certain to keep the hole on center. Then the hole gets bored in the faceplate, with the slide rest. Drill is another very uncertain way to put a hole in a true location. It can work, but it often doesn't work perfectly. I see the part through my optical centering device!2 points
-
I just tested this Chinese tool (mentioned above by @JohnFrum) and can recommend it for people having a limited tool budget. You can remove/install roller tables and install hair springs. The quality is decent for around 40 bucks.


 2 points
 -
I am surprised the superglue didn't hold. Did you allow it to cure 24 hours?2 points
-
It’s a bushing, the hole will/should be concentric with the outer diameter, you don’t need to figure out where it should be. Tom2 points
-
I guess You can use bent oiler, but be careful with the hairspring. But, do You know that the main thing to do when restoring such movement is to sharpen the balance pivot tips (cones)? This is what actually wears in this movements and without the sharpening, the watch will never work as it should.2 points
-
Penetrating oil might do, but be careful not to put to much oil anywhere when you will have the watch face down for hours. If no joy, you ought to remove parts till you get to the stem. In which case; 1-Identify exact caliber version of the movement, there is 6139A & 6139B ,,,, or take plenty of pictures as you disassemble. 2-Google for disassembly images of your movement. 3-You best loosen a bit ,screws to chrono module, to get enough space to discharge mainspring power through the click. 4-With all power discharged, remove the balance-bridge assembly. 5-Remove all parts you see to get to the stem. There you should see the rust or whatever mess is present, scrape off as much rust as you can, then apply penetrating oil. Pictures saves you time with reassembly, as chrono complications are usually confusing. I often forget how Chrono pieces engage to work. Good luck Pal1 point
-
Yes that's the correct hole for the stem release. You could try some penetrating oil in the hole and see if that frees it up. Failing that what's the front like? Can you remove the bezel/crystal and access the dial?1 point
-
You will probably find the suspension is cracked or bent, probably due to moving the clock with the pendulum attached, jamming the block or I have had them where the screw is gunged up and had to be dismantled and cleaned and a light oil. (Windles).1 point
-
Update on Seiko Bell-Matic 4006-6050 Alarm Mainspring Replacement Hello everyone, I want to extend a heartfelt thanks to everyone who offered advice and assistance regarding my search for a replacement alarm mainspring (part number 416805) for my project. Your support and insights were incredibly valuable. I managed to acquire a 4006 main base, which includes the alarm spring already installed. This solution will allow me to proceed with my servicing project effectively. I sincerely appreciate your help. Once again, thank you all for your contributions and support. It's wonderful to be part of such a knowledgeable and supportive community. Best regards, TimepieceTinkerer
 1 point
 -
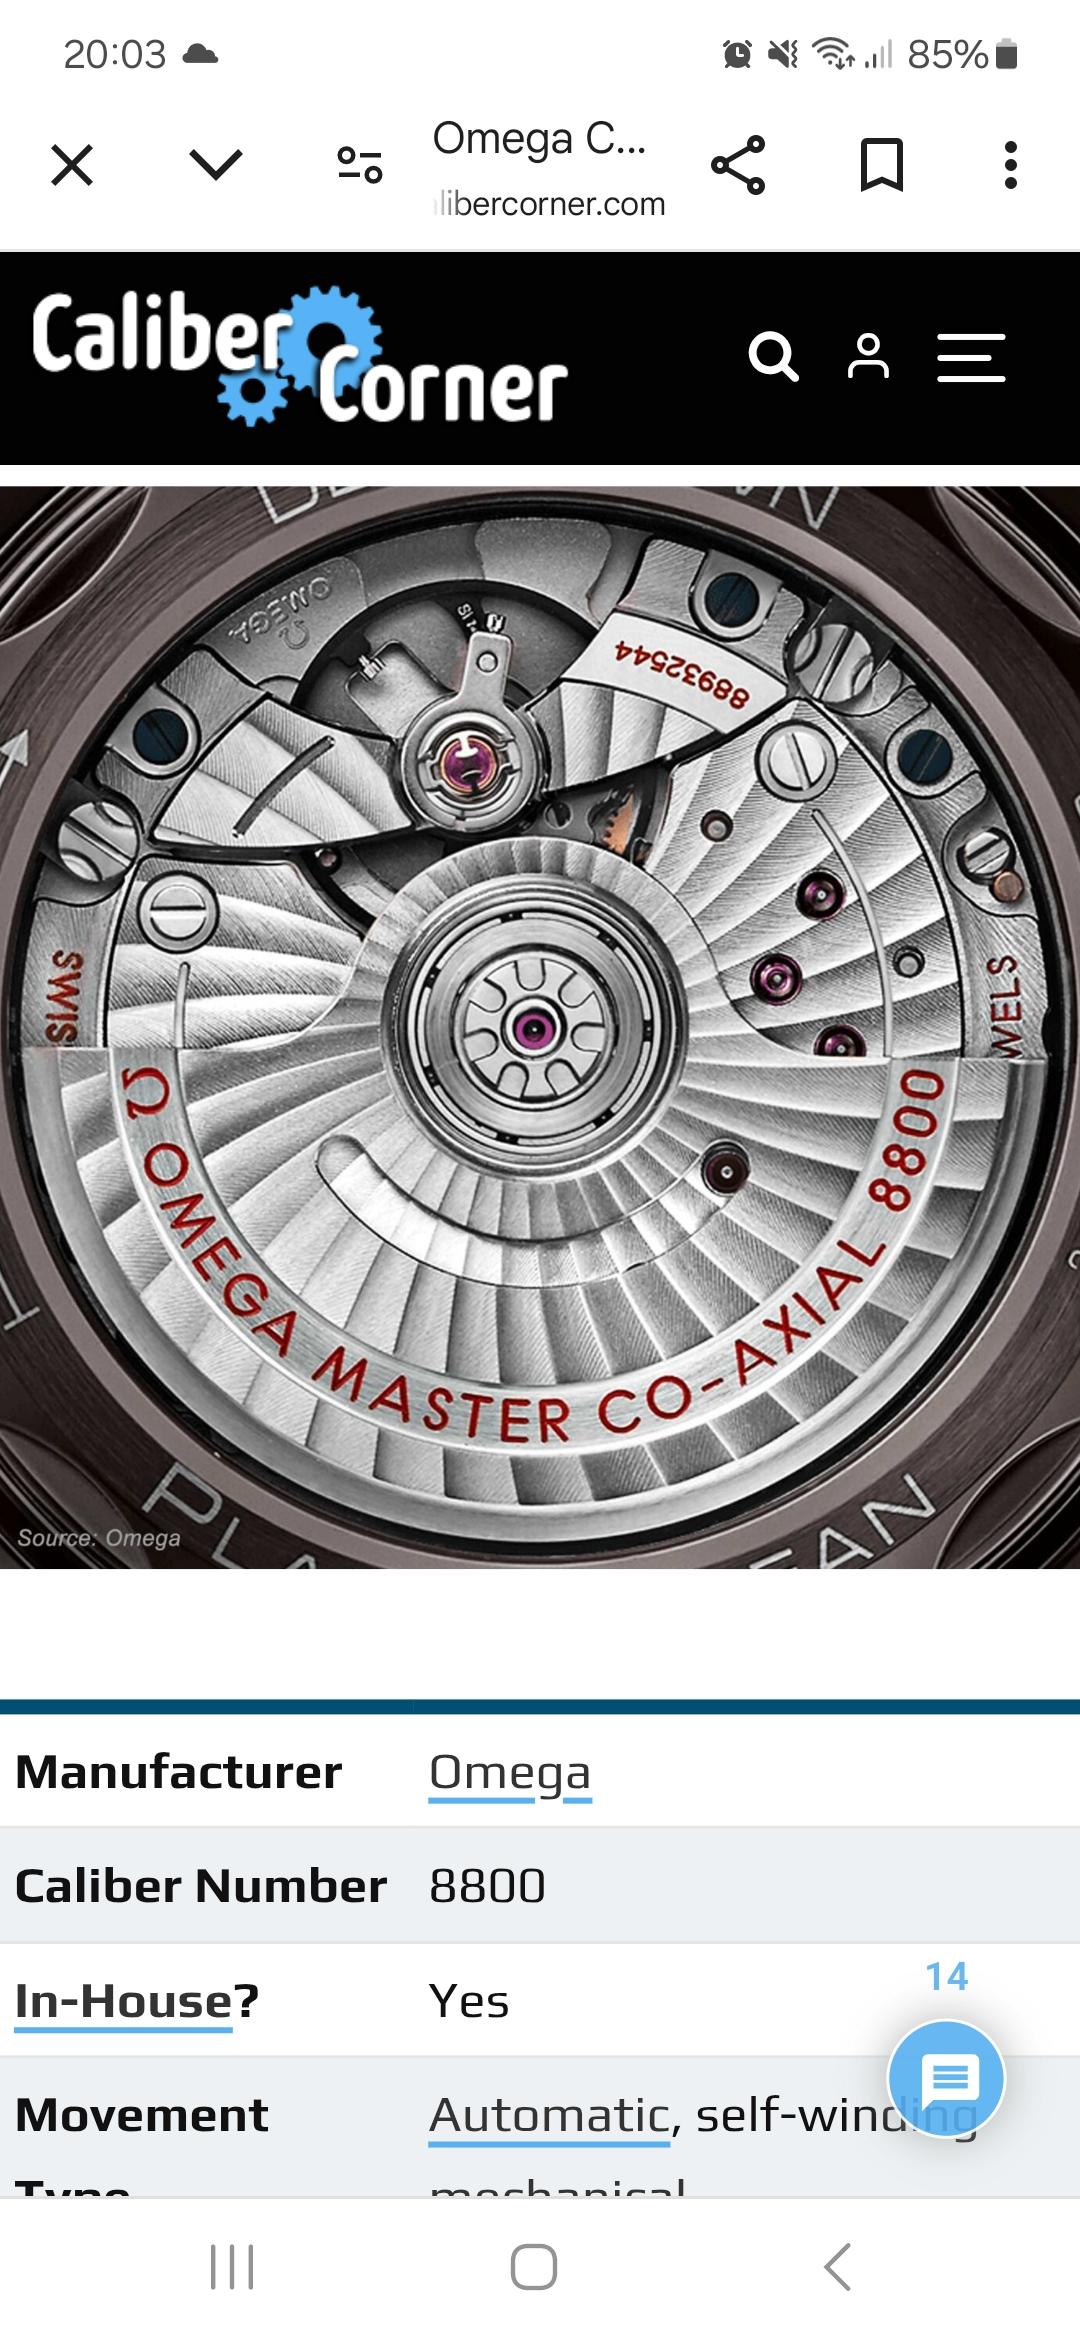
There are real Omegas with linked letters?1 point
-
A bent oiler as Nev says works fine - I actually do it often with a straight oiler. I do tend to remove the balance but if you are just learning, you may avoid it on your first few Timex service attempts because reinserting the hairspring through the regulator and pinning it does require tweezer dexterity that you might not have developed yet. When the end shake screw bearing is removed, the entire balance can be lifted up with tweezers, providing plenty of space to get an oiler in there to fill the V-conic cup half way. Are you following a Timex service manual? This is the most common M24 but the site has most others as well. https://heritage1854.com/m241 point
-
One thing I've noticed since I started using Clockmaster for my clock regulation is that clocks typically do not run at a precise regular speed throughout the day, at least not this kind of clock. This one needs a complete cleaning and overhaul, as mentioned. But when you have it in good condition, if you watch the going rate over a few hours when measured precisely, you see the speed vary throughout the day. It's the average speed that can be regulated. The front adjuster is for very small adjustments, but you can end up chasing your tail. @rjenkinsgb is right, as you turn the dial adjuster, the block moves up or down precisely, driven by the lead screw. The point at which the suspension spring exits the adjuster is moved, altering the effective length of the pendulum. Each time you make a very small adjustment you need to leave it alone for a couple of hours to settle. I typically start the clock running to its theoretical beat rate using the pendulum adjuster, and then I fine-tune the average rate using the dial adjuster over days or even weeks. See the following example for a clock I had on final test. I was able to regulate this one down to +-4 seconds per day, but you can see the white trace showing the average rate approaching zero as I adjust it, but the green one showing how it varies over time.
 1 point
 -
Hi. I have done many of these French type clocks. And as Old Hippy said it in a terrible condition so massing about with the adjuster is not going to prove anything untill the whole clock is cleaned. Then it’s time to se to the adjustment. As @rjenkinsgb mentioned the spring length is adjusted via a wheel on the top of the block from the front of the clock as mentioned by @oldhippy using the small end of the key ( double ended) or a pocket watch key. Turning the wheel raises or lowers the spring altering the effective length, speeding up or slowing down the clock. The spring MUST be free in the block but with very little play. The corse adjustment is by moving the the pendulum bob up or down, the fine adjustment by the key. Once you get it apart check that the suspension spring is not cracked , broken or bent. If so a replacement will have to be found (Cousins U.K.) They vary in length and width. Once cleaned and set up they are good and reliable clocks.1 point
-
Having slept on it - and realised that I have now got a suitable lathe - my new approach would be to turn a bit of brass to fit the ratchet wheel outer bore and drill the centre to act as a guide to drill though as a guide for the bushing drill.1 point
-
I guess the brass step would then be drilled out along with the new hole for the bush Nev. I was thinking the same a while back Cees, I cant remember when or what I was looking at, I expected the bearing hole to be concentric with the milled circles , but it wasn't, it will have been a cheap movement though. Theres a great video by " times radical " where he bushes the plate on a Rolex. The guys ways are...a bit controversial . But the tool he used was very nice. A hand driven faceplate with a rear mount holder for reamers. It looked very accurate.1 point
-
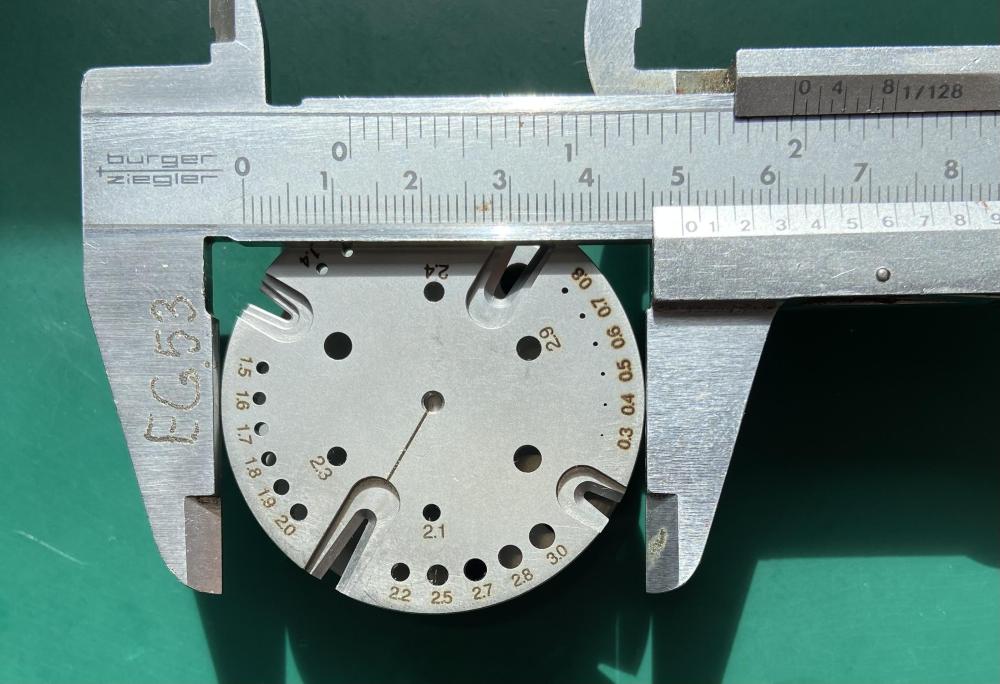
I'm no expert on faceplates (still making the clamps for mine) but could either one of these diameters be used to help center the piece? Or would the hole originally be machined in another setup?
 1 point
 -
Yes. You can use epoxy. No, acetone won't dissolve epoxy. But epoxy comes off quite easily when heated. I would use 5-ton epoxy and glue a huge nut to it. Then let it cure 24 hours. Or you could do it the redneck way and use a big adjustable wrench.1 point
-
The stone is acting against brass, both glass and tungsten are significantly harder. I would use glass.1 point
-
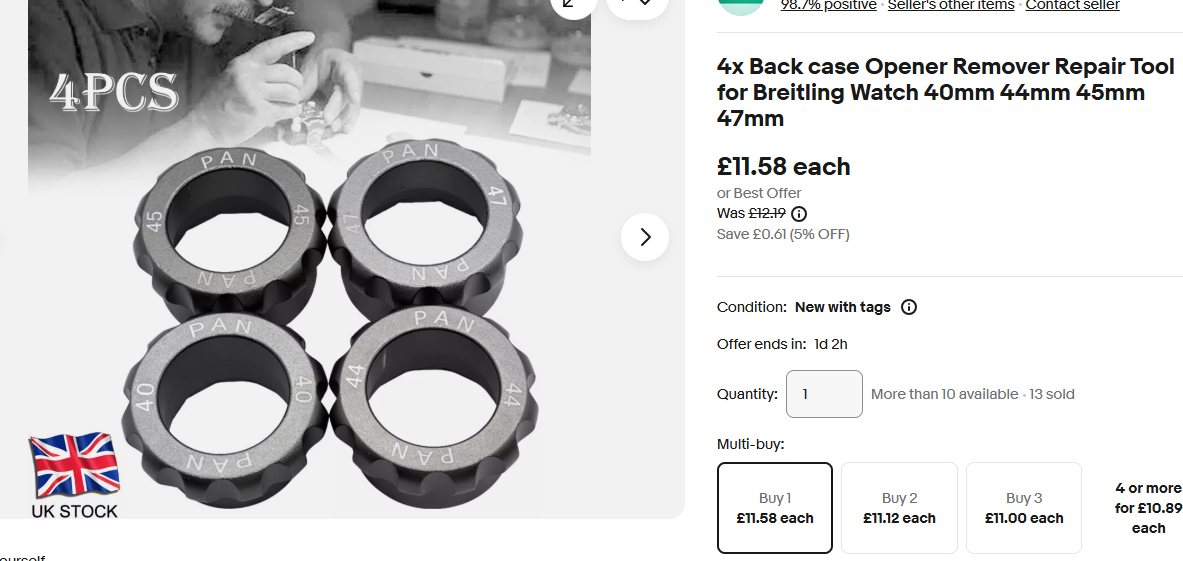
You can buy tools for this from Amazon or ebay
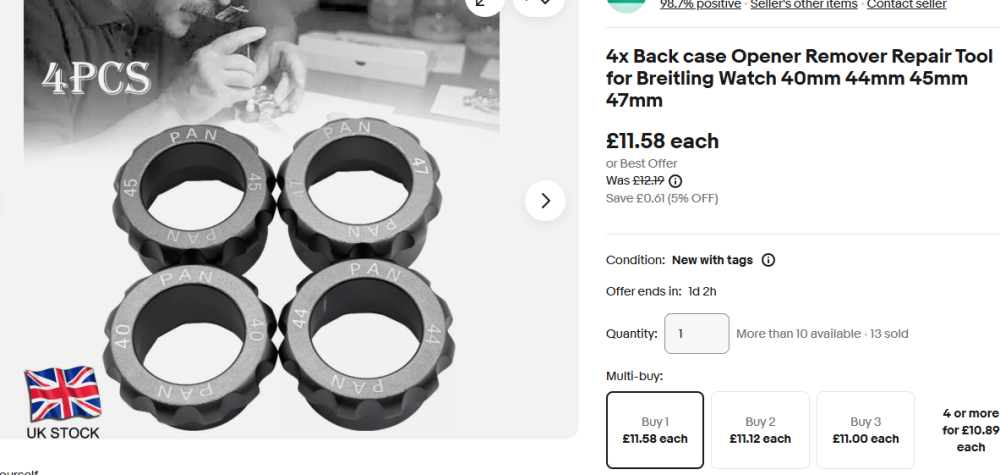 1 point
 -
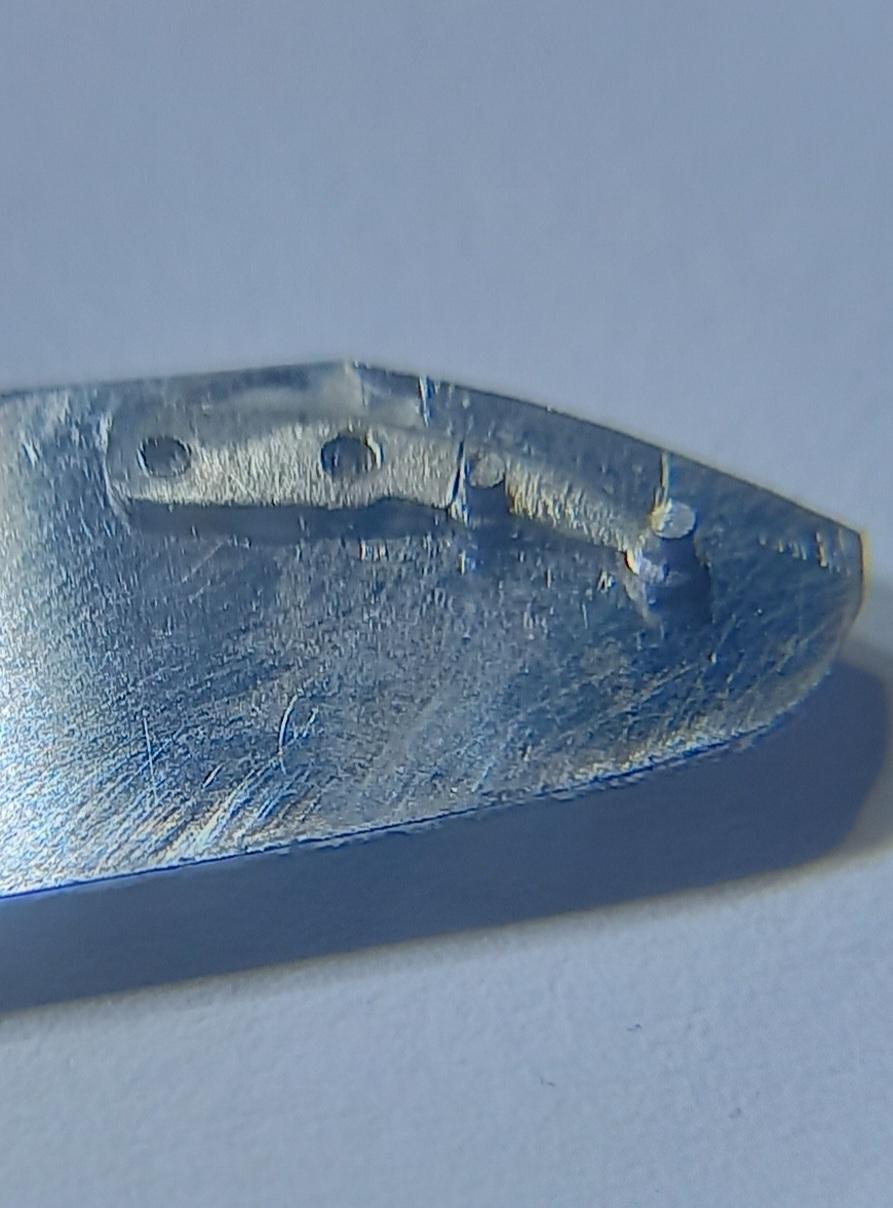
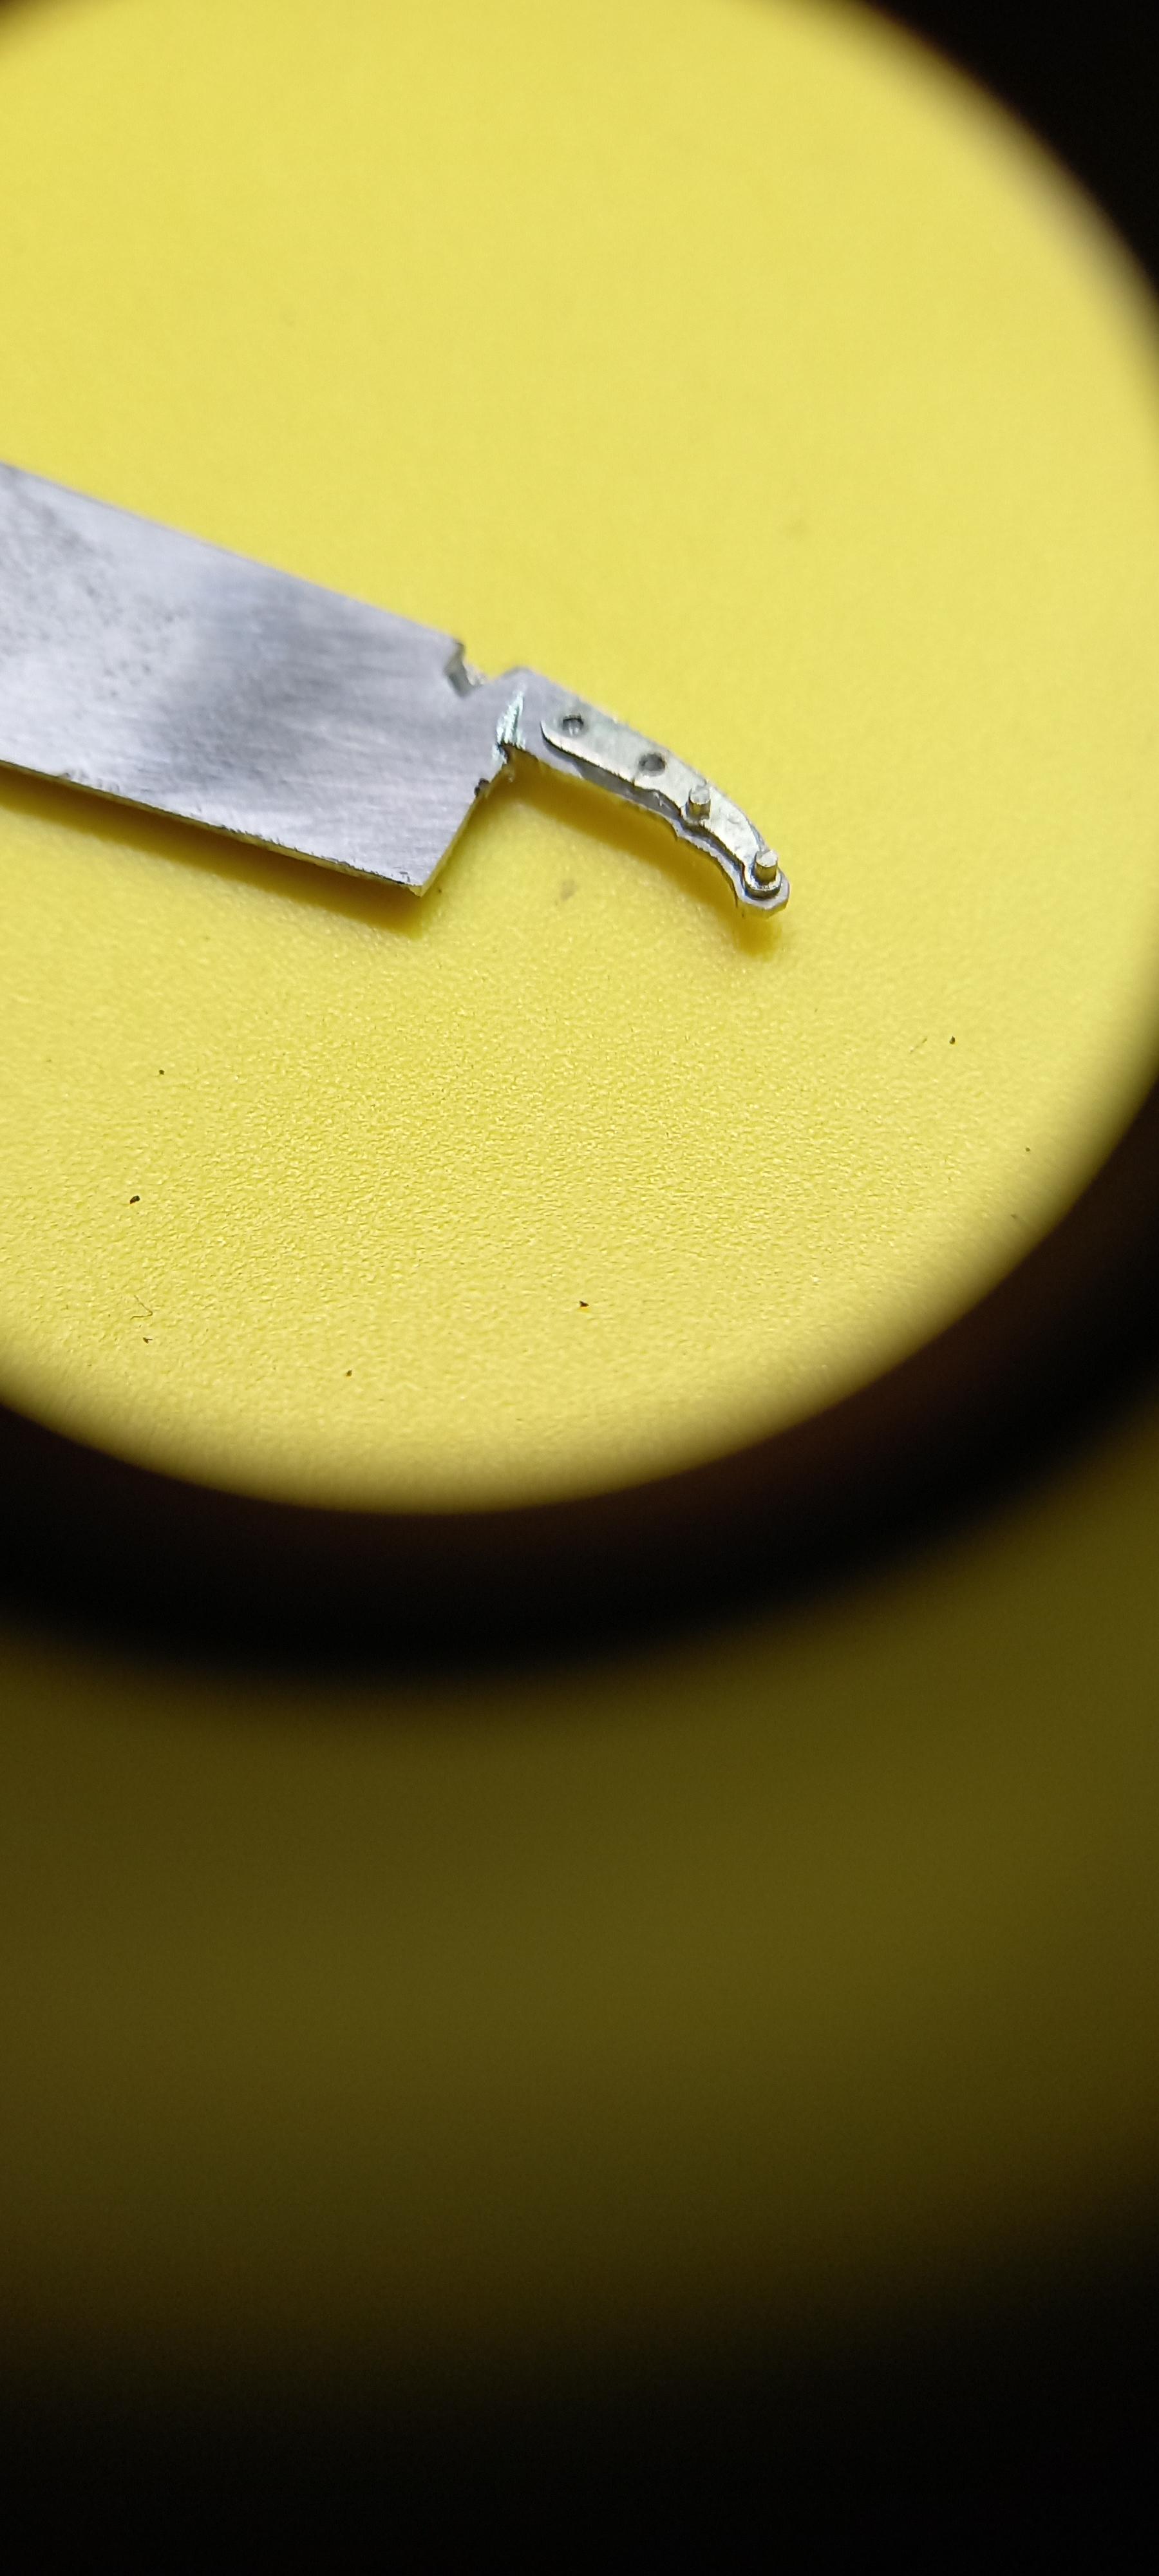
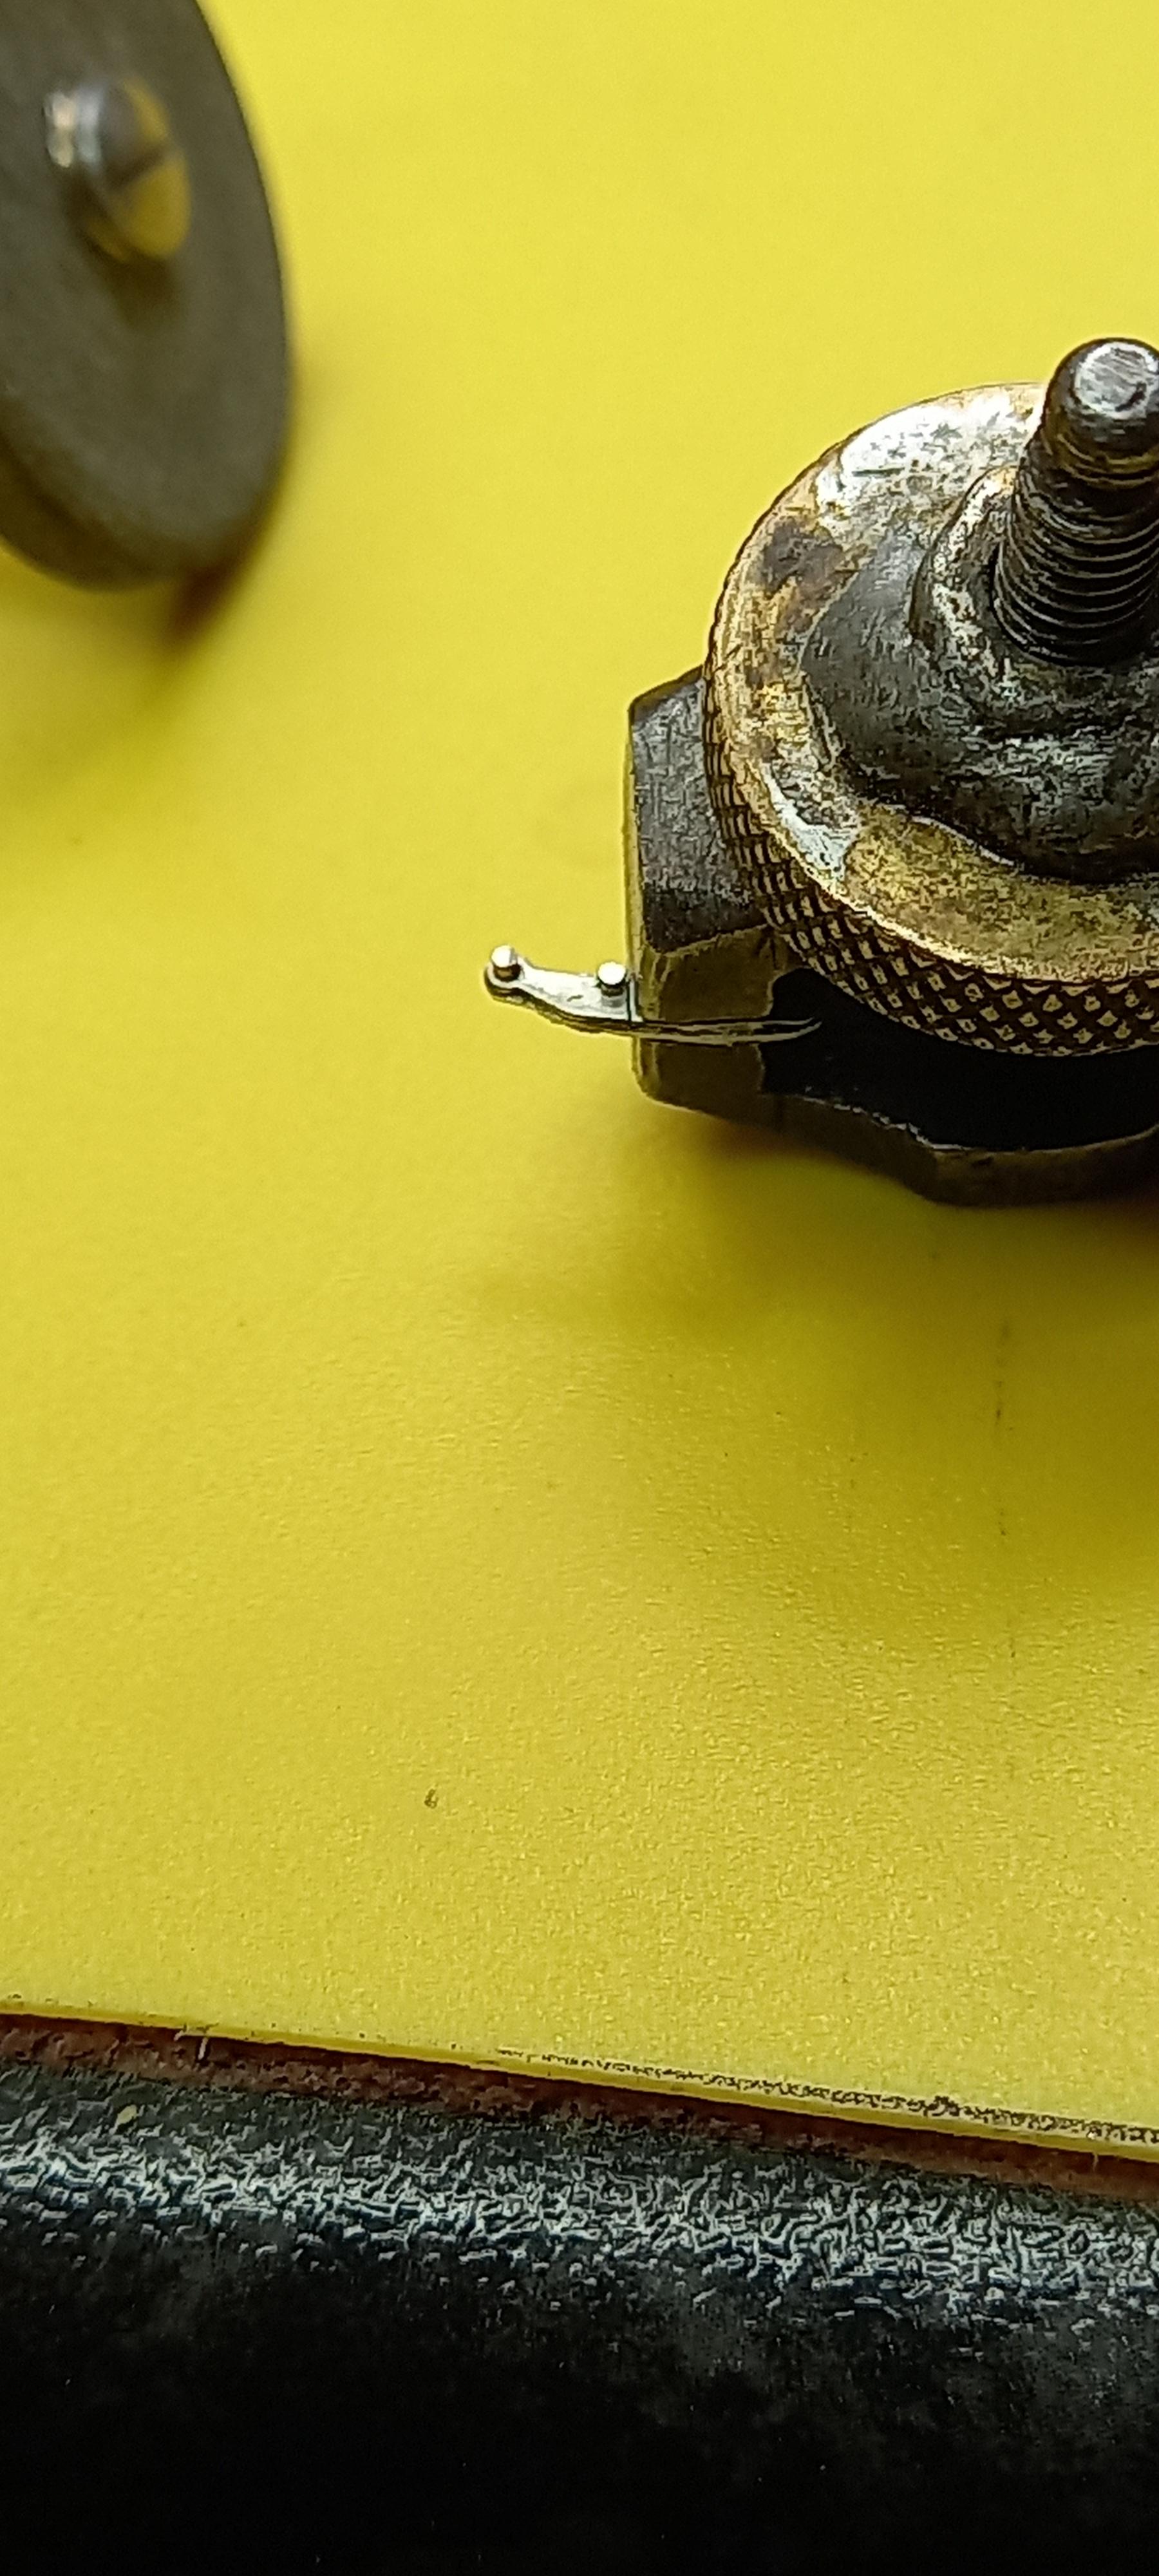
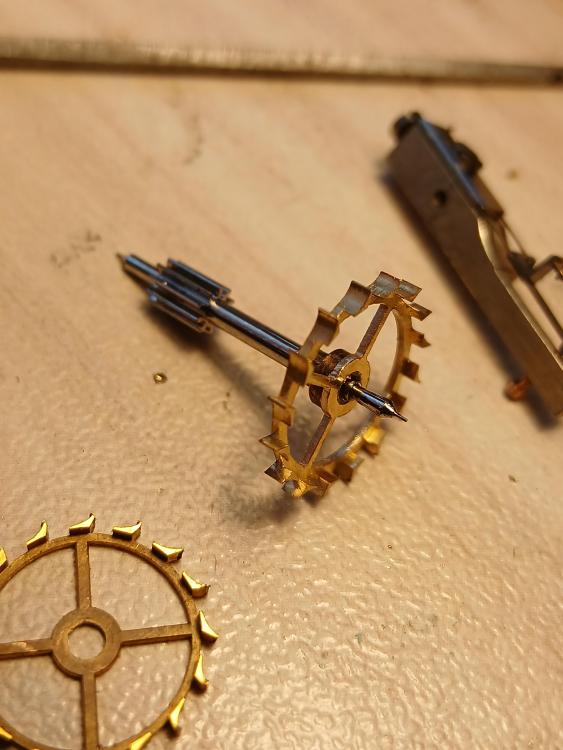
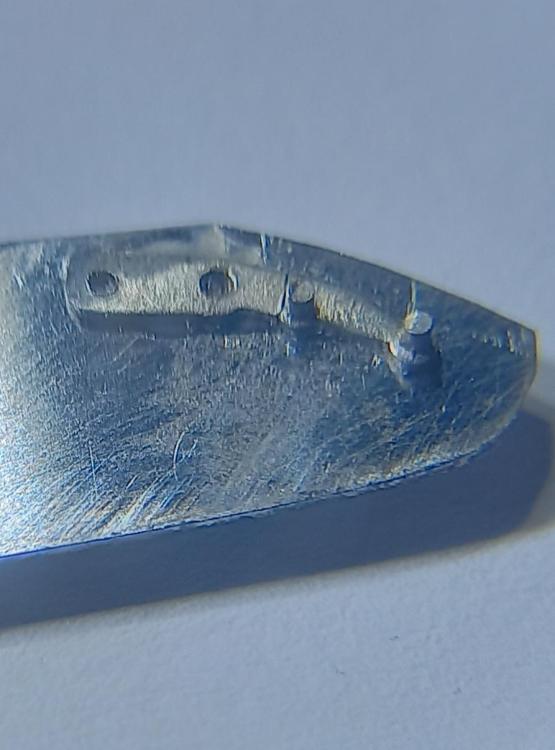
Today I had only time to repivot the balance staff (piece of cake), the detent spring left for tomorrow (i hope) Here is a picture of the detent spring. The stone is missing, that's how I received it. The part that supports the little golden spring is sheared and missing I have to decide if to make the missing locking stone out of glass or of tungsten carbide. Glass - will look more authentic, but carbide I guess will be firmer... Ideas? Well, with brass the things are easy to do, but there are different types of brass. The hard brass is easier to work with. Anyway, the higher revolutions are - the better. The most important thing is the cutter to be sharp and to have proper chamfer (to be backed off - hope to use correct terminology as looking at the dictionary), then the cutting will be clean and easy
 1 point
 -
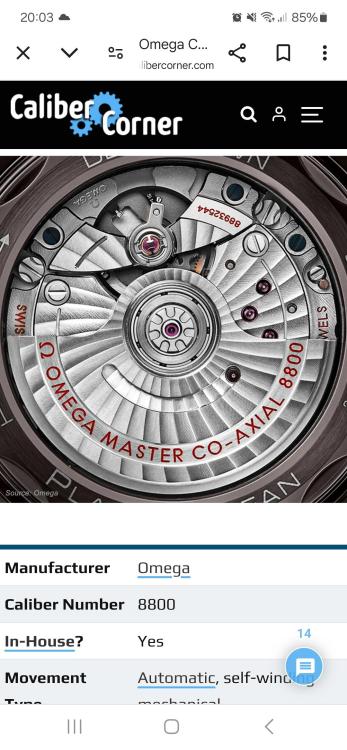
Movement is totally wrong, mines the 8900 but decorated the same.
 1 point
 -
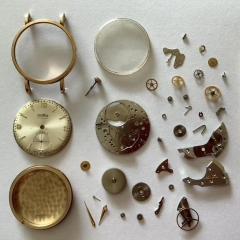
You guys never fail to run with a fun post. The two push buttons have a vital function - decoration. "Did I service it ?" Well I was still looking for a big enough hammer when the owner got the message and departed. The Crown and stem had already made a run for it. I remember buying a "Bargain" Seiko some years ago which sort of ticked. Inside was an early Seiko Mechaquartz. I was so impressed it's still on my shelf. A priceless rarity. With original box and toilet papers. Make me an offer. Neil
 1 point
 -
The tapered hour hand and the solid strap links were the big giveaway for me. Without any direct comparisons, it's a very good likeness though. What about this one? very knocked about and has had a new crystal:
 1 point
 -
You could remove the middle of the fixed bar and leave short pieces at each horn. Then use negative spring bars. However you will considerable lower the value of the watch doing that. Frank1 point
-
Hello and welcome to the forum.1 point
-
Hello and welcome from Leeds, England.1 point
-
Thank you for your introduction and welcome to this friendly forum. We all look forward to your contributions and continued involvement. If there is anything we can help you with don’t be afraid to ask. Nice clear photos can help a lot.1 point
-
Man, when these guys fail it's usually dramatically! 25 years ago one could still find (some) spare parts for the UN chronometers, but not anymore. There's a fellow in the U.S. who had some locking stones made for Hamilton chronometers and sells them for a fair price. I bet they would work on a UN. Hope the detent survives; can't remember if the spring on these is a separate part? Great looking escape wheel there!1 point
-
Hi, I restored a Bell-Matic in 2023 and used the spring Andy suggested "GR40187" for the alarm spring which was purchased from Cousins in the UK I did have an small issue which was overcome, I think it was the arbour was a lot larger than the eyelet in the aftermarket spring. TIP: don't forget the install the washer part no: 419.805 before installing the spring1 point
-
Have you looked here? https://www.cousinsuk.com/product/external-thread-tubes1 point
-
well those are all nice suggestion but, there is no plastic movement holder for this model. Rather it is a front loader and has a dial ring the fits between the dial and crystal. This hold the assembly in place.1 point
-
If it's a fake then it doesn't matter what it is as it needs to be destroyed.1 point
-
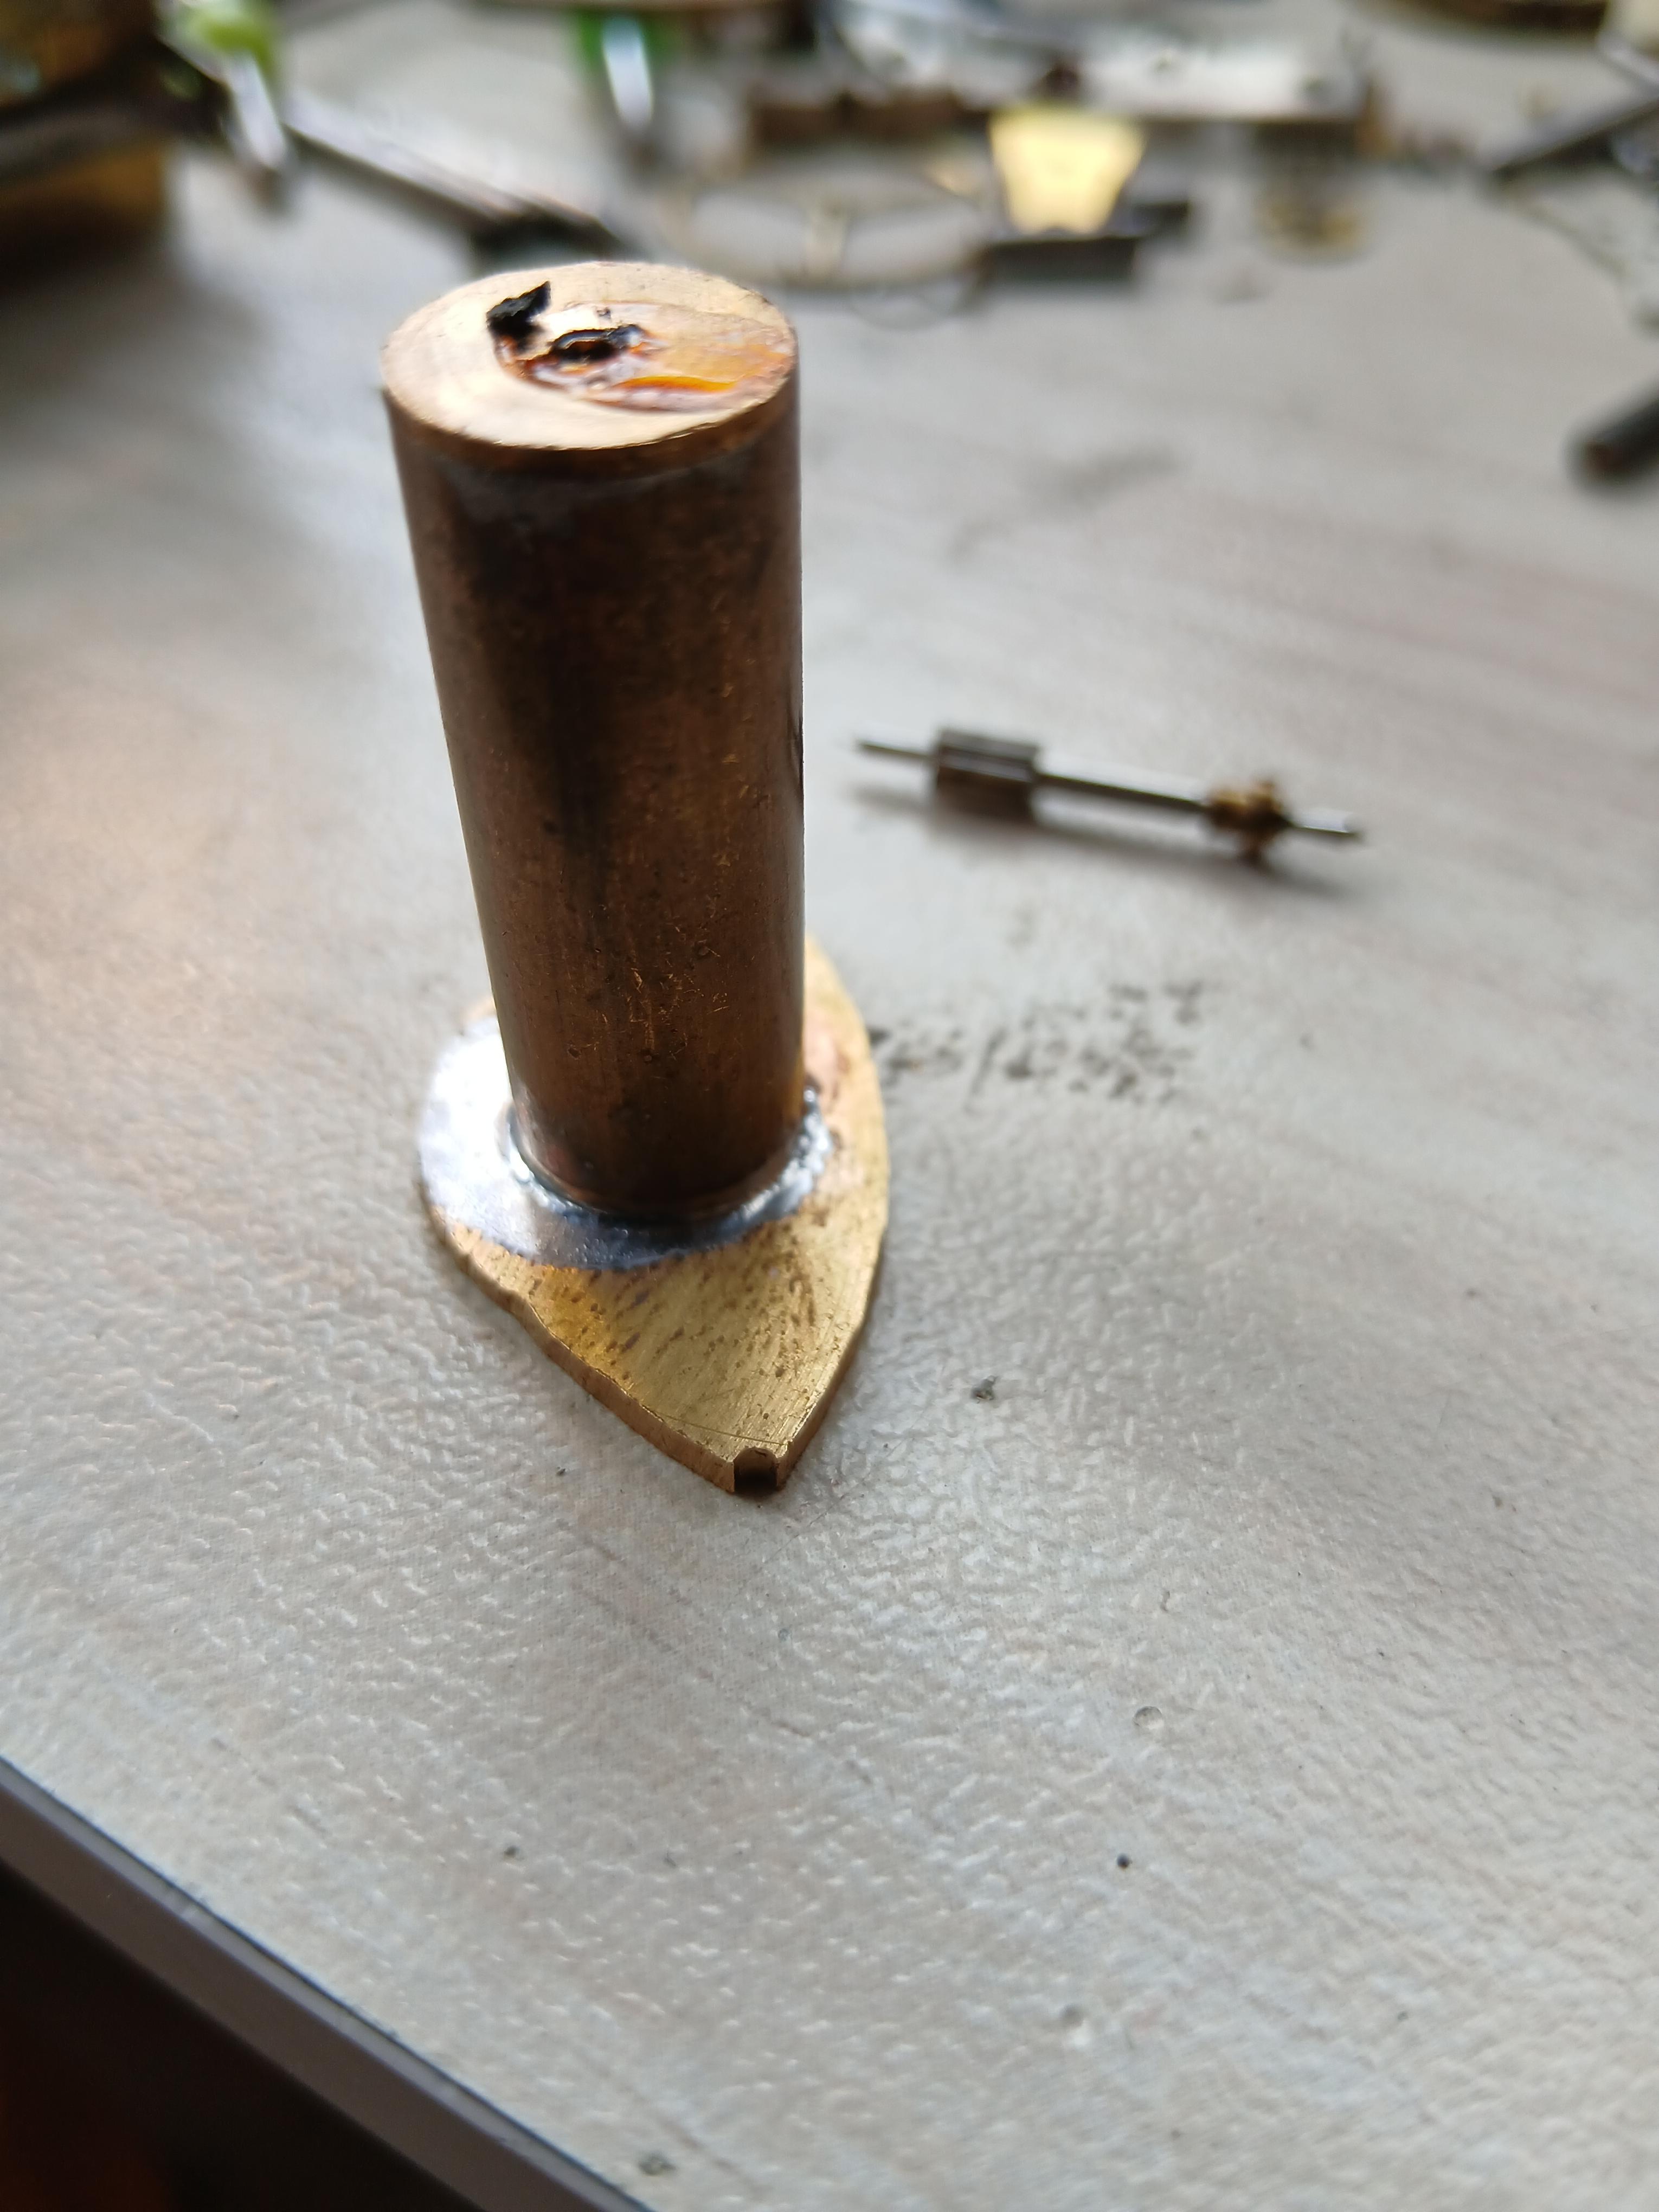
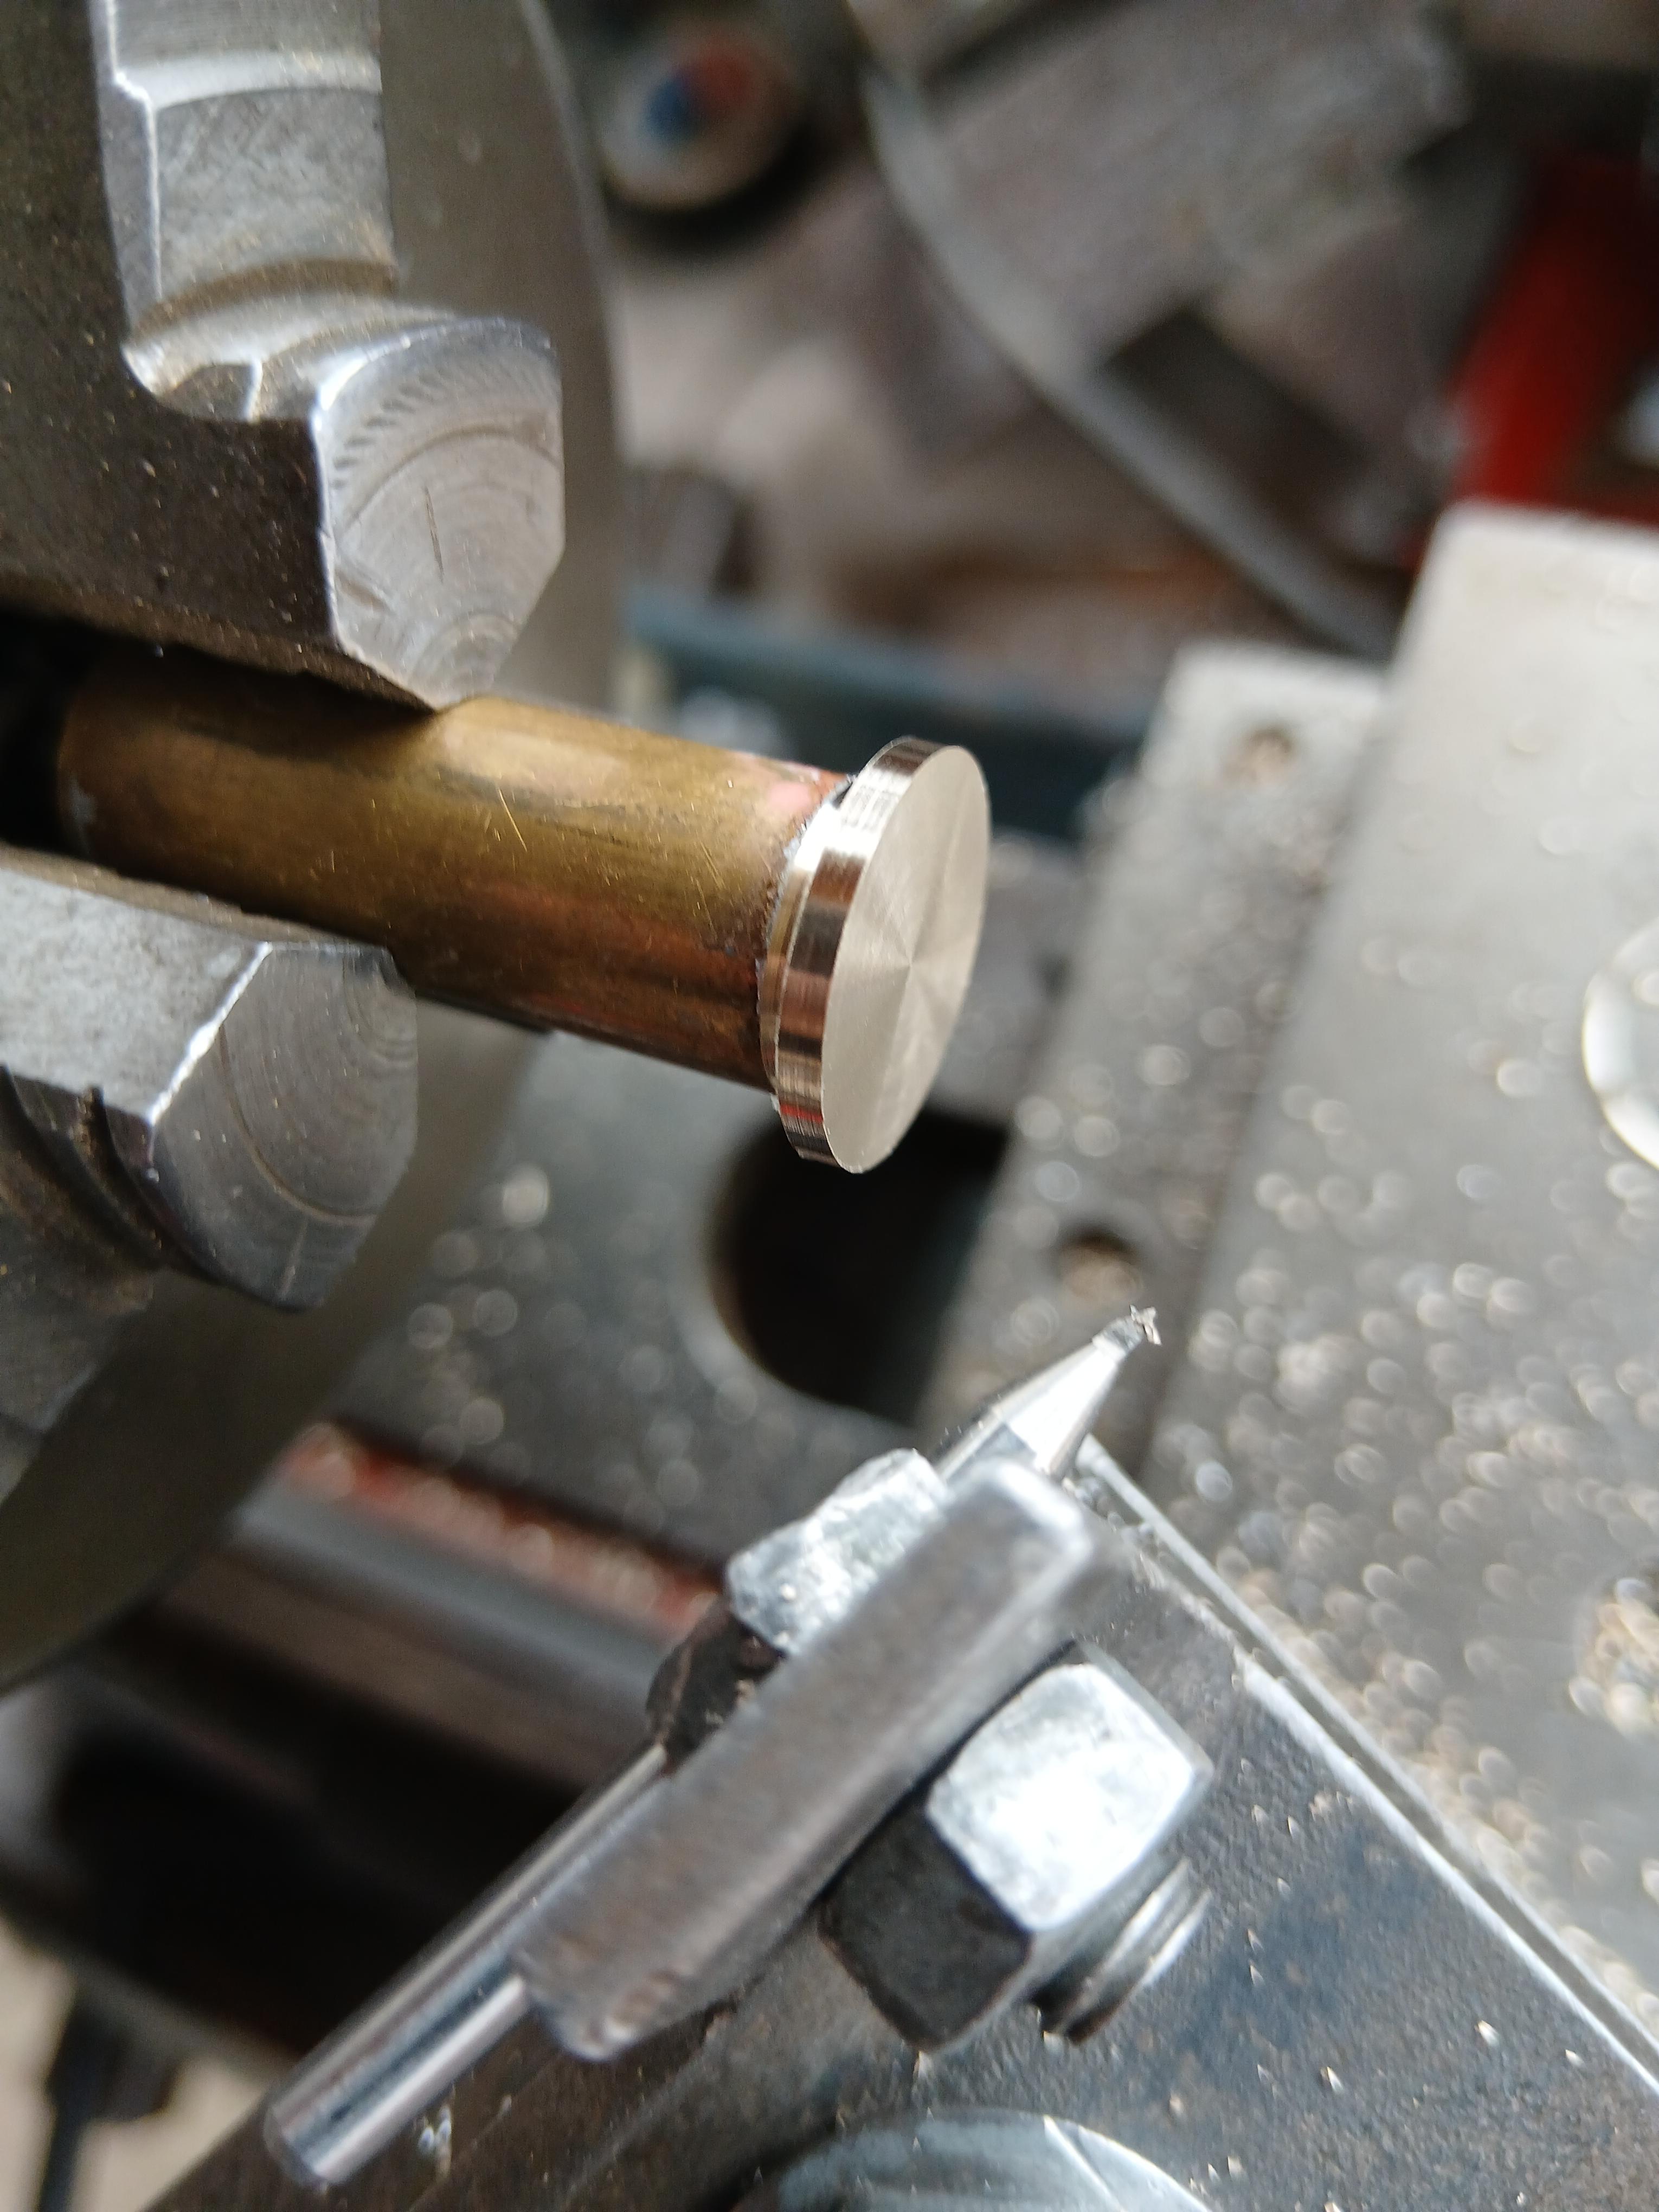
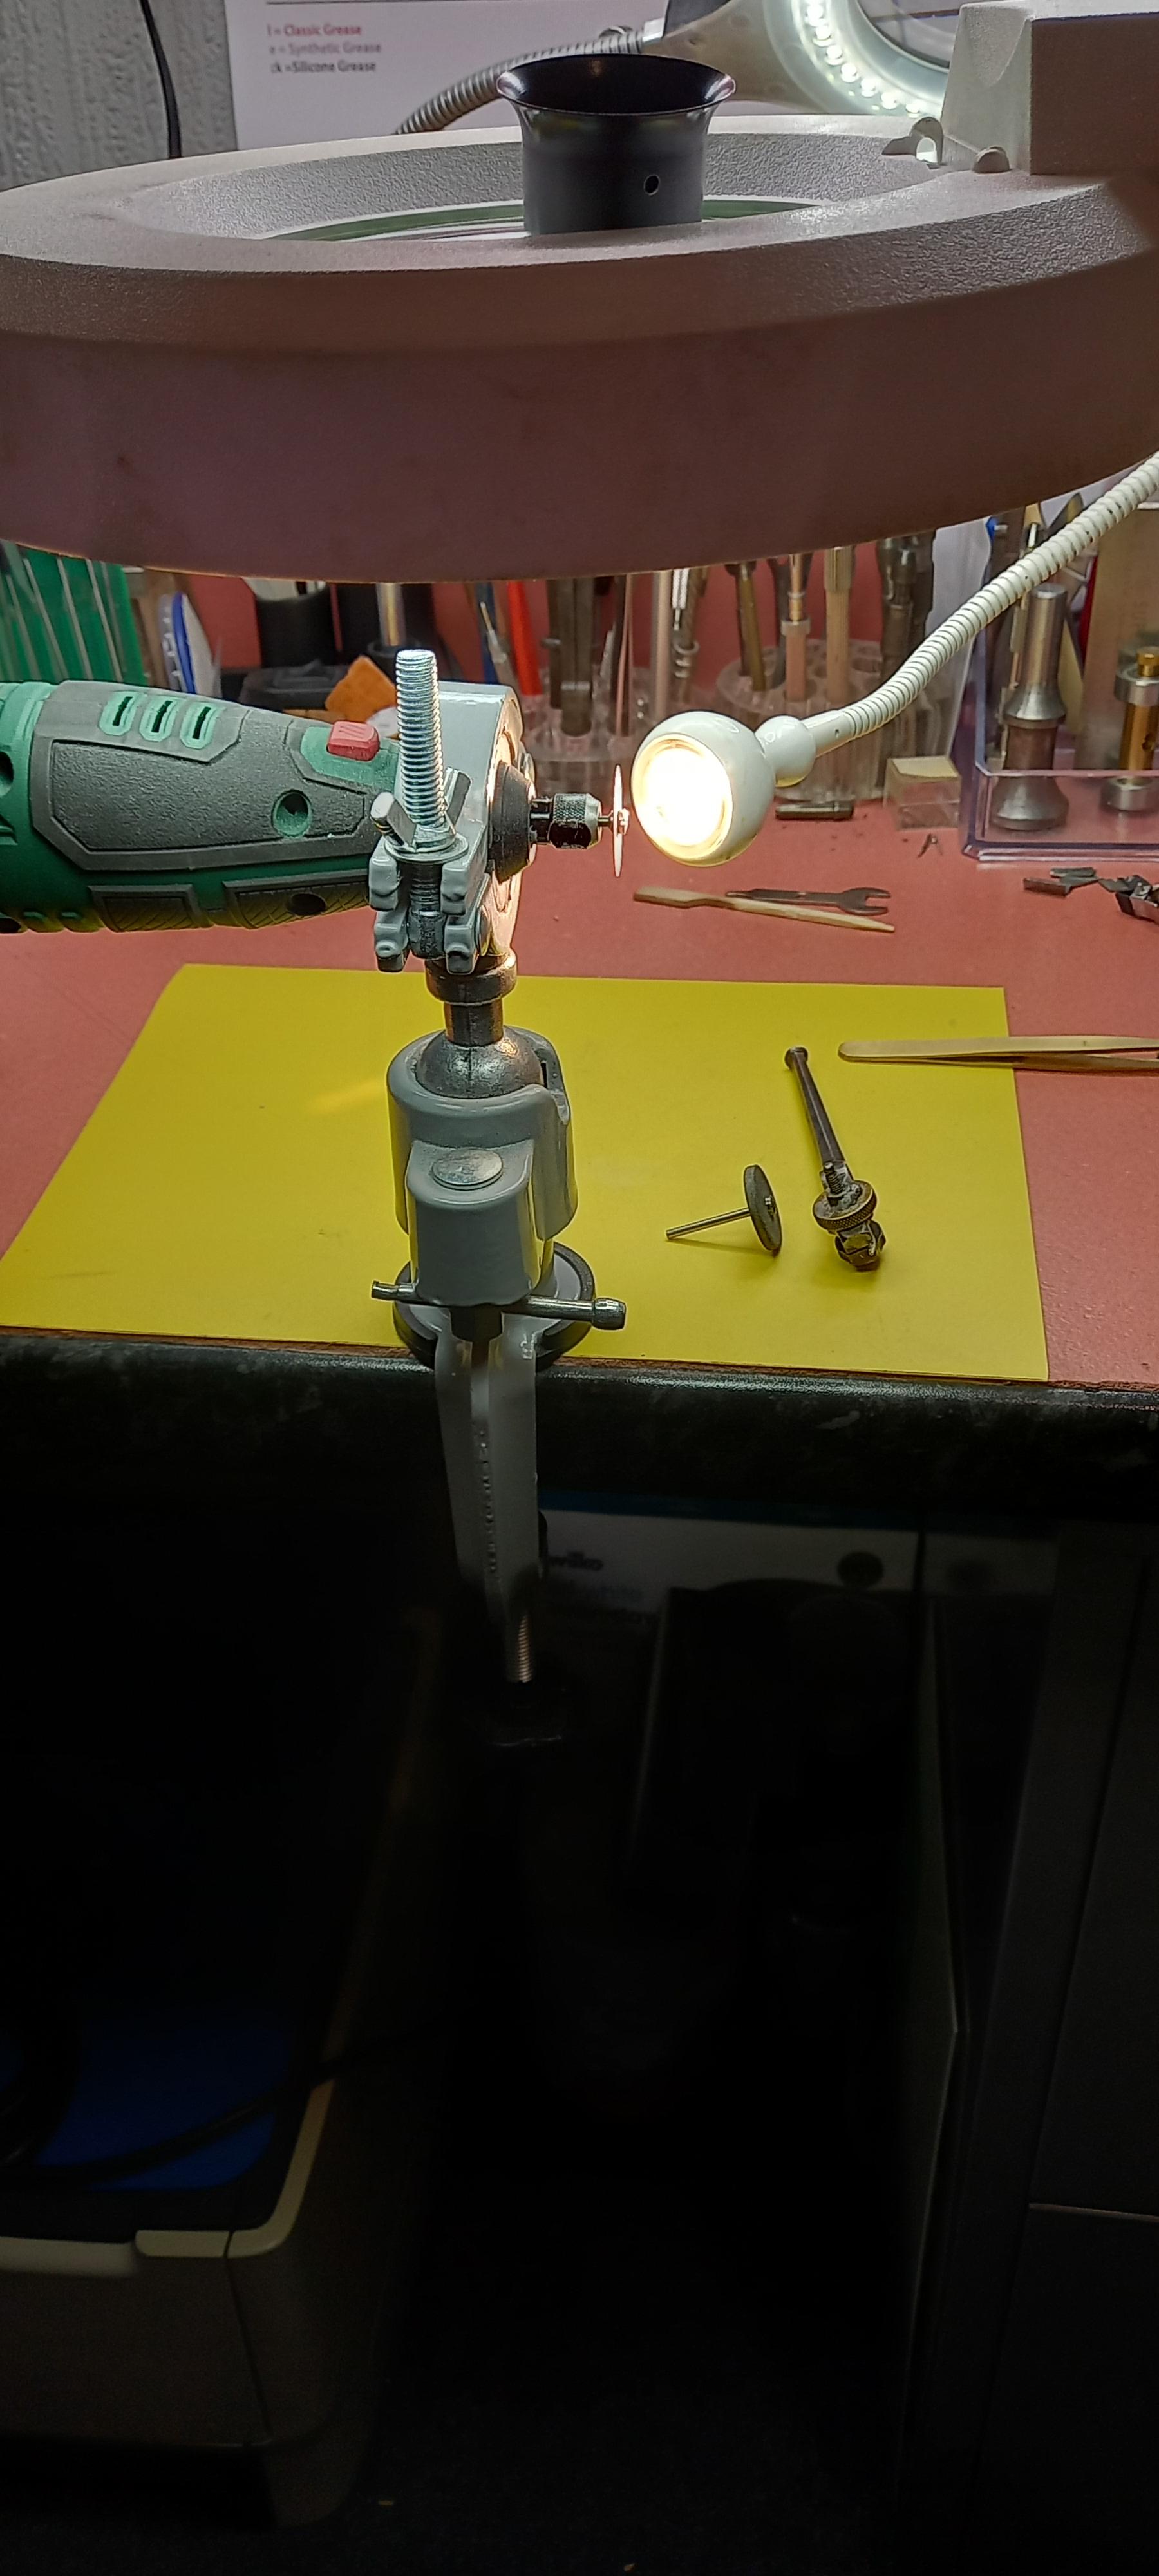
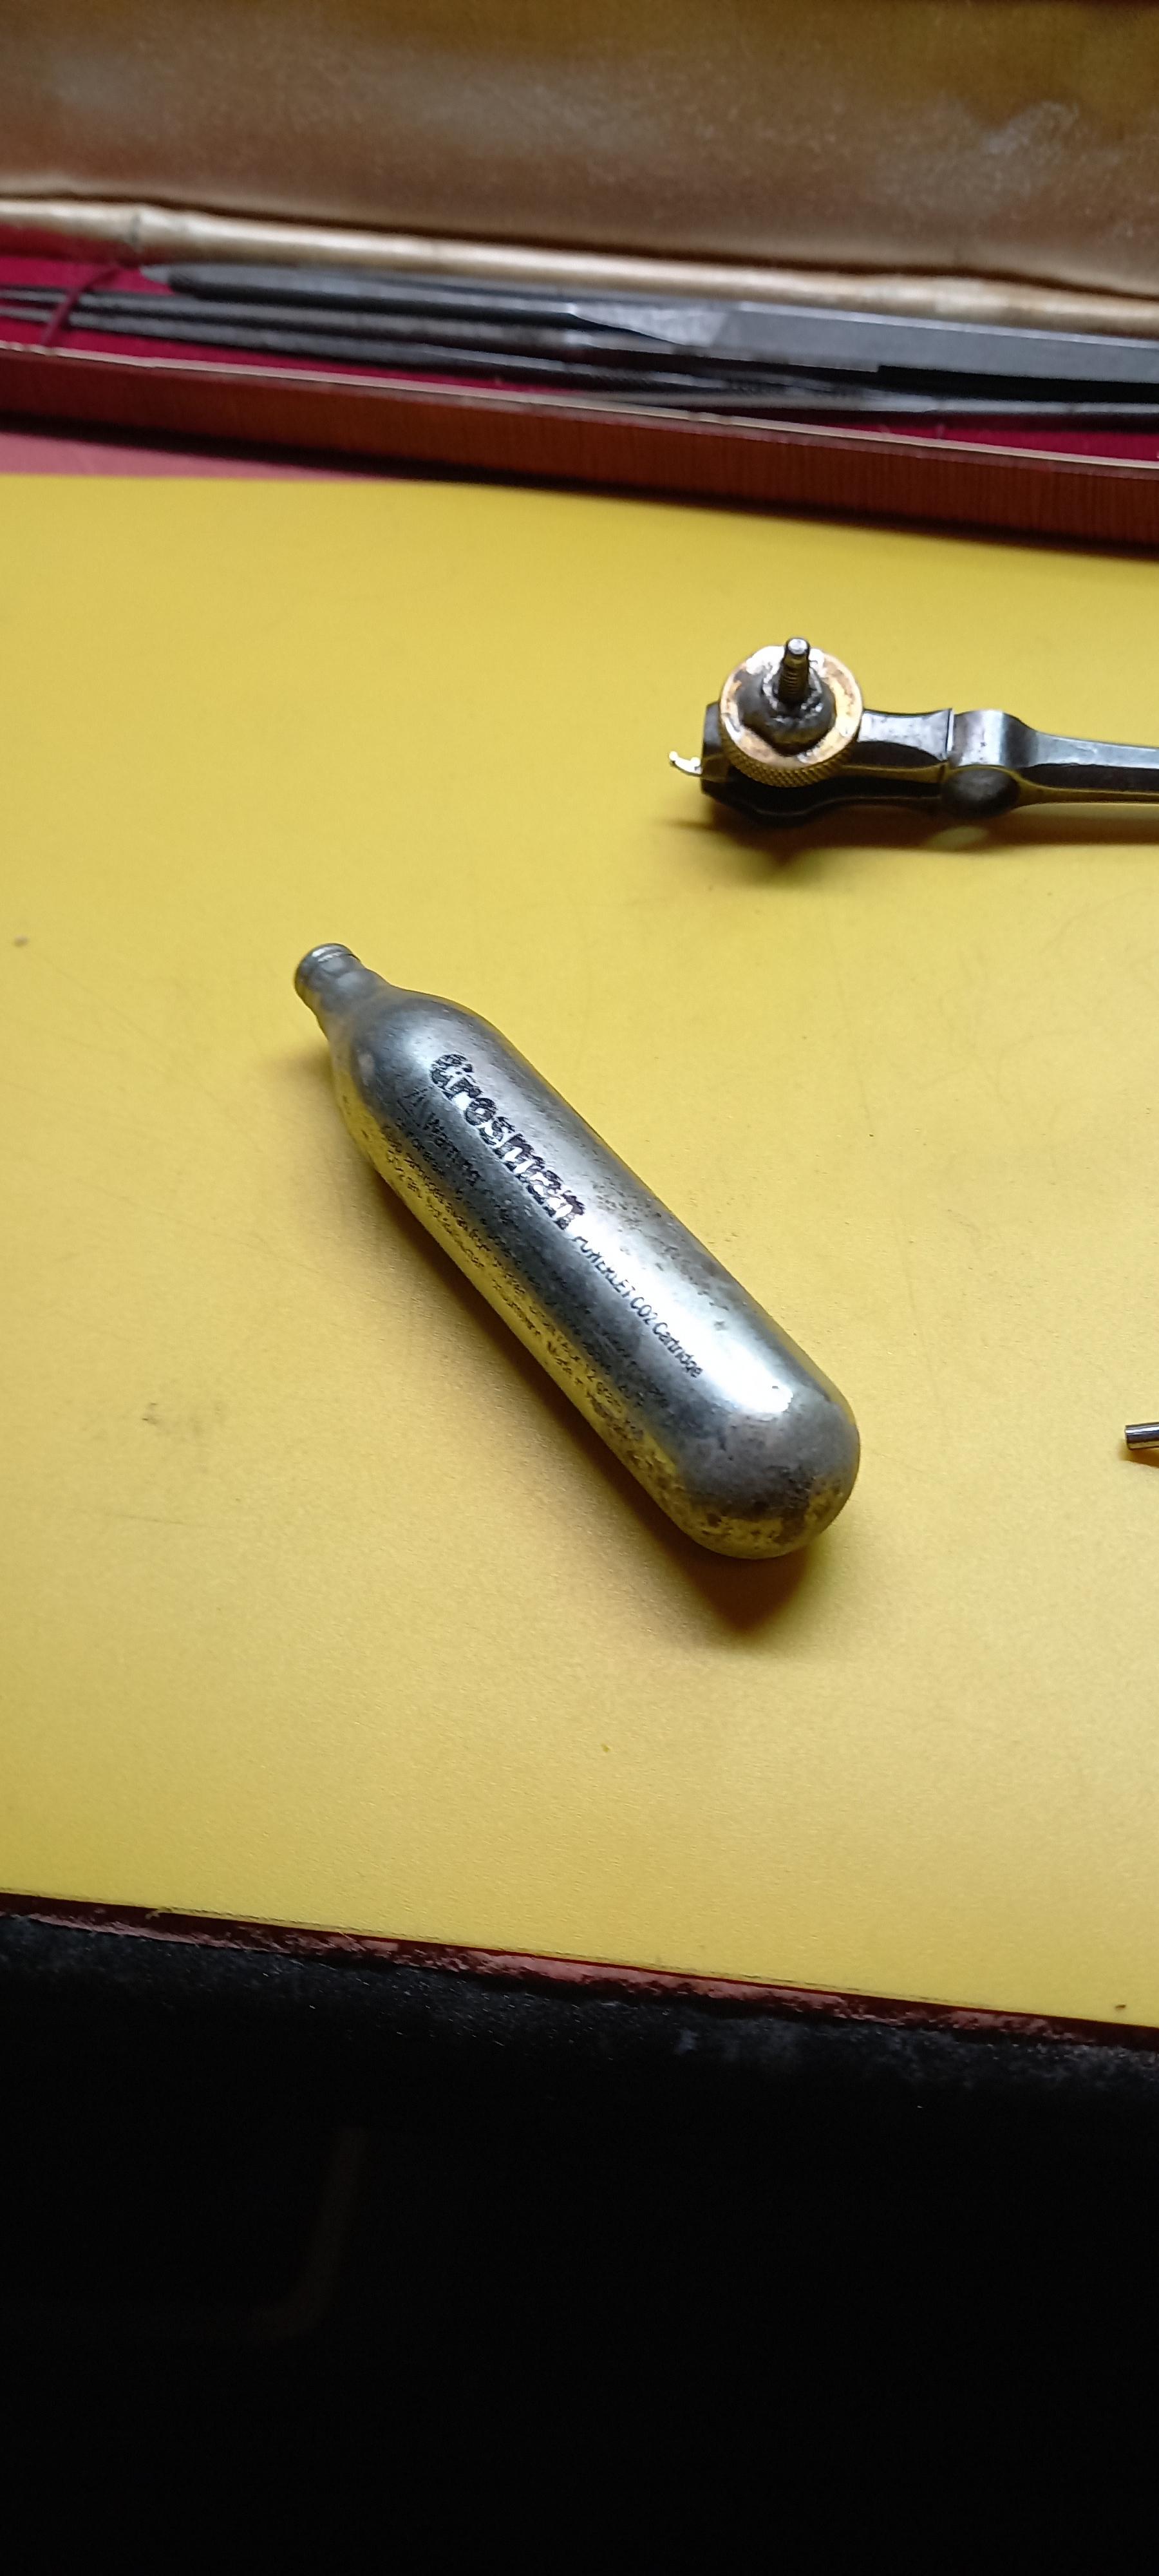
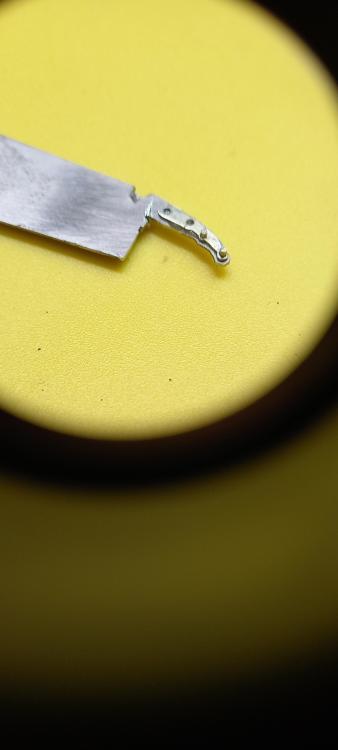
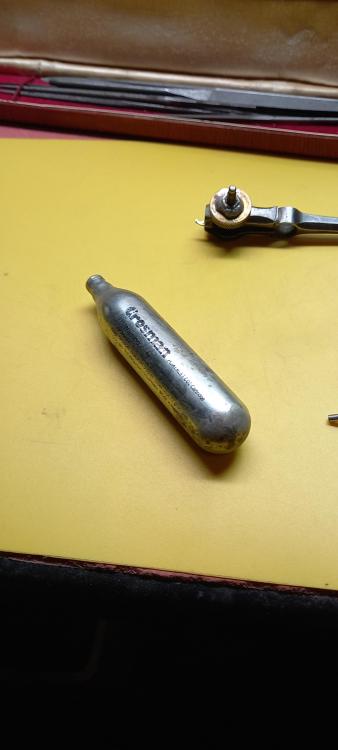
The steel I'm using is from a feeler gauge, last week i tried to drill steel from a hand saw blade, a feeler gauge and also some set bridges using hss bits, pivot drills and even cheap carbide drills, nothing doing. I going to need some decent dormer or carbide bits to drill hardened steel and at nearly 5 quid a pop for small sizes a few of those broken can soon add up. I need to soften the steel really, rough shaping out is the easy bit with a grinding and diamond cut off wheel. This is basic roughing out set up 2.5x magnifier and a 5x loupe gets you close enough to see to remove the bulk of the waste safely with a 20mm grinding wheel and then some detail with the cutting edge of a diamond cut off wheel. Dremel type drill has to be on the lowest speed for any details , its surprising how quickly what you want off at the end is removed. You also need to be mindful of your approach angle, keep the piece square on to the wheel at all times its extremely easy to undercut the piece you are working on. Lastly dont try to be too clever leave the last bits for some steady filling, you only want to make one of these . Does anyone know how to safely decompress one of these to make use as a tempering tube, unless i go round my neighbours field popping a few bunnies off with lead slugs


 1 point

.JPG.2eeca64fea20278b10bed5e19285f27b.JPG)
.JPG.36218344affae39f32ac1ad7c34f10a4.JPG)
.JPG.4d8e8ea9ba78cd92070ff65eb0f2a136.JPG)
.JPG.5eda2e1fda5da4bb3e22d61b60e209a8.JPG)
.JPG.ae93c5440a1c56c396f352b218401213.JPG)