Leaderboard


Popular Content
Showing content with the highest reputation on 03/30/25 in Posts
-
Teaching grandmother to suck eggs is an English saying meaning hope I am not trying to teach you something that you already know, small pecks is drill a bit pull out to clear swarf drill a bit and so no. We all have to learn Dell3 points
-
I have had another user report issues when using UV cured resin printed winders instead of the usual PLA/PLA+ material. The root cause seems to be that UV cured resins are rubbery or more "grippy" as compared to the slippery surface of PLA/PLA+/Nylon printed winders. This causes an undesirably higher amount of friction between the mainspring and winder parts while winding, leading to failure and breakage. Another issue with resin materials is that they seem to vary quite a bit between manufacturers, I'm having a hard time pinpointing the exact frictional coefficient numbers (vs steel). There are tough resins, flexible resins, specialty resins, etc, too many to keep up with. Maybe someone can help me with this. One of the advantages of RS winders is the very low friction when using PLA/PLA+ (vs steel). That advantage is gone when a rubber-like resin material is used. So as of now, I will no longer recommend using UV cured resin for building these winders. Users should be prepared to deal with it accordingly if going with resin, eg. using lubrication. PLA/PLA+ materials will remain the default recommendation and optimal way to build the RS mainspring winders. I have updated the README to reflect this.3 points
-
Anyone who has serviced a Rolex to find a part needs replacing finding it is difficult to say the least. A few years ago I needed a part for a GMT Rolex and after a world wide search found the part in Australia.. In the April edition of the BHI magazine there is a advertisement offering genuine Rolex parts.. Not sure if they have vintage parts but nothing wrong and contacting them. If you need a genuine part, then you need a genuine part. www. perpetual-time.com Contact: 0151 205 0776 Discount rate for BHI members3 points
-
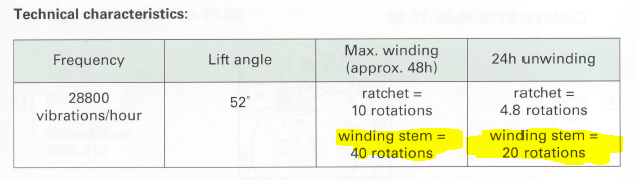
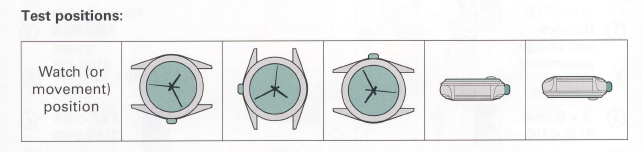
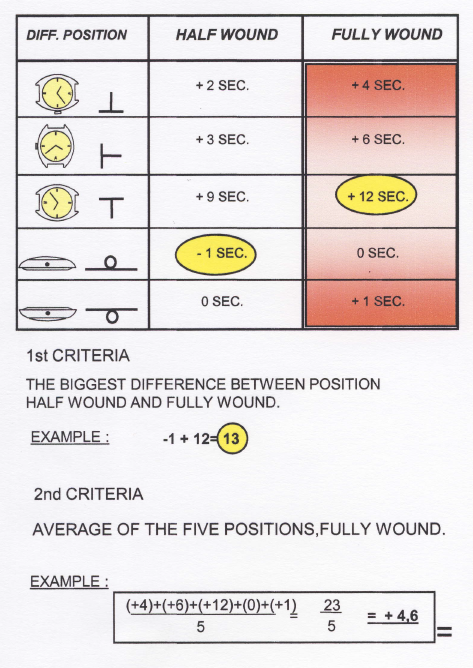
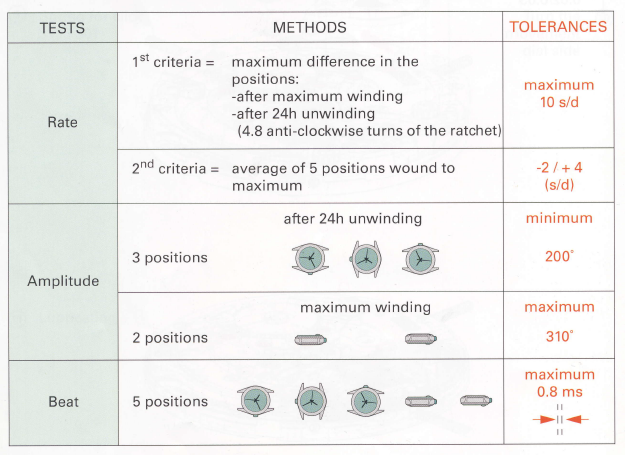
the answer for the question is no it will not help you. Adjusting the balance screw for regulation only works if you actually have a regulation problem. Attempting to regulate a watch for a problem that is not a regulation problem is not going to be helpful at all and will actually make things worse. not understanding how your Rolex works is going to lead to problems and confusions. let's look an example of a confusion and problem that you're having of lacking of understanding of what exactly are trying to do. Rolex has a procedure if you would like to evaluate your watch on the timing machine. notice in order to wind your watch all the way up to its maximum requires 40 turns complete turns of the crown. In order to reach the 50% minimum required for running of your watch it requires 20 turns. so basically you're not winding your watch up to get it to run at all and that's leading to confusions. you didn't say how fast the watch was two days later? In order to do a proper timing procedure you have to follow a procedure putting the watch on the timing machine and getting a result instantaneously is not a procedure. A timing machine shows what the watches doing at exact instant it's on the machine in that exact position wearing a watch means the watches moving around in a variety of positions which is why Rolex has a procedure. So in its procedure you're supposed to look at the watch on the timing machine in five positions then the procedure is to wind the watch all the way to the maximum. Do not place in the timing machine yet as the watch needs to run a little bit the settle down when it's wound to the maximum the numbers will not be quite right. So typically would wait anywhere from 15 minutes to about an hour. So basically 15 minutes would work well. then as you're rotating the watch around in the various tests positions you should allow about 20 to 30 seconds between rotating positions for the watch to stabilize and then let it sit on the timing machine for about 30 seconds to get your numbers. Down below is an example of the procedure. then the actual specifications for the 3135 is this
 3 points
 -
927. Just realised after looking at the photo, the pin needed pushing home. Done now. The alarm just went off.2 points
-
It's running and a spring sourced from a springbar. Thanks for the help.
 2 points
 -
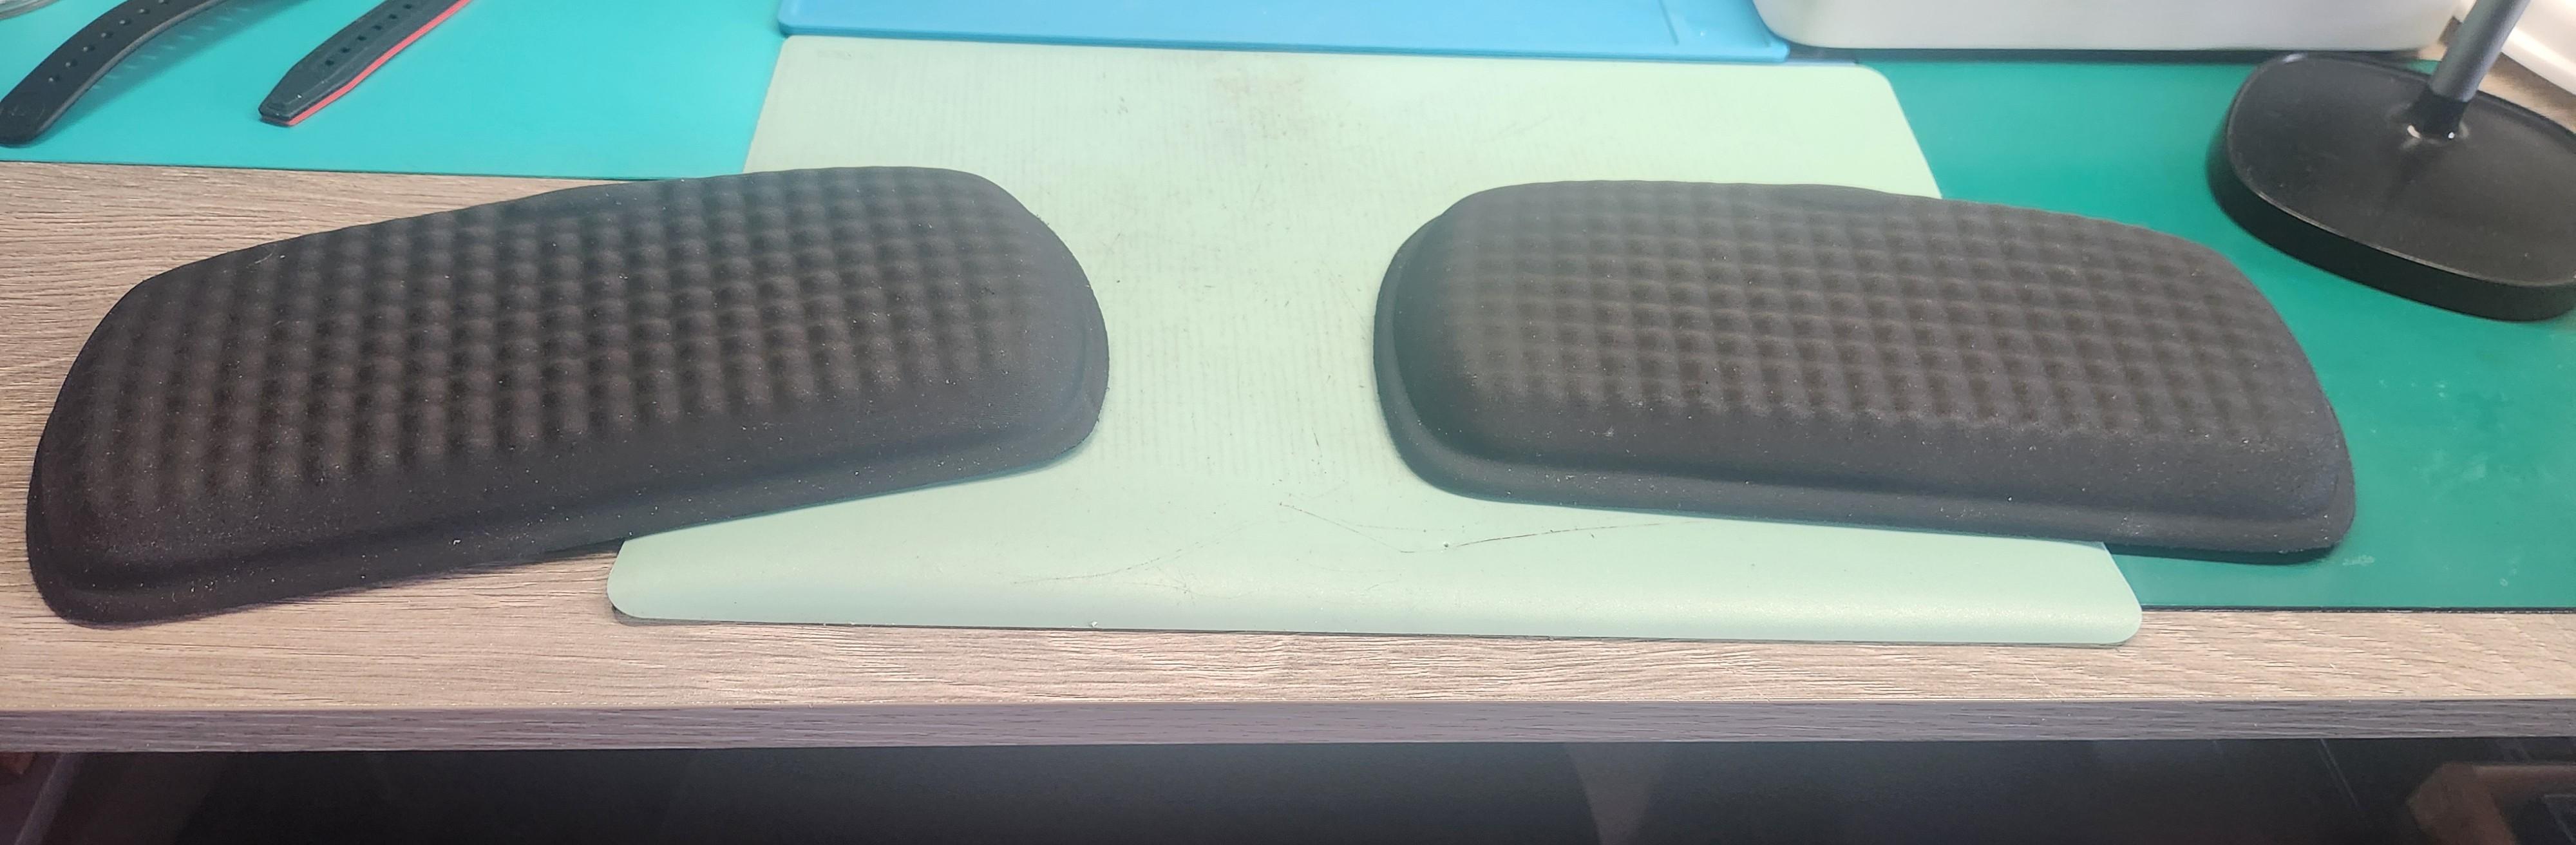
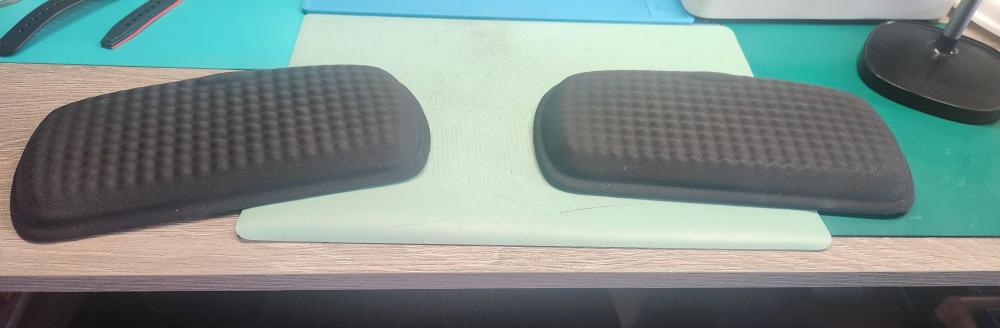
An early version of my bench. You may find it evolves over time. One of my best buys was the metal cabinet to the left. From Hobby Lobby. It is intentionally "aged' or distressed but I like it. You can add trays to the drawers as well. The plastic drawers are added below the desk top. The scope is a game changer. I am just a hobbiest so also depends on your goals for your set up, which is another reason bench set ups evolve over time (as your goals may change). Probably a bit cluttered for some but the tweezers box can moved. I also got these arm pads that I can move around that were inexpensive but really help on a comfort level.
 2 points
 -
My vote is on waste of money if you expect it to do more than roller table work. Perfect perpendicularity is really important for balance staff work. Pressing on a hairspring collet and maybe even roller table are doable without a proper perpendicular brace, but balance staff work is not. The bigger issue is that you need lots of different sizes of domed and flat faced punches to accommodate different balance staffs. The one balance demonstrated in the video might be the only caliber the punches supplied with this tool are the right size for. The tool has been discussed specifically as a roller table remover, I think somewhere over in the Quality Chinese Tools thread but I can't pinpoint where. It was recently, so if you search the forum for roller removers I expect you will find it. Edit: I am seeing in your title that you didn't actually say you wanted to rivet a balance staff with this, sorry. Yes, you could probably get away with it to push on hairsprings, and it does work to remove roller tables. Ah, I found the thread:2 points
-
You wouldn’t need to heat the new part only the pinion too expand it enough to press fit the new bit in & quench it before it cools to much that will harden the pinion & if you make the part out of silver steel it it wouldn’t need hardening. If you do decide to tackle it measure position of wheel before removing then heat the pinion to just starting to go red then let cool naturally ( it will be annealed but keep drill cutting or it will work harden),preferably use a carbide drill bit but be careful they are brittle ( small pecks ), before fitting new bit heat pinion to same press fit new bit a quench , when fitting wheel it can be done in the lathe melt solder fit wheel run lathe apply heat to allow solder to flow touch wheel with side of peg wood to straighten wheel let cool naturally, re bush bridge to suit. i hope I am not trying to teach grandmother to suck eggs, just ignore if I am. Dell2 points
-
See here: Making Hairsprings I‘s a big one, made in a so called „home shop“. The procedure should be applicable for main springs.2 points
-
I've never been able to find a source for genuine ones but been lucky in the past with generic ones as they're so plain.2 points
-
You certainly won't find a replacement, you might think many look the same but I can tell you they are not. As Dell Has said it can be repaired but holding it is a different matter. The only way I can think of at the moment is to remove the wheel then you have a way of holding the the other in a chuck and proceed what Dell has said.2 points
-
That arbor is repairable the main problem I can see is holding it , the pinion would need annealing before drilling. Forgot to say heat shrink new bit in killing two birds with one stone good friction fit & hardening.2 points
-
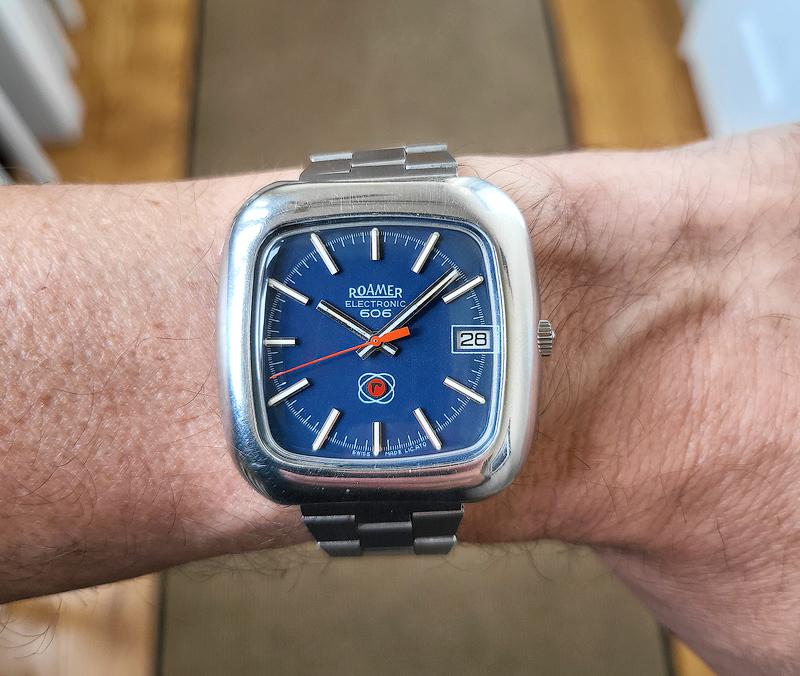
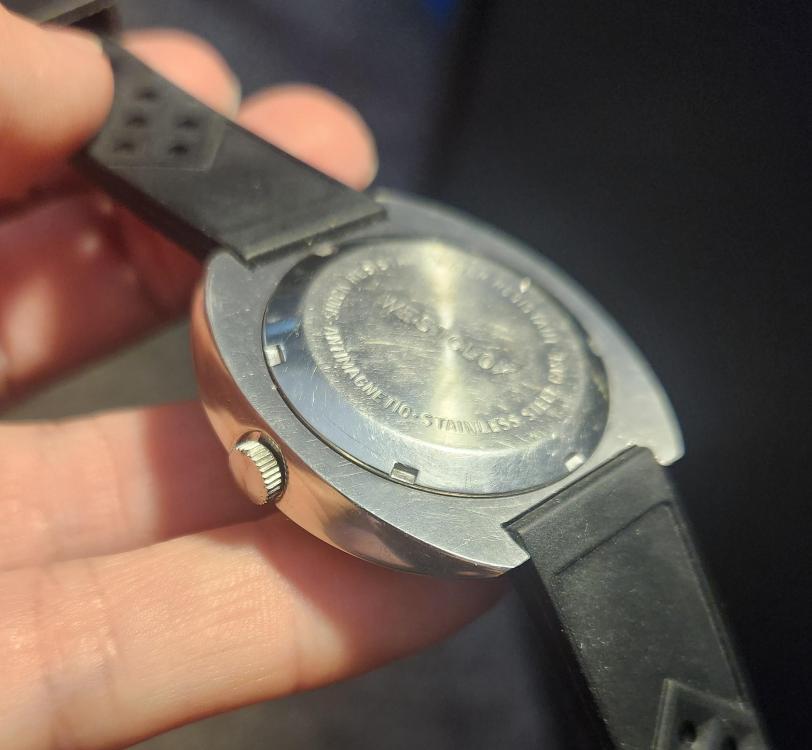
I just finished up this early 1970's Roamer electronic with an ESA 9154 movement. I really dig that deep blue dial in the square SS case.
 2 points
 -
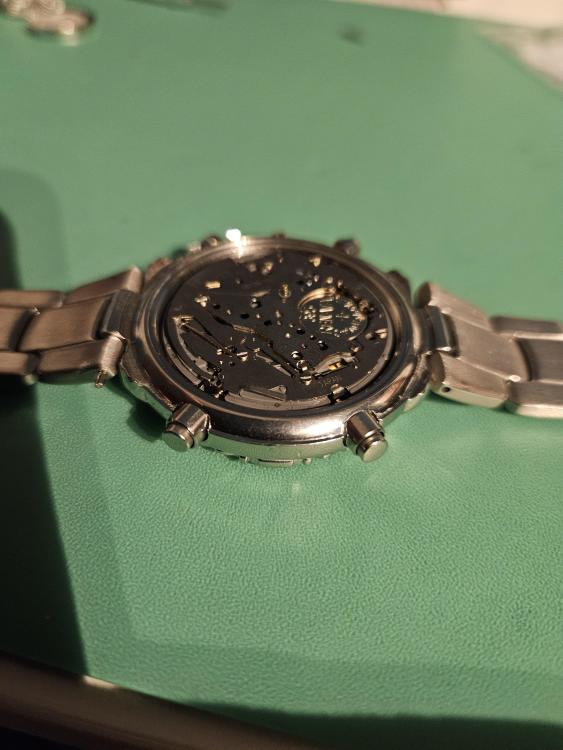
Nothing special to report here but this Felsa feels kinda different than the other watches I have worked on. Granted, I am an amateur with limited experience. The open mainspring barrel was a surprise for what appears to be a higher-end movement--kinda EB8800 feel. Frankly, I left it untouched. It is my watch from my box-o-watches, and I was not in the mood for dealing with an odd mainspring configuration this evening. Maybe next time. The automatic wind mechanism was more integrated into the movement than the ETA movements I have worked on. Lots of springs. Ugh. The click spring was the most unusual that I have seen. The plate screw shares the click...essence of Roskopf. It is almost all back together now except for calendar works. I will finish it tomorrow.
 1 point
 -
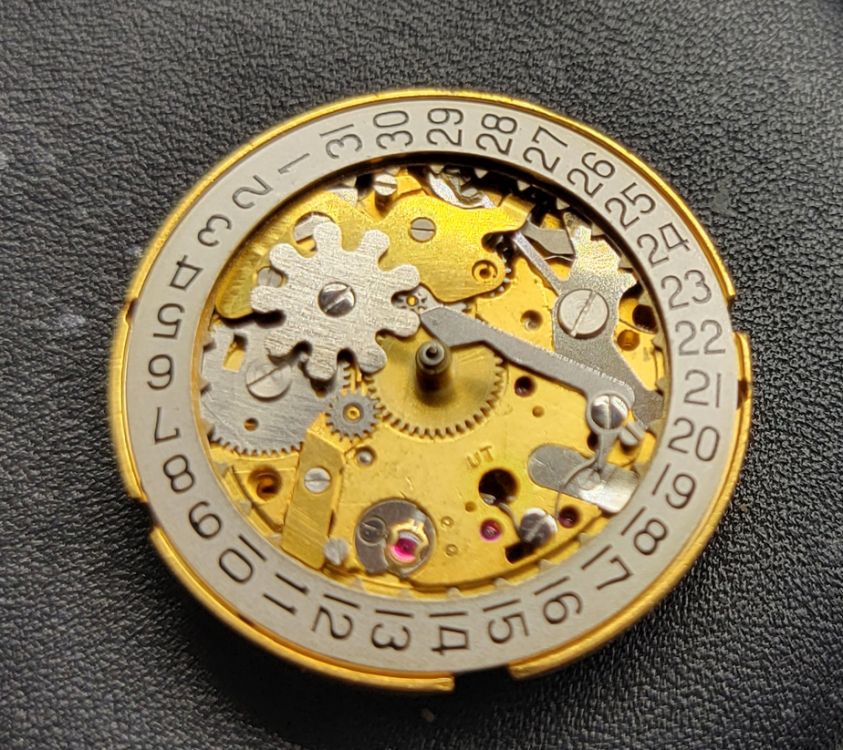
The small ring is the crown wheel bearing.1 point
-
After you mentioned the spring, I didn't even realise, I looked the movement up. Caliber corner mentioned it and suggested the springbar trick, worked. Thanks Andy and thanks Caliber corner. One further issue, which I will post.1 point
-
Makes you wonder how they can charge £6 for a replacement spring!!!1 point
-
It's one of these AS 415 family. https://watch-movements-archive.com/watch-movement/as-529/1 point
-
Yes that is the center wheel so when you turn the movement over and take it all apart you will be left with the center wheel then follow my instructions on how to take it apart.1 point
-
..verrrry carefully. …and only if I know there’s replacements about… ..I’m placing the pivot end in a snug hole on my anvil holding that end and slowly and gradually rocking the hand back into place with tiny presses. Brass tweezers or equivalent…this is about as ambitious I’ve been with that technique..
 1 point
 -
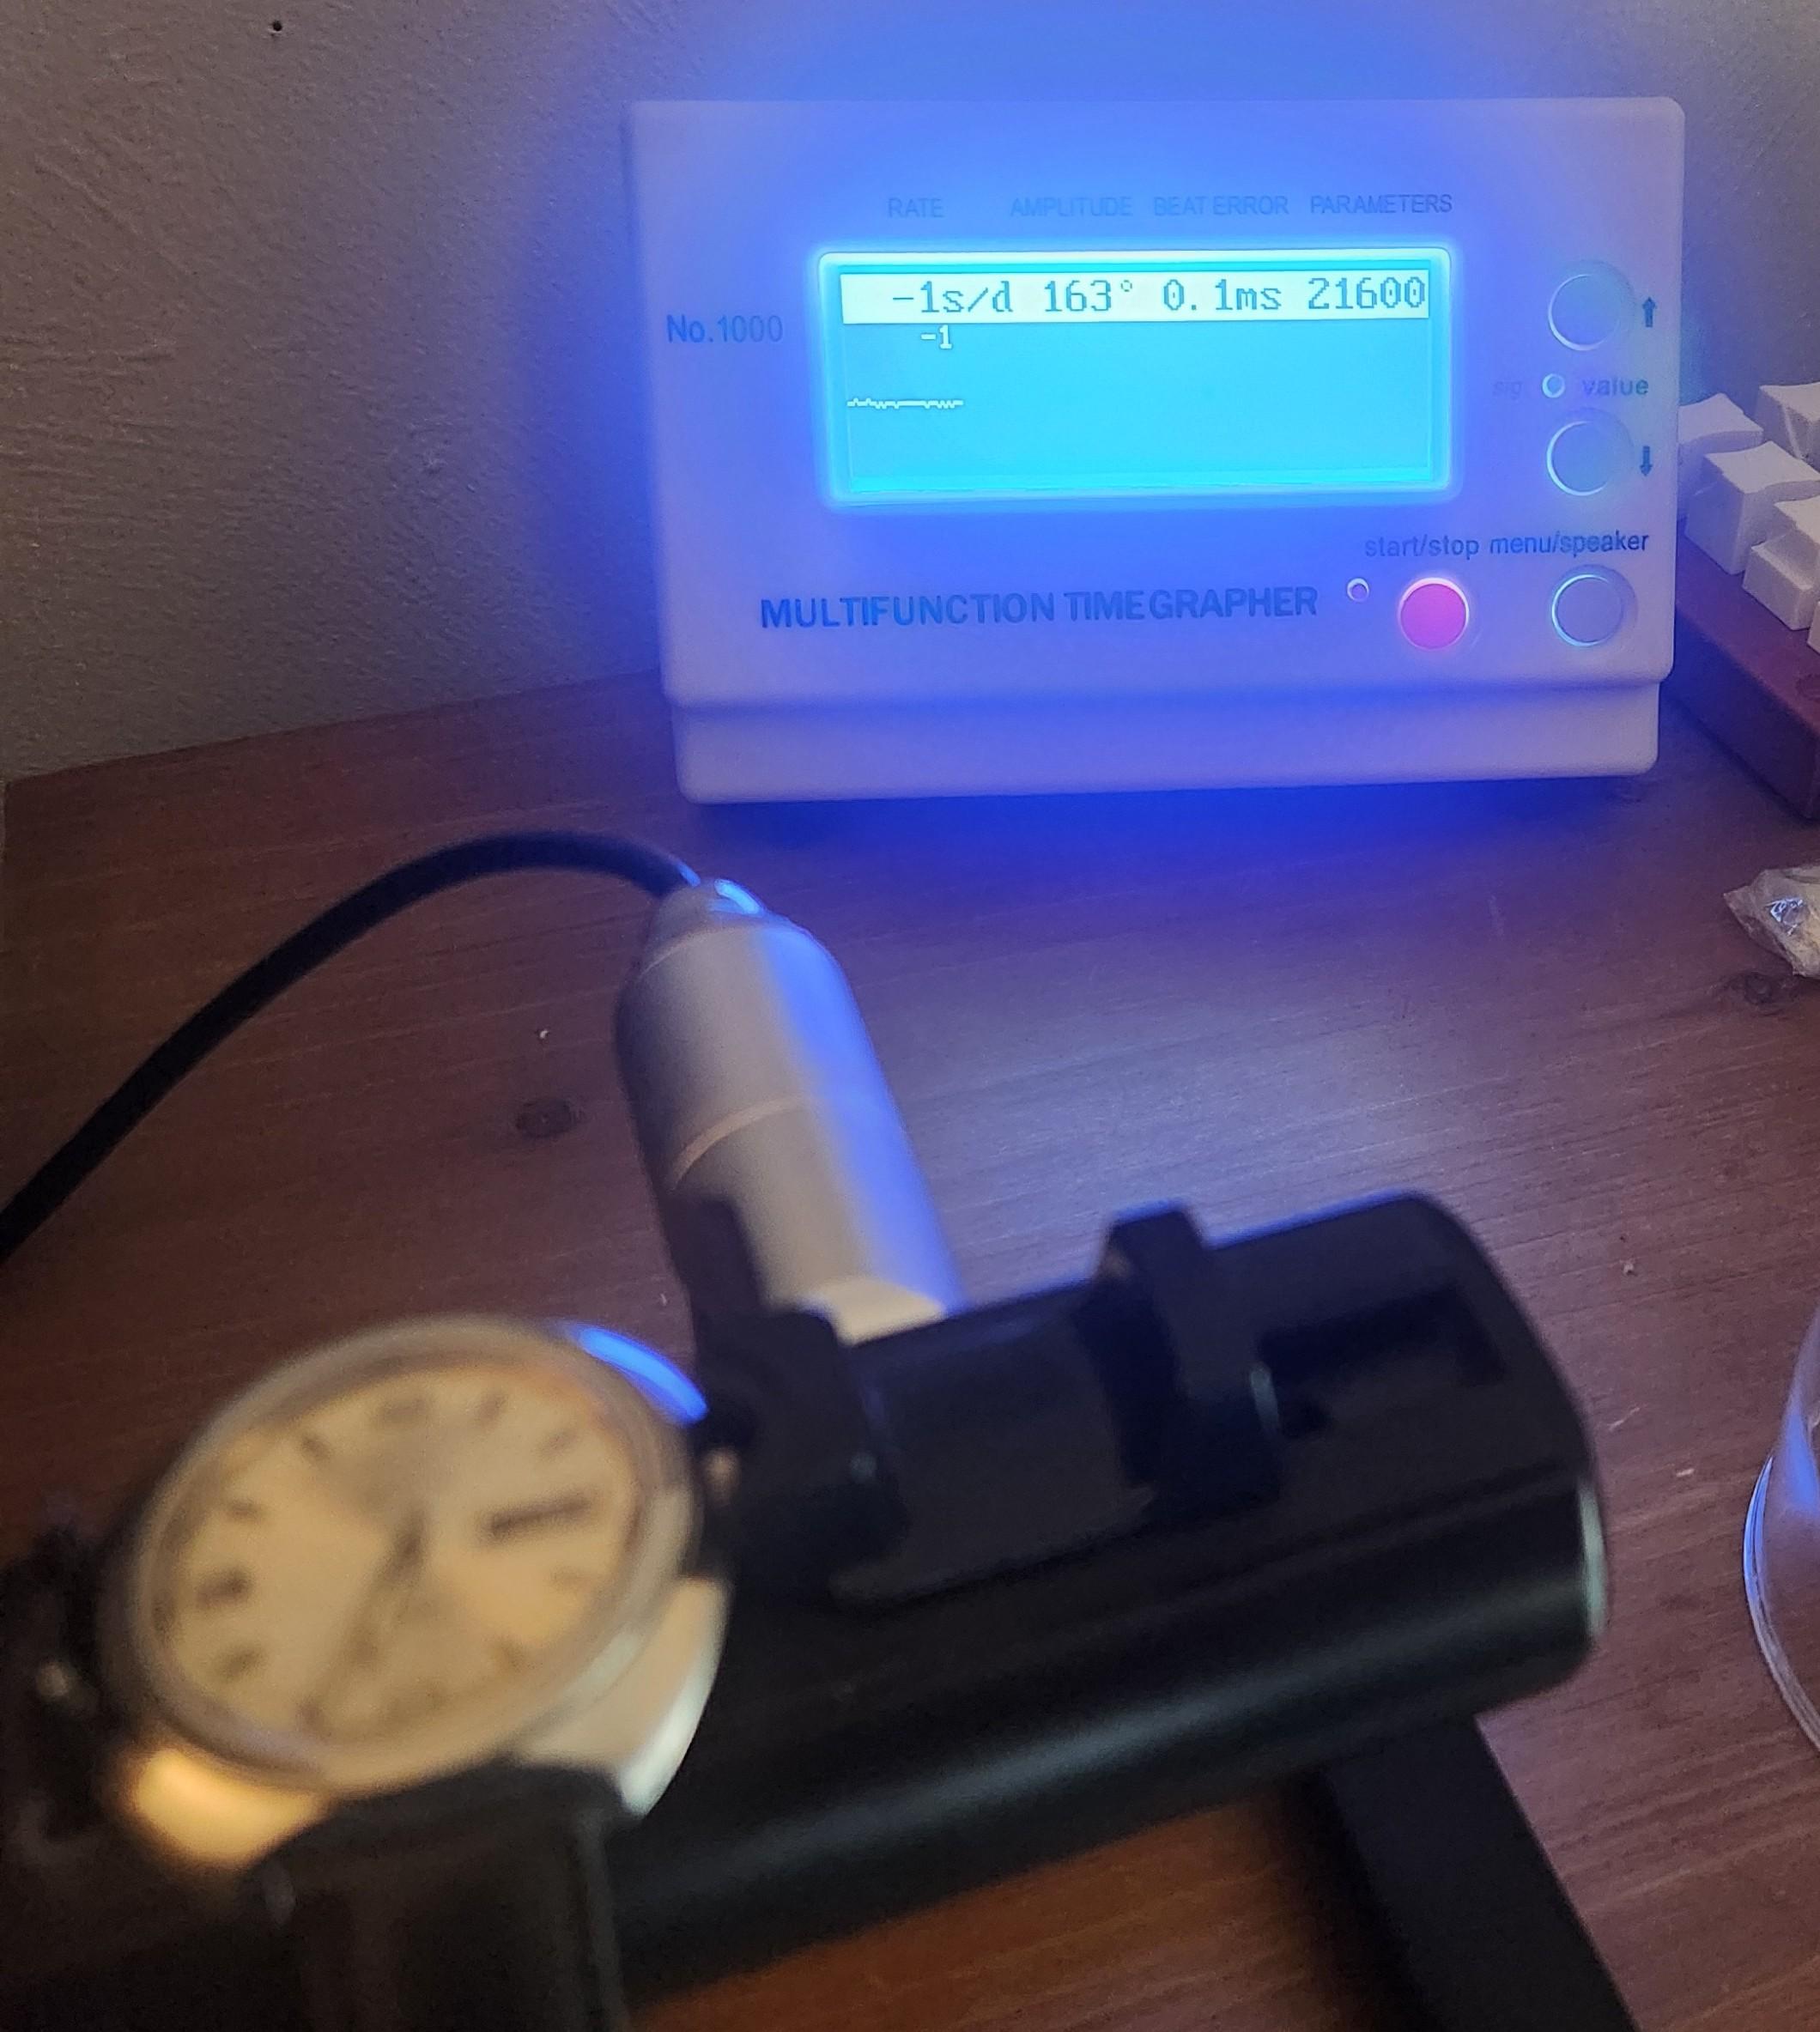
when doing timing machine diagnostics the minimum would be three positions you always want to have one crown position typically crown down. The dial up and down amplitudes should be almost identical and so should the timekeeping. I have a suspicion if we saw the crown down position fully wound up it would be below the minimum of 200° at 24 hours this watch desperately needs to be serviced. then your outside of the range of regulation which is a maximum of ± 150 seconds or basically it's a waste of time to try to regulate if you're having a issue because the watch hasn't been serviced properly in a very long time. then your timing machine does it have a graphical display that we could get a picture of when the Rolex is on it? Graphical displays are nice for diagnostic purposes.1 point
-
This happens after 40 turns, and I wait an hour. then I measure them. I can't open the watch because I don't have the key right now, I'm waiting for it. I'm not a watchmaker, but I just want to become one and learn.
 1 point
 -
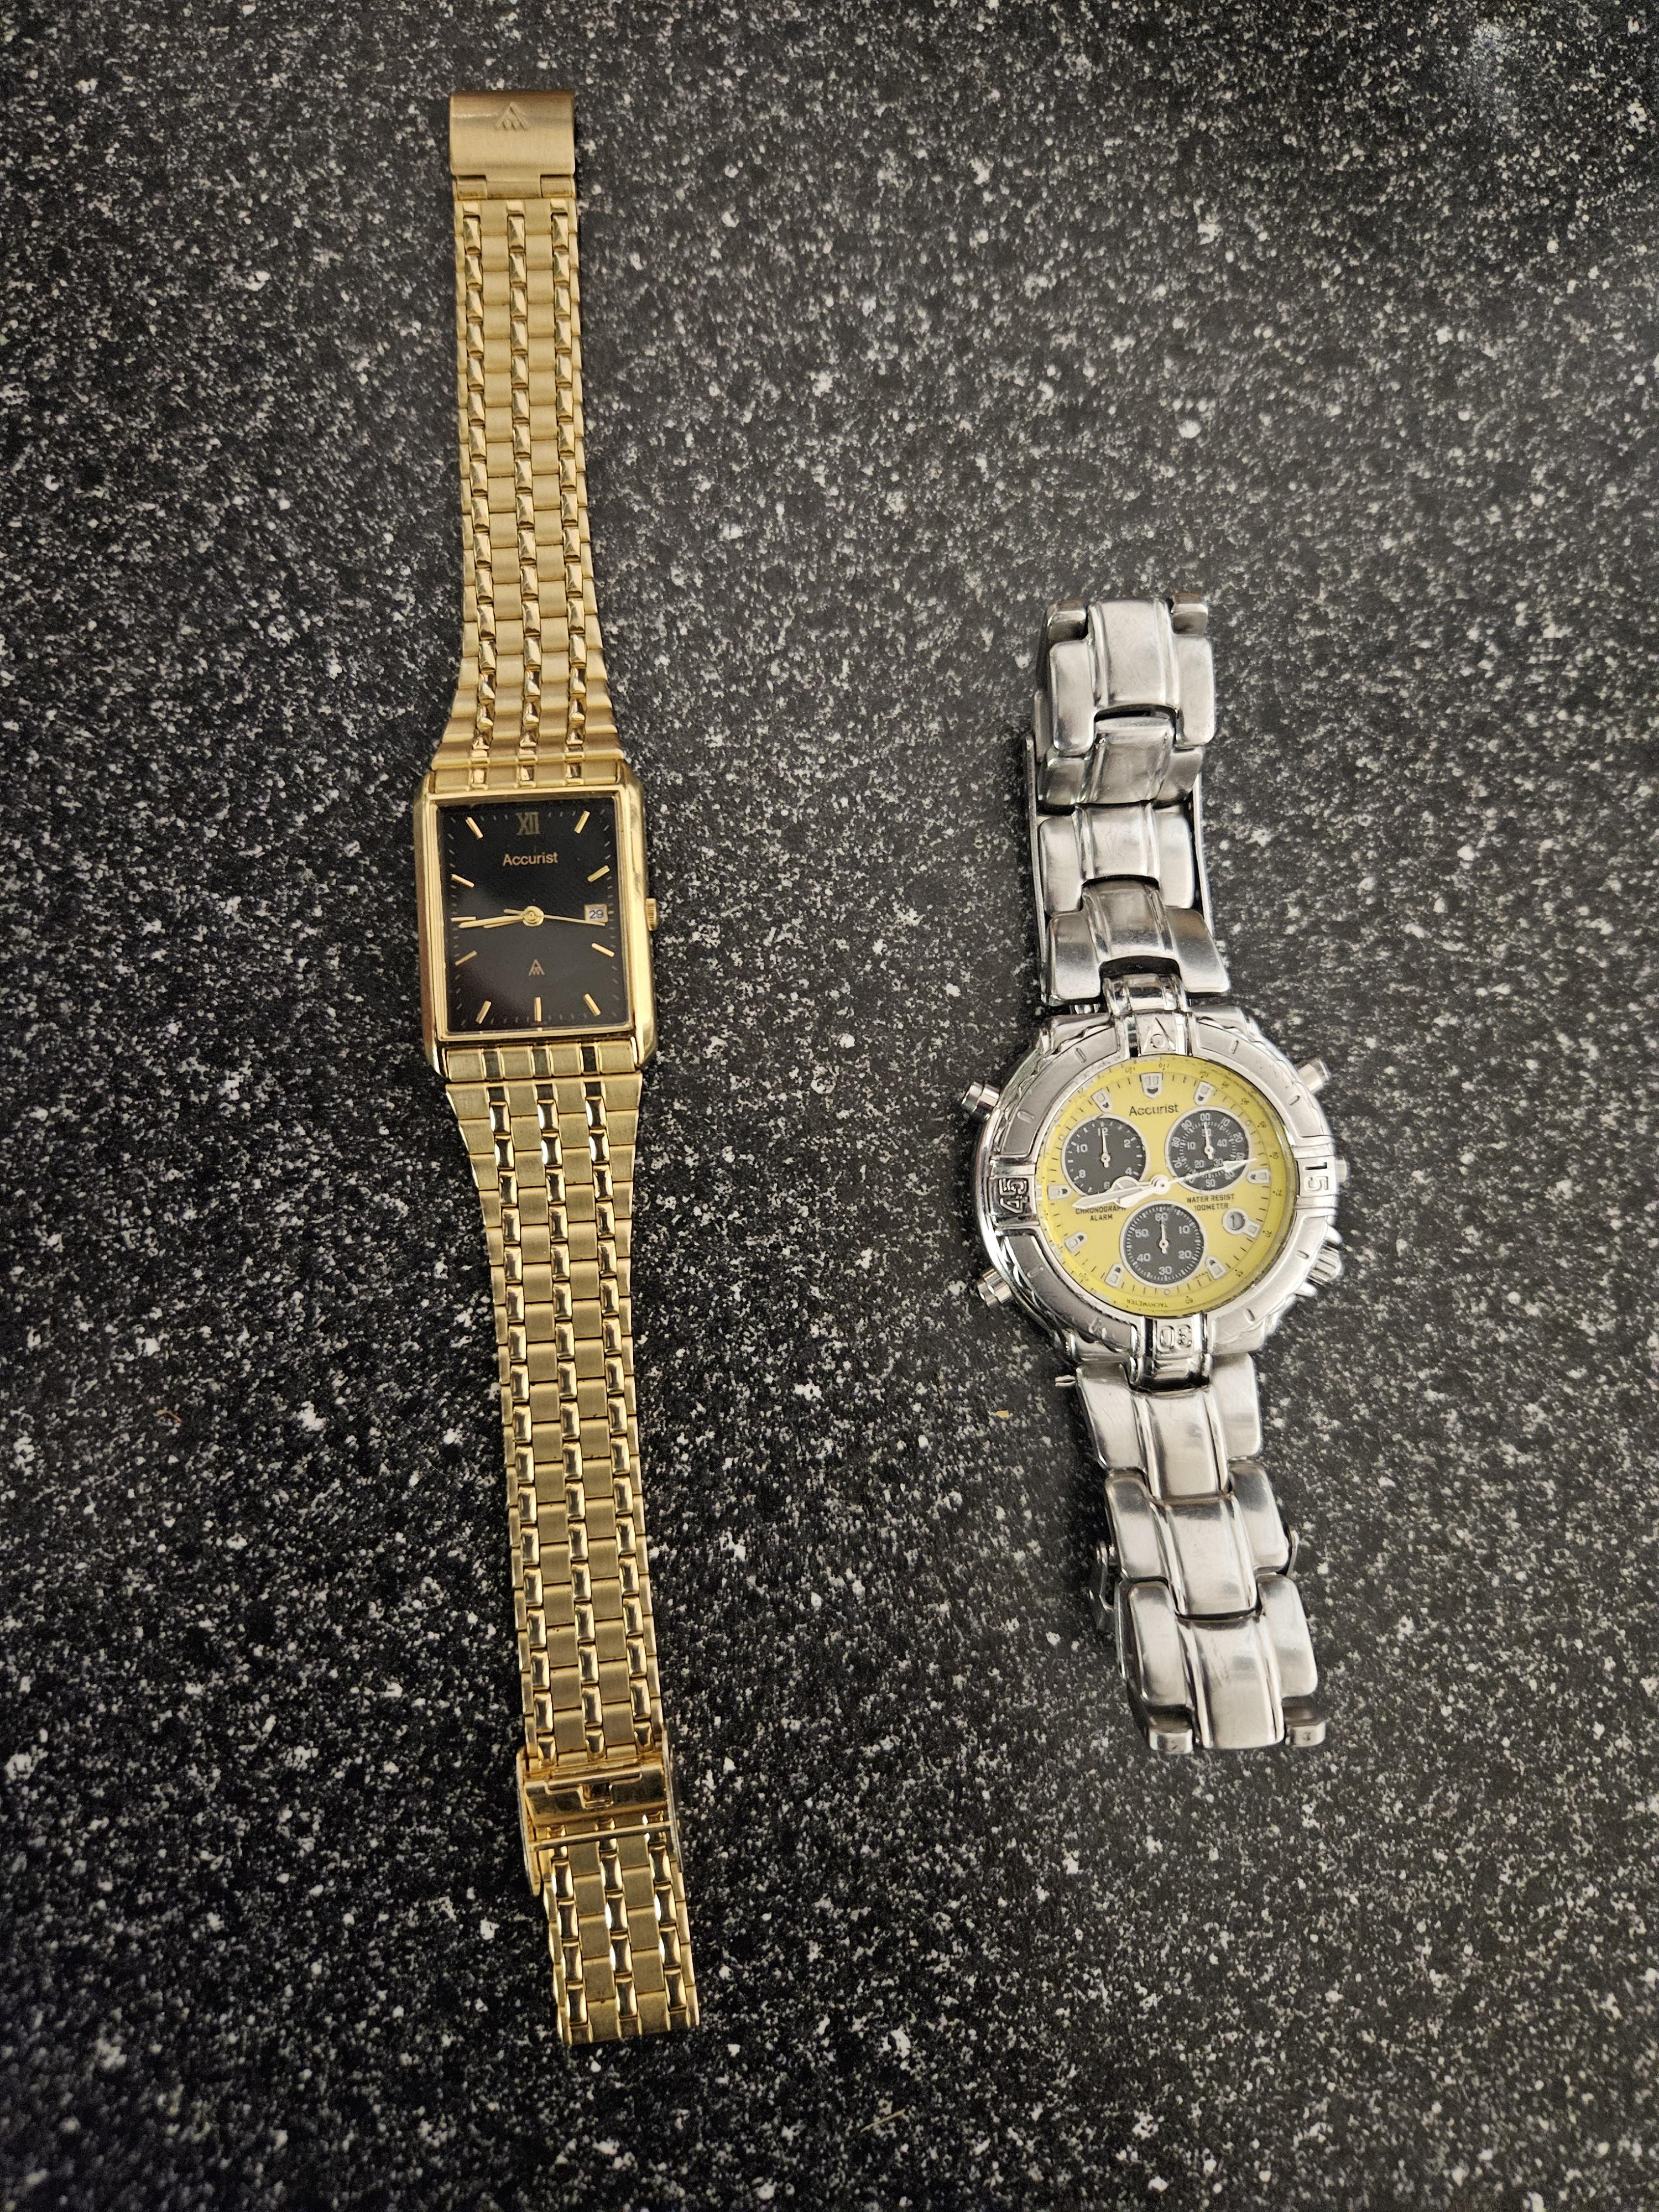
Just remembered that Accurist is now part of Time Products so may have a source if you want/need them.1 point
-
Oh the Desk is a electric desk so it goes up or down and I could actually using while standing up and im 6'2 so while this chair is comfortable enough for now, with a seat cushion, the desk is elevated to the right height for the work. Thats a good point you have, I might have ommited to add this info in my thesis lol. Arm rest might come sooner than later bu I might also make so cuts in the table top for the arm rest. I paid the top 30 euros and desk was given to me so wanted to try the bigger set up. Now some mods to make it even better will ensue . Thank you for your imput. Sorry for the typo keyboard is in 3 languages ;/1 point
-
Yes, that is generally a good idea! Just as the watch case can protect the movement from becoming magnetized, it can, I would assume, protect it from becoming demagnetized. The best approach is probably to remove the movement from the case entirely before demagnetizing it, but simply removing the case back should be sufficient. If I understand correctly, modern hairsprings are not particularly sensitive to magnetism. Instead, surrounding components usually become magnetized and subsequently affect the hairspring. That aside, it’s quite clear that demagnetizing will not solve your issue. A typical symptom of a magnetized movement is low amplitude and a fast rate. In other words, if you demagnetize the watch and notice that the amplitude increases and the rate slows down, the movement was magnetized and needed demagnetization. A service and possibly a repair are likely the only reasonable solutions. Not only to fix the issue but also to protect the movement from excessive wear and damage. I'm guessing you're Russian, so here is the same in your native language: Да, в целом это хорошая идея! Так же, как корпус часов может защищать механизм от намагничивания, он, предположу, может мешать и размагничиванию. Лучший способ – полностью вынуть механизм из корпуса перед размагничиванием, но, скорее всего, будет достаточно просто снять заднюю крышку. Если я правильно понимаю, современные спиральные пружины не особо чувствительны к магнитным полям. Скорее, намагничиваются окружающие детали, которые затем влияют на спираль. Тем не менее, вполне очевидно, что размагничивание не решит вашу проблему. Типичный признак намагниченного механизма – низкая амплитуда и высокая скорость хода. То есть, если после размагничивания амплитуда увеличивается, а ход замедляется, значит, механизм действительно был намагничен и нуждался в размагничивании. Техническое обслуживание и, возможно, ремонт – это, вероятно, единственные разумные решения. Не только для устранения проблемы, но и для защиты механизма от чрезмерного износа и повреждений.1 point
-
That is a bush so it has already been re-bushed and not very well. Yes the wheel is soldered. The green would be old oil or grease. The spring certainly can cause damage like that, it is more popular when springs break to cause damage teeth or even bend wheels out of shape. The repair really is for someone who has plenty of experience and not for the faint hearted . You have been unlucky with this one my friend.1 point
-
you need to define vintage watch? one of the interesting problems of mainsprings would be is look at the GR catalog in the back of the mainsprings listed by size. You go through each of the pages counting how many mainsprings are listed you find that at one time there were a heck of a lot of mainsprings. the problem is if you stocked all those mainsprings how fast would it take to go through them? Then of course the Swiss have changed the manufacturing to only manufacturer for what they currently need. mainsprings were probably be like hairsprings no longer made in a generic fashion but only made for the specific consumer because I don't want to stock stuff that's not going to turn over instantly. But that doesn't mean you can't get mainsprings. Many years ago there is a crisis over American pocket watch springs from the Swiss and what happened the material houses pooled their resources to place orders big enough that the manufacturer did manufacture American pocket watch Springs. Unfortunately they did not purchase a lifetime supply of those Springs. then I'm assuming if the demand is high enough like for instance Rolex somebody will manufacture a mainspring which is why we have aftermarket mainsprings. But you really don't have to worry anymore if your vintage mainspring is blued steel no problem it can be? I'm going to give you an image from the discussion found at the link below apparently there's a procedure for blued steel Springs to bring them back to life so as long as is not broken no need to ever change the mainspring? although if it's not a blued steel spring I guess you're out of luck. https://mb.nawcc.org/threads/new-to-pocket-watches-new-main-spring-question.216027/ because you need heavy equipment. if you are making individual spring is you need a way of rolling out the wire so you need a rolling mill then you'd need a method of a controlled furnace and of course the right steel. It seems like there should be something in one of the vintage books I know I have books and talk about how to make a new hairspring it seems like the principal should be similar just bigger?
 1 point
 -
You swap out the movement and put in a $2 quartz module.1 point
-
There are two ways to repair the clock. First depending on the maker obtain another hammer drive wheel complete. Or. Re pivot the original, bearing in mind these pivots and pinions are as hard as glass. You would need to anneal the broken end then fir up in the lathe and drill the pinion fitting a new pivot ( friction) tight with either loctite or superglue. The new pivot will need hardening , burnishing and polishing. But it looks suspiciously as @MikeEll said that the top of the arbour has broken off leaving thr pivot and arbour stub in the cock. How it manage£ this is anyone’s guess but it’s rather odd the arbour gave out before the pivot which is considerably weaker. Is there a logo or stamp on the back plate.1 point
-
As the regulator is made of sprung steel any prolonged heat will anneal it and make it soft , laser welding such as carried out by He tor would probably work. But where you would get it done other than at a friendly jeweler I know not. Probably best sourcing a doner watch on eBay if possible.1 point
-
Why don't they make hairsprings out of this stuff?1 point
-
Maybe for a tenner, Uri Geller could wave a hand over it and it will be perfect.1 point
-
And you’ll have to sell her car to pay bergeon for it Tom1 point
-
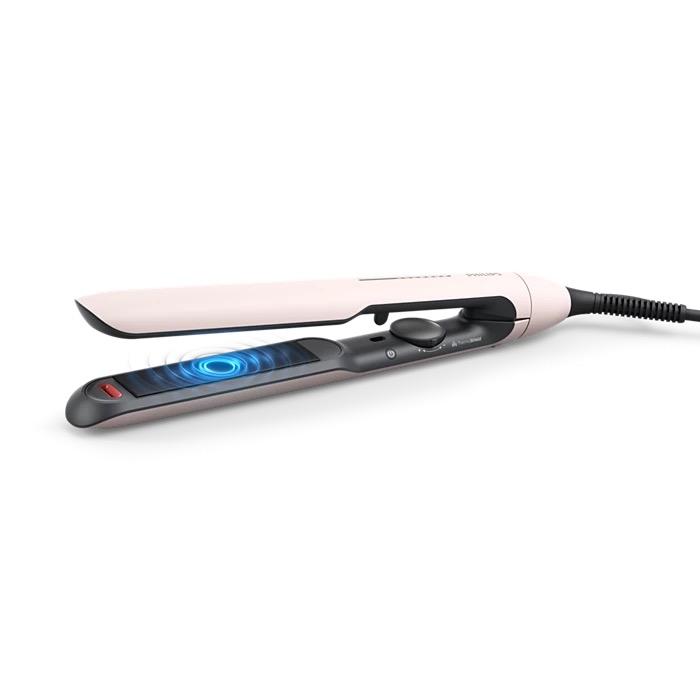
My Wife can't understand why I don't use use this a Hair xxxxx Straightener.
 1 point
 -
Not sure what you mean here as yes it's a spring in a barrel that you're winding. At the low amplitude do you mean the timegrapher is showing between 3 & 6 seconds fast? Can you post photos of the movement and in particular the balance spring. Can you also post photos of what the timegrapher is showing at the different amplitudes.1 point
-
The pawl levers were worn and not working to wind the mainspring. Found a donor 7006a and replaced the trainbridge. Was clumsy and broke the escape wheel pivot but got the one off the donor movement which I won for $9.08 including tac and shipping. This case has seiko turtle DNA and is 41mm, 39.5mm lug to lug and 12mm thick. Wears very nice on the wrist.


 1 point
 -
I just tested this Chinese tool (mentioned above by @JohnFrum) and can recommend it for people having a limited tool budget. You can remove/install roller tables and install hair springs. The quality is decent for around 40 bucks.


 1 point
 -
It sounds like demagnetizing won't do you any good and it needs a complete service.1 point
-
Until you get more experienced I suggest you always do this operation in a clear plastic bag. You can then work on the movement through the opening of the bag or, for even more security, make small insertions in the bag for your tools to fit through whilst the movement is at the end of the bag. This technique massively reduces the chance of losing a spring as if it does become airborn it should at least be contained in the bag! As @watchweasol says, once the spring is set the date jumper should just stay in place until you get the plate on to hold things in place permanently. There shouldn't be enough force to be lifting the date ring ... unless the ring wasn't seated correctly (or there's perhaps an incorrect spring). I personally don't use Rodico as mentioned by ww; my preferred technique is with tweezers and a spring bar tool (that has the 'V' shaped notch in its blade). I position the jumper just like you have in your photo and place the 'V' over the spring (just before the spring kink that's nearest the jumper). This is now securing the spring before we load it. With my other hand I use the tweezers to gently push the spring inwards to load the jumper as expected. I then keep that spring bar tool in the same place just as a precaution whilst my tweezers get the plate to put in position.1 point