-
Recently Browsing
- No registered users viewing this page.
-
Topics
-
Posts
-
one of my concerns here is five layers of foil?so there's three different ways to shim a bridge yes three ways. You can make a entire piece of metal that covers the entire space of where the bridge goes down so it lifts the bridge evenly or the most calming you see with watches is a strip of something either on one side of the screw or the other to tip the bridge either up or down this is way way more common. If I'm doing a shimming which sometimes I do its typically one thin piece of paper either to the front or to the back but you have five layers of foil that doesn't quite seem right? one of the things I'm curious about is somewhere in the conversation I heard the word donor movement and you may have given us the serial number originally but can I have the serial number of both watches because I'm curious about something I know I looked up the staff before that came with variations but since you're busy mixing and matching of things I'm curious about something and to do that I need the serial numbers of both watches
-
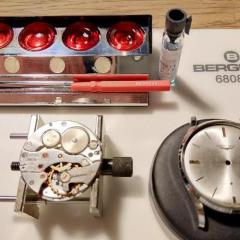
The first one I got was a brand new Bergeon, and to make a long story short, it was, essentially, a piece of cr-p! The vintage shown in the picture removes every (tiny or large) cannon pinion with ease and precision. I'll never get rid of it (unless my children are starving).
-
By SwissSeiko · Posted
I work on many high grade watches daily. In fact, those are the ones you definitely don't want to re-poise, as they are most likely adjusted for positional accuracy from the factory. -
I am being offered a Levin lathe with maybe 20 collets, tool rest, motor, and pedal. The guy is asking $750. Is it worth that much? Thank you for the help!
-
By ScrewDropper · Posted
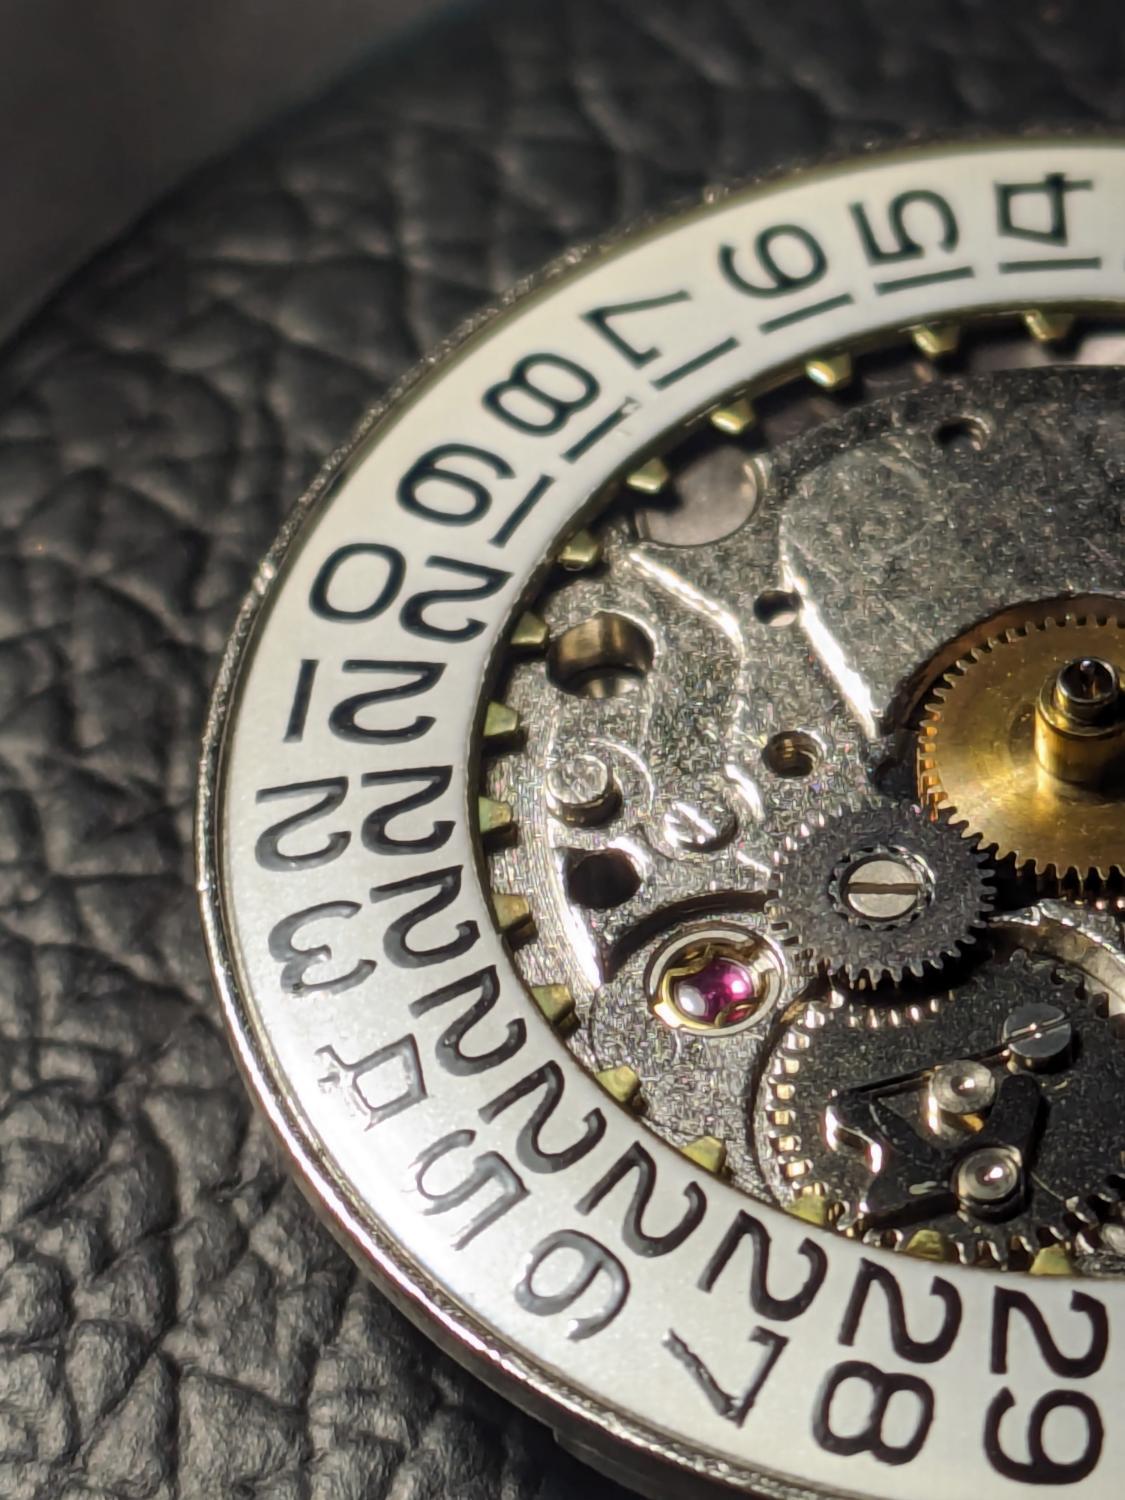
I recently repaired this movement but the screw for the ratchet wheel was the wrong size and it was bugging me (pic 1). I tried to find a replacement but I couldn't match the head width and tap size, so I decided to make one. I wasn't sure of the tap size for the screw, but it looked to be either 1.0 or 1.2 so I made a test screw out of a brass bar, with a matching threaded hole on the other end. I didn't photograph this but you can see the bar in picture 4. I settled on a size and proceeded to cut a steel bar down to length. I softened the bar first to make it easier to work with and the cut it to size, using the chart on my tap and die set for reference Once cut I set up the die in its holder and used my tailstock to hold it straight while I created the thread. Once the thread was cut, I tested it using the brass bar Happy with the diameter and thread I cut the screw off the bar and then twisted it into the bras bar to use it as a holder, for securing it in the lathe to protect the thread I made a face cut to clean the head up Next step was to make the slot. I currently do not have a table saw for the lathe so I was going to have to use a saw. To keep the cut straight and centred, I made a jig out of a piece of brass bar by drilling a hole big enough to slot over the stew, with a slot in it to guide the saw while cutting the slot on the screw head I then cut the slot with a fine saw (I forget what they're called, pin saw?). Once that was done, it was ready for hardening and tempering and then a first polish from 800 grits to 2000 on the lathe. The picture below is just before the first polish. Once I got it to polished with 2000 grit, I removed it from the lathe and then polished it with diamond paste and a Dremel, using the brass bar to hold it. (this turned out to be a really useful tool) Finally, it was ready to go into the movement. I am pleased with the result. I should have made it flatter to match the crown wheel screw better but, overall, it is a vast improvement on the screw that was in there. The main thing I took away from this was how useful the brass bar was, not just for testing the thread but as a holder in the lathe, for cutting the slot and for handling when polishing. No trying to hold it with tweezers or a vice. It was a really simple tool to make and really worth the 10 minuets or so to make it and cut the threads. The slot guide was a huge bonus because it worked much better than expected.
-


Recommended Posts