

-
Recently Browsing
- No registered users viewing this page.
-
Topics
-
-
Posts
-

-
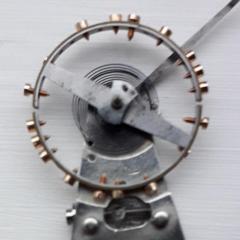
 From the same listing, the back side: I would guess that the back pops off rather than the front. You can see a little groove there where the caseback sits over the winding stem, rather than a case tube. Look for an indent or notch around the back. It might be possible to pry this off from almost anywhere on the back if it sits right against the rubber strap. The movement looks like it is from the Ronda RL family (015 or 115 or something? I forget which numbers have a calendar and which don't)
 -
 I'd expect a similar notch somewhere around the rear to pop that off.
 -
This is a very old post but here's the 6139A Service & Repair Manual 6139A Service Manual.pdf 6138 & 6139 Repair Manual.pdf
-

By rjenkinsgb · Posted
Looking at photos, the tool posts appear to use a separate saddle with a flat top? You may be able to use a tool post saddle to mount a compound slide from a different make of lathe? The small Boley compound slide I have just has a T slot underneath and fits over a separate saddle.
-


Recommended Posts
Join the conversation
You can post now and register later. If you have an account, sign in now to post with your account.
Note: Your post will require moderator approval before it will be visible.